All That Money Can Buy
| All That Money Can Buy | |
|---|---|
| |
| Information | |
| Type | Main Mission |
| Number | 6 |
| Location | Neon, Astral Lounge |
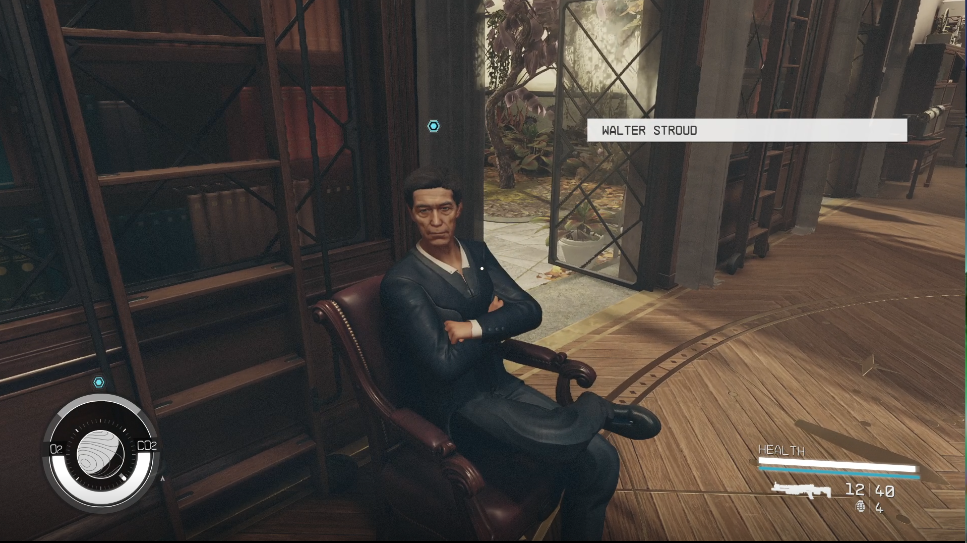
| Starting NPC | Walter Stroud |
| Description | "Walter Stroud has a proposition..." |
| Reward | 400 XP, 10000 Credits, Fiscal Quarter |
| Achievement | All That Money Can Buy (Achievement) |
| Previous Mission | Back to Vectera, The Empty Nest |
| Next Mission | Starborn |
| Patch | 1.0 |
All That Money Can Buy is the mission 6 of Main Mission.
Walkthrough
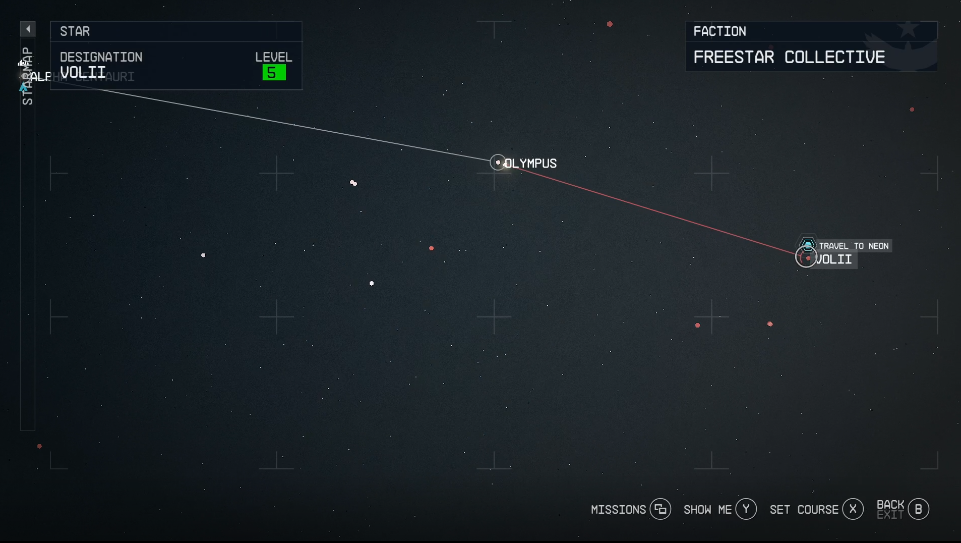
To begin the mission "All That Money Can Buy", you'll need to find Walter Stroud who is located beside the artifact pedestal in the library. Engage him in conversation to receive your instructions. Following this, set your course for Neon in the Volii system. Walter will accompany you on this expedition for an artifact piece.
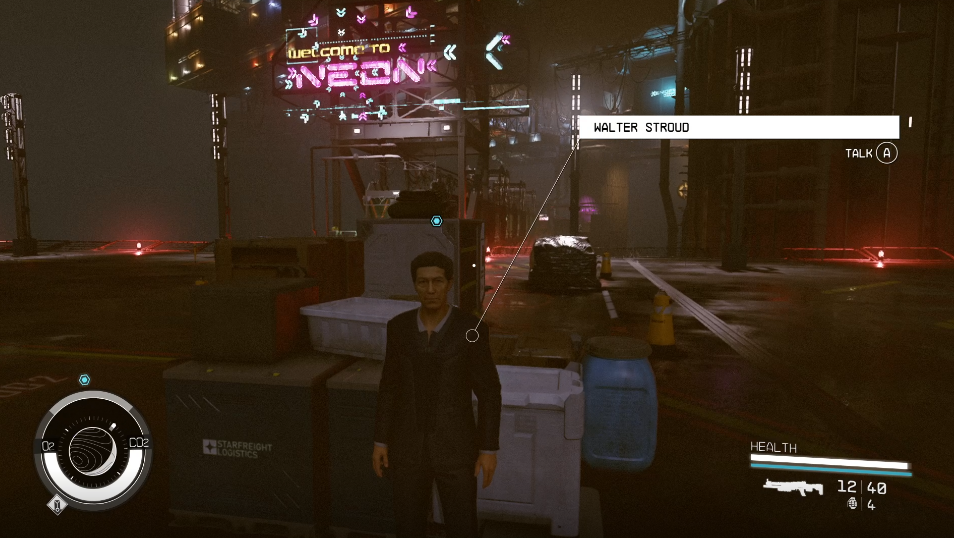
Upon landing on Neon, Walter will be waiting near the edge of the landing pad. Speak with him to find out what's next. Your immediate objective is to head into the city to Stroud-Ekland Corporate HQ to meet Issa Eklund, Walter's business partner. Make your way to the Trade Tower building and take the elevator up to the Stroud-Eklund floor. Once there, follow Walter to Issa and converse with her.
Before any deal can go down, a little investigative work is in order. Head to the Astral Lounge, which conveniently is in the same building as Stroud-Eklund. At the lounge, engage the bartender in conversation about the security of the area. He'll direct you to the VIP area upstairs. Even though the entry fee is initially set at 4000 Credits, a successful Persuasion check can bring it down to 1000 Credits, the exact amount Walter handed you earlier.
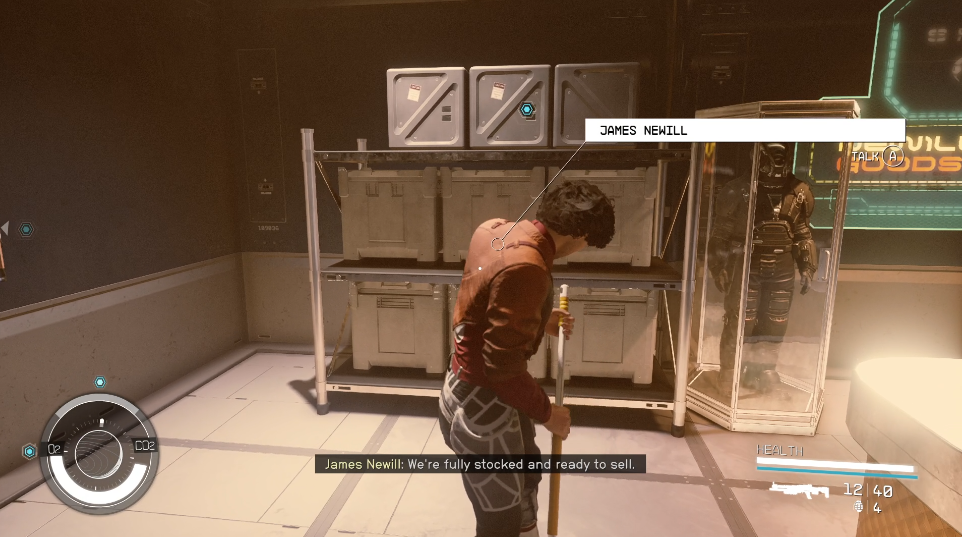
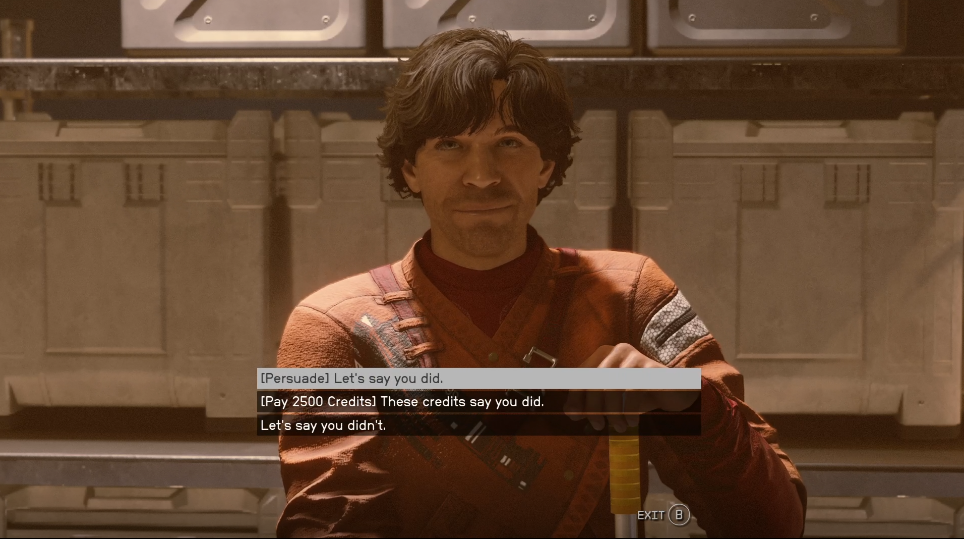
Next, go upstairs to the VIP area and locate the door controls. Hack into the computer system to reprogram the doors. If you run out of digipicks, stores in the city like Newill's Goods offer them for purchase. From there, you'll continue your investigation into the seller. Head over to Newill’s Goods in the main city area and talk to James Newill. You can either bribe him or persuade him to give you the seller's information.
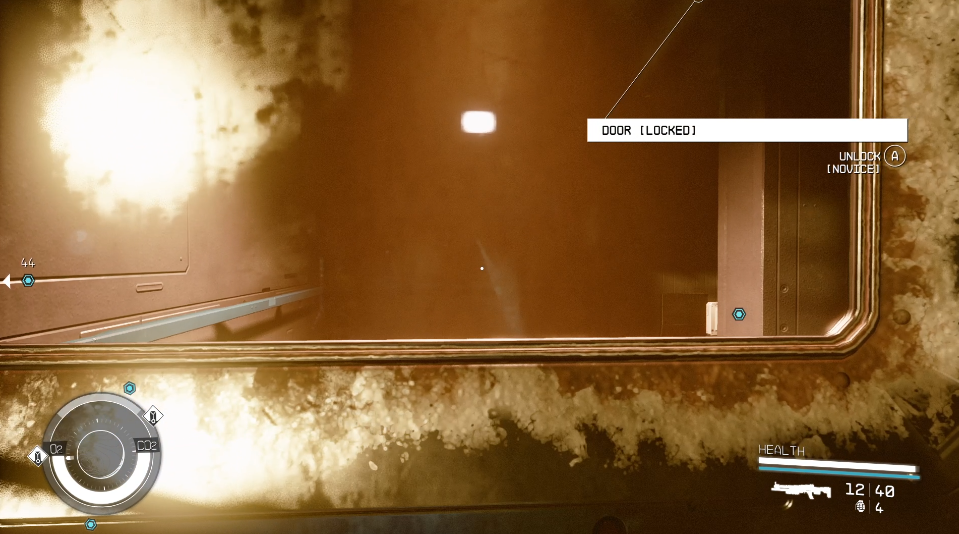
With this new info in hand, you'll head to the seller’s living area, hack the door open and read through all the text files on the computer to obtain the information you need. Once you’ve done that, return to Stroud-Eklund HQ and link up with Walter once more.
With preparations complete, head back into the Astral Lounge with Walter. Once inside, locate a man named Musgrove near the bar; he'll have a case just like Walter described. Speak with him and use the passphrase “Ramsay and Travers” to establish trust. Return to Walter, and then move to the VIP booth to commence the deal. How you handle the transaction doesn’t affect the outcome; eventually, the seller will take Walter’s money and you'll have the artifact.
Exiting the room, a man from Slayton Aerospace will confront you claiming to be the original owner of the artifact. You can either persuade him, call security, or engage him in combat. Issa will then inform you that your ship has been impounded by Slayton and you have a bounty on your head.
Time to deal with Slayton Aerospace. Upon entering their HQ, you can persuade the receptionist for a meeting or go in guns blazing. Either way, you’ll end up at the elevator. Hack it and head up, where Issa patches you through to open the doors. Sneak or fight your way through the next floor as directed by Issa. Go outside and ascend the Trade Tower to confront Nicolaus Slayton. After dealing with him, decide Musgrove's fate. Your companions like Sarah will have varying reactions depending on your choice.
Finally, return to your ship. Walter will automatically initiate a conversation. Respond however you like, and then take off from Neon to wrap up the mission.
Tips and Tricks
- Have some extra credits available for possible bribery options
- Plenty of persuasion opportunities are in this mission.
- Have Digipicks on hand.
- Neon Street Rat, Cyber Runner, and Industrialist are all good character traits to have in this mission.
- If you changed your home ship during this mission, Walter may be on your non-active ship. Set your ship back to that ship and Walter will be findable so you can complete that objective. You can then switch back to your desired ship after Walter exits the ship.
Objectives
Talk to Walter Stroud
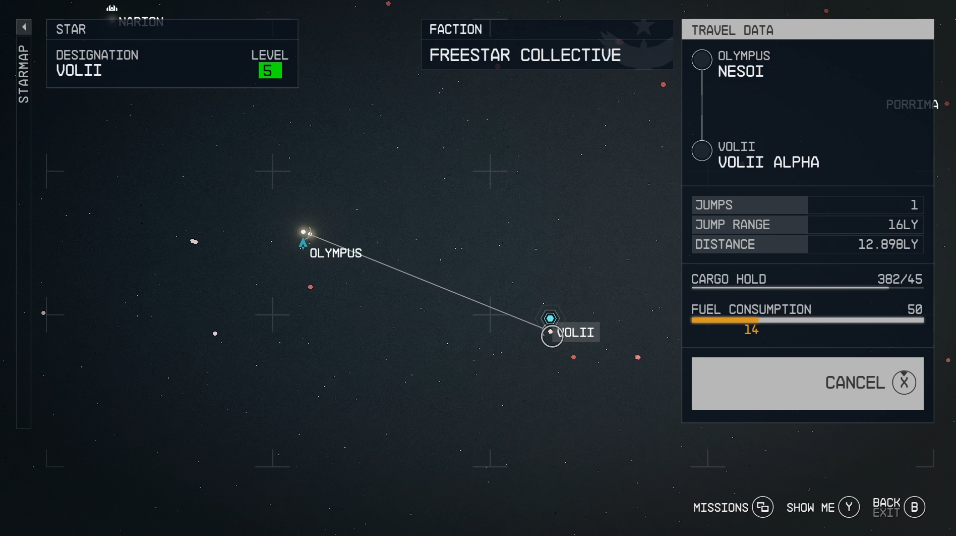
Travel to Neon
- Bring up the Starmap and locate the City of Neon in the Volii System on planet Volii Alpha.
- The Volii System may be outside of your travel range. Use Olympus to access a route to Volii.
- Land on Neon and you will be directed to speak to Walter Stroud to progress to the next step.
Speak with Walter
- Walter gives a brief description of Neon and then request we check in at Stroud-Eklund HQ in Neon's Trade Tower.
Check in at Stroud-Eklund HQ
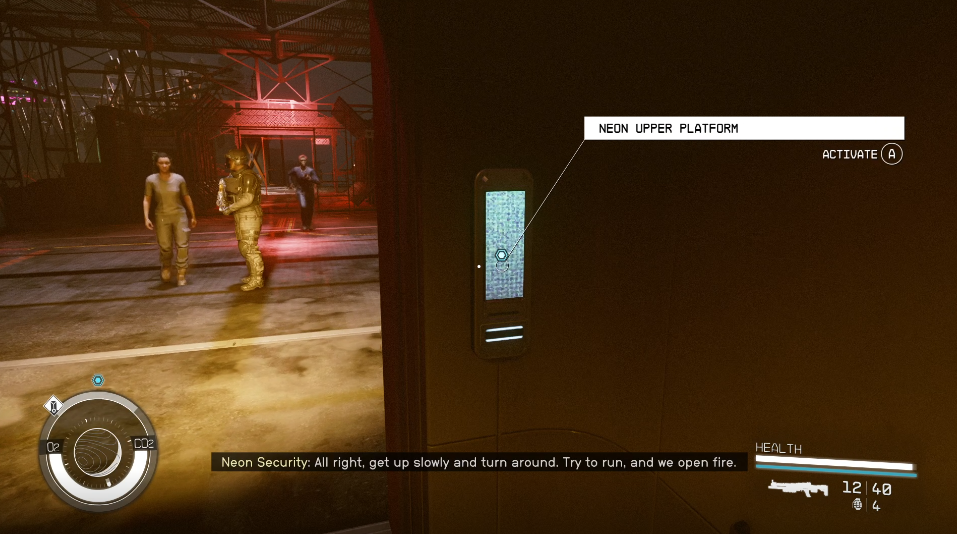
- Make you way across the bridge and enter the elevator. Neon Upper Platform
- Once you reached the Neon Upper Platform, take a right and follow down to the quest icon attached to an elevator.
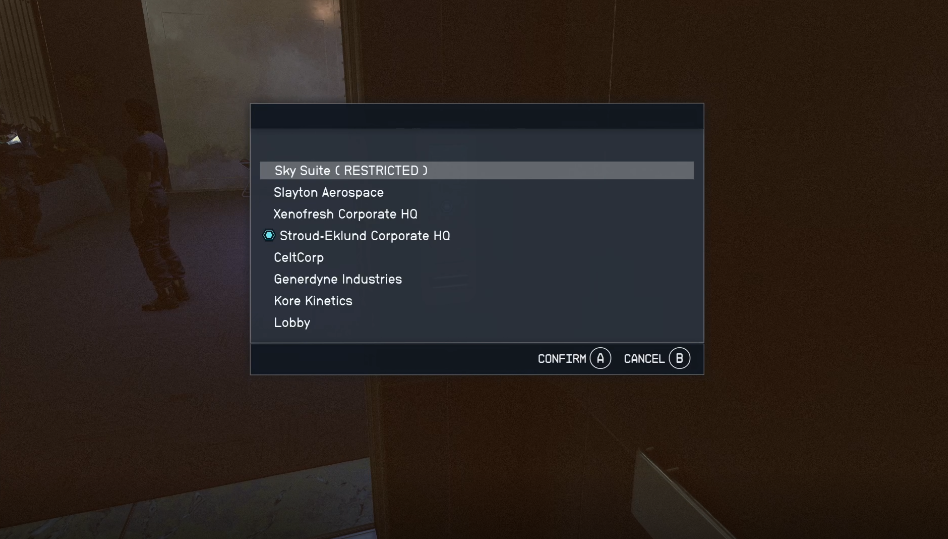
- Once in the elevator you can select multiple floors. For our current goal, head to Stroud-Eklund Corporate HQ.
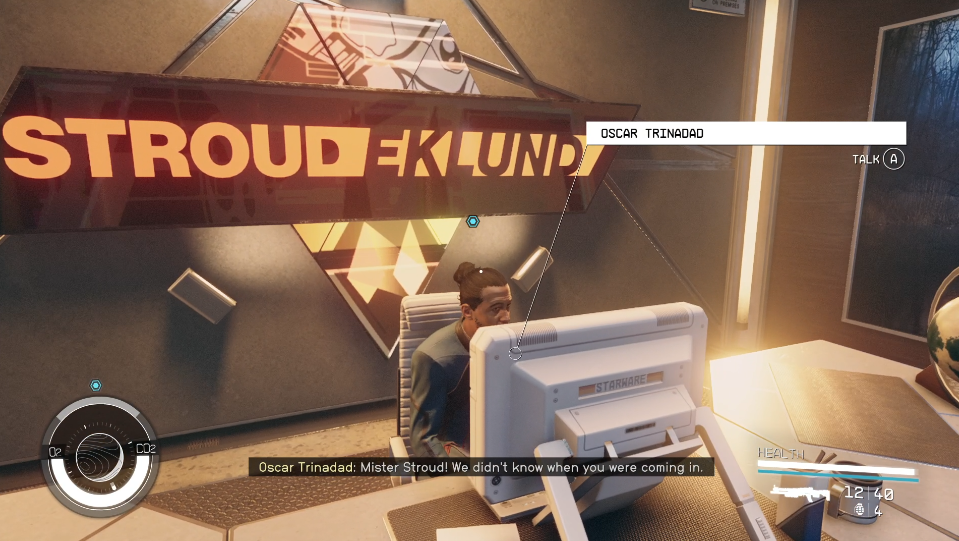
- Walter and the receptionist will have a few words and then the door will open. There will be a quest marker on the receptionist, but you don't actually have to talk to them in order to progress.
.
Talk to Issa Eklund
- Upon entering the room you'll find Issa Eklund to the left, next to a security guard.
- Simply approach her and let Walter and Issa speak.
- Issa will then turn to you and begin a conversation. You can learn little about Walter and Issa or get straight to the point and prepare for the meeting in the "Astral Lounge."
Investigate the Seller
Choice: Player can learn more about the seller from James Newill, the information broker, using multiple approaches:
- Head back to the elevator you came from and head down to the lobby
.
File:Starfield AllThatMoneyCanBuy1 EN6.png
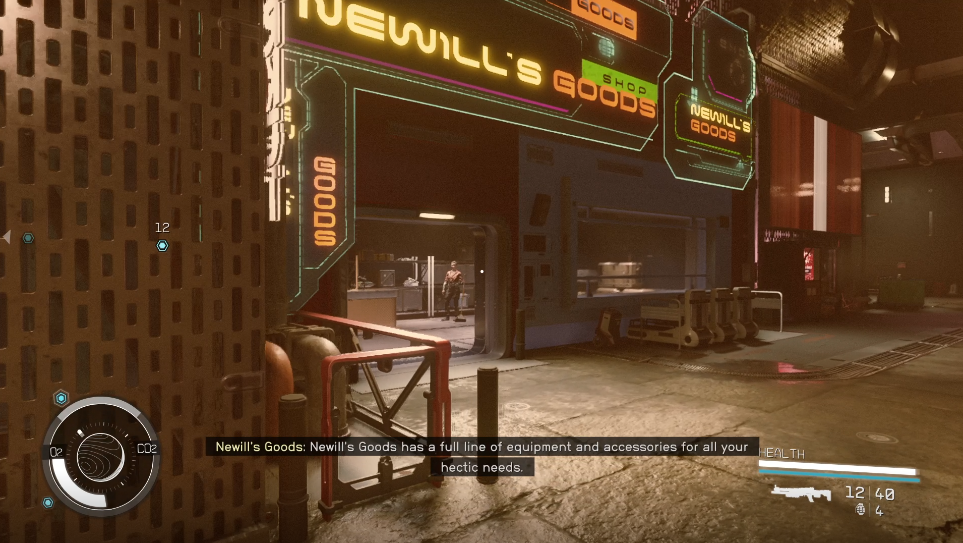
- As you leave the elevator make your way back towards the Neon Upper Platform elevator. Once you pass the elevator the quest marker will be on your left in Newill's Goods.
- Follow the quest marker and locate James Newill.
- Speech You can learn who the seller is by completing a speech challenge
- [Pay 500 Credits] You can learn who the seller is by buying the information
- You can learn who the seller is by searching James' terminal in the Newill shop
- You will find out that the seller is has been staying in Sleepcrate One.
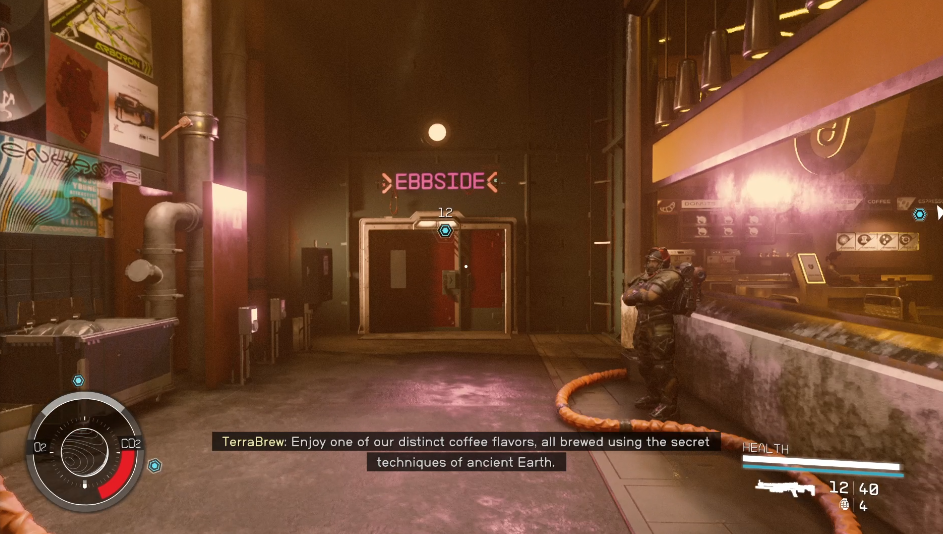
- Leave Newill's Goods and turn right. Follow the quest marker on the left through a door labled EBBSIDE.
- Take an immediate left, walk past the food markets and here you'll find a locked door with your objective right behind it. Use a Digipick to get passed the Novice lock.
Search the Seller's Sleepcrate
- Investigate the seller's computer and read through all of their personal correspondence messages. "Musgrove" appears to be our mystery seller.
- Head back the way you came and follow the quest marker by taking a left and up the stairs
Ask About Security at the Astral Lounge
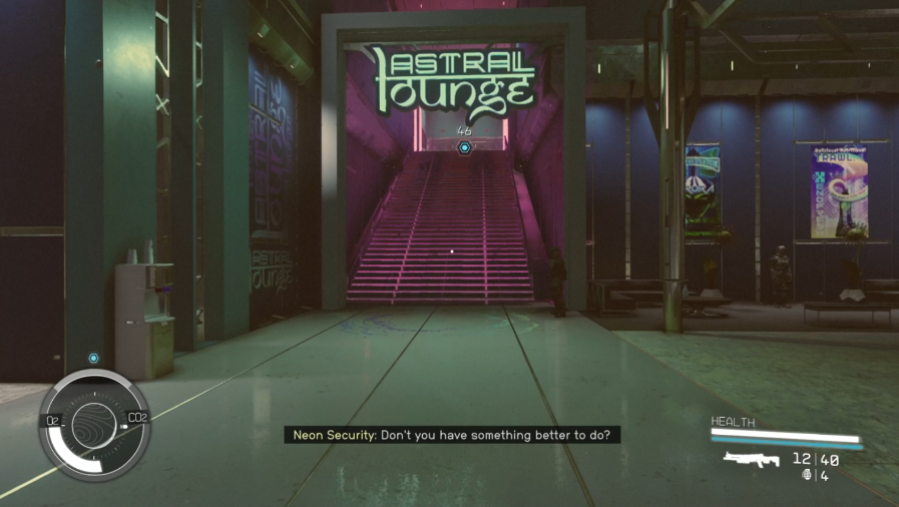 You will be directed to Boone Morgan, in the Astral Lounge.
- You have two choices in this dialogue in order to become a VIP so that the Astral Lounge security helps you in later fights, if needed. **[Pay 4000 Credits] Player can pay Boone 4000 credits to become Astral Lounge VIP
- Speech Player can pay lower the price to 1000 credits by passing a speech challenge to become VIP
Check the Door Controls
- You will be directed to a computer on the second floor of the Astral Lounge.
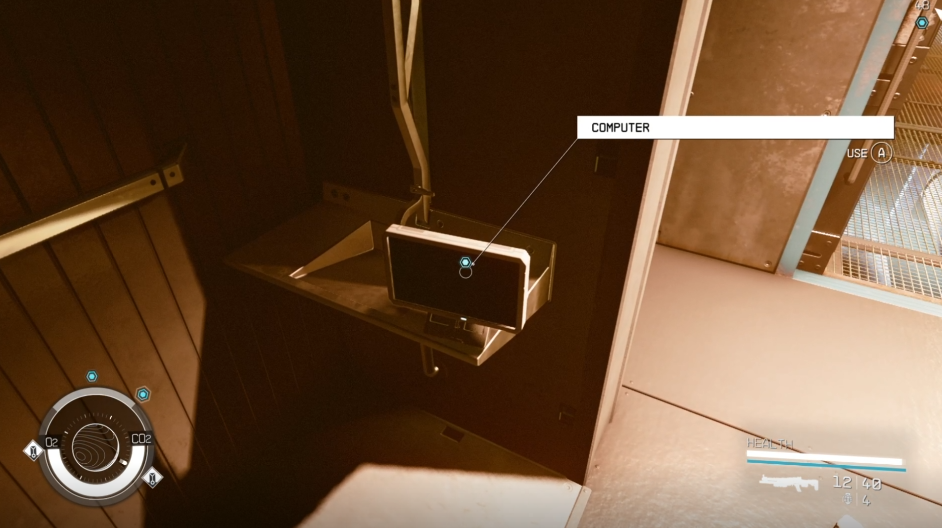
- Access the computer's options to control the doors.
Talk to Walter Shroud
- You will be directed back to Walter Shroud at Eklund-Shroud HQ. Speak with him to continue.
Go to the Astral Lounge
- You will then be directed to Walter again, but this time in the Astral Lounge.
Talk to Walter Shroud
- Speak to Walter and he will give you a code phrase and an image of the Slayton Aerospace pin the seller will be wearing.
Locate the Seller
- You can find the seller inside the bar by finding the NPC wearing the pin that Walter showed you. Speak to the seller.
- Give the seller the password to complete the objective. The seller will head up to the VIP lounge.
Talk to Walter Shroud
- Speak to Walter who will explain how the negotiations will go. He will then go up to the VIP lounge.
Negotiate for the Artifact
- You will then be directed to the Astral Lounge.
- You will automatically be greeted into dialogue with Walter and Musgrove when you get there.
- Choose your preferred tactic of negotiation to convince the seller to sell the Artifact to you and Walter:
- Choose to sit when asked.
- Use your social skills to help the negotiation process.
- Use chances to speak directly or politely to Musgrove.
- Trigger the door to intimidate Musgrove.
- Attempt to grab the Artifact.
- Once the negotiations start you can choose to:
Leave the Astral Lounge
- Once you have the Artifact you will be forced into dialogue with Slayton Security as you are leaving the lounge.
- Convince security to let you leave or fight them. You can do this the following ways:
- Find Issa at the exit of the Astral Lounge.
Talk to Issa Eklund
- Issa will talk to you when you and Walter approach her in the Astral Lounge.
Go to Slayton Aerospace HQ
- You will be directed to Slayton Aerospace in Neon Trade Tower next.
- Depending on whether or not you killed the security guard, the door will be unlocked or locked. If you decided to fight the Slayton Security they will also be hostile here.
Find a Way to the Next Floor
- You can accomplish this in the following ways:
- Pickpocket Ryleigh for a key to the elevators.
- Hack a terminal to get access to the elevators.
- Talk to Ryleigh or a security guard and convince them to give you a key.
- Find an unguarded key nearby.
Take the Elevator
- Go to the elevator and take it to the next floor.
Talk to Walter
- A scene will play showing Walter and you stuck in the elevator.
- Once the scene ends you will need to speak with Walter.
Go to the Next Floor
- Pass through the next floor while following Issa's directions. She will provide you with a stealthy route.
- If you are caught you will need to fight your way out.
- Go to the load door to Neon Exterior.
Climb the Trade Tower
- You will then be directed to the Trade Tower. Take the door that leads to Slayton Aerospace.
Confront Nicolaus Slayton
- After coming to a gap, Issa will left the elevator door and let you out.
- Walk through the door and you will be greeted by Slayton. If you fought your way through they will automatically be hostile.
- If not, here are the alternative paths:
Talk to Musgrove
- If you decide to deal with Musgrove, you will find him wounded in the next room. You can deal with him in the following ways:
- Let Musgrove go.
- Have the authorities arrest Musgrove for theft.
- Kill Musgrove.
Go to the Ship
- Once you deal with Musgrove you will be directed back to your ship.
- Walter will speak with you once you enter your ship.
Return to the Lodge
- You will now be directed back to the Lodge in New Atlantis.
- You will suddenly be ambushed by the Helix one you enter Volii Alpha orbit.


