Back to Vectera
| Back to Vectera | |
|---|---|
| |
| Information | |
| Type | Main Mission |
| Number | 4 |
| Location | The Lodge |
| Starting NPC | Sarah Morgan |
| Description | Argos Extractors is packing up operations on Vectera, but there's no word about Barrett. I need to go there and find out what happened. |
| Reward | 350 XP, 7200 Credits, Barrett as Companion |
| Previous Mission | The Old Neighborhood |
| Concurrent Mission | Into the Unknown, The Empty Nest |
| Next Mission | All That Money Can Buy |
| Patch | 1.0 |
Back to Vectera is the mission 4 of Main Mission.
Walkthrough
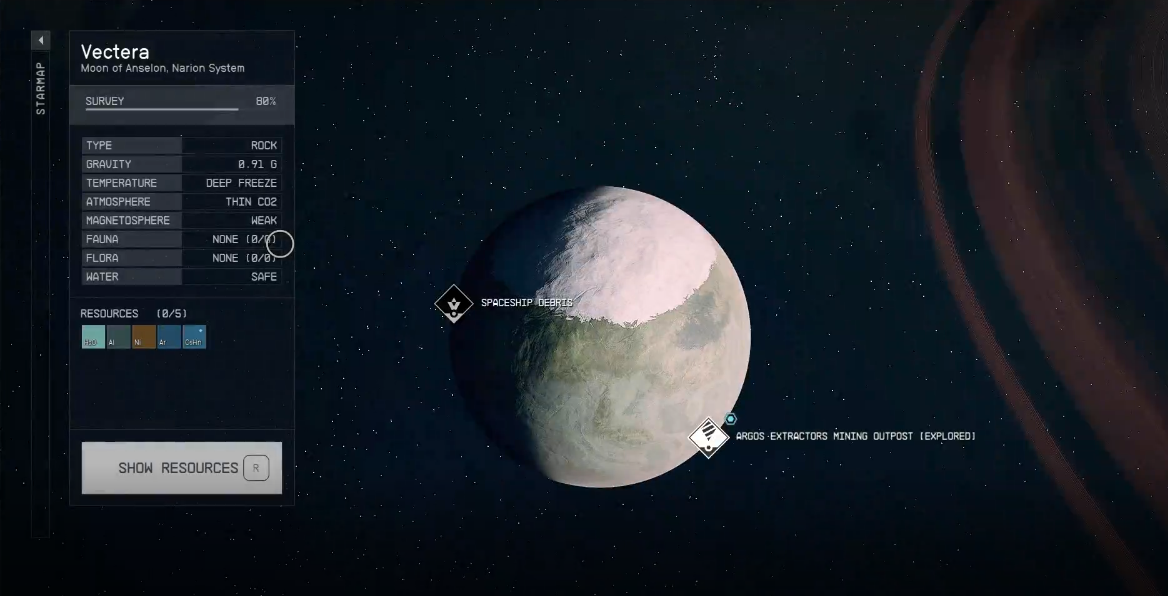
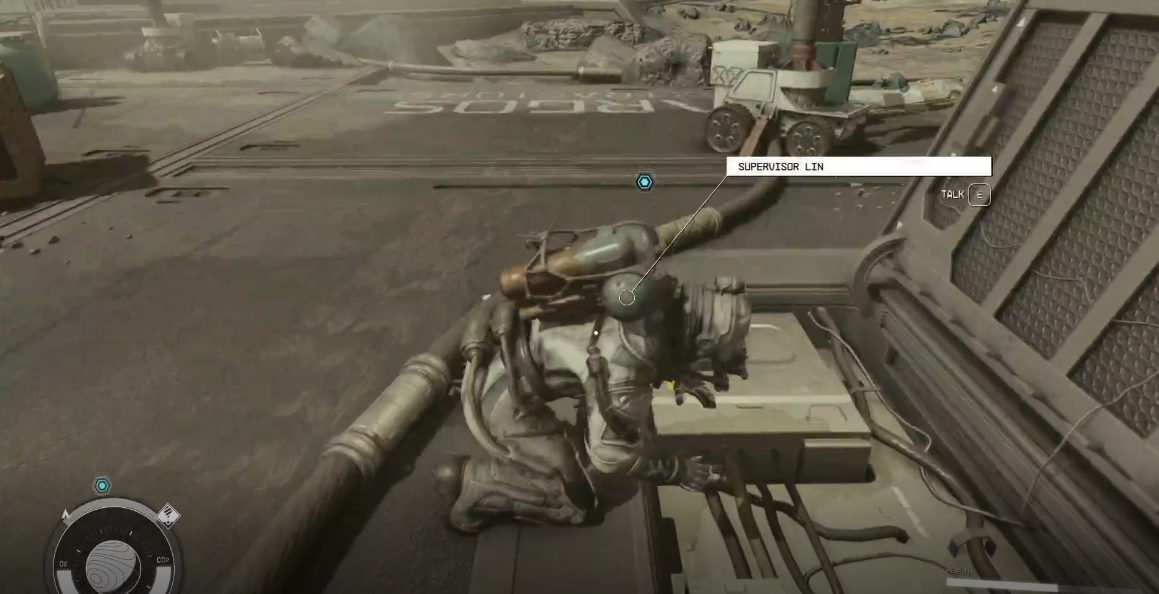
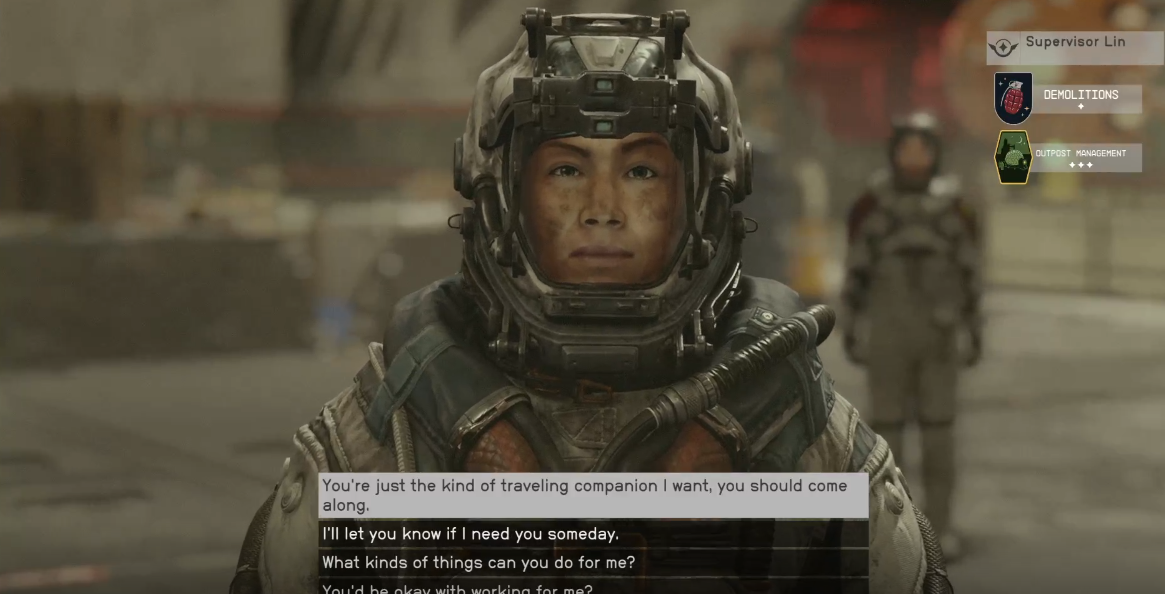
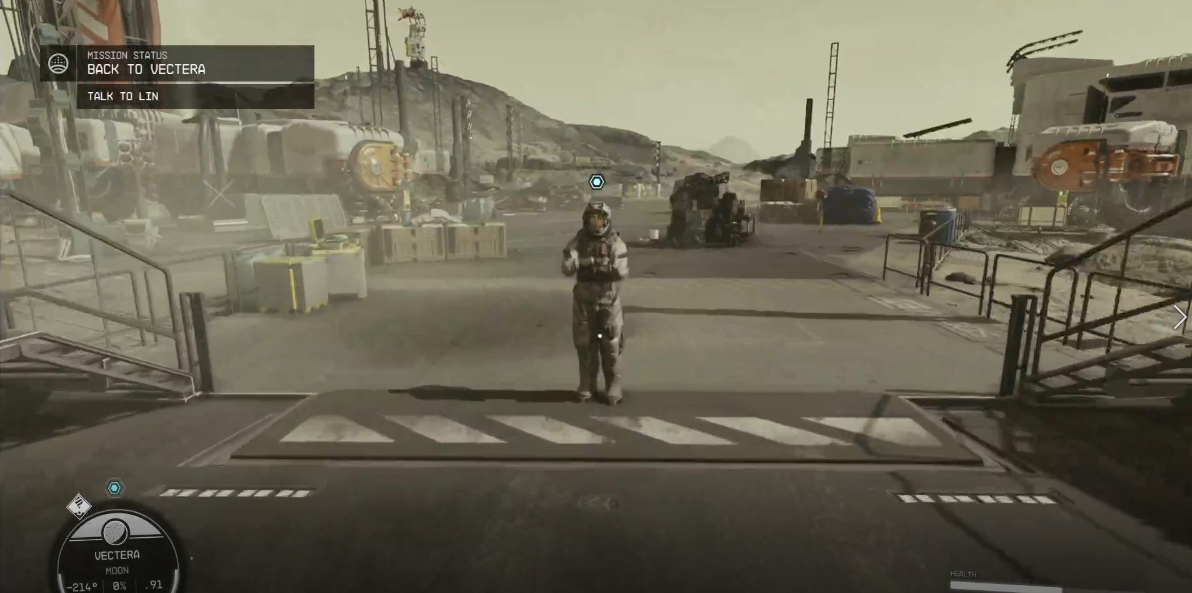
The main mission "Back to Vectera" begins with your return to Vectera, the moon where your Starfield journey initially started. Your landing point is the Argos Extractors Mining Outpost. Upon landing, you'll find that Lin is the only crew member left, making her your first point of contact. She will inform you about the disappearances of Barrett and Heller and direct you to a comms computer that needs repairing.
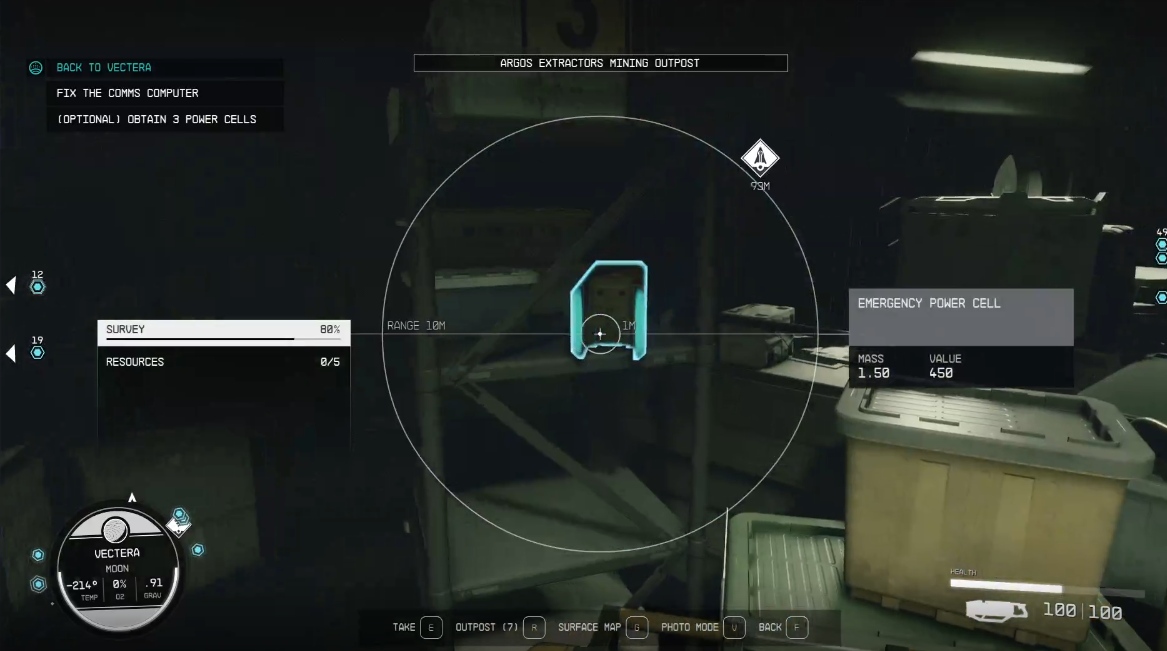
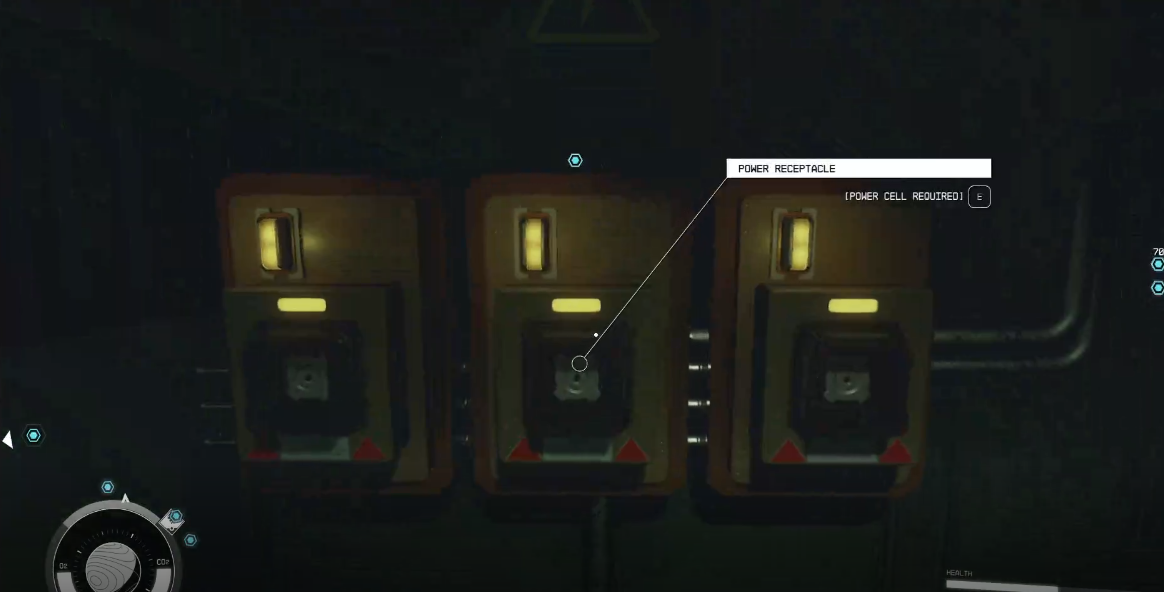
Before heading to the computer, ensure to pick up an emergency power cell conveniently placed on a pallet near your landing zone. You'll need three of these in total to fix the comms system efficiently. Inside the comms building, you'll find the second power cell on a shelf to your right and the third one in a room through the left door. Don't forget to pick up the magazine "Tracers Primer 05" in the bunk area accessible through a door on your left. After gathering all the power cells, place them into the slots located immediately through the big orange door to restore the comms computer.
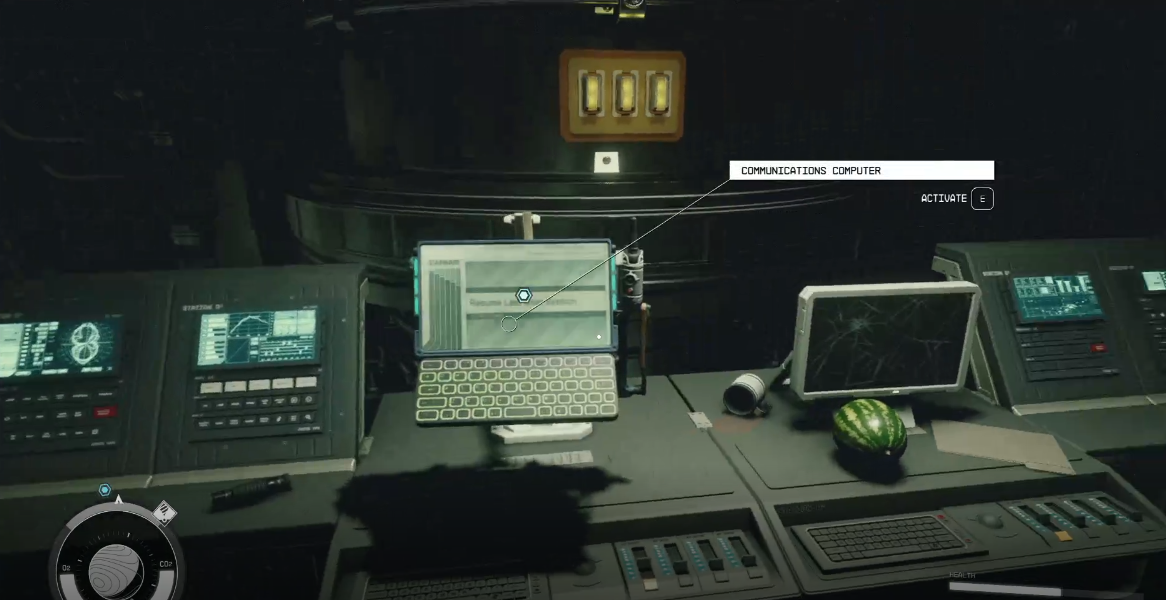
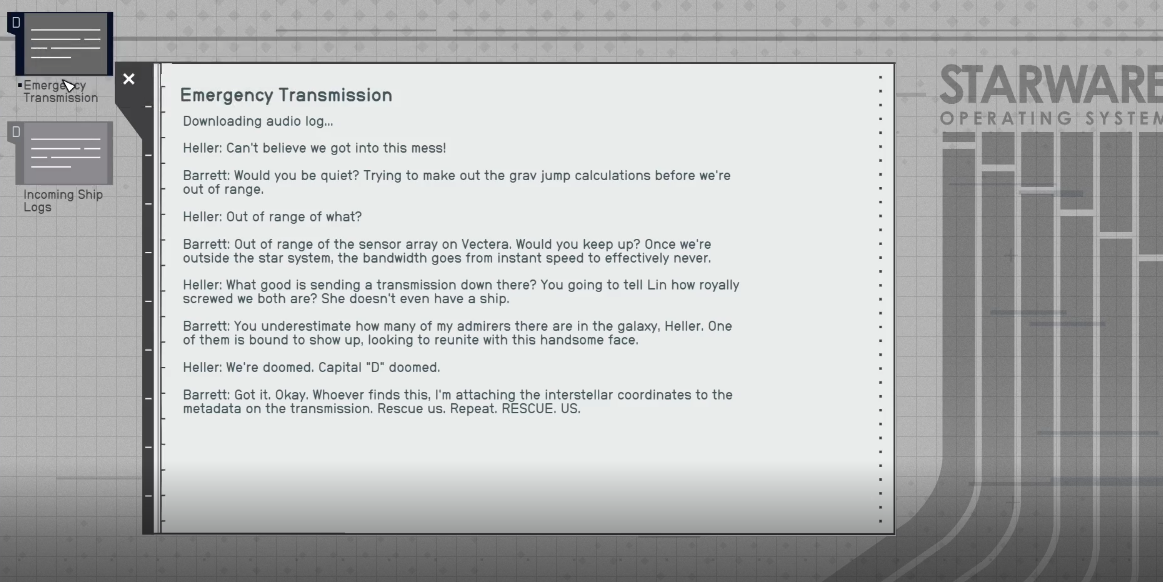
Next, you'll need to lockpick the door to the comms room. Ensure you have digipicks; if not, you'll need to backtrack to find one. Inside the room, interact with the computer and read the "Emergency Transmission" to find out where Barrett and Heller went. With this crucial information, return to Lin and share the details. She's recruitable at this point and can be assigned to your ship or outposts.
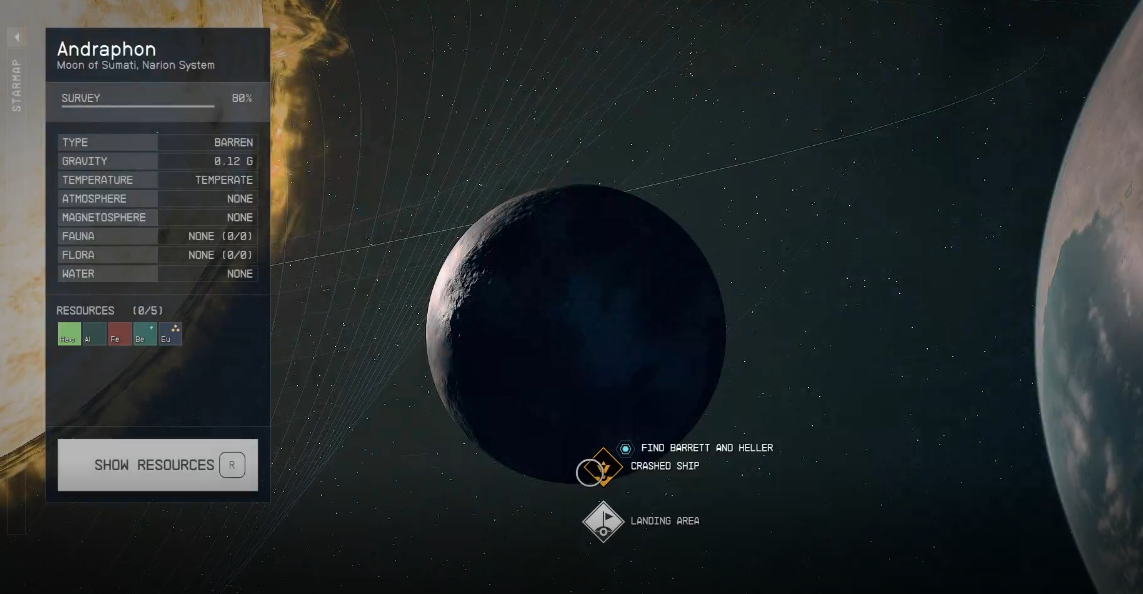
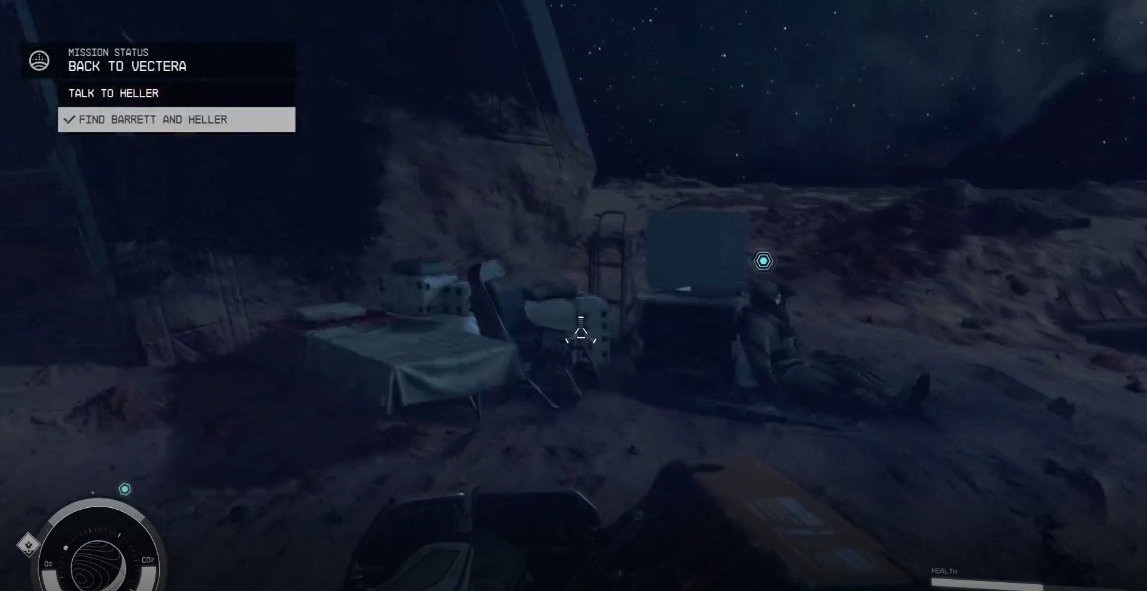
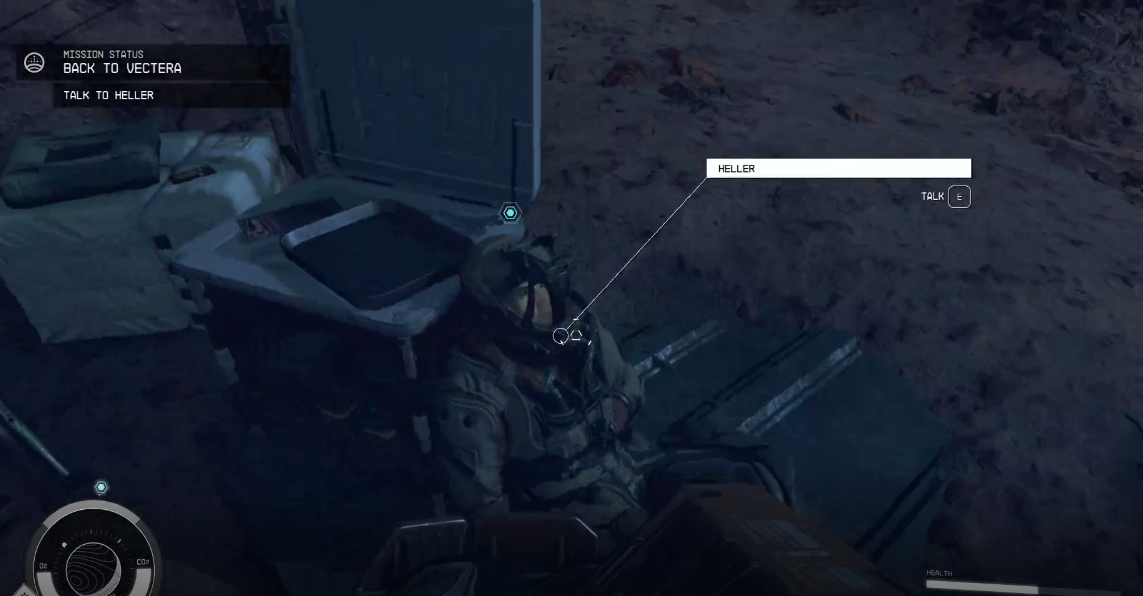
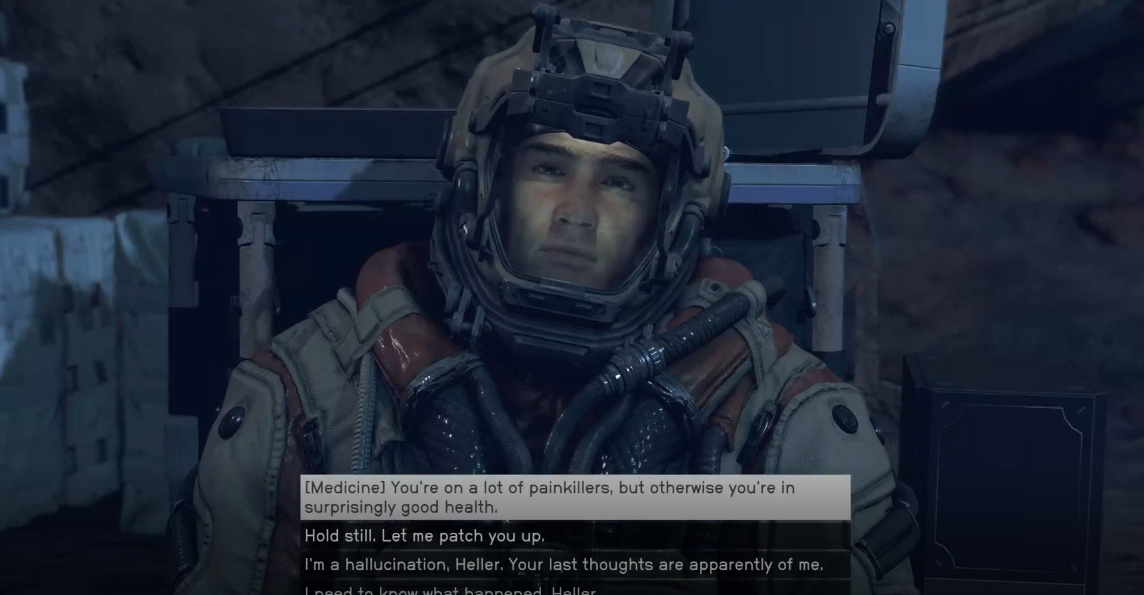
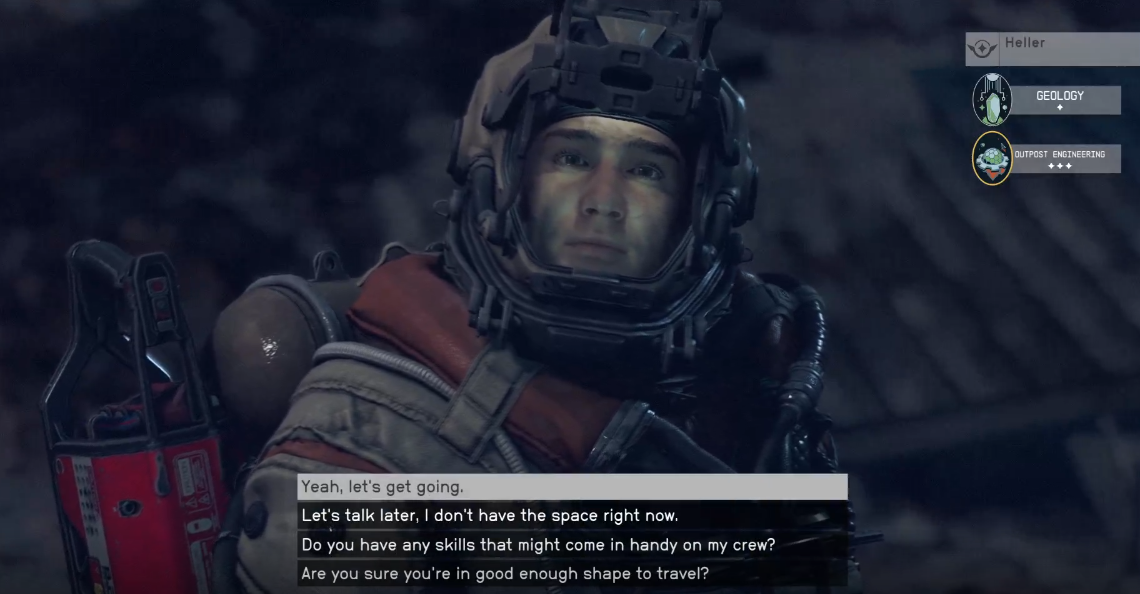
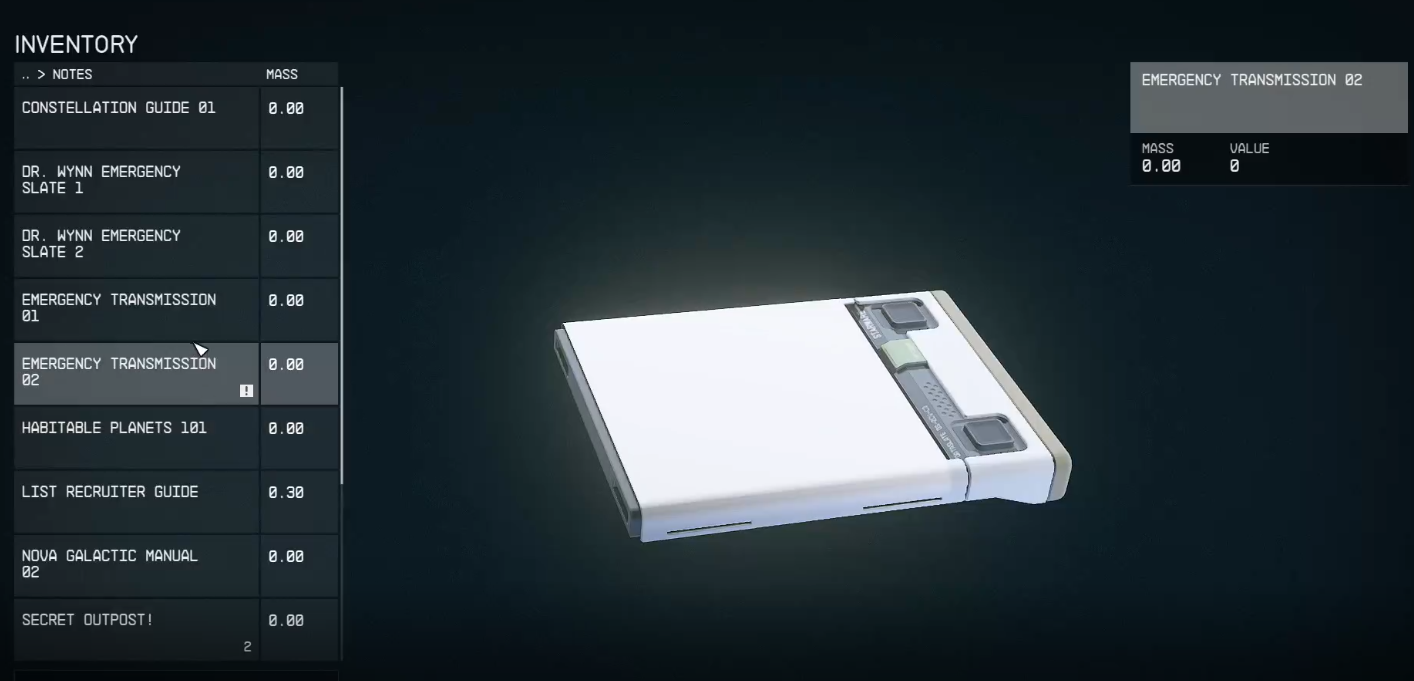
Your next destination is Altair II in the Altair system. Land at the Crashed Ship location and prepare for encounters with hostile wildlife as you make your way toward the crash site. You'll find Heller seated next to a crate. Engage in a conversation with him to unravel a part of the story and he'll give you a note slate titled "Emergency Transmission 02." Check your inventory to listen to it. Like Lin, Heller is now recruitable as a crew member.
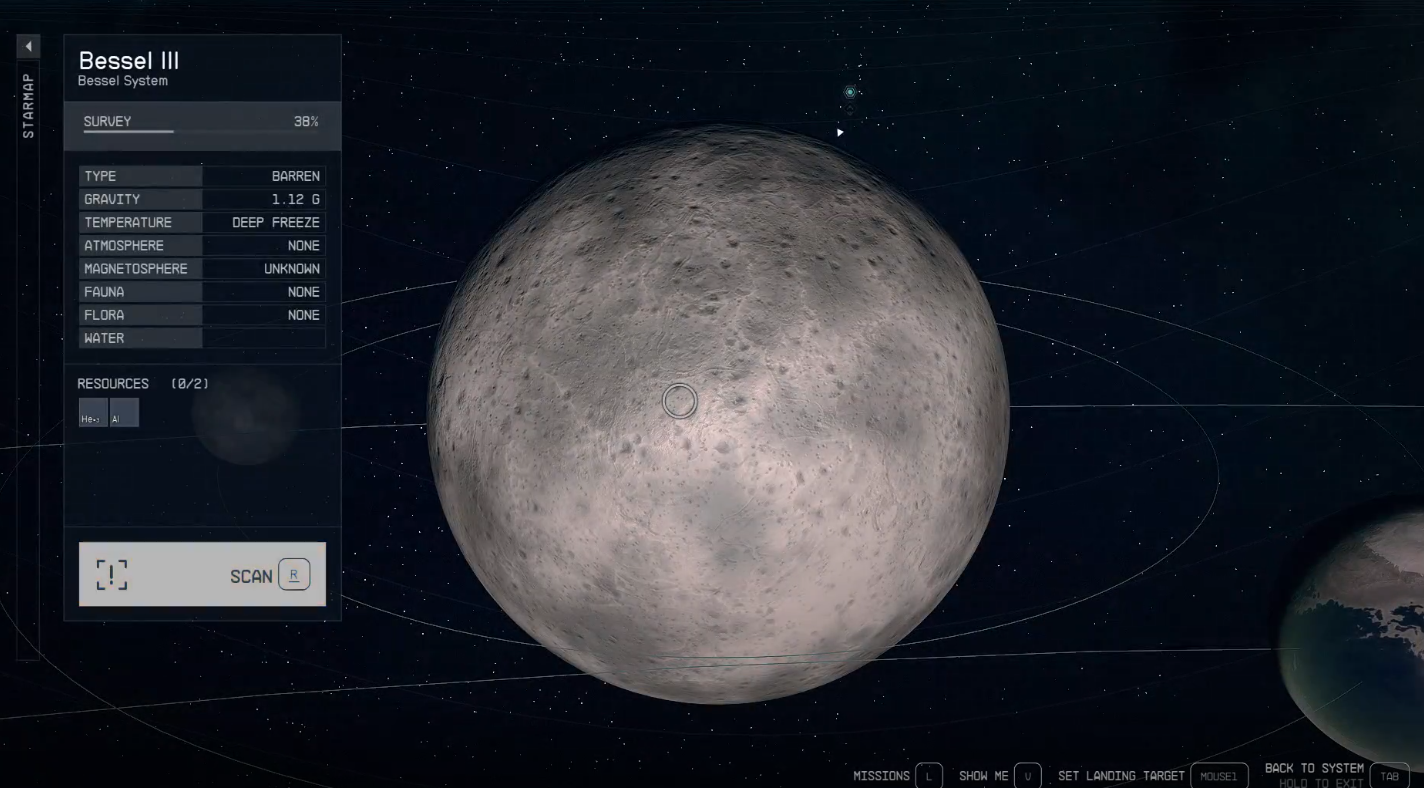
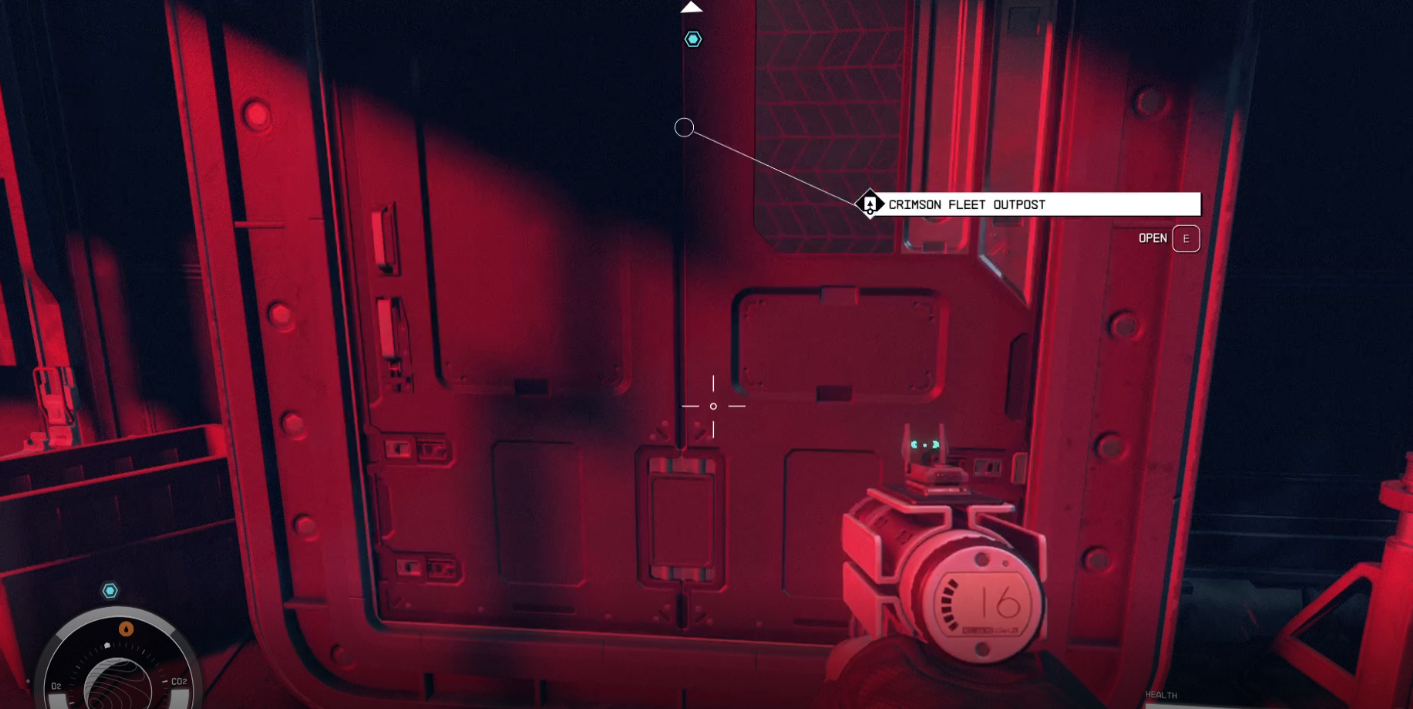
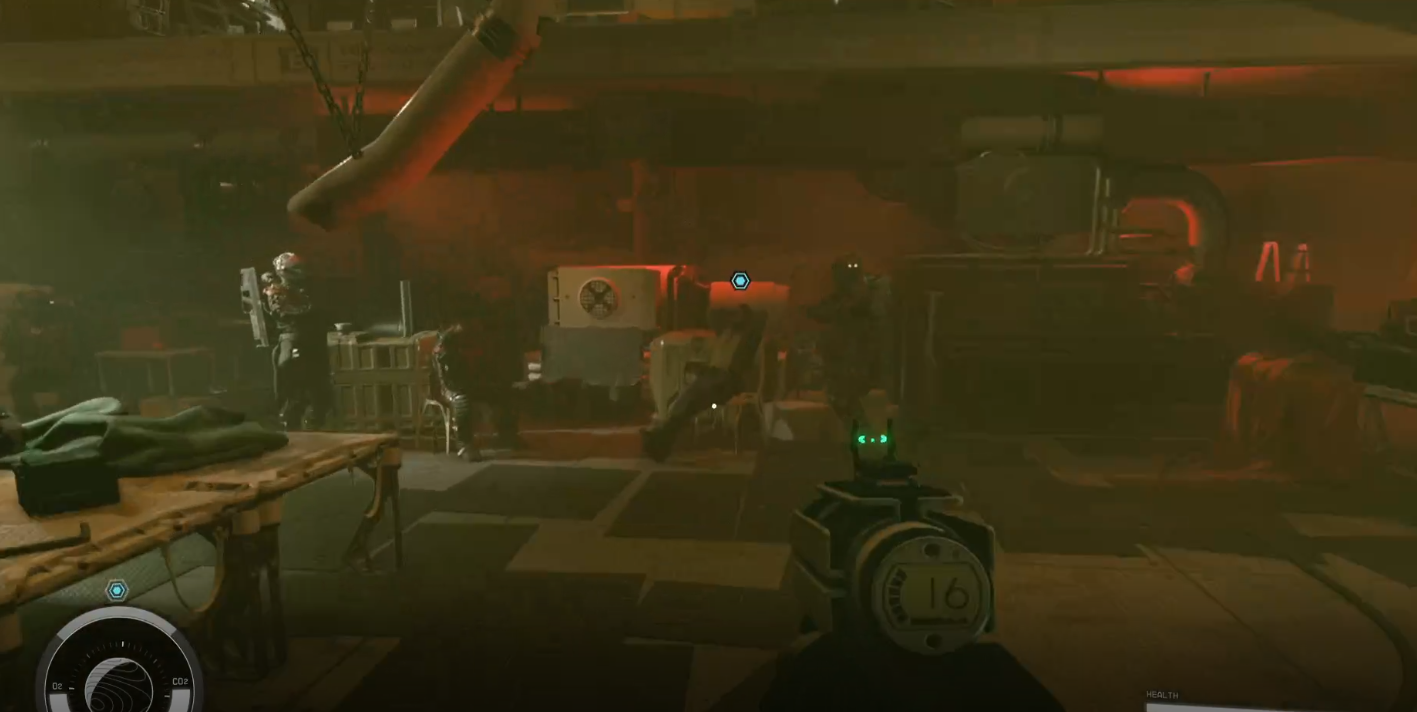
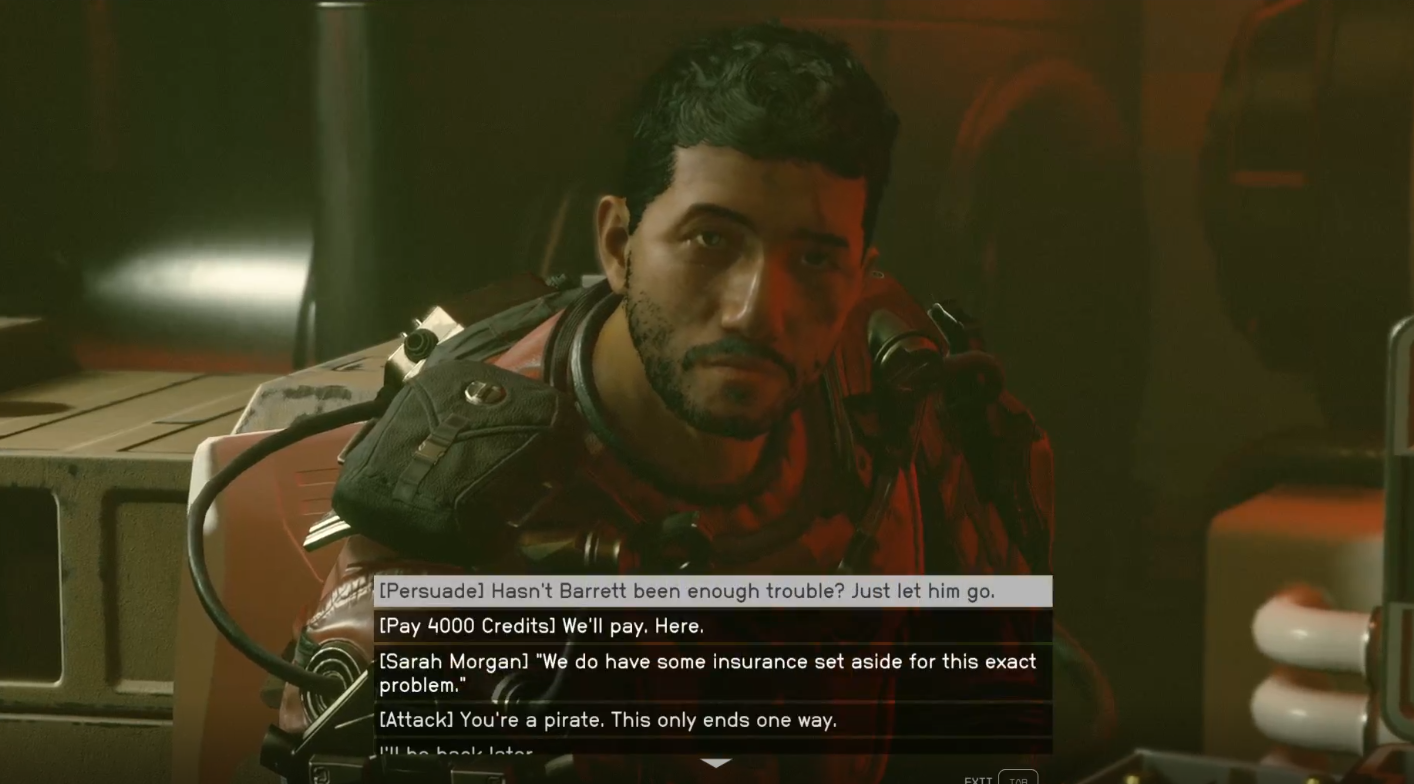
Following the new information, set your course for Bessel III. Your landing zone here is the Ransacked Research Outpost. As you land, prepare for a skirmish with several Crimson Fleet enemies lurking outside the outpost. Once they're dealt with, proceed into the marked entrance. Inside, you'll find Barrett in conversation with more members of the Crimson Fleet. To free him, you can either persuade, bribe (either directly or via Sarah if she’s part of your team), or go in guns blazing. If you choose the non-violent route, feel free to loot the area without further trouble.
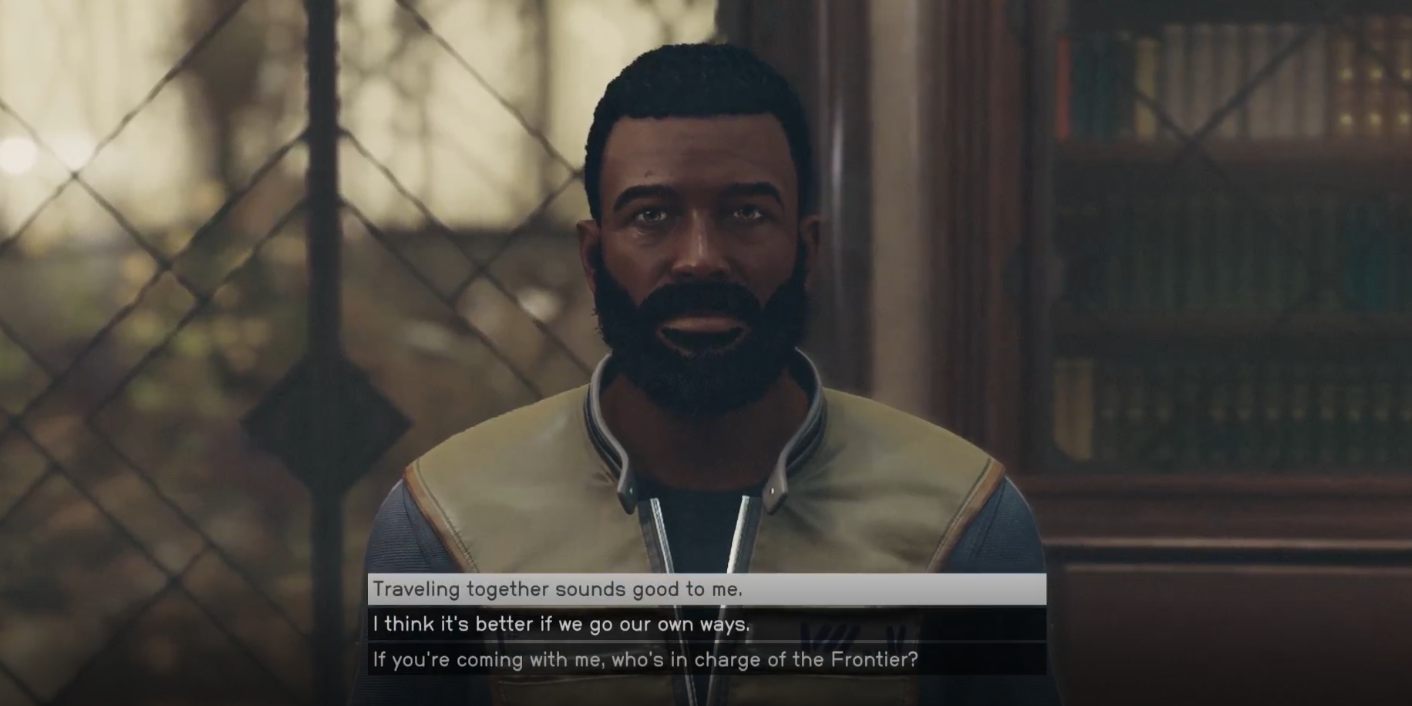
The mission nears its end as you head back to the Lodge on Jemison. Gather everyone in the library where Barrett joins the conversation. Wait for him to finish dialogues with other characters before speaking with him one last time to complete the mission. Barrett is now available as a companion for your future exploits.
Tips and Tricks
- The final confrontation in this quest can be avoided by passing a persuasion check. Obtaining the persuasion perk and/or bringing persuasion buffing chems can help with passing the check.
- It is recommended to recruit Heller and Lin - they have extra perks compared to generic companions, and unlike hired companions, cost nothing to recruit.
Objectives
Return to Vectera
- Travel back to the Argos Extractors outpost on Vectera in the "Narion" star system.
Talk to Lin
- After landing, you'll discover the outpost is empty besides Supervisor Lin. Talk to her to learn what happened to the outpost and Barrett.
Fix the Comms Computer
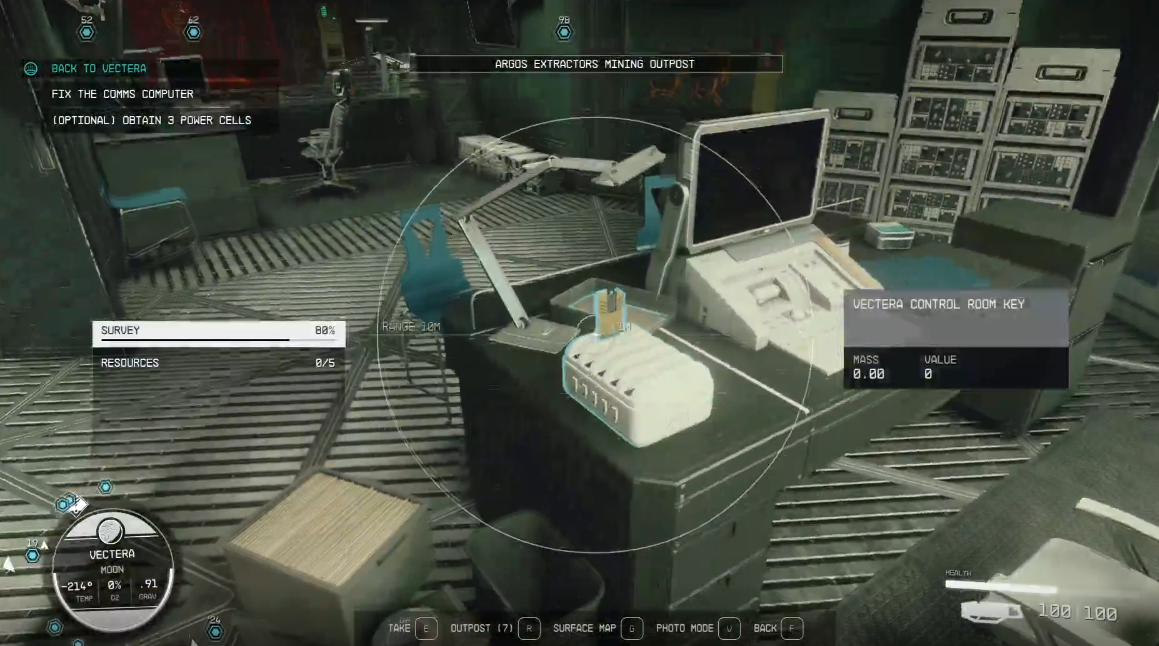
- Locate the Comms Computer inside the outpost structure. It is behind a locked door that can either be unlocked using a Digipick or with the control room key, which is located in a stand on the supervisor's desk.
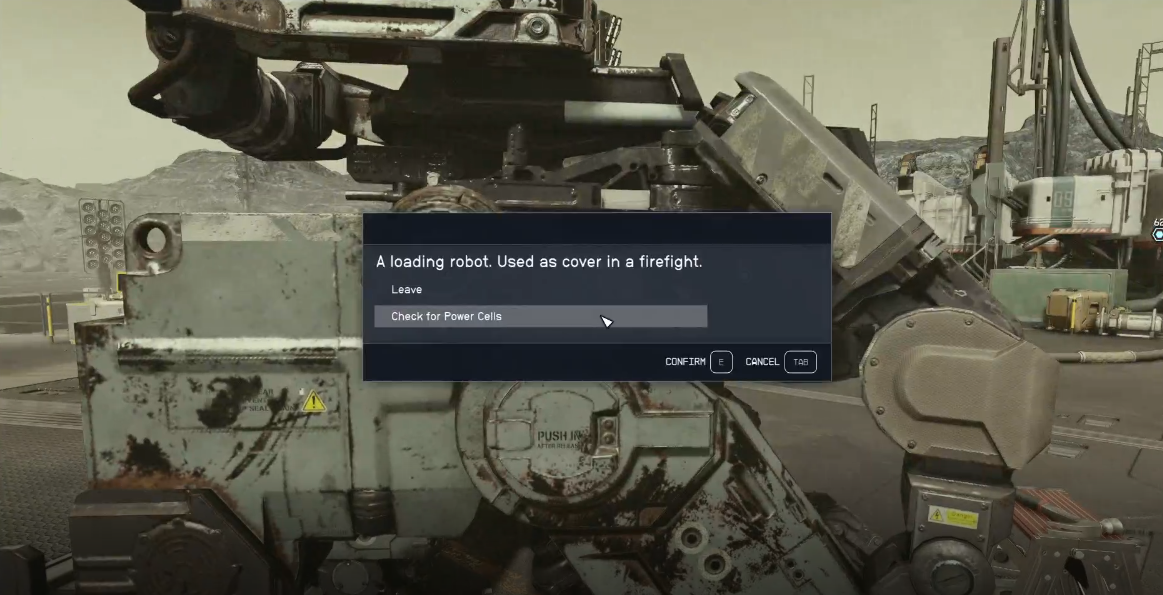
- The computer is unpowered. Select "Look for a Power Source", and you'll be prompted to find three backup power cells. There are many of these across the outpost to pick up, such as on shelves, in robots outside, etc.(Image D) (Image D2)
- After finding three power cells, load them into the receptacle outside of the control room.
Find a Clue to Barrett's Location
- Listen to the "Emergency Transmission" on the fixed computer to discover what happened to Barrett and Heller.
Return to Lin
- Return to Lin, who will still be working outside. She'll decode the location from the Emergency Transmission and update your next objective.
- (Optional) You can also recruit Lin to join your crew by speaking to her again.
Travel to Andraphon
- Travel to Andraphon, also in the "Narion" star system. Land at the "Crashed Ship" location.
Find Barrett and Heller
Talk to Heller
- (Optional) You can recruit Heller to join your crew by speaking to him again.
Listen to "Emergency Transmission 02"
- Listen to "Emergency Transmission 02" from the Notes section of your inventory to find where the Crimson Fleet took Barrett.
Travel to Bessel III
- Travel to the Ransacked Research Outpost on Bessel III in the "Bessel" star system.
Rescue Barrett
- Follow the mission objective and travel to where Barrett is being held.
- Fight your way through the Crimson Fleet pirates. There will be an illuminated red door leading to the Crimson Fleet Outpost.
- Approaching Barrett and Matsura will automatically update the quest objective and start the dialog sequence.
- You can use multiple approaches to rescue Barrett:
Return to the Lodge
- Return to the Lodge. Barrett will follow you inside and the dialog sequence will start automatically. Barrett will then become available as an active companion.


