One Small Step: Difference between revisions
Sneaky pete (talk | contribs) |
|||
| (10 intermediate revisions by 2 users not shown) | |||
| Line 1: | Line 1: | ||
{{Mission Infobox | {{Mission Infobox | ||
|Image = | |Image = Starfield_OneSmallStep1_EN.jpg | ||
|Name = One Small Step | |Name = One Small Step | ||
|Type = Main Mission | |Type = Main Mission | ||
|Number = 1 | |Number = 1 | ||
|Level = | |Level = | ||
|Requirement = | |Requirement = | ||
|Location = | |Location = [[Vectera]], [[Kreet]], [[Jemison]] | ||
|Starting NPC = | |Starting NPC = | ||
|Description = Whatever I found in the mine knocked me out cold. Now whoever paid for this whole operation is making a landing, and we need to meet him. | |Description = "Whatever I found in the mine knocked me out cold. Now whoever paid for this whole operation is making a landing, and we need to meet him." | ||
|Reward = 400 XP, 8000 Credits, Constellation Pack | |Reward = 400 [[XP]], 8000 [[Credits]], [[Constellation Pack]] | ||
|Achievement = One Small Step (Achievement) | |Achievement = One Small Step (Achievement) | ||
|Previous = | |Previous = | ||
| Line 17: | Line 17: | ||
==Walkthrough== | ==Walkthrough== | ||
The mission "One Small Step" begins with a lengthy elevator descent, during which you'll hear chatter about mining from a couple of characters. Once the elevator stops, you're free to move. Follow [[Supervisor Lin]] as she leads the way through the mining tunnel. | |||
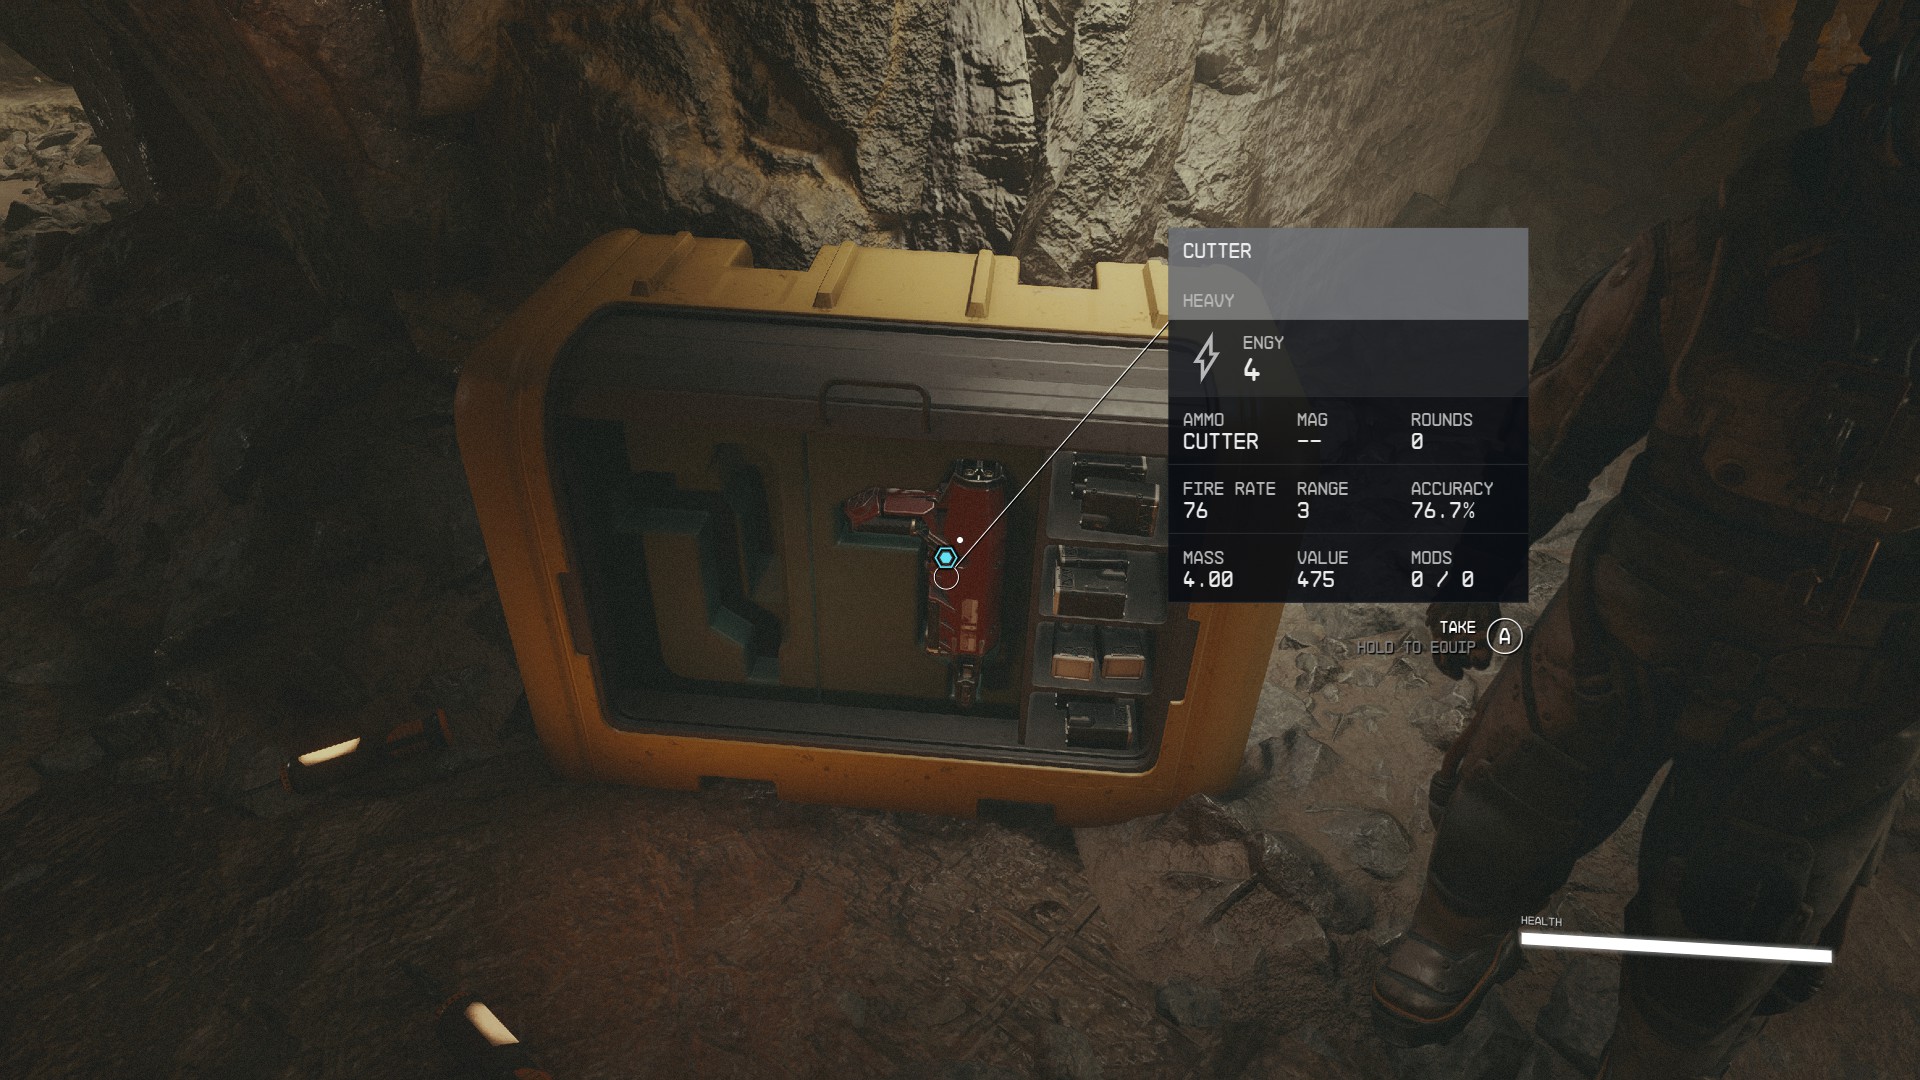
[[Supervisor Lin]] | [[Supervisor Lin]] will pause and instruct you to pick up the Cutter from a nearby crate. Interact with the crate to grab the [[Cutter]], holding down the interaction button to equip it immediately. Now armed, proceed to a designated section in the tunnel with marked spots for mineral deposits. Use your newly acquired Cutter to shoot at these marks and mine [[Beryllium]]. There are five spots in total; make sure to mine them all. | ||
After you've collected the [[mineral deposits]], | After you've collected the [[mineral deposits]], return to [[Supervisor Lin]] and continue following her through the tunnel. Your journey will take you to a large machine drilling into a cavern wall. Here, Lin and another character, [[Heller]], will guide you to explore the cavern ahead. | ||
In this new area, you'll encounter a cavern with a peculiar rock at its center. Use your Cutter to break up the deposits around this centerpiece. Once cleared, interact with an object embedded in the wall for a scripted scene. | In this new area, you'll encounter a cavern with a peculiar rock at its center. Use your Cutter to break up the deposits around this centerpiece. Once cleared, interact with an object embedded in the wall for a scripted scene. | ||
| Line 27: | Line 27: | ||
Post-scene, you'll be taken to the [[character creation]]. Here, you can customize your physical appearance, select your [[background]] for initial [[Skills]] and choose unique [[Traits]] that will have minor effects throughout your playthrough. | Post-scene, you'll be taken to the [[character creation]]. Here, you can customize your physical appearance, select your [[background]] for initial [[Skills]] and choose unique [[Traits]] that will have minor effects throughout your playthrough. | ||
[[Dialogue]]s open up after character customization. While dialogue options generally don't affect the main story, they can provide additional information. Feel free to engage in these dialogues as you like. Continue following [[Supervisor Lin]] and, before stepping out into the open, make sure to equip your [[Deep Mining Space Helmet]] from your [[inventory]]. | |||
The next step is to meet with the client. Wait at the ship for [[Barrett]] to appear and speak to both Lin and you. However, just as you're getting acquainted, pirates crash the party. A nearby marker will guide you to a crate containing a pistol. Equip this from your inventory to deal with the pirate invaders more effectively than with your Cutter. | |||
After neutralizing the threat, speak with Barrett once more. He'll give you a watch and send you off with your new companion, Vasco. Board the ship by interacting with the ladder in the hold. | After neutralizing the threat, speak with Barrett once more. He'll give you a watch and send you off with your new [[companion]], [[Vasco]]. [[Board]] the ship by interacting with the ladder in the hold. | ||
Take the pilot's seat and take off from Vectera. Once in space, you'll undergo a brief tutorial on flying and managing your ship's | Take the pilot's seat and take off from [[Vectera]]. Once in space, you'll undergo a brief tutorial on flying and managing your ship's [[system]]s. Soon after, a Crimson Fleet ship warps in, initiating your first space combat scenario. Destroy the ship, and then scavenge its wreckage for [[items]]. | ||
Upon dispatching two more enemy ships, you're directed to the Starmap. Choose Kreet, a moon, as your destination and fast-travel there. Land at the Kreet Research Base and make your way downhill. A Scanner tutorial will pop up, teaching you how to identify various resources and entities on the planet. | Upon dispatching two more enemy ships, you're directed to the Starmap. Choose Kreet, a [[moon]], as your destination and fast-travel there. Land at the Kreet Research Base and make your way downhill. A [[Scanner]] tutorial will pop up, teaching you how to identify various [[resources]] and entities on the [[planet]]. | ||
Inside the [[Research Base]], you'll have to deal with [[Crimson Fleet]] members. Navigate through the base, eliminating enemies and looting weapons. A ladder at the end will take you up to the rooftop for the final confrontation. Here, you can either persuade the Captain to leave or engage in combat. | Inside the [[Research Base]], you'll have to deal with [[Crimson Fleet]] members. Navigate through the base, eliminating [[enemies]] and looting weapons. A ladder at the end will take you up to the rooftop for the final confrontation. Here, you can either [[persuade]] the Captain to leave or engage in combat. | ||
Once the Captain and their crew are dealt with, head back to your ship. If you'd like, you can continue exploring [[Kreet]] or proceed with the story. Use the [[Starmap]] to [[Grav Jump]] to [[Jemison]] and then land at [[New Atlantis]]. | Once the Captain and their crew are dealt with, head back to your ship. If you'd like, you can continue exploring [[Kreet]] or proceed with the story. Use the [[Starmap]] to [[Grav Jump]] to [[Jemison]] and then land at [[New Atlantis]]. | ||
At [[New Atlantis]], you're headed for [[the Lodge]] in the [[MAST District]]. Feel free to engage with [[Ship Services Technician]]s for [[ship]] repairs and upgrades. Once at the Lodge, you'll enter the library and meet Sarah. Listen through the meeting and place the [[artifact]] you collected earlier on a designated pedestal. | At [[New Atlantis]], you're headed for [[the Lodge]] in the [[MAST District]]. Feel free to engage with [[Ship Services Technician]]s for [[ship]] repairs and upgrades. Once at the Lodge, you'll enter the library and meet [[Sarah]]. Listen through the meeting and place the [[artifact]] you collected earlier on a designated pedestal. | ||
After the scene concludes, speak to Sarah one more time to complete the mission. | After the scene concludes, speak to Sarah one more time to complete the mission. | ||
==Tips and Tricks== | |||
*Since this is your first [[mission]] and you are just starting out the game you may want to check out our [[Inventory]] Management article. | |||
*Loot the [[pirates]] you defeat along the way, they will have much better [[weapons]] and some additional [[gear]]. | |||
*If you don't want to talk to the [[Crimson Fleet Captain]], you can shoot the barrel near him before passing through the doorway. You will still have to fight their backup, but it gives you a head start in the fight. | |||
==Objectives== | ==Objectives== | ||
=== | ===Follow Supervisor Lin=== | ||
[[File:Starfield_OneSmallStep1_EN.jpg|400px]] | |||
*She will speak to your fellow miners along the way. | |||
===Get the Cutter=== | |||
[[File:Starfield_OneSmallStep2_EN.jpg|400px]] | |||
*Take the [[Cutter]]. | |||
===Collect Mineral Desposits=== | |||
[[File:Starfield_OneSmallStep4_EN.jpg|400px]] | |||
*Fire the cutter at the marked [[mineral deposit]]s. | |||
===Return to Supervisor Lin=== | |||
*Once you return to [[Lin]], you will have to follow her once again. | |||
===Follow Supervisor Lin=== | |||
[[File:Starfield_OneSmallStep5_EN.jpg|400px]] | |||
===Explore the Cavern=== | |||
[[File:Starfield_OneSmallStep6_EN.jpg|400px]] | |||
*[[Lin]] will stay behind while you need to go up the hill toward the objective by yourself. | |||
===Break up the Deposits=== | |||
[[File:Starfield_OneSmallStep8_EN.jpg|400px]] | |||
*While exploring the cavern, you will enter a room with some deposits in front of you. | |||
*Fire your [[Cutter]] at the deposits. | |||
**If you see sparks while firing, this means you are correctly hitting the deposit. | |||
**Once you clear enough away, you will be prompted for the next objective. | |||
===Take the Strange Object=== | |||
*Hover over the [[Strange Object]] and take it. Once you take the strange object, you will watch a scene and then enter the character creation menu. | |||
[[File:Starfield_OneSmallStep9_EN.jpg|400px]] | |||
*First, you may select your [[Biometric ID]], which is a set of default appearance options. | |||
*You can then select Body and Face to further customize your appearance. | |||
[[File:Starfield_OneSmallStep11_EN.jpg|400px]] | |||
*Backgrounds will each provide you will a different set of [[starting skills]]. You must select a [[background]] to continue. | |||
*Traits will provide will allow you to select up to 3 [[traits]] that offer a bonus and a penalty. You do not have to select any to continue. | |||
[[File:Starfield_OneSmallStep12_EN.jpg|400px]] | |||
*When you are ready, select Finish to select your character's pronouns and enter their name. | |||
===Follow Lin=== | |||
[[File:Starfield_OneSmallStep13_EN.jpeg|400px]] | |||
*Answer [[Lin]]'s questions and then follow Lin through the facility. | |||
*Before exiting to the outside, put your helmet on by entering the menu. | |||
[[File:Starfield_OneSmallStep14_EN.jpg|400px]] | |||
*Select [[Inventory]]. | |||
[[File:Starfield_OneSmallStep15_EN.jpg|400px]] | |||
*Select [[Helmets]] | |||
[[File:Starfield_OneSmallStep16_EN.jpg|400px]] | |||
*Select the [[Deep Mining Space Helmet]]. | |||
===Meet with the Client=== | |||
[[File:Starfield_OneSmallStep18_EN.jpg|400px]] | |||
*Follow [[Lin]] to meet up with the client. | |||
===Hold off the Pirates=== | |||
[[File:Starfield_OneSmallStep19_EN.jpg|400px]] | |||
*[[Pirates]] will land and you will be entering combat shortly. Before you continue, make sure to grab the gun from the chest behind you. | |||
[[File:Starfield_OneSmallStep20_EN.jpg|400px]] | |||
*The pirates will exit the [[ship]] and attack immediately, be ready to fight back. | |||
===Talk to Barrett=== | |||
[[File:Starfield_OneSmallStep21_EN.jpg|400px]] | |||
===Board the Ship=== | |||
[[File:Starfield_OneSmallStep22_EN.jpg|400px]] | |||
===Take off from Vectera=== | |||
*Navigate to the front of the [[ship]] and sit in the pilot seat. | |||
[[File:Starfield_OneSmallStep46_EN.jpg|400px]] | |||
===Learn to Fly=== | |||
*Learn your [[ship]] [[system]]s. Wait for the prompts in order to follow the tutorial. | |||
*Tip: If you click too quickly, you may end up "skipping" the tutorial and doing the optional step. | |||
[[File:Starfield_OneSmallStep23_EN.jpg|400px]] | |||
===(Optional) Power Up All Systems to Skip tutorial=== | |||
*Optionally, you can power up all [[system]]s in order to skip the tutorial. | |||
**This is not recommended if this is your first time. | |||
*To change the power distribution of your [[starship]], you can switch through the different [[system]]s in the bottom using | |||
**PC Keyboard: [Z] and [X] on PC to go left to right, and [C] and [V] to add/remove power. | |||
***You can also use the arrow keys to switch systems and add/remove power. | |||
**Xbox Controller: Use the left and right arrows on the D-pad to choose the system, and the up and down arrows to add/remove power. | |||
=== | ===Deal with the Crimson Fleet=== | ||
*You need to destroy the [[Crimson Fleet]] [[ship]]s that arrive. You can find more information about ship combat in the following article: Combat - Starships - Starfield | |||
[[File:Starfield_OneSmallStep24_EN.jpg|400px]] | |||
=== | ===Travel to Kreet=== | ||
*Select [[Kreet]] on the map and [[Fast Travel]] to it. For more information about Fast Travel, visit our article: How do I fast travel in Starfield? | |||
[[File:Starfield_OneSmallStep25_EN.jpg|400px]] | |||
=== | ===Land at the Kreet Research Base=== | ||
*After you land in the [[Narion System]], look for the blue marker on the [[planet]] Kreet and look for the icon for [[Kreet Research Lab]]. | |||
[[File:Starfield_OneSmallStep26_EN.jpg|400px]] | |||
*Select the [[Kreet Research Lab]] and hold down the button for "LAND" to land at the Kreet Research Lab. | |||
[[File:Starfield_OneSmallStep27_EN.jpg|400px]] | |||
=== | ===Deal with the Crimson Fleet Captain=== | ||
*After you land, approach the Lab where you will find multiple members of the [[Crimson Fleet]] that you will need to fight. | |||
**Remember to loot and keep an eye on how much you are carrying to avoid becoming [[Encumbered]]. | |||
*Climb up the ladder when you are finished exploring and killing. | |||
[[File:Starfield_OneSmallStep29_EN.jpg|400px]] | |||
*Open the door, the [[Crimson Fleet Captain]] will be on the other side. When you step through the doorway, the captain will start talking to you. | |||
[[File:Starfield_OneSmallStep30_EN.jpg|400px]] | |||
*You can choose to persuade them not to take your [[ship]] or engage them in combat. | |||
* | |||
[[File:Starfield_OneSmallStep33_EN.jpg|400px]] | |||
=== | ===Return to the Ship=== | ||
[[File:Starfield_OneSmallStep34_EN.jpg|400px]] | |||
*Travel back to your [[ship]]. | |||
*If you use your scanner, you can highlight your [[ship]] to fast travel back to it. | |||
**You can enable the scanner by pressing the [F] (Keyboard) or [LB] (Xbox). | |||
=== | ===Grav Jump to Jemison=== | ||
*Travel to [[Alpha Centuri]] | |||
[[File:Starfield_OneSmallStep35_EN.jpg|400px]] | |||
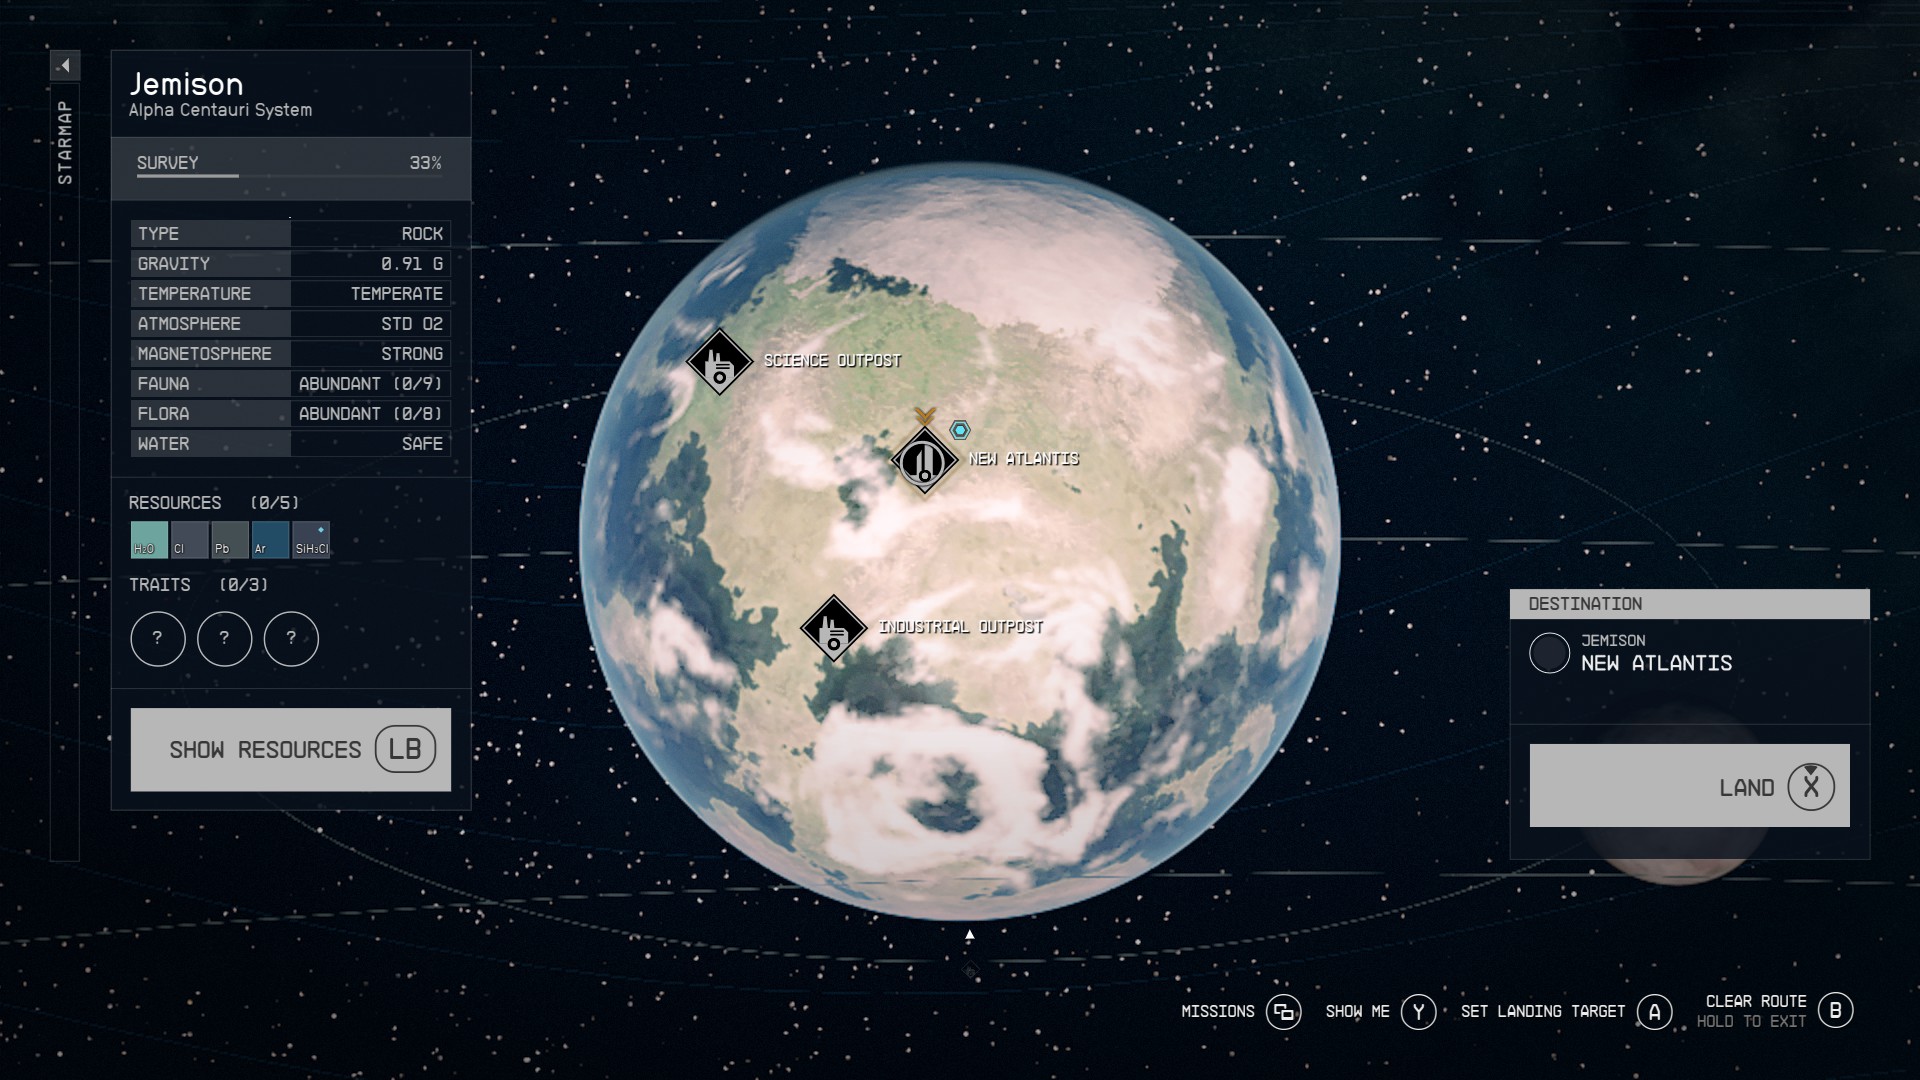
*Travel to [[New Atlantis]]. | |||
[[File:Starfield_OneSmallStep36_EN.jpg|400px]] | |||
=== | ===Land at New Atlantis=== | ||
*Select "[[New Atlantis]]" on your map and choose the option to land. | |||
[[File:Starfield_OneSmallStep36_EN.jpg|400px]] | |||
=== | ===Go to the Lodge (Mast District)=== | ||
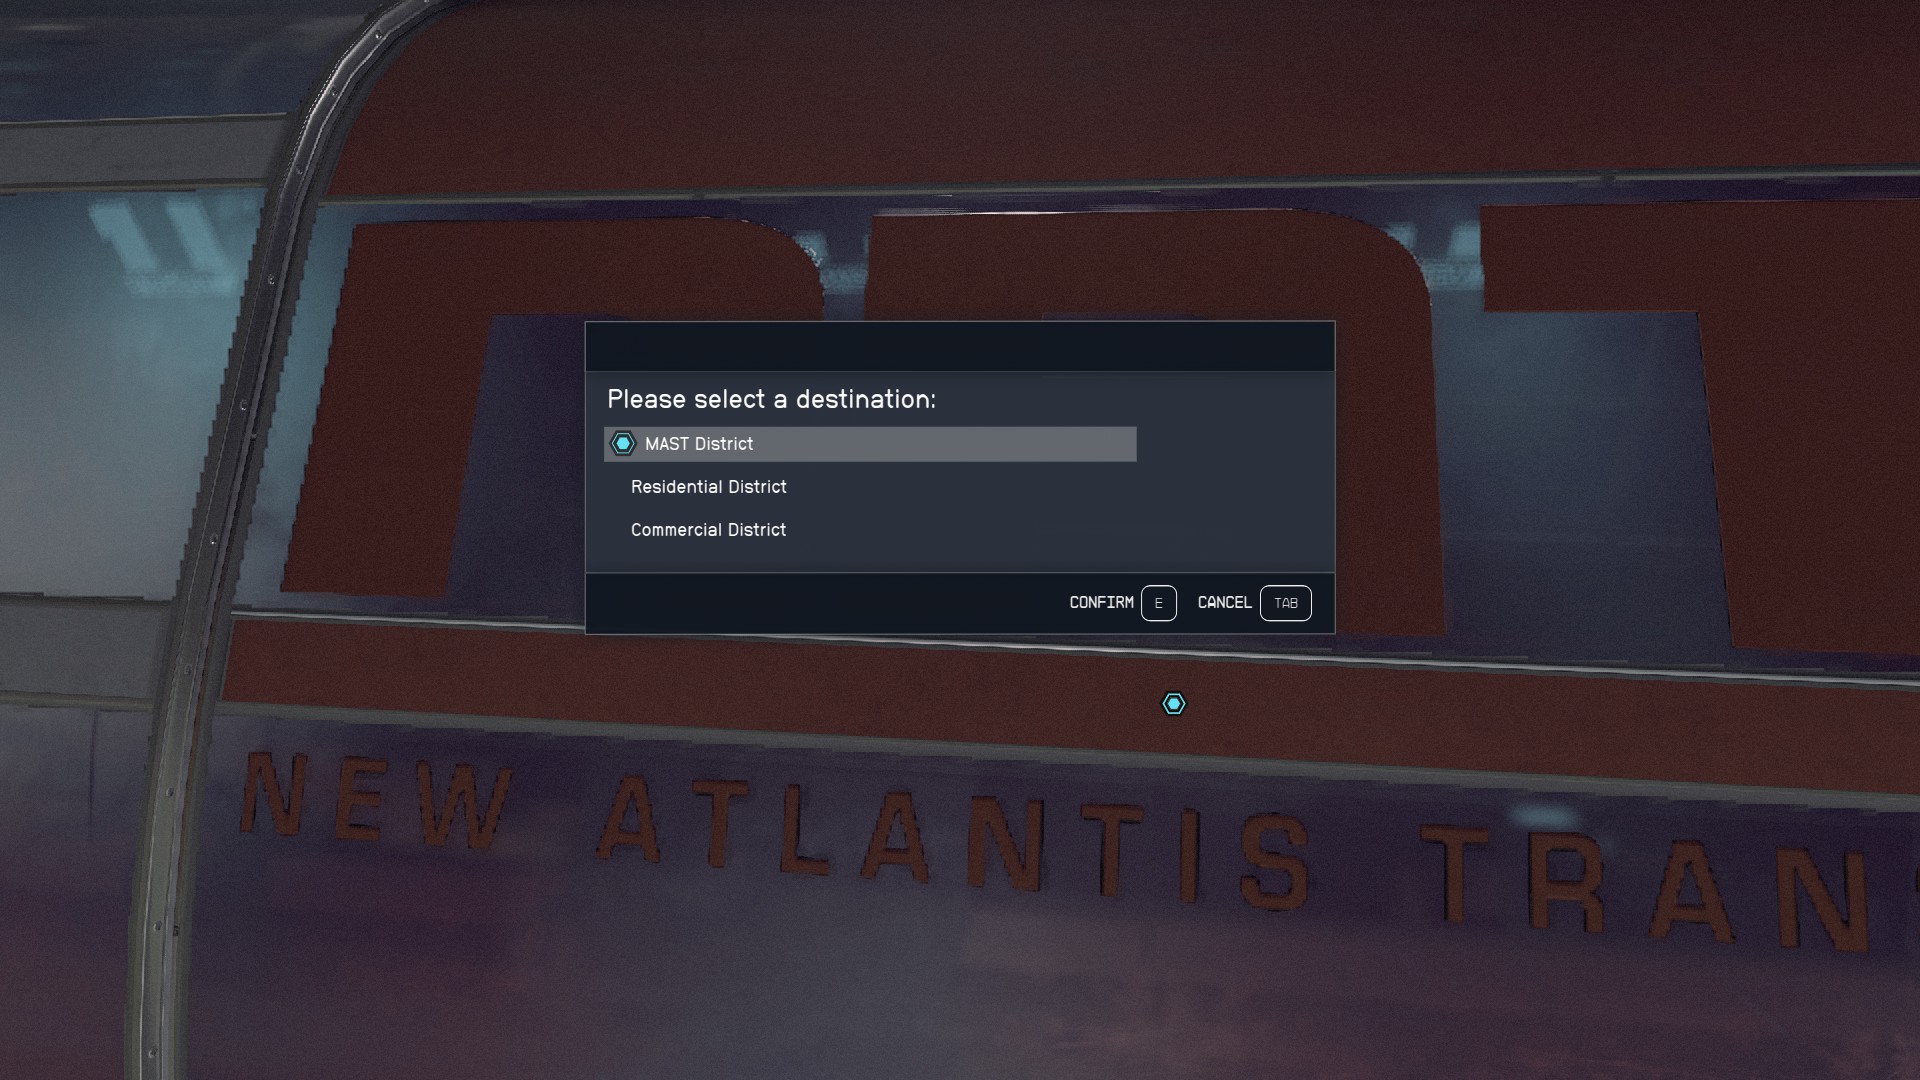
*Follow the [[mission]] marker which will take you to the [[NAT]] ([[New Atlantis]] Transit) and go to the [[MAST District]]. | |||
[[File:Starfield_OneSmallStep38_EN.jpg|400px]] | |||
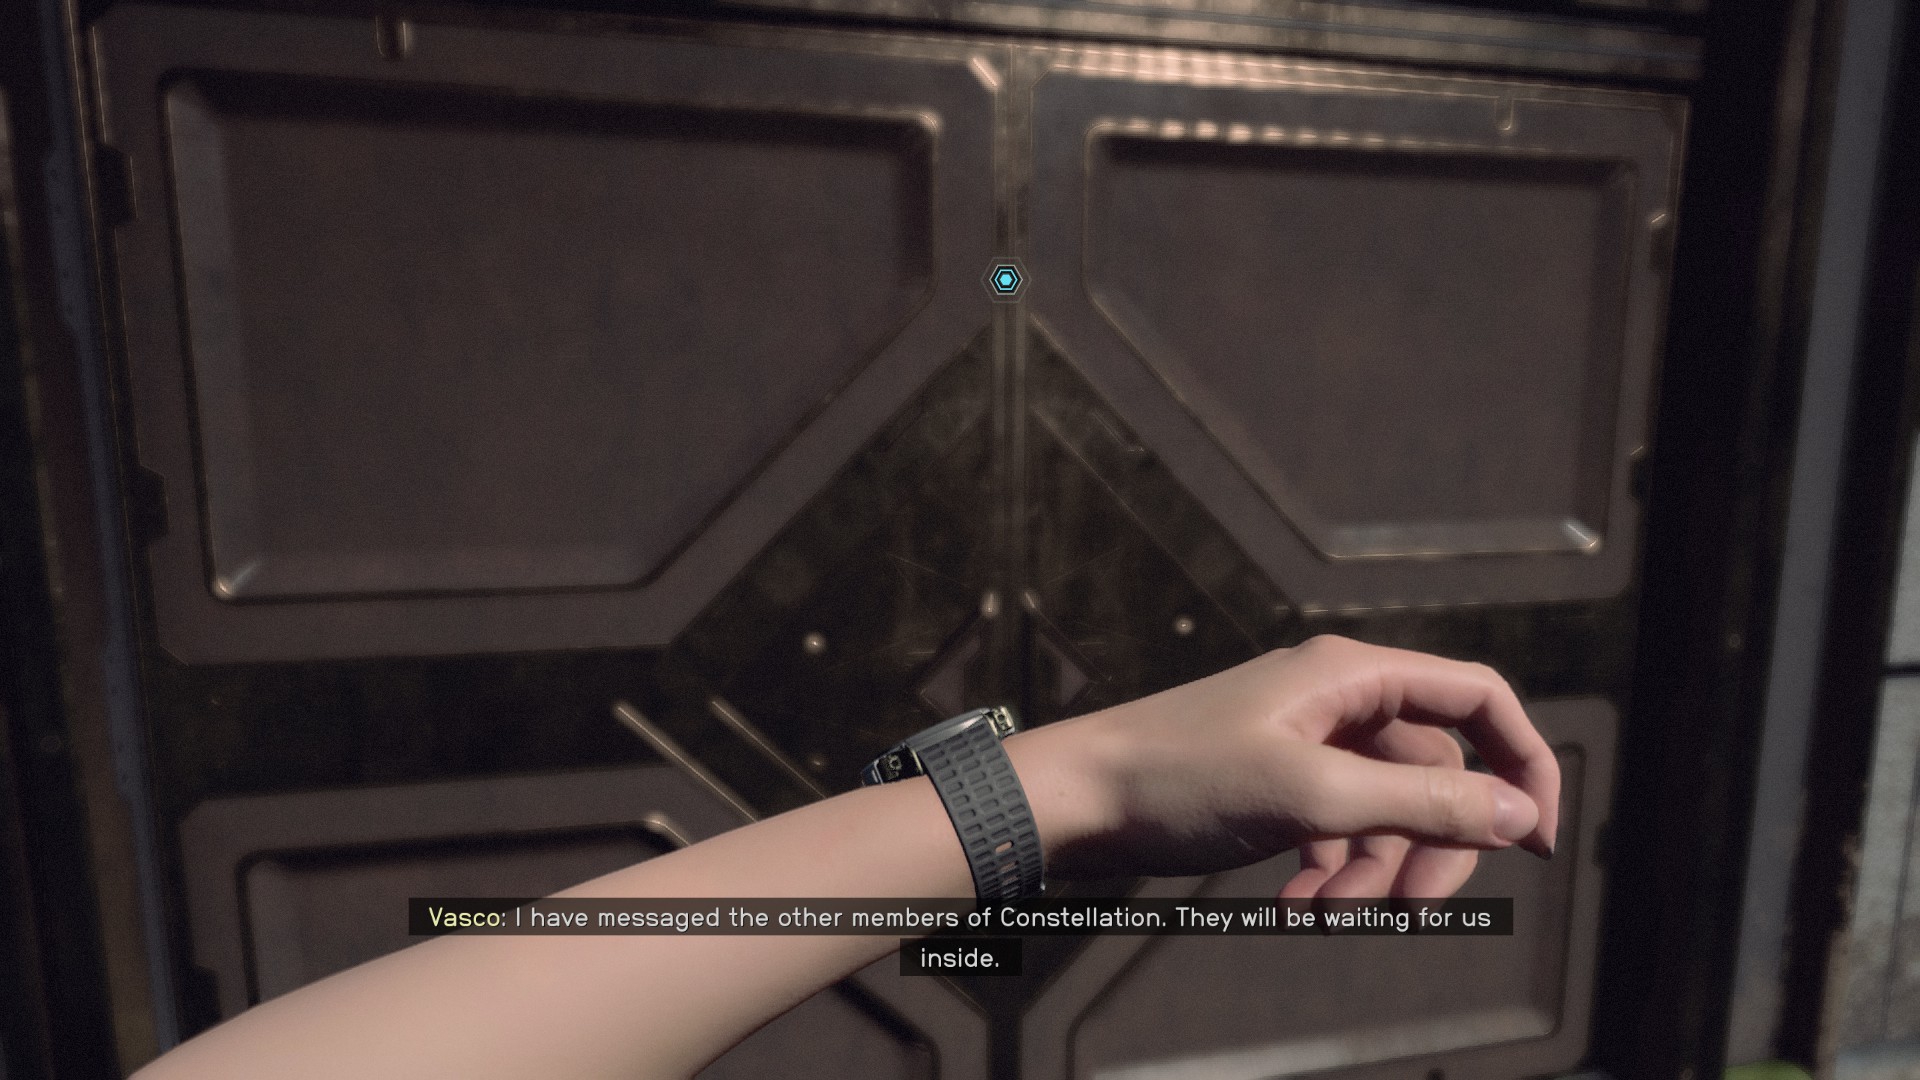
*Enter the lodge. | |||
[[File:Starfield_OneSmallStep39_EN.jpg|400px]] | |||
=== | ===Enter the Library=== | ||
[[File:Starfield_OneSmallStep40_EN.jpg|400px]] | |||
=== | ===Talk to Sarah=== | ||
[[File:Starfield_OneSmallStep41_EN.jpg|400px]] | |||
=== | ===Listen to the Meeting=== | ||
*Stay nearby to listen in on the meeting. | |||
[[File:Starfield_OneSmallStep42_EN.jpg|400px]] | |||
=== | ===Place the Artifact=== | ||
[[File:Starfield_OneSmallStep43_EN.jpg|400px]] | |||
=== | ===Listen to the Meeting=== | ||
*Stay nearby once more while the members of [[Constellation]] speak to each other. | |||
=== | ===Talk to Sarah=== | ||
*Speak with [[Sarah]] one last time to complete this [[mission]]. | |||
[[File:Starfield_OneSmallStep47_EN.jpg|400px]] | |||
==Additional Information== | ==Additional Information== | ||
Latest revision as of 23:47, 12 September 2023
| One Small Step | |
|---|---|
| |
| Information | |
| Type | Main Mission |
| Number | 1 |
| Location | Vectera, Kreet, Jemison |
| Description | "Whatever I found in the mine knocked me out cold. Now whoever paid for this whole operation is making a landing, and we need to meet him." |
| Reward | 400 XP, 8000 Credits, Constellation Pack |
| Achievement | One Small Step (Achievement) |
| Next Mission | The Old Neighborhood |
| Patch | 1.0 |
One Small Step is the mission 1 of Main Mission.
Walkthrough
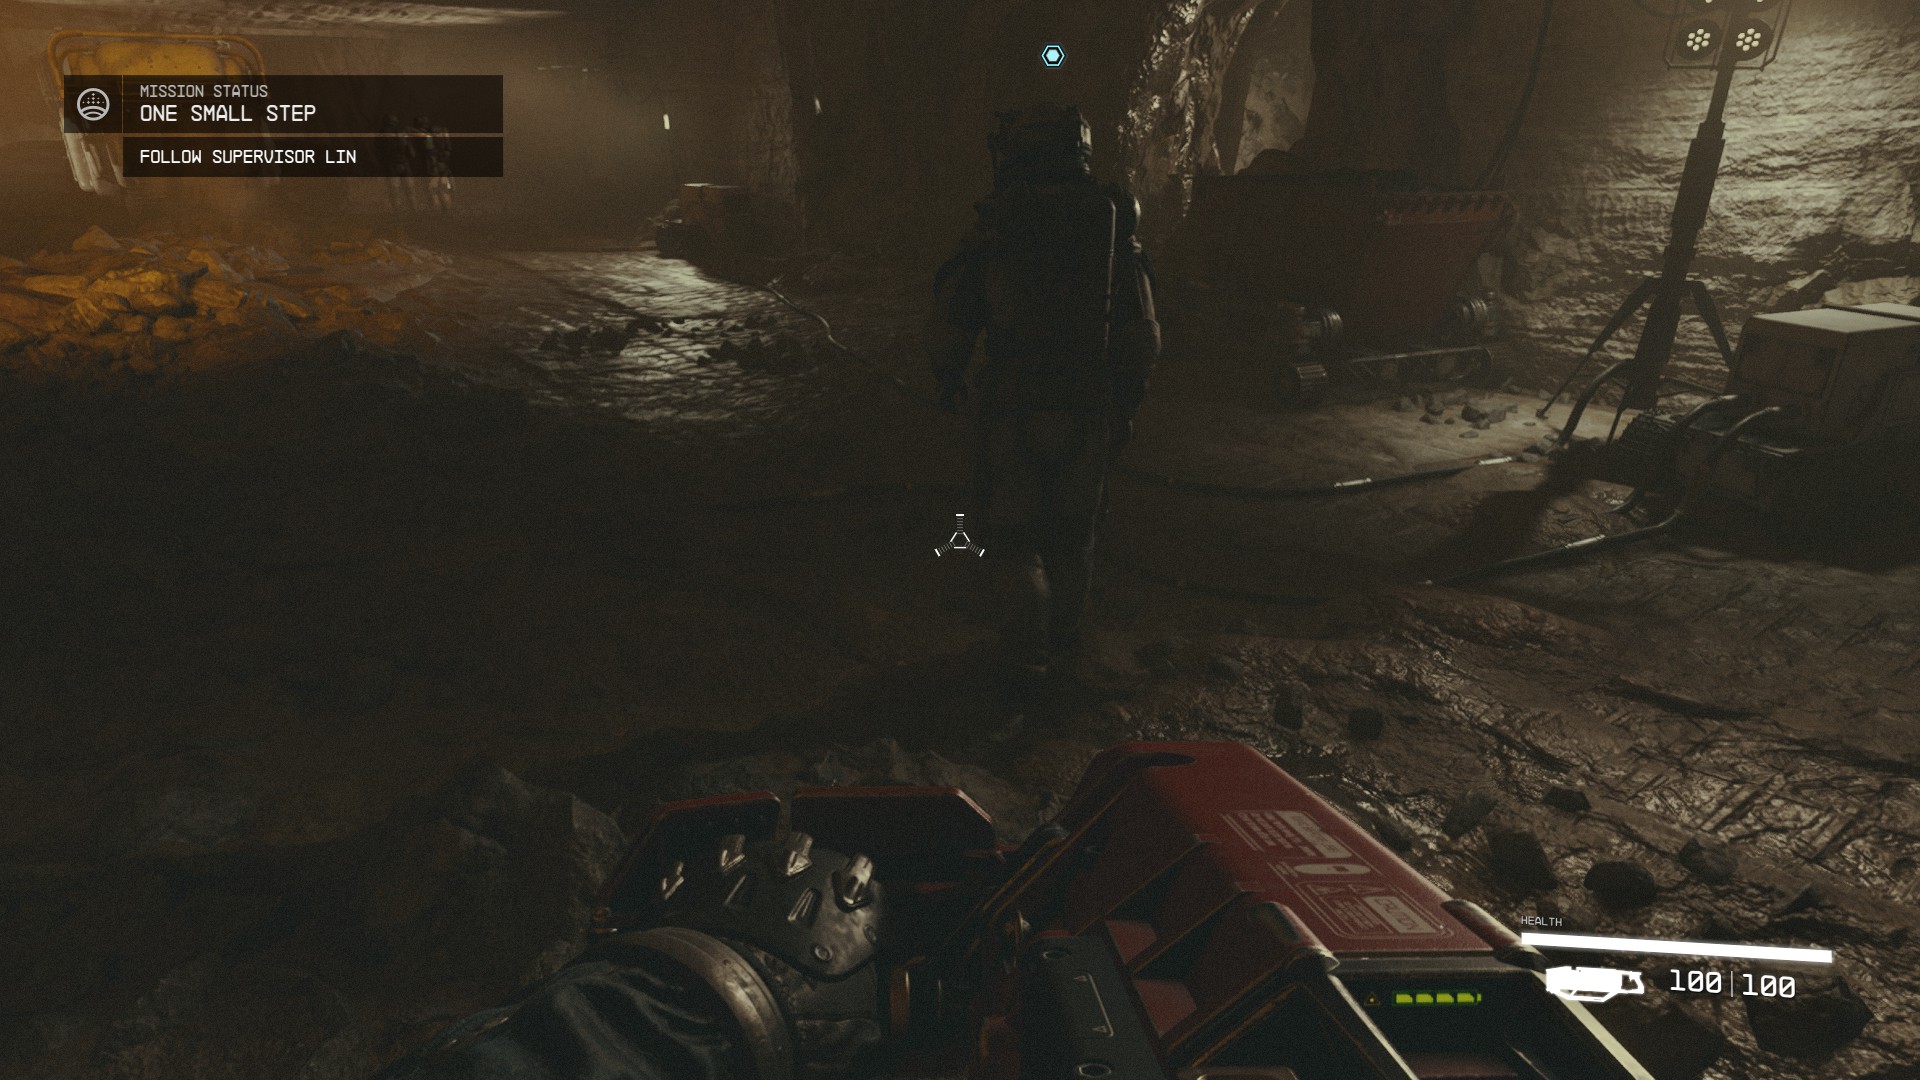
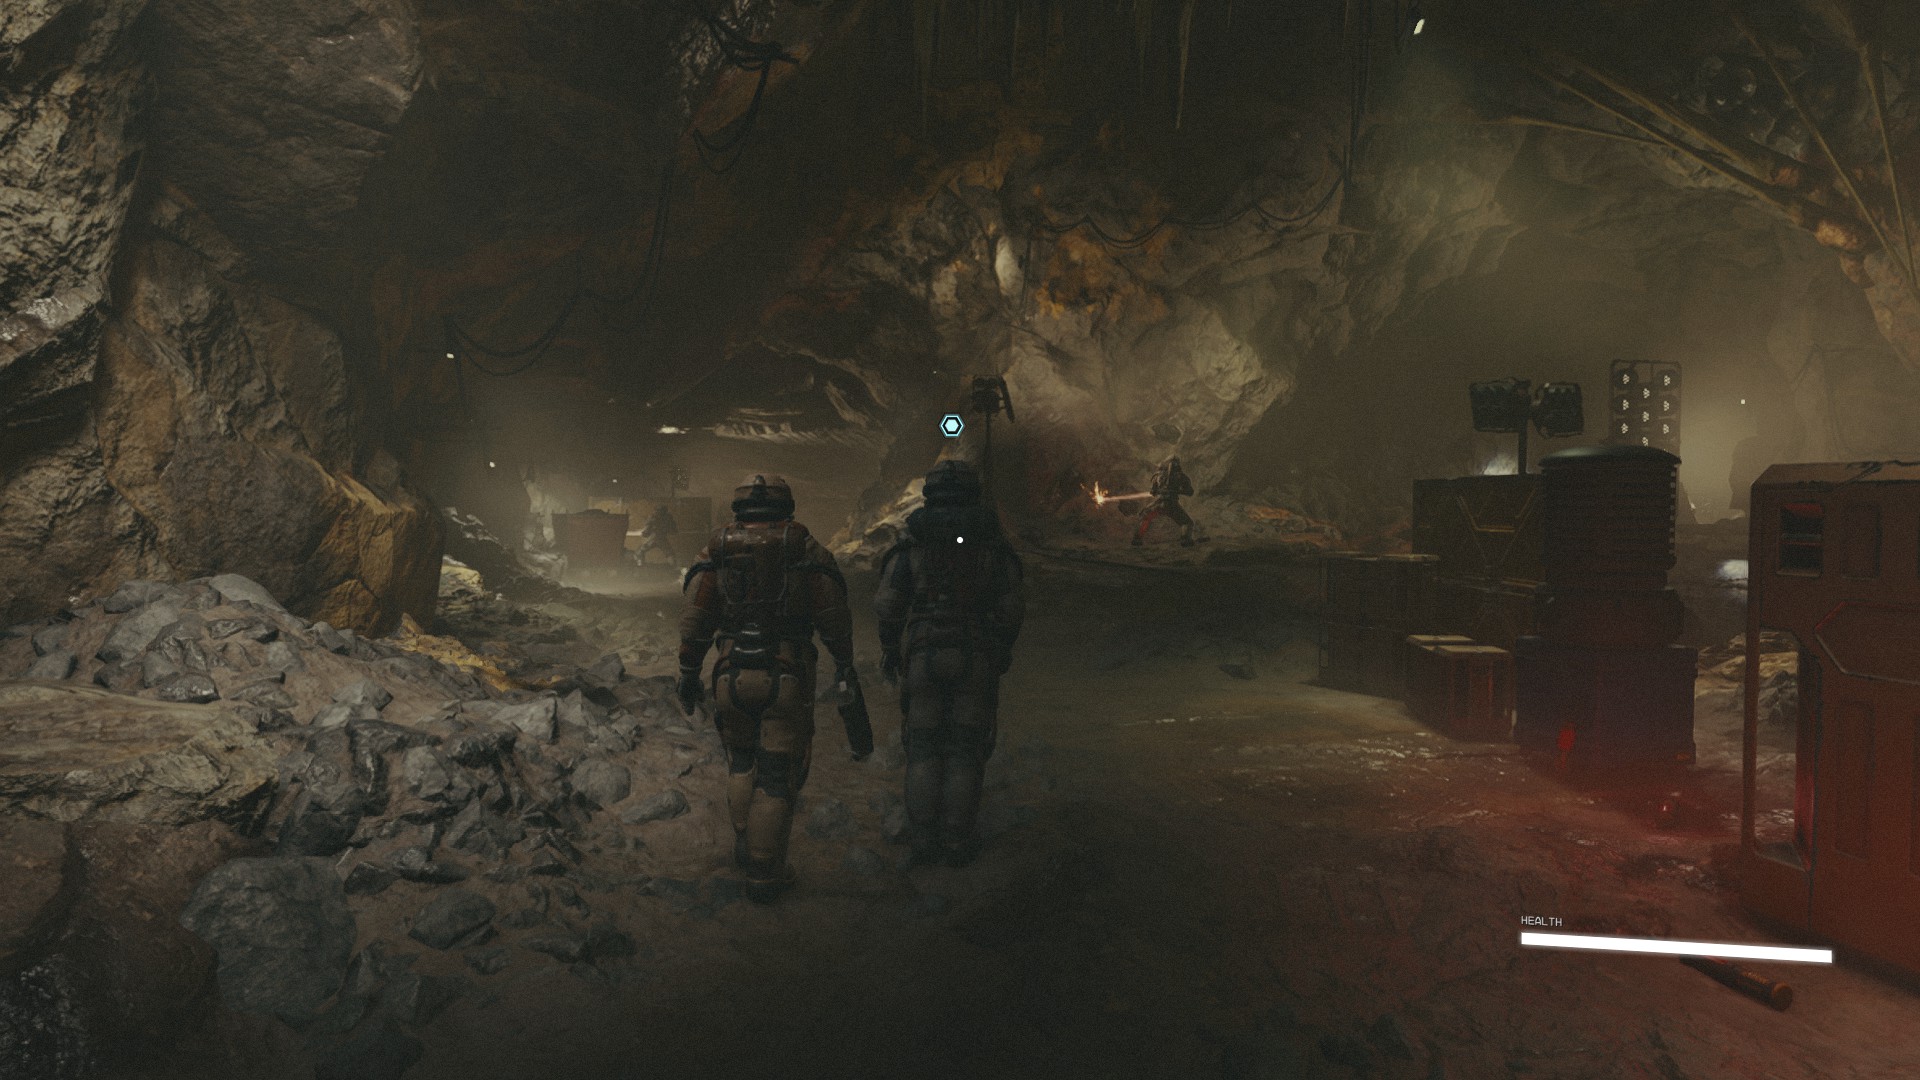
The mission "One Small Step" begins with a lengthy elevator descent, during which you'll hear chatter about mining from a couple of characters. Once the elevator stops, you're free to move. Follow Supervisor Lin as she leads the way through the mining tunnel.
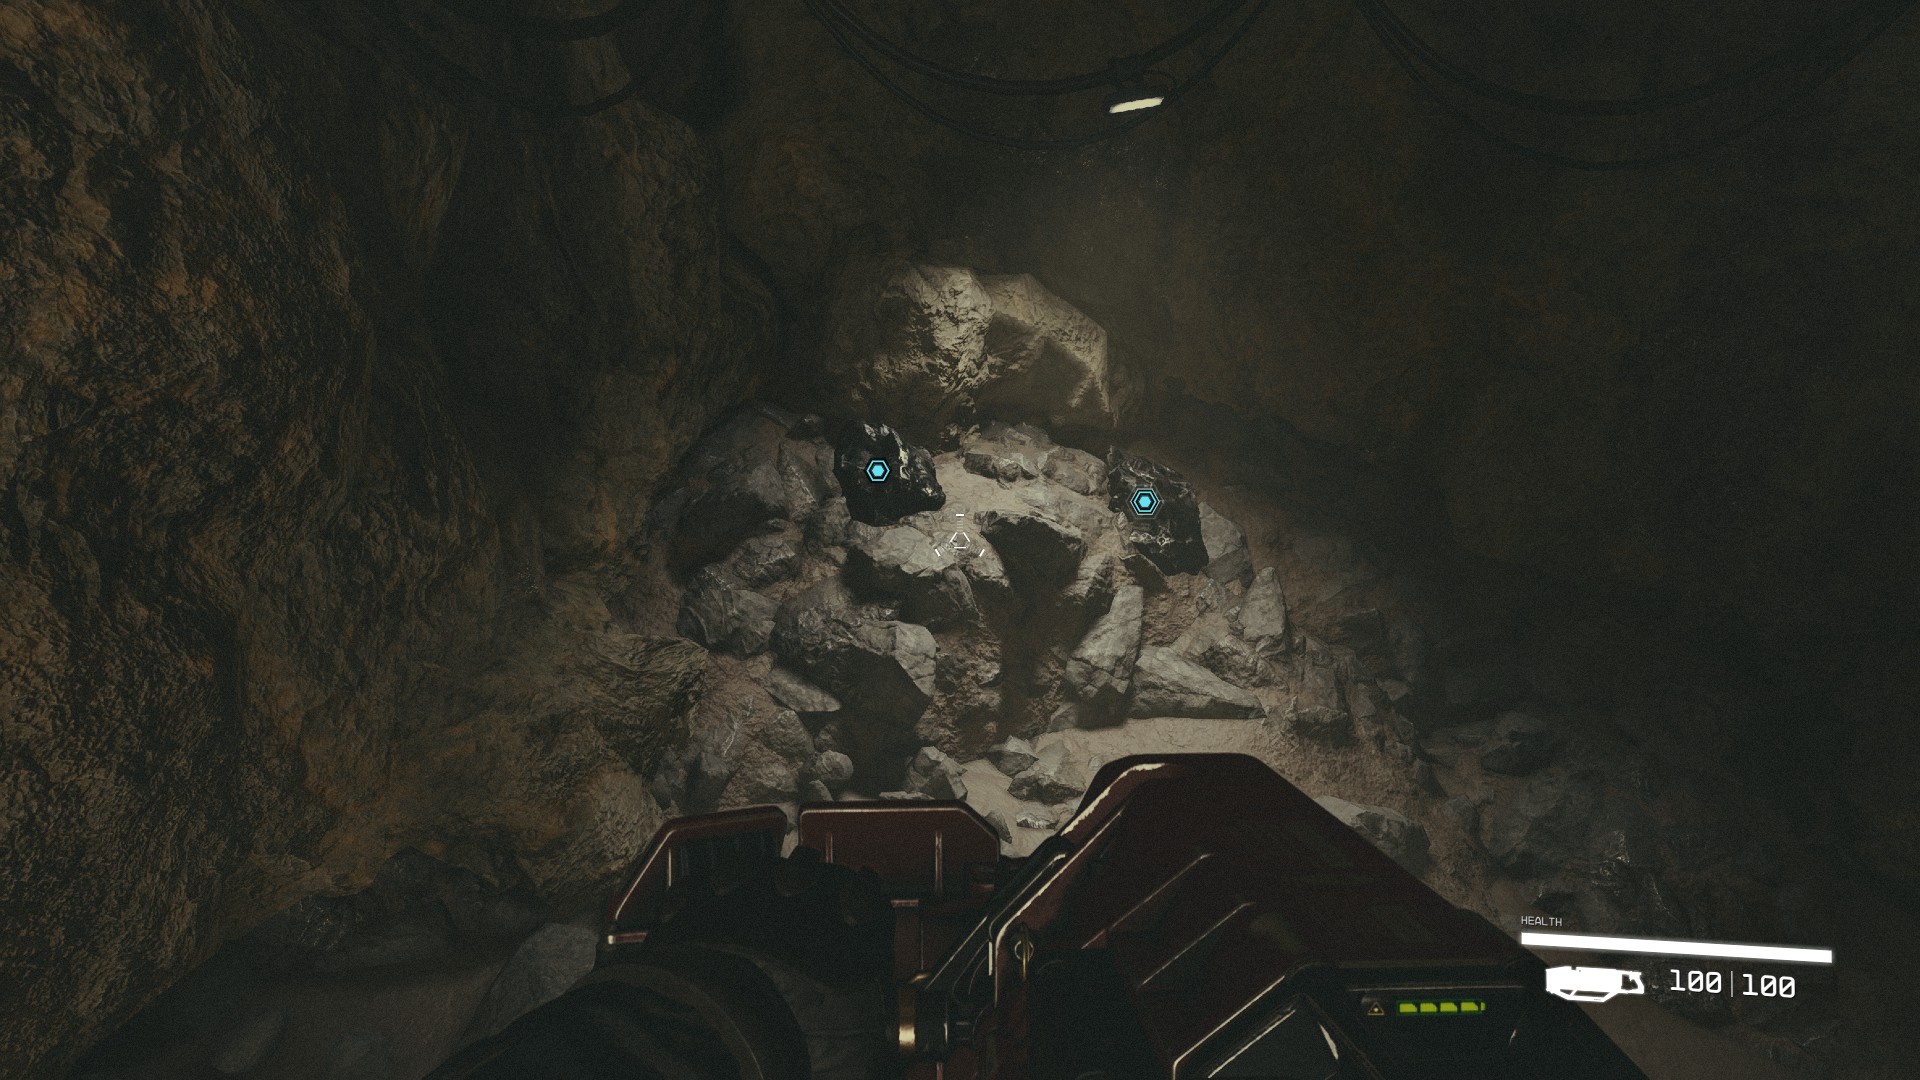
Supervisor Lin will pause and instruct you to pick up the Cutter from a nearby crate. Interact with the crate to grab the Cutter, holding down the interaction button to equip it immediately. Now armed, proceed to a designated section in the tunnel with marked spots for mineral deposits. Use your newly acquired Cutter to shoot at these marks and mine Beryllium. There are five spots in total; make sure to mine them all.
After you've collected the mineral deposits, return to Supervisor Lin and continue following her through the tunnel. Your journey will take you to a large machine drilling into a cavern wall. Here, Lin and another character, Heller, will guide you to explore the cavern ahead.
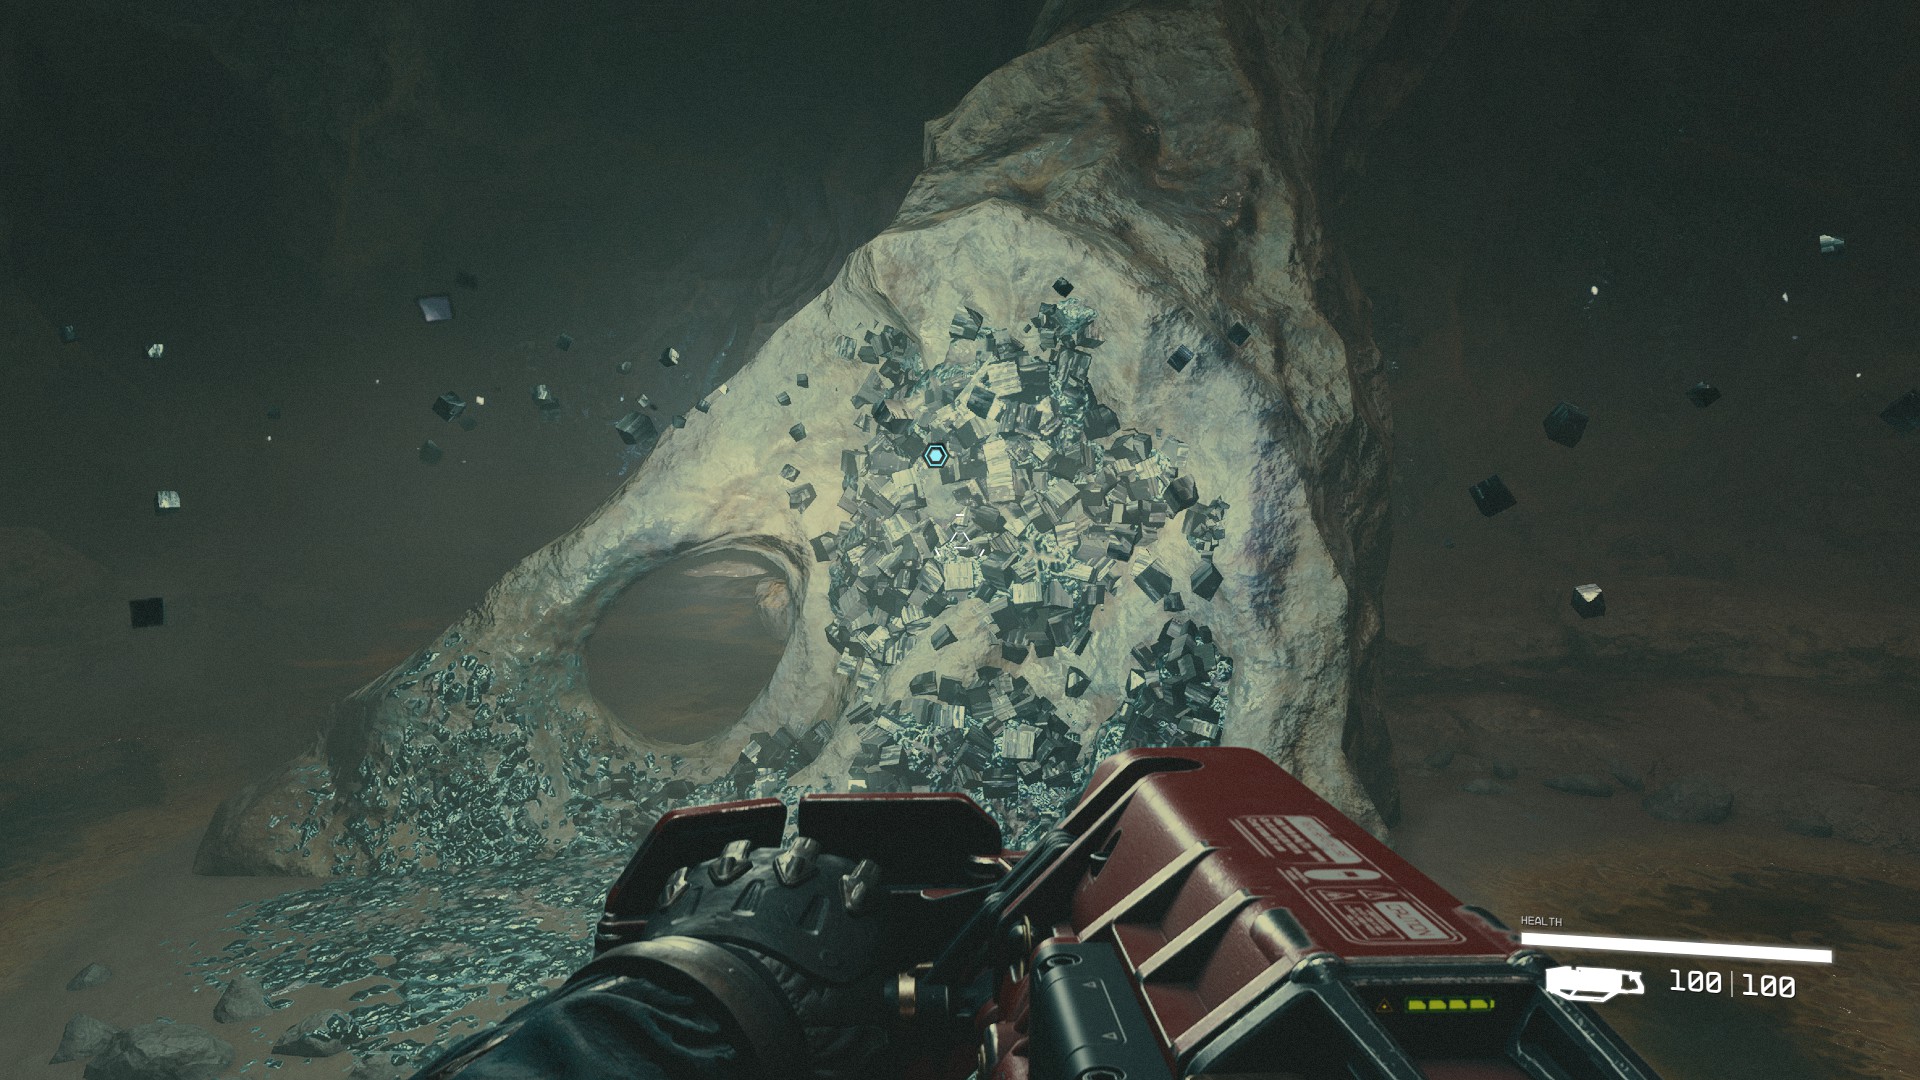
In this new area, you'll encounter a cavern with a peculiar rock at its center. Use your Cutter to break up the deposits around this centerpiece. Once cleared, interact with an object embedded in the wall for a scripted scene.
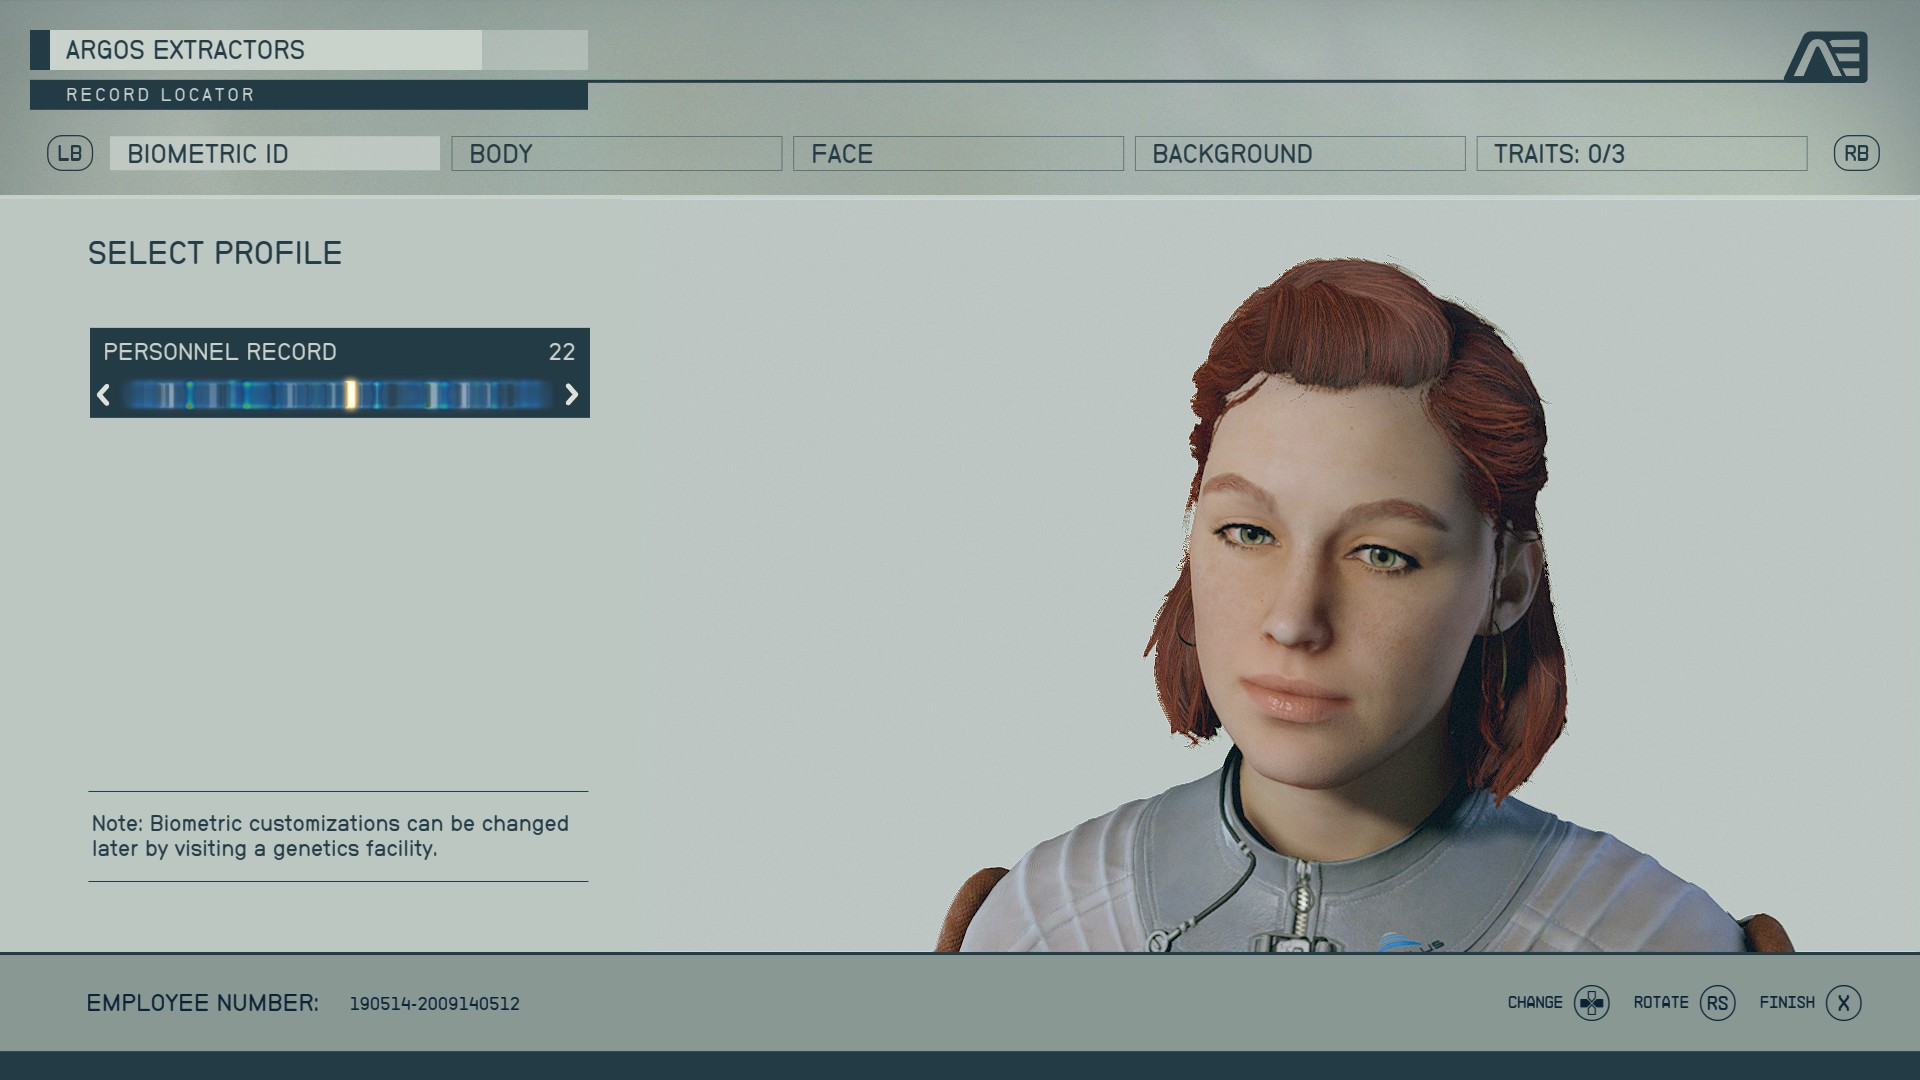
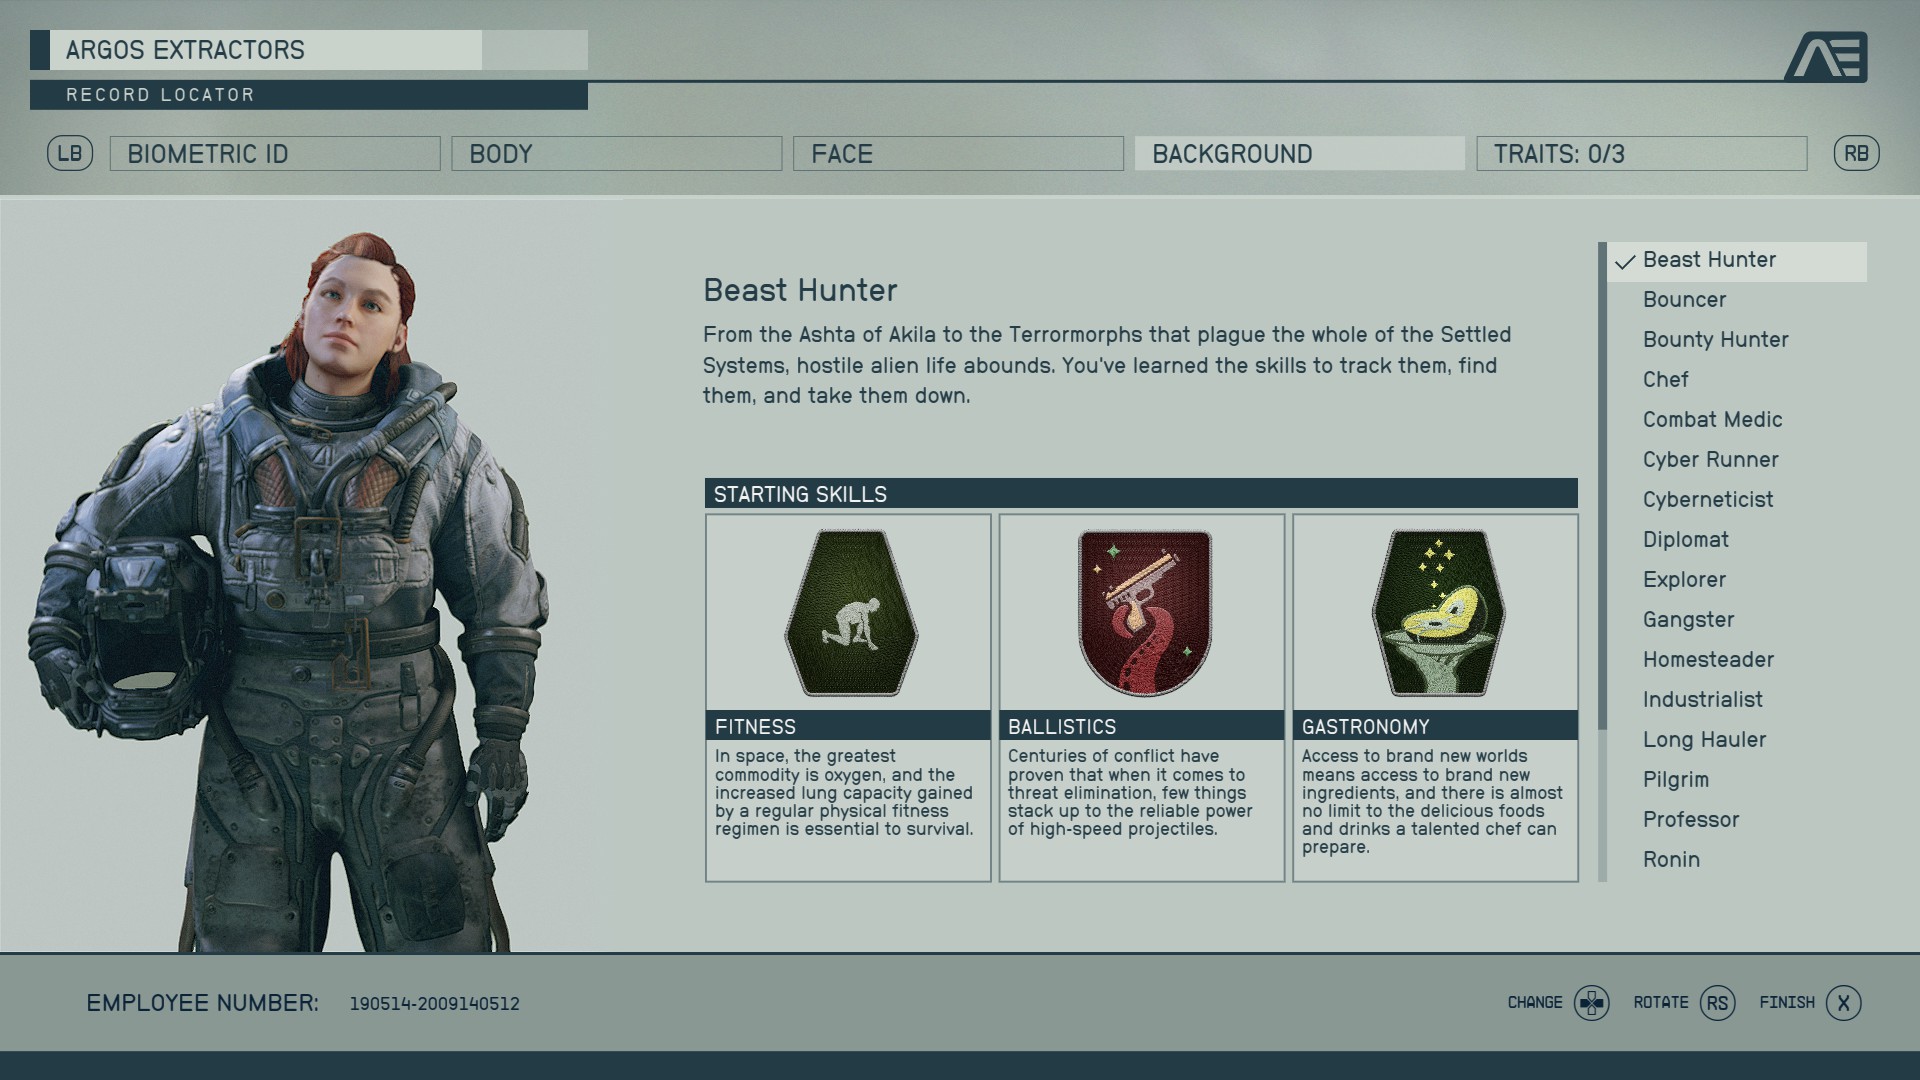
Post-scene, you'll be taken to the character creation. Here, you can customize your physical appearance, select your background for initial Skills and choose unique Traits that will have minor effects throughout your playthrough.
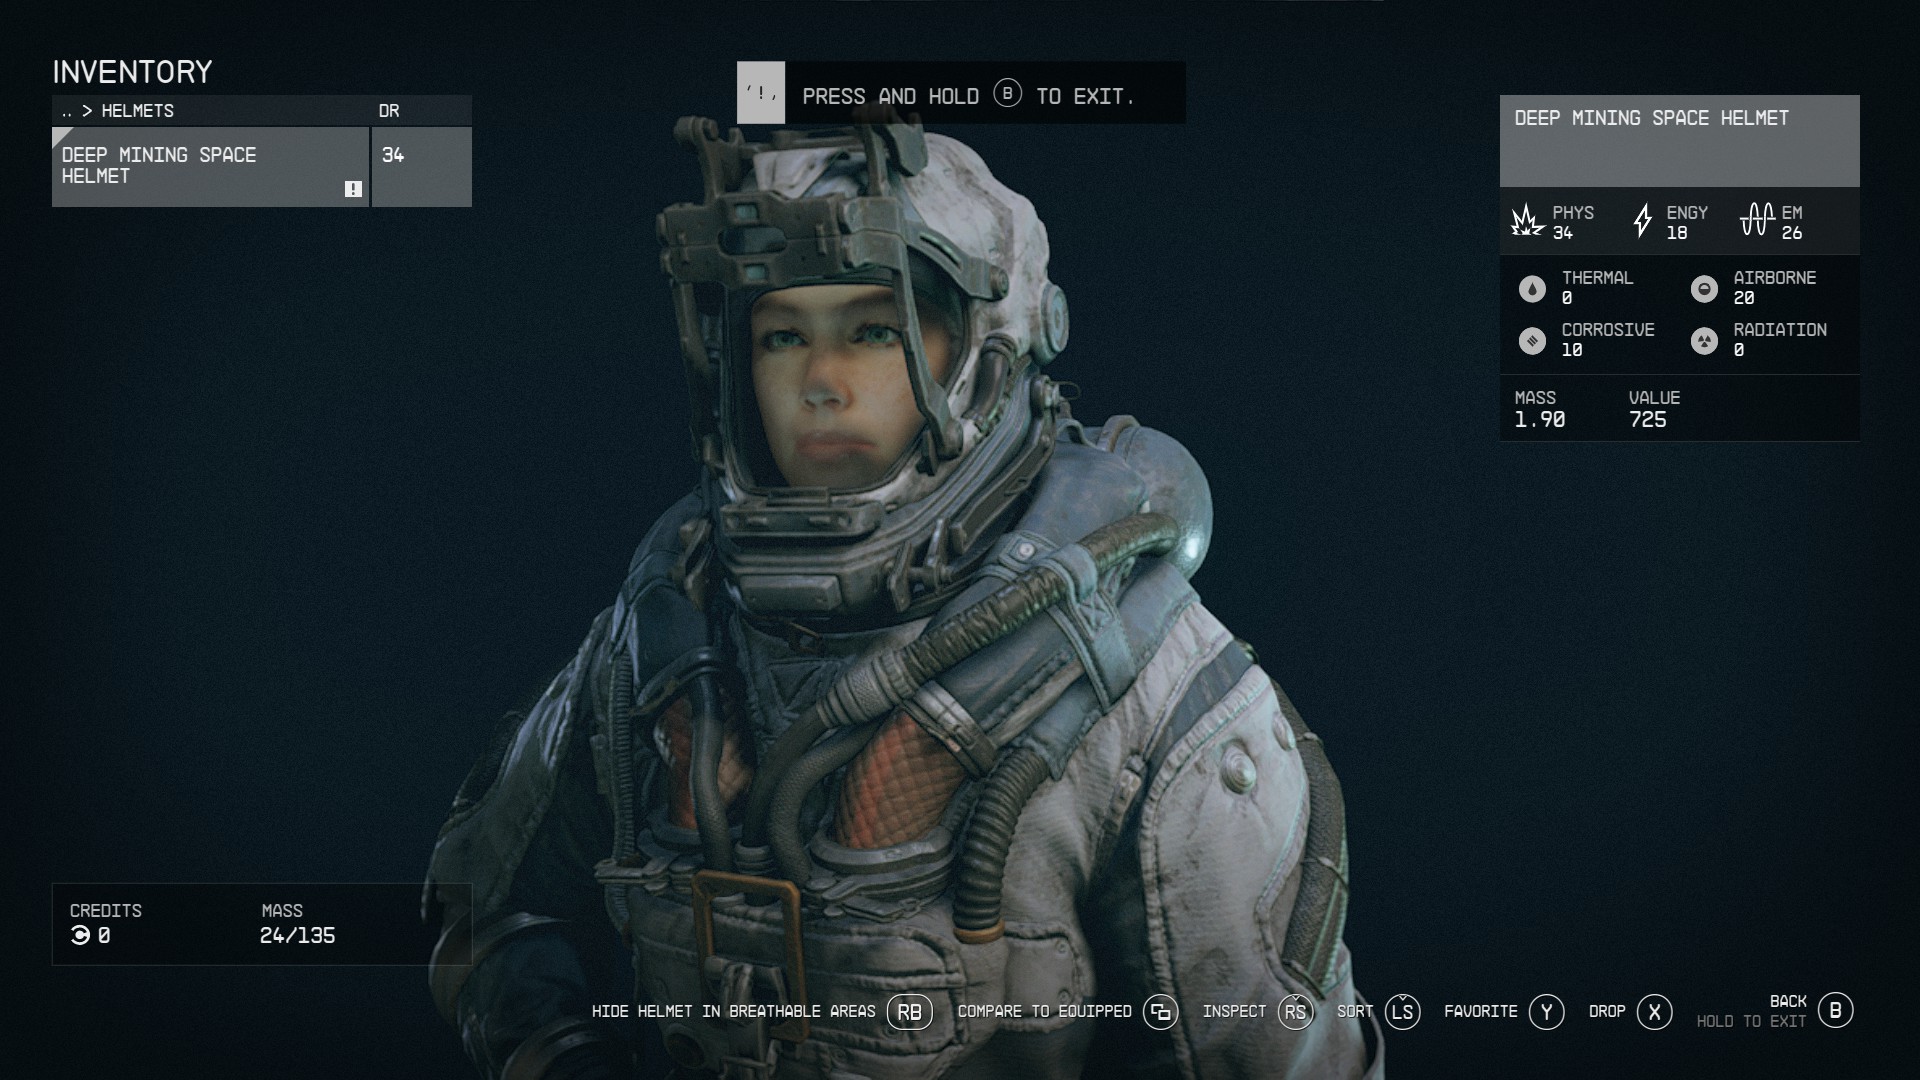
Dialogues open up after character customization. While dialogue options generally don't affect the main story, they can provide additional information. Feel free to engage in these dialogues as you like. Continue following Supervisor Lin and, before stepping out into the open, make sure to equip your Deep Mining Space Helmet from your inventory.
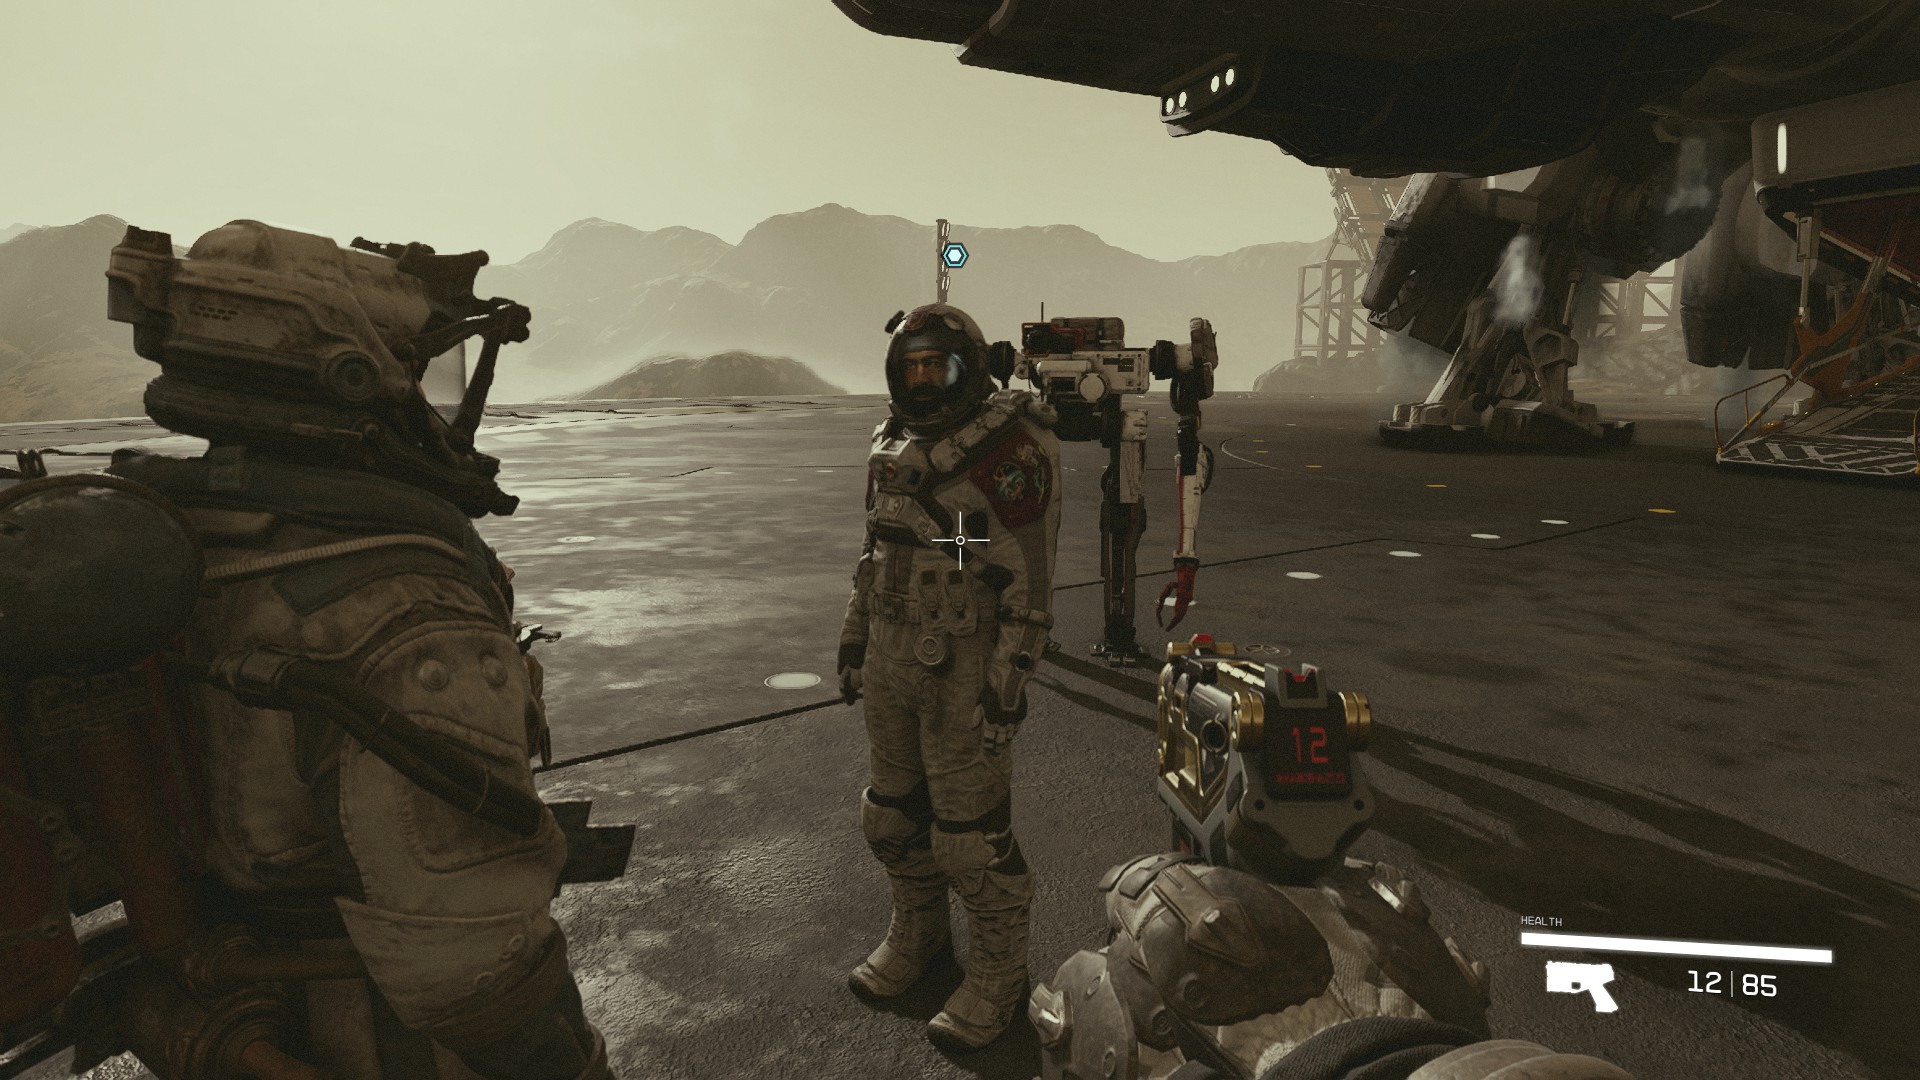
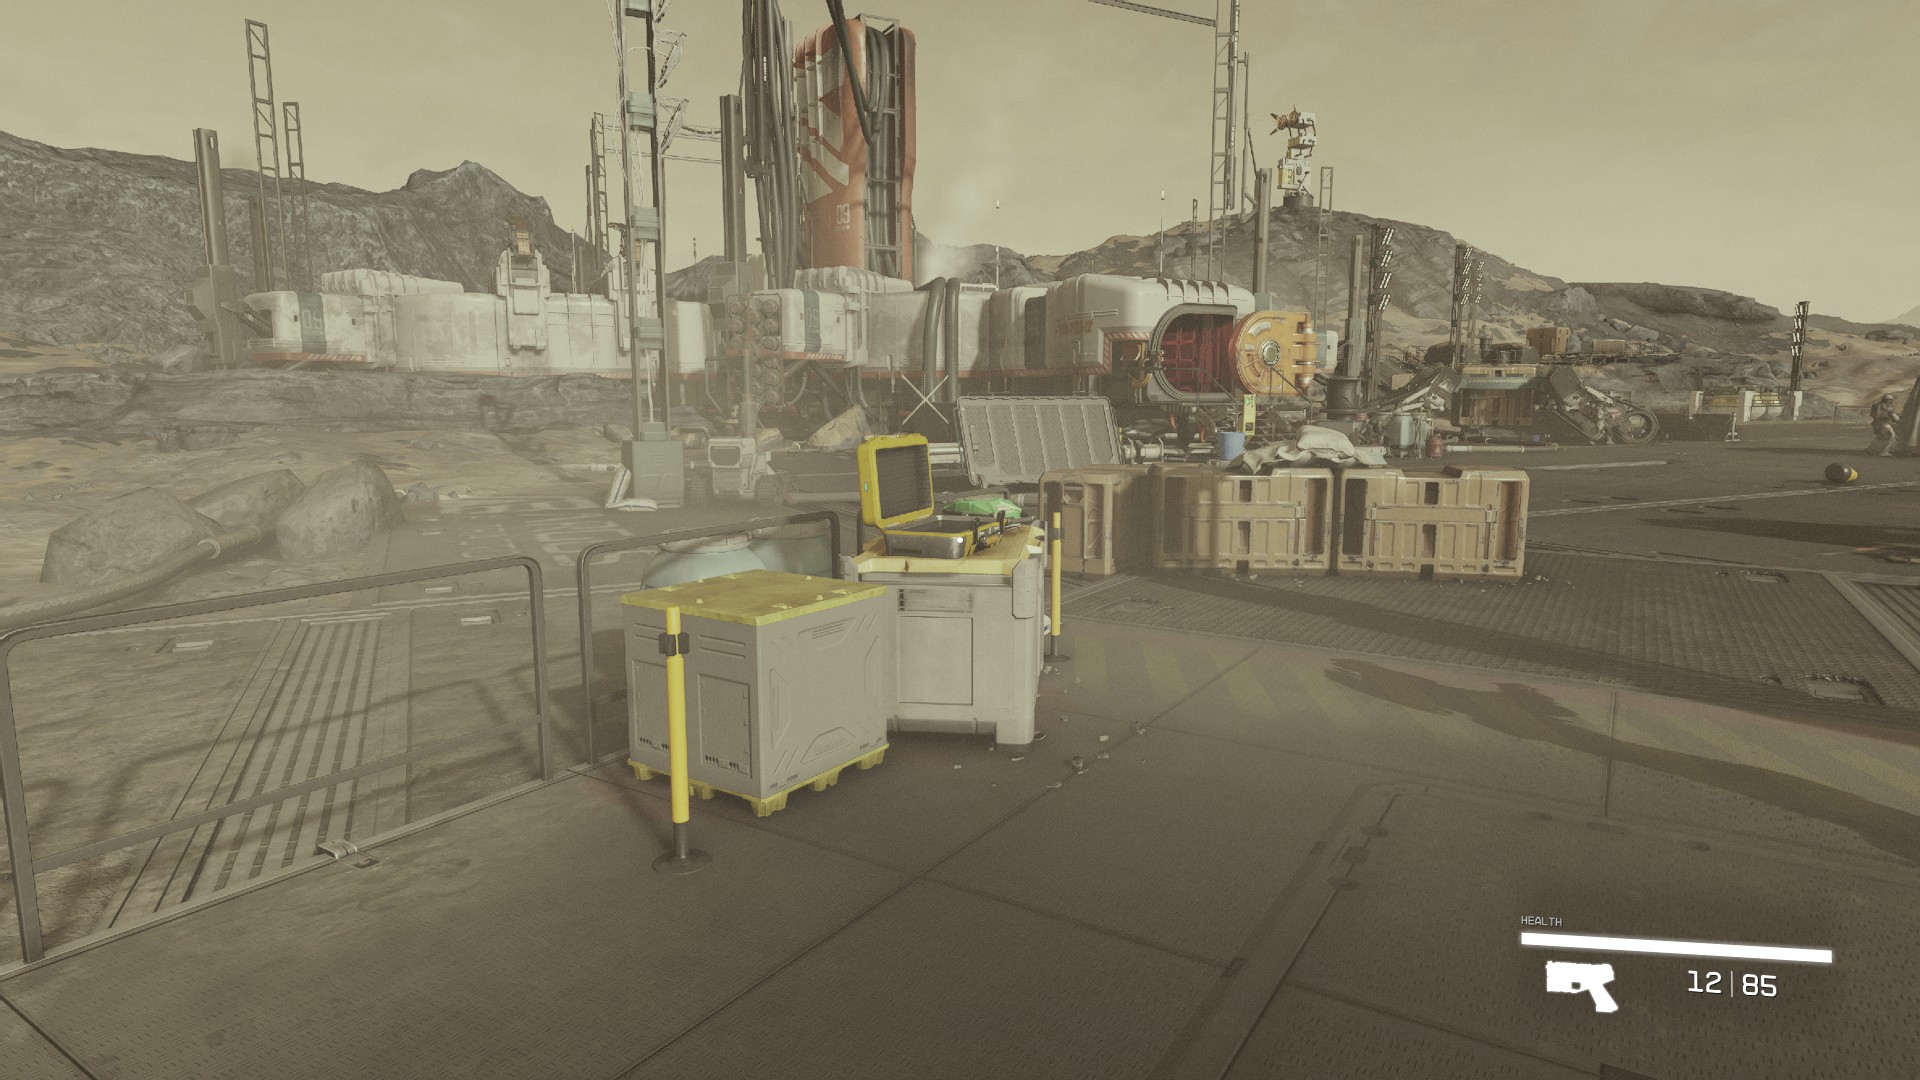
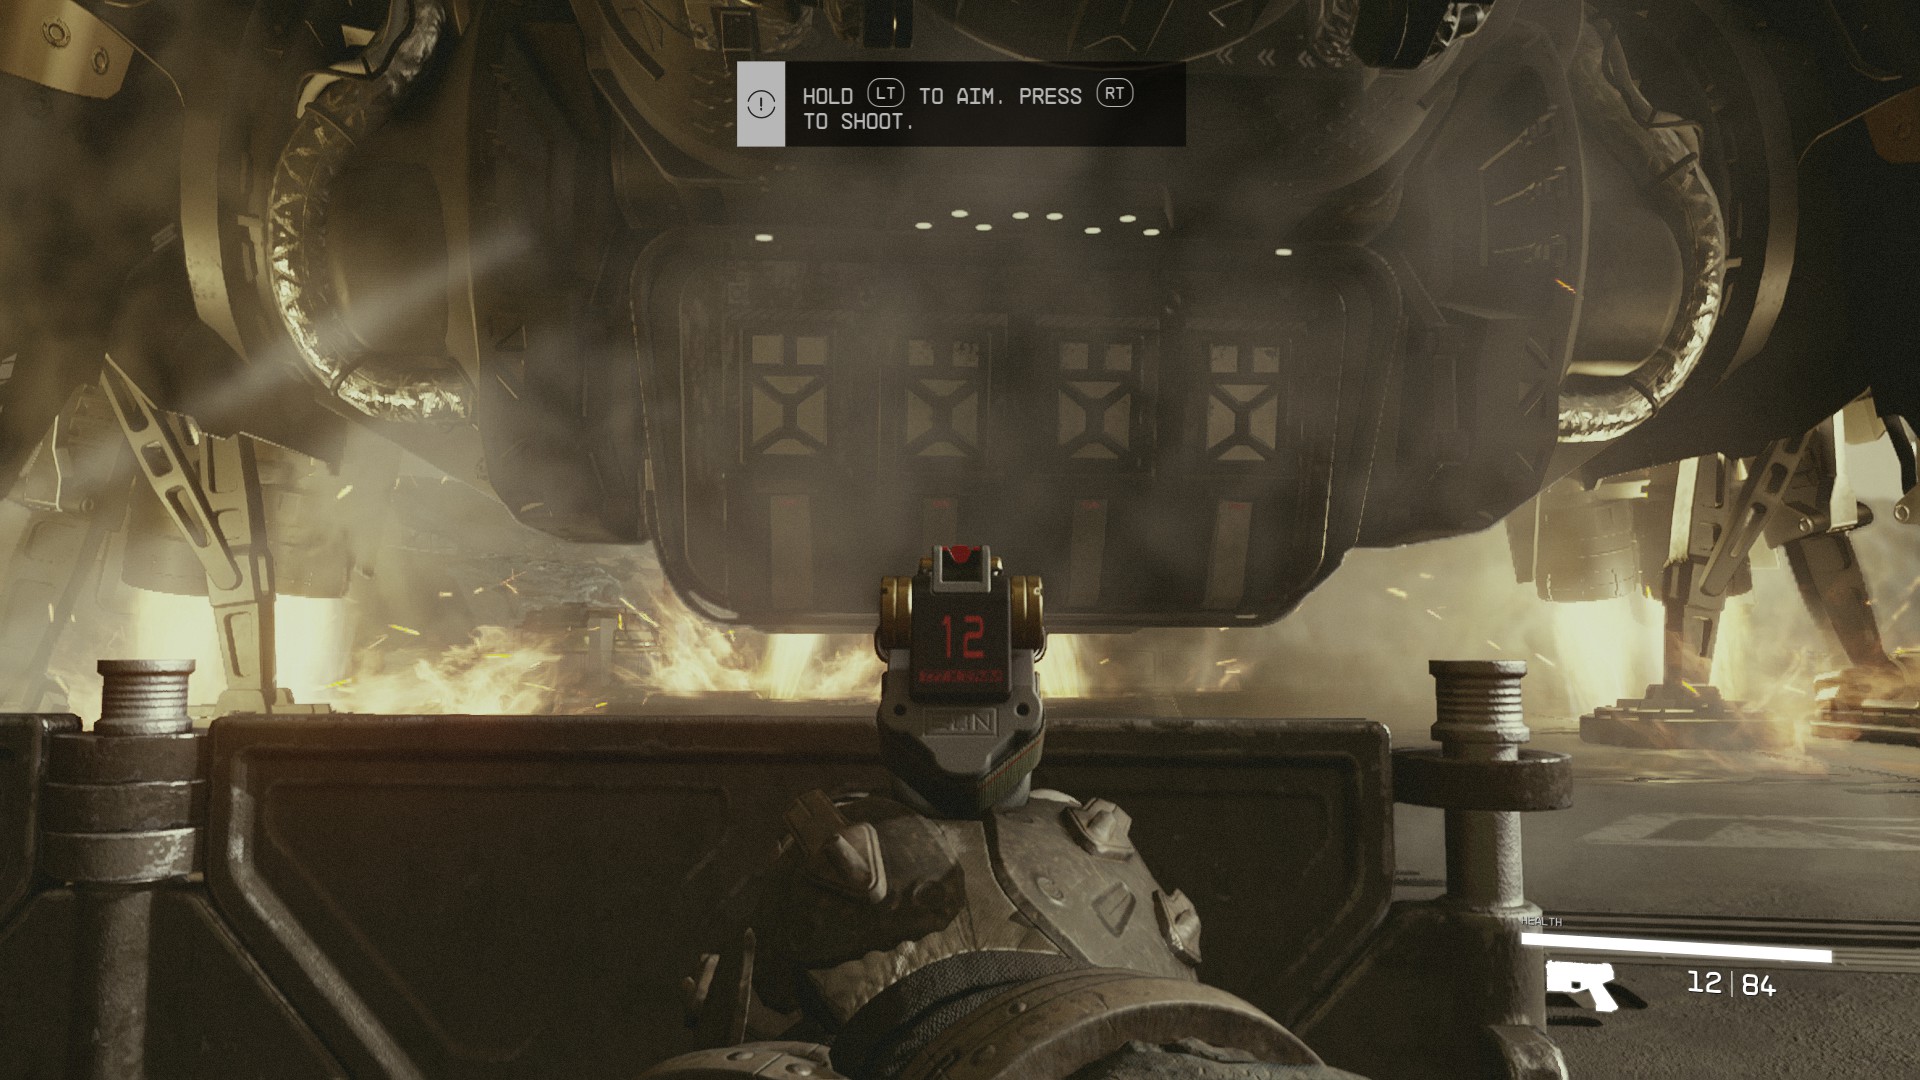
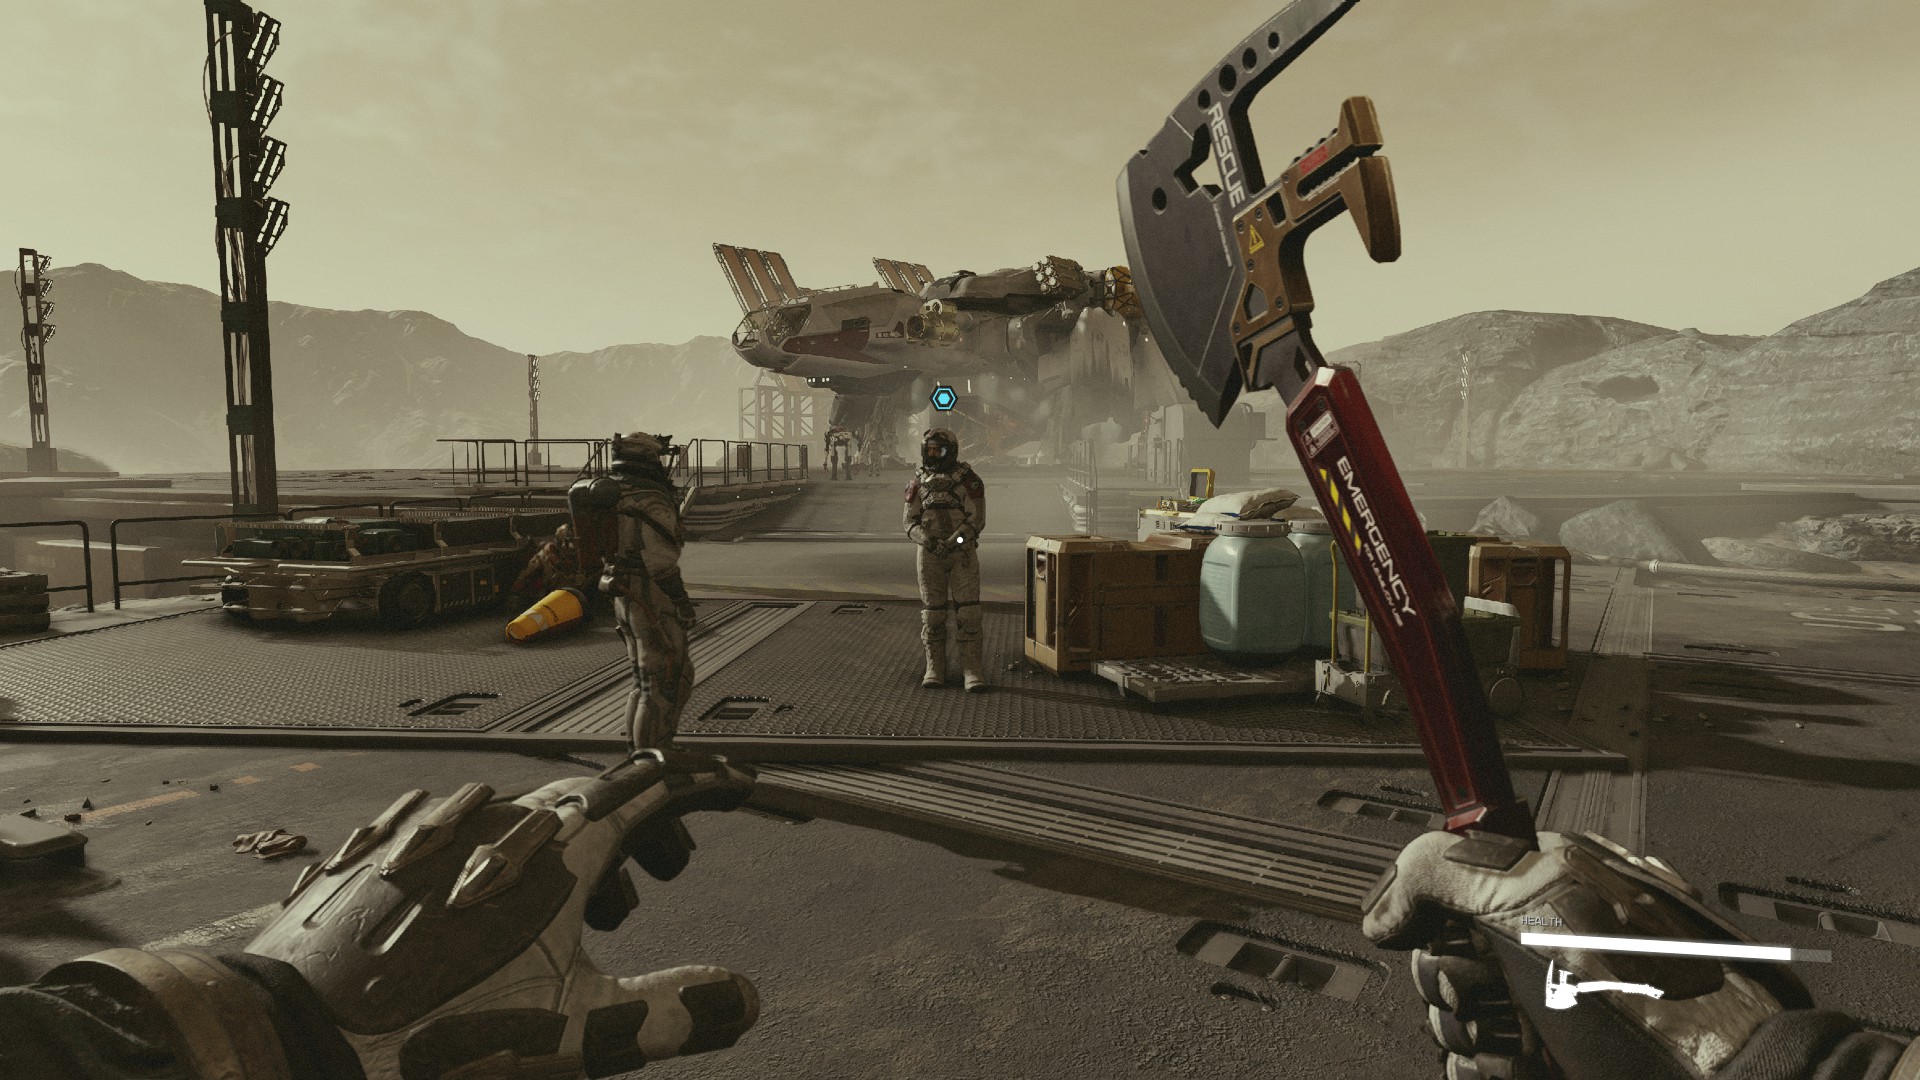
The next step is to meet with the client. Wait at the ship for Barrett to appear and speak to both Lin and you. However, just as you're getting acquainted, pirates crash the party. A nearby marker will guide you to a crate containing a pistol. Equip this from your inventory to deal with the pirate invaders more effectively than with your Cutter.
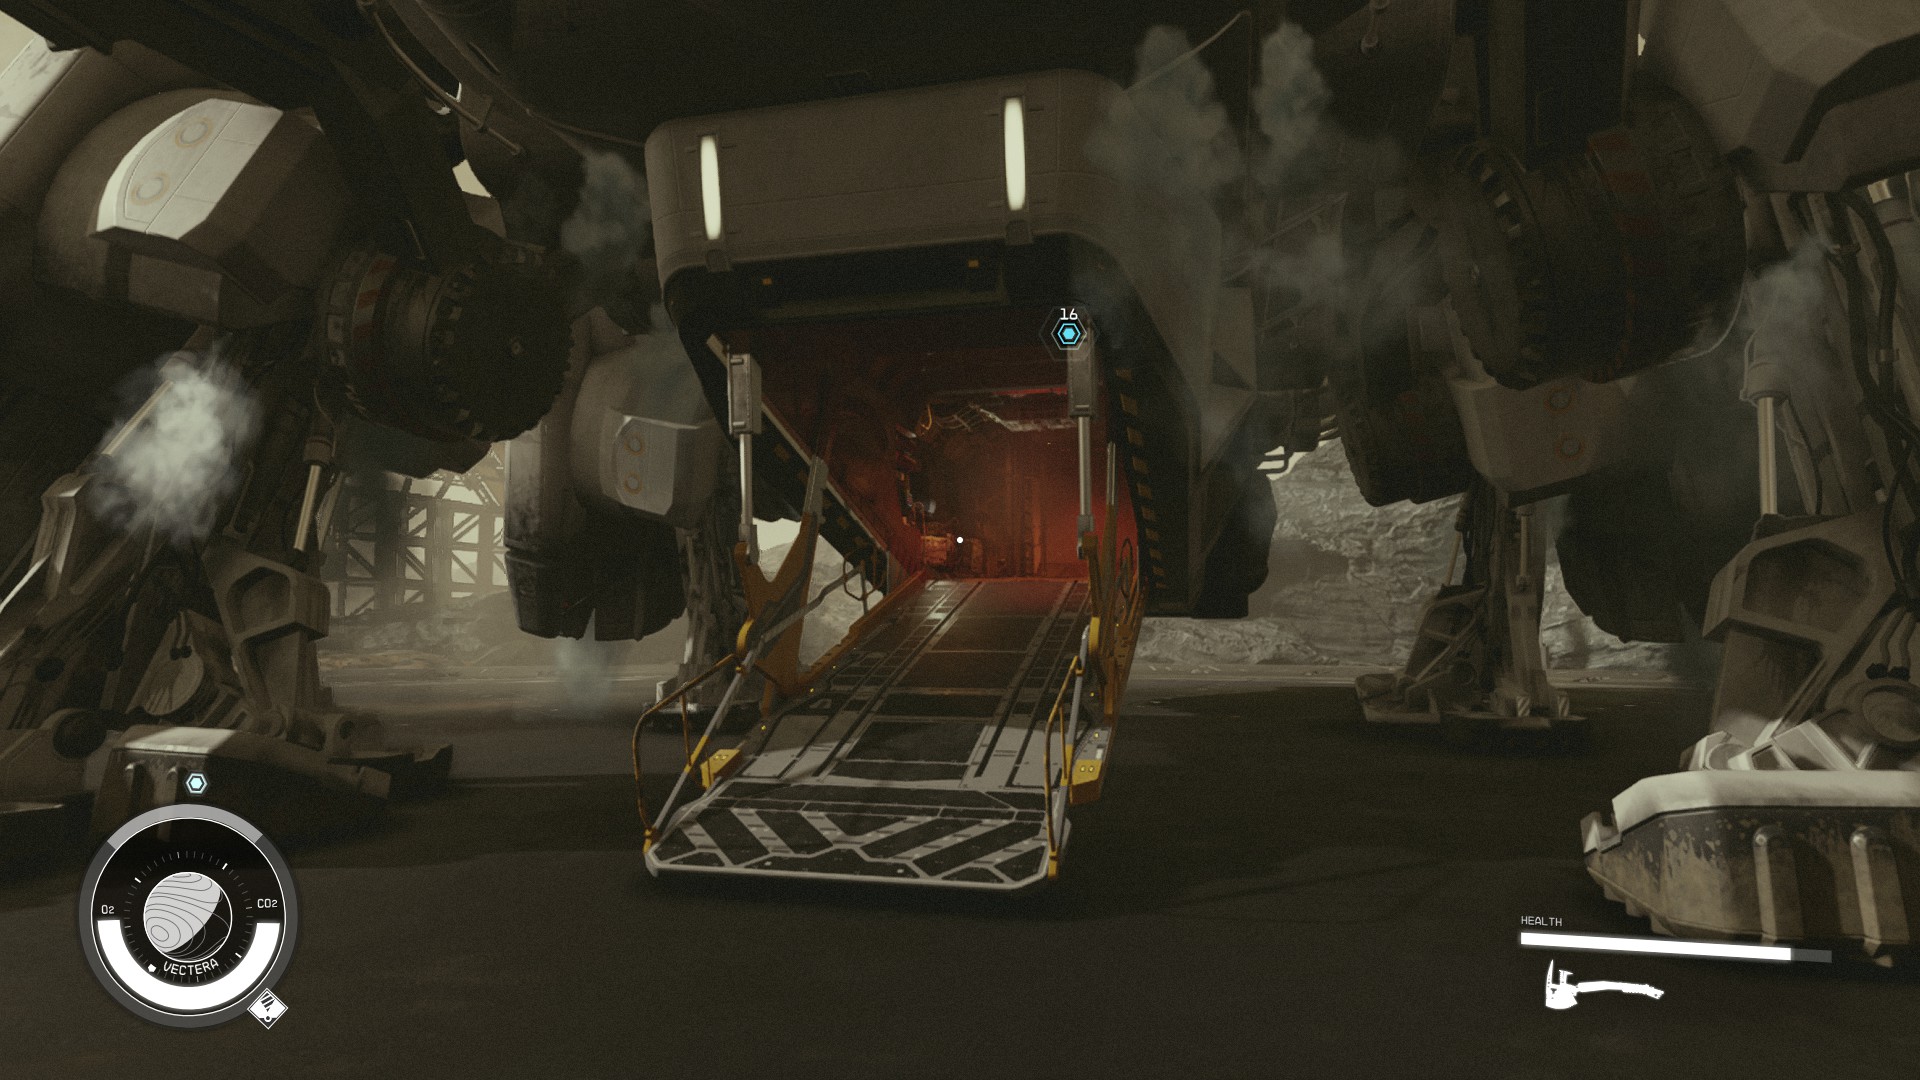
After neutralizing the threat, speak with Barrett once more. He'll give you a watch and send you off with your new companion, Vasco. Board the ship by interacting with the ladder in the hold.
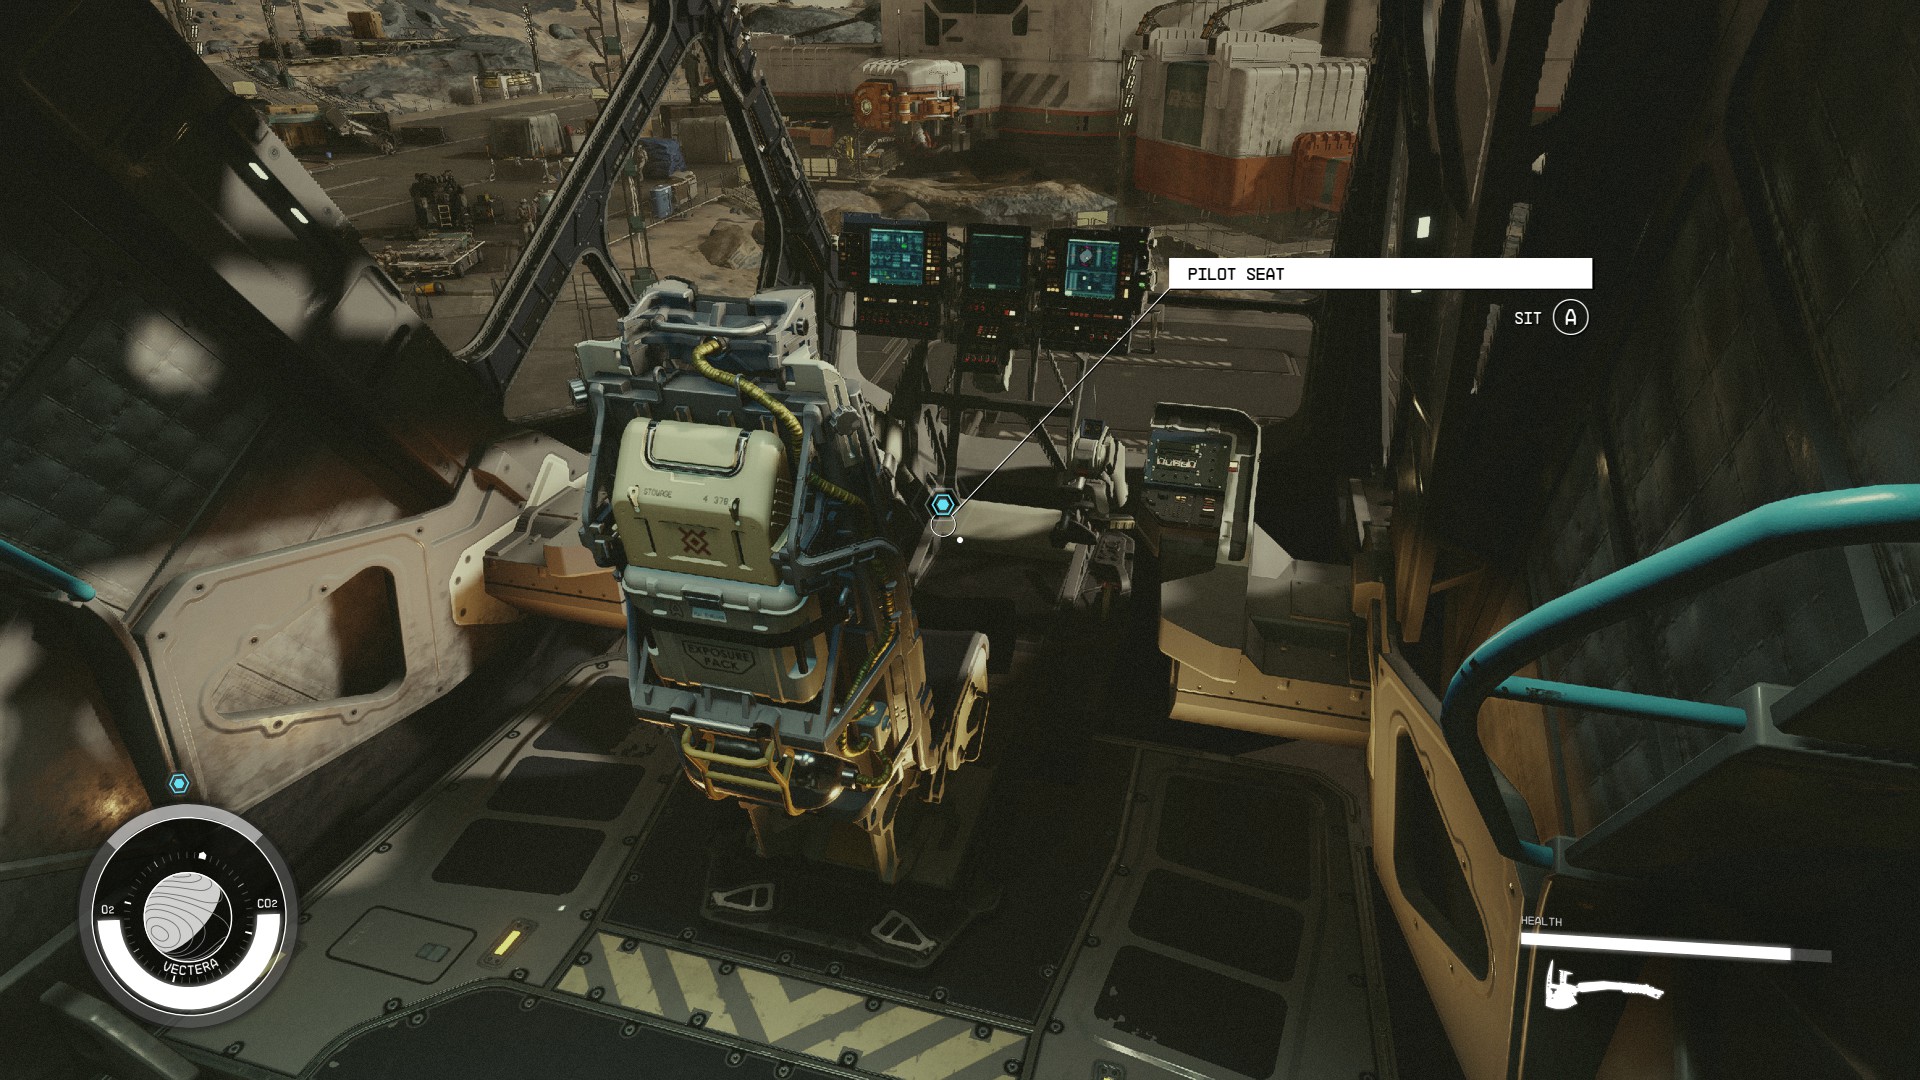
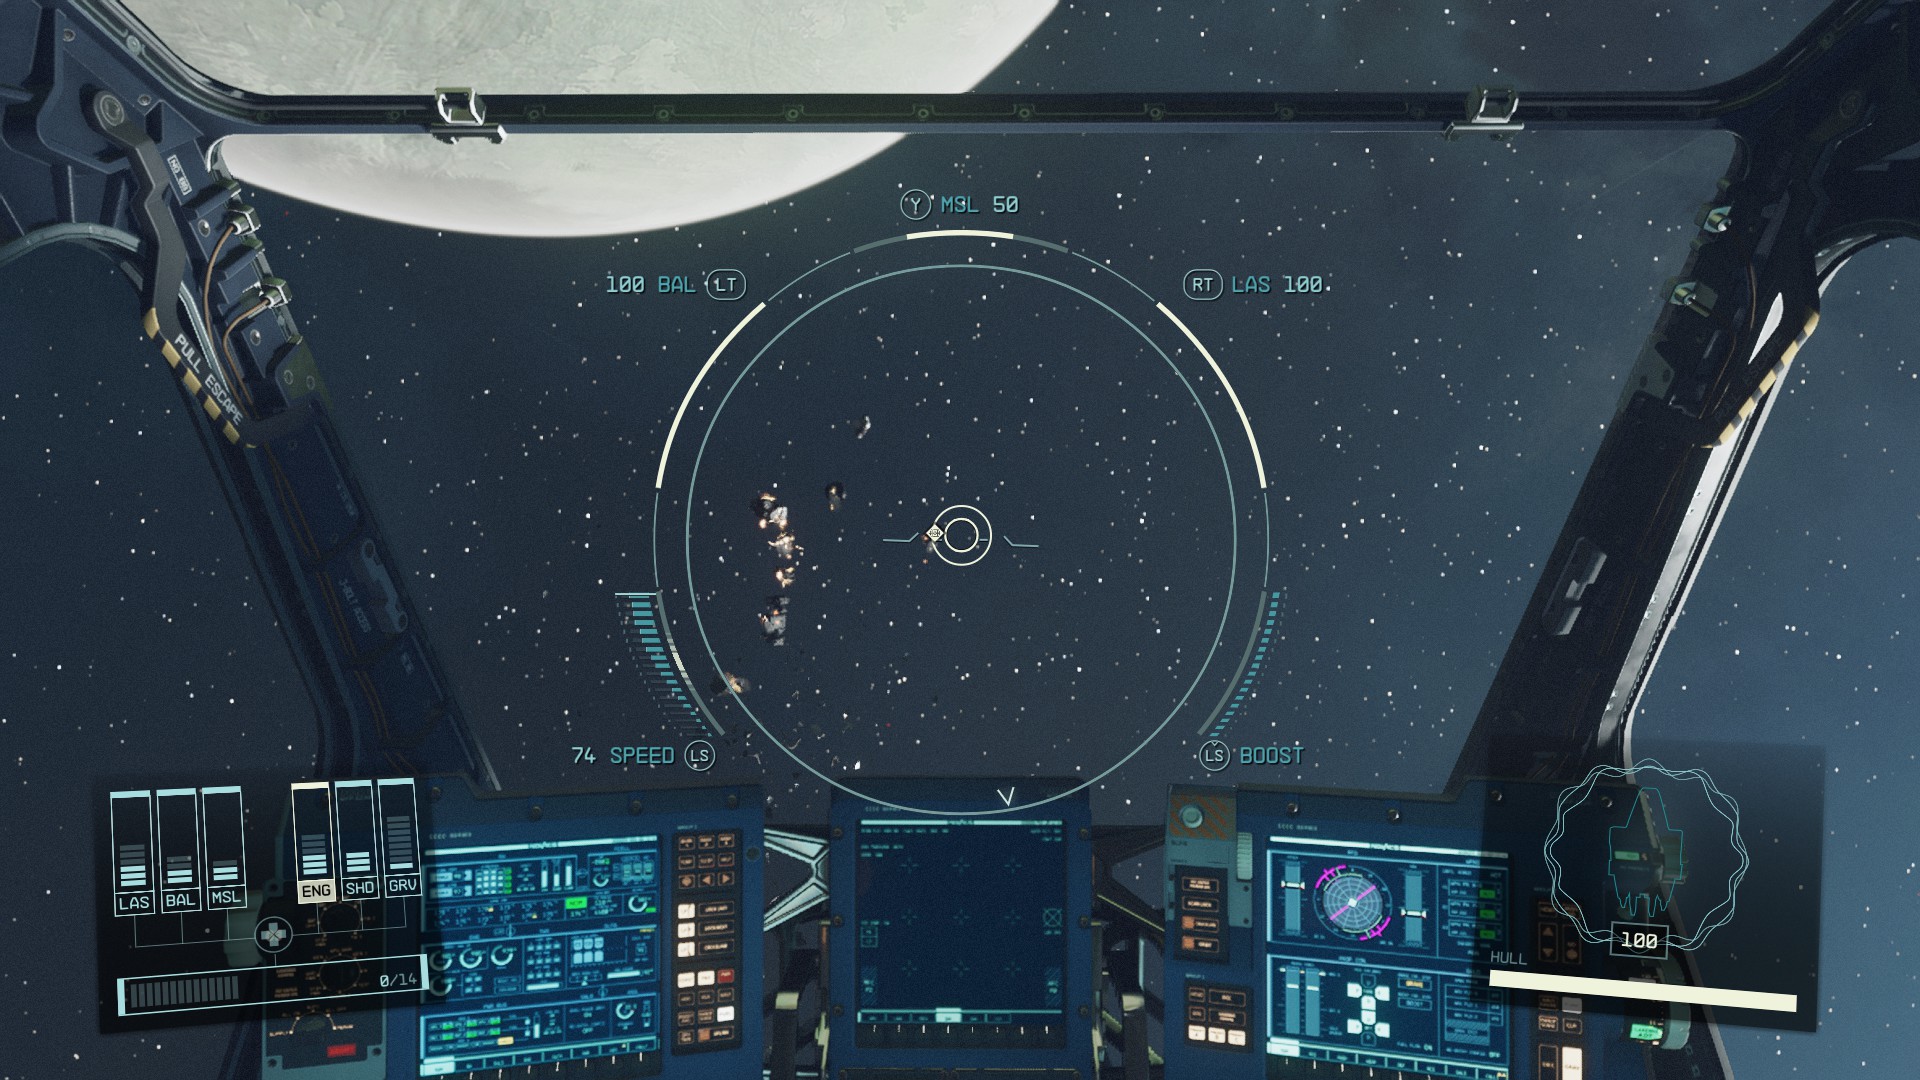
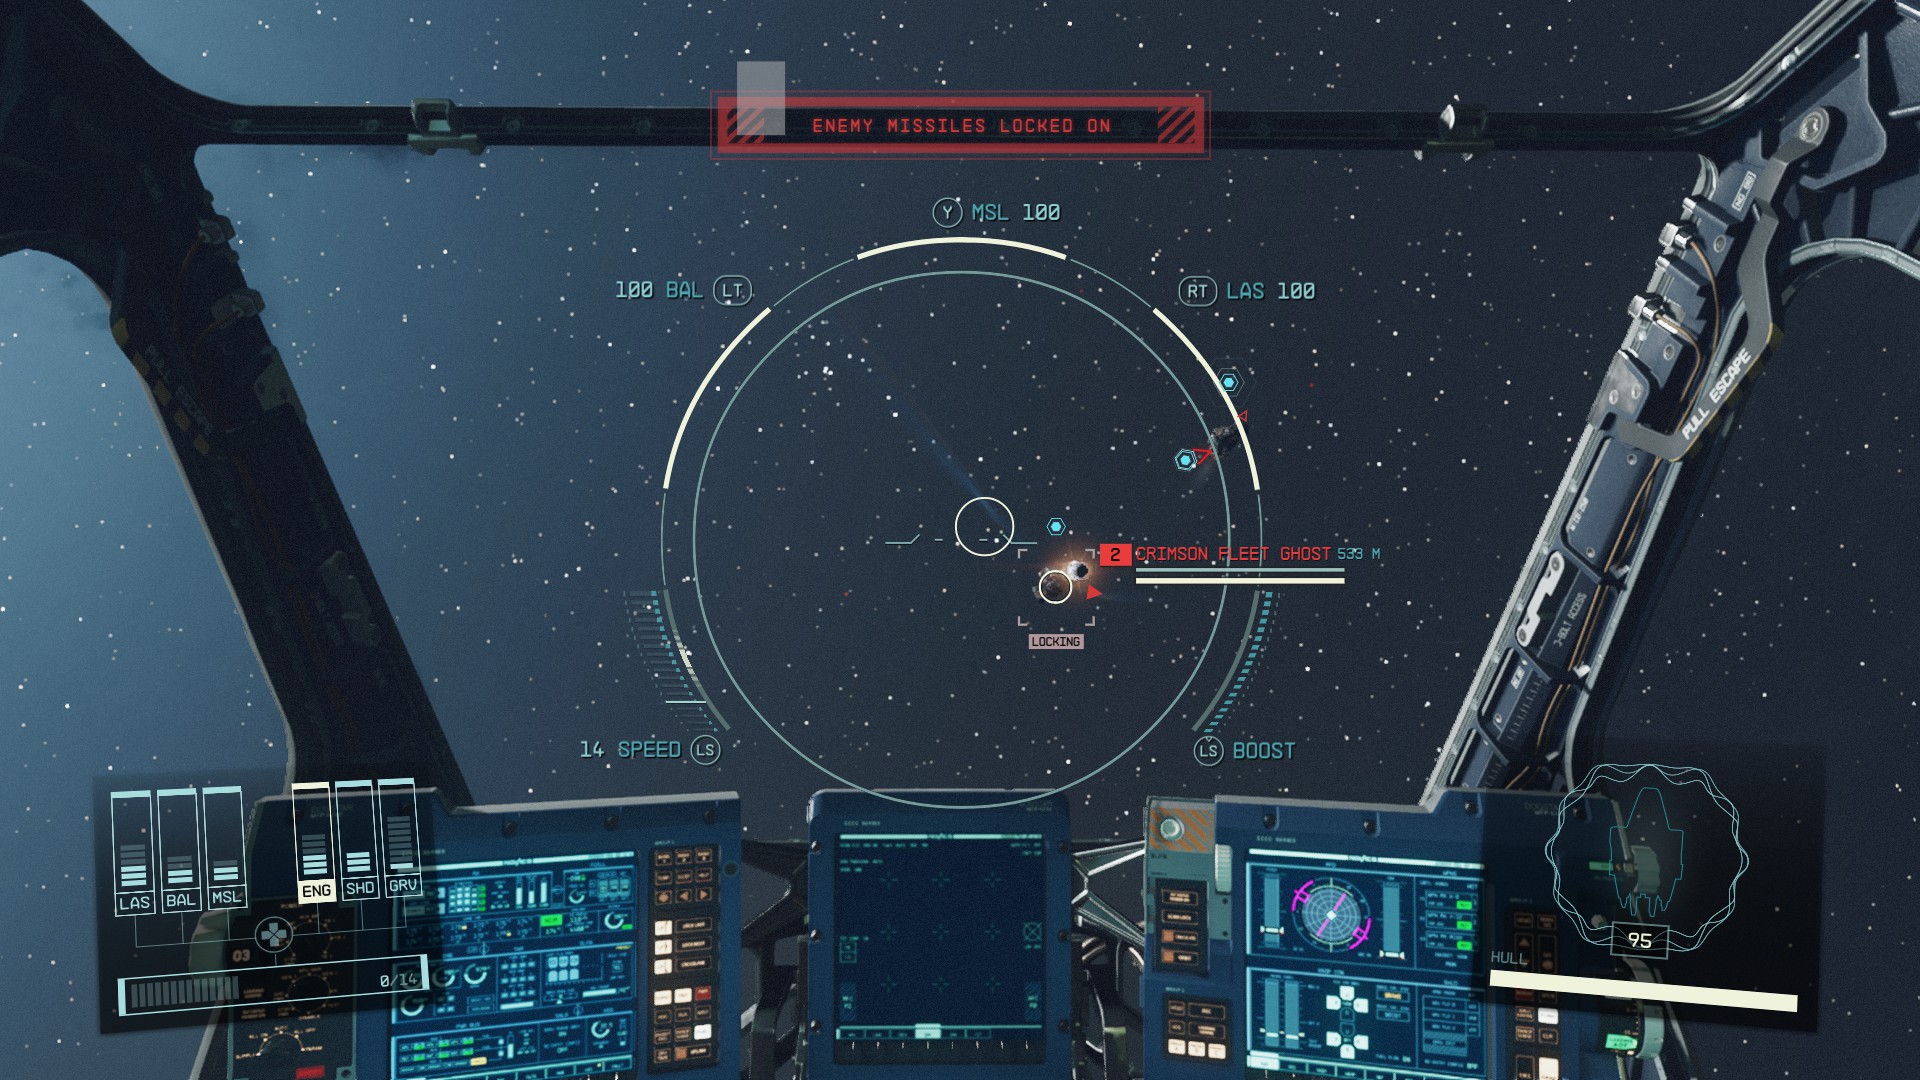
Take the pilot's seat and take off from Vectera. Once in space, you'll undergo a brief tutorial on flying and managing your ship's systems. Soon after, a Crimson Fleet ship warps in, initiating your first space combat scenario. Destroy the ship, and then scavenge its wreckage for items.
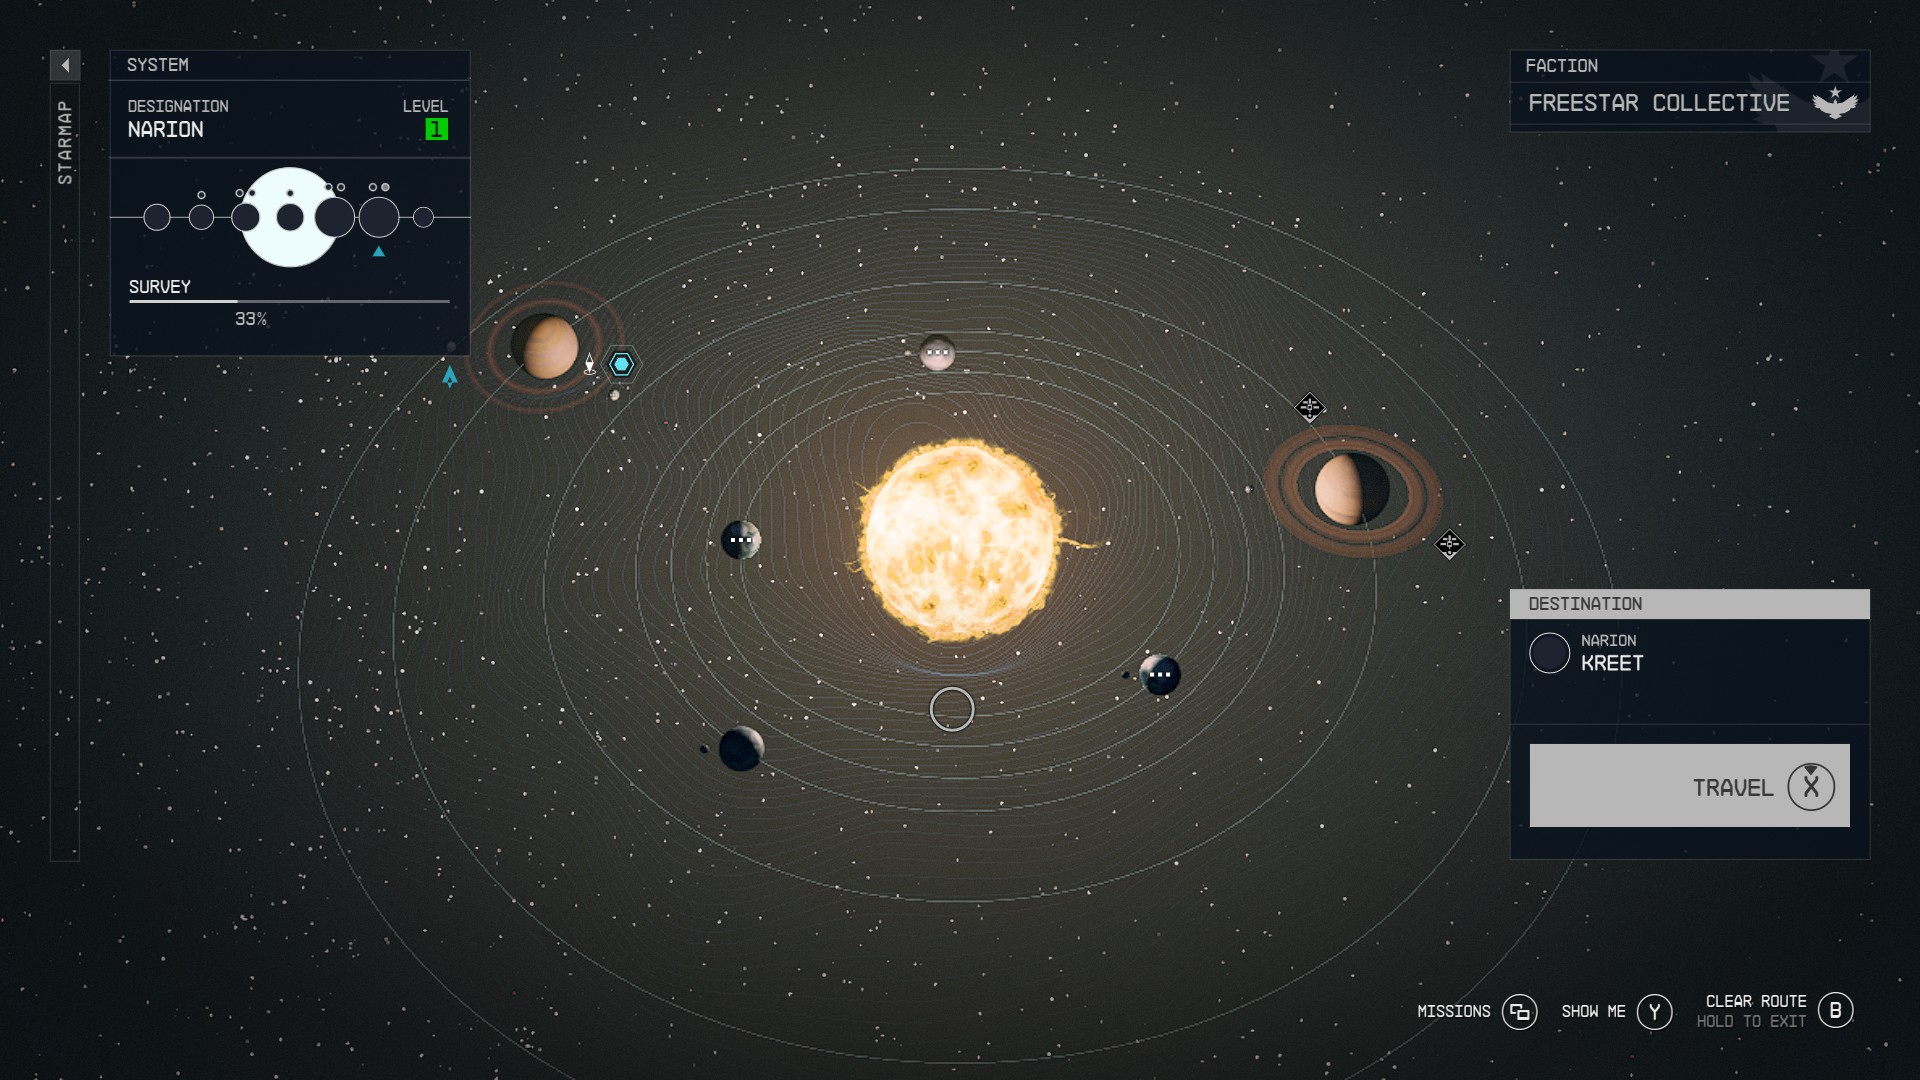
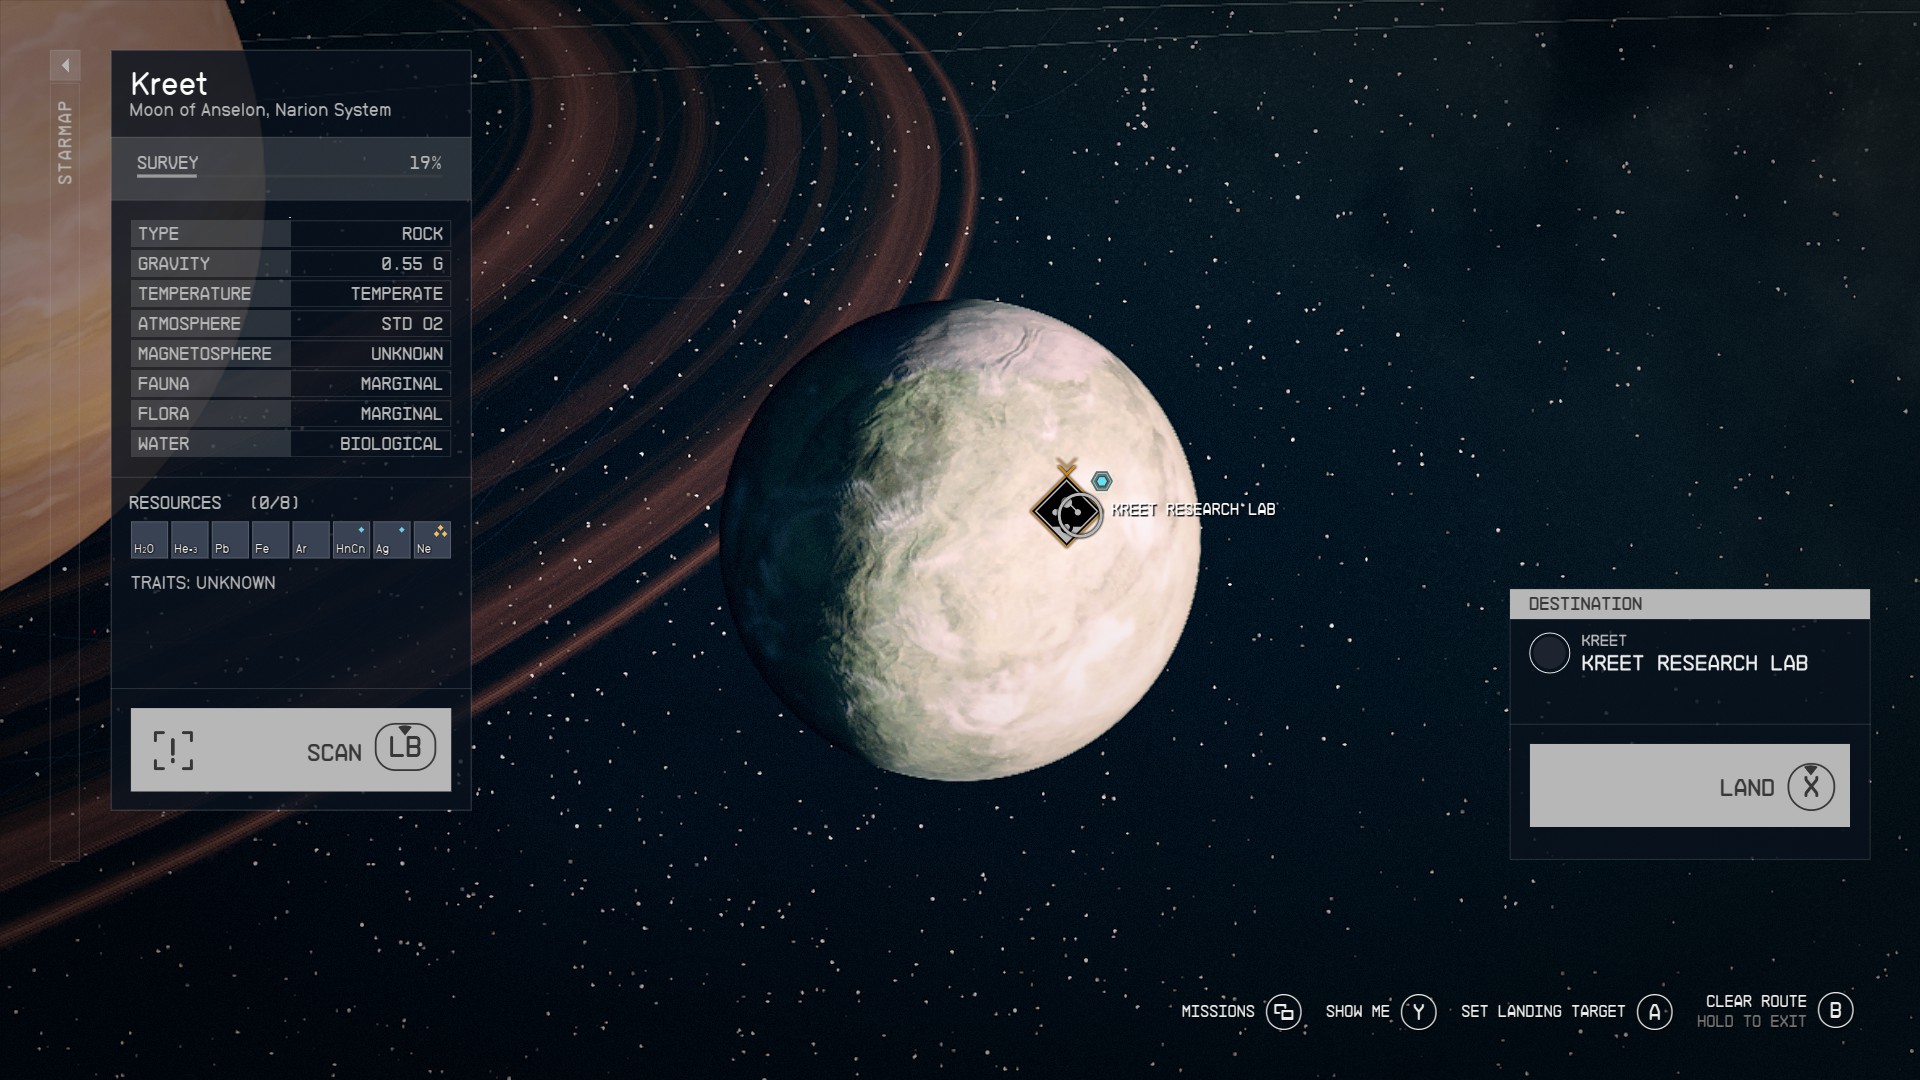
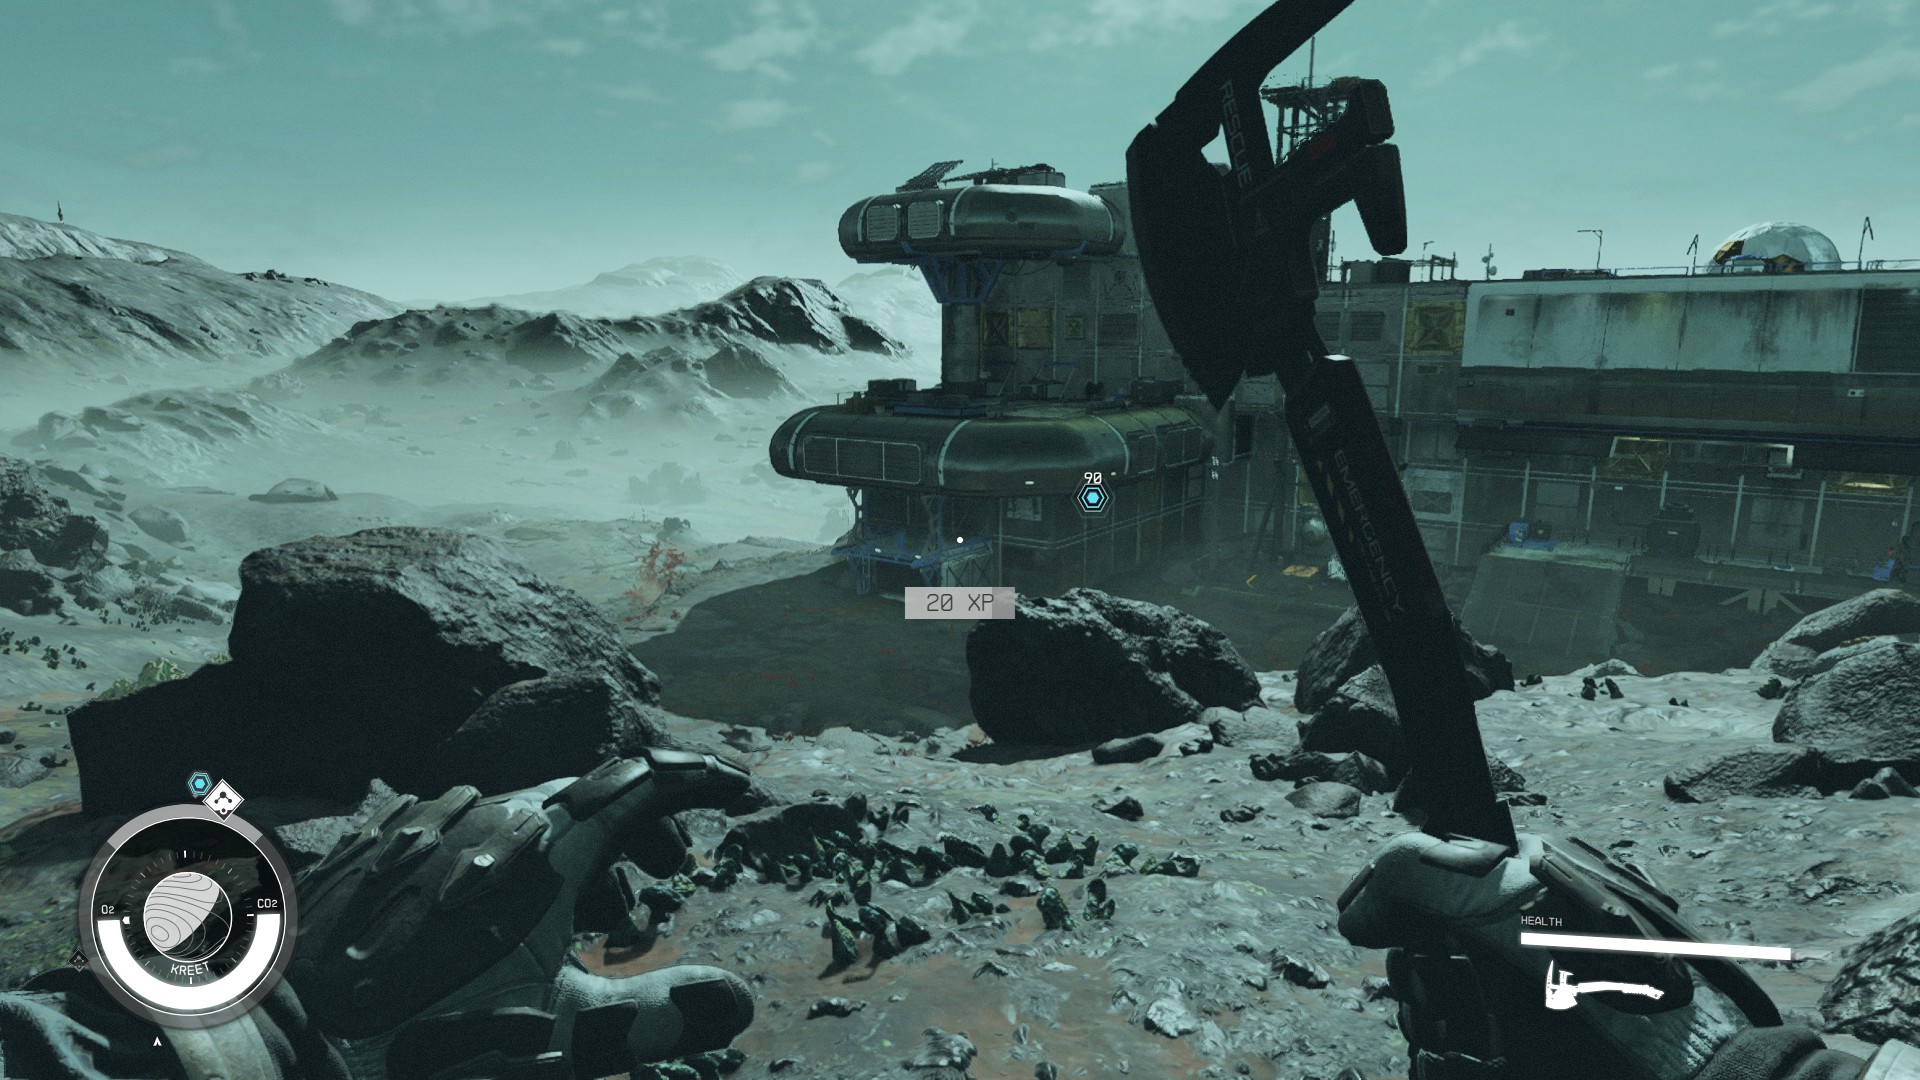
Upon dispatching two more enemy ships, you're directed to the Starmap. Choose Kreet, a moon, as your destination and fast-travel there. Land at the Kreet Research Base and make your way downhill. A Scanner tutorial will pop up, teaching you how to identify various resources and entities on the planet.
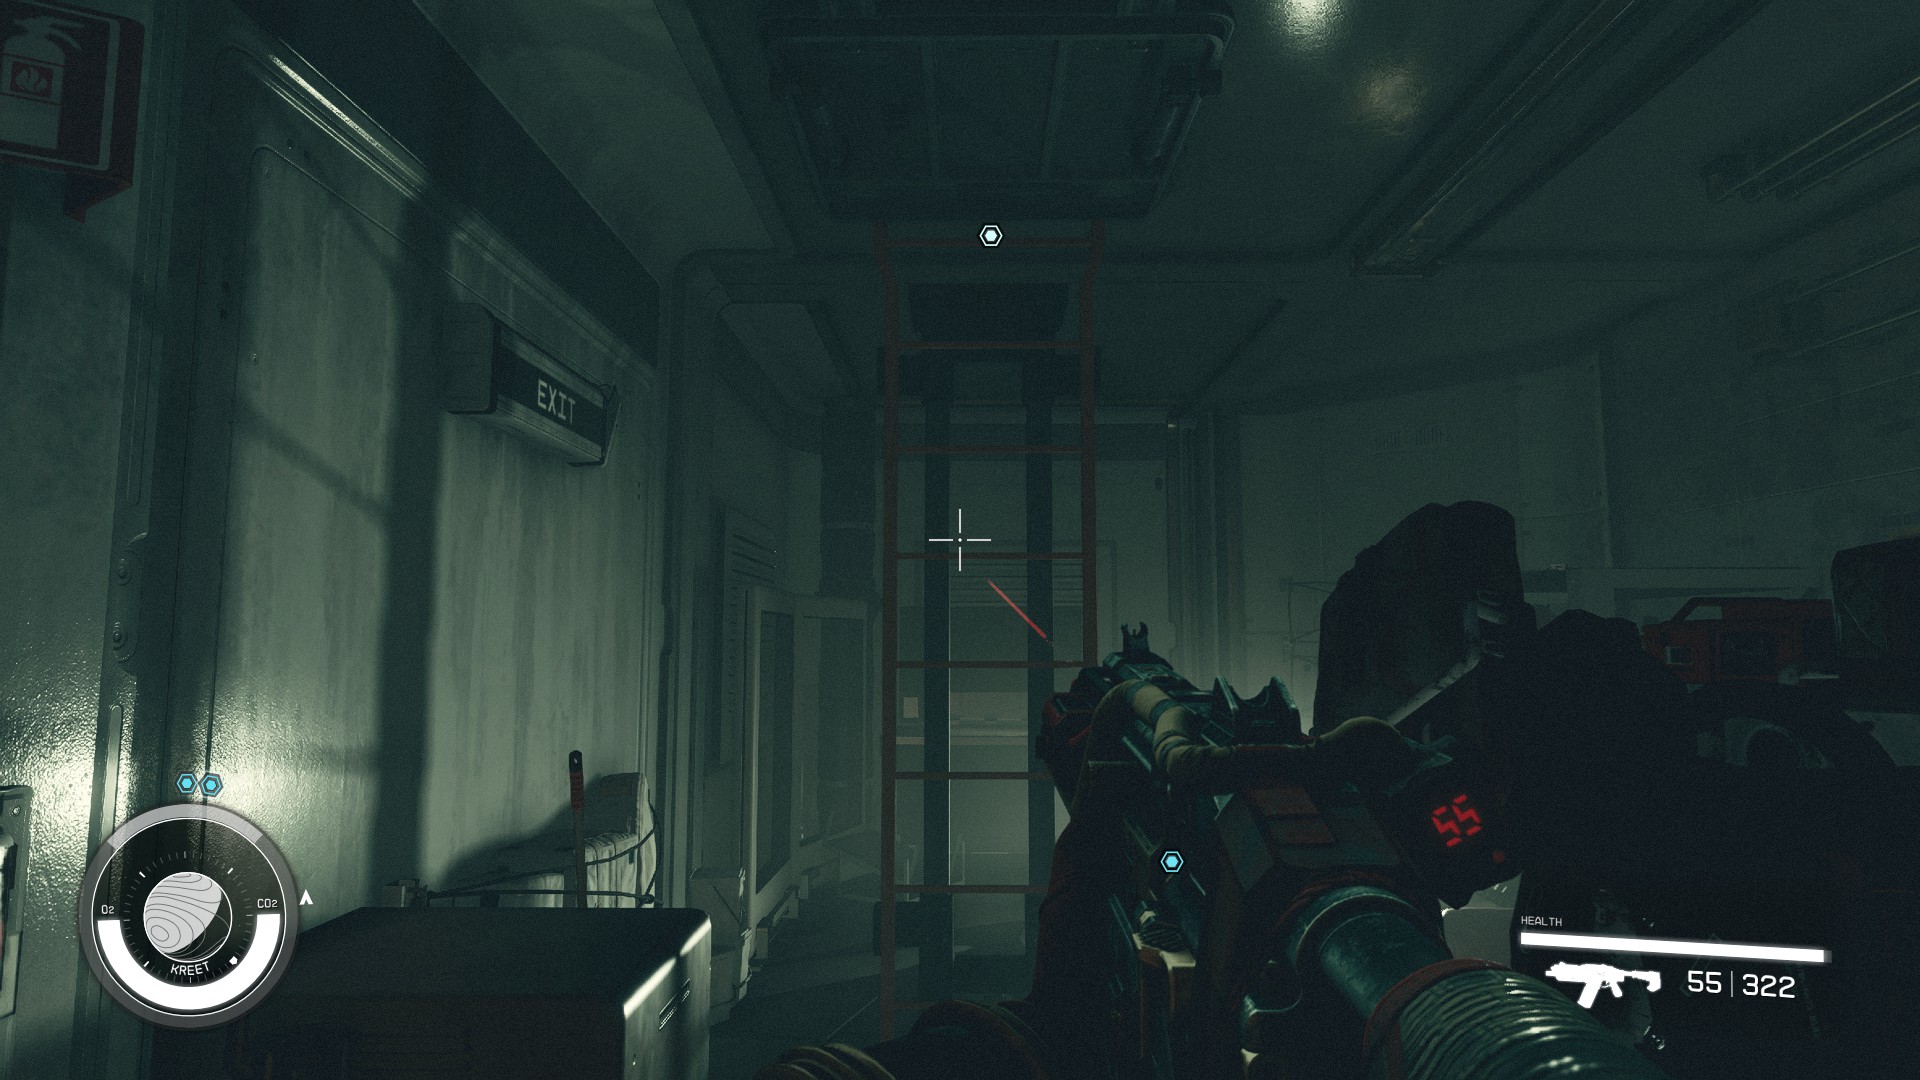
Inside the Research Base, you'll have to deal with Crimson Fleet members. Navigate through the base, eliminating enemies and looting weapons. A ladder at the end will take you up to the rooftop for the final confrontation. Here, you can either persuade the Captain to leave or engage in combat.
Once the Captain and their crew are dealt with, head back to your ship. If you'd like, you can continue exploring Kreet or proceed with the story. Use the Starmap to Grav Jump to Jemison and then land at New Atlantis.
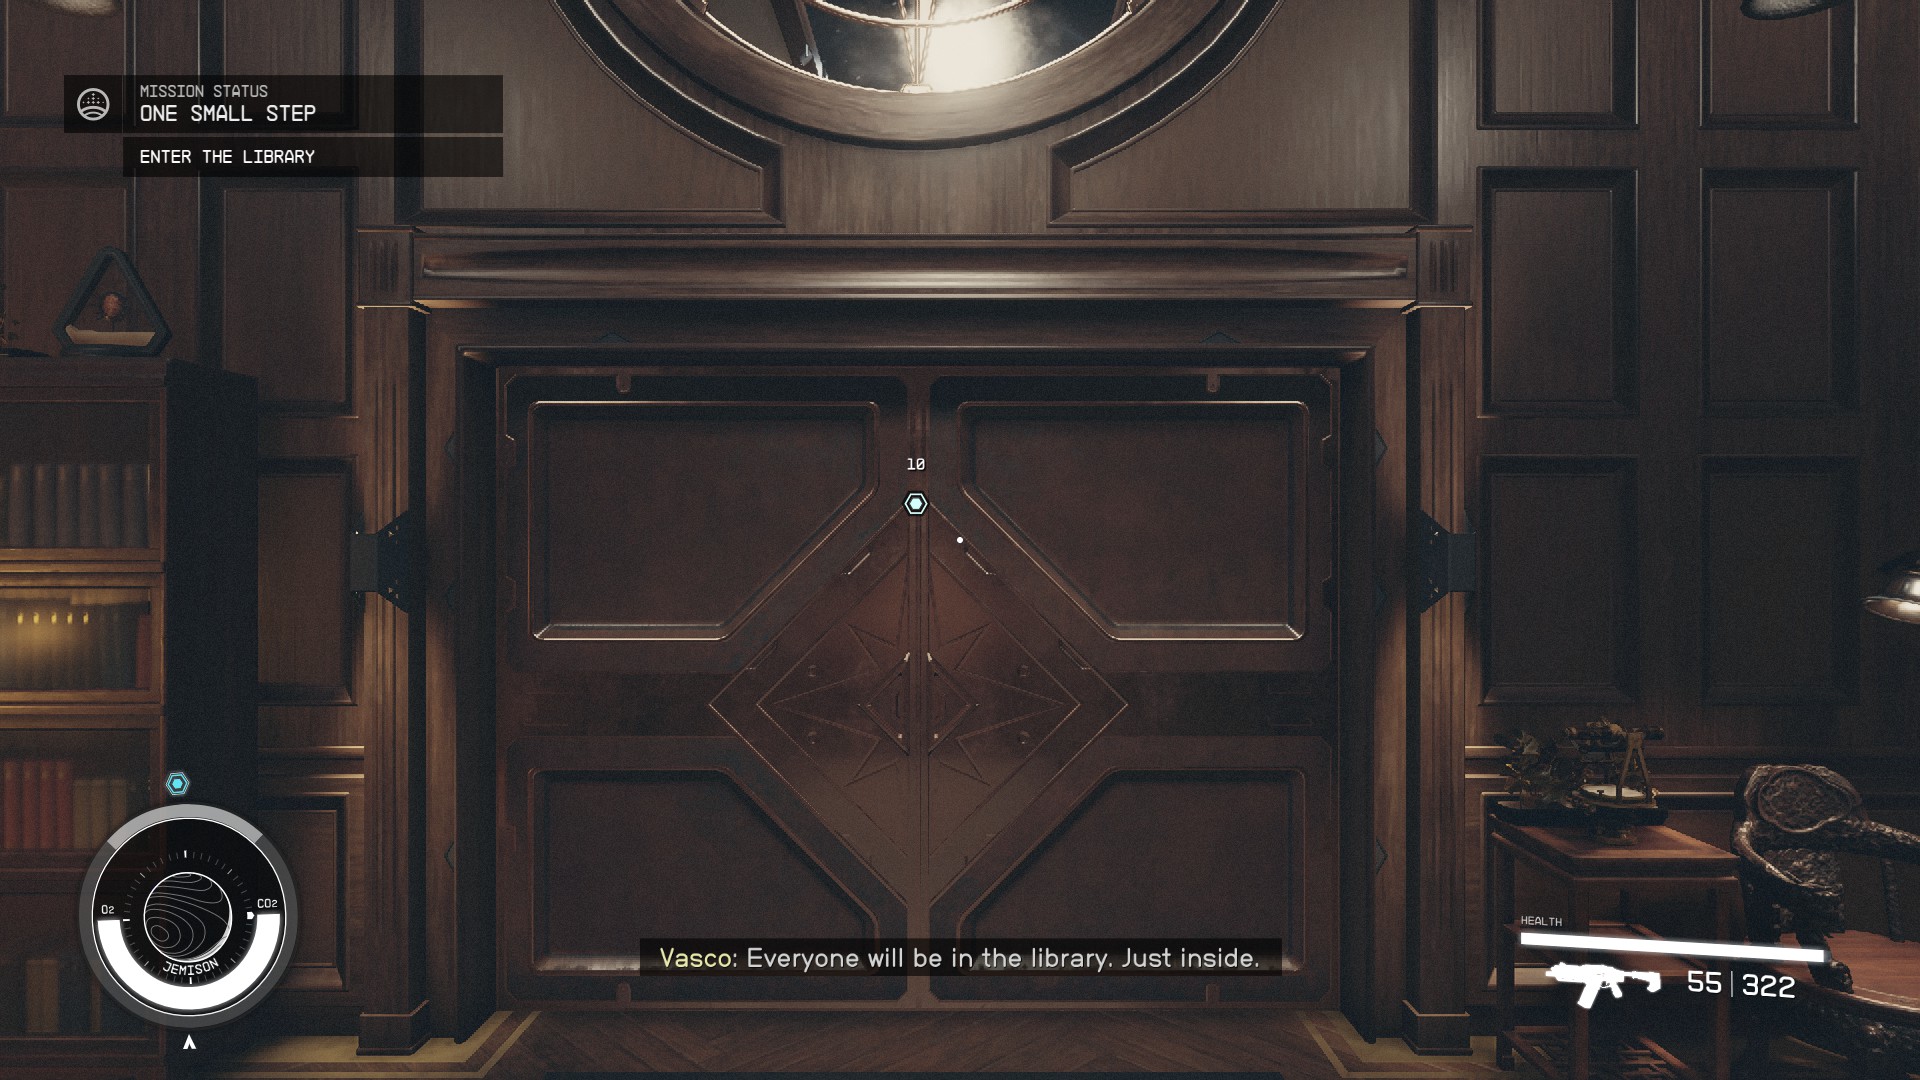
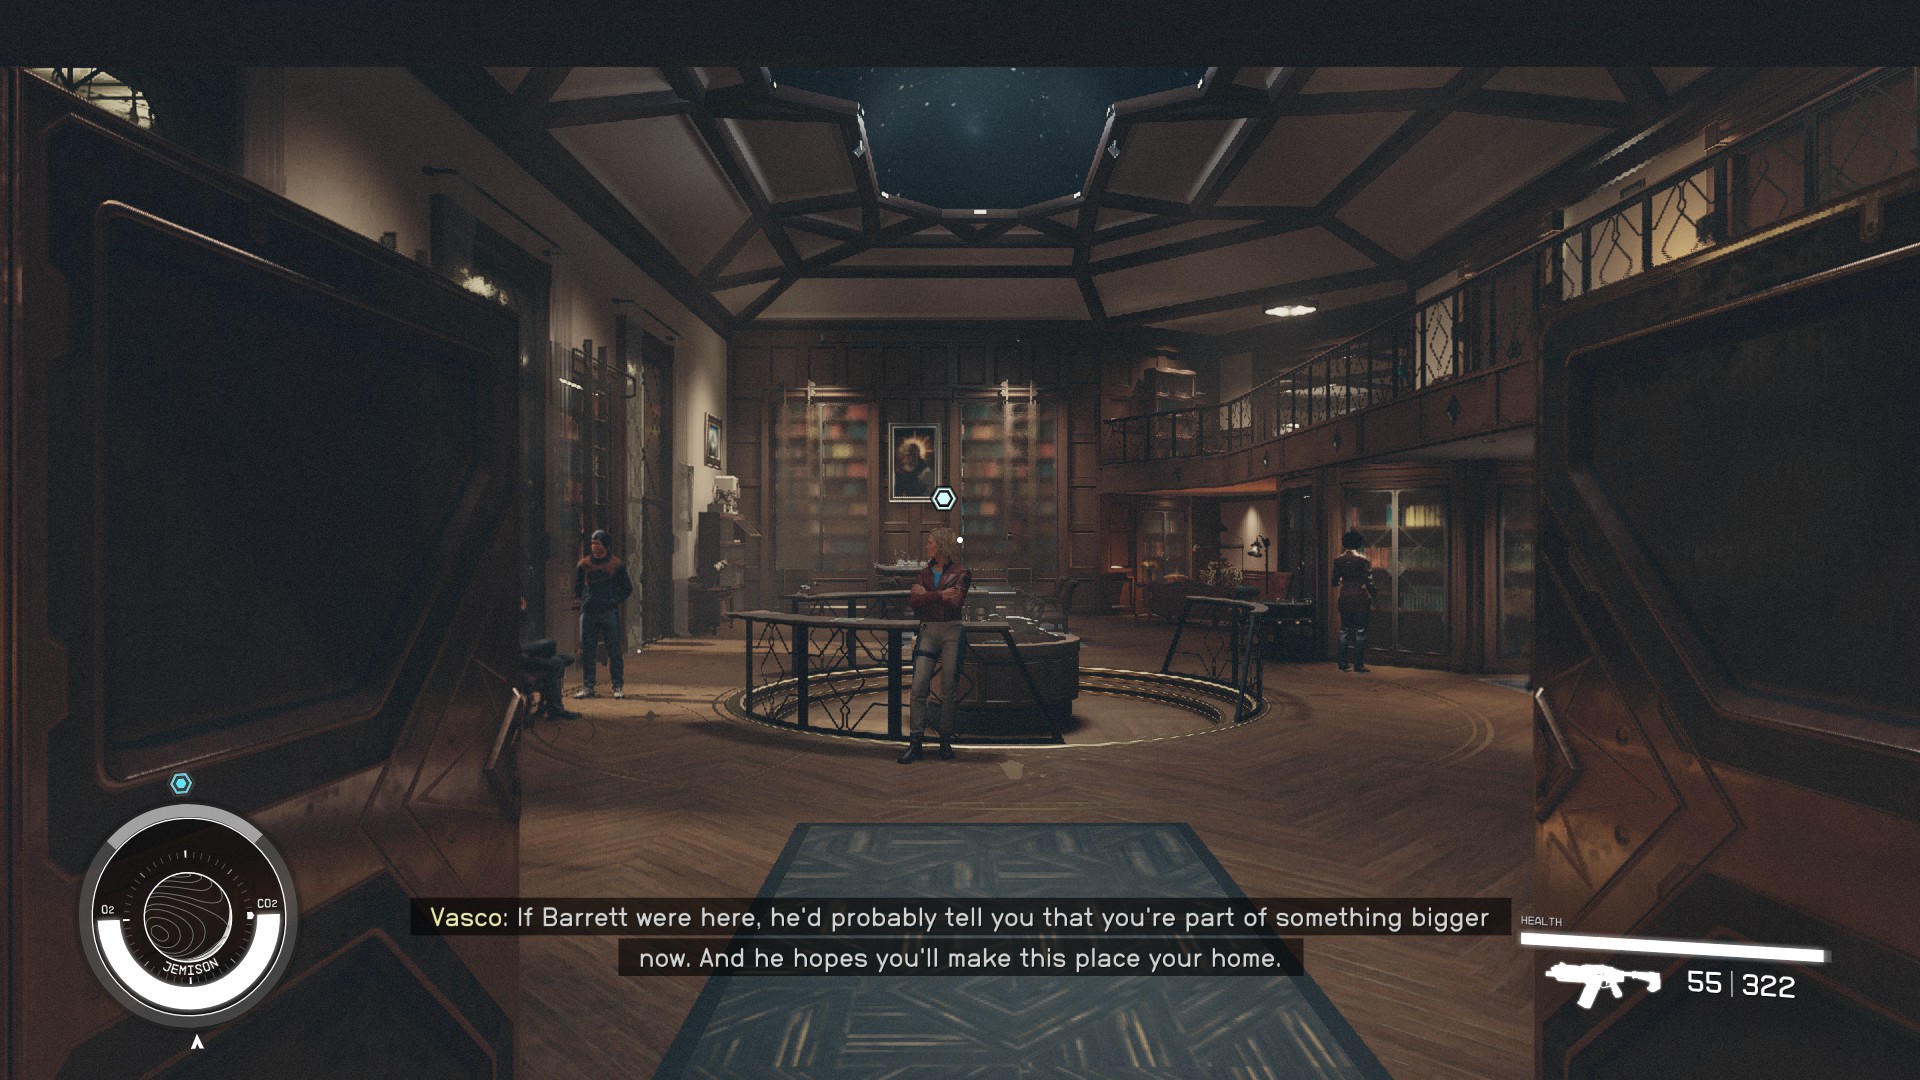
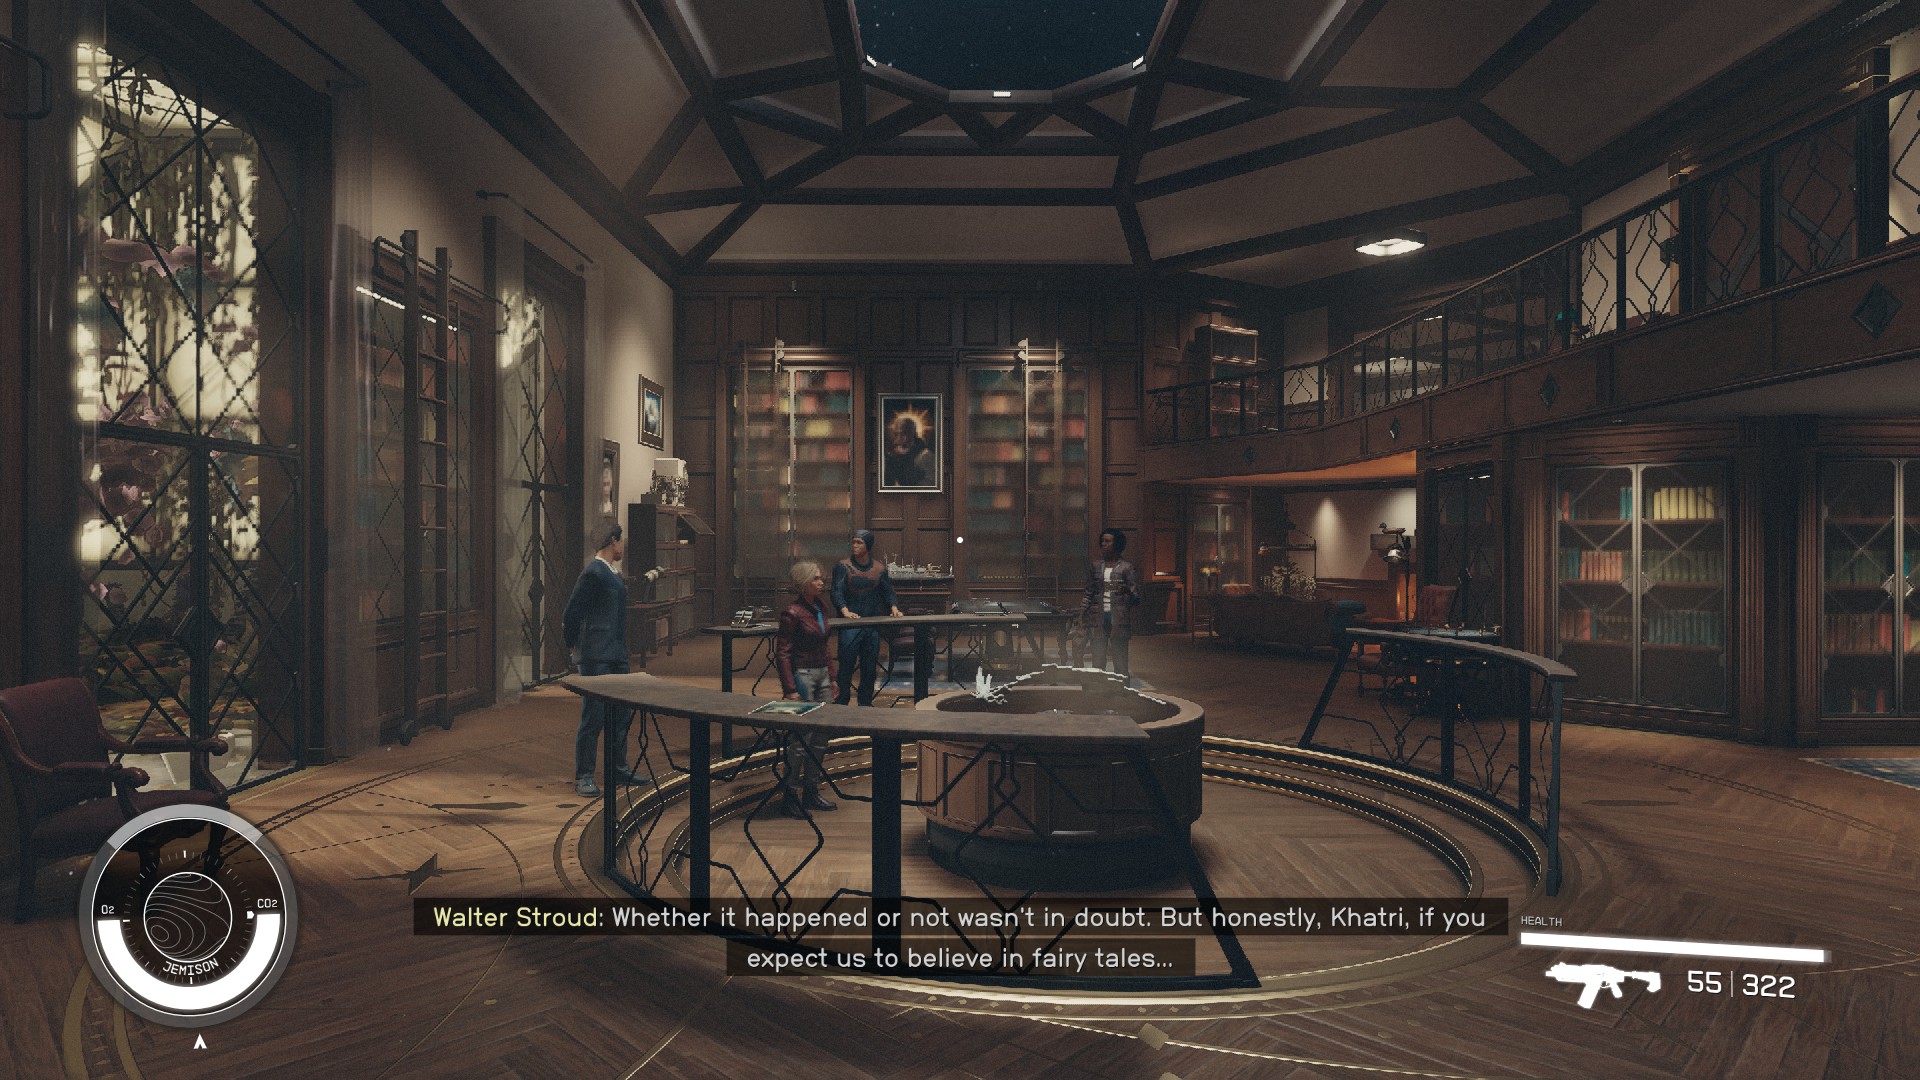
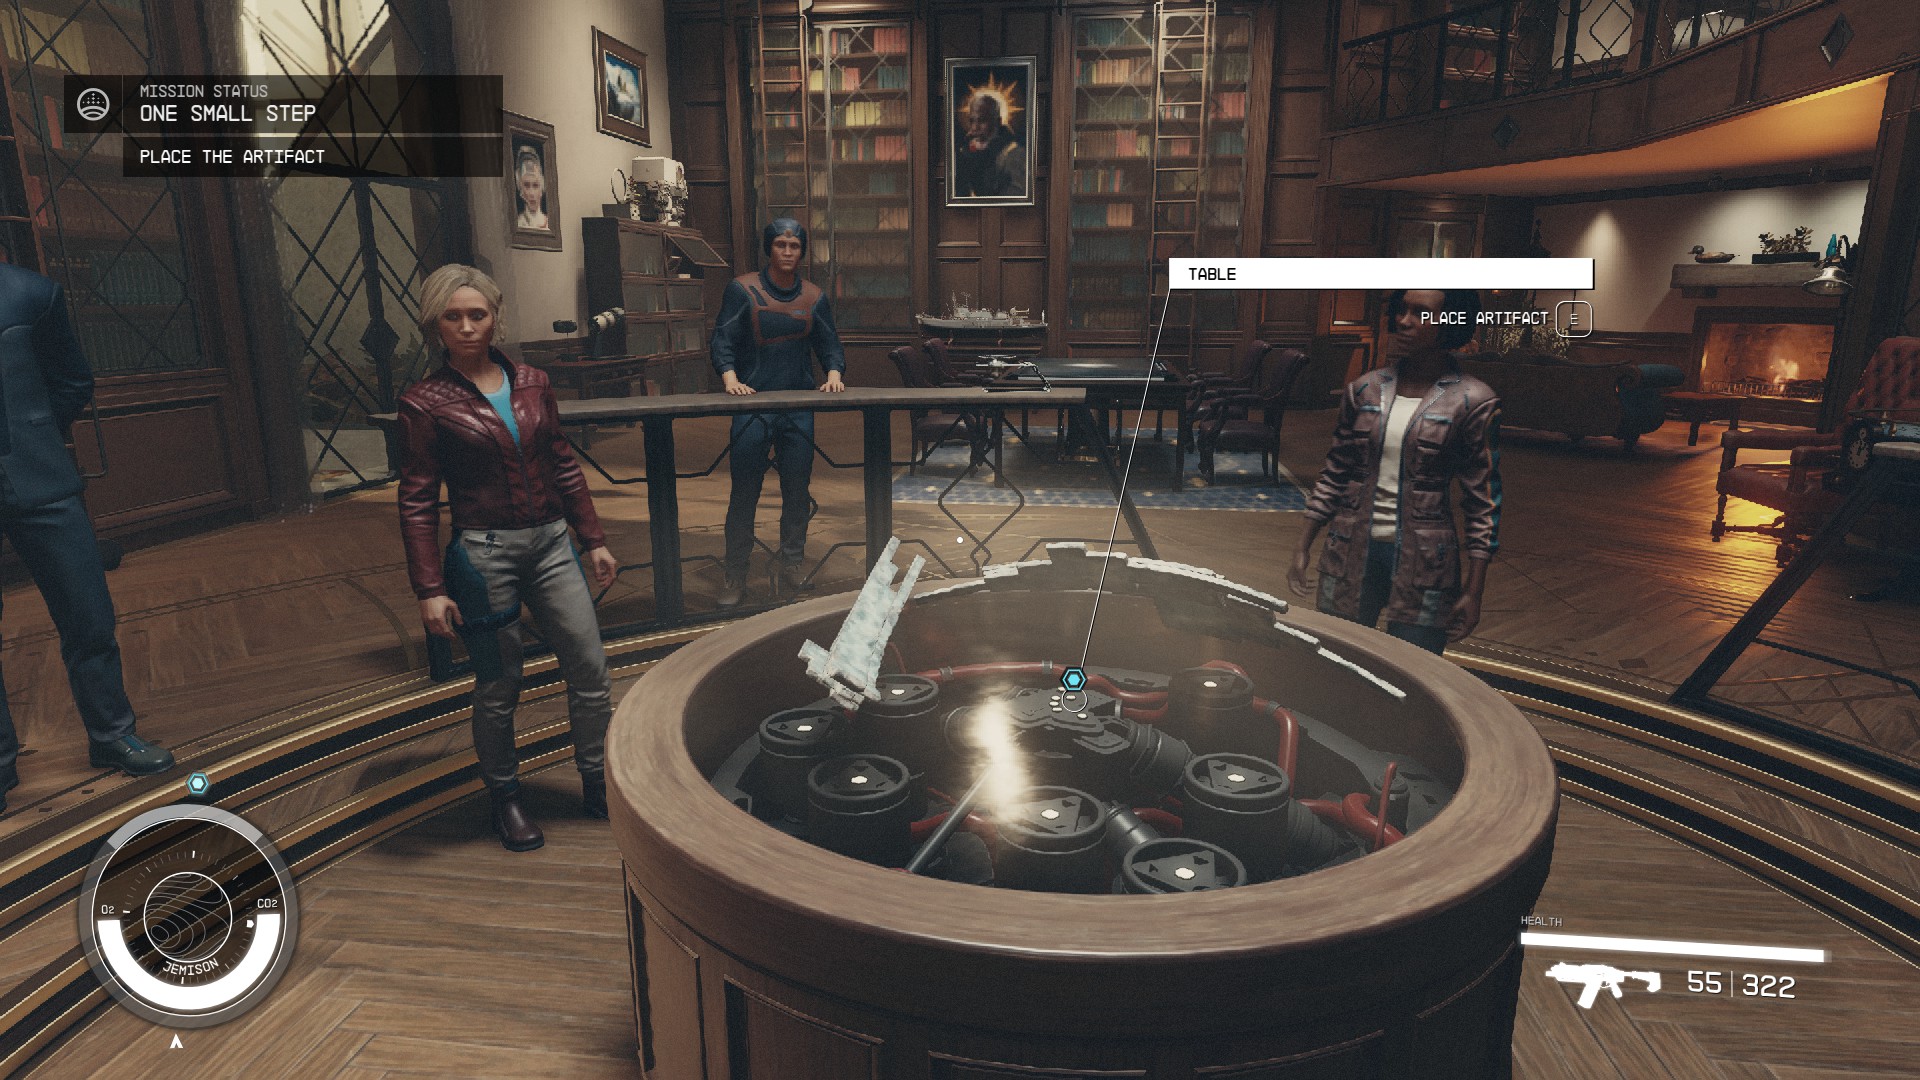
At New Atlantis, you're headed for the Lodge in the MAST District. Feel free to engage with Ship Services Technicians for ship repairs and upgrades. Once at the Lodge, you'll enter the library and meet Sarah. Listen through the meeting and place the artifact you collected earlier on a designated pedestal.
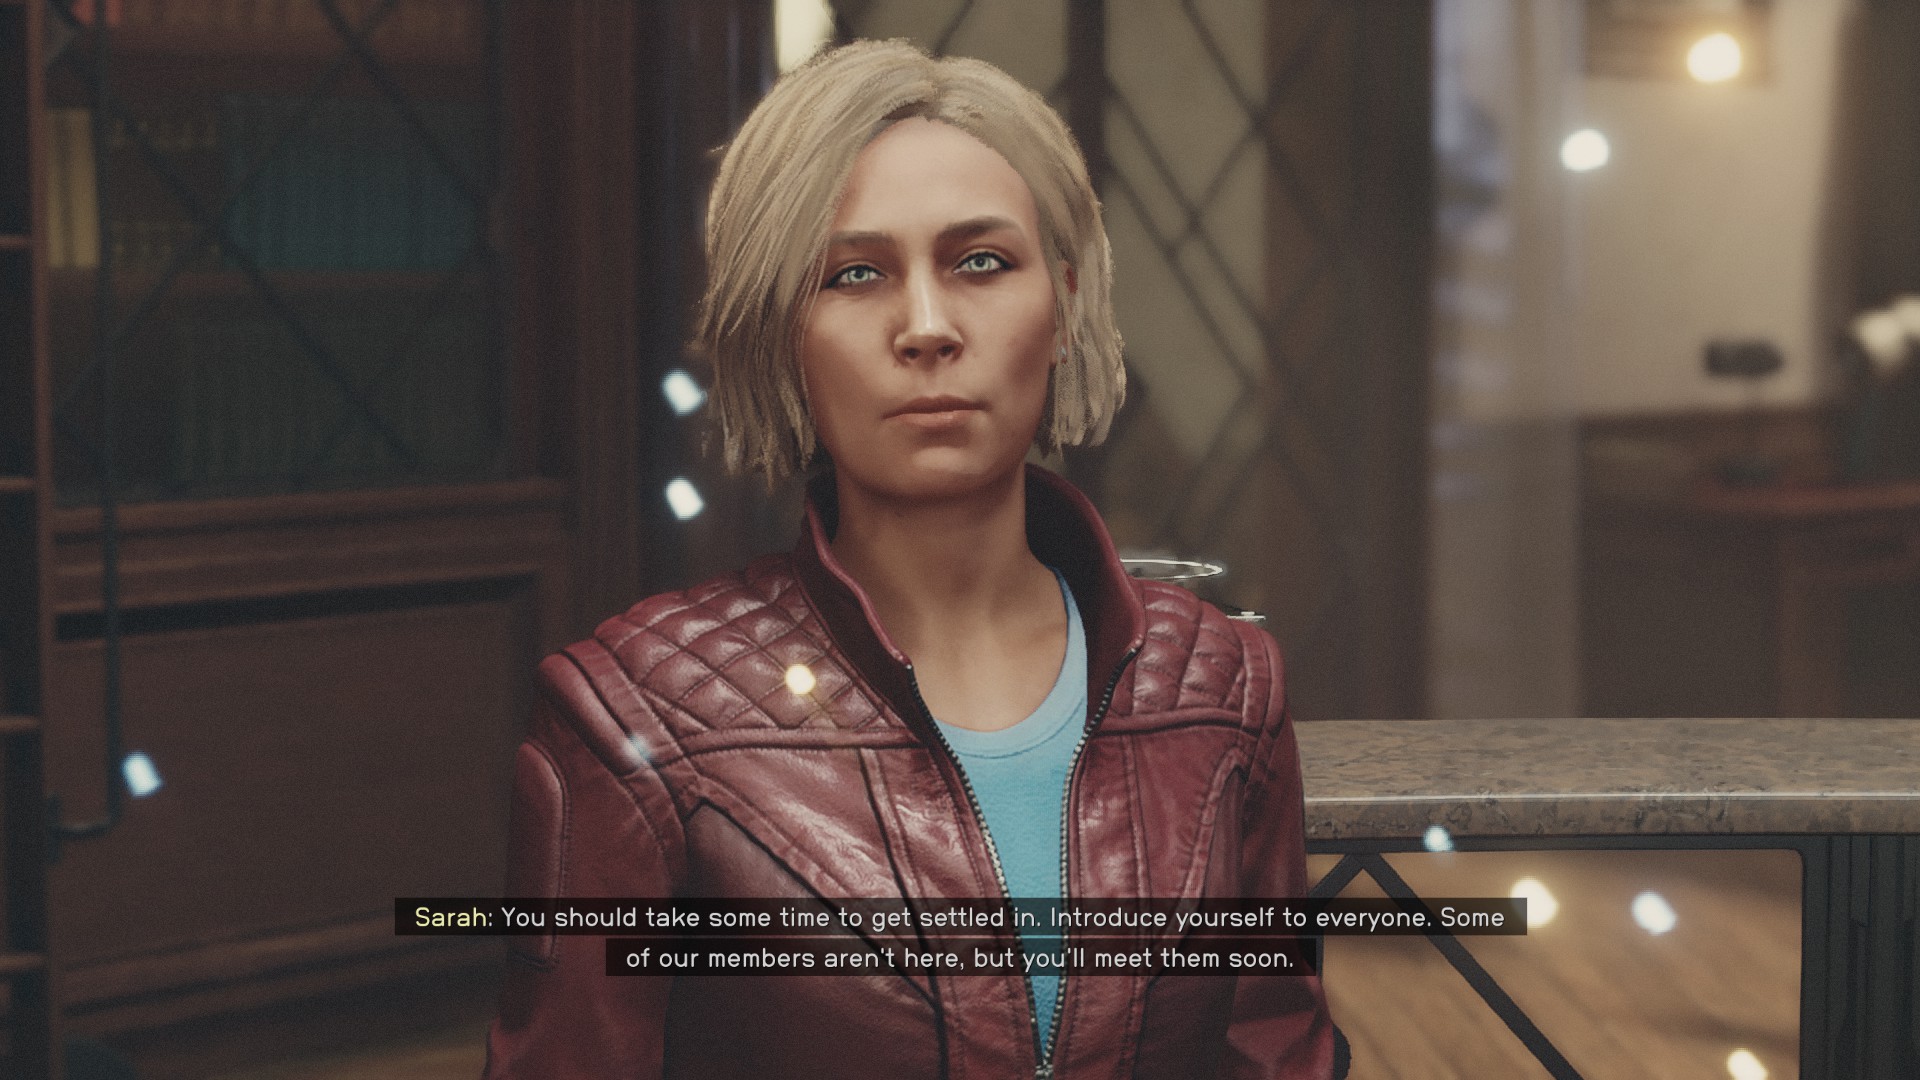
After the scene concludes, speak to Sarah one more time to complete the mission.
Tips and Tricks
- Since this is your first mission and you are just starting out the game you may want to check out our Inventory Management article.
- Loot the pirates you defeat along the way, they will have much better weapons and some additional gear.
- If you don't want to talk to the Crimson Fleet Captain, you can shoot the barrel near him before passing through the doorway. You will still have to fight their backup, but it gives you a head start in the fight.
Objectives
Follow Supervisor Lin
- She will speak to your fellow miners along the way.
Get the Cutter
- Take the Cutter.
Collect Mineral Desposits
- Fire the cutter at the marked mineral deposits.
Return to Supervisor Lin
- Once you return to Lin, you will have to follow her once again.
Follow Supervisor Lin
Explore the Cavern
- Lin will stay behind while you need to go up the hill toward the objective by yourself.
Break up the Deposits
- While exploring the cavern, you will enter a room with some deposits in front of you.
- Fire your Cutter at the deposits.
- If you see sparks while firing, this means you are correctly hitting the deposit.
- Once you clear enough away, you will be prompted for the next objective.
Take the Strange Object
- Hover over the Strange Object and take it. Once you take the strange object, you will watch a scene and then enter the character creation menu.
- First, you may select your Biometric ID, which is a set of default appearance options.
- You can then select Body and Face to further customize your appearance.
- Backgrounds will each provide you will a different set of starting skills. You must select a background to continue.
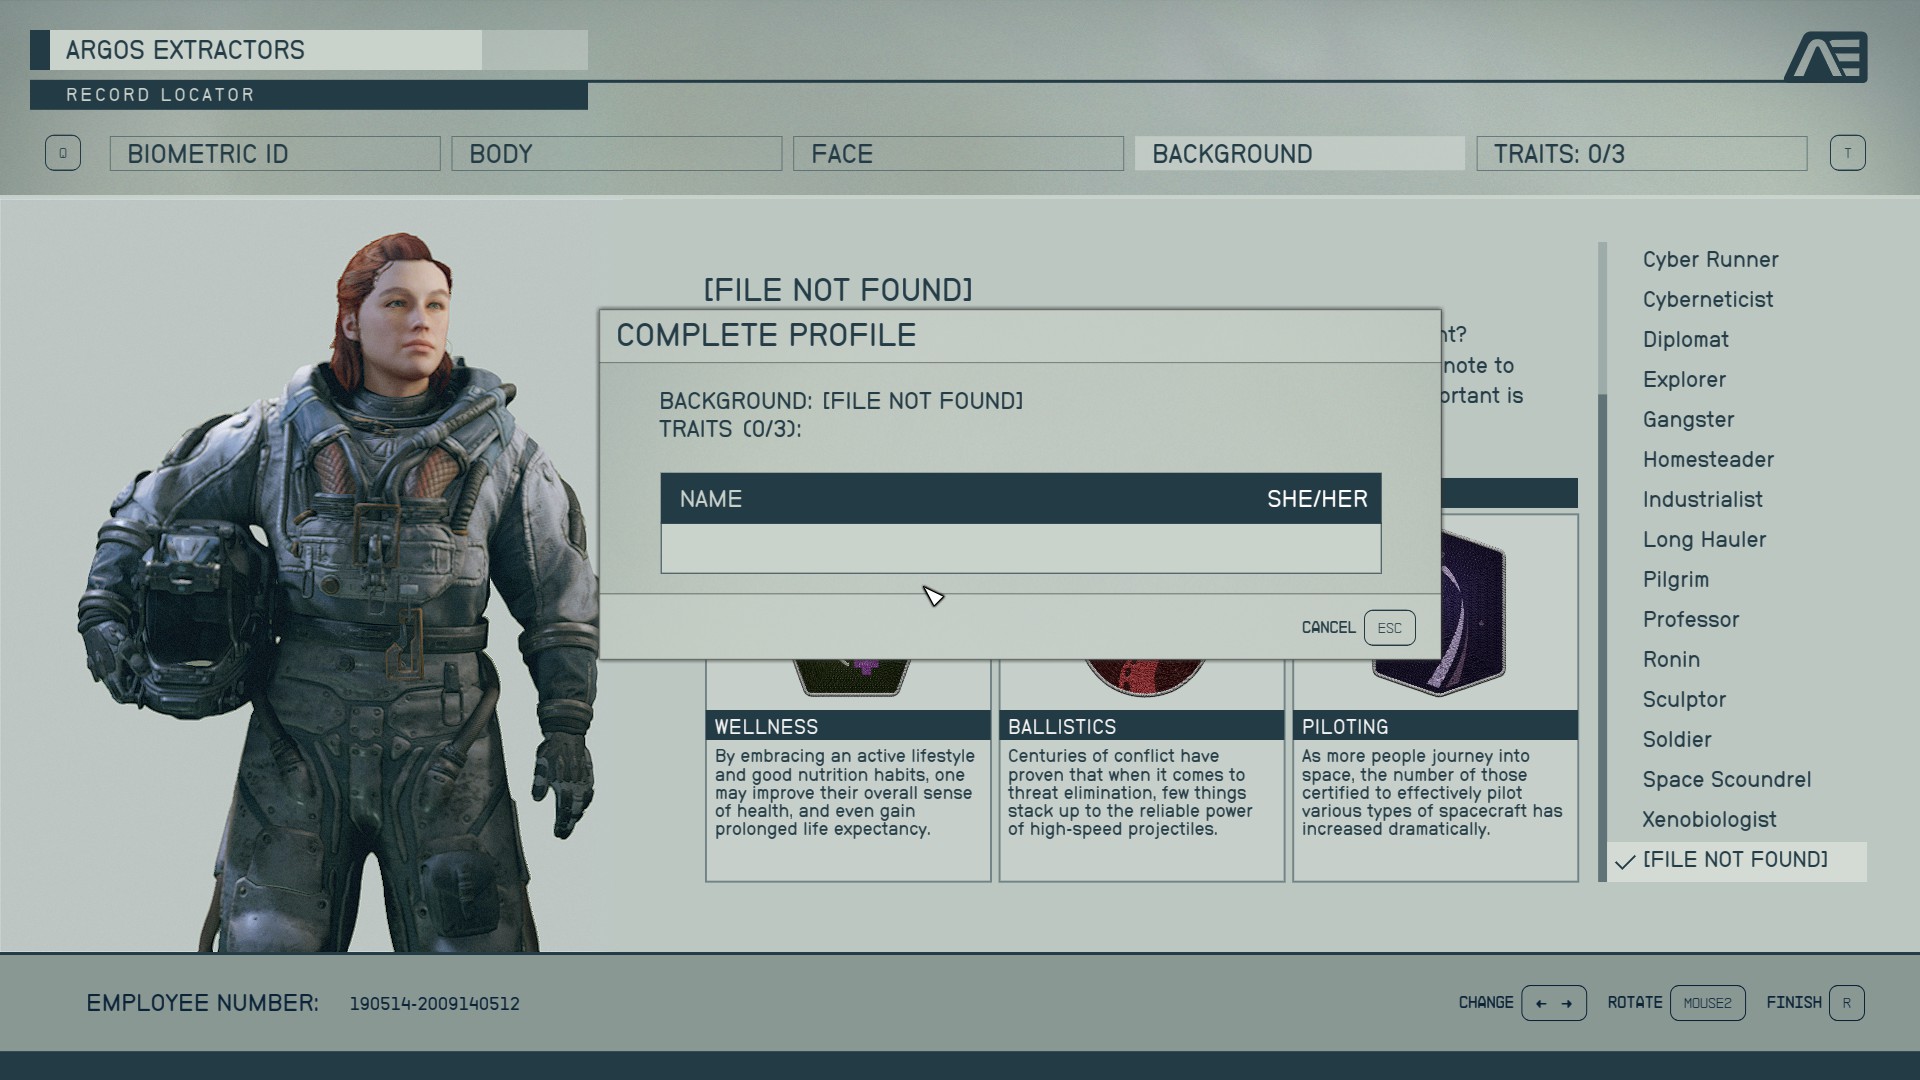
- Traits will provide will allow you to select up to 3 traits that offer a bonus and a penalty. You do not have to select any to continue.
- When you are ready, select Finish to select your character's pronouns and enter their name.
Follow Lin
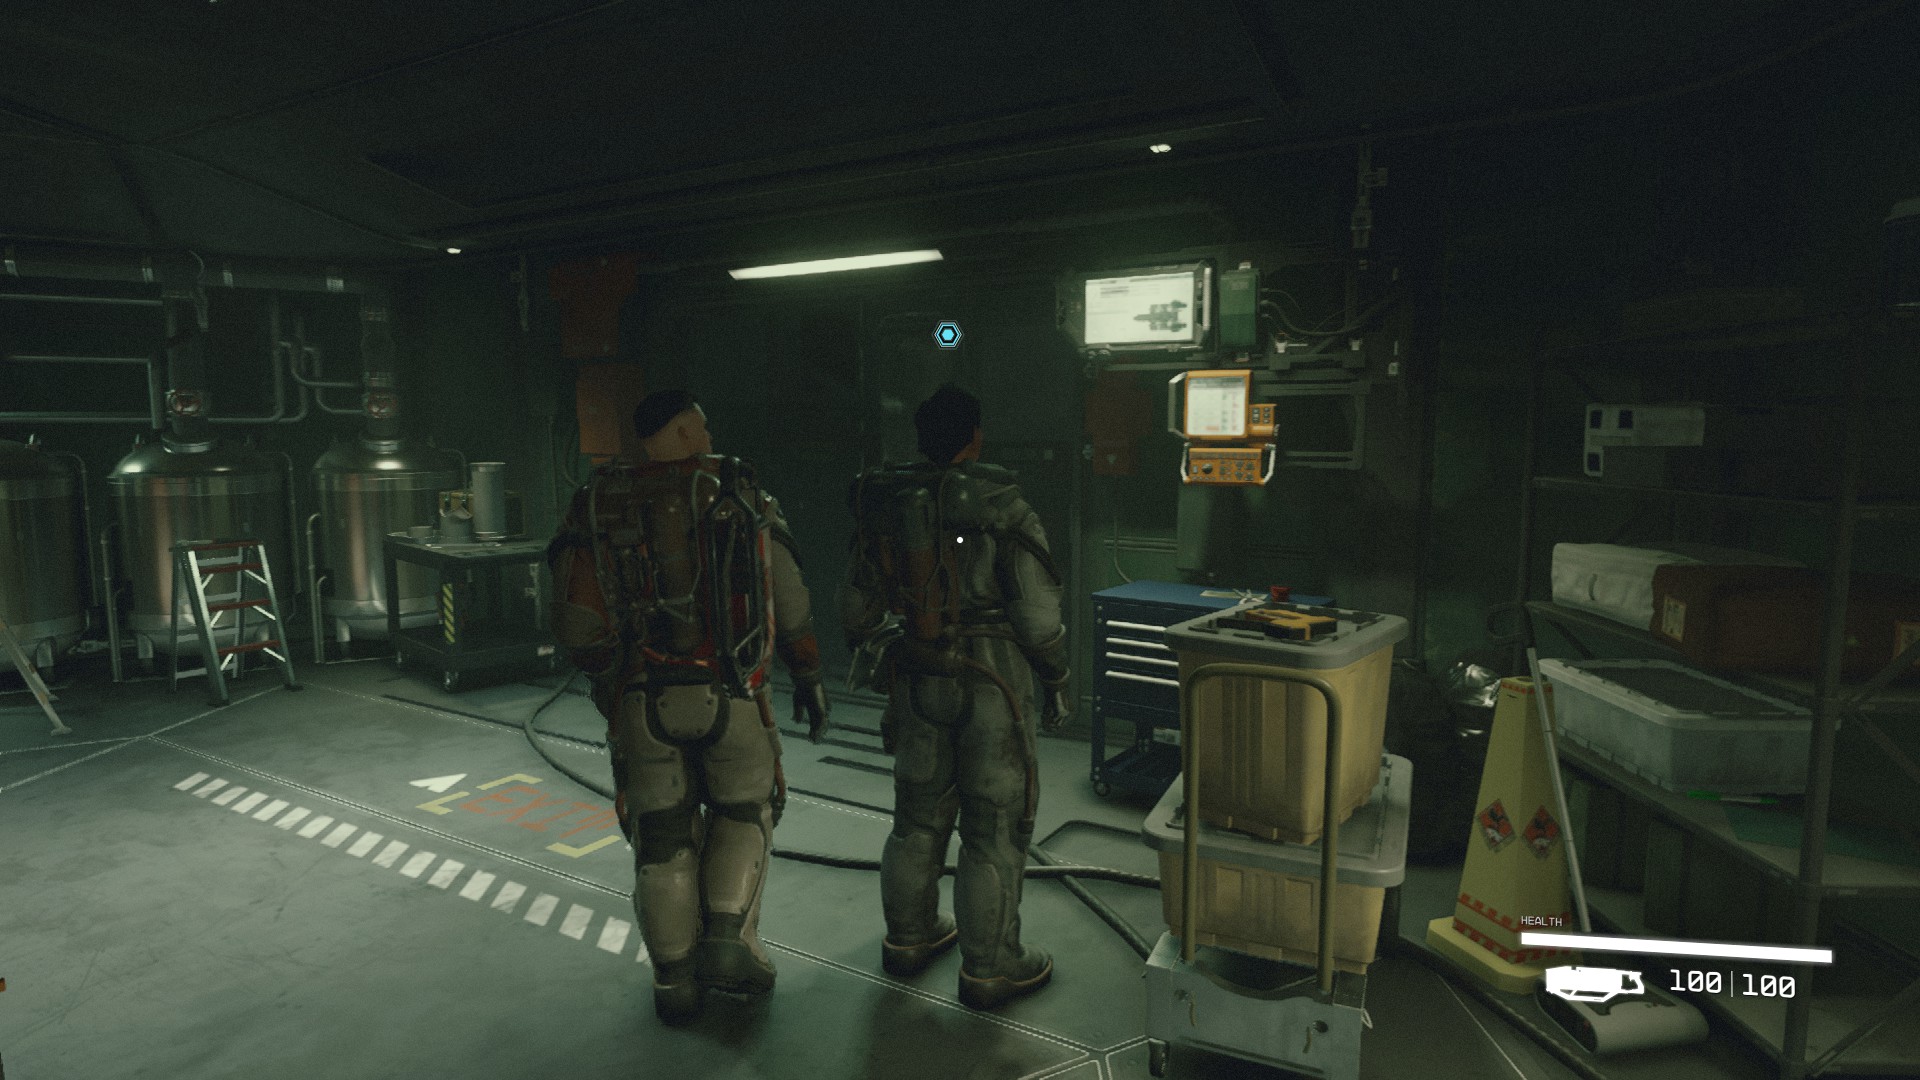
- Answer Lin's questions and then follow Lin through the facility.
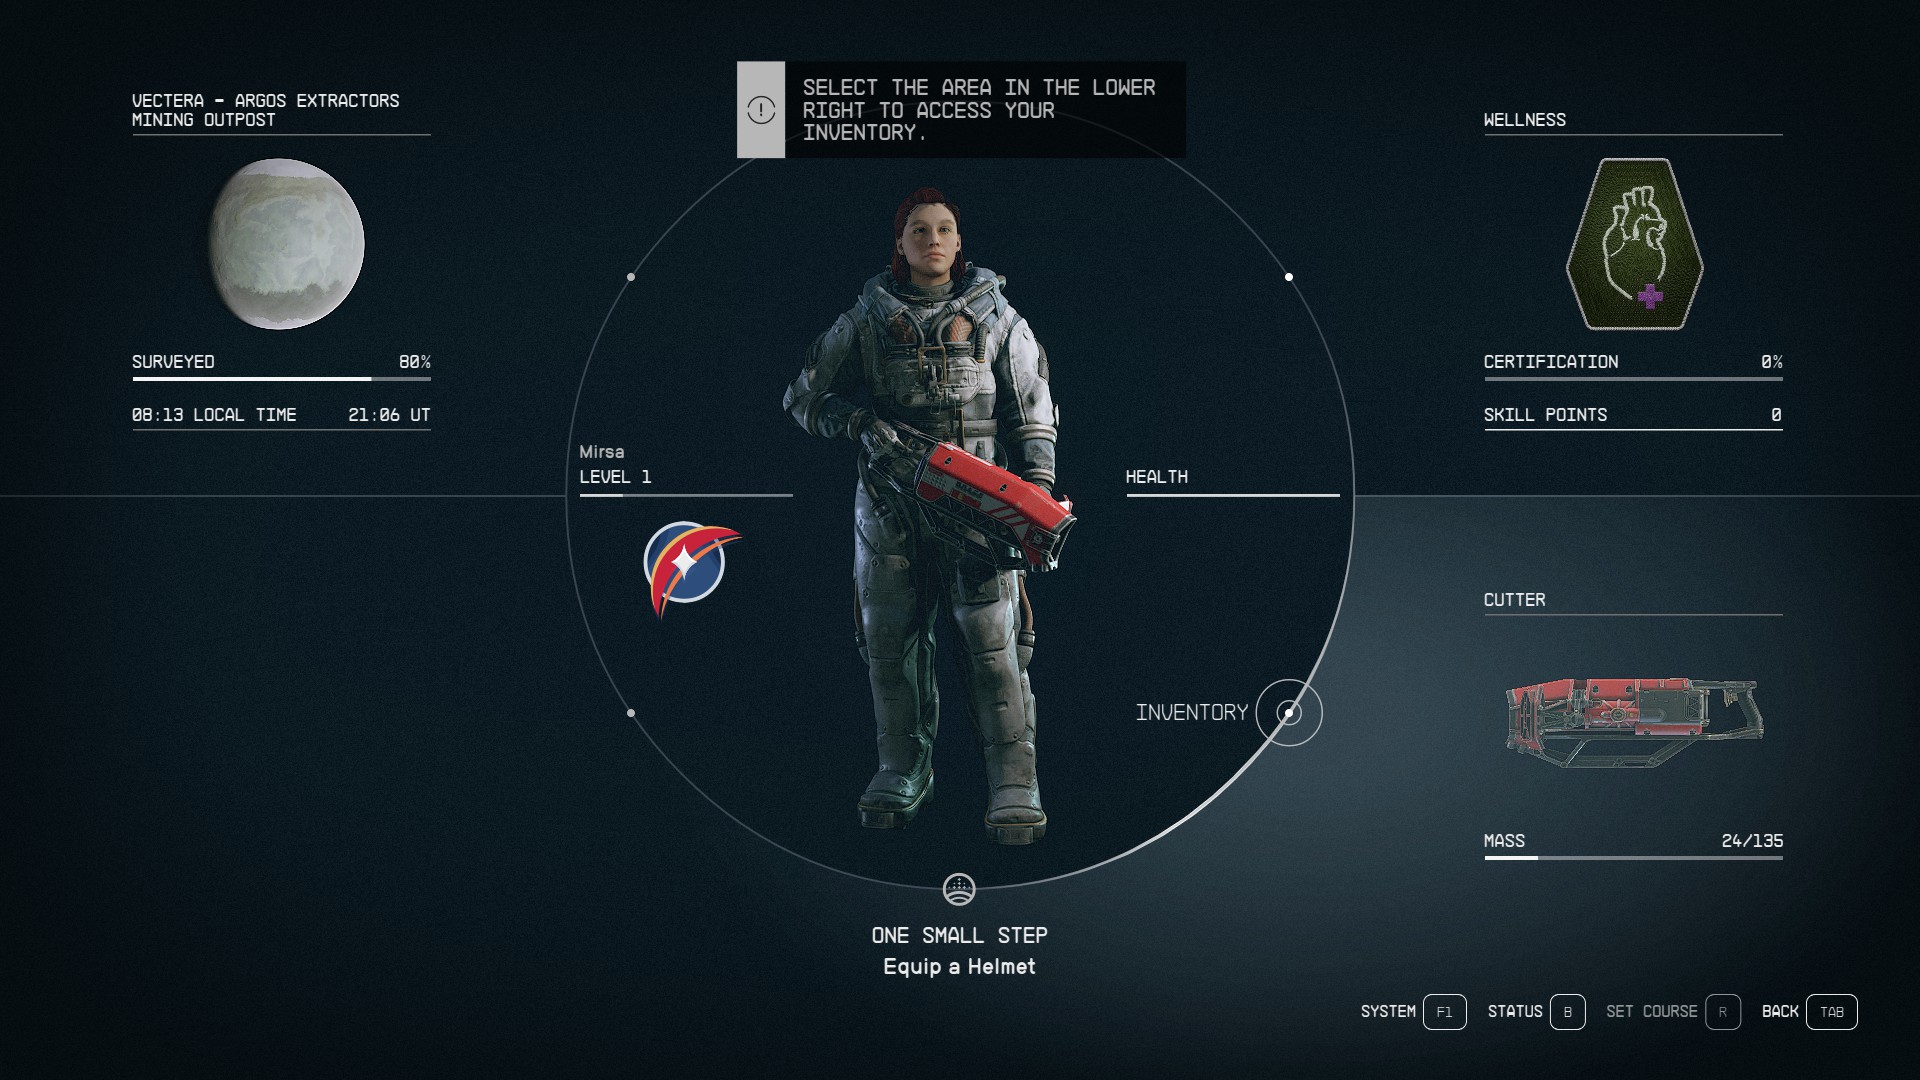
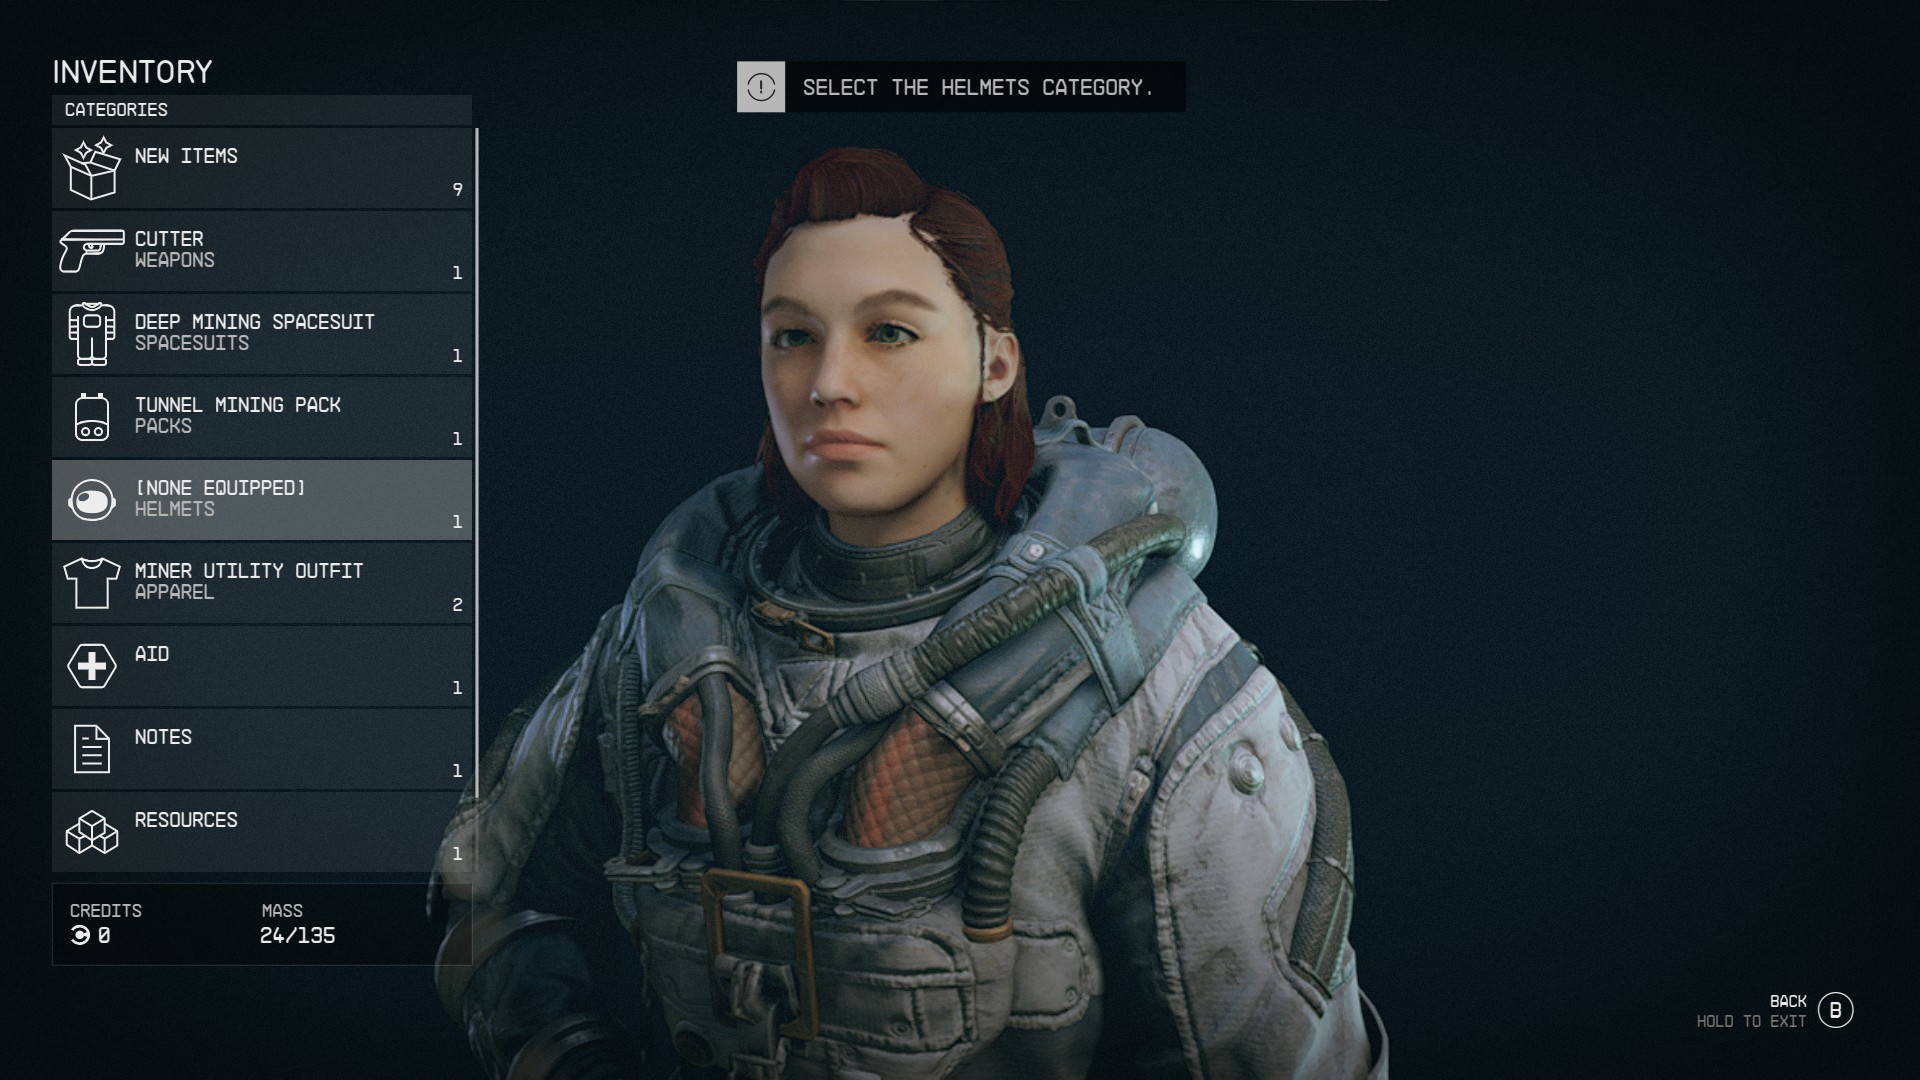
- Before exiting to the outside, put your helmet on by entering the menu.
- Select Inventory.
- Select Helmets
- Select the Deep Mining Space Helmet.
Meet with the Client
- Follow Lin to meet up with the client.
Hold off the Pirates
- Pirates will land and you will be entering combat shortly. Before you continue, make sure to grab the gun from the chest behind you.
- The pirates will exit the ship and attack immediately, be ready to fight back.
Talk to Barrett
Board the Ship
Take off from Vectera
- Navigate to the front of the ship and sit in the pilot seat.
Learn to Fly
- Learn your ship systems. Wait for the prompts in order to follow the tutorial.
- Tip: If you click too quickly, you may end up "skipping" the tutorial and doing the optional step.
(Optional) Power Up All Systems to Skip tutorial
- Optionally, you can power up all systems in order to skip the tutorial.
- This is not recommended if this is your first time.
- To change the power distribution of your starship, you can switch through the different systems in the bottom using
- PC Keyboard: [Z] and [X] on PC to go left to right, and [C] and [V] to add/remove power.
- You can also use the arrow keys to switch systems and add/remove power.
- Xbox Controller: Use the left and right arrows on the D-pad to choose the system, and the up and down arrows to add/remove power.
- PC Keyboard: [Z] and [X] on PC to go left to right, and [C] and [V] to add/remove power.
Deal with the Crimson Fleet
- You need to destroy the Crimson Fleet ships that arrive. You can find more information about ship combat in the following article: Combat - Starships - Starfield
Travel to Kreet
- Select Kreet on the map and Fast Travel to it. For more information about Fast Travel, visit our article: How do I fast travel in Starfield?
Land at the Kreet Research Base
- After you land in the Narion System, look for the blue marker on the planet Kreet and look for the icon for Kreet Research Lab.
- Select the Kreet Research Lab and hold down the button for "LAND" to land at the Kreet Research Lab.
Deal with the Crimson Fleet Captain
- After you land, approach the Lab where you will find multiple members of the Crimson Fleet that you will need to fight.
- Remember to loot and keep an eye on how much you are carrying to avoid becoming Encumbered.
- Climb up the ladder when you are finished exploring and killing.
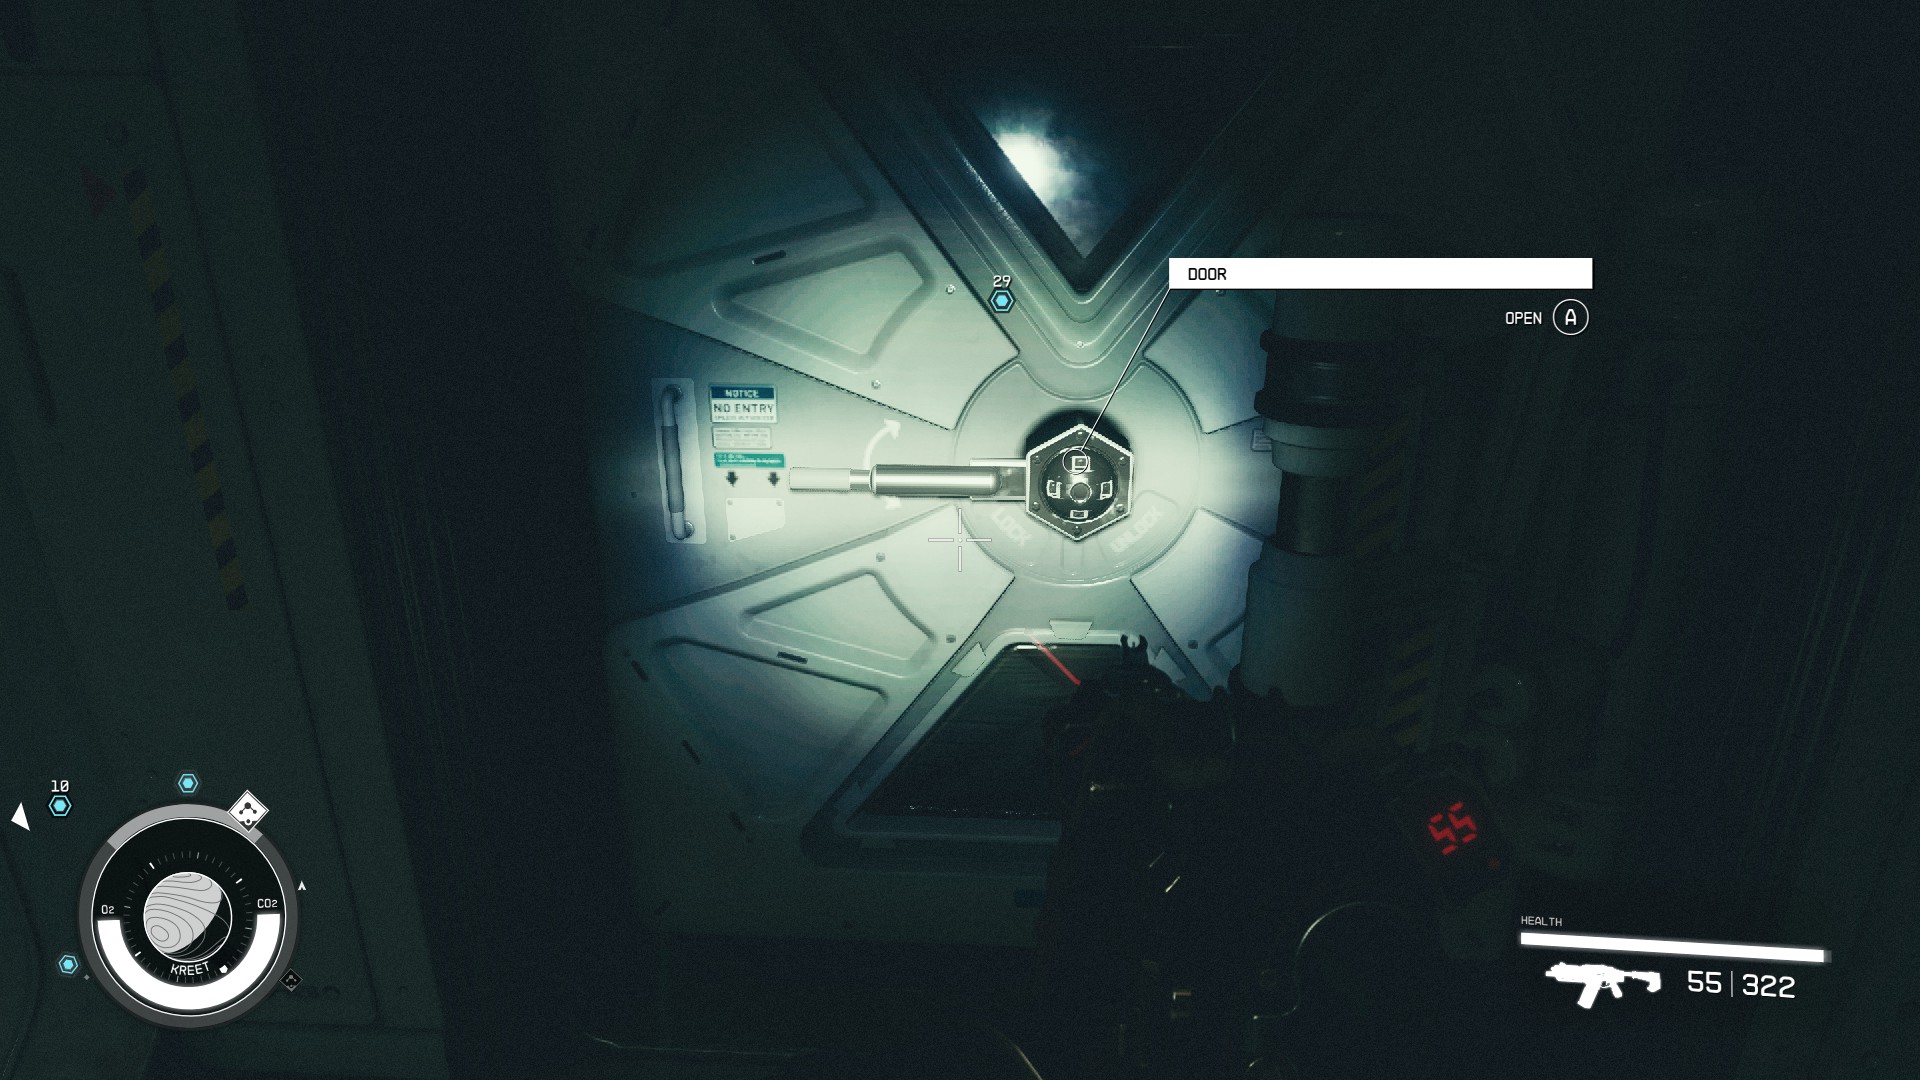
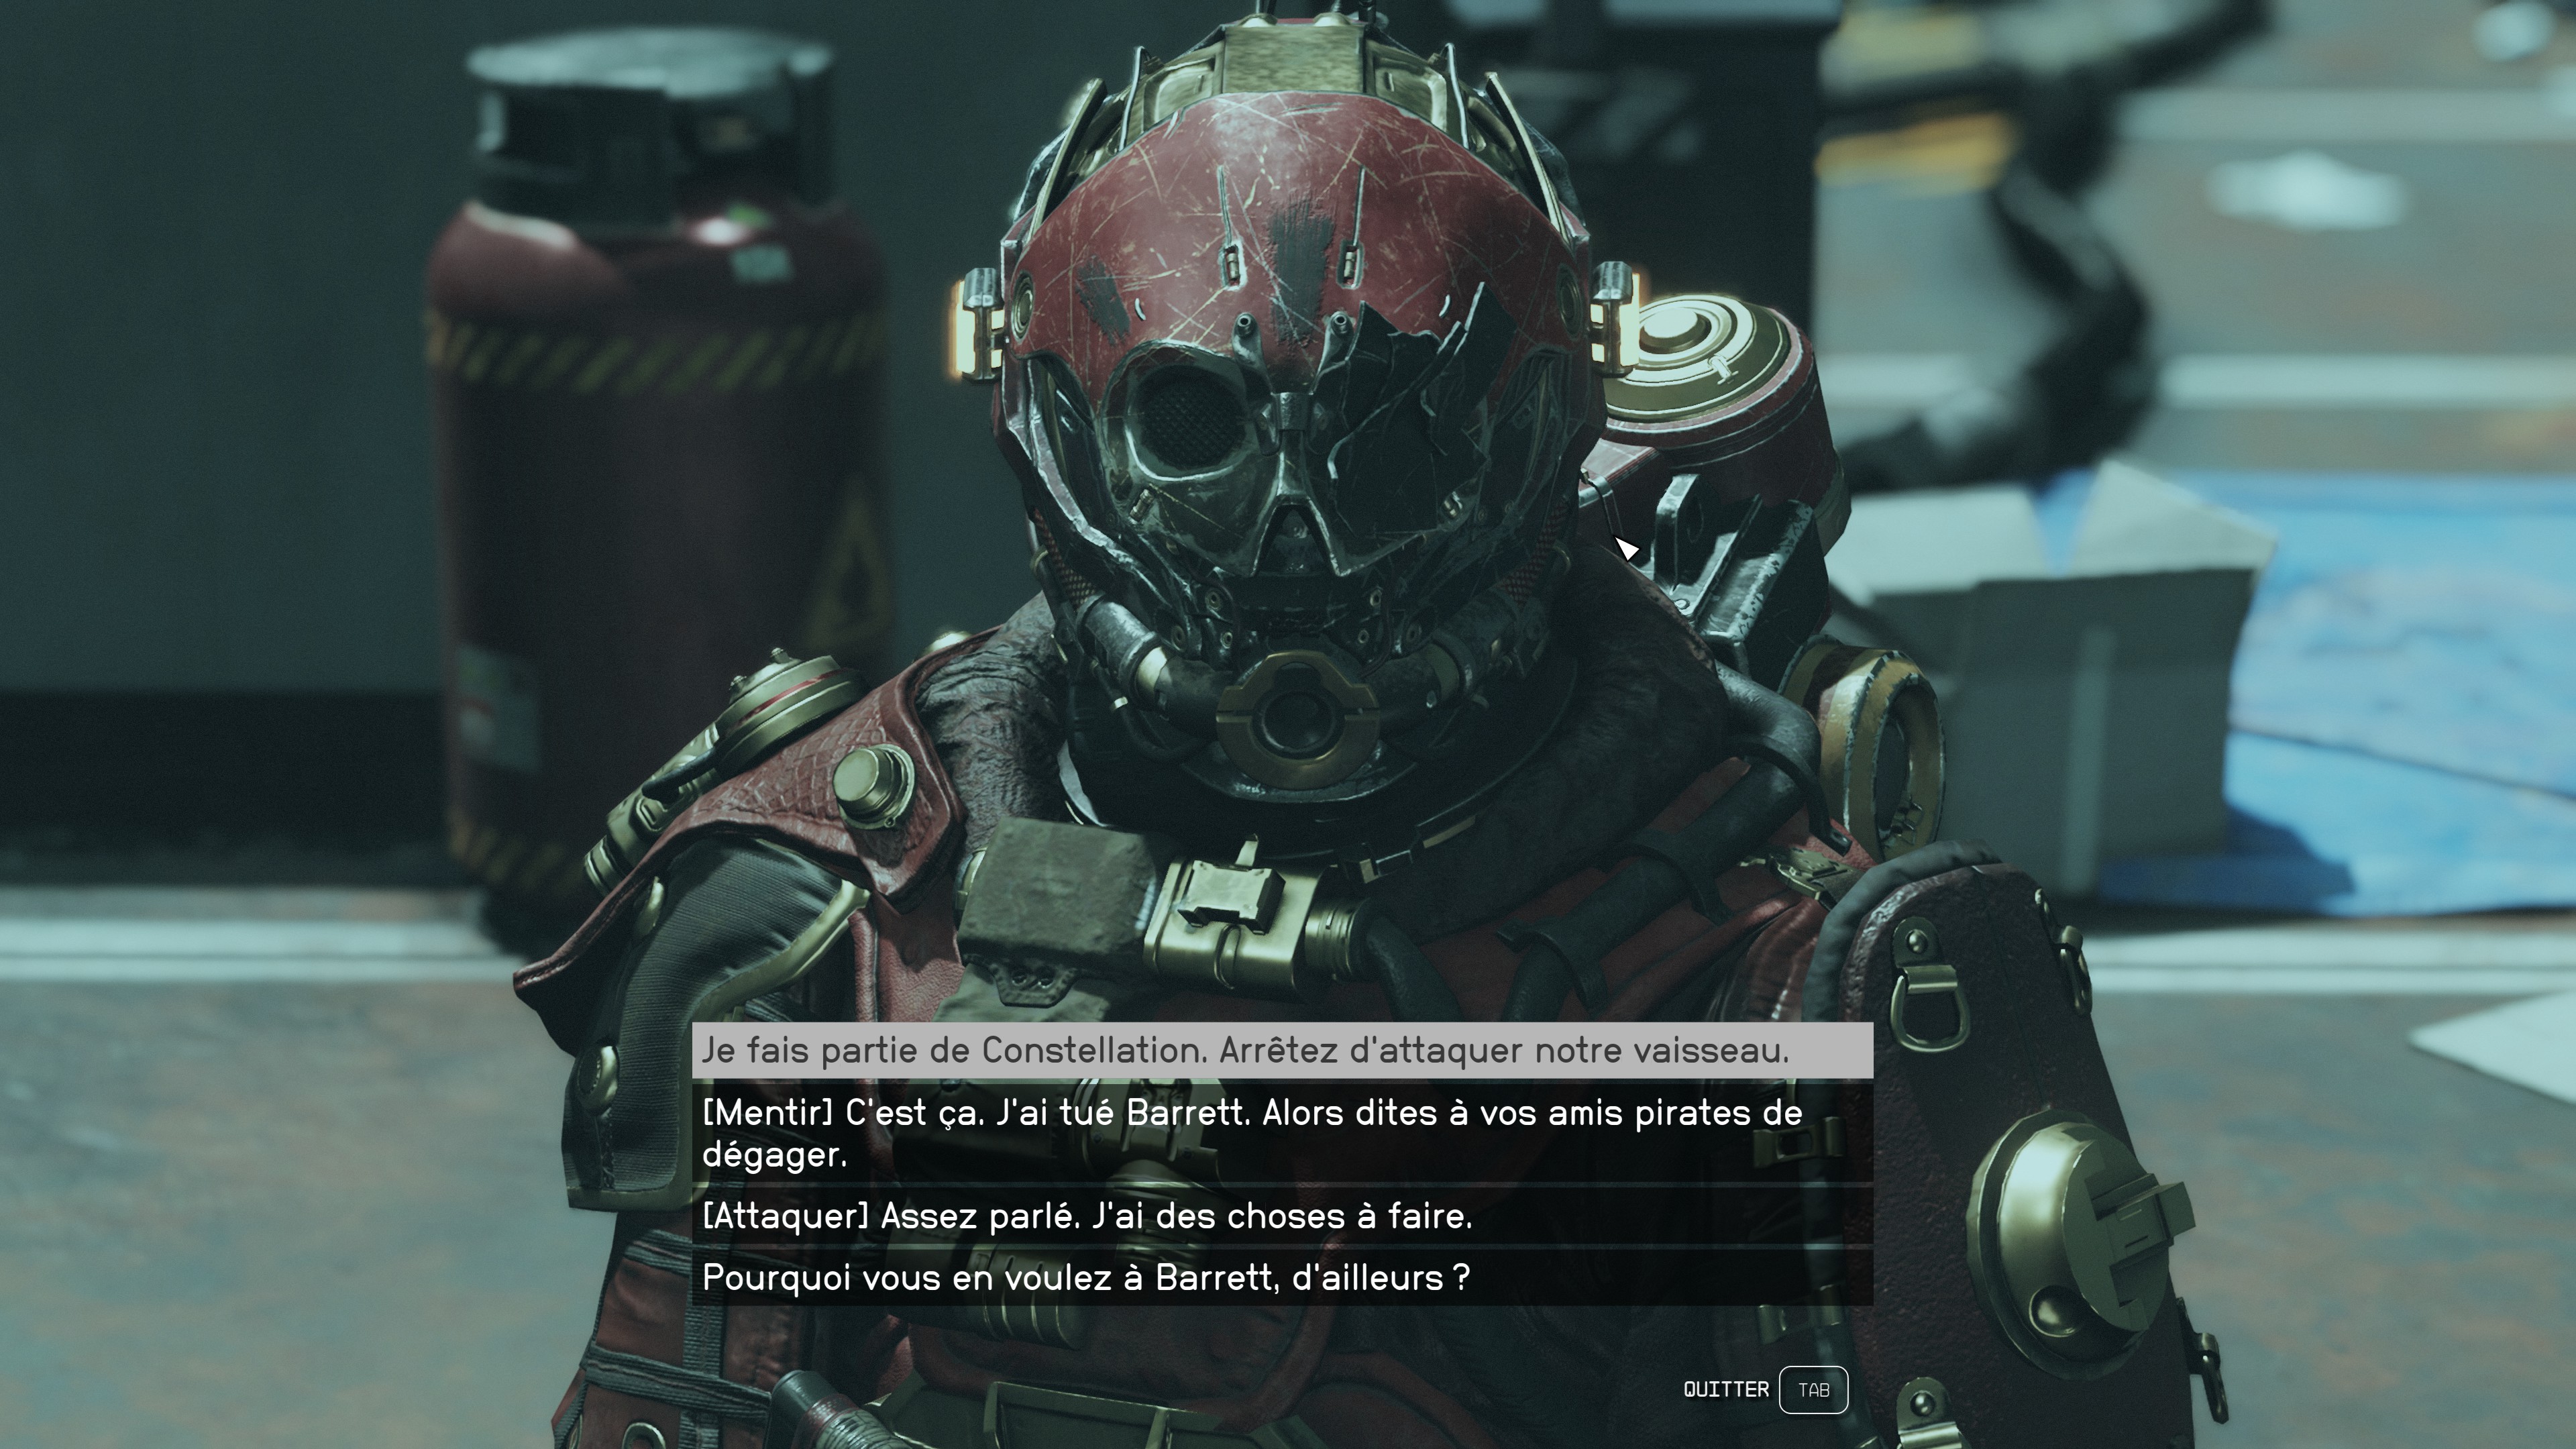
- Open the door, the Crimson Fleet Captain will be on the other side. When you step through the doorway, the captain will start talking to you.
- You can choose to persuade them not to take your ship or engage them in combat.
Return to the Ship
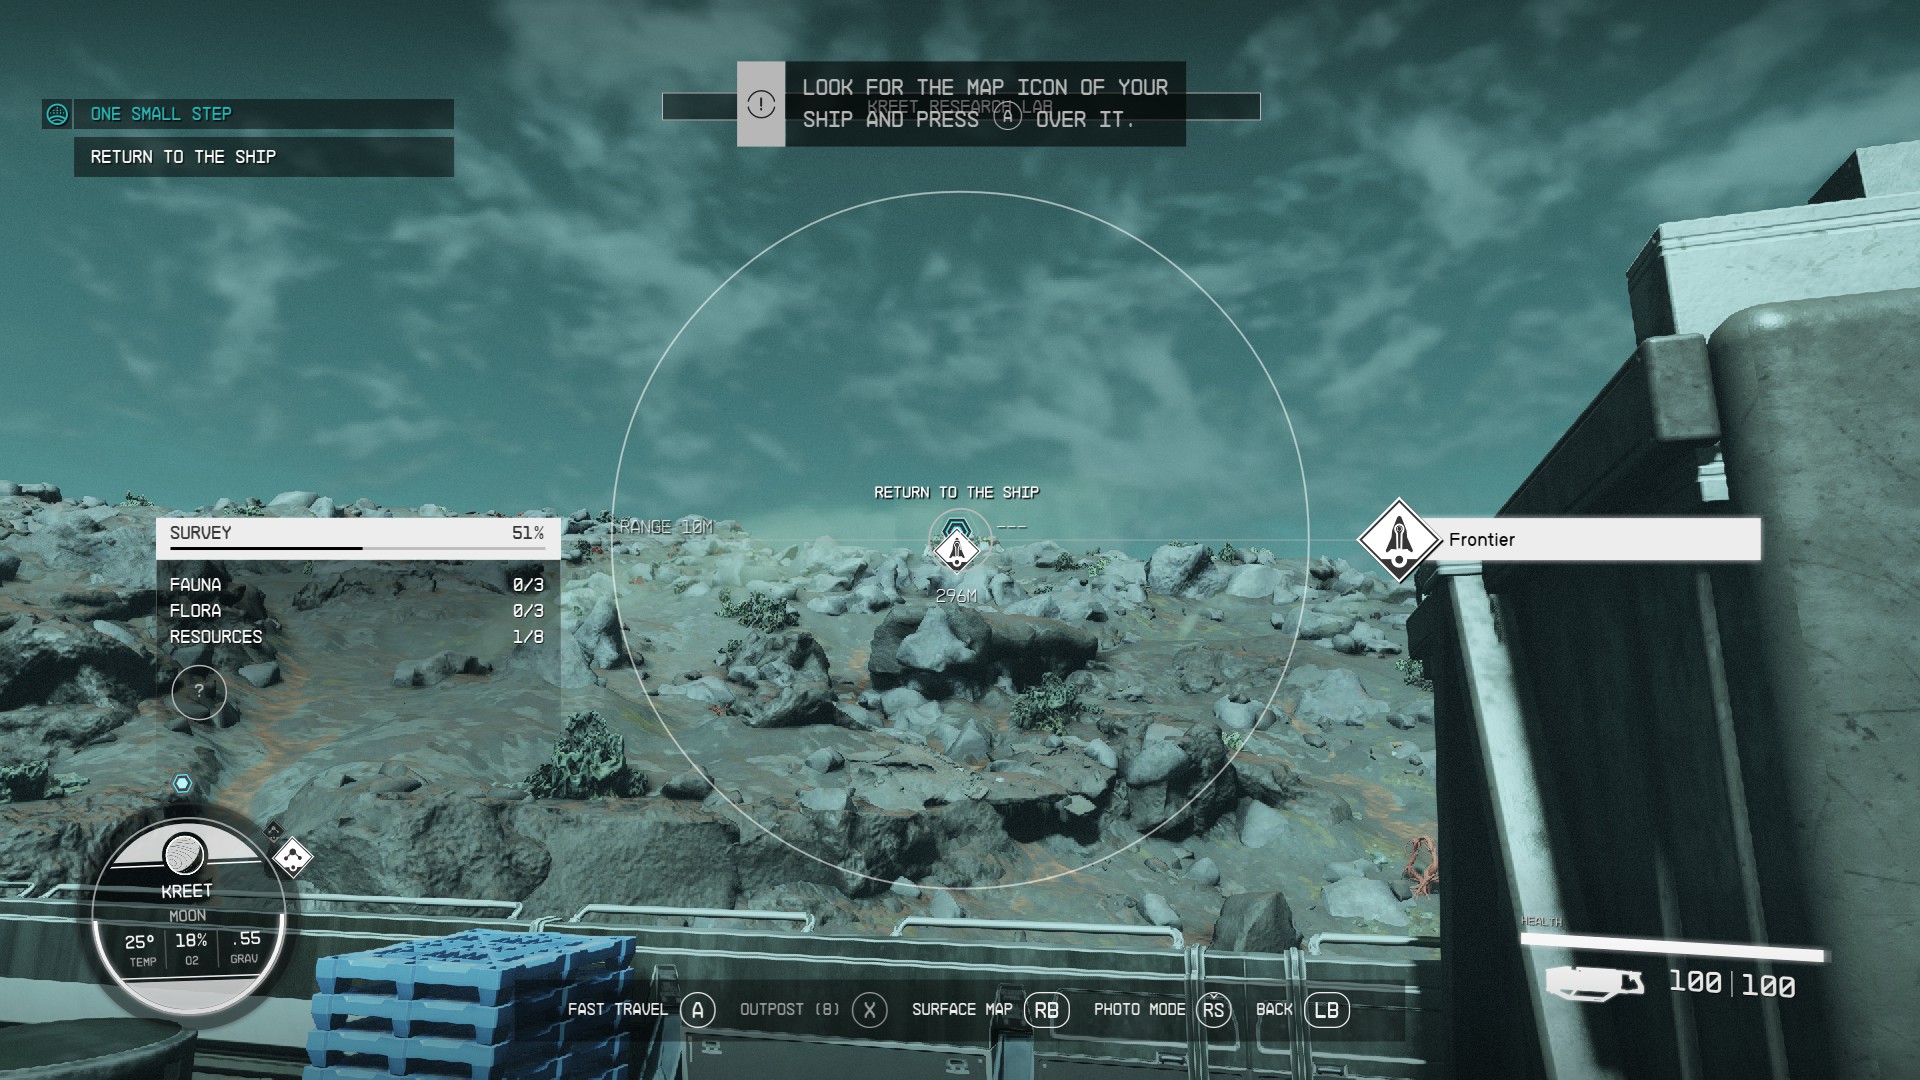
- Travel back to your ship.
- If you use your scanner, you can highlight your ship to fast travel back to it.
- You can enable the scanner by pressing the [F] (Keyboard) or [LB] (Xbox).
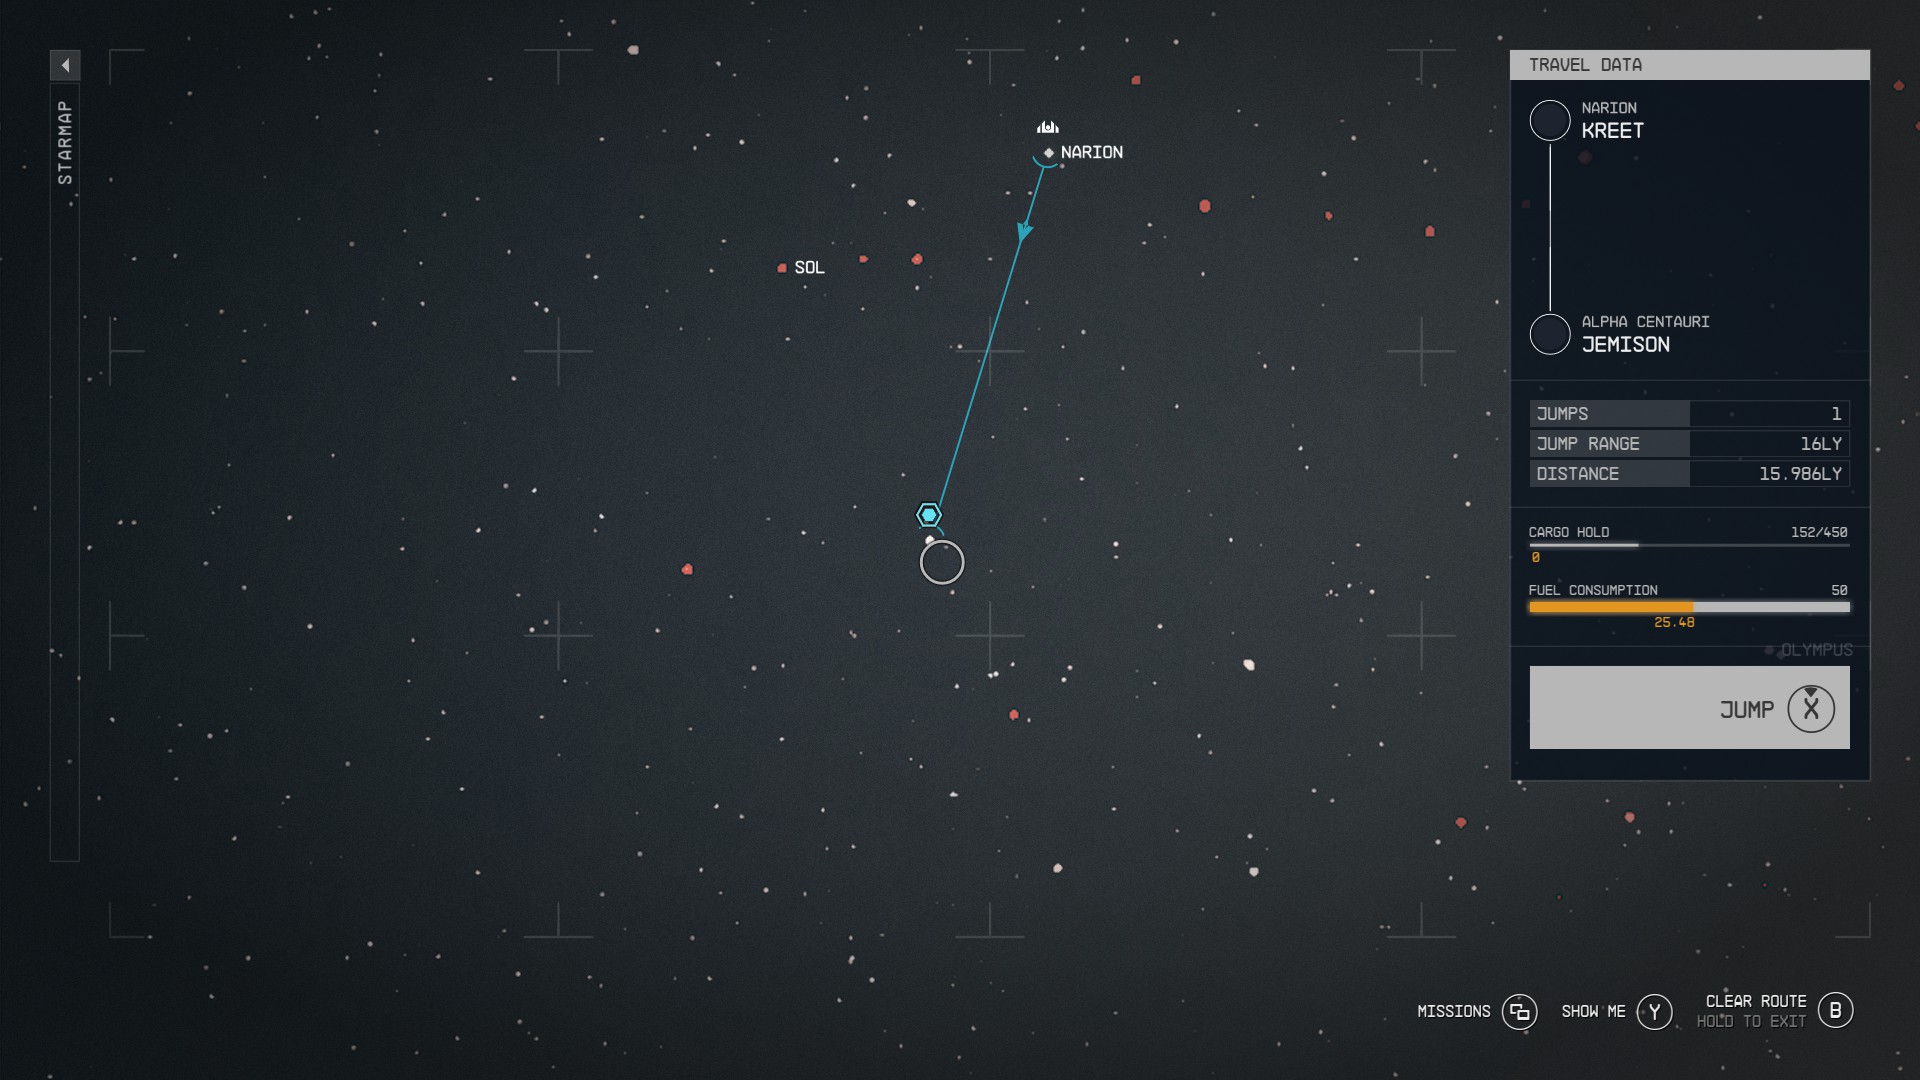
Grav Jump to Jemison
- Travel to Alpha Centuri
- Travel to New Atlantis.
Land at New Atlantis
- Select "New Atlantis" on your map and choose the option to land.
Go to the Lodge (Mast District)
- Follow the mission marker which will take you to the NAT (New Atlantis Transit) and go to the MAST District.
- Enter the lodge.
Enter the Library
Talk to Sarah
Listen to the Meeting
- Stay nearby to listen in on the meeting.
Place the Artifact
Listen to the Meeting
- Stay nearby once more while the members of Constellation speak to each other.
