Entangled
| Entangled | |
|---|---|
| |
| Information | |
| Type | Main Mission |
| Number | 16 |
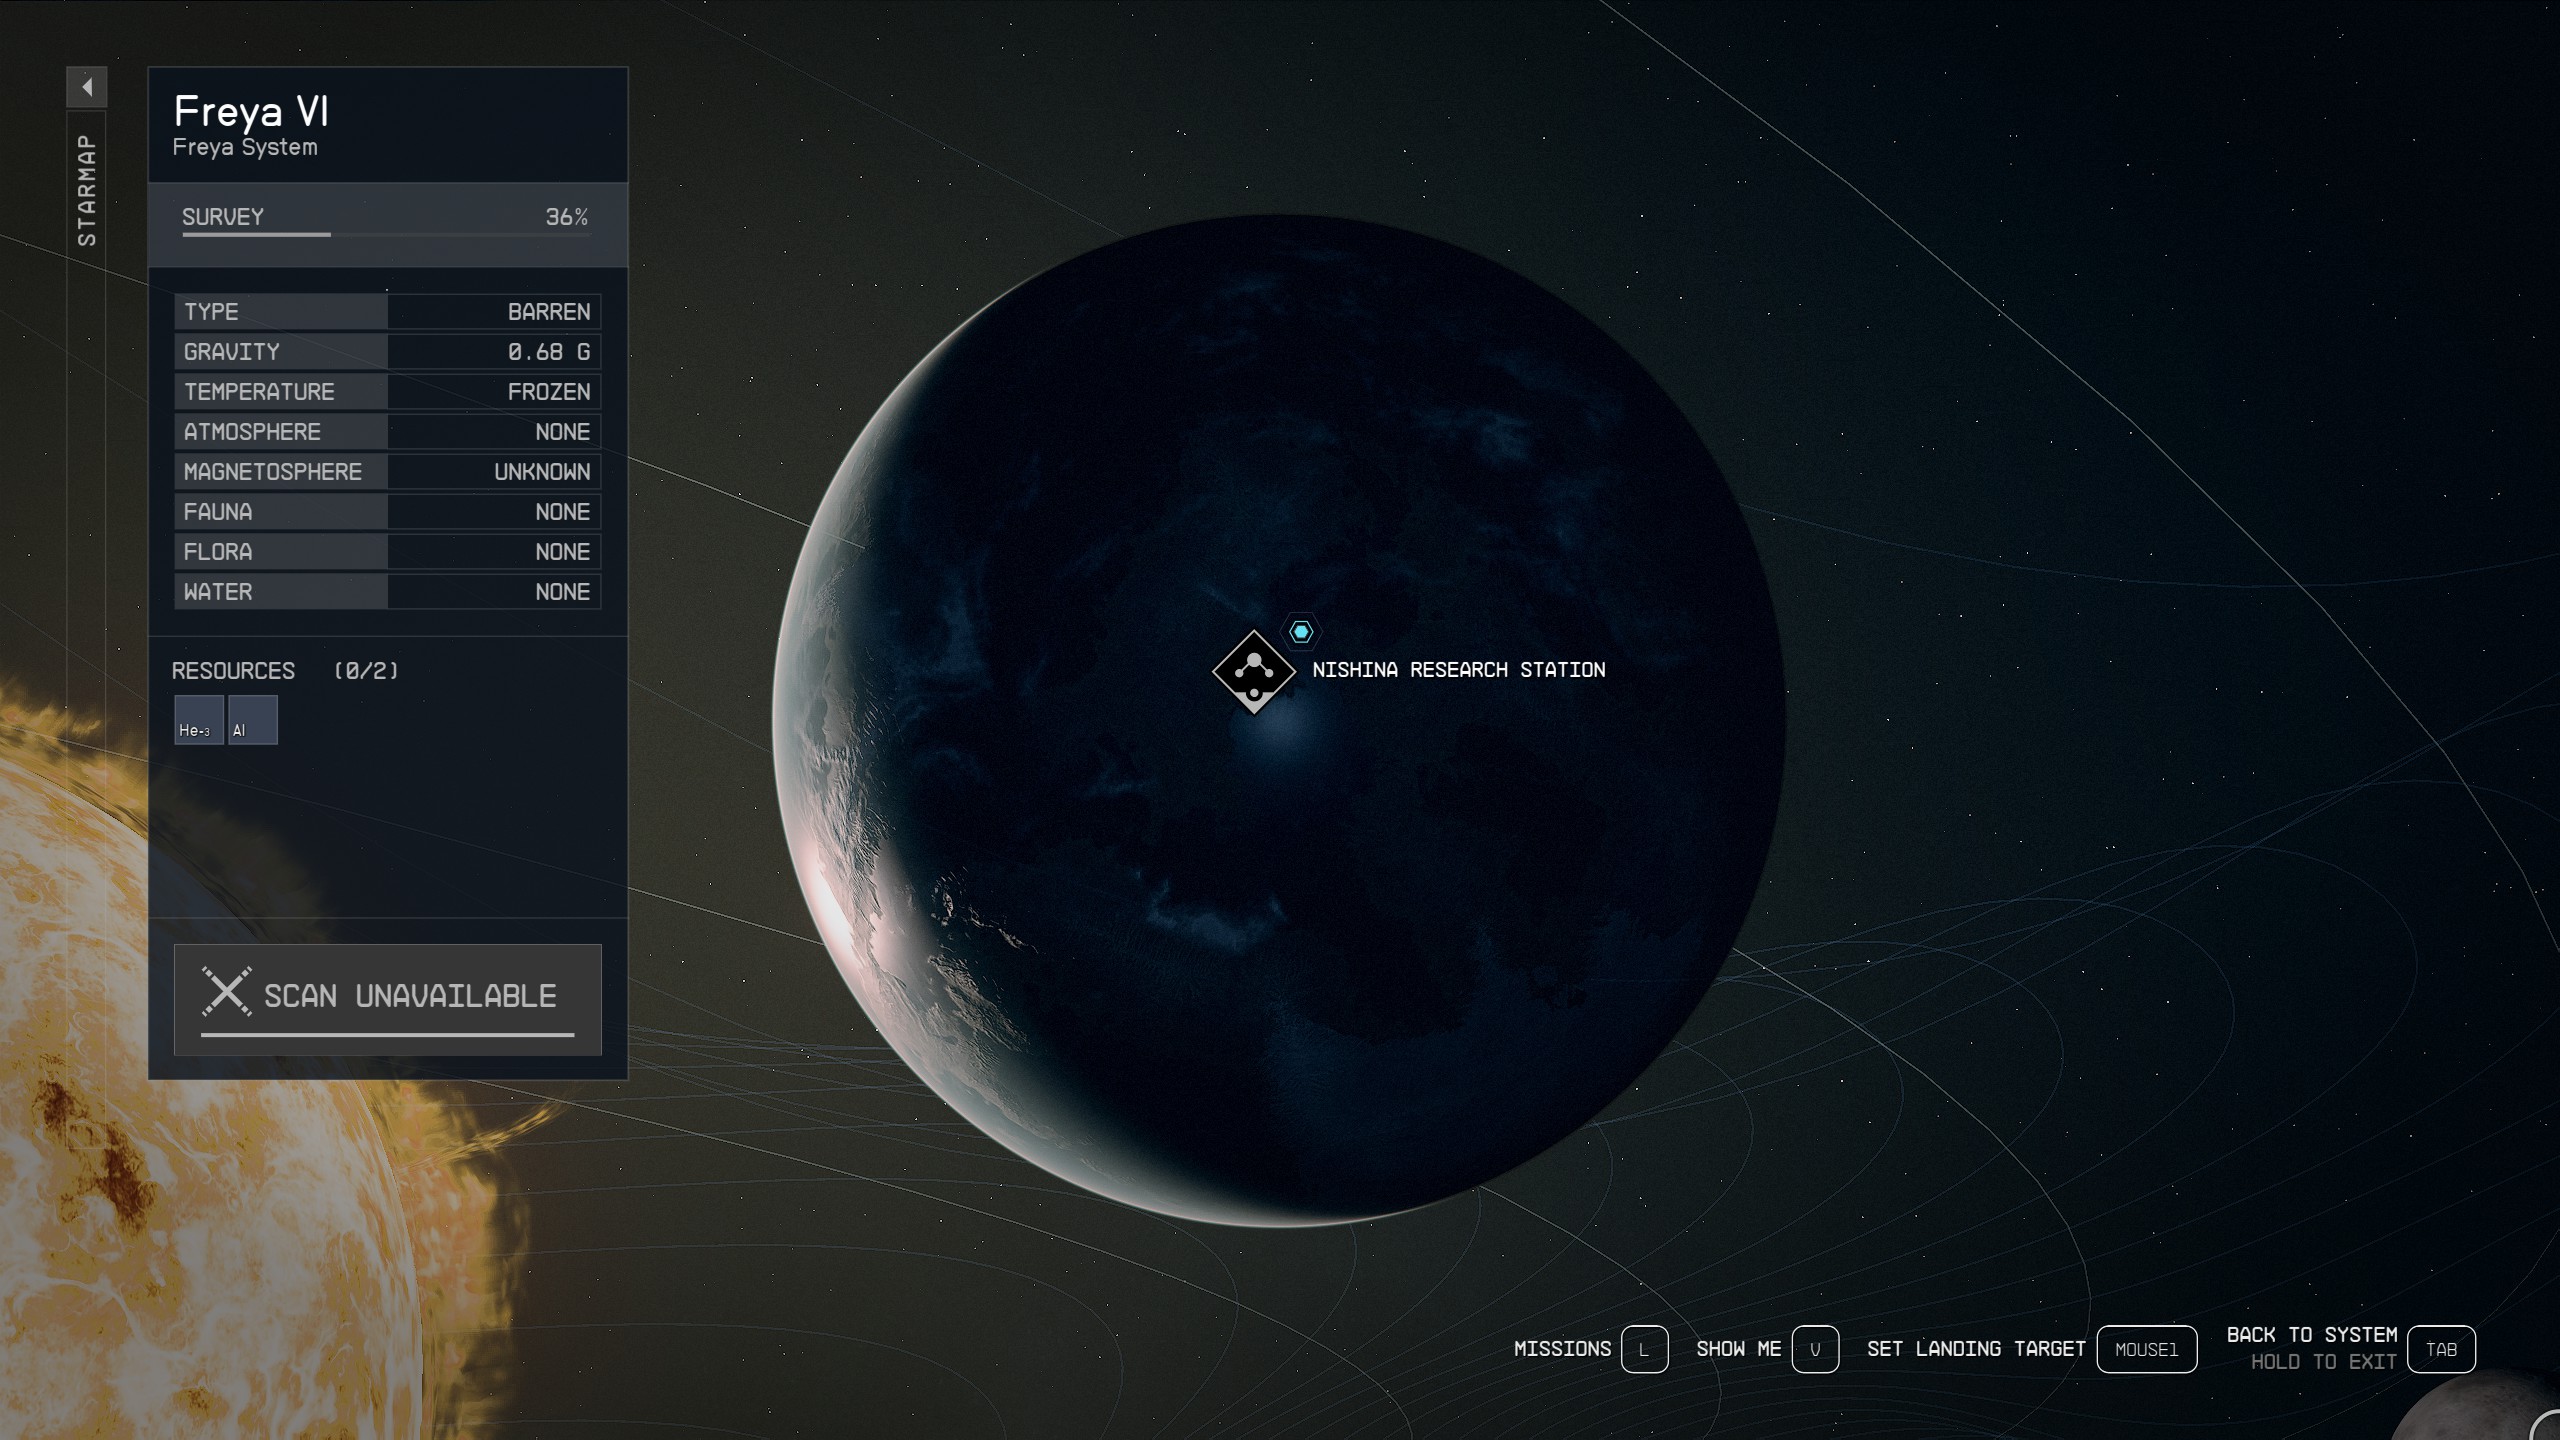
| Location | Nishina Research Station on Freya III |
| Starting NPC | Freya III |
| Description | I need to make my way to the High Energy Research Lab. |
| Reward | 800 XP, 7500 Credits |
| Achievement | Entangled (Achievement) |
| Previous Mission | High Price to Pay |
| Concurrent Mission | In Their Footsteps, Final Glimpses |
| Next Mission | Unearthed |
| Patch | 1.0 |
Entangled is the mission 16 of Main Mission.
Walkthrough
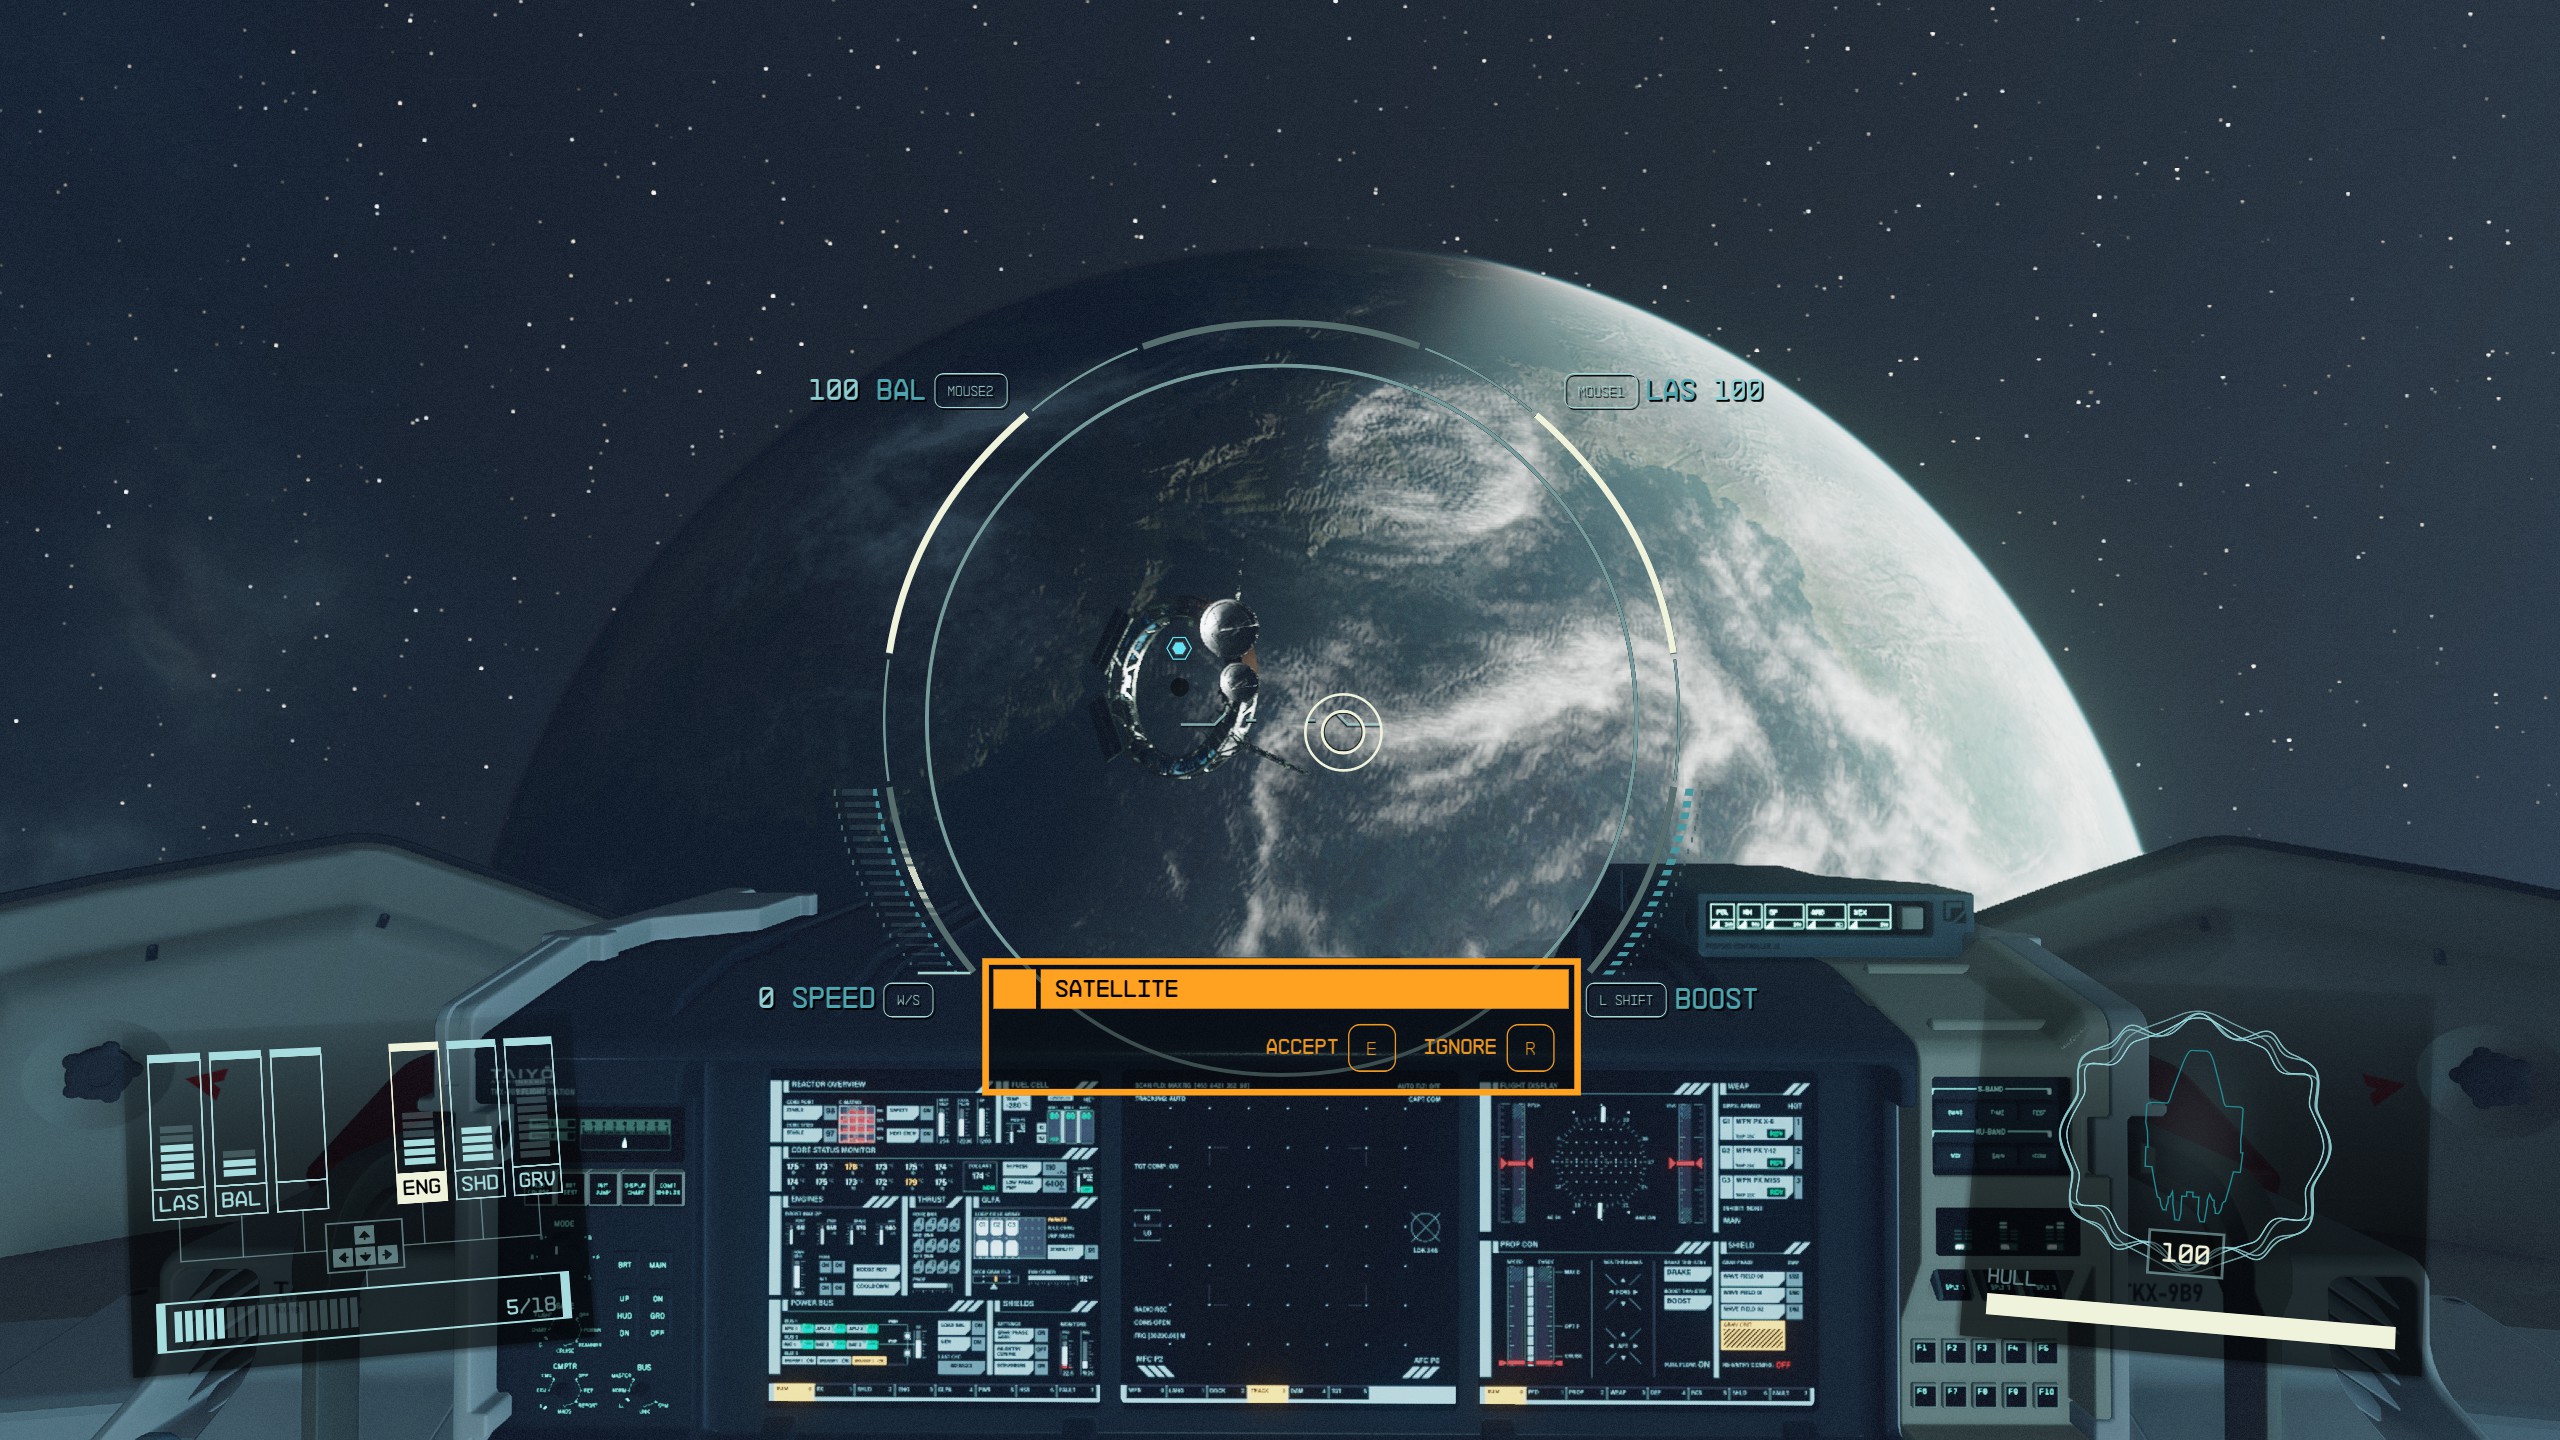
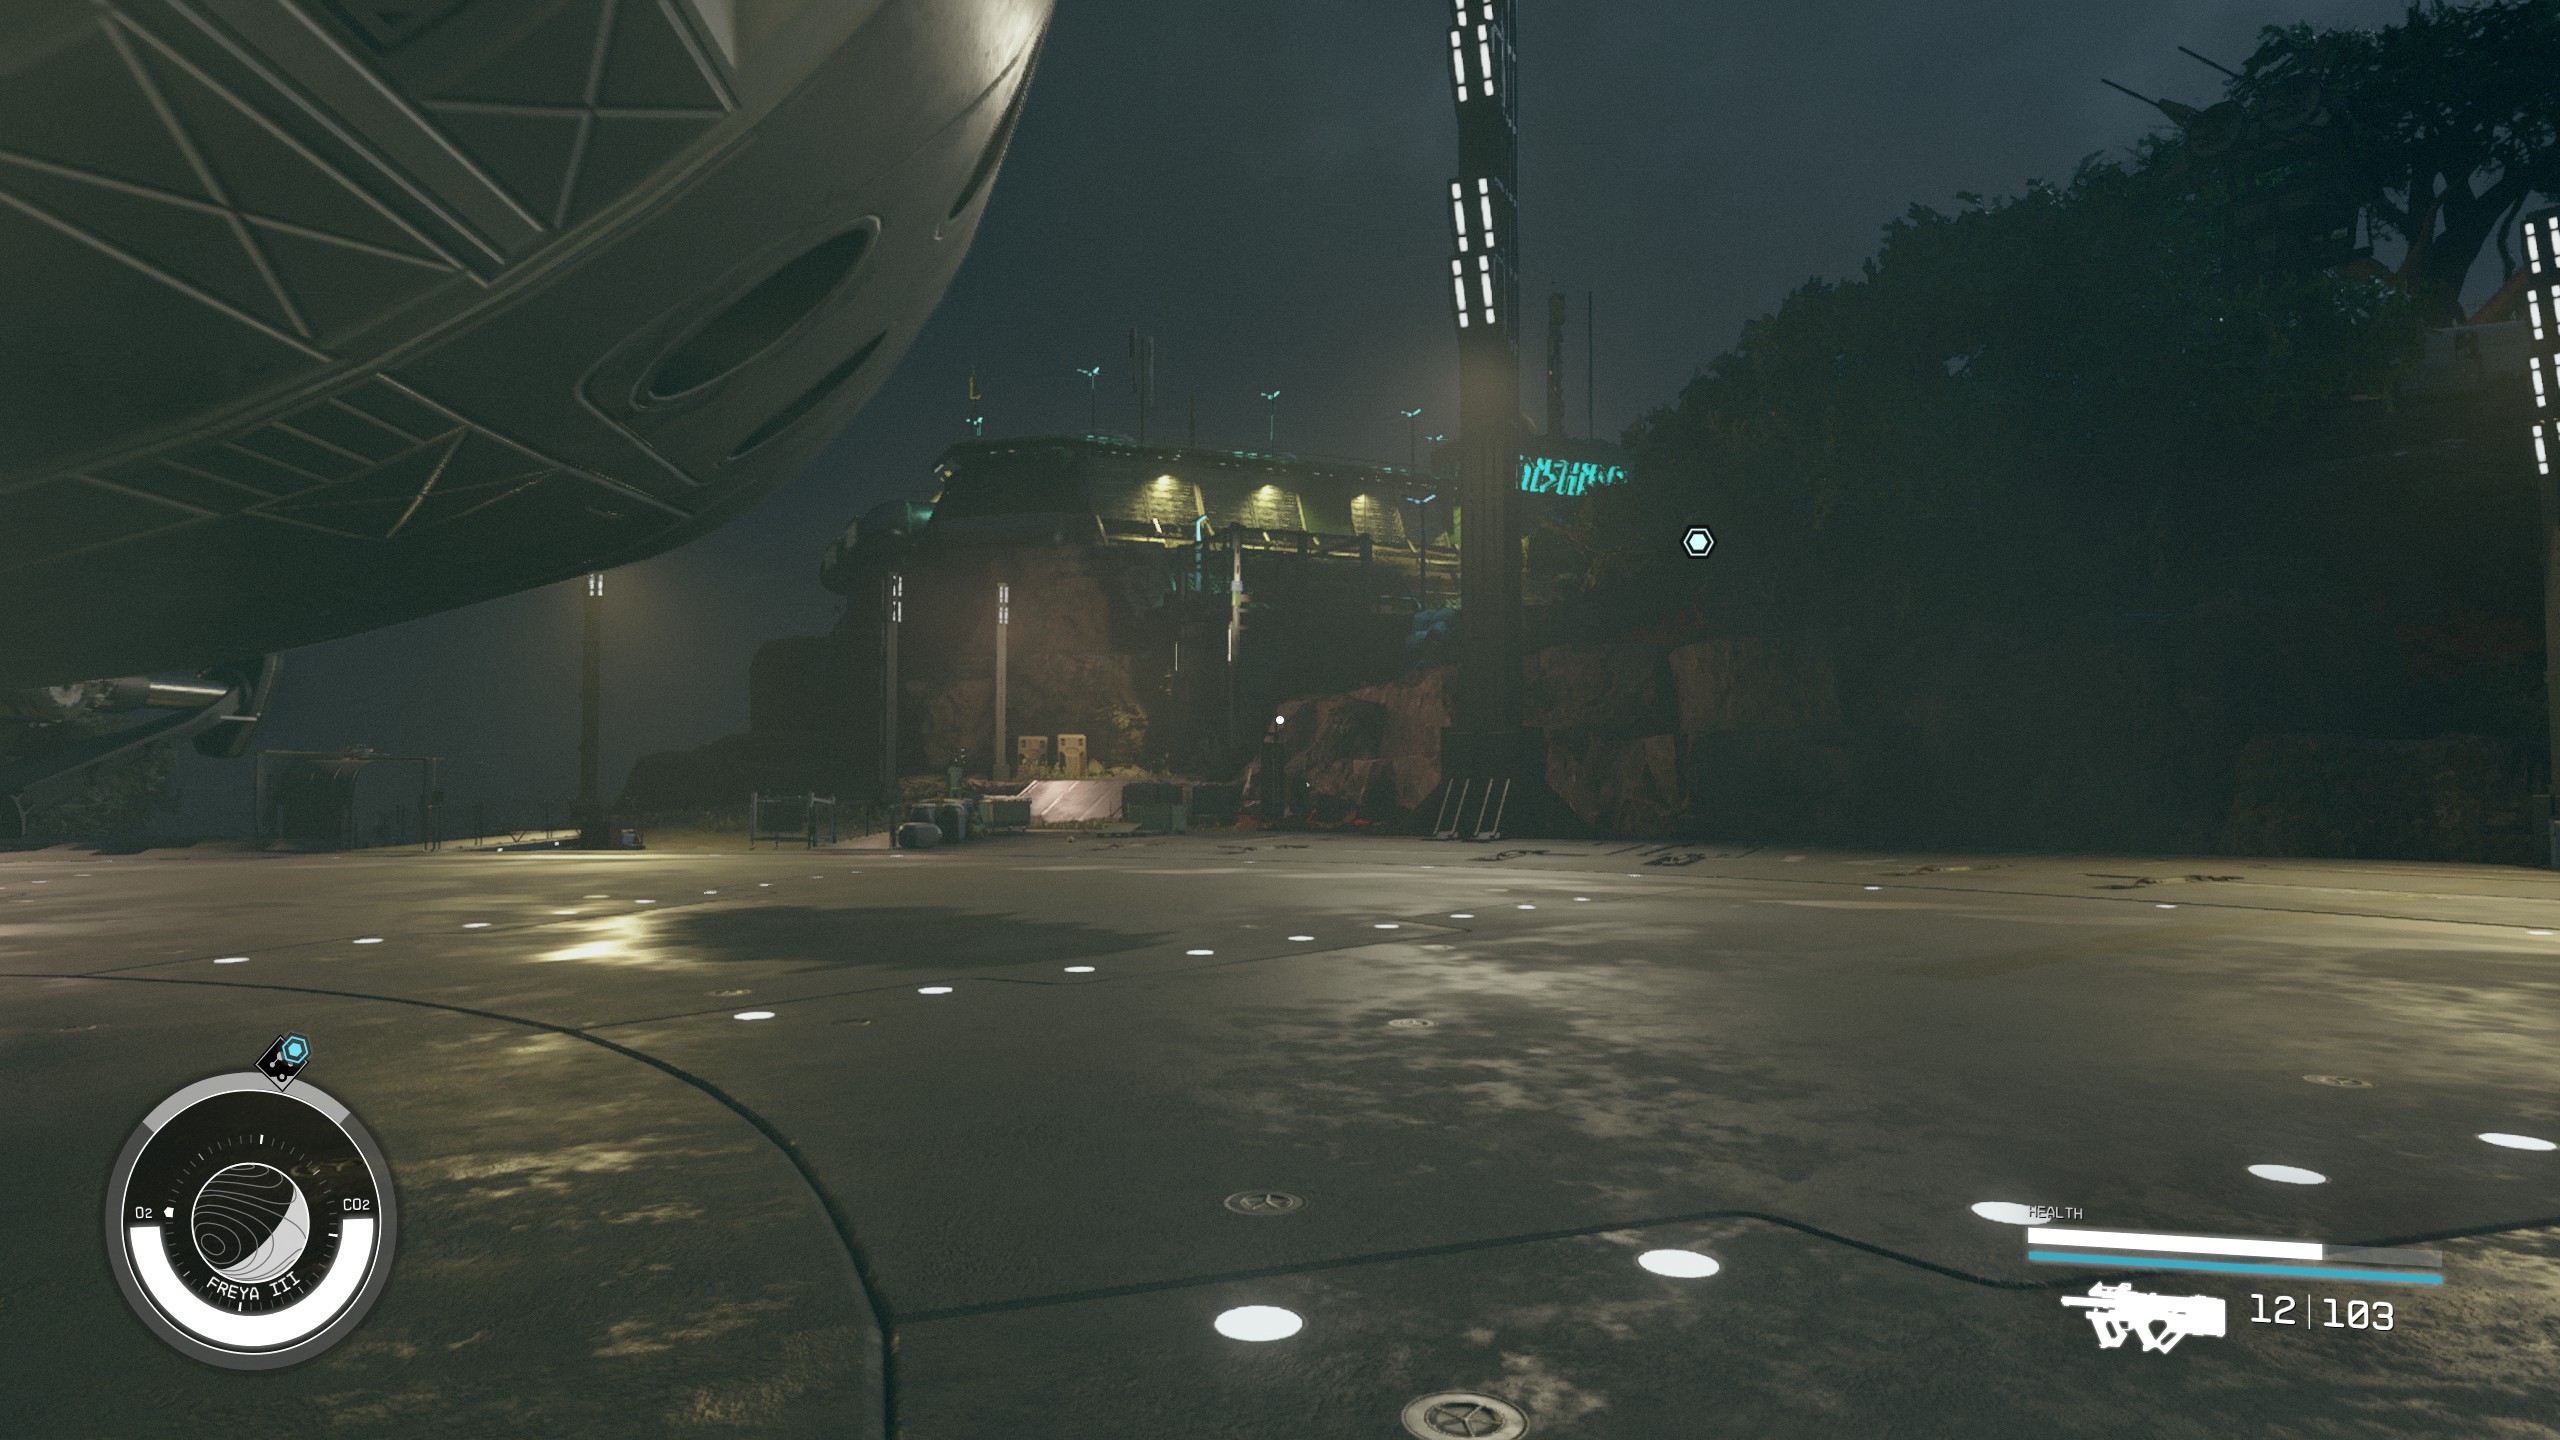
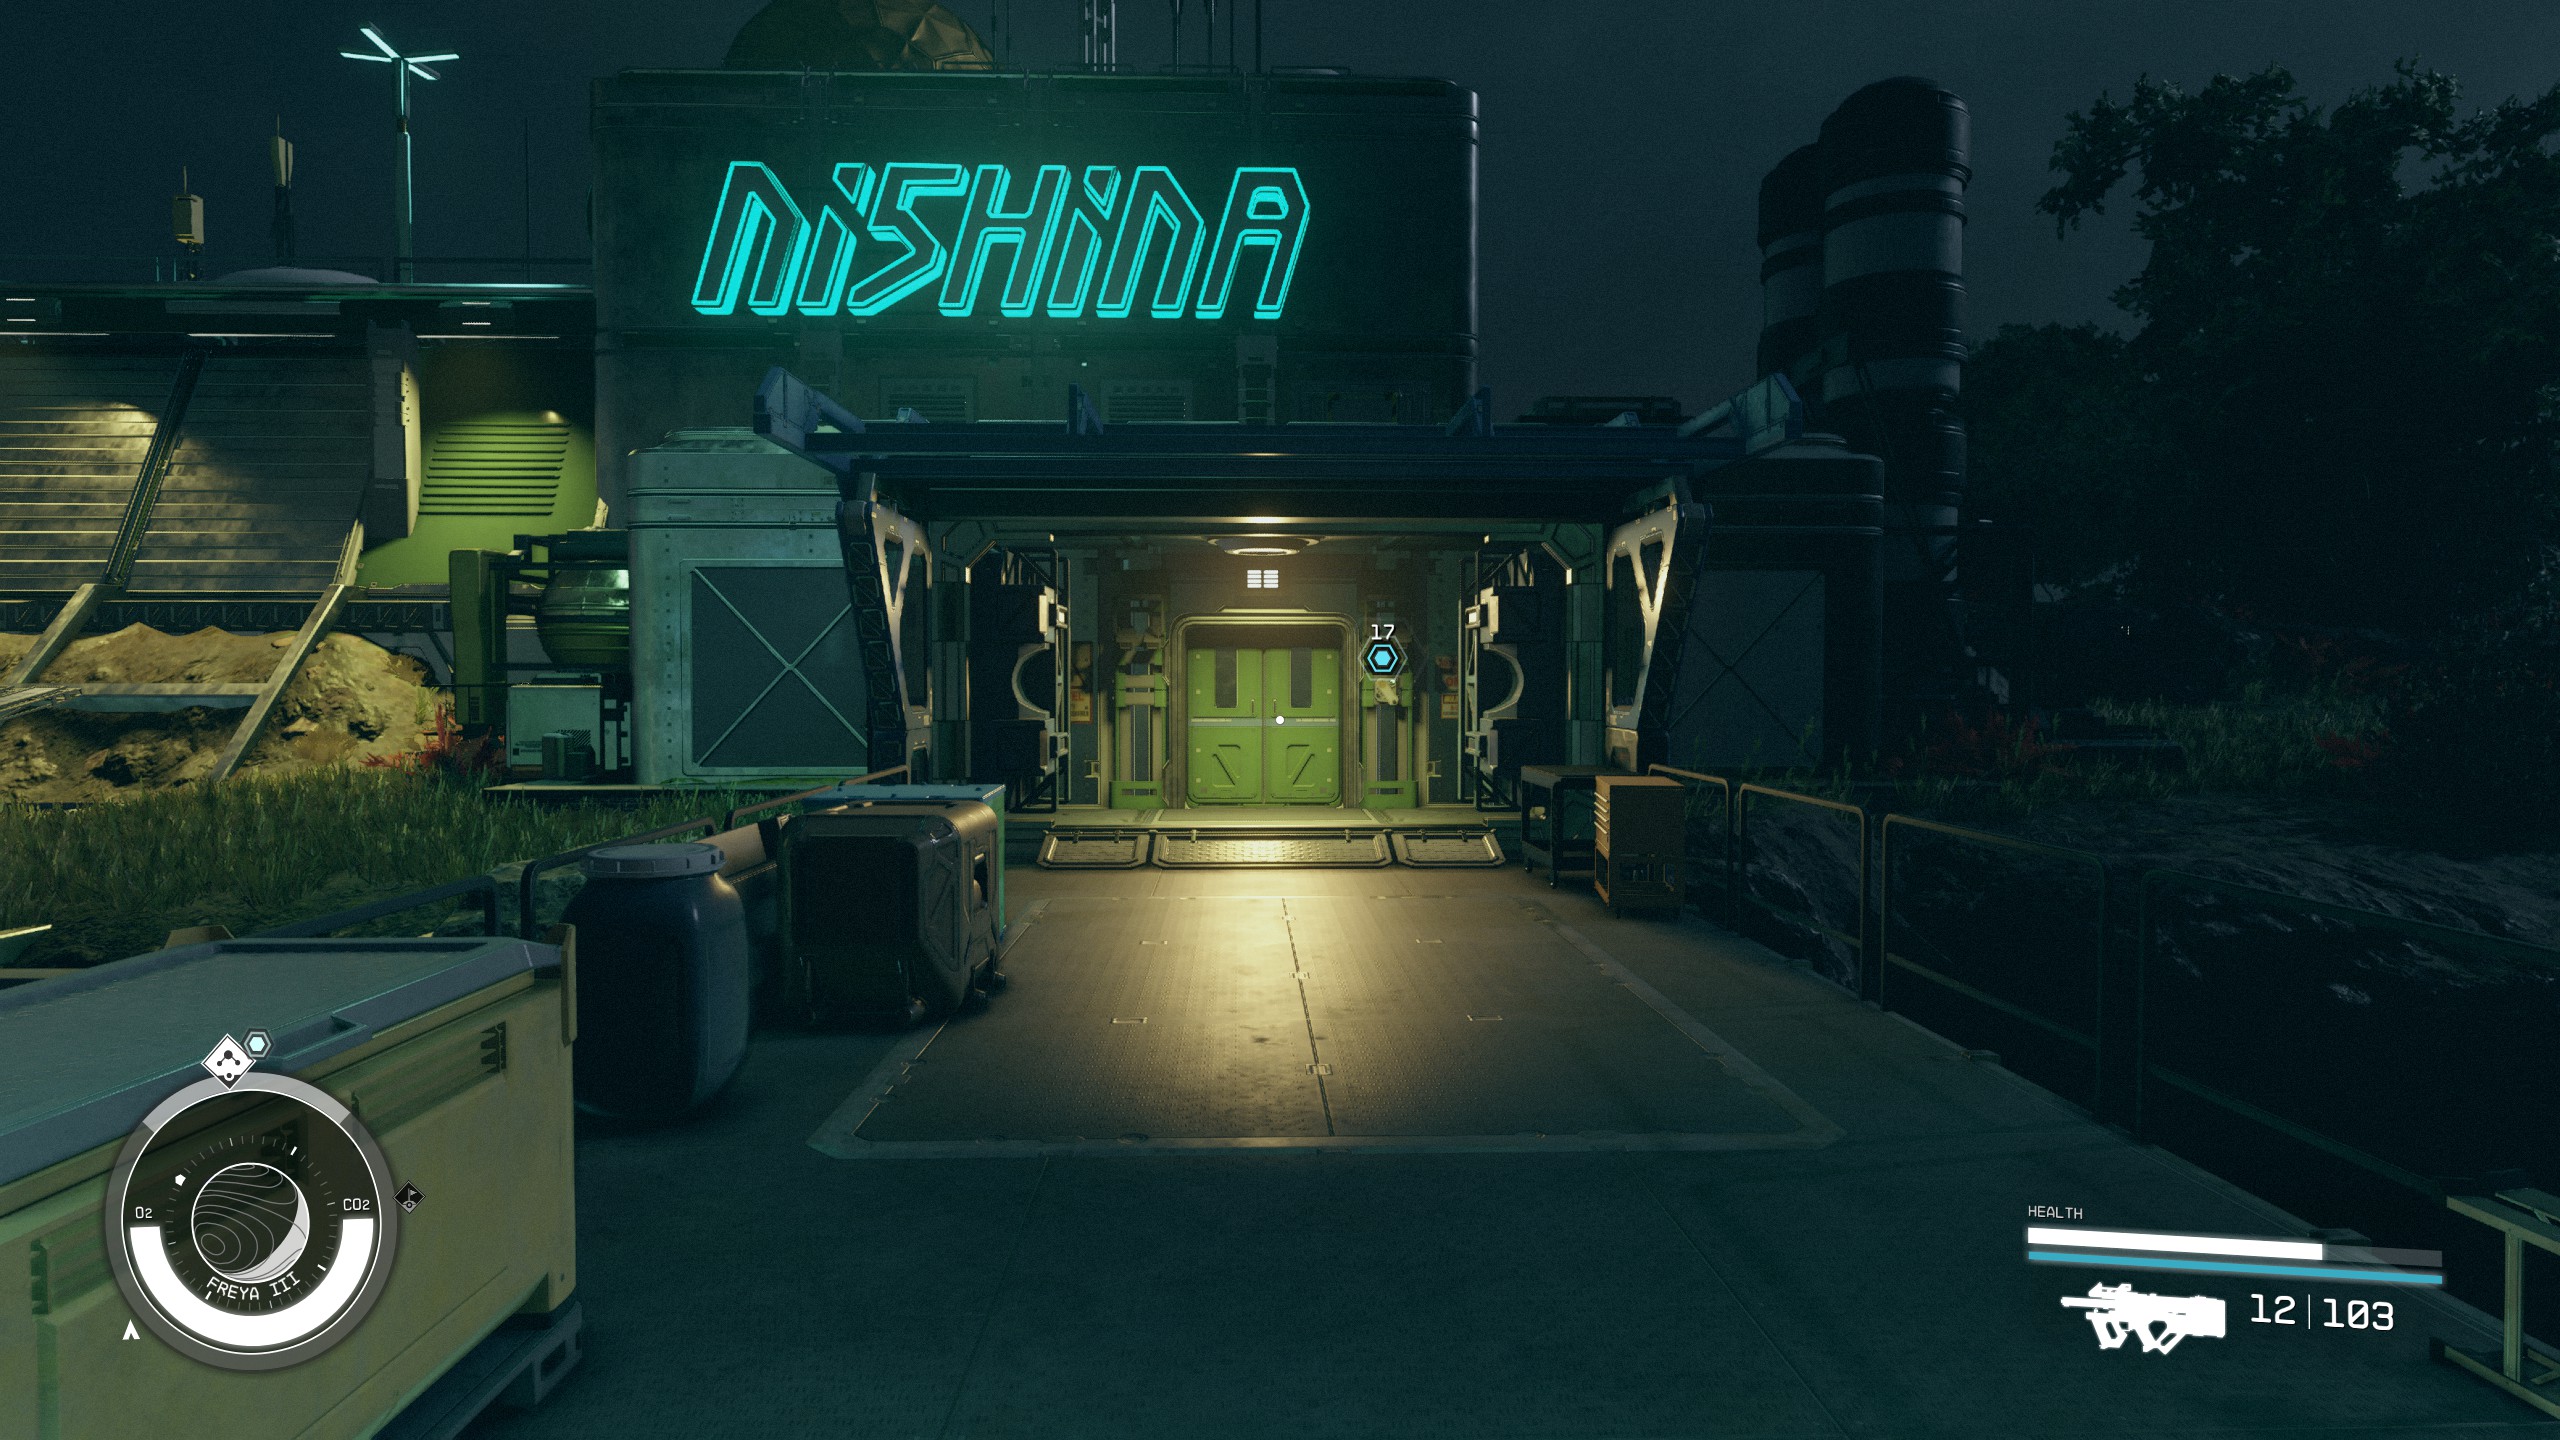
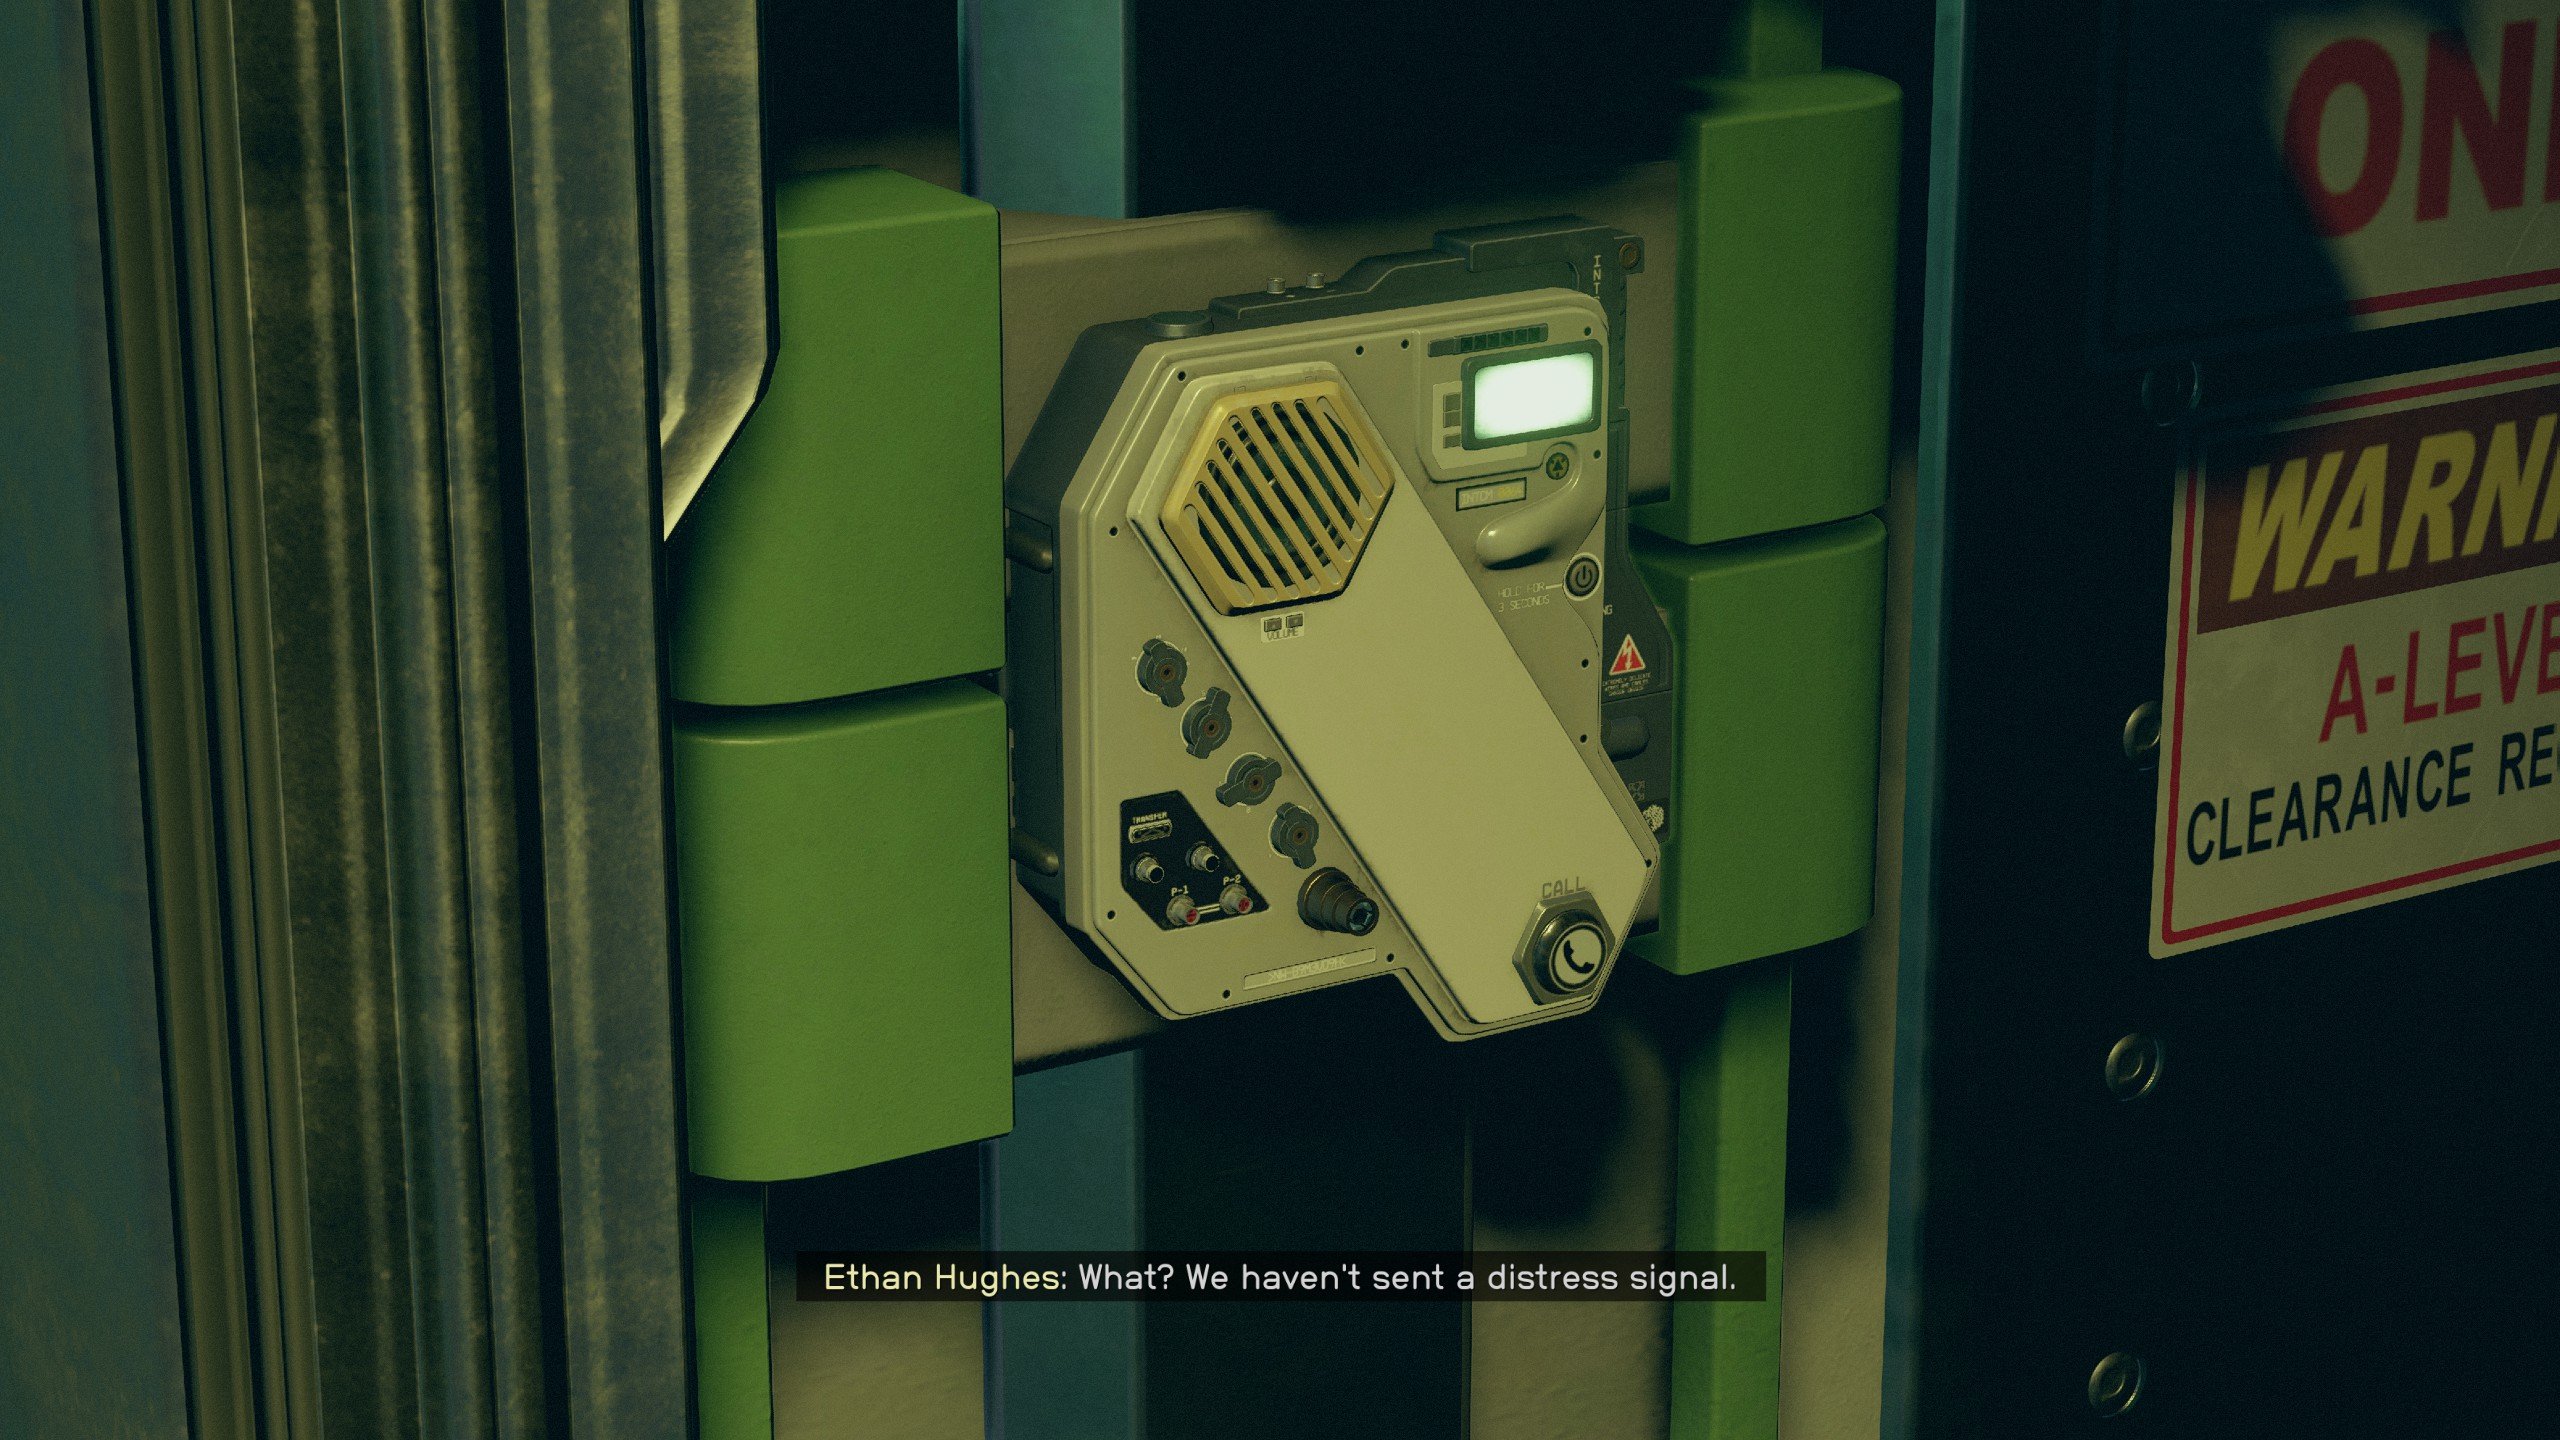
As you descend onto Freya III, your scanner picks up a distress signal from the Nishina Research Station. Intrigued, you fly over and land at the designated landing zone to investigate. Upon exiting your ship, you're immediately struck by the alien landscape but push forward towards the Nishina Research Station. The ominous atmosphere fills you with a sense of foreboding. You approach the station's intercom to announce your arrival, and you're granted immediate access. The doors hiss open.
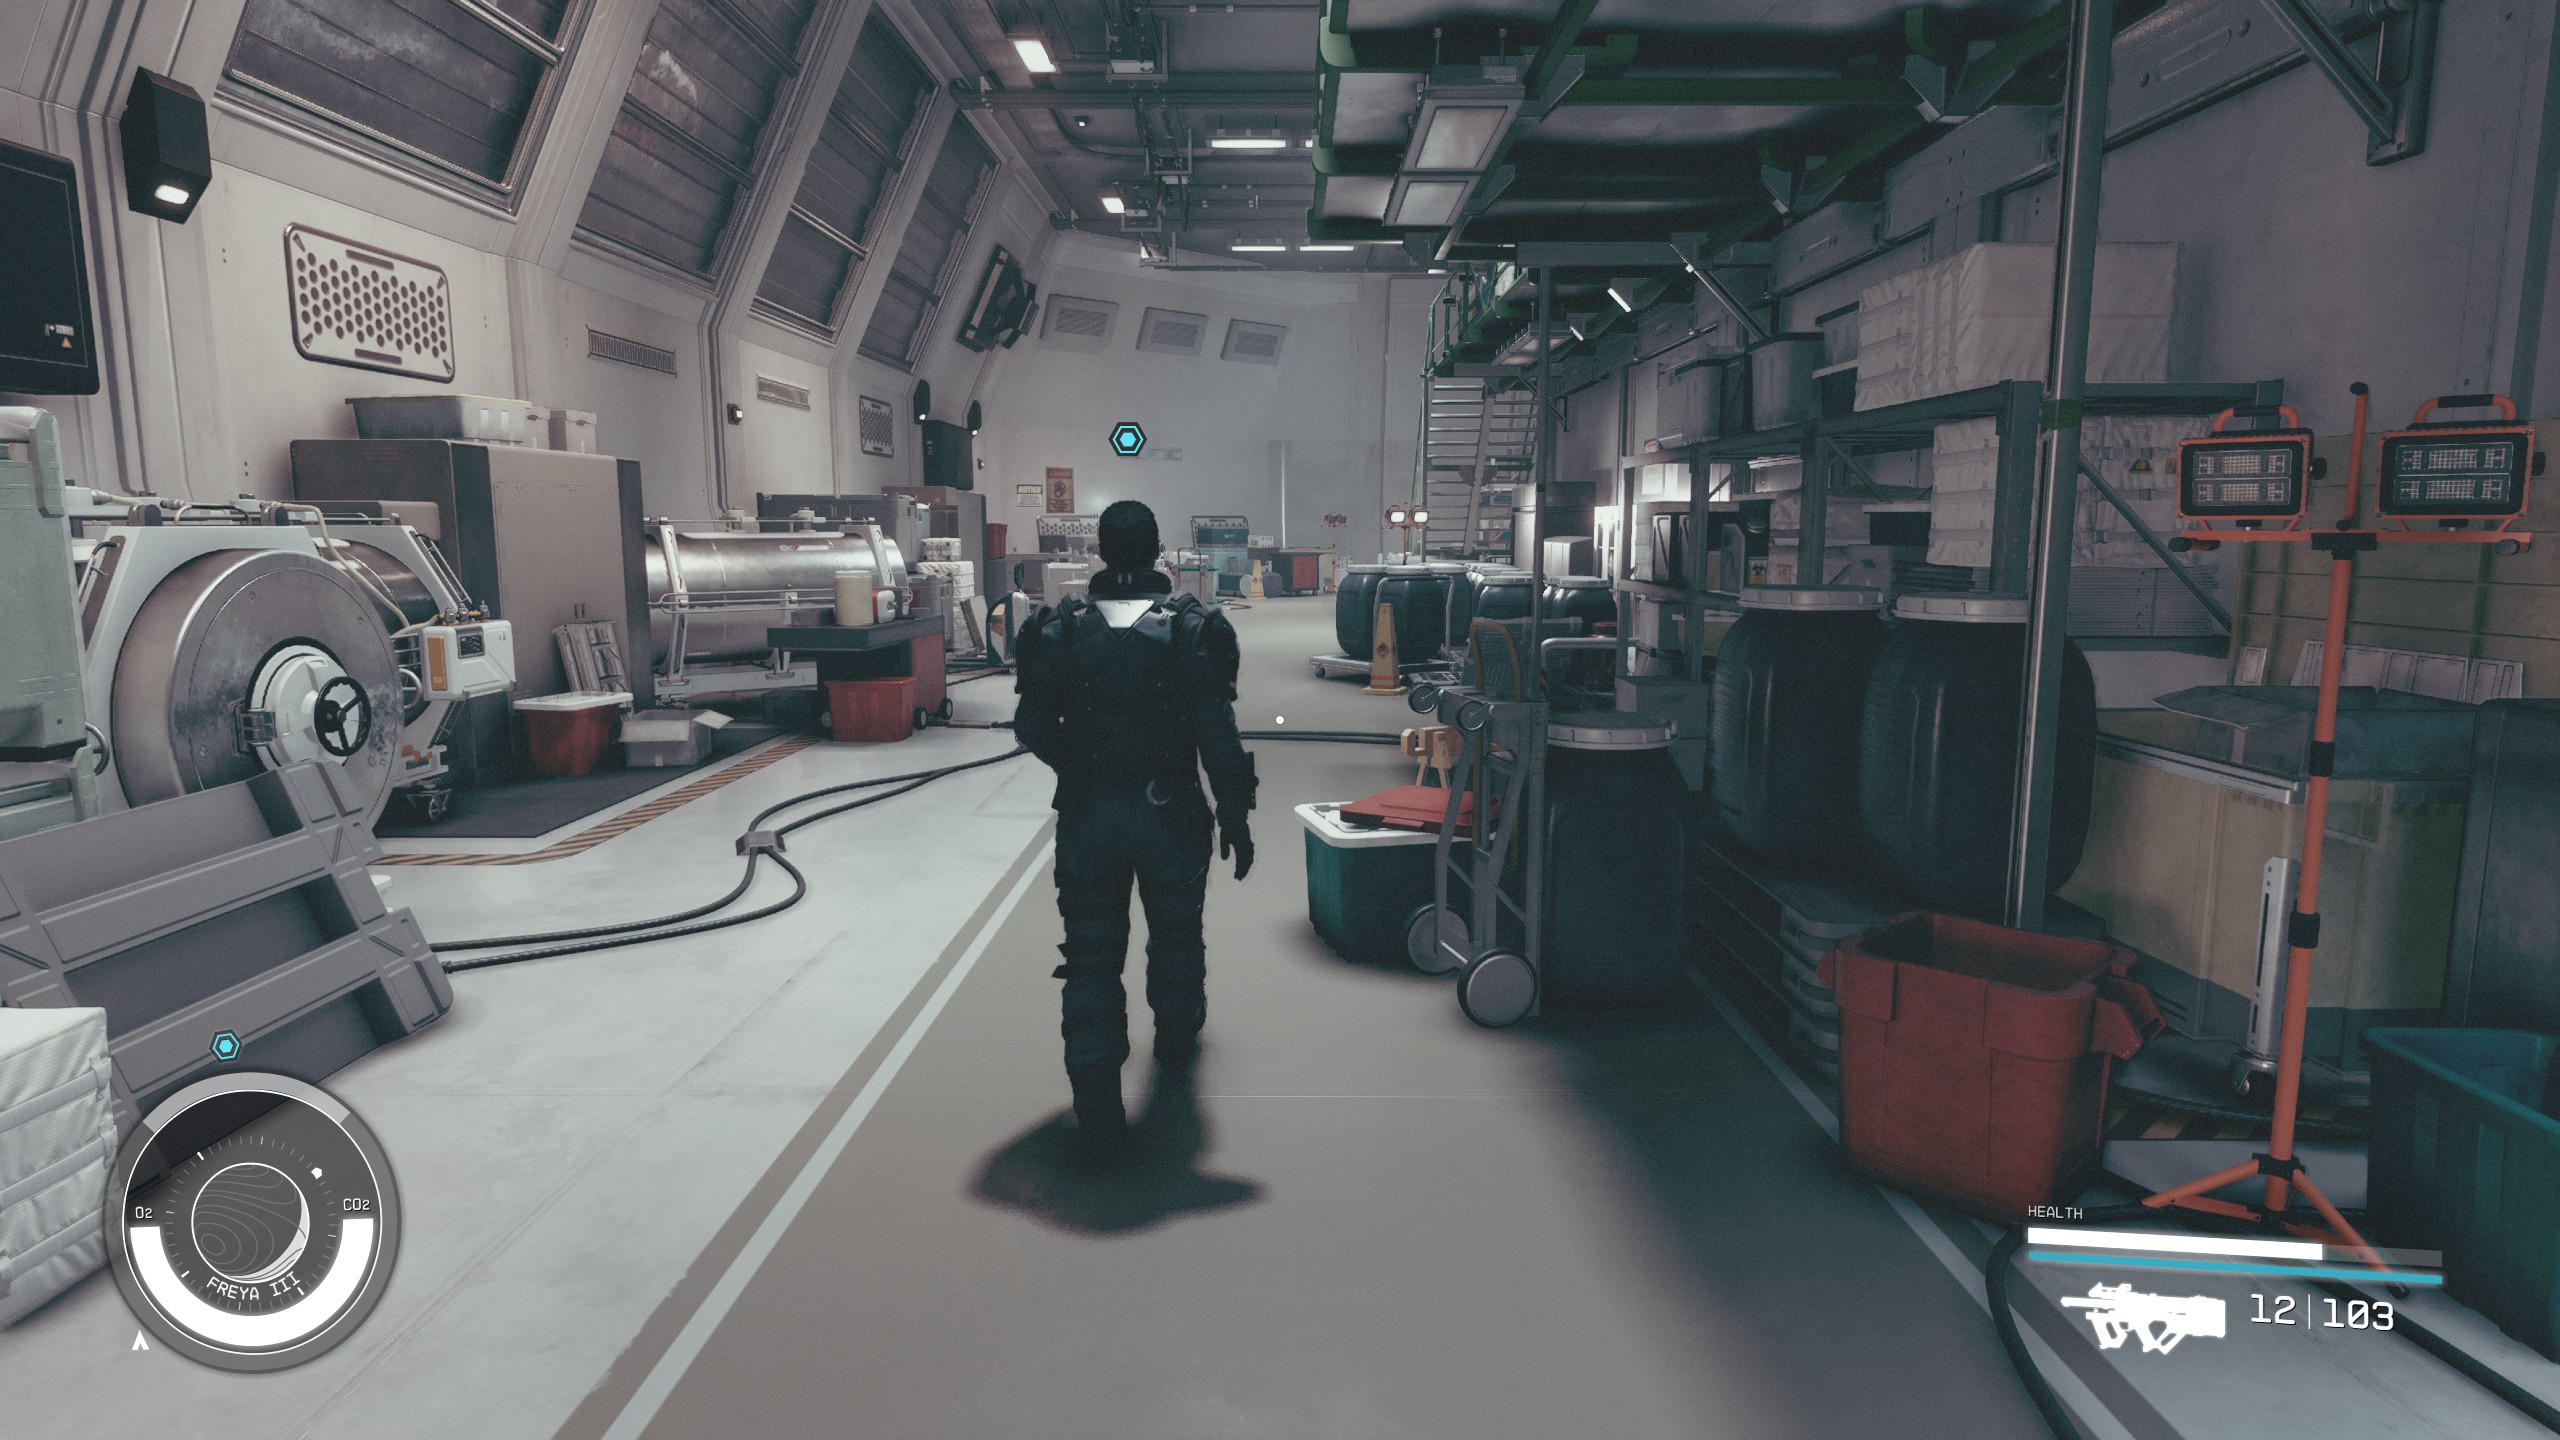
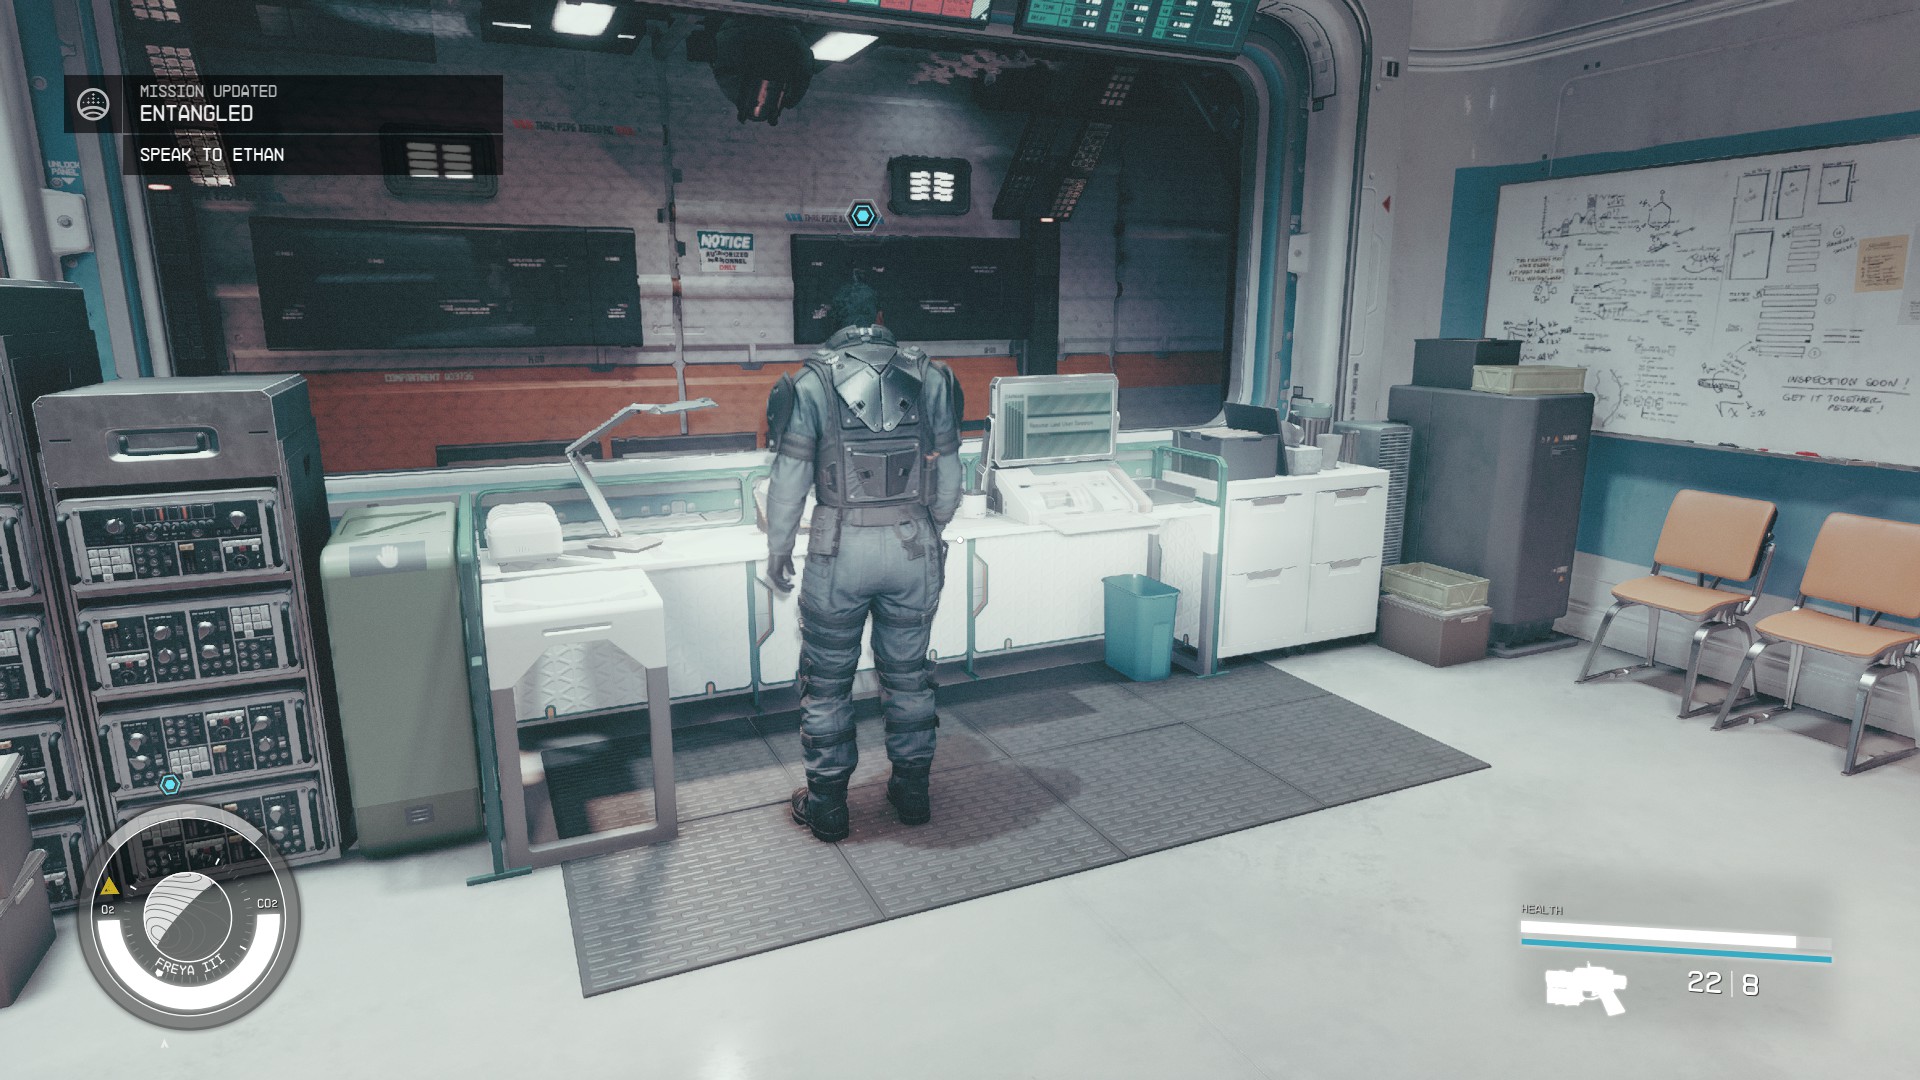
Inside, you're greeted by Ethan. After exchanging pleasantries and asking a few questions, you follow him deeper into the labyrinthine corridors of the research station. Suddenly, the surroundings blur and you're transported to a ruined, apocalyptic version of the station. Alien creatures jump out from crevices and corners, launching a surprise attack. You dispatch them, and just as abruptly, you're warped back beside Ethan, who's as baffled as you are.
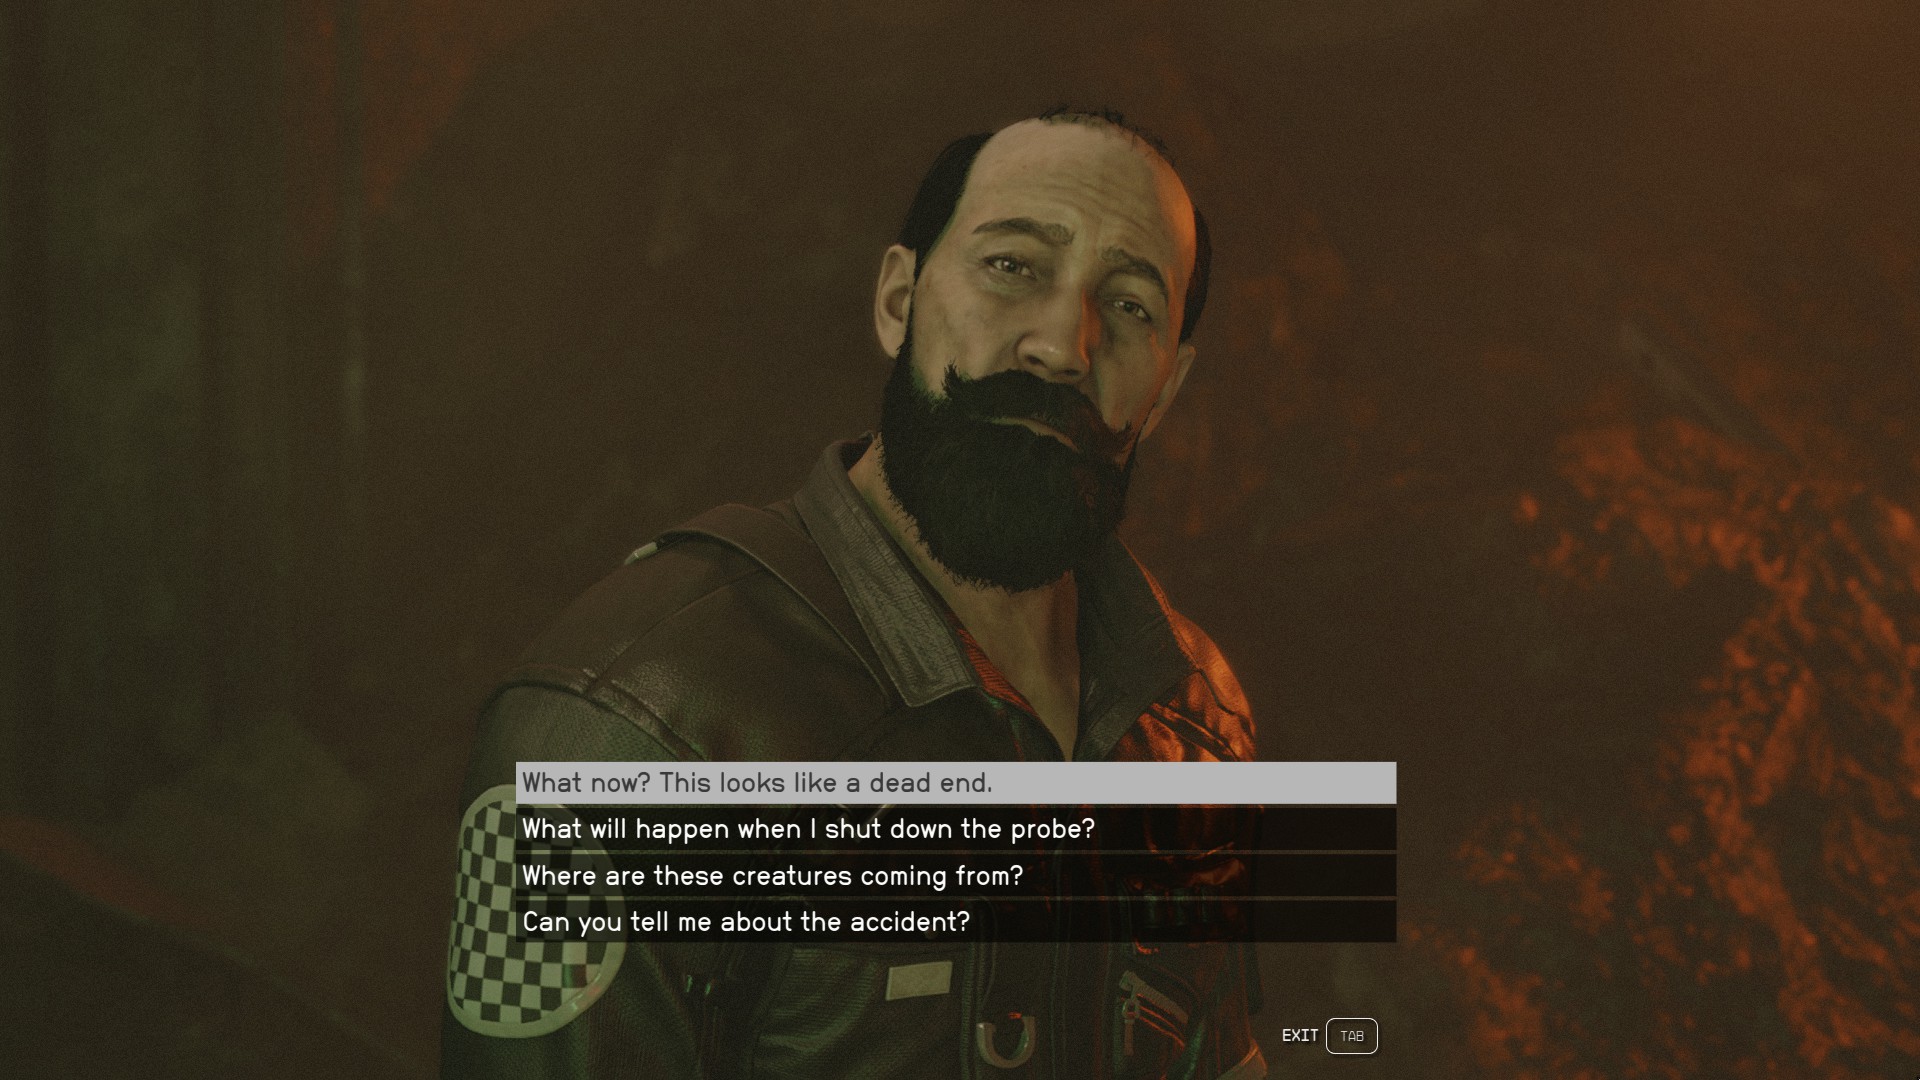
You continue to follow Ethan, feeling a little disoriented, when you're transported again, this time meeting Rafael—the person who actually sent the distress signal. After a perplexing conversation with him, you find yourself back in the hallway with Ethan. You're now suspicious of what's really happening here but continue forward to meet Director Patel.
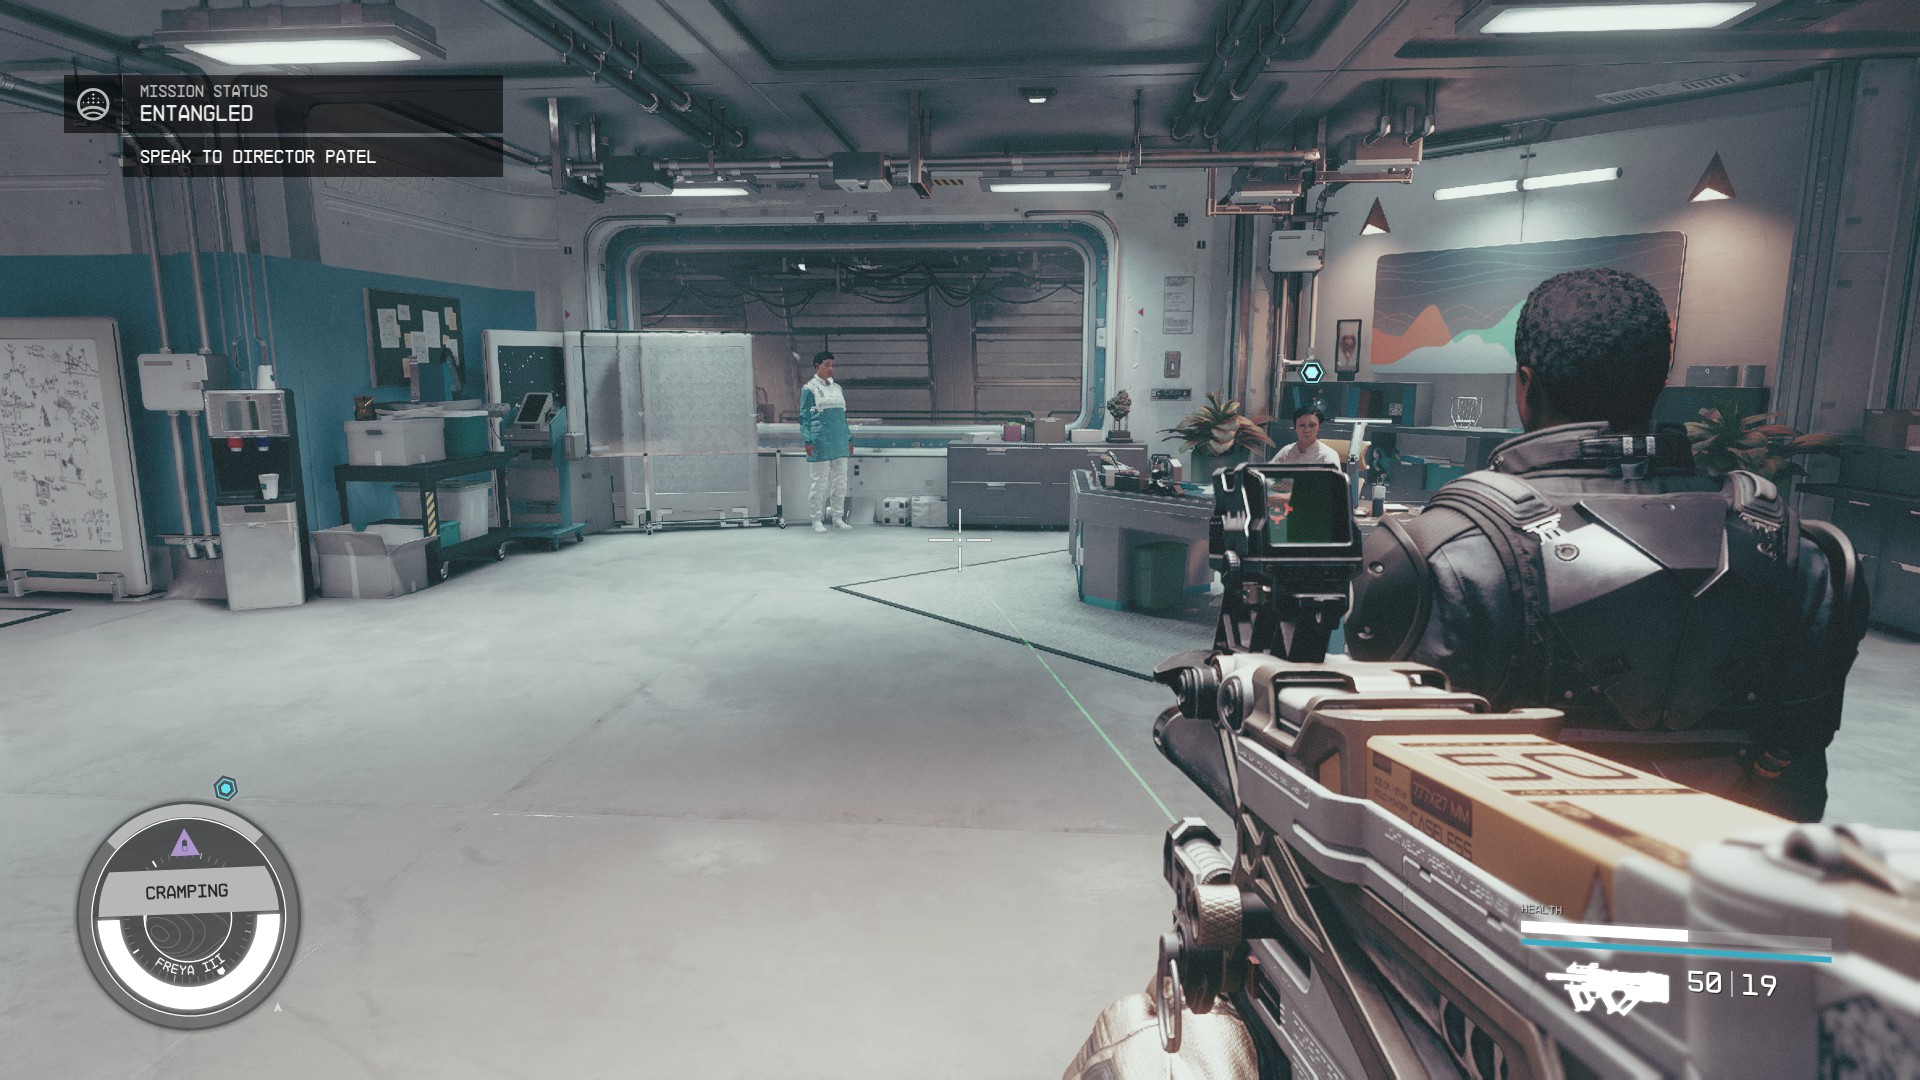
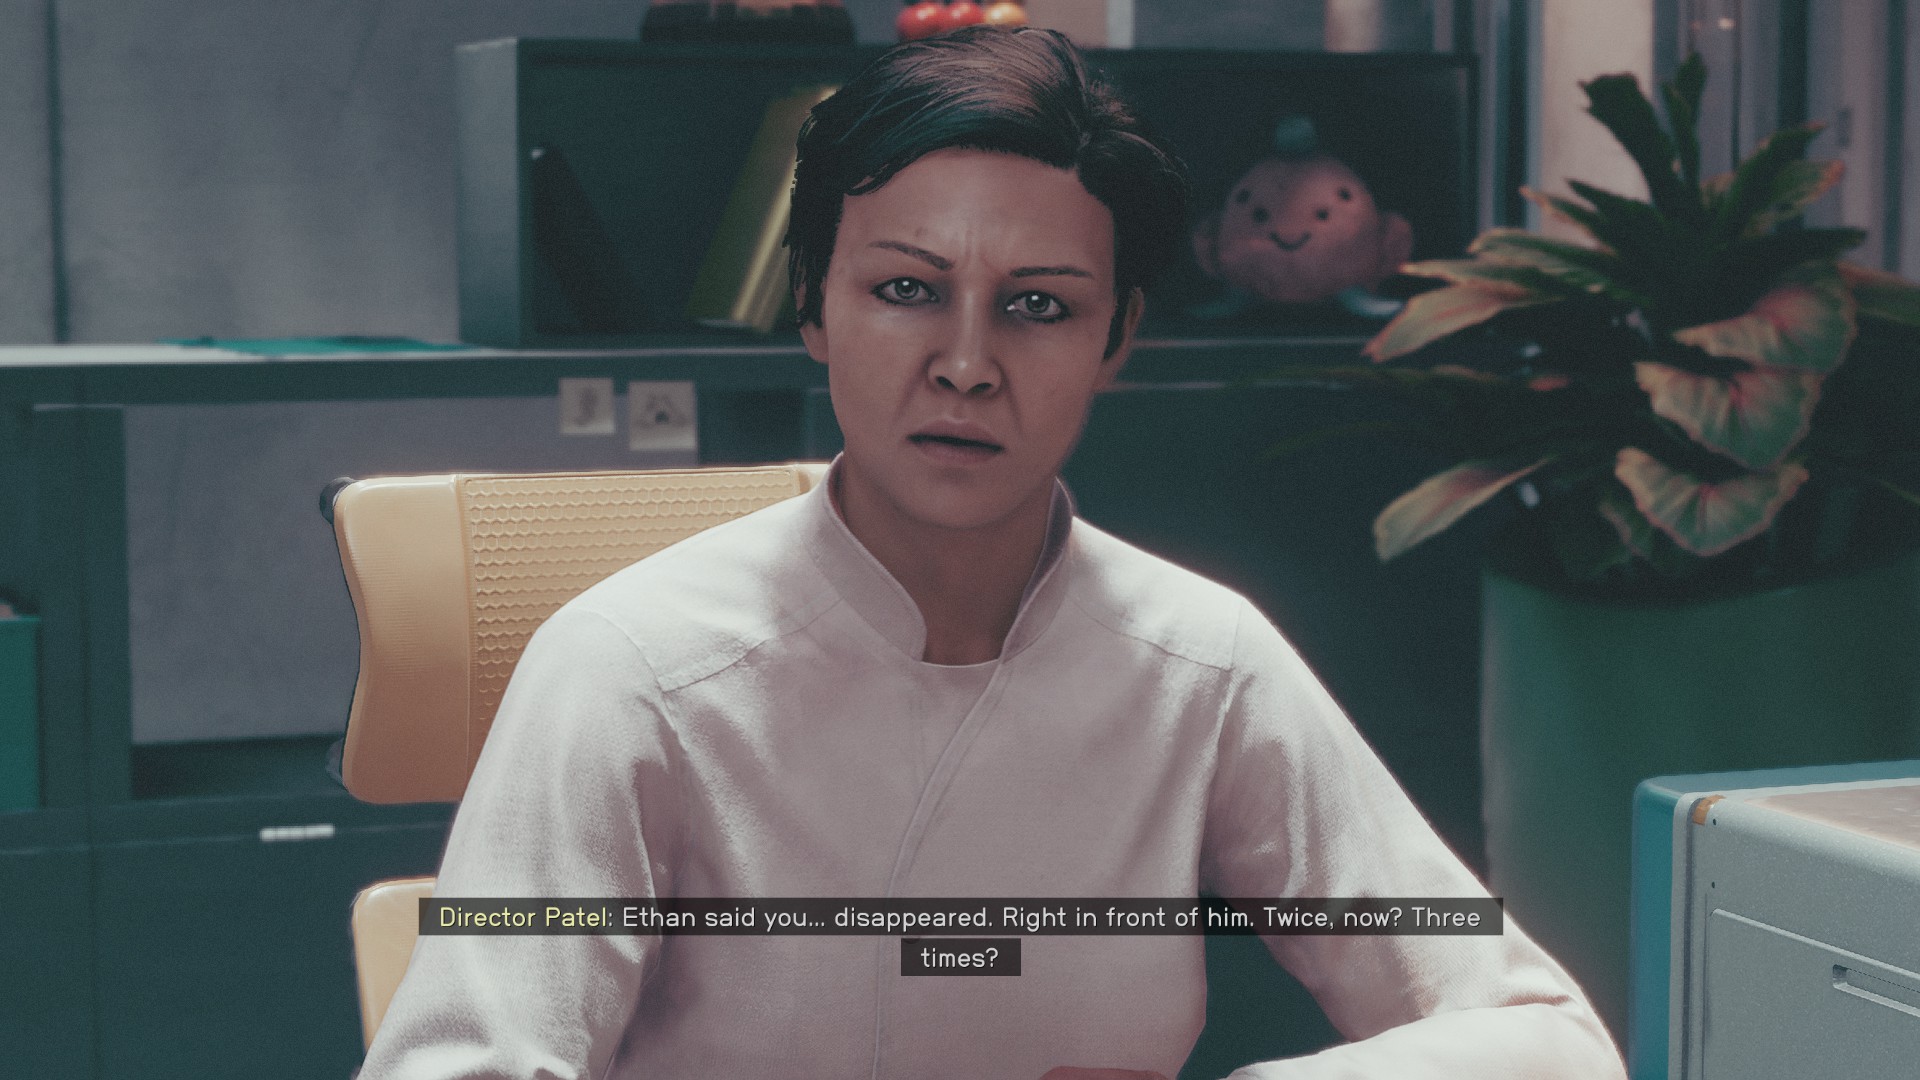
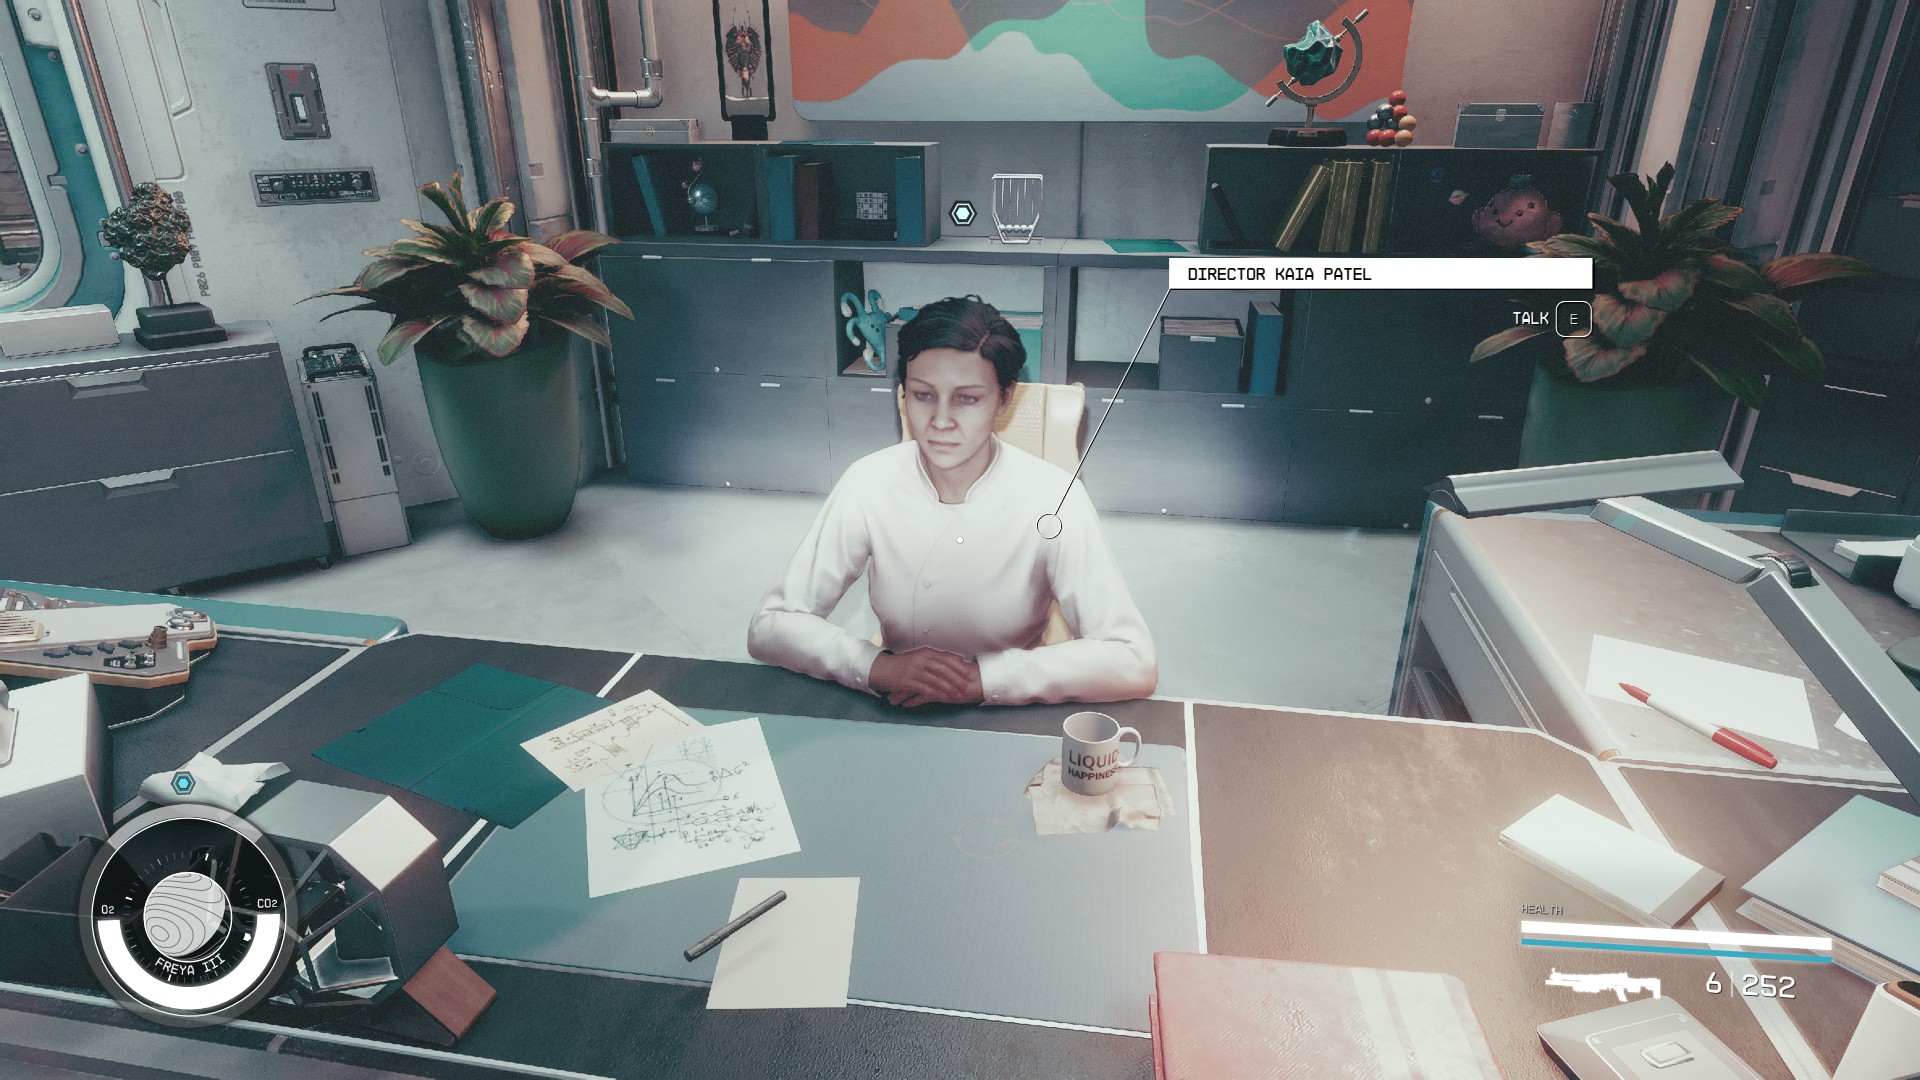
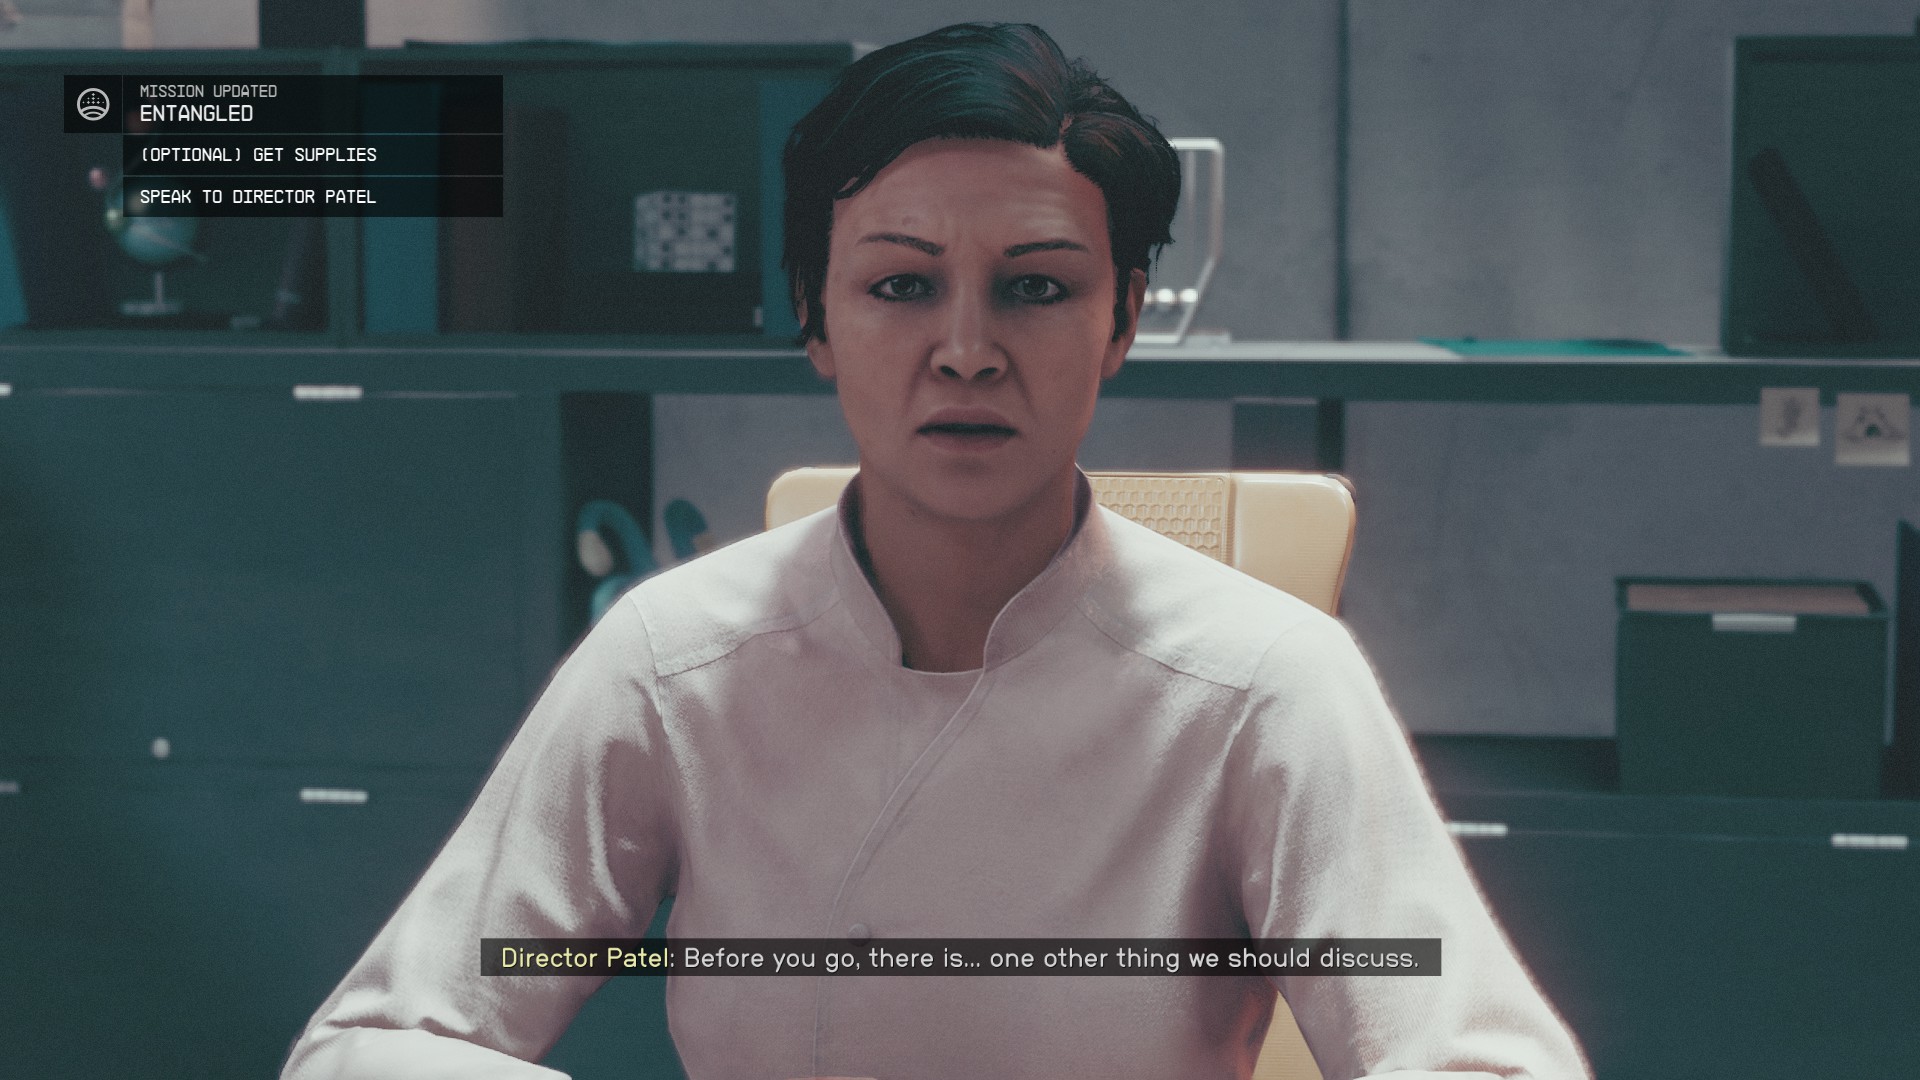
Walking through a series of hallways, you're intermittently warped into that grim, destroyed universe, battling hostile aliens along the way. When you finally meet Director Patel, you discuss the bizarre events. She's surprisingly calm, and directs you to follow Maria to the lab.
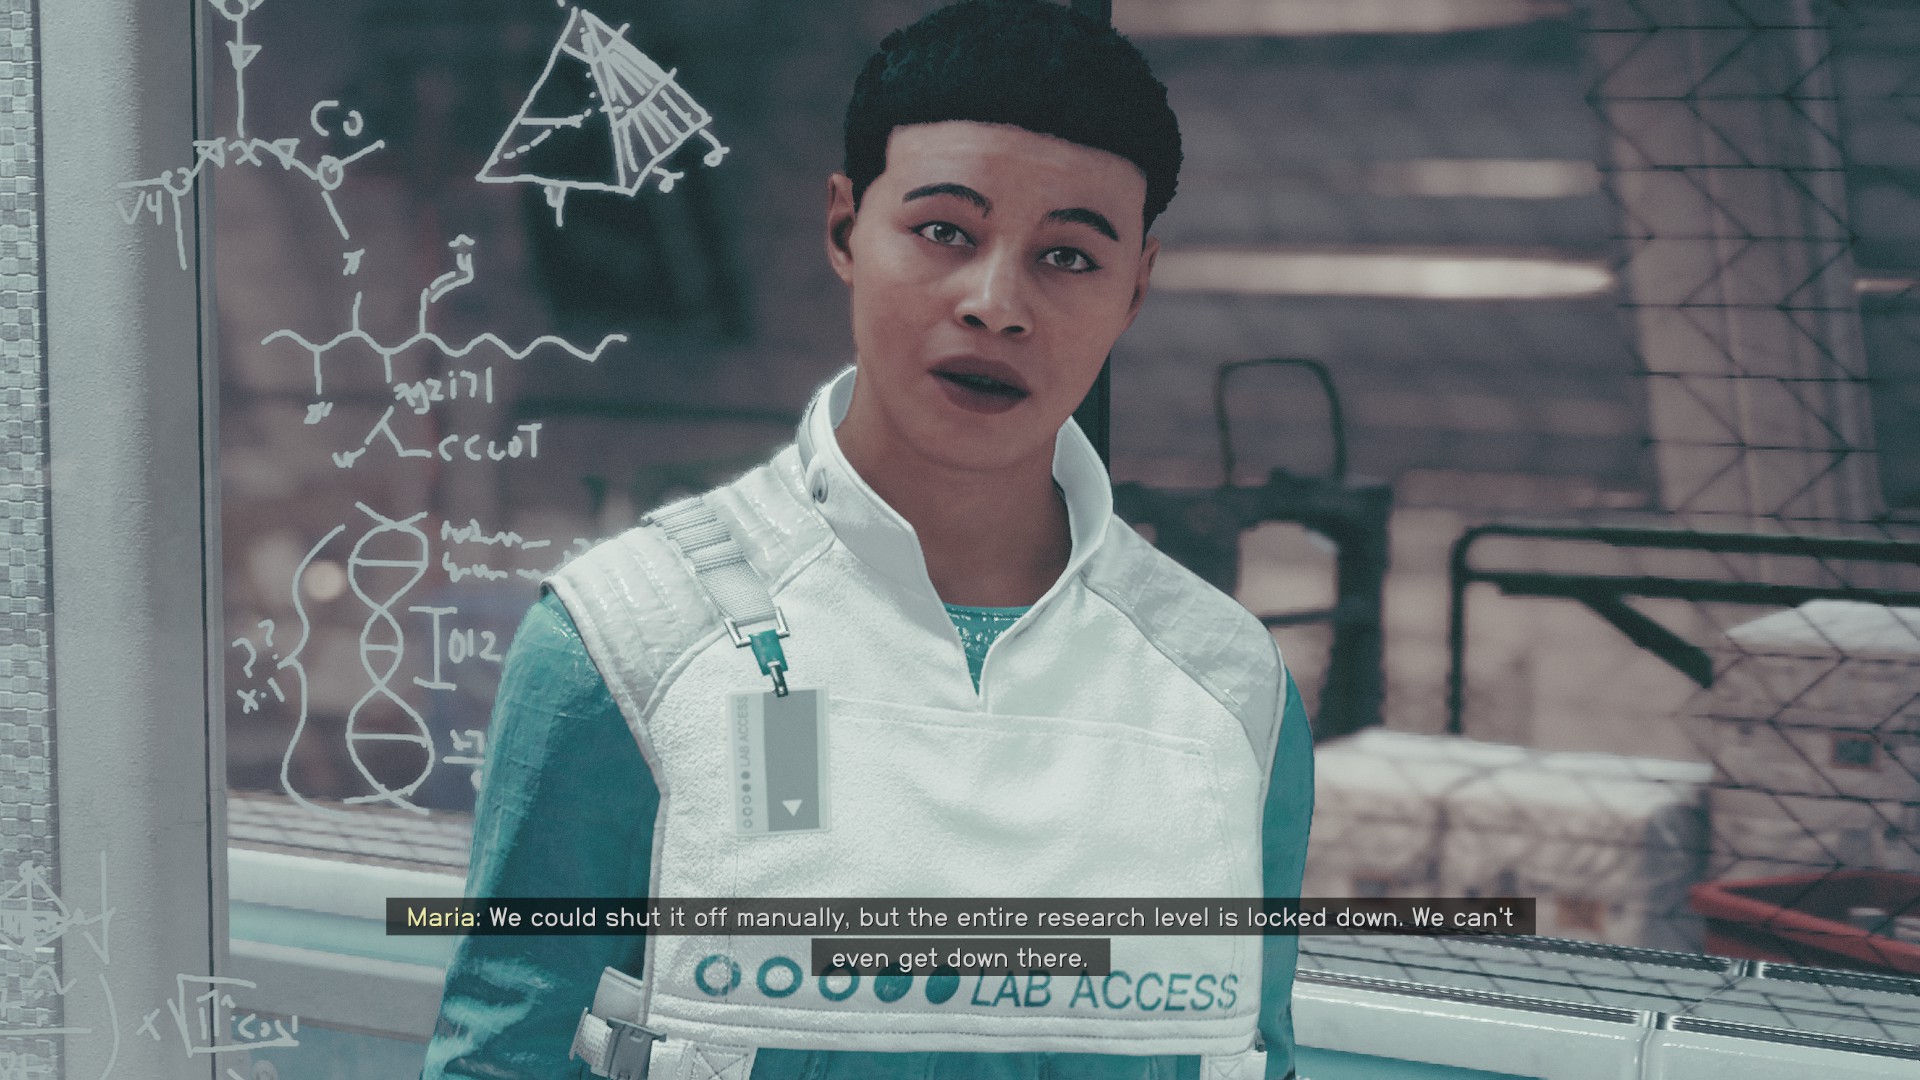
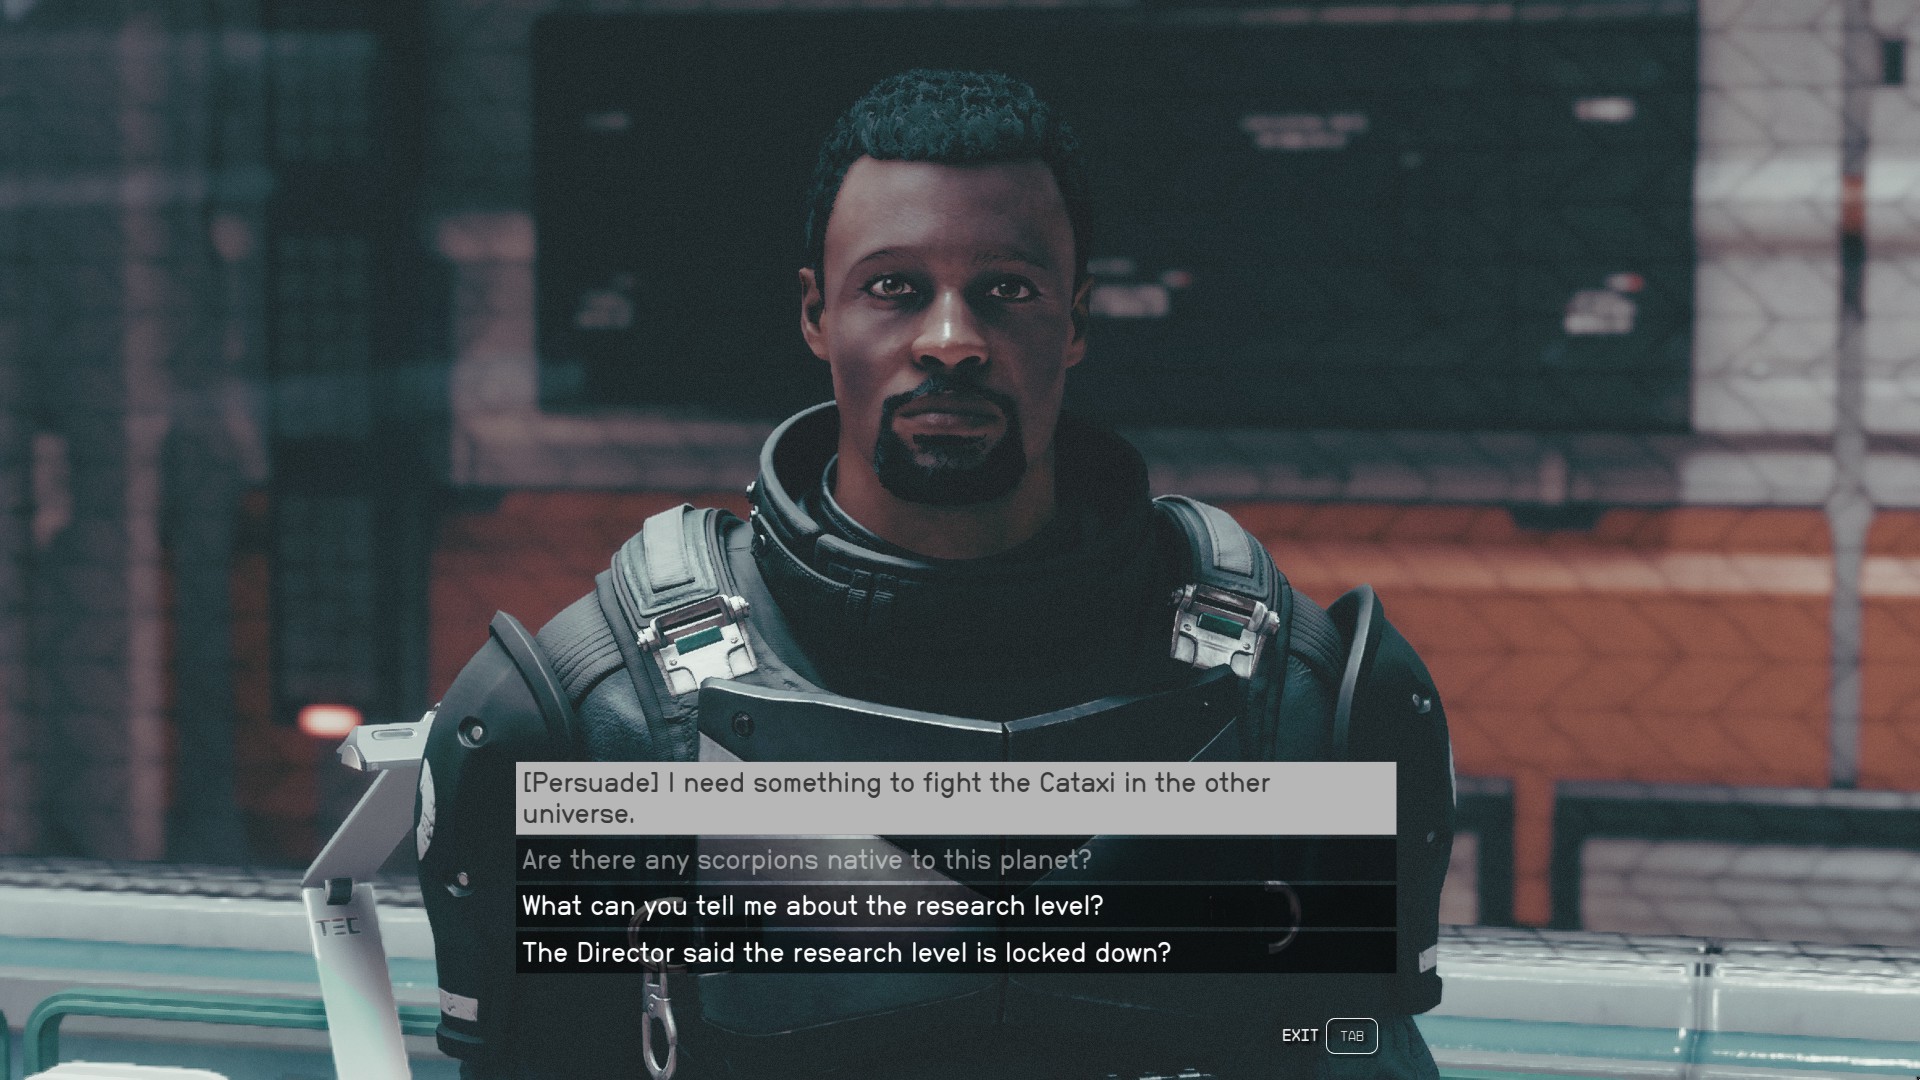
Your journey with Maria is cut short when you're hurled back into the alternate universe. You explore some side rooms, fighting more alien creatures, and find Rafael again. After another perplexing conversation, he gives you a key for the pantry, aiding your progress. You warp a few more times, spooking other station employees, until you find yourself in the security office with Ethan. A persuasion check here could snag you a unique weapon.
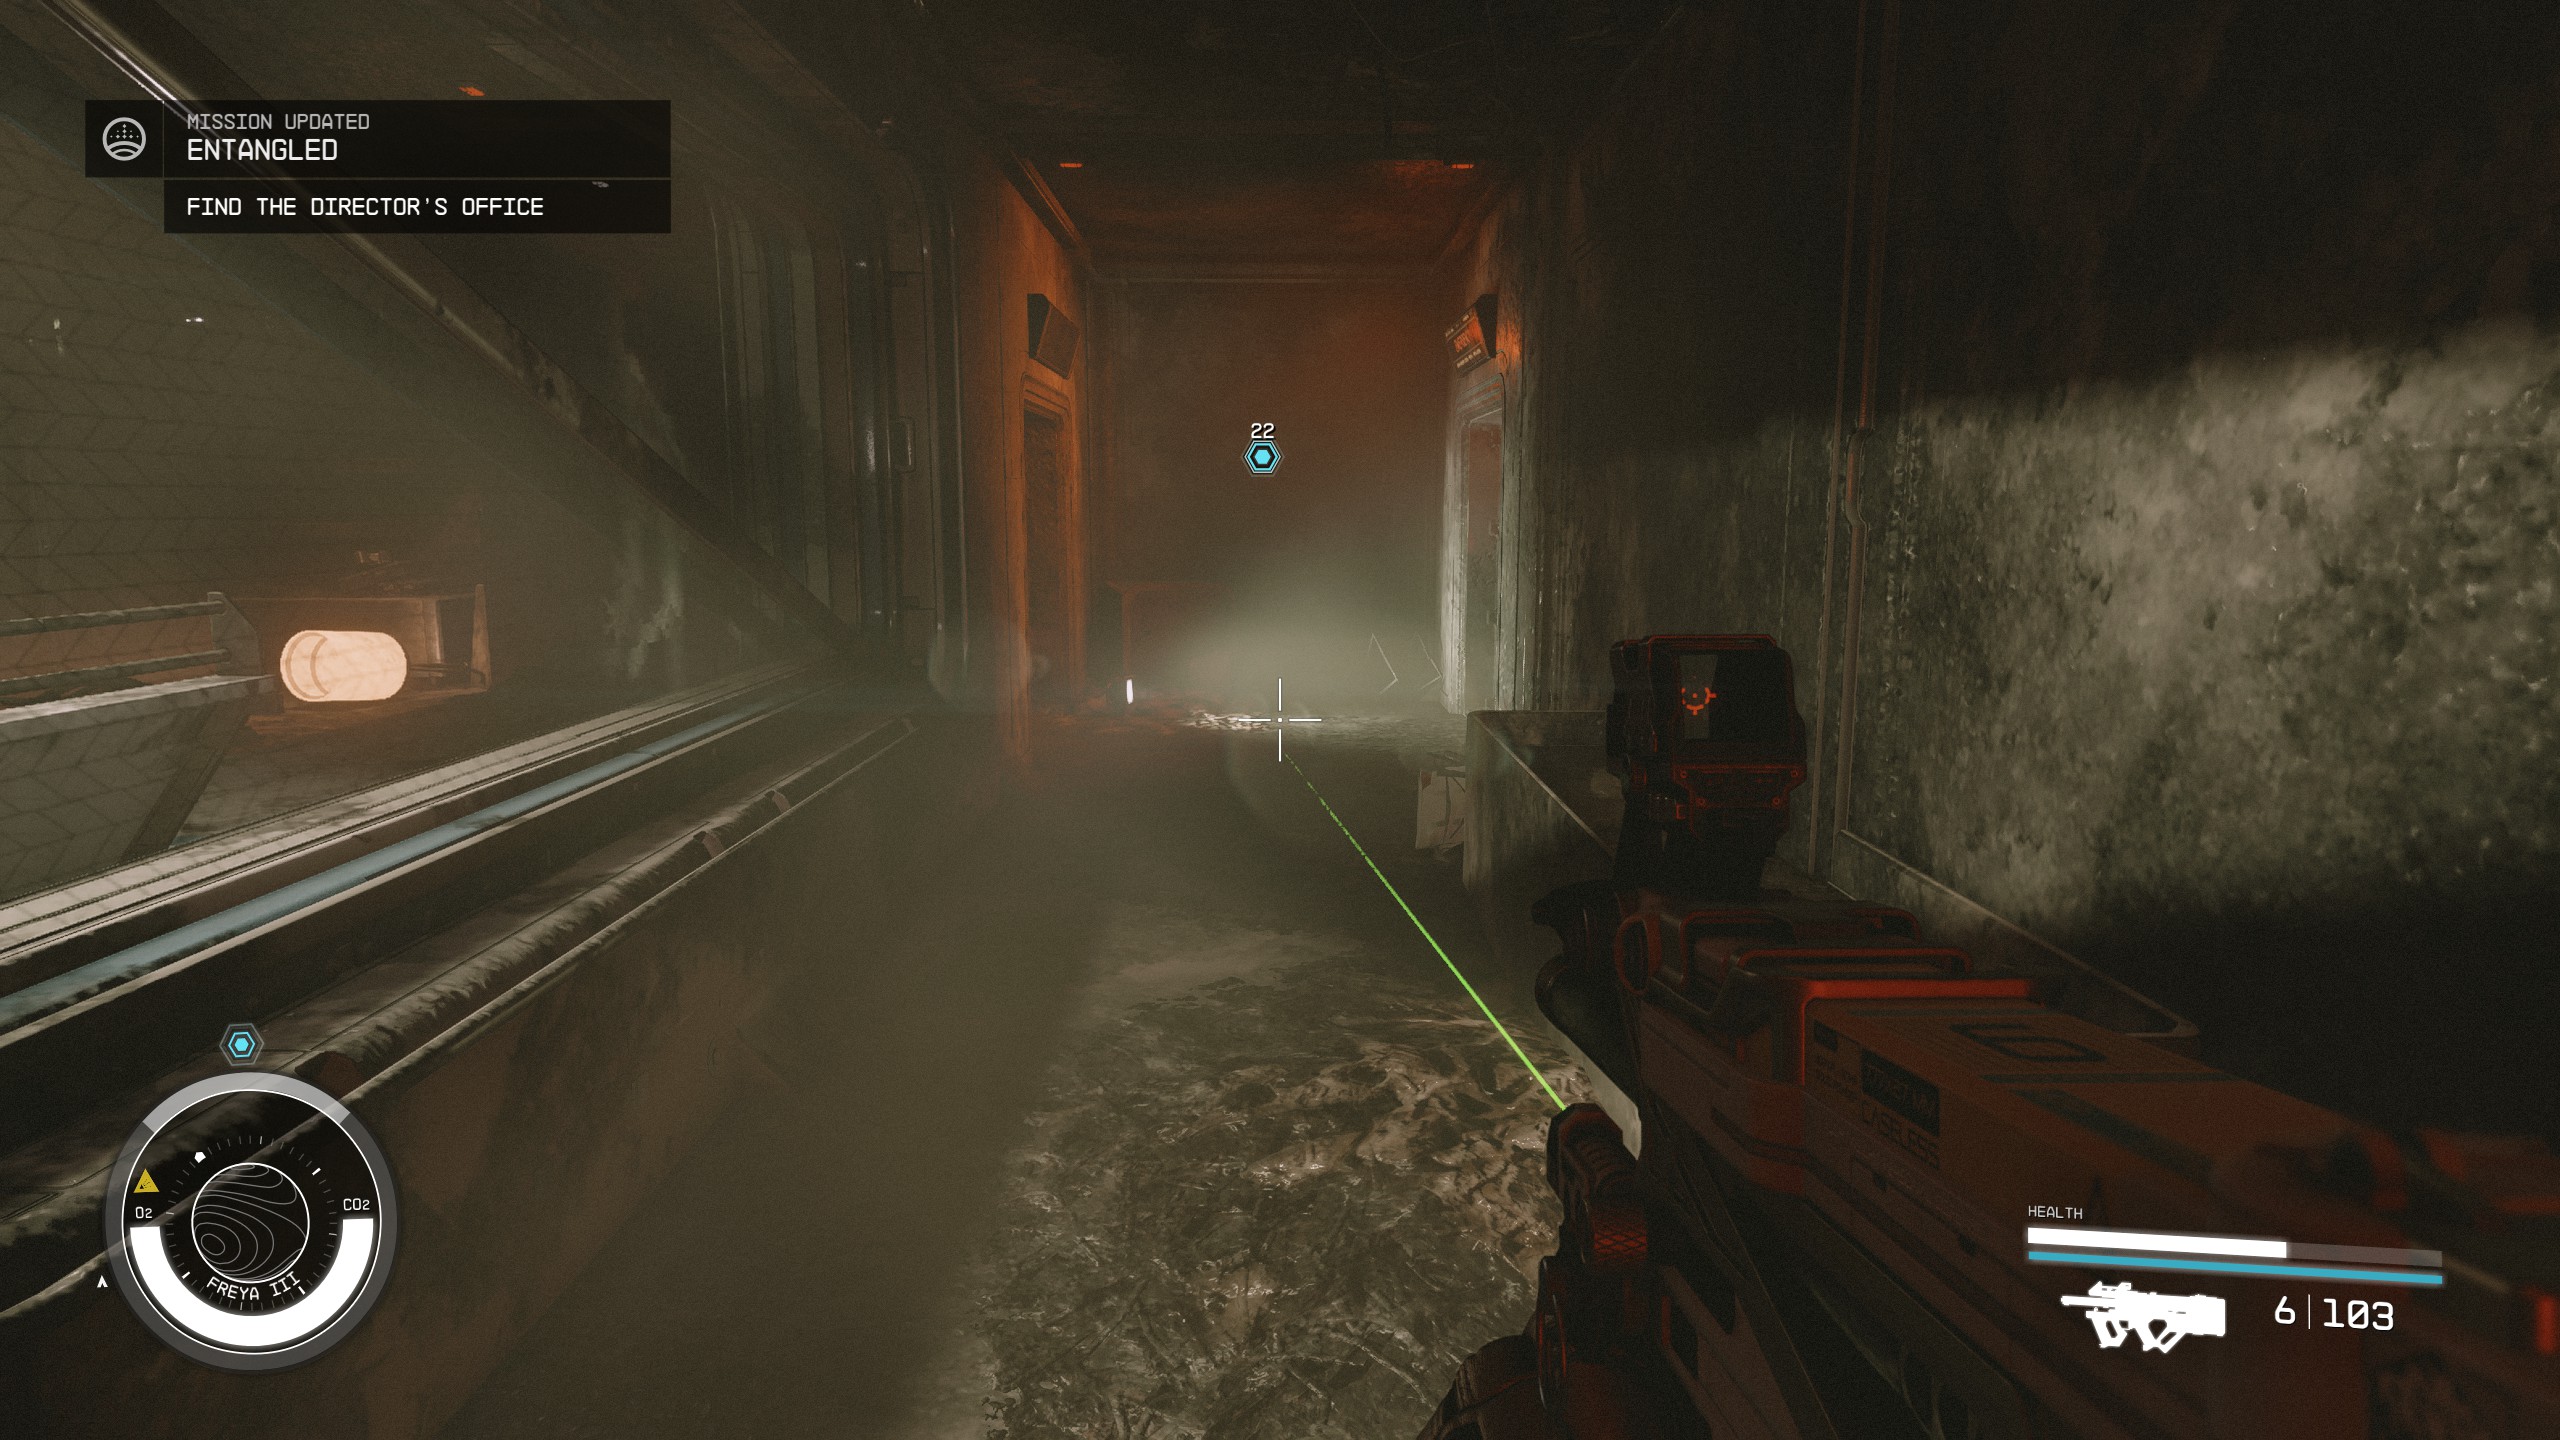
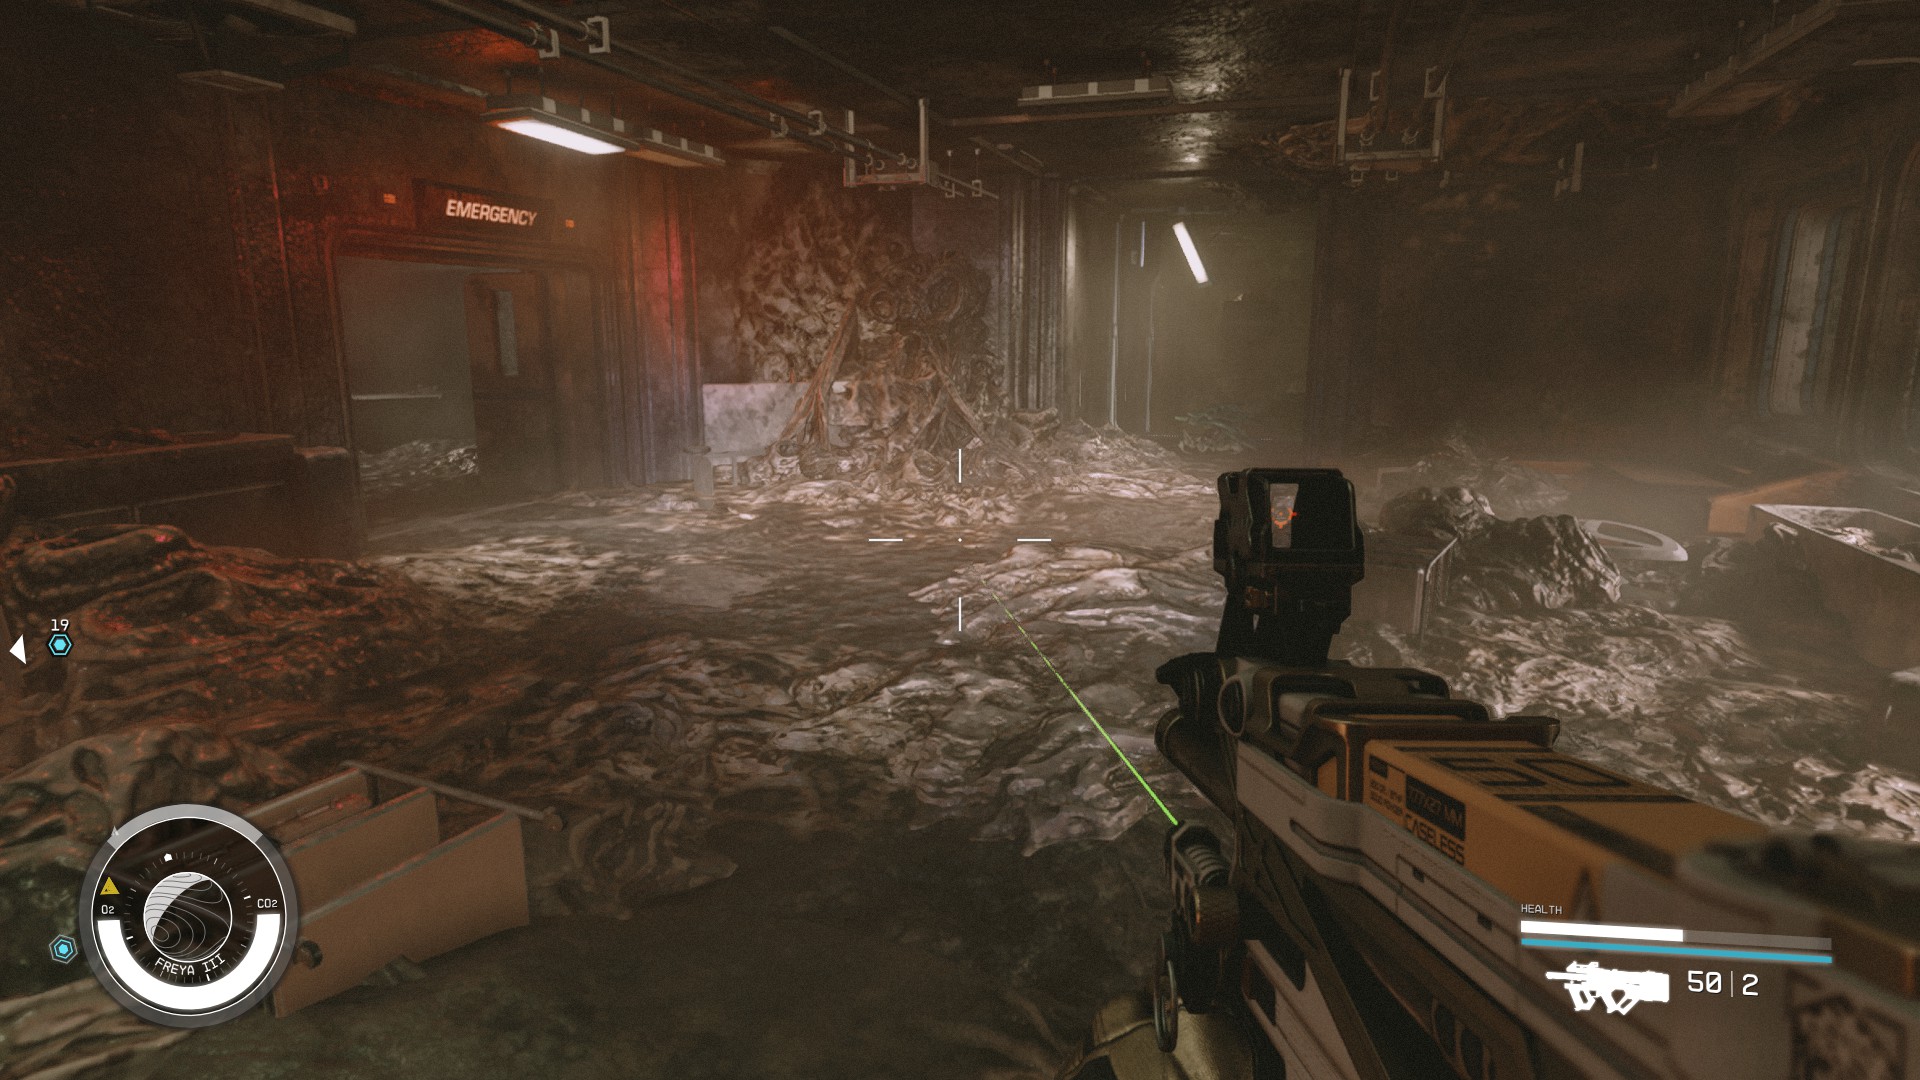
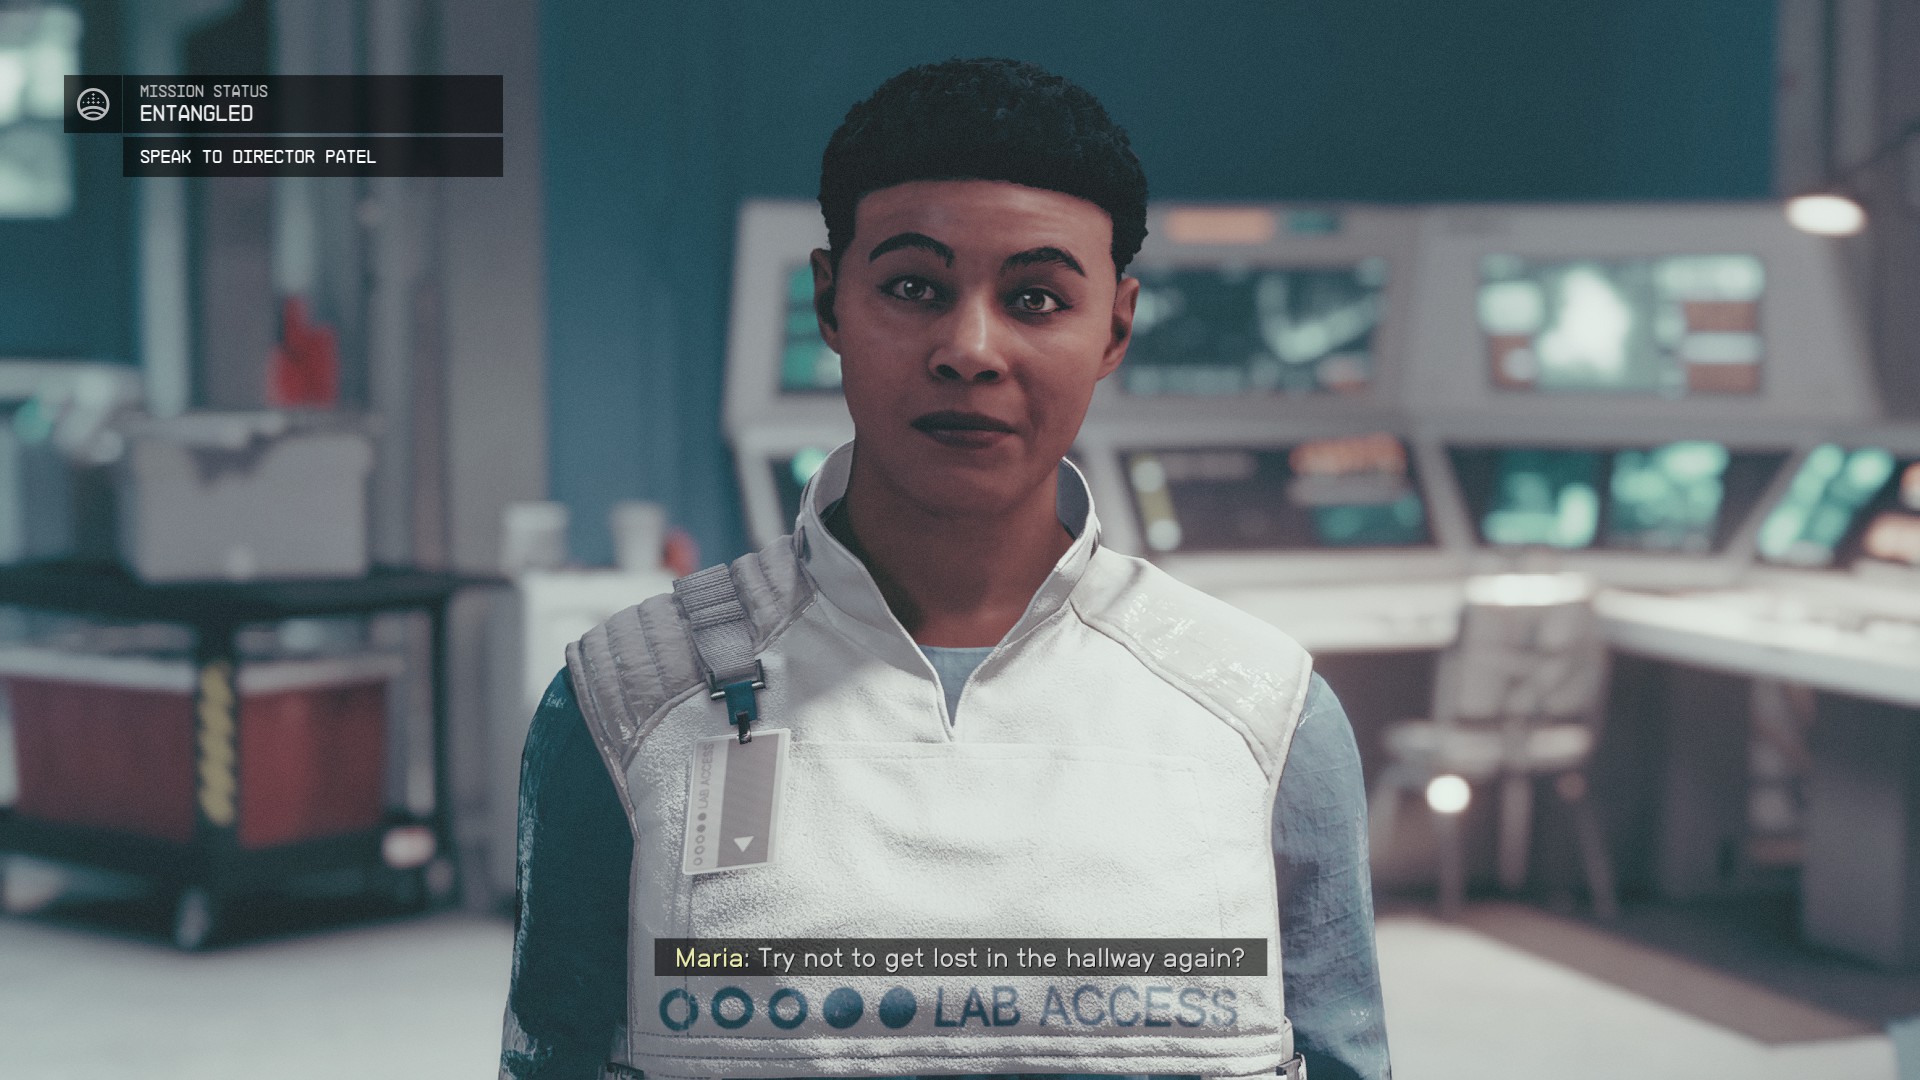
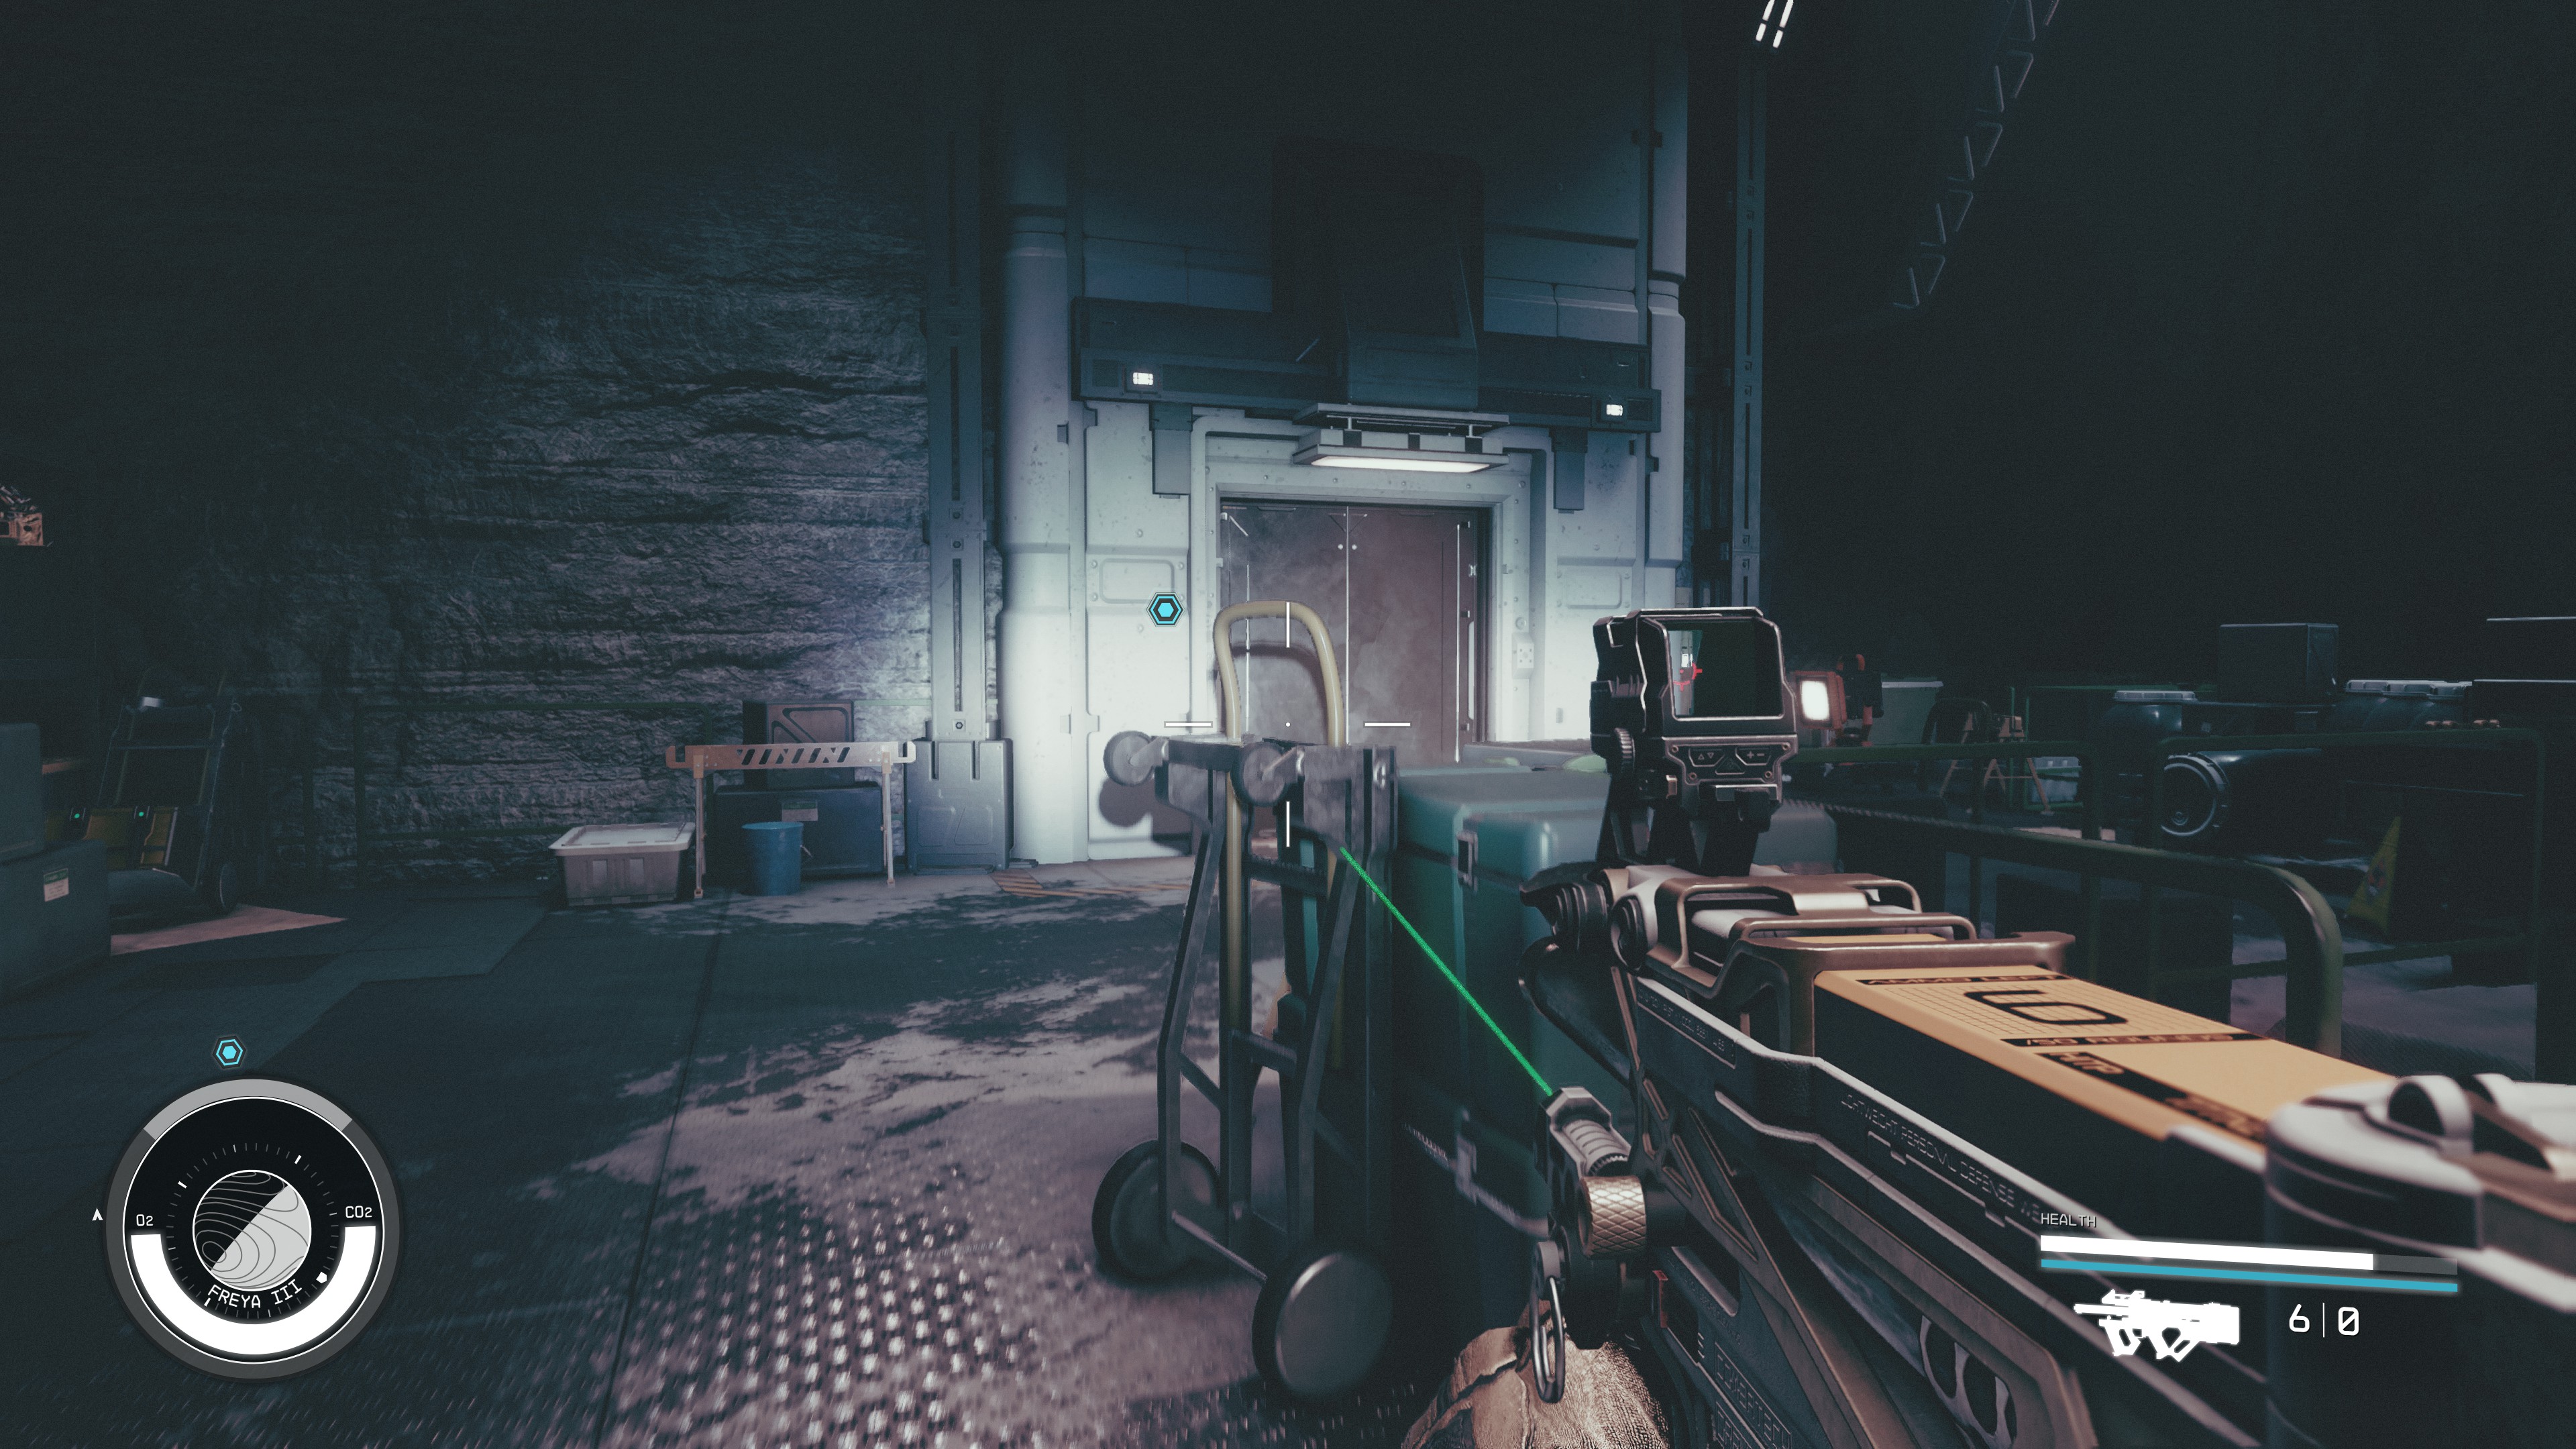
Pressing onward, you pass through more doors and fight more creatures. Eventually, you reach a large room with a door marked "Emergency." Make your way through it to find the Lab on the second floor. Speak to Maria once you're inside. She's working on calibrating a probe to stabilize the distortions. When prompted, you stand in the appearing distortion.
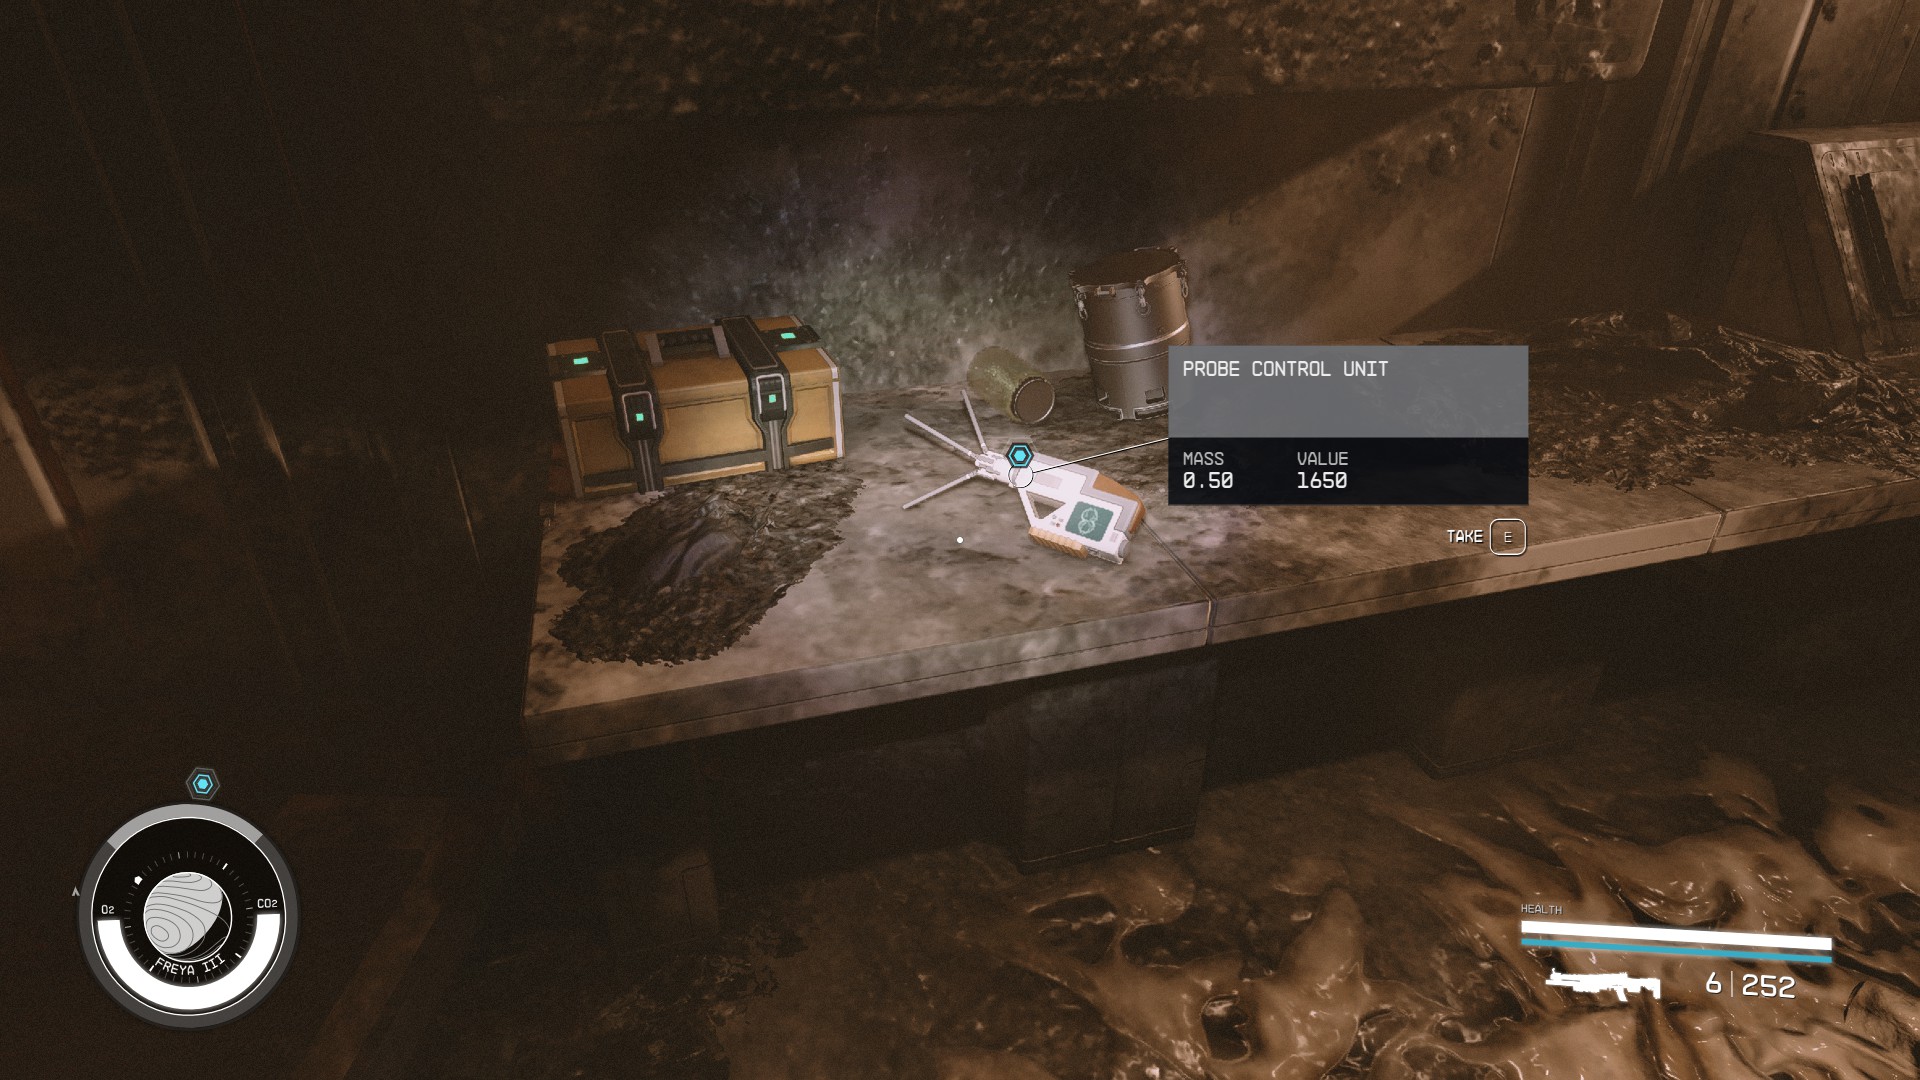
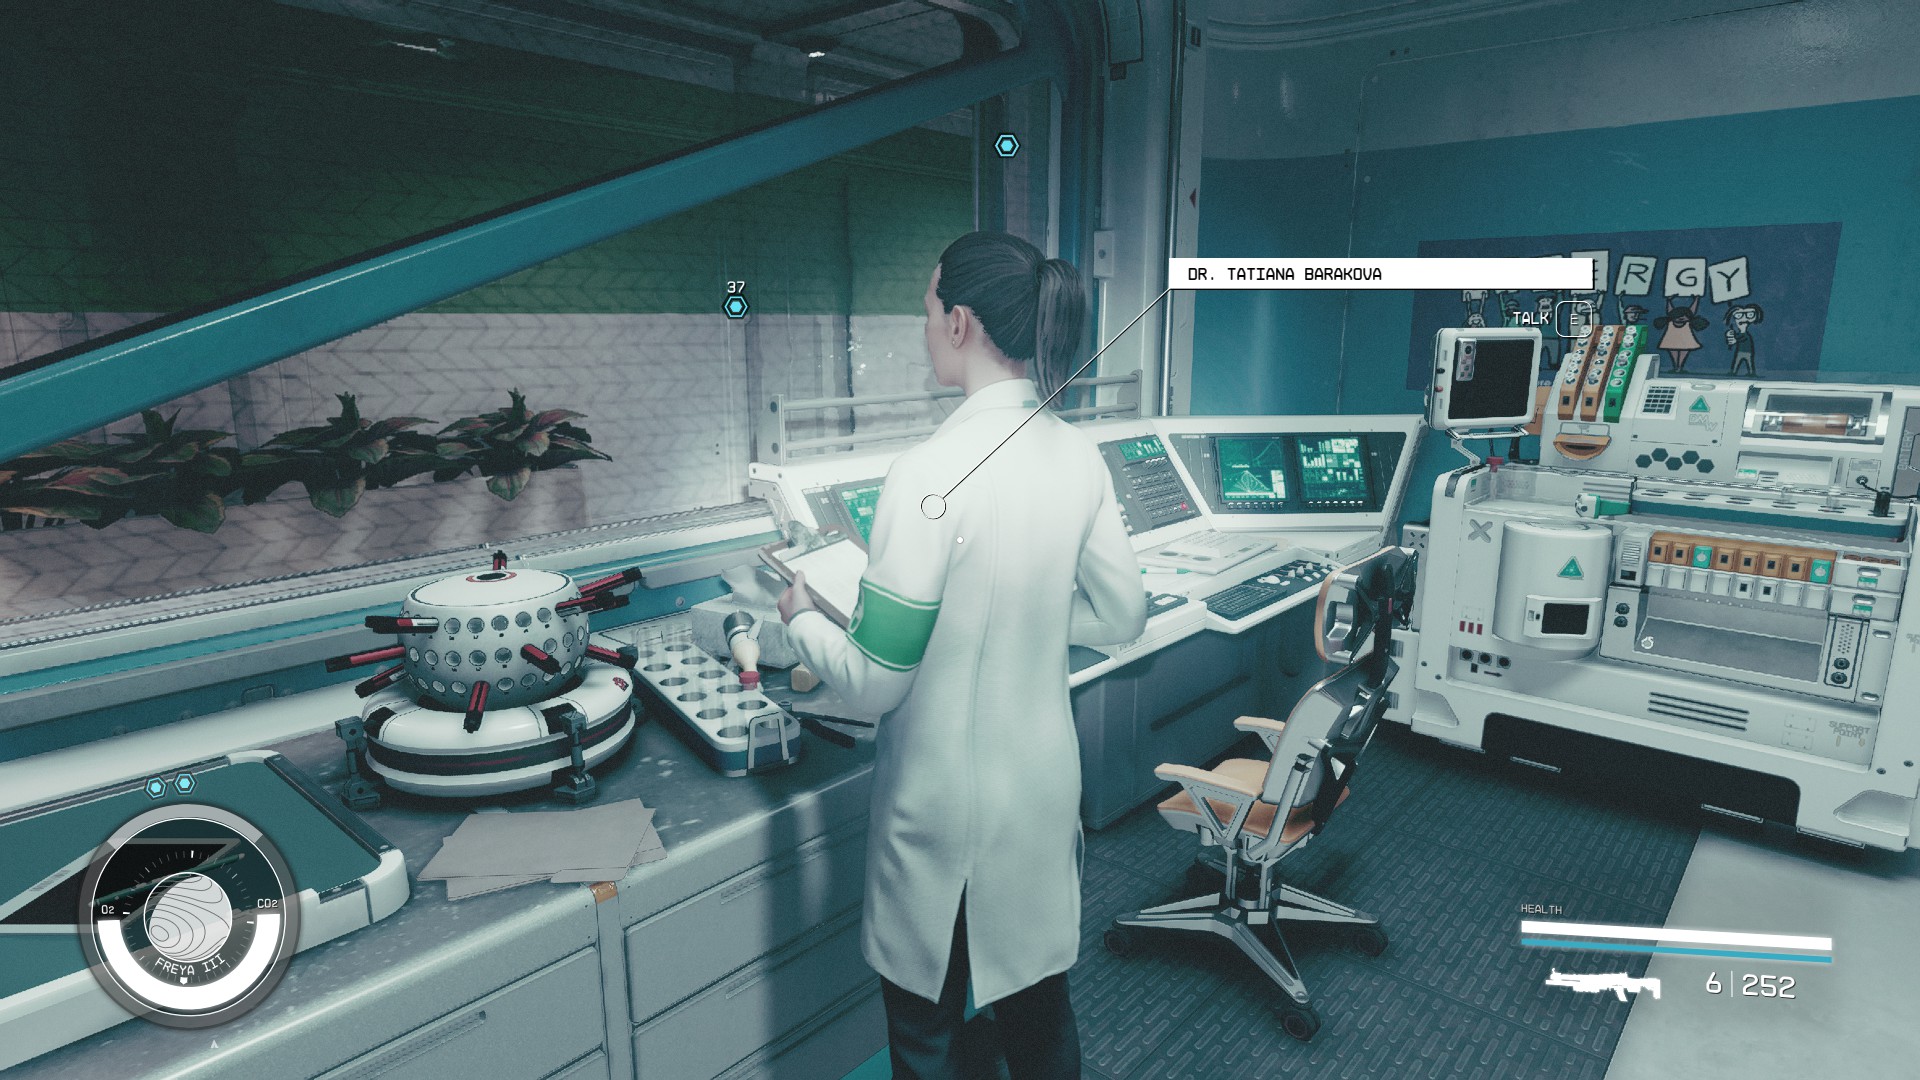
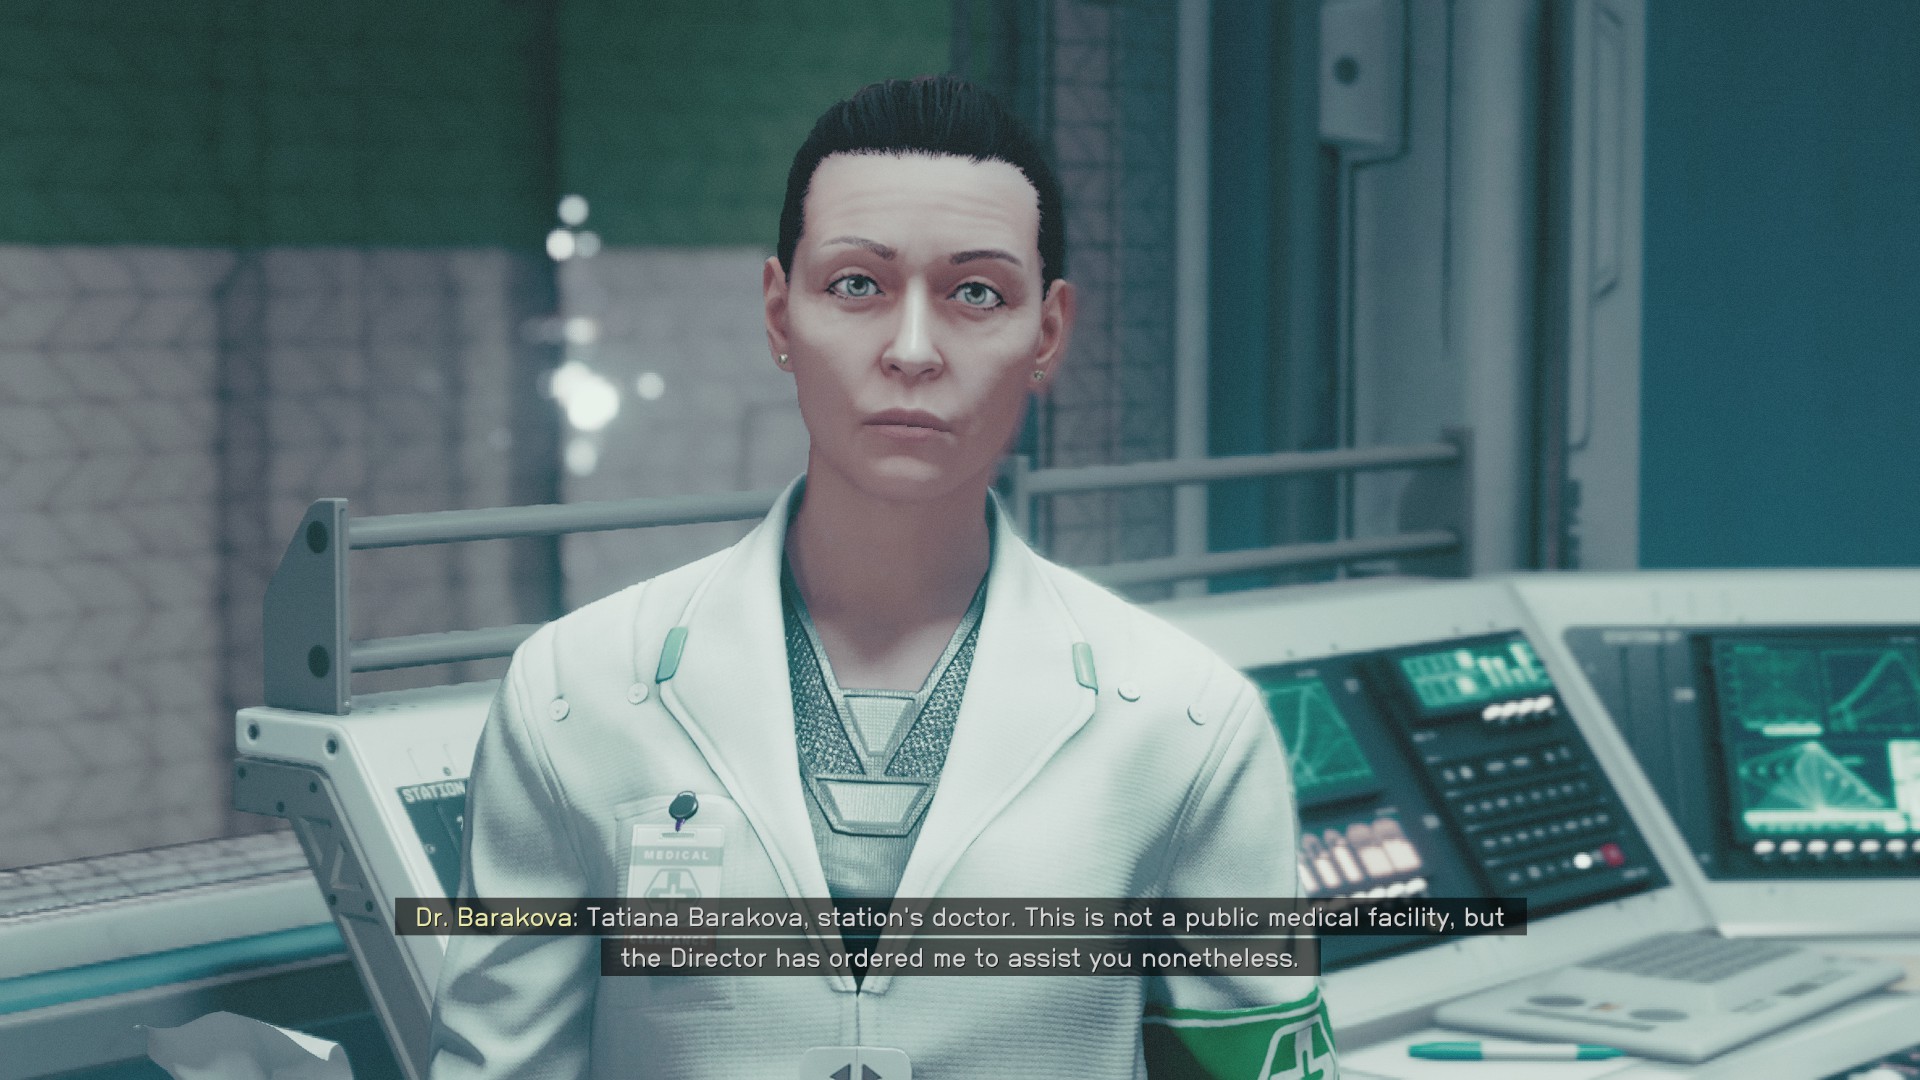
Another warp. But this time you find the probe control unit in the ruined lab. With this probe in hand, you control the warps and rejoin Maria. She informs you that Director Patel wants to see you. After a brief conversation and an optional detour for supplies from Dr. Barakova, you head for the elevator and descend to the lower levels.
Your objective now is to get to the final lab. The underground is a maze filled with automated defenses in one universe and alien creatures in the other. Progressing through this multi-universe gauntlet, you manage to override several lockdowns in various sections like the Facilities and the Accelerator, dodging turrets, and fighting off both mechanical and biological adversaries.
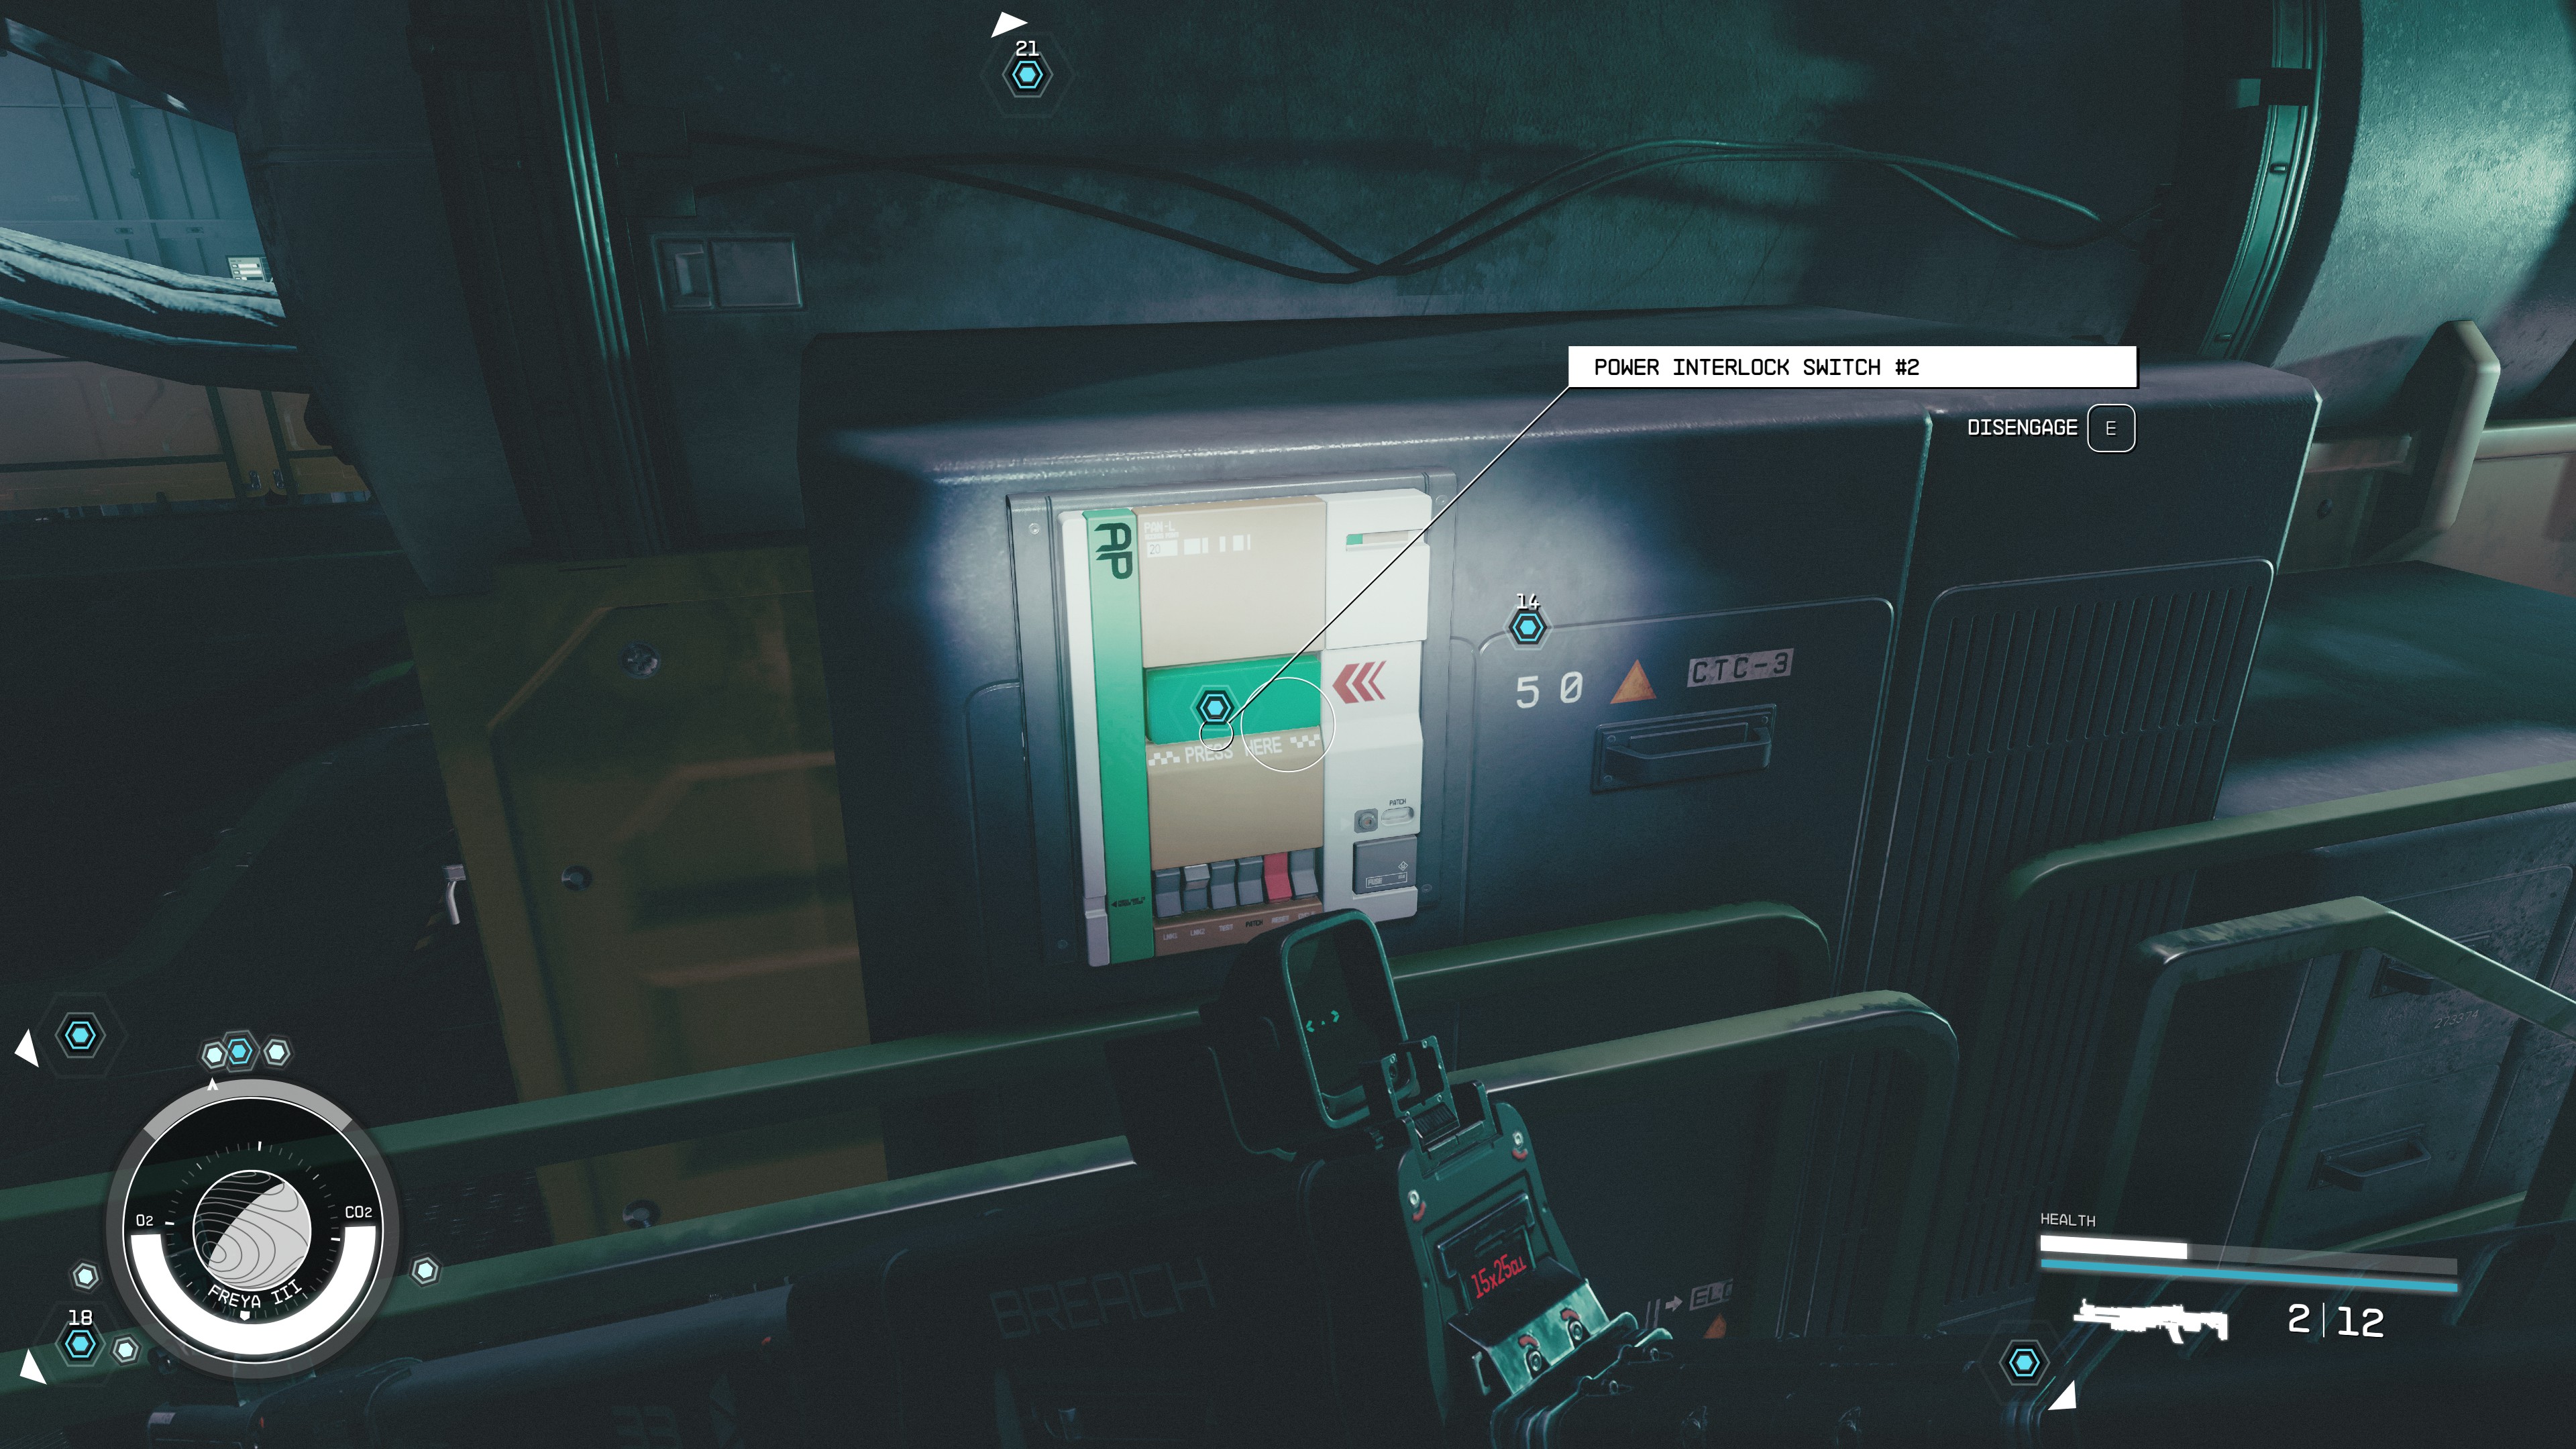
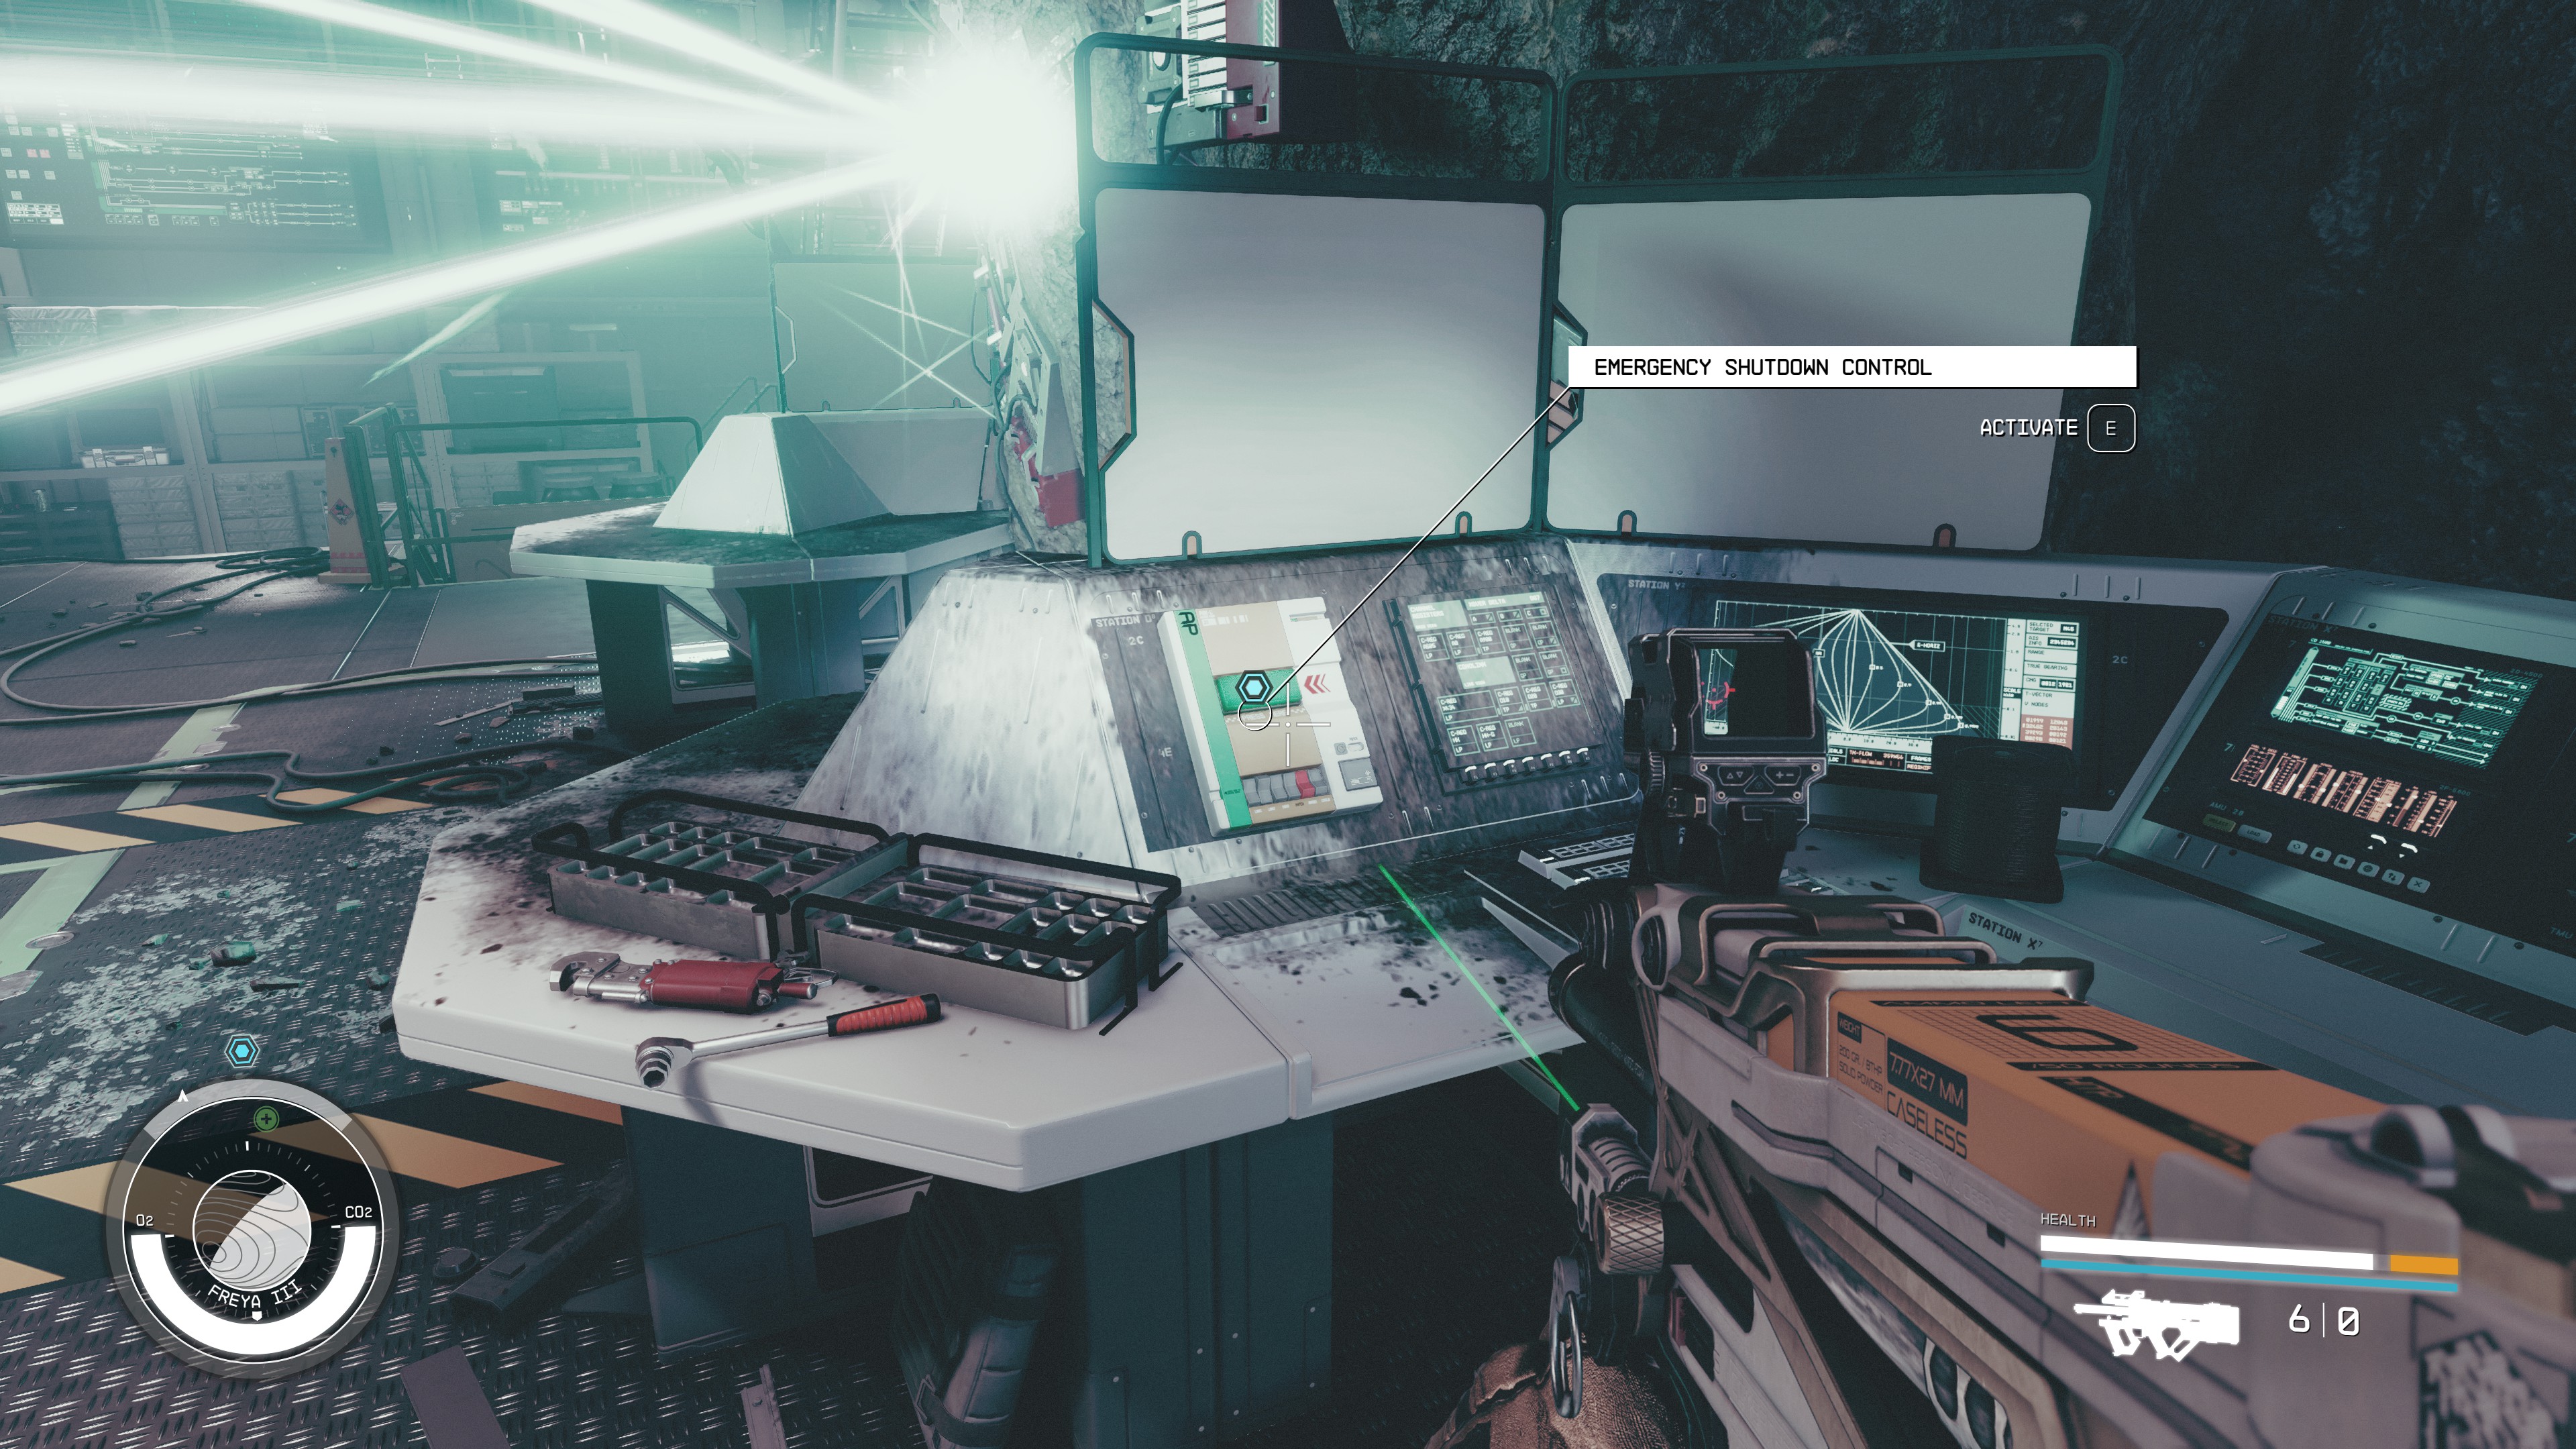
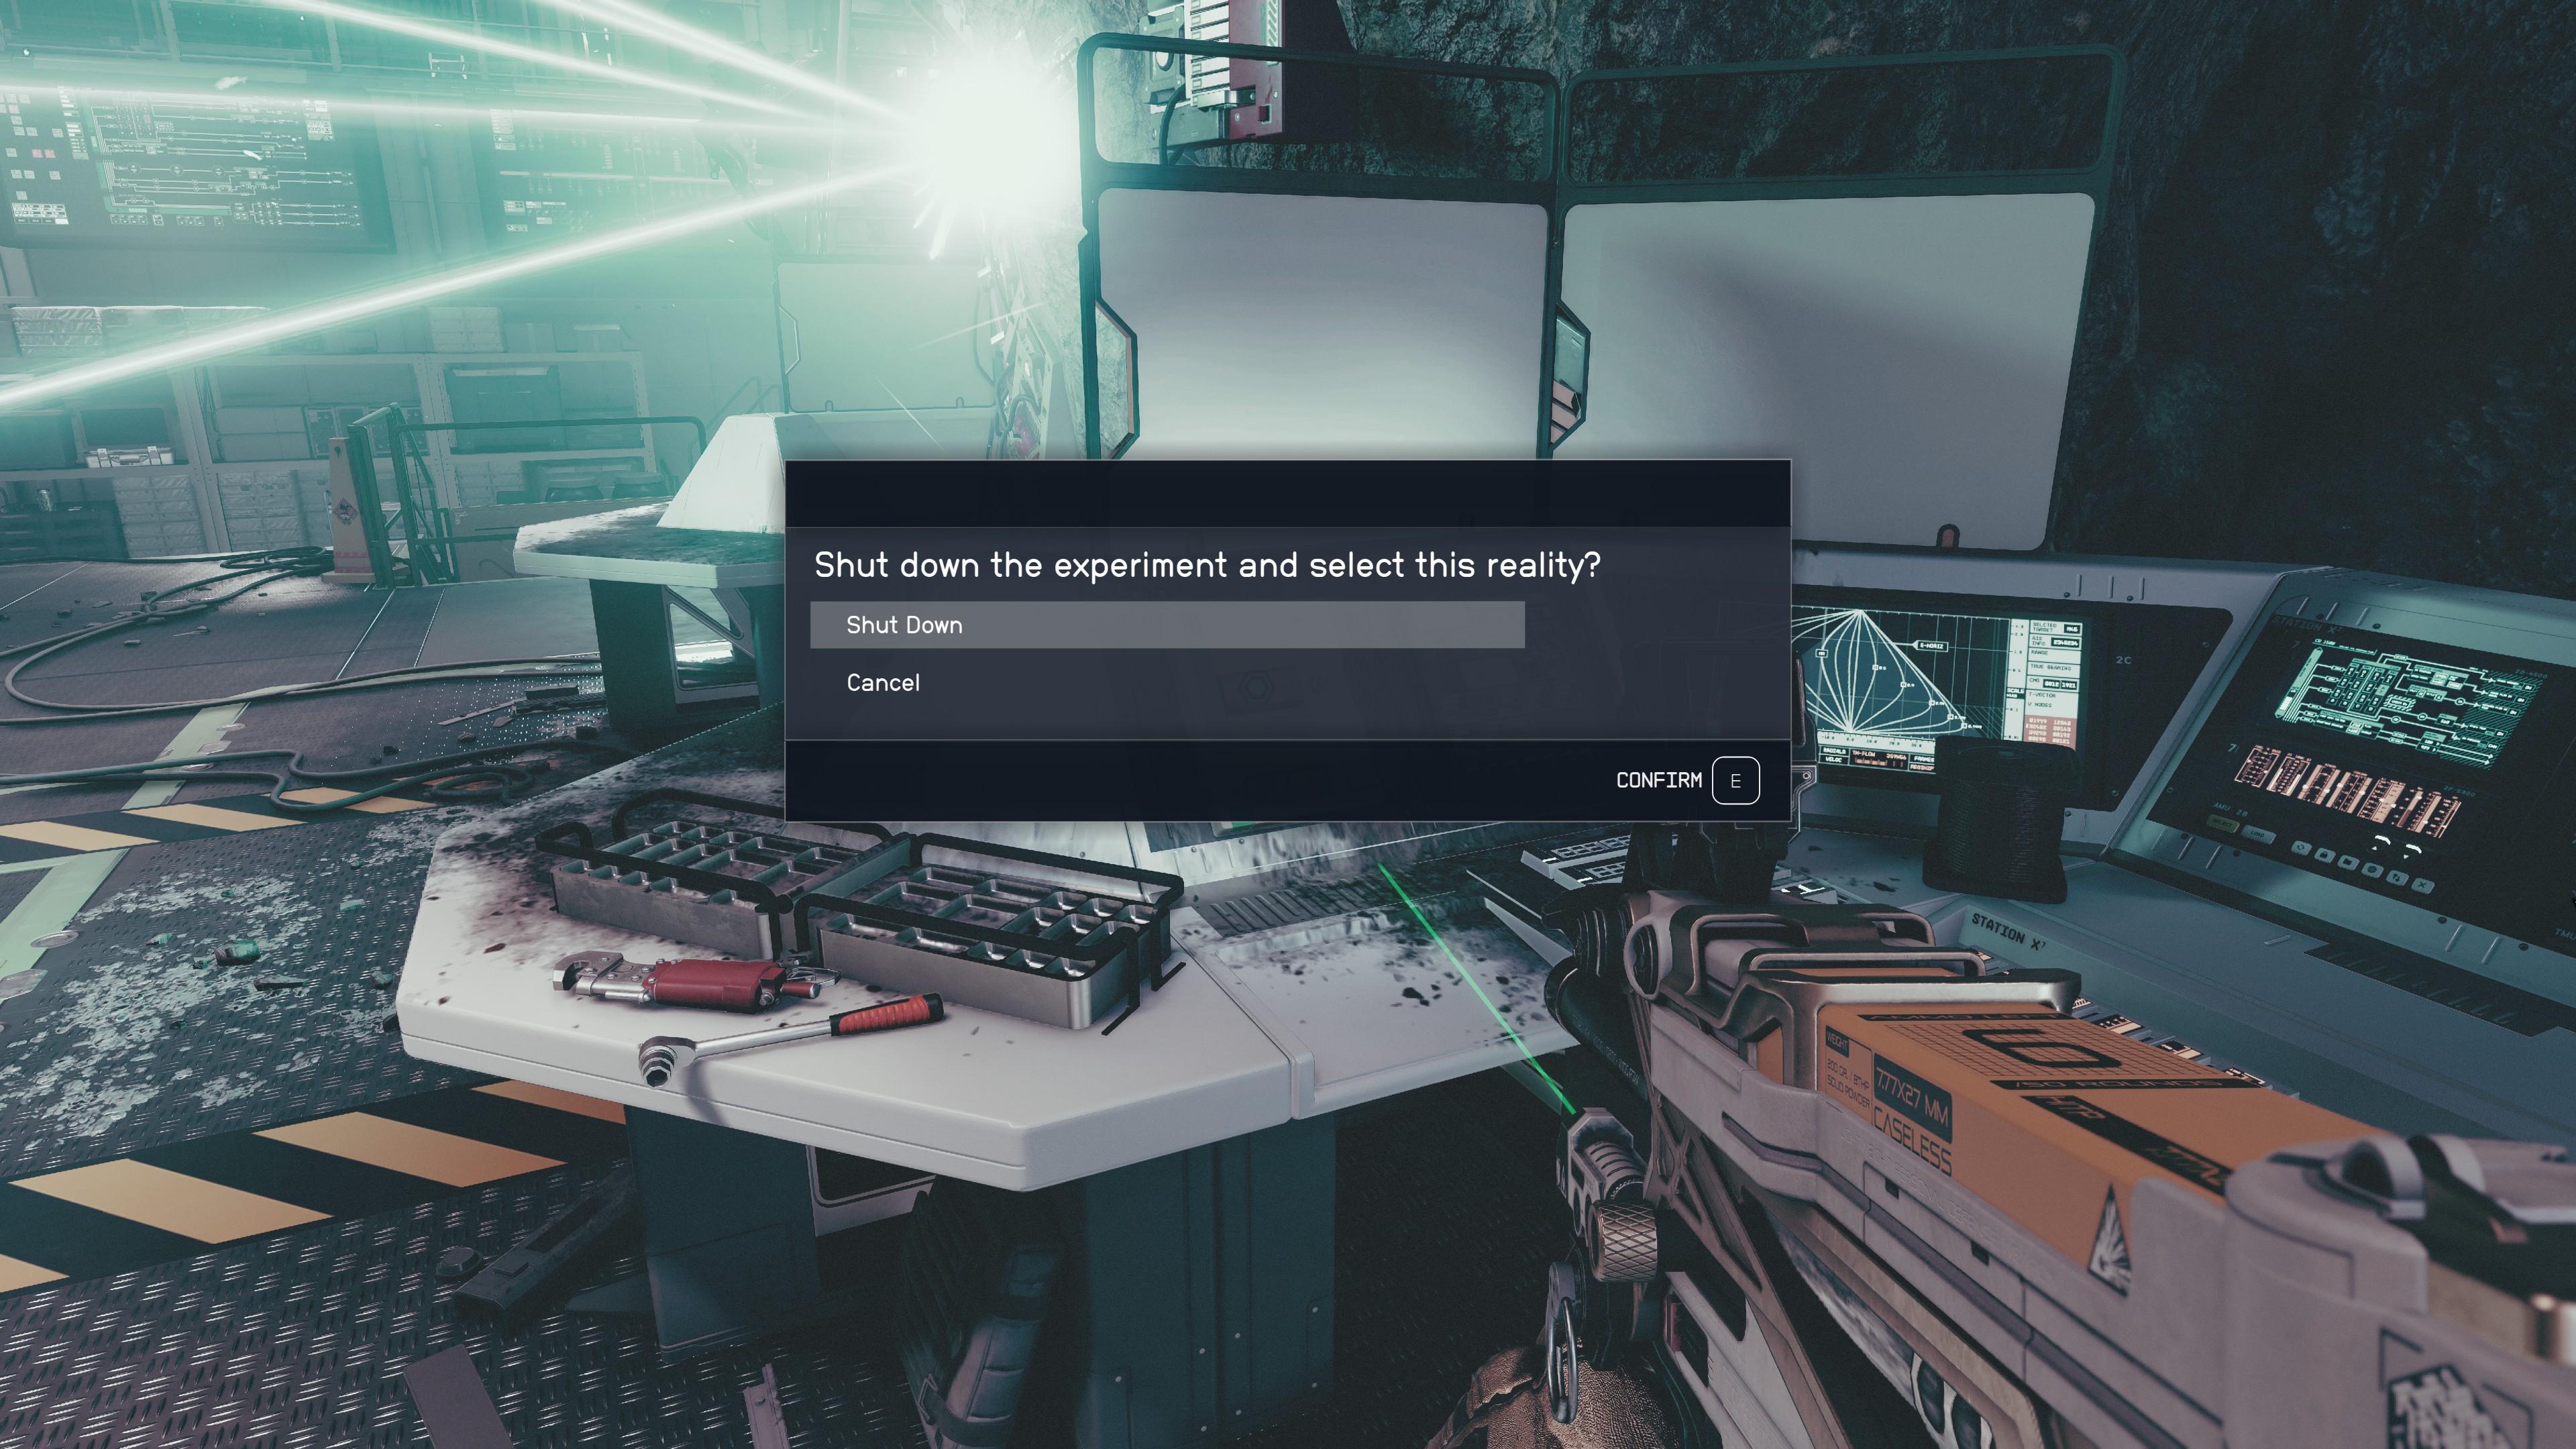
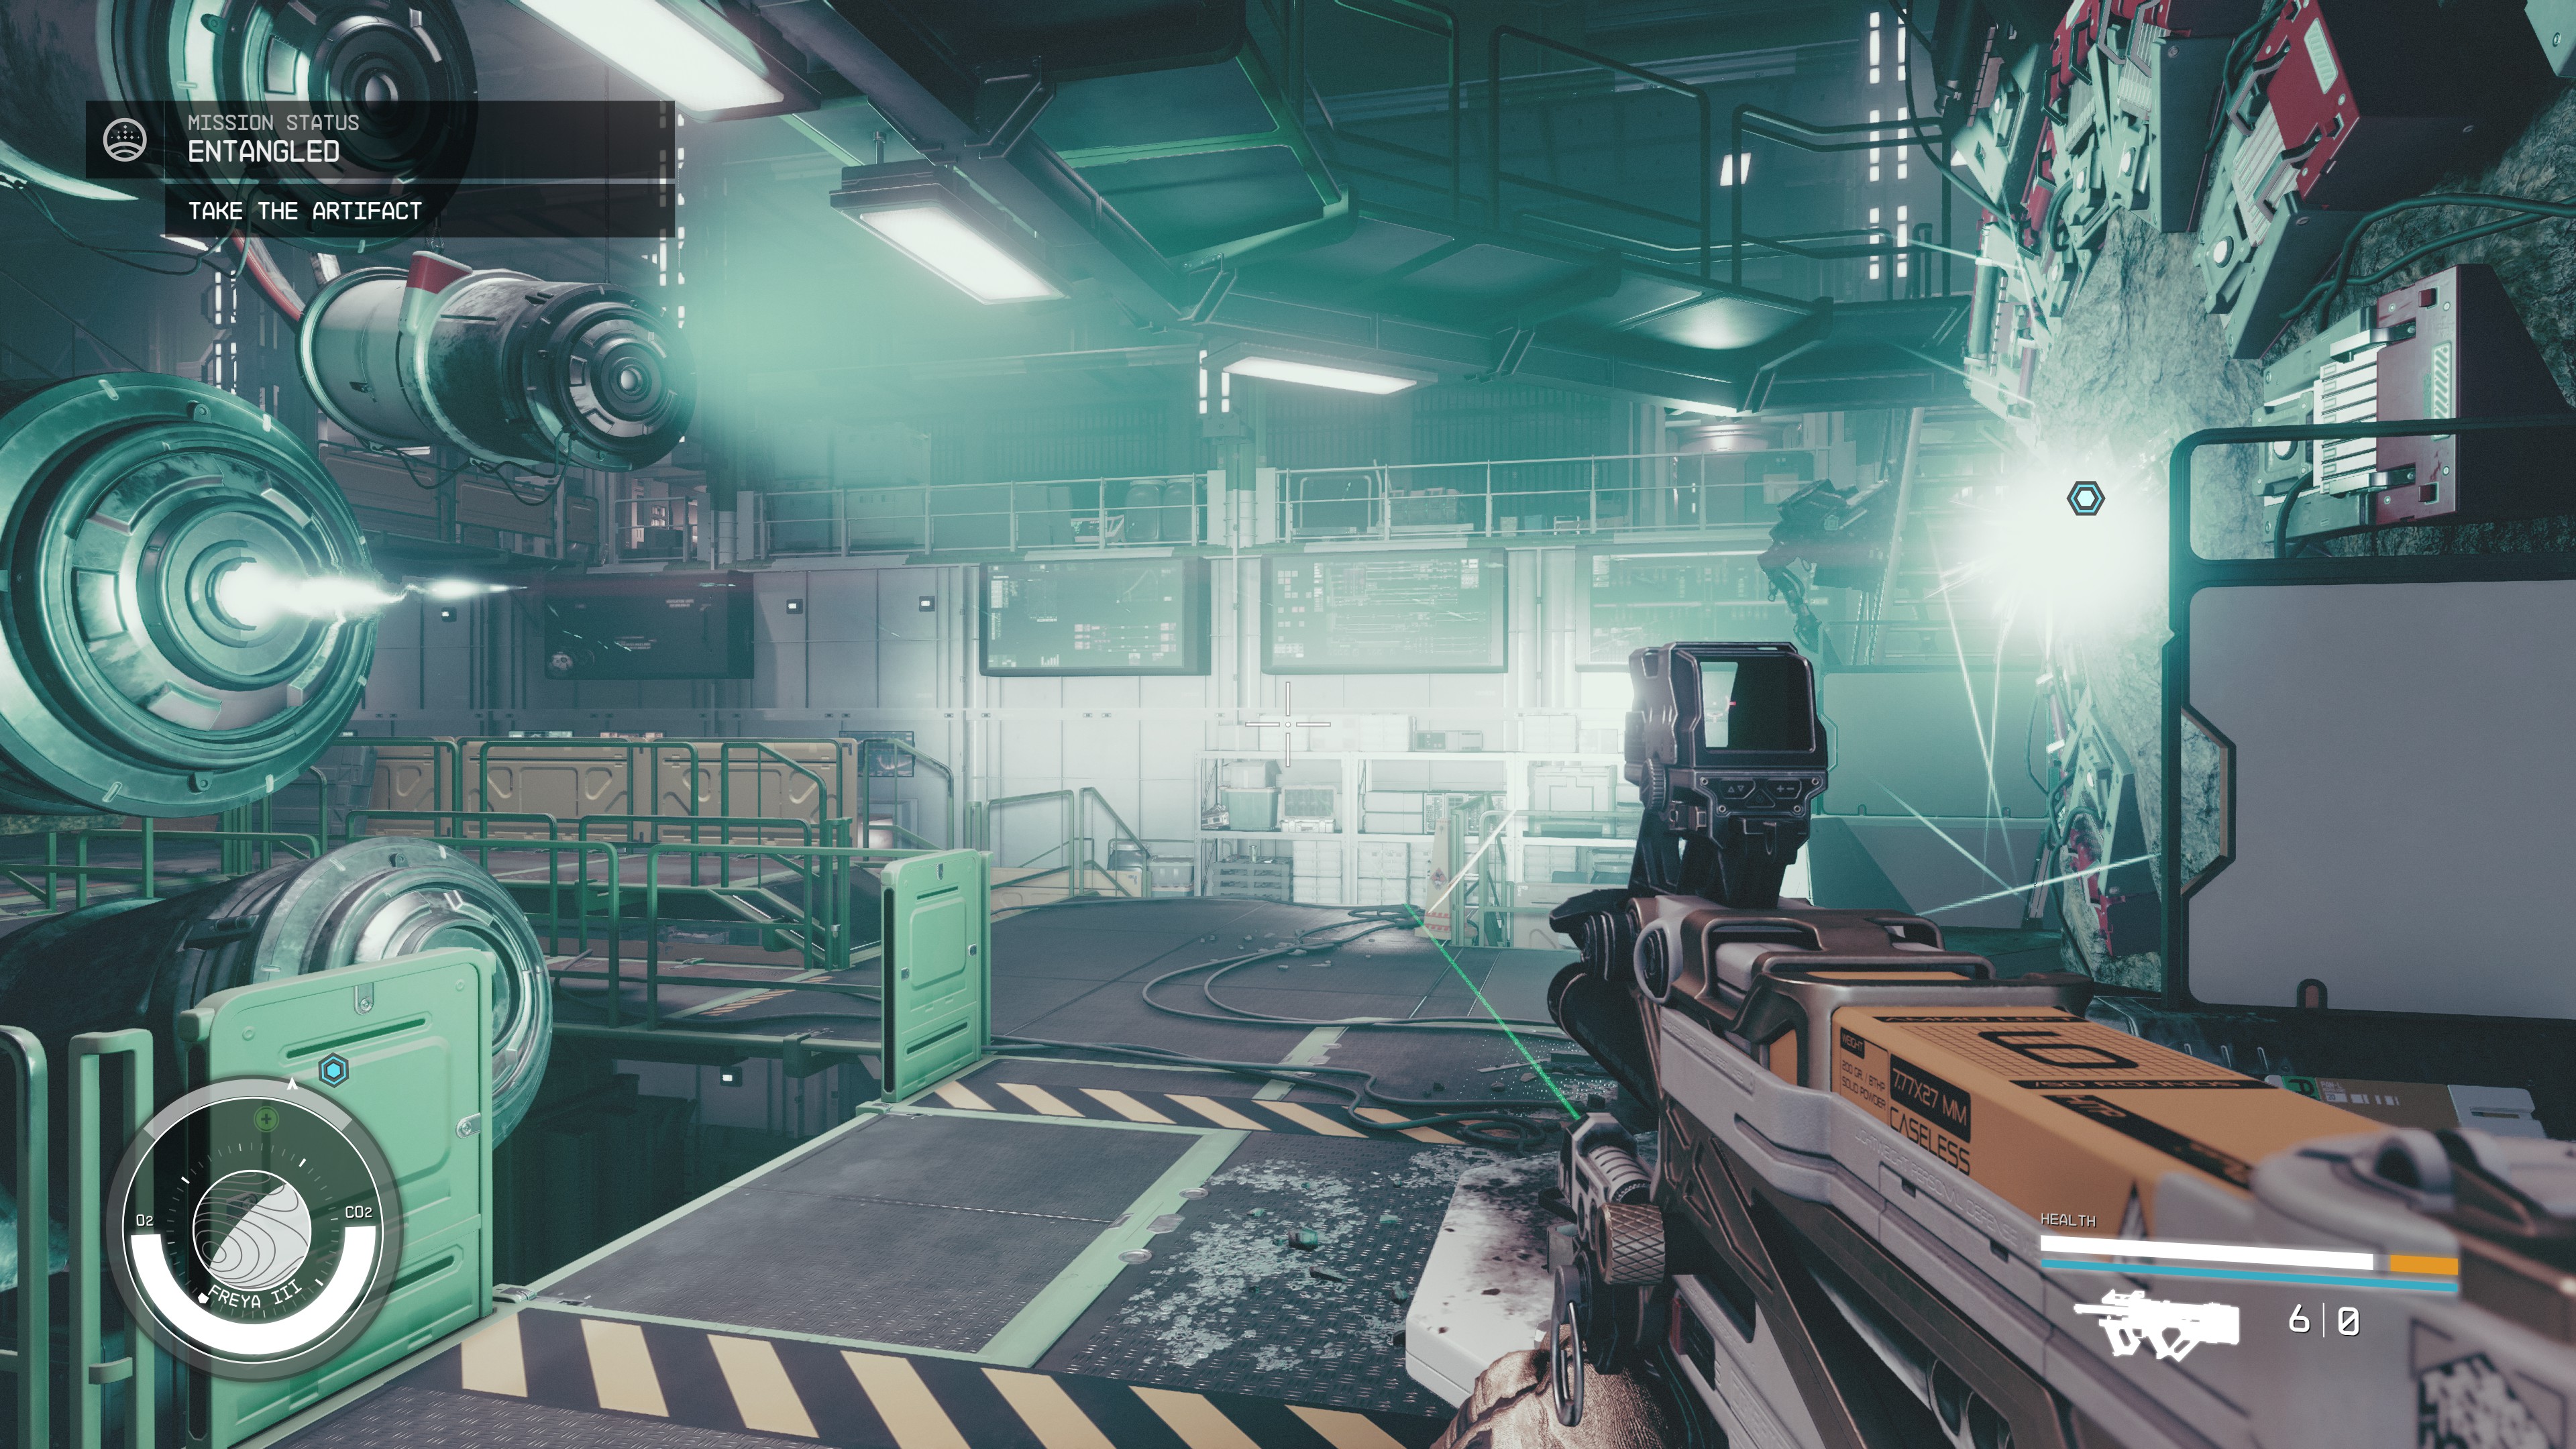
Finally, you reach the room with the probe. You have to disengage seven power interlocks while fending off attacks. Choose wisely which universe you wish to stay in as it affects your final conversations and rewards. With all interlocks disengaged, you can finally shut down the probe.
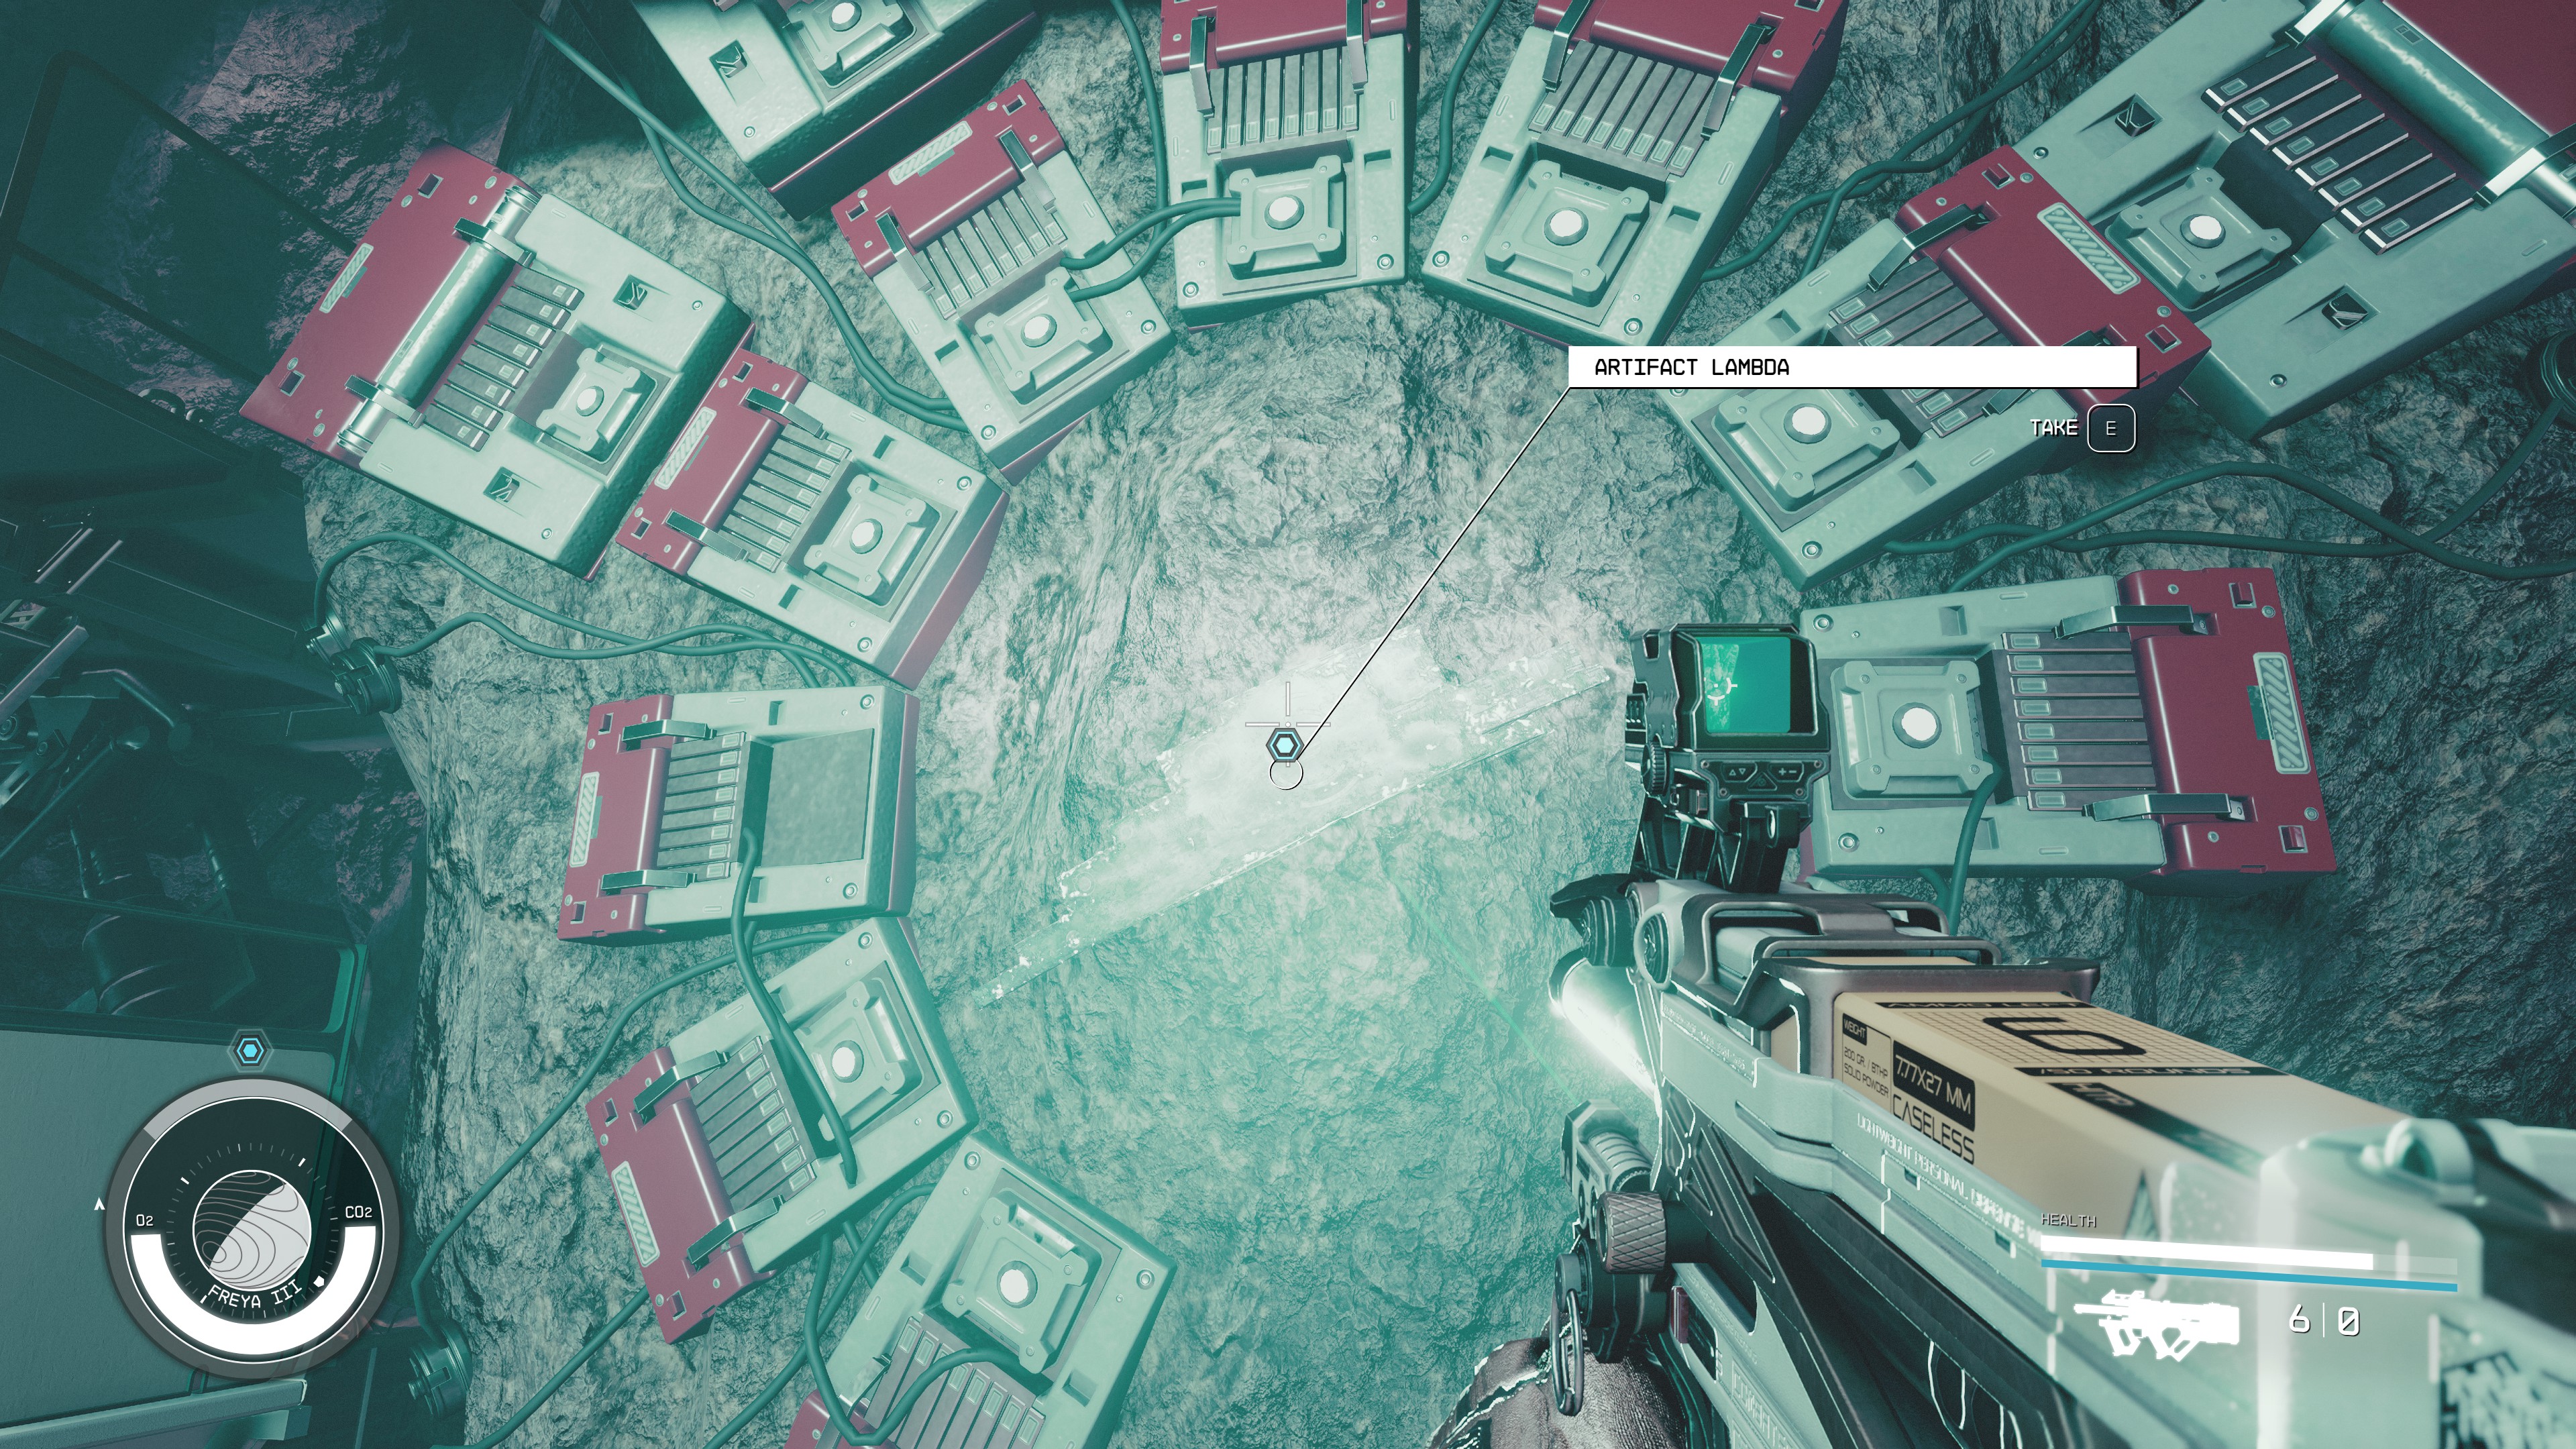
An artifact appears. Pick it up.
Depending on your choice of universe, you either meet with Director Patel or Rafael to conclude the mission. If you chose to stick with the universe where Rafael exists, he offers to join you back to your ship and can be recruited later at Viewport in New Atlantis.
Tips and Tricks
- Containers and items can be looted in the same places in both dimensions. (Double the loot!)
- This mission has a variety of choices in it that may make the order of the method to complete it different.
Objectives
Investigate the Distress Signal
- As you enter the Freya III's orbit you will hear a distress signal over the radio.
- Land at the Nishina Research Station, from where the distress signal is coming from.
- Walk towards the buildings where the mission marker is.
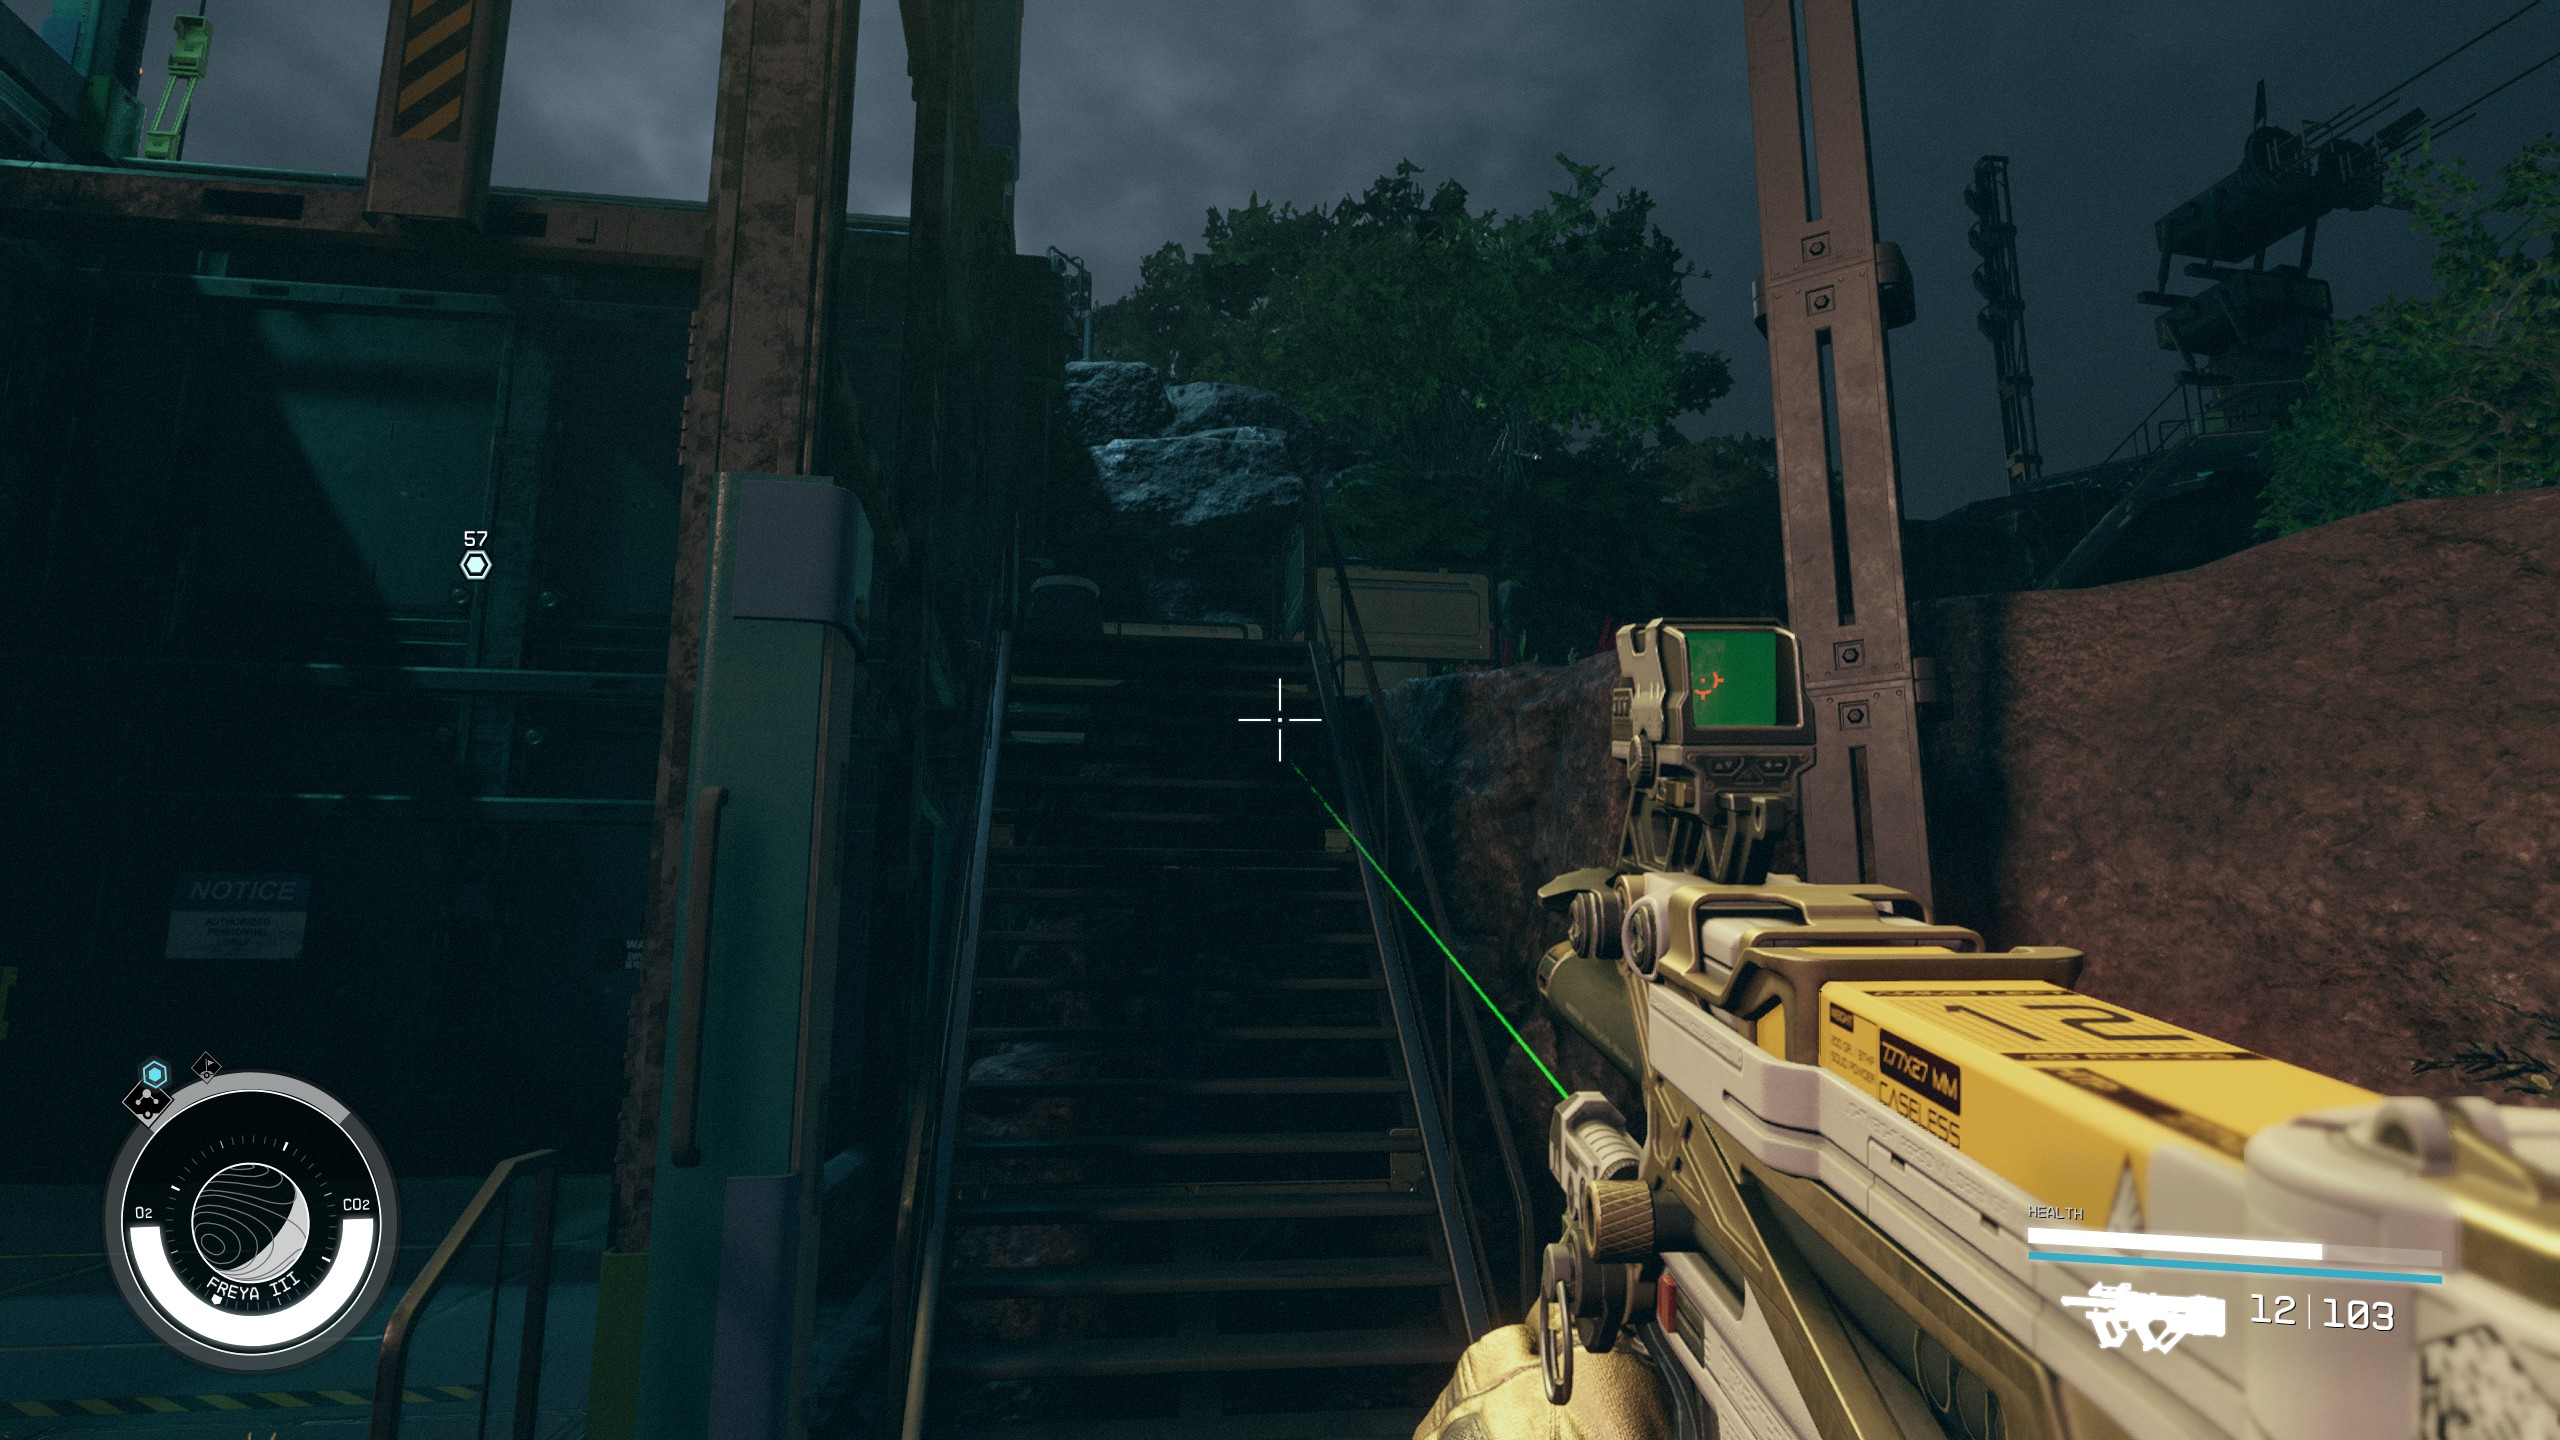
- Walk up to the right of the large elevator and take the stairs going up.
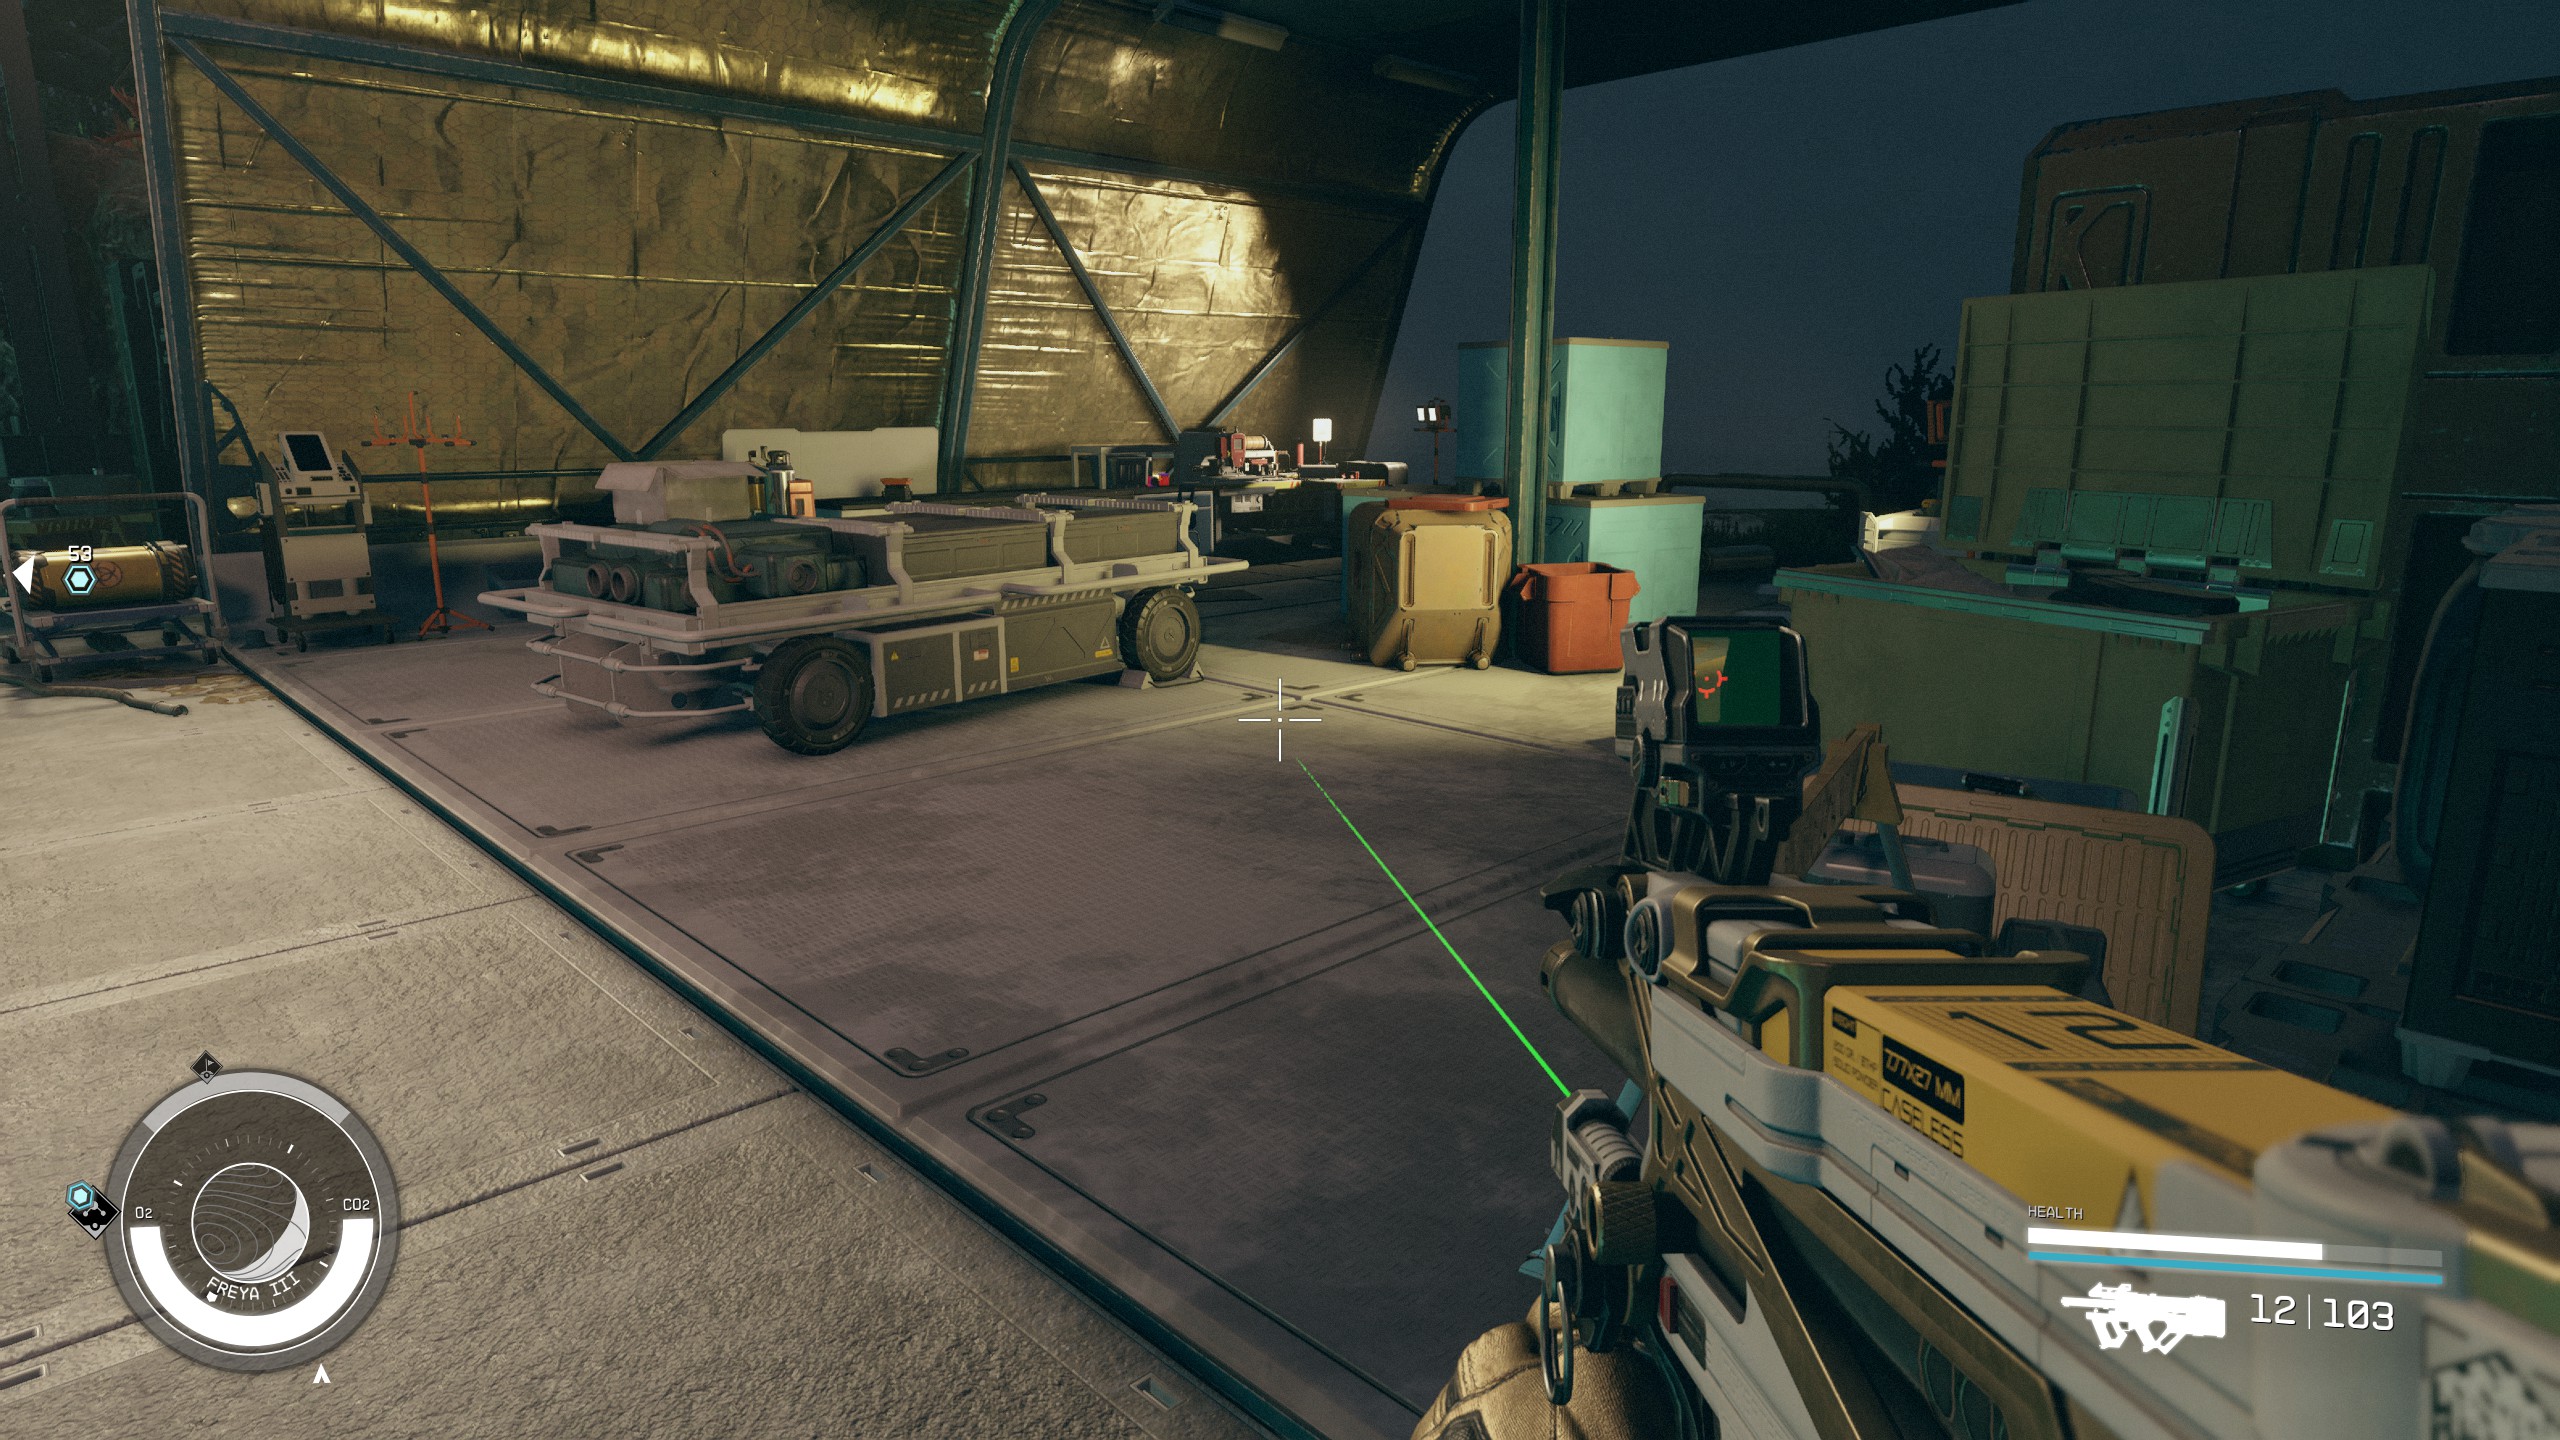
- Grab the loot on the right of the path under the overhang.
- Walk up to the door to the Nishina Research Lab.
- The door will be locked but if you select the radio next to the door you can speak to someone to ask them to let you in. The owner of the voice is Ethan Hughes, who tells you that they did not send a distress signal.
- After a bit of convincing Ethan will let you in.
Enter the Nishina Research Station
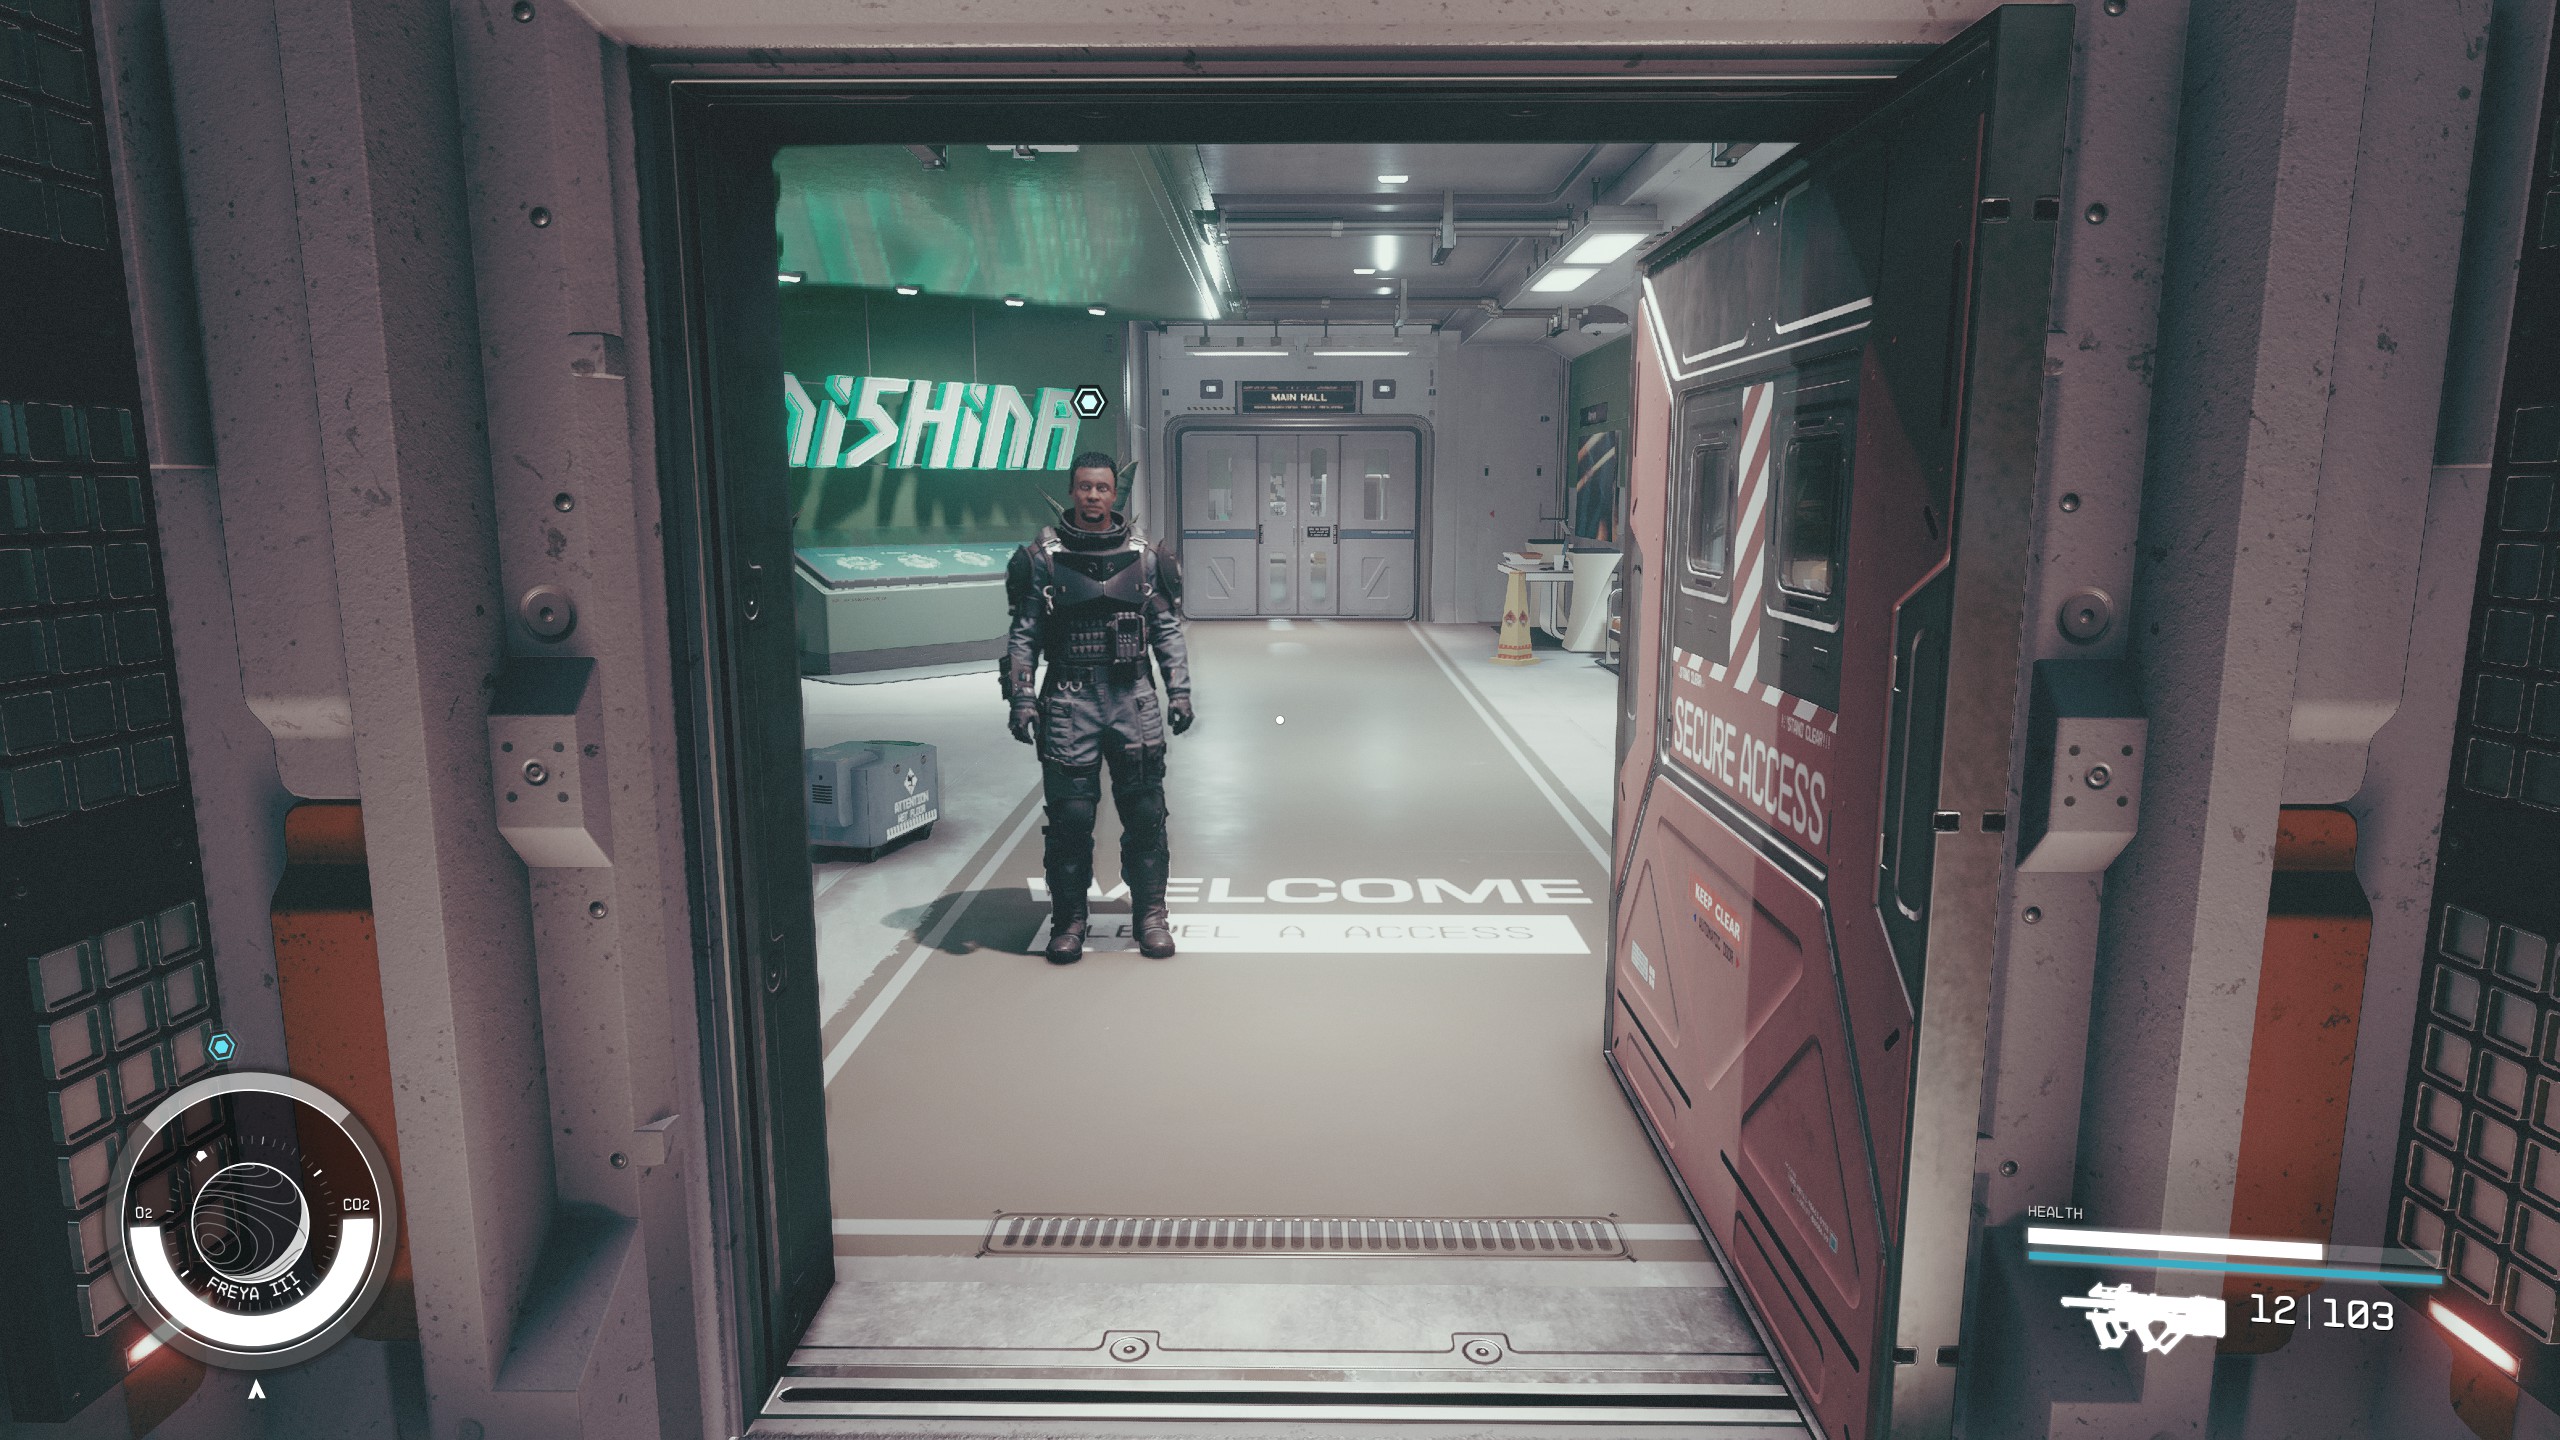
- Enter the Research Station through the door.
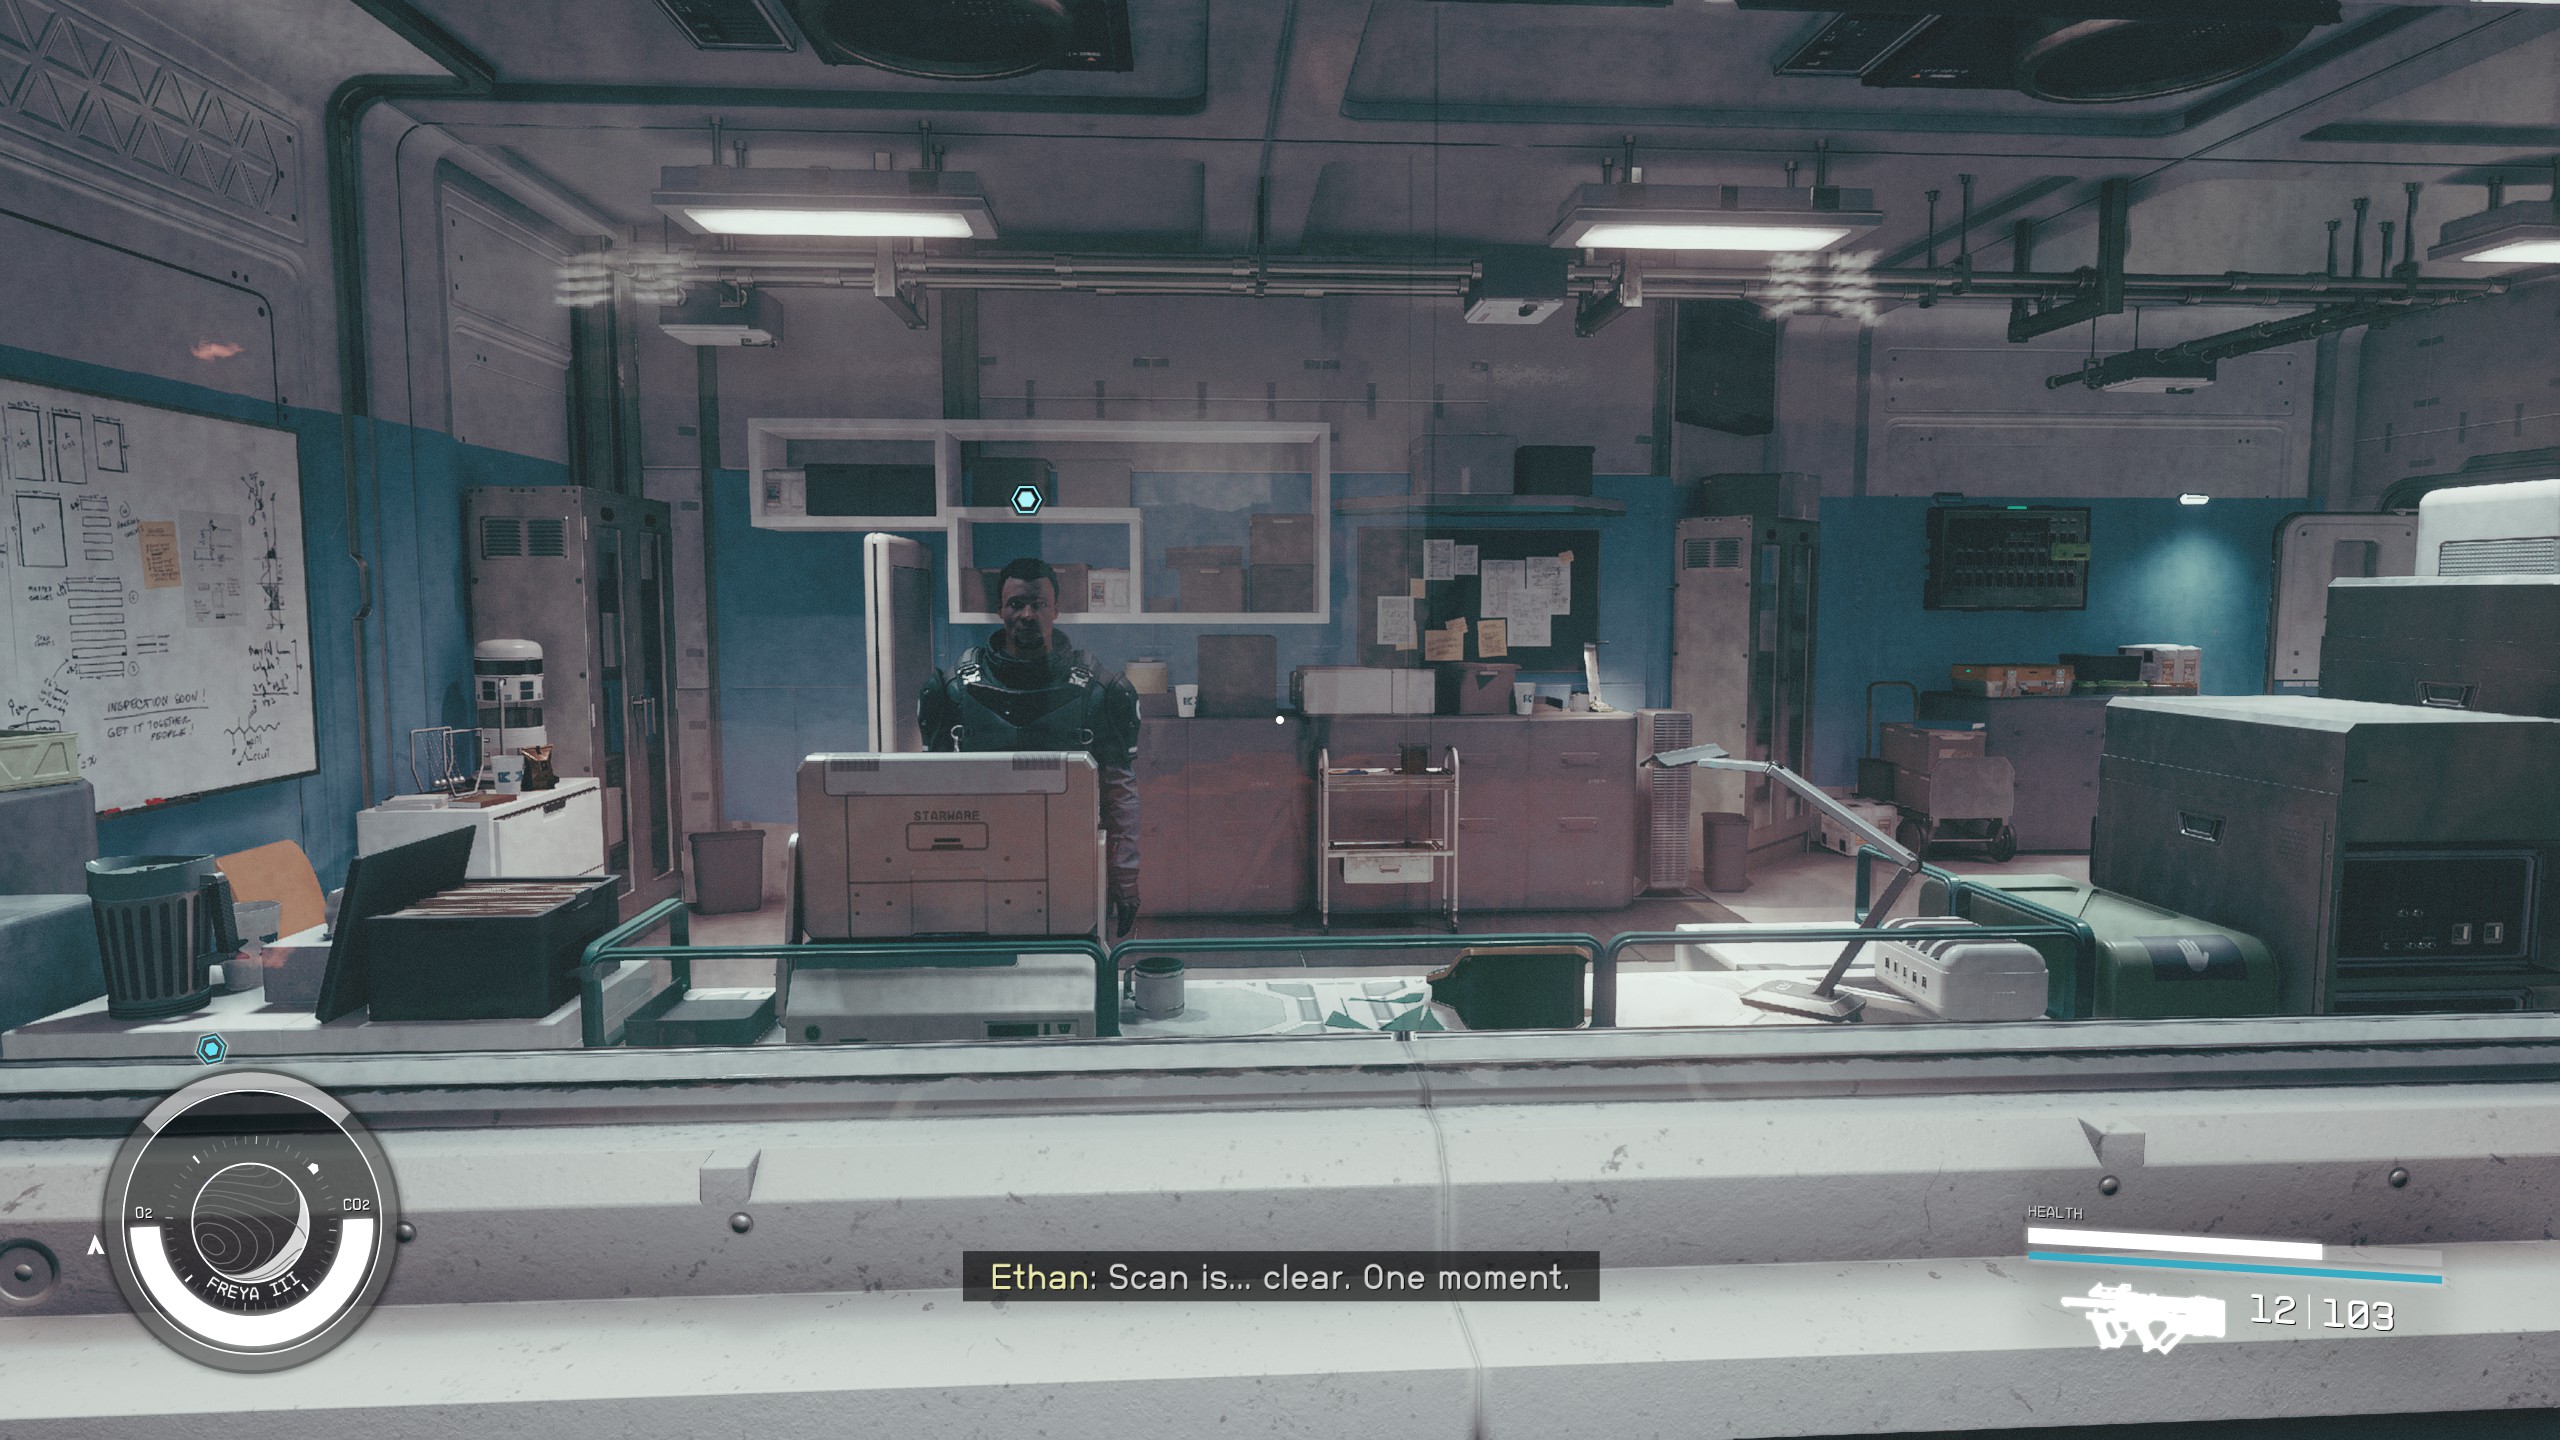
- You will walk into an enclosed room with a window on the left. Ethan will wave at you and open the security door.
Speak to Ethan
- Speak with Ethan once the door is open.
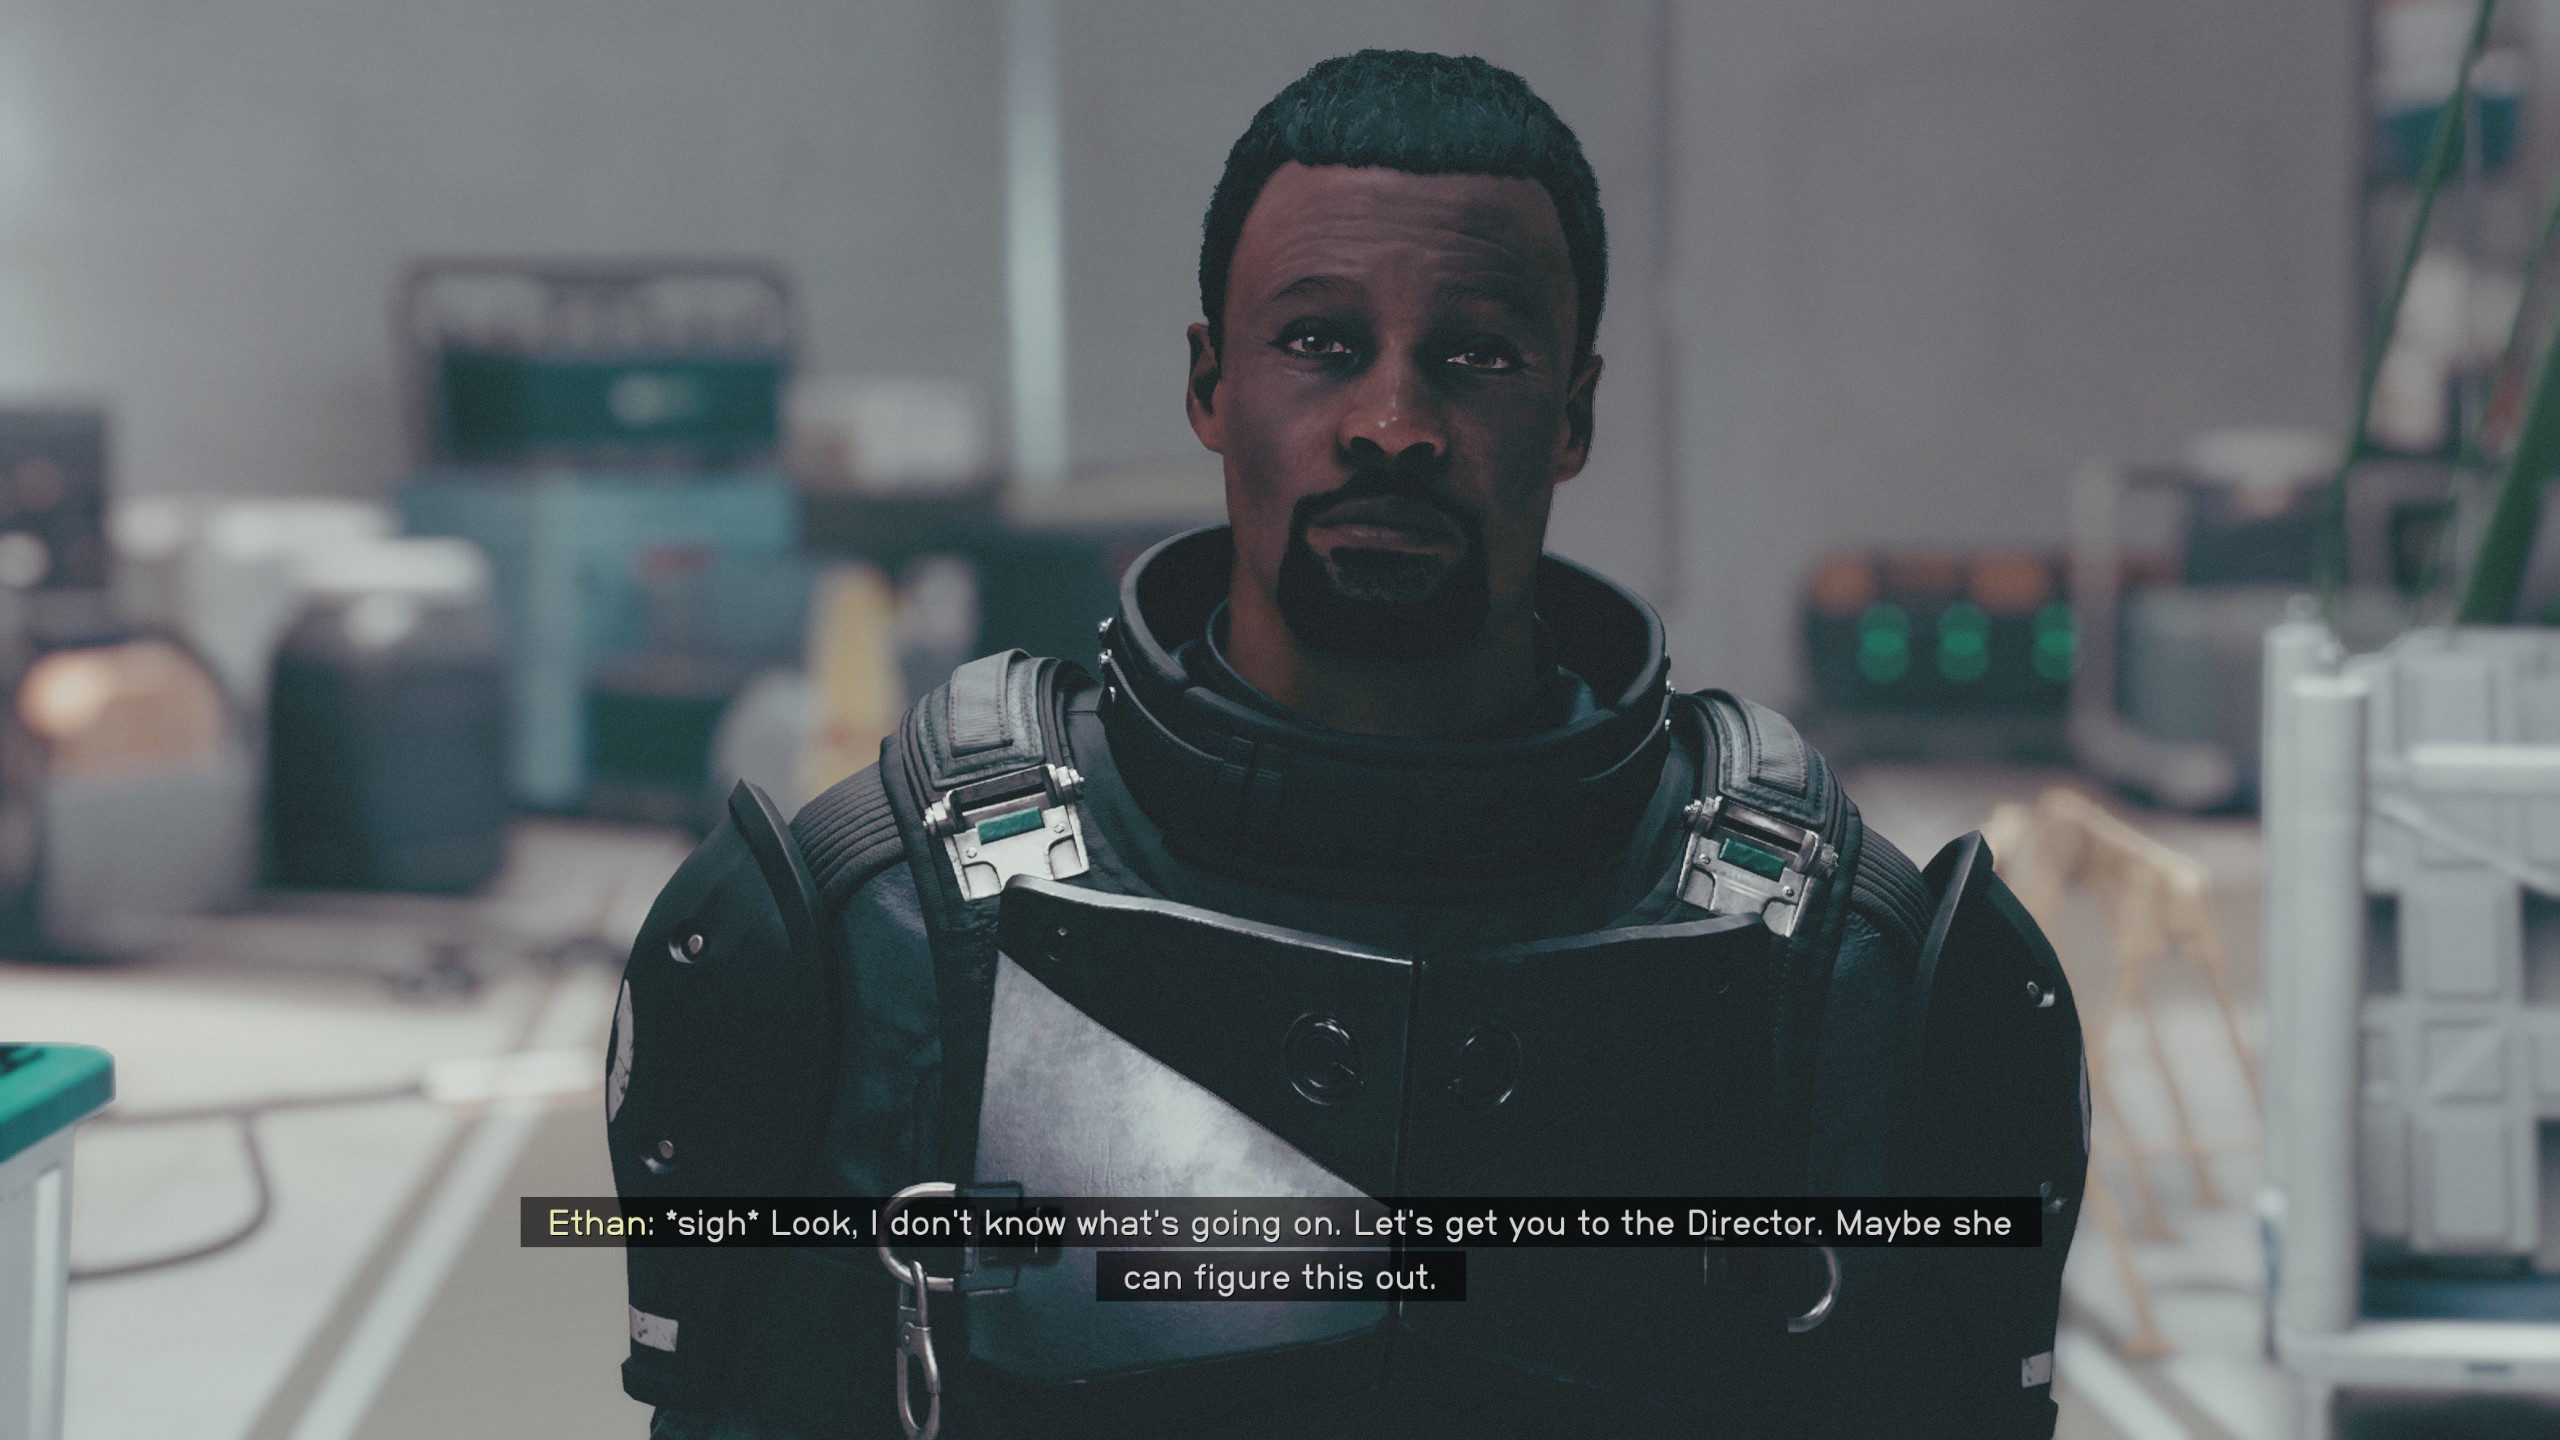
- Ethan will ask you to speak with the Director of the facility. He says that he will lead you to where she is located.
Follow Ethan
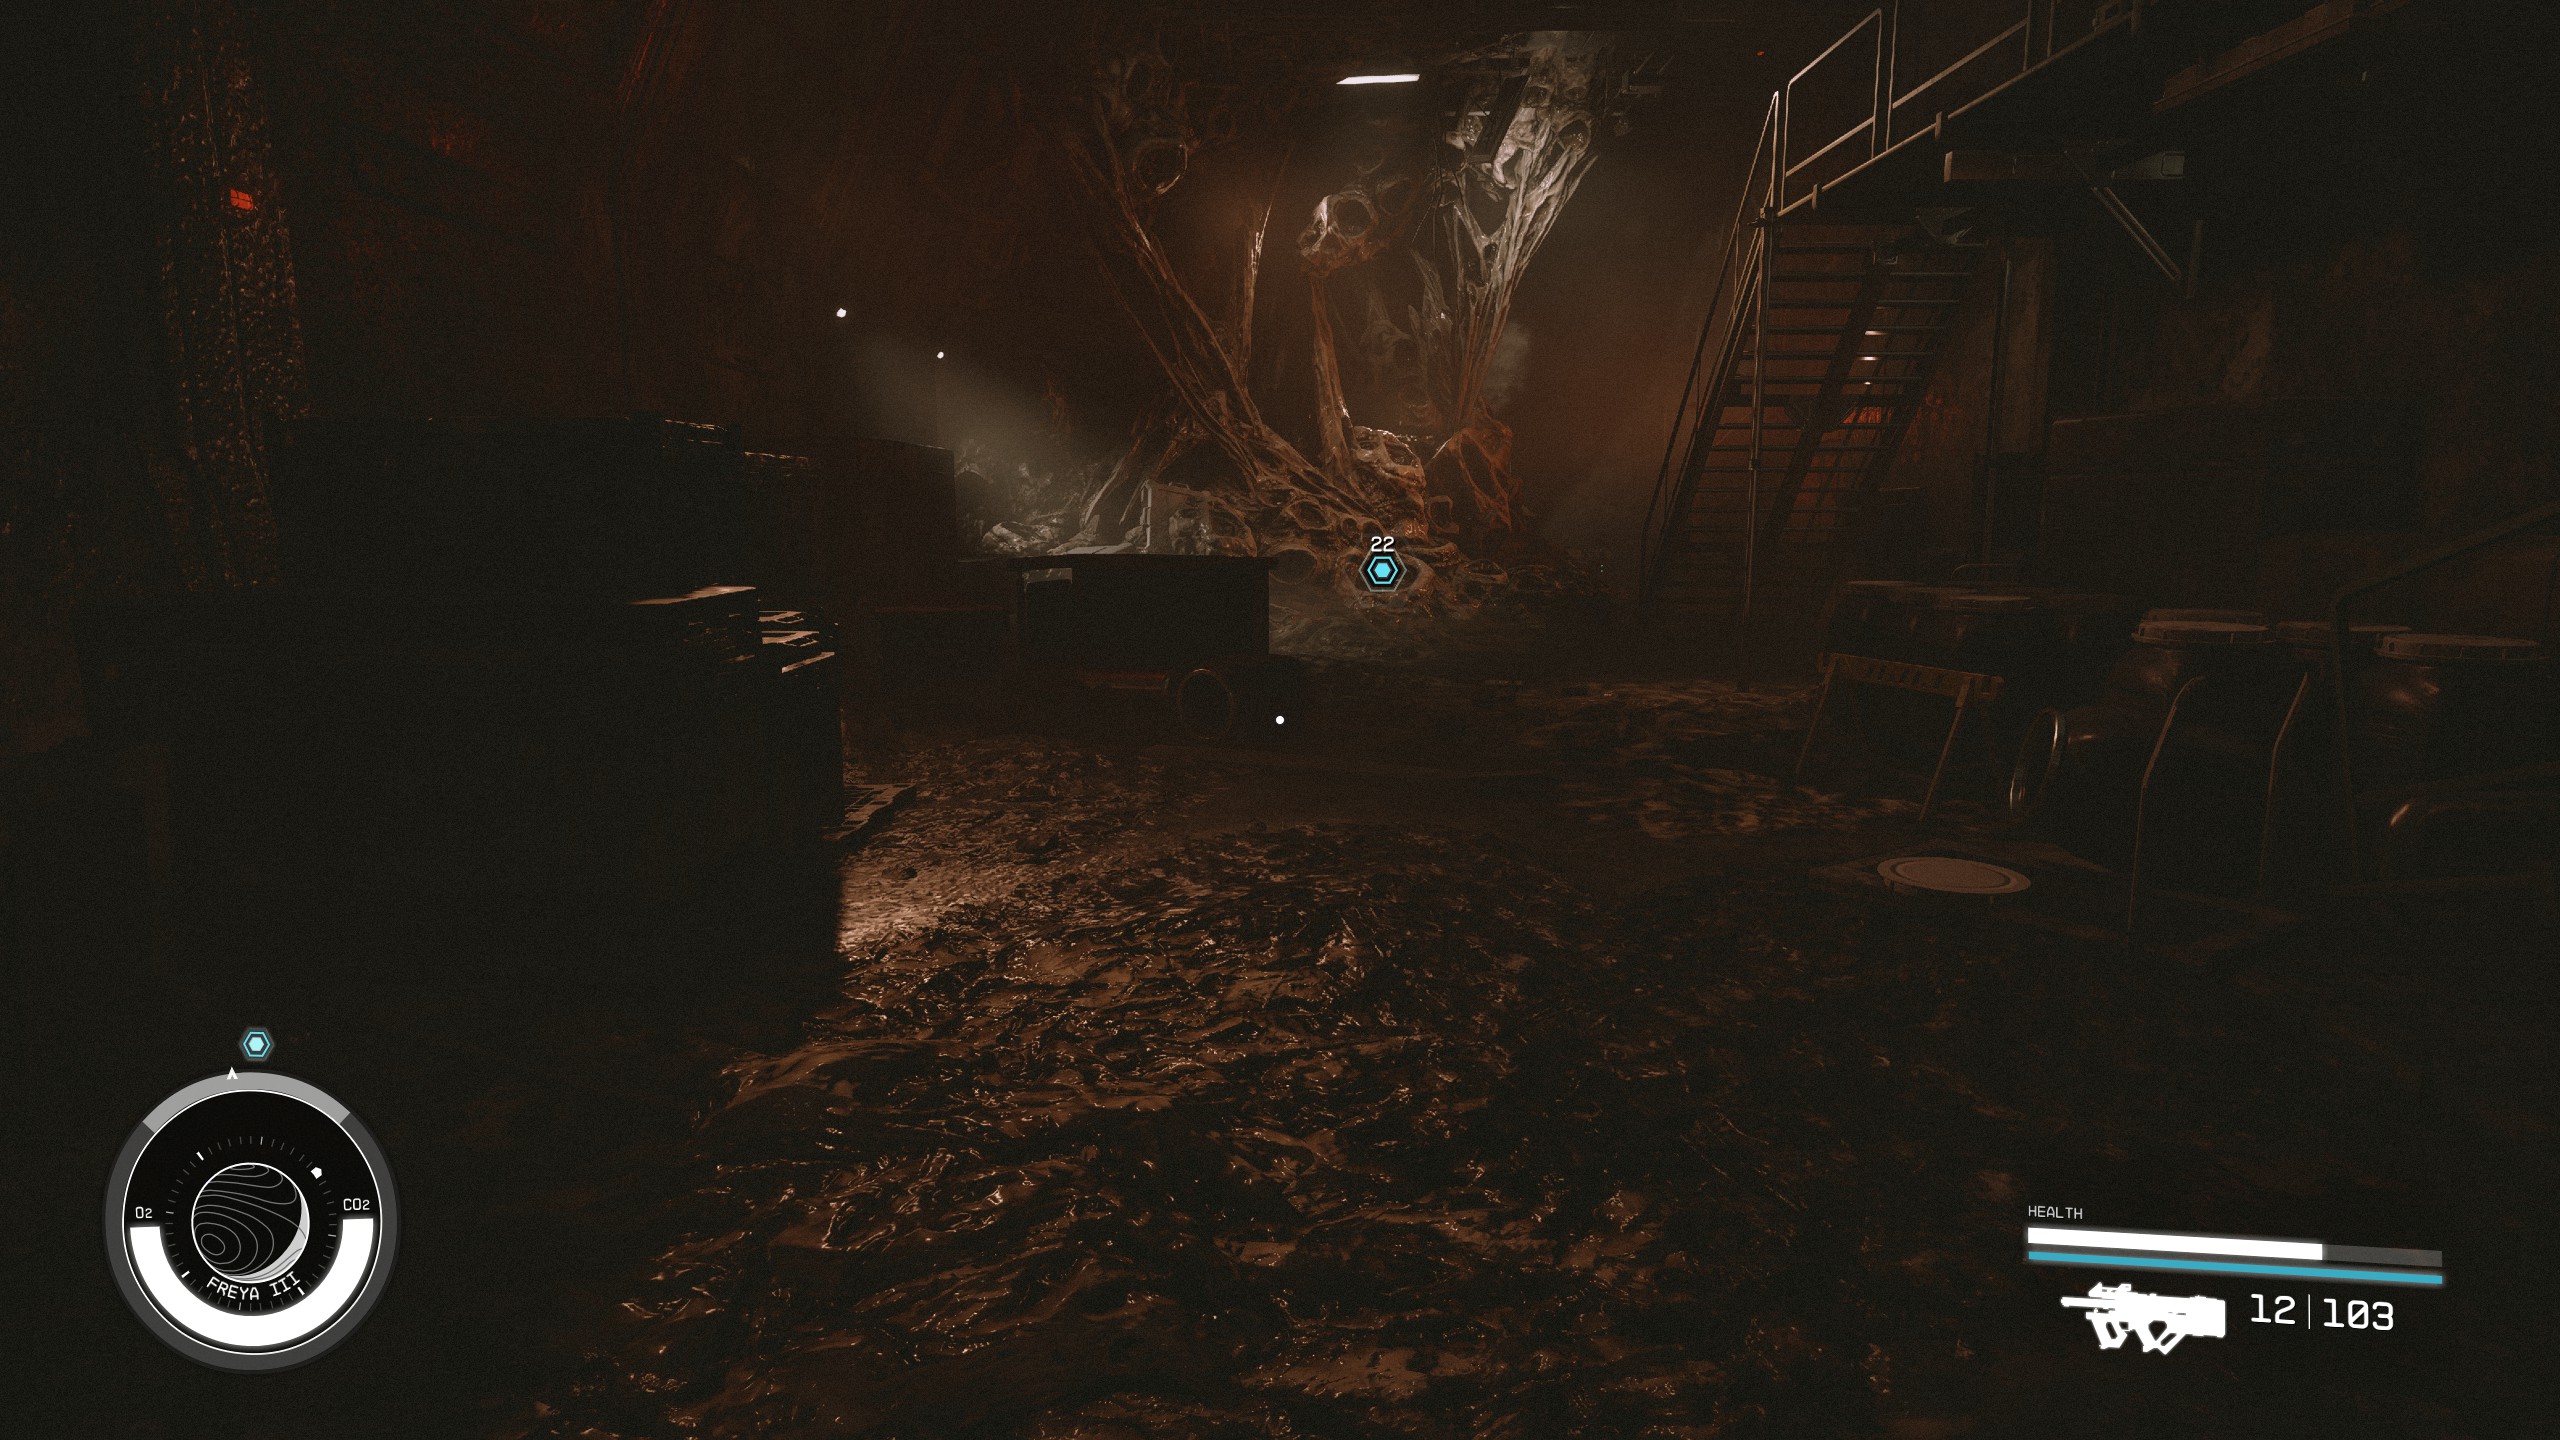
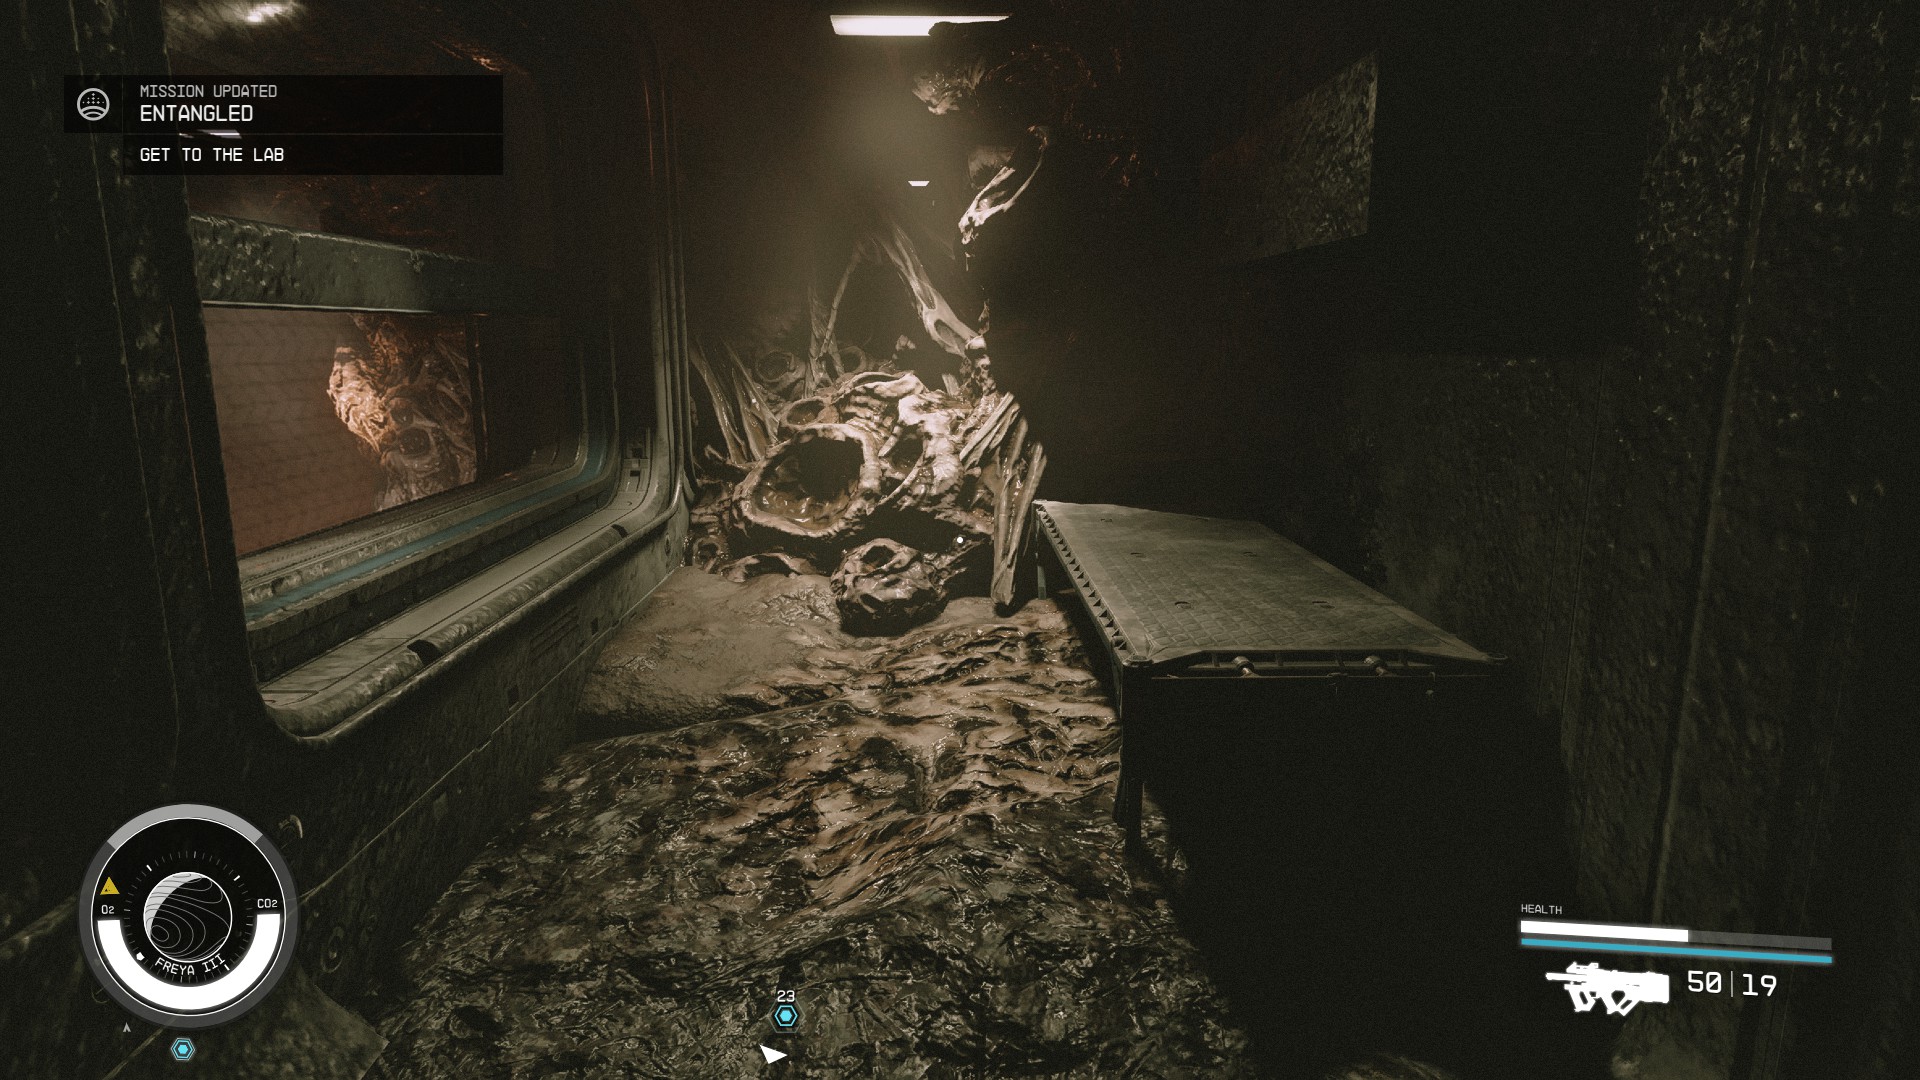
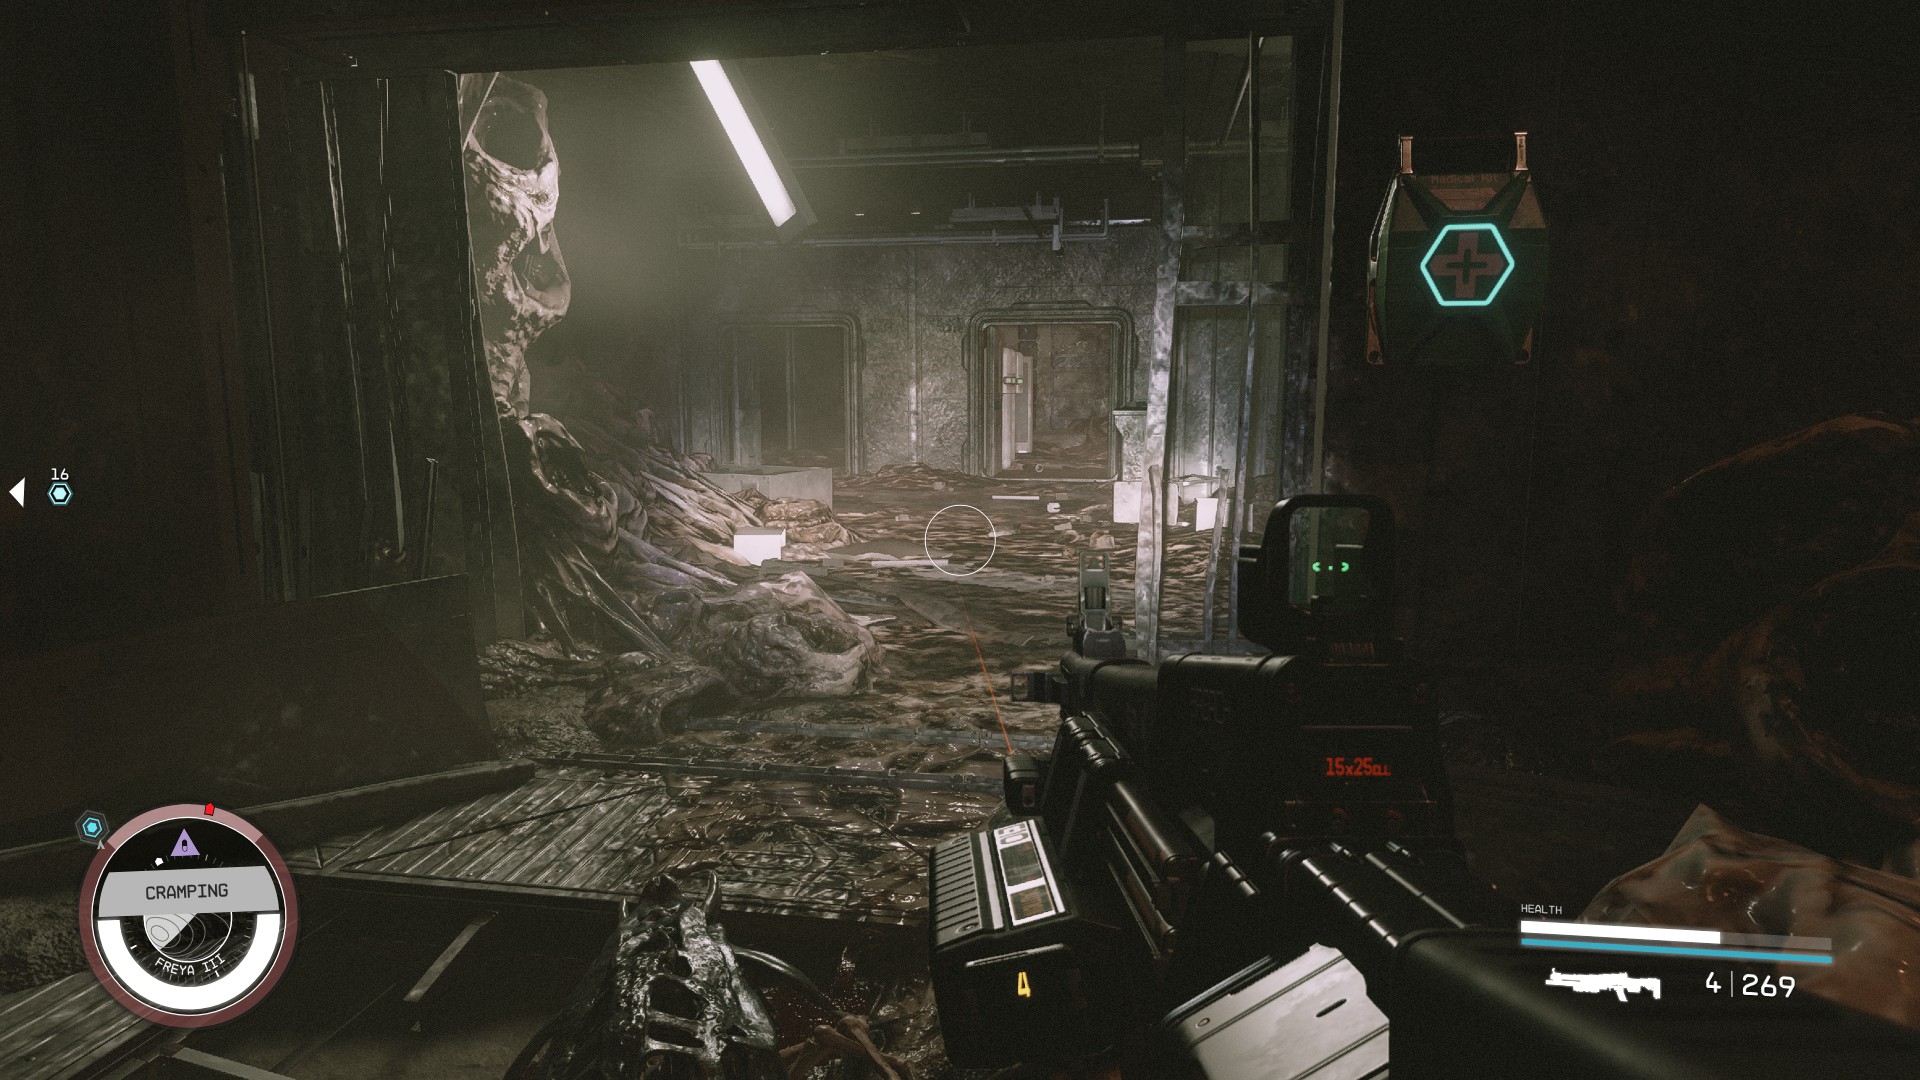
- After walking a ways you will suddenly be transported to a different area. You will notice that this place looks nothing like where you just were, and Ethan is no longer with you.
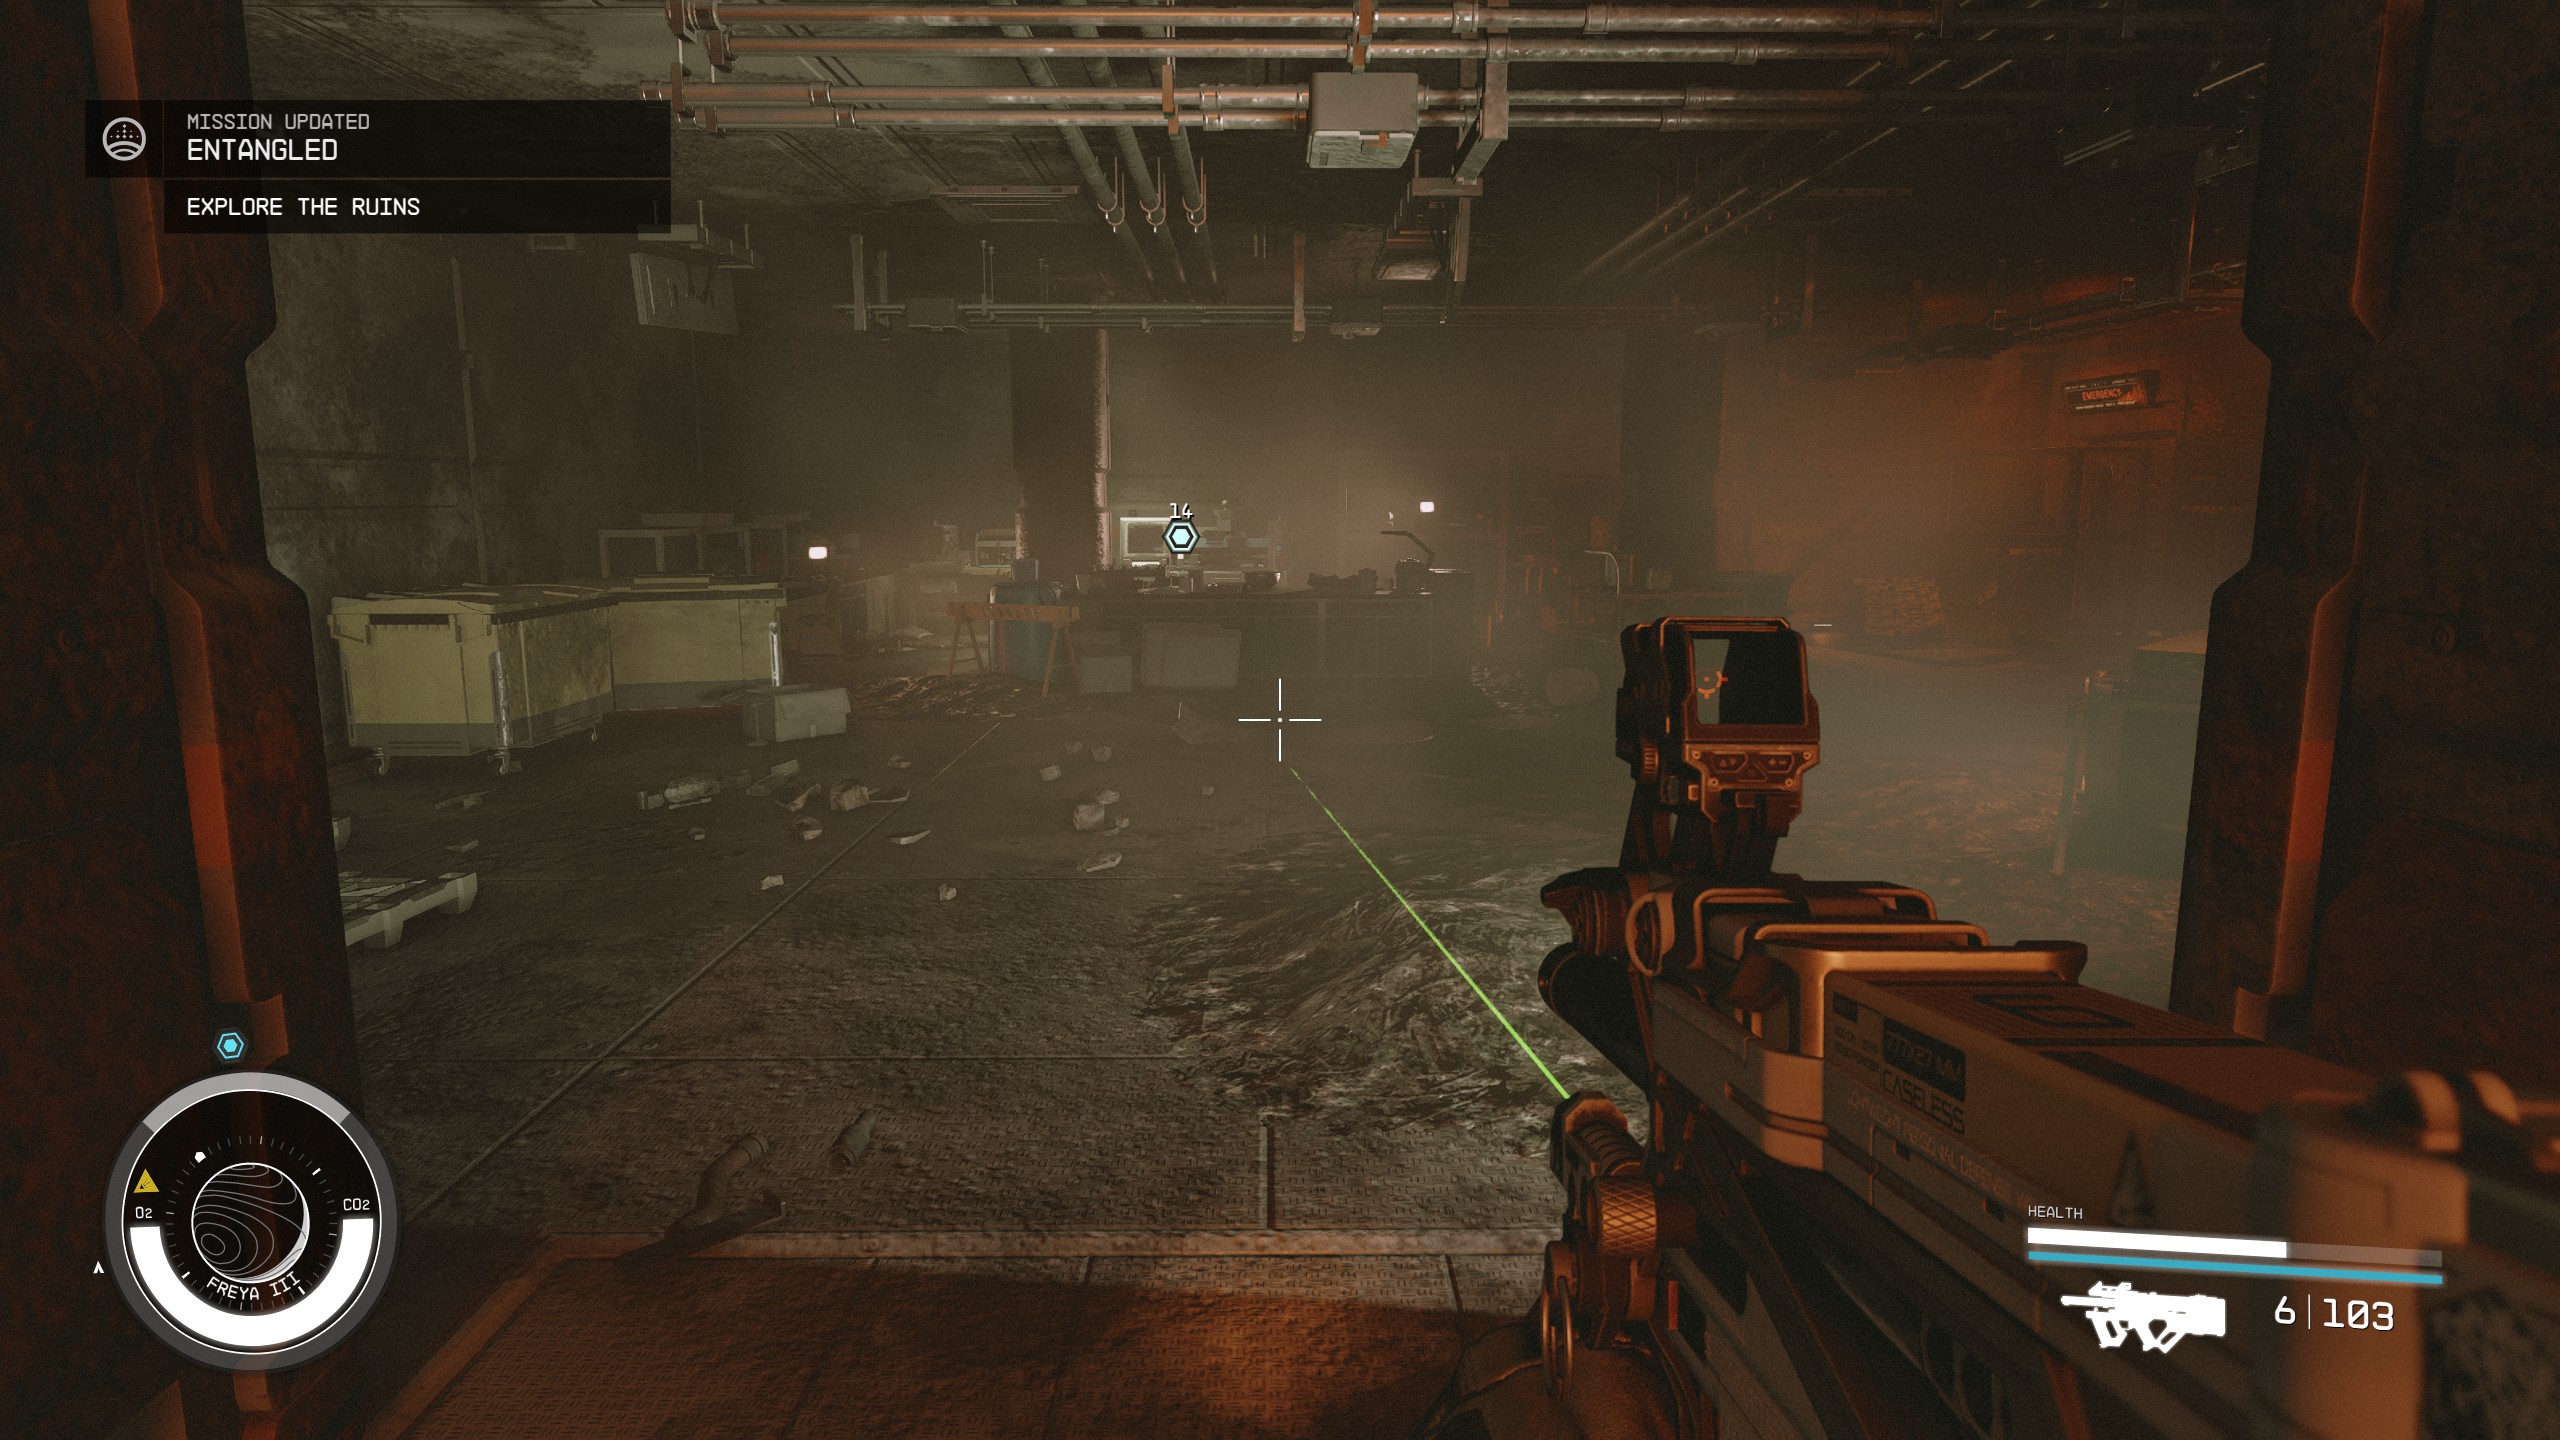
Explore the Ruins
- Walk to the formation in front of you, where the mission marker is.
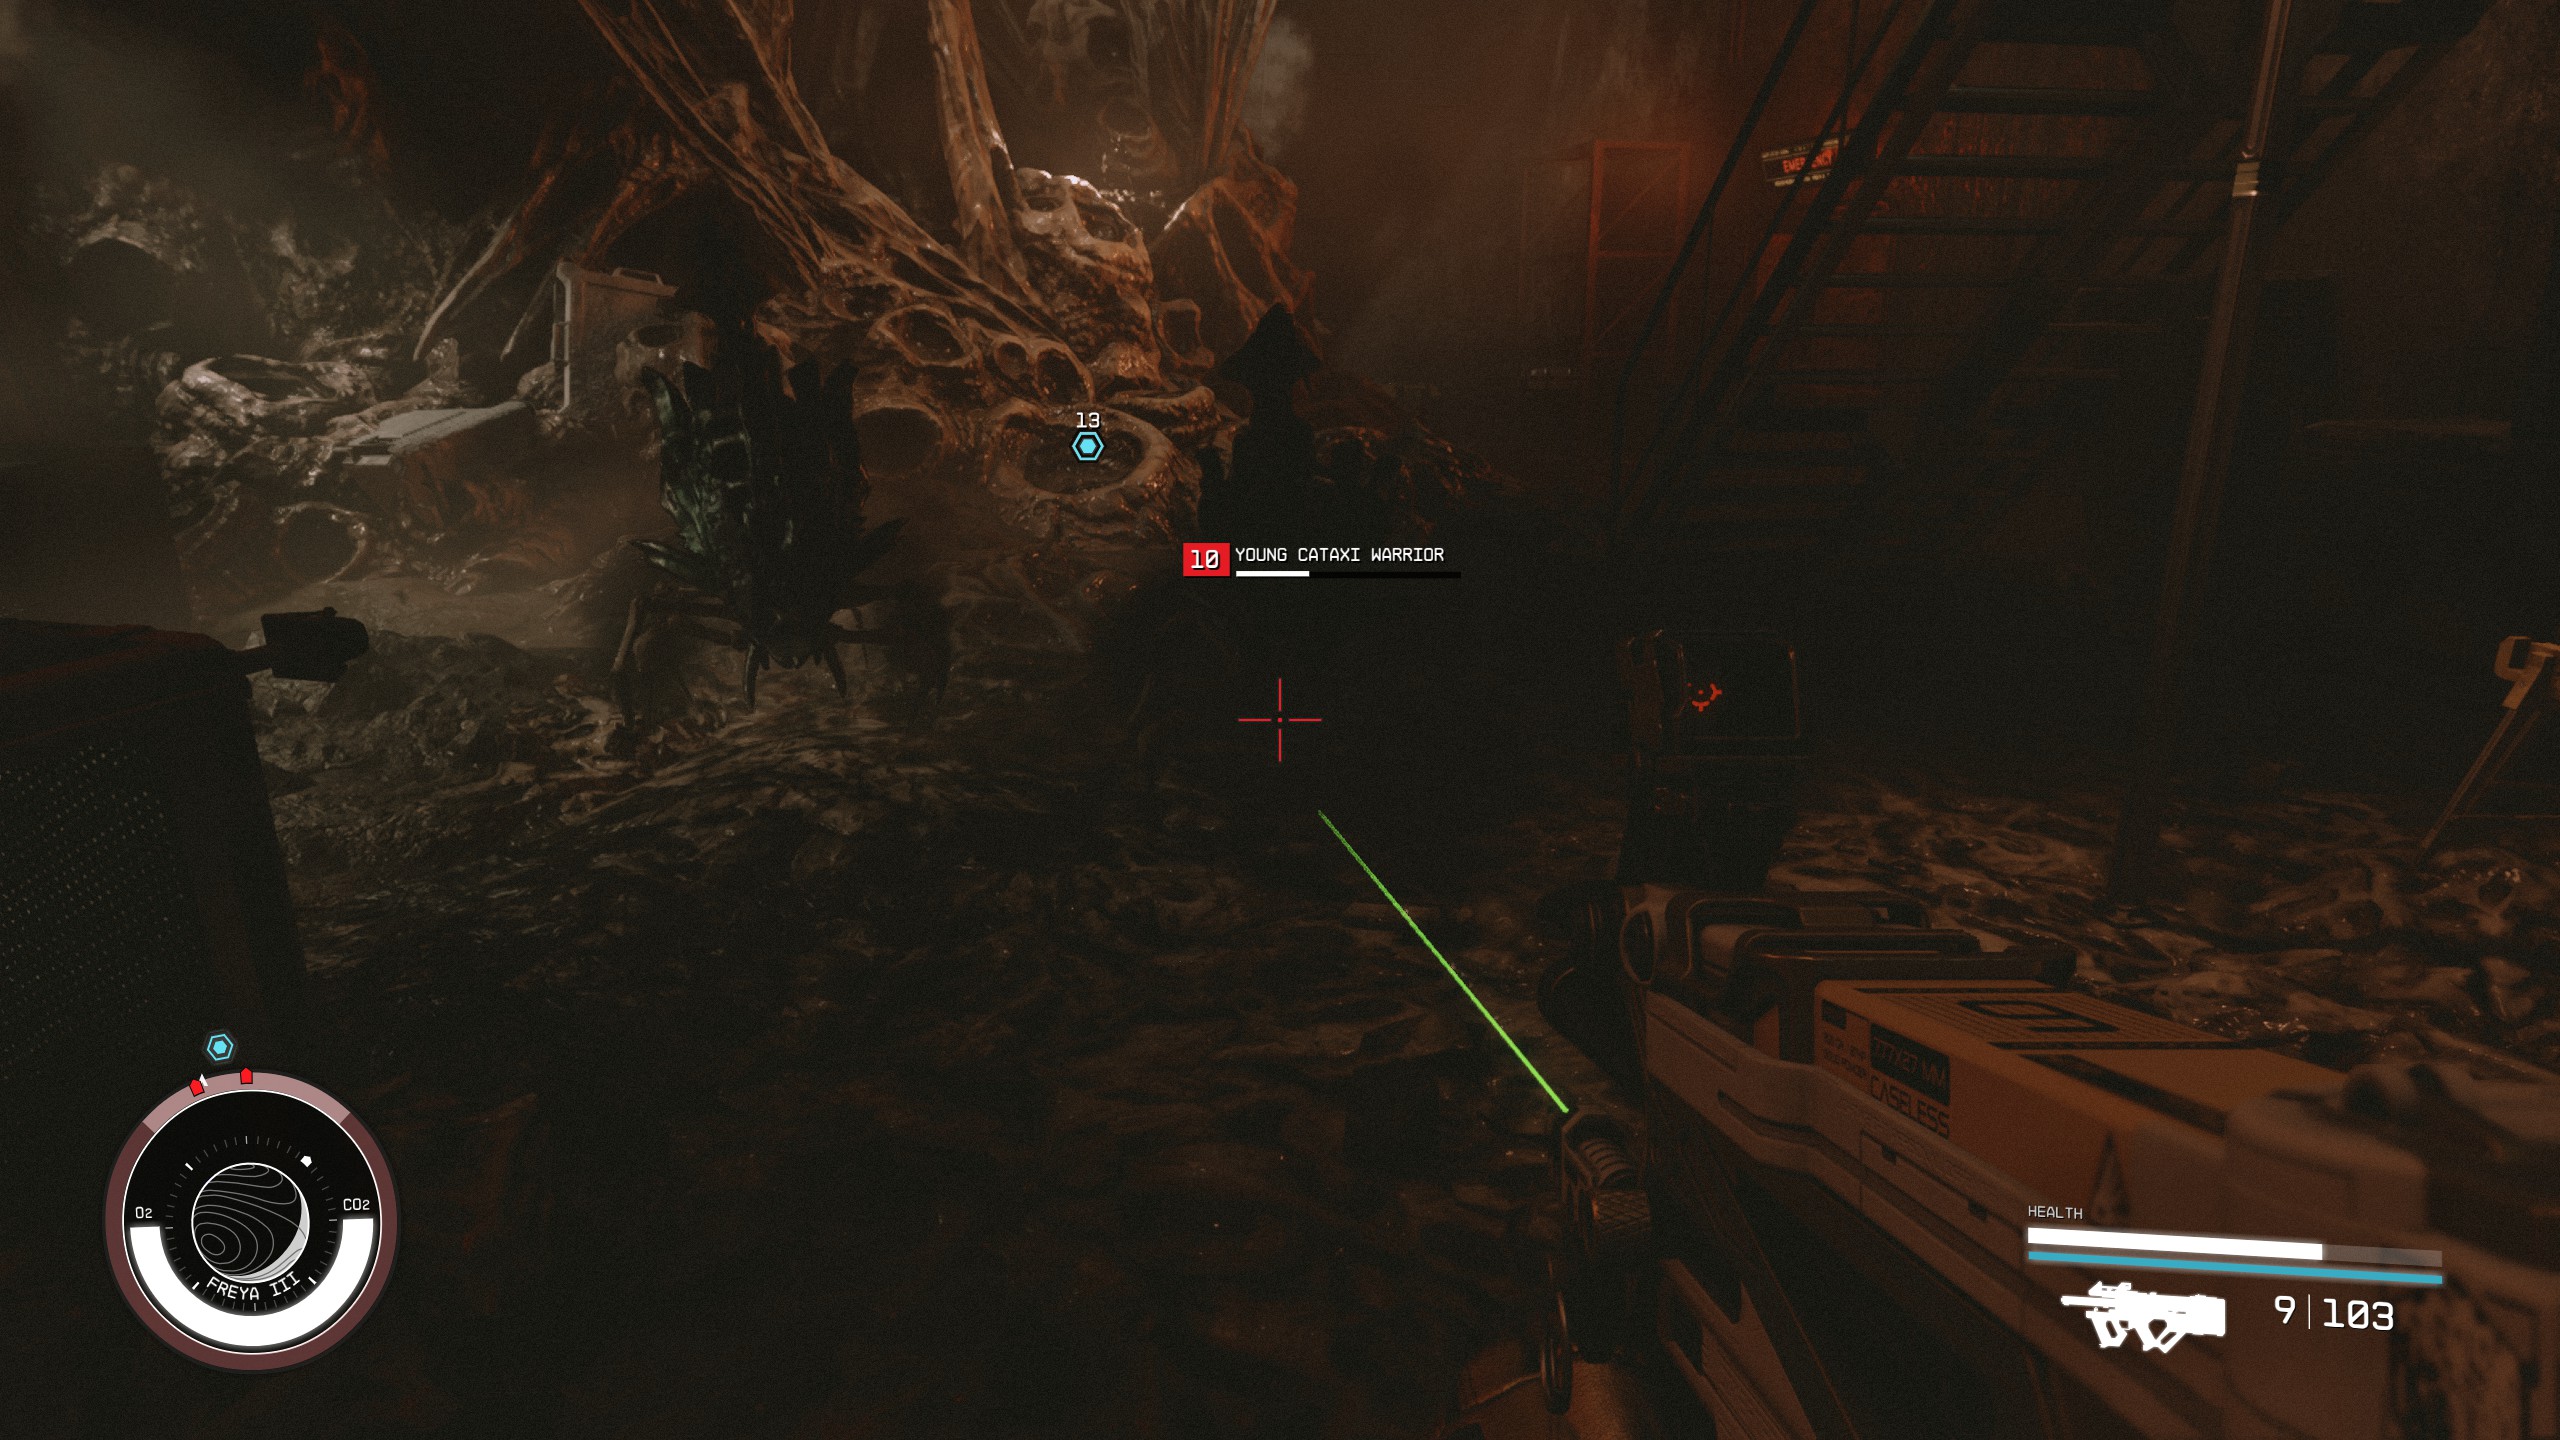
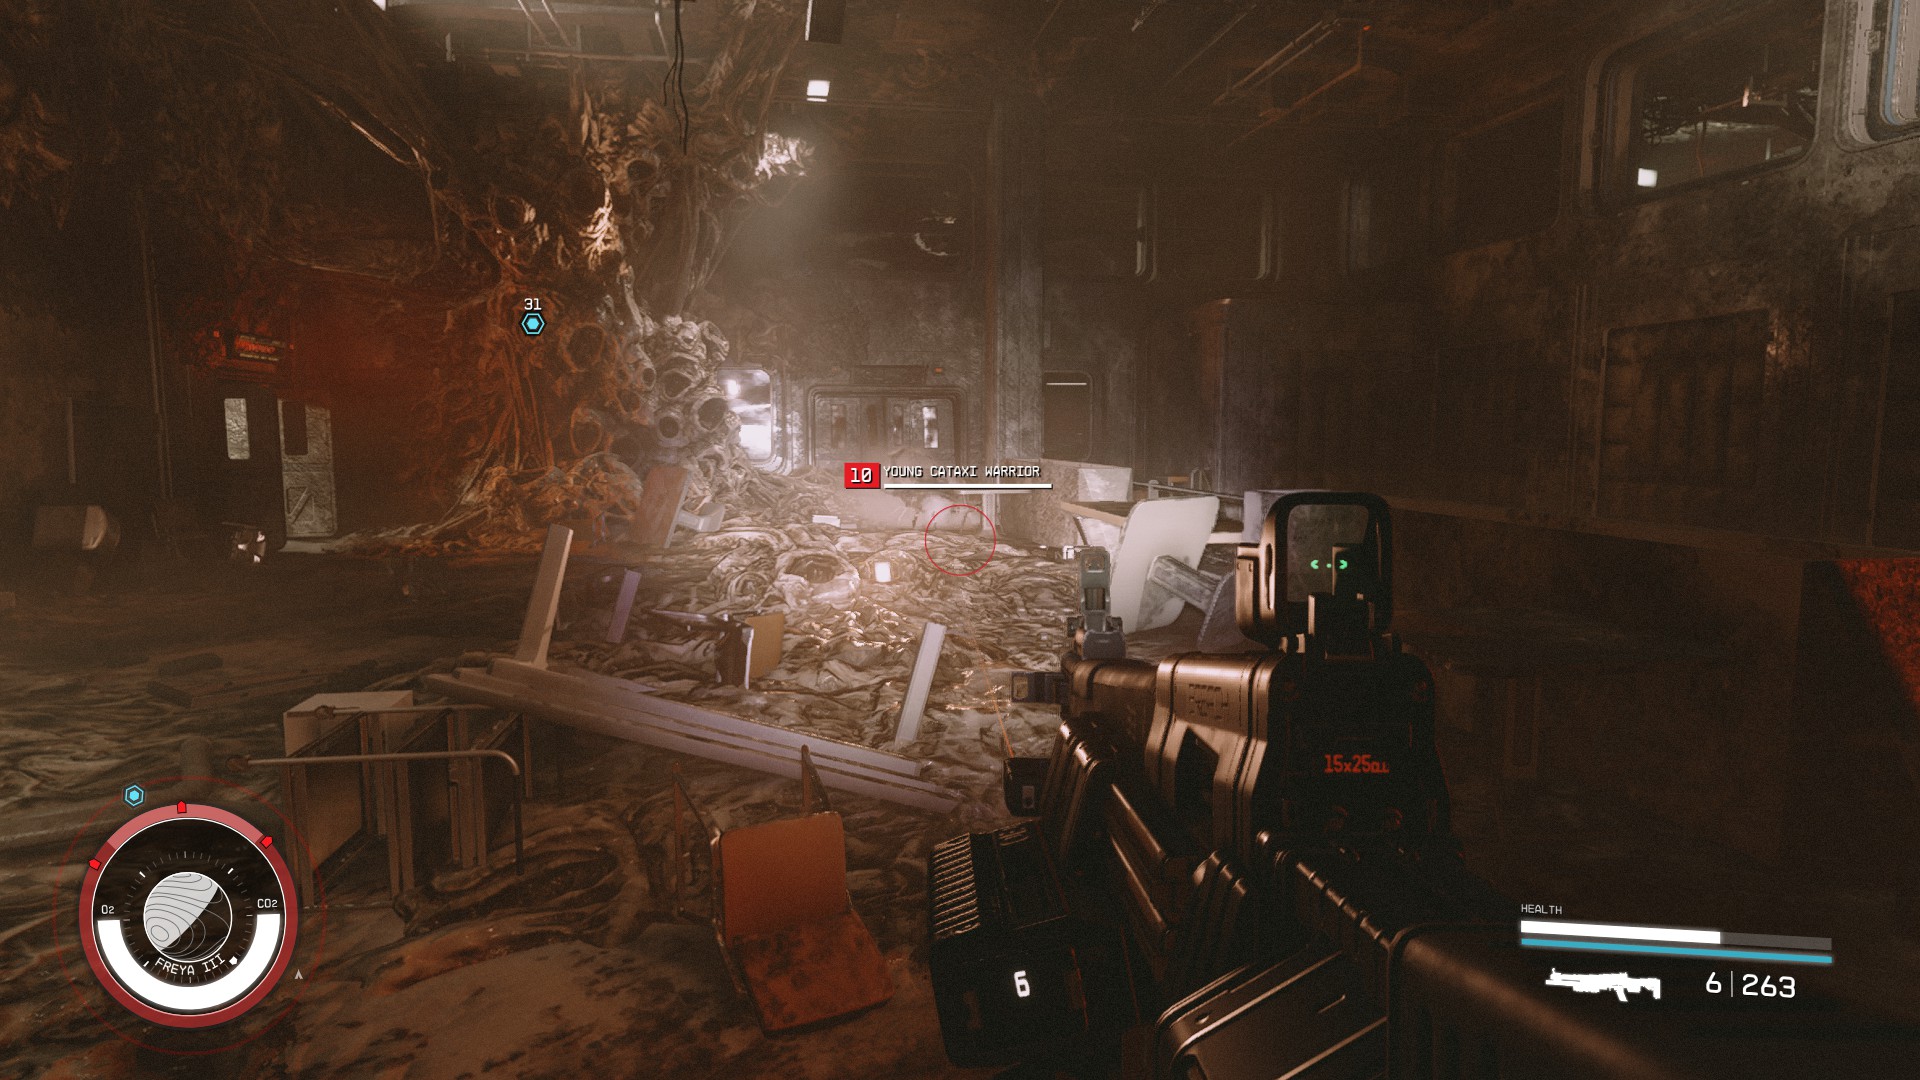
- Once you get to the marker you will be attacked by Cataxi Hunters.
- While fighting off the Cataxi Hunters you will be transported back to where Ethan was last standing with you.
Speak to Rafael
- Ethan will ask you what happened but is skeptical of what you describe. He will ask you to follow him again.
- Follow him into the next room and you will be transported back to the ruins.
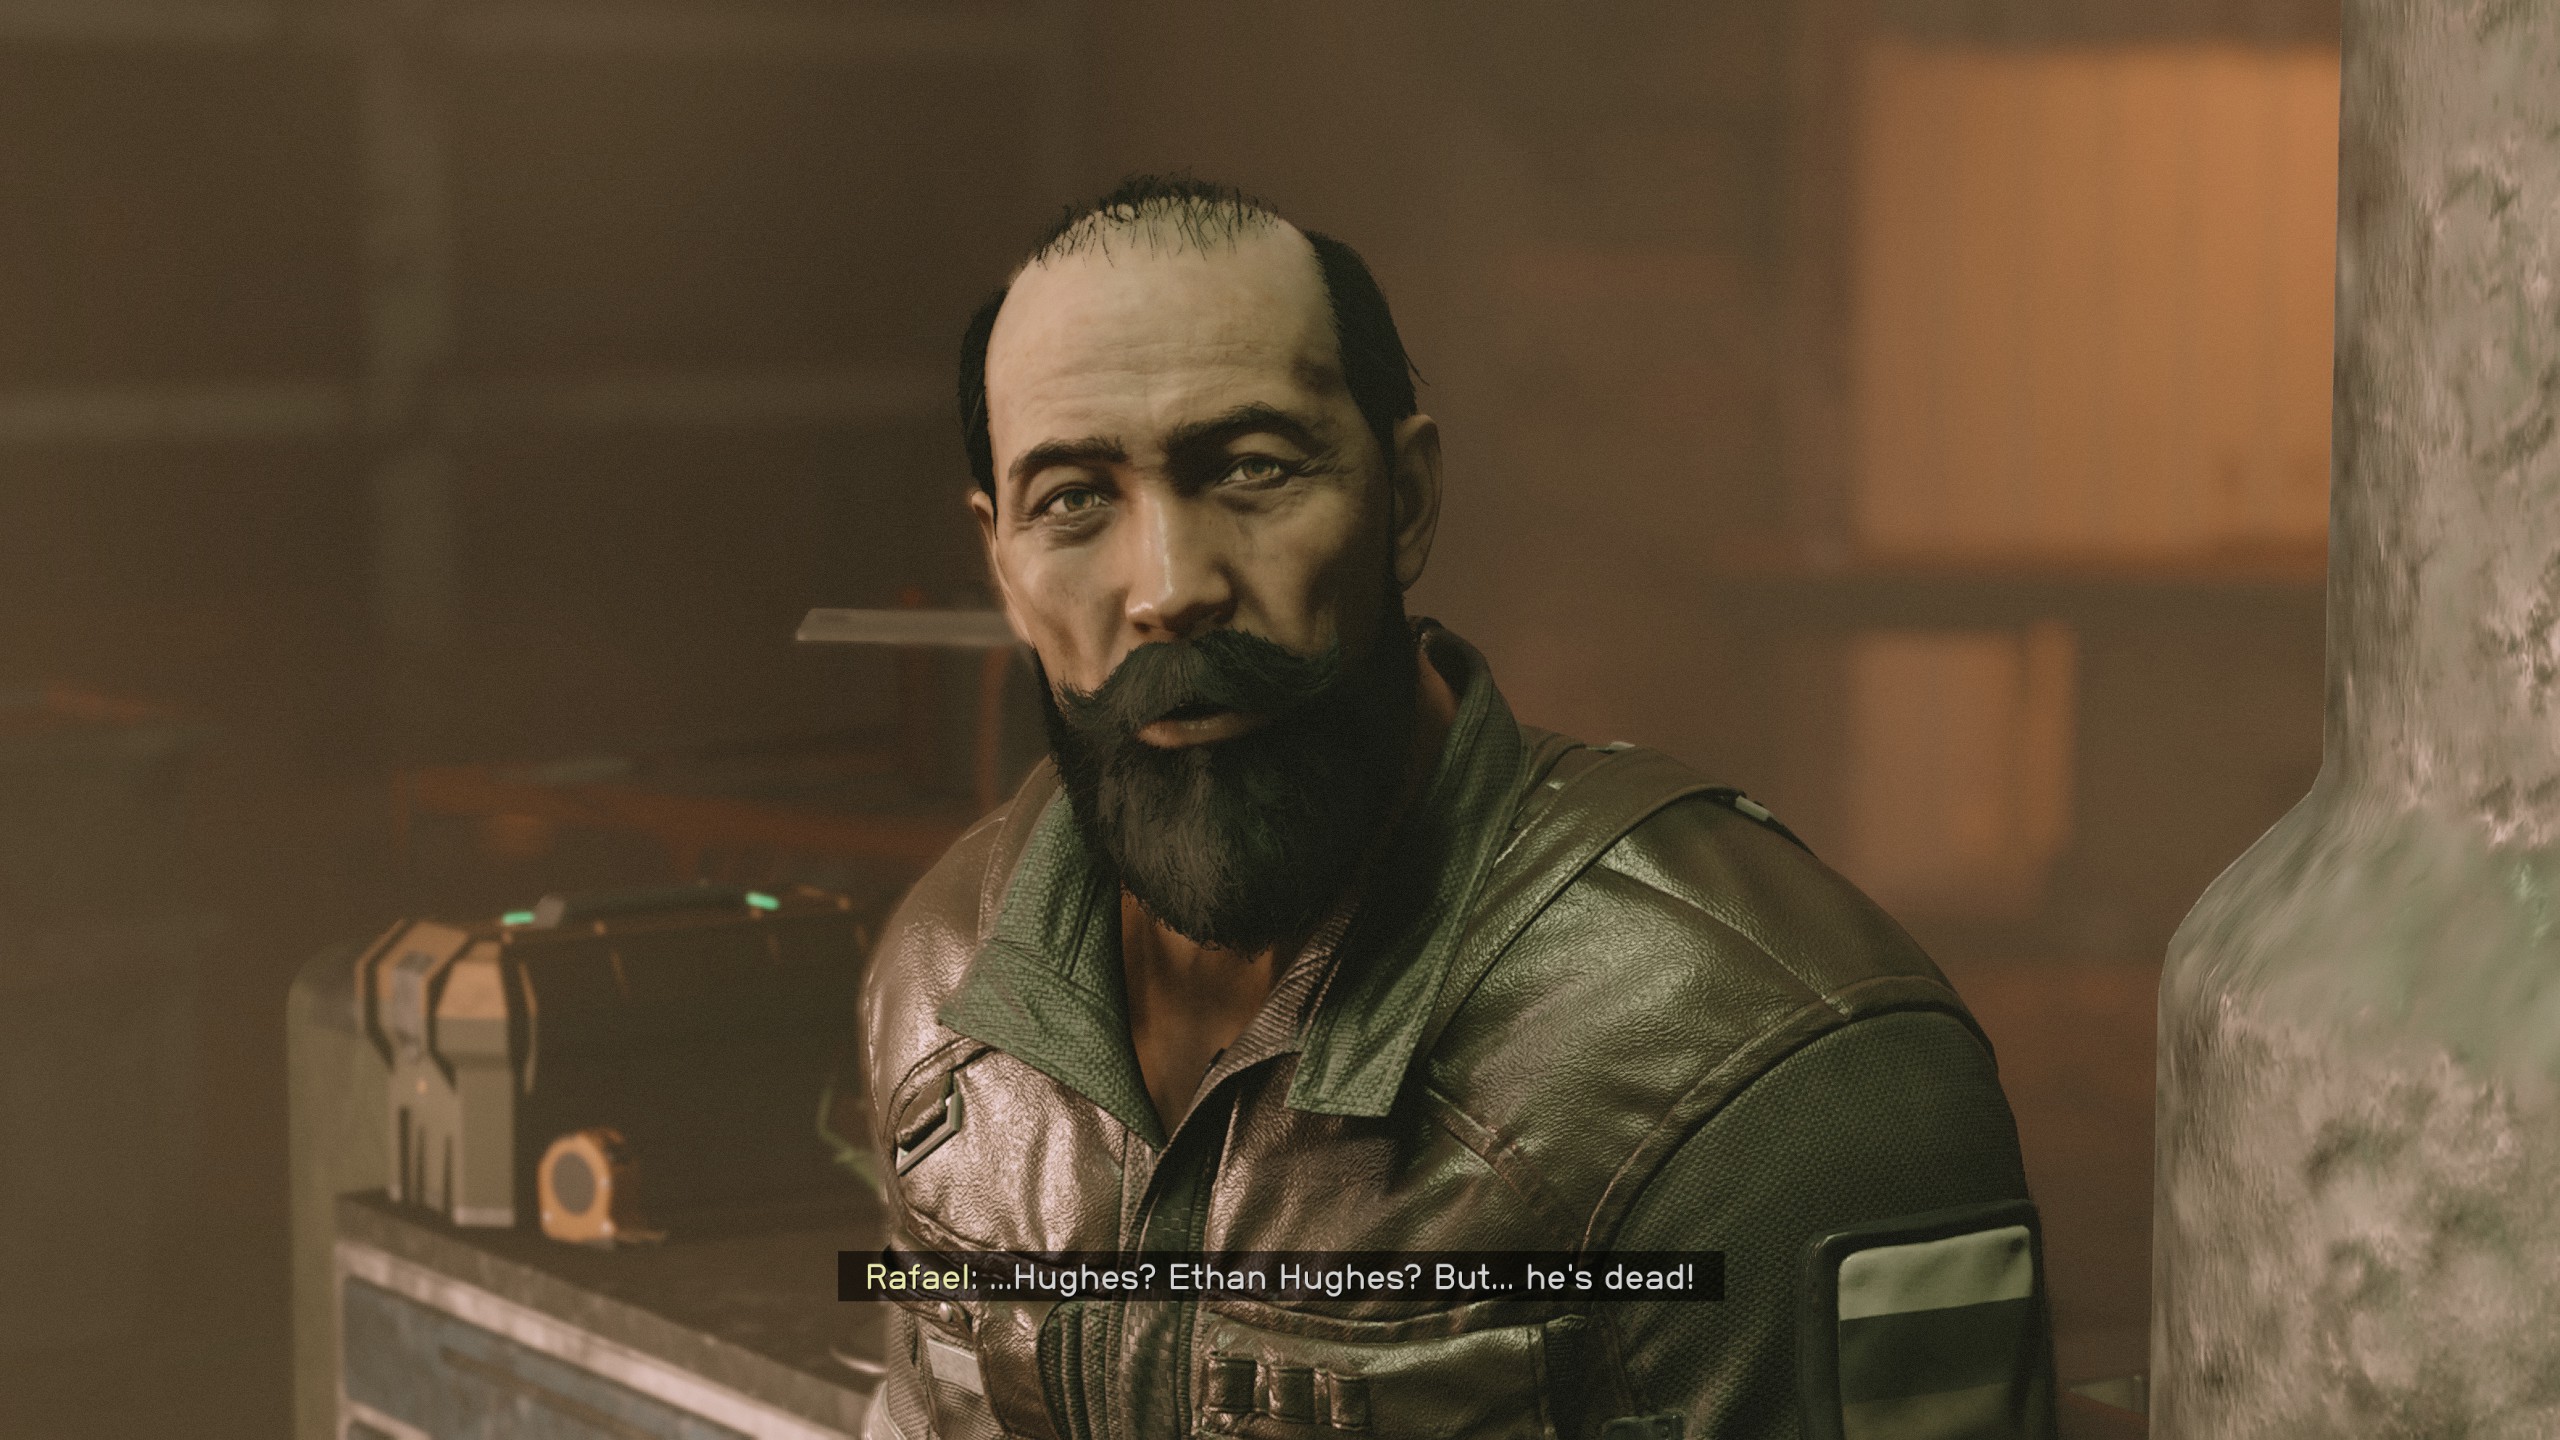
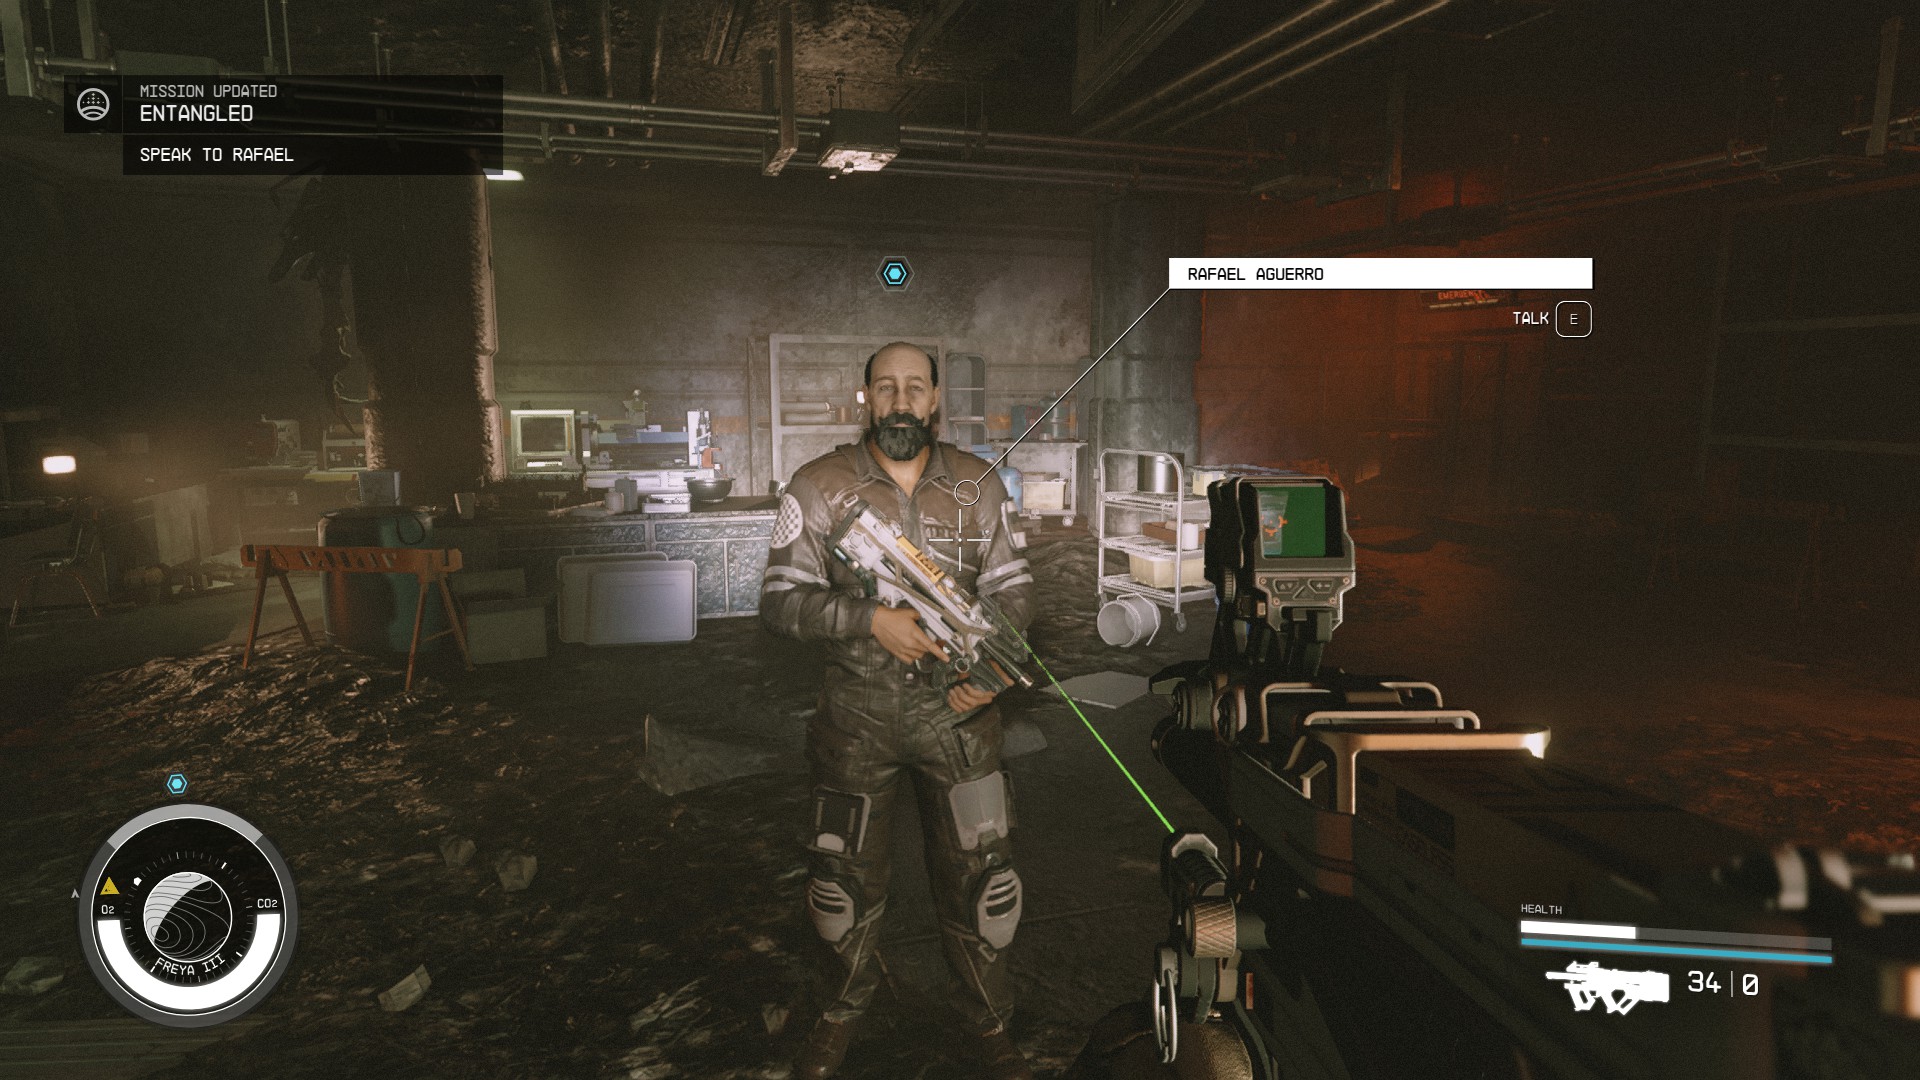
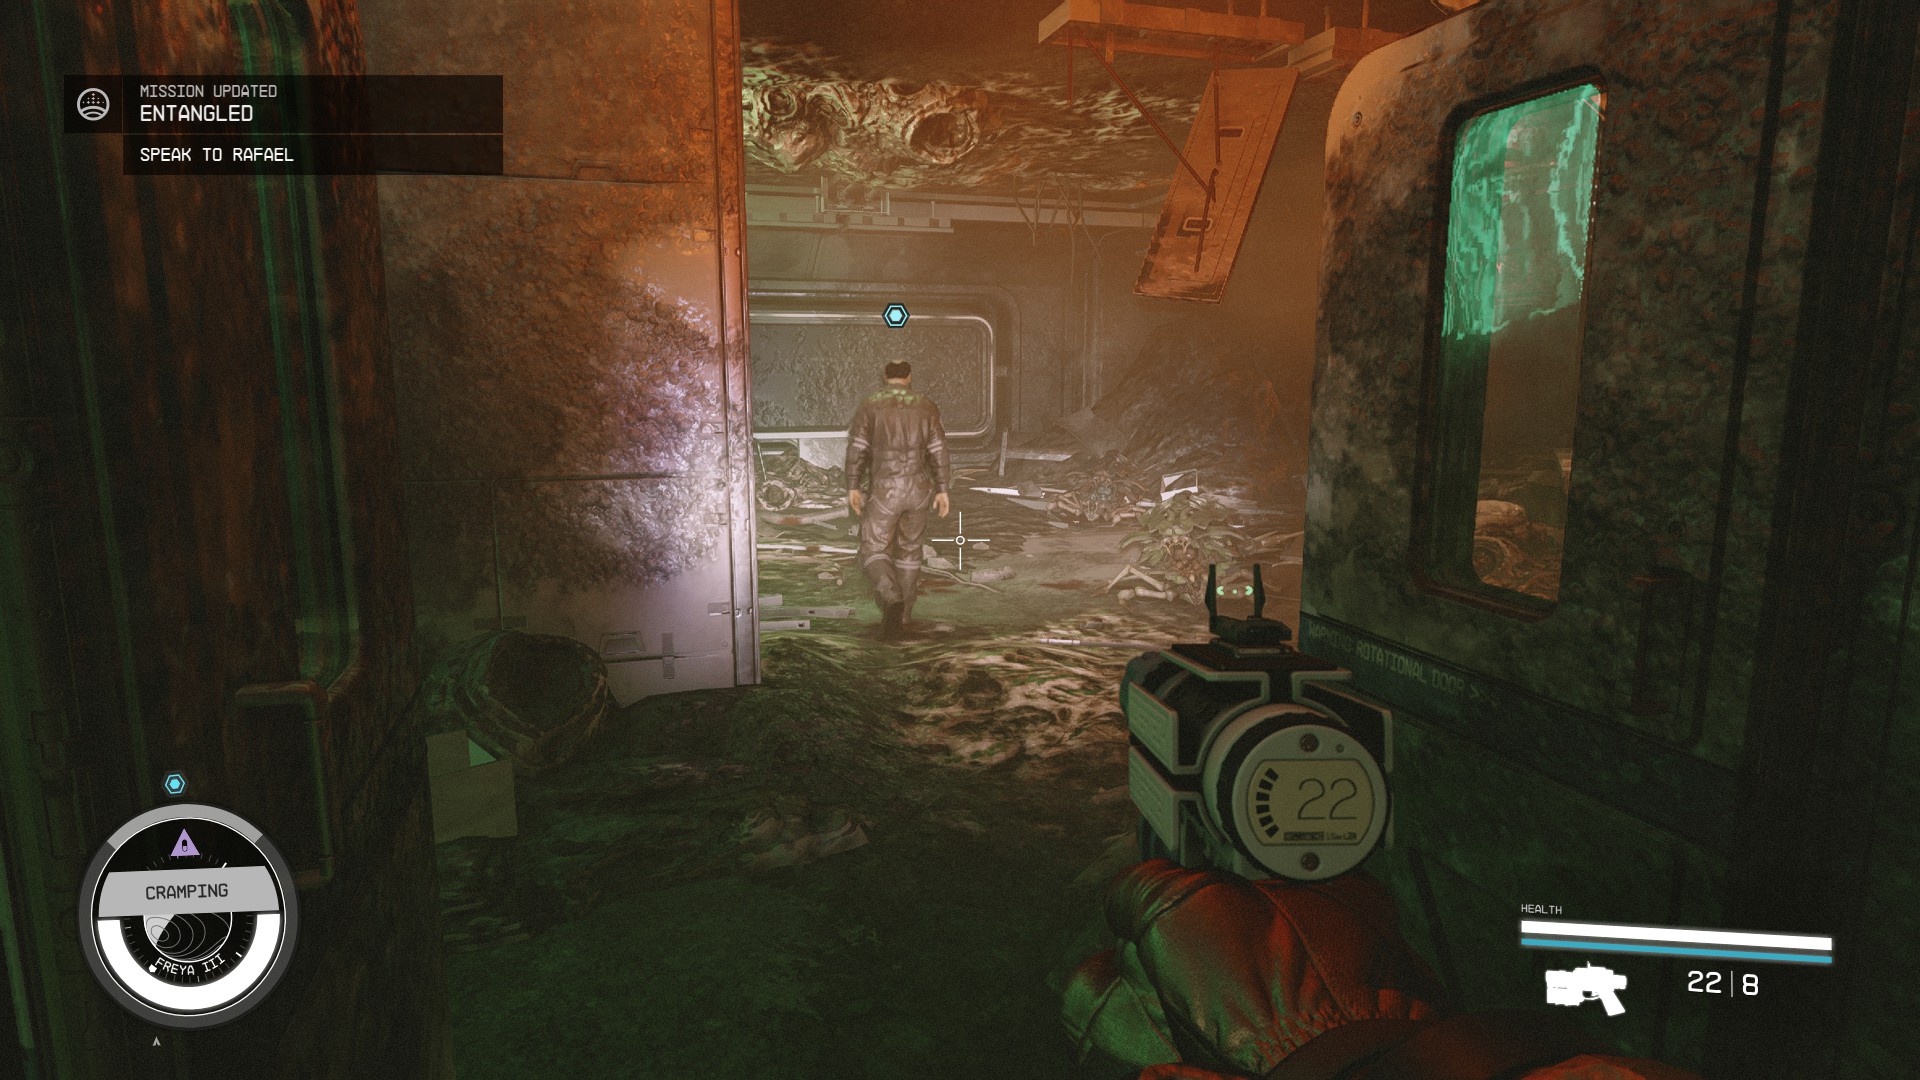
- You will see a man named Rafael in the next room. Go around the desk and speak with him.
- Tell him that you were just with Ethen and Rafael will explain that there was an explosion and he is the only survivor. Apparently they were studying Gravitational Distortion when the explosion happened and that Ethan is dead.
Speak to Director Patel
- Halfway through your conversation Rafael will be cut off and you will be transported back to Ethan again.
- Continue to follow him and you will be transported back to the ruins.
- There will be a room on each side of you. Clear out the Cataxi hunters and then take the stairs that you find in the room on the right. When you get to the top you will shift again.
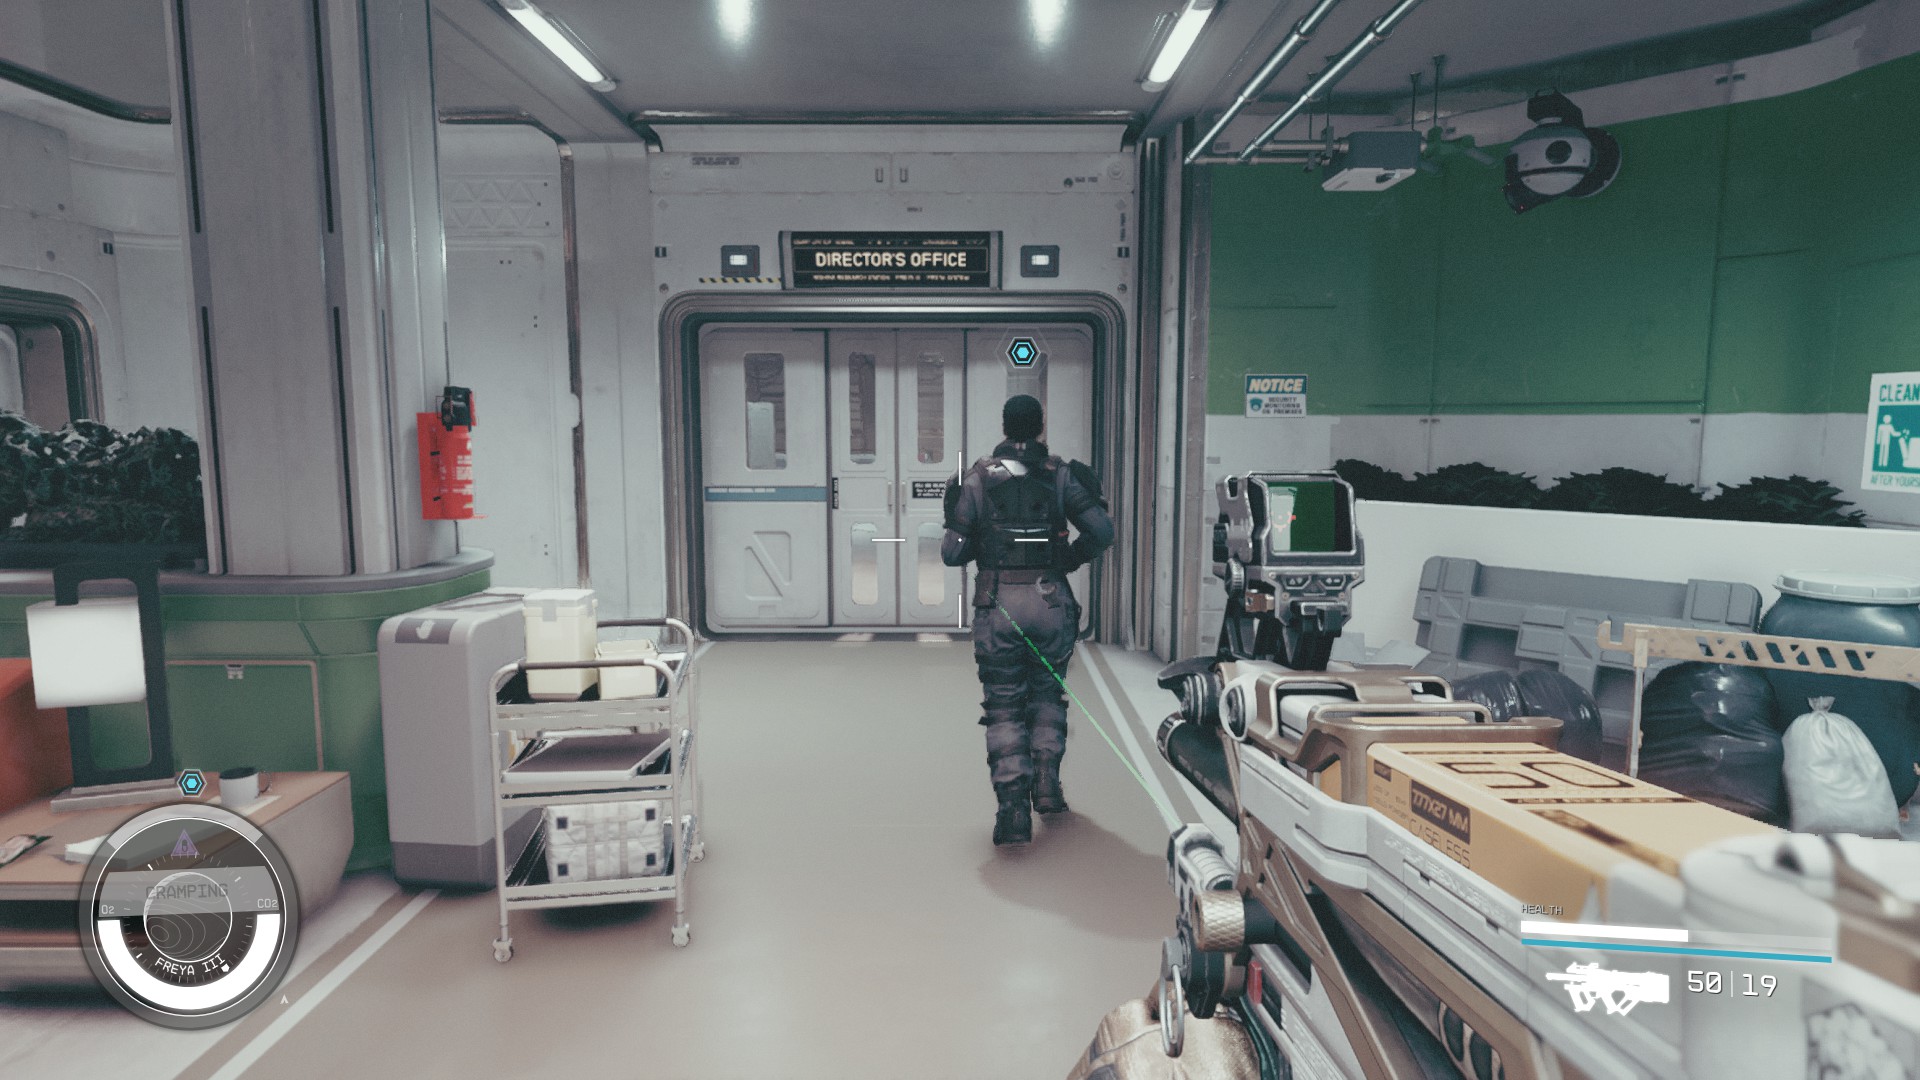
- Ethan will now lead you to Director Patel's office.
- Tell Director Patel and her assistant Maria about the Artifacts and that you are shifting in between two very different versions of the Research Station. Together you will formulate a plan to stop the explosion. The next step is to find your way through the facility to the lab.
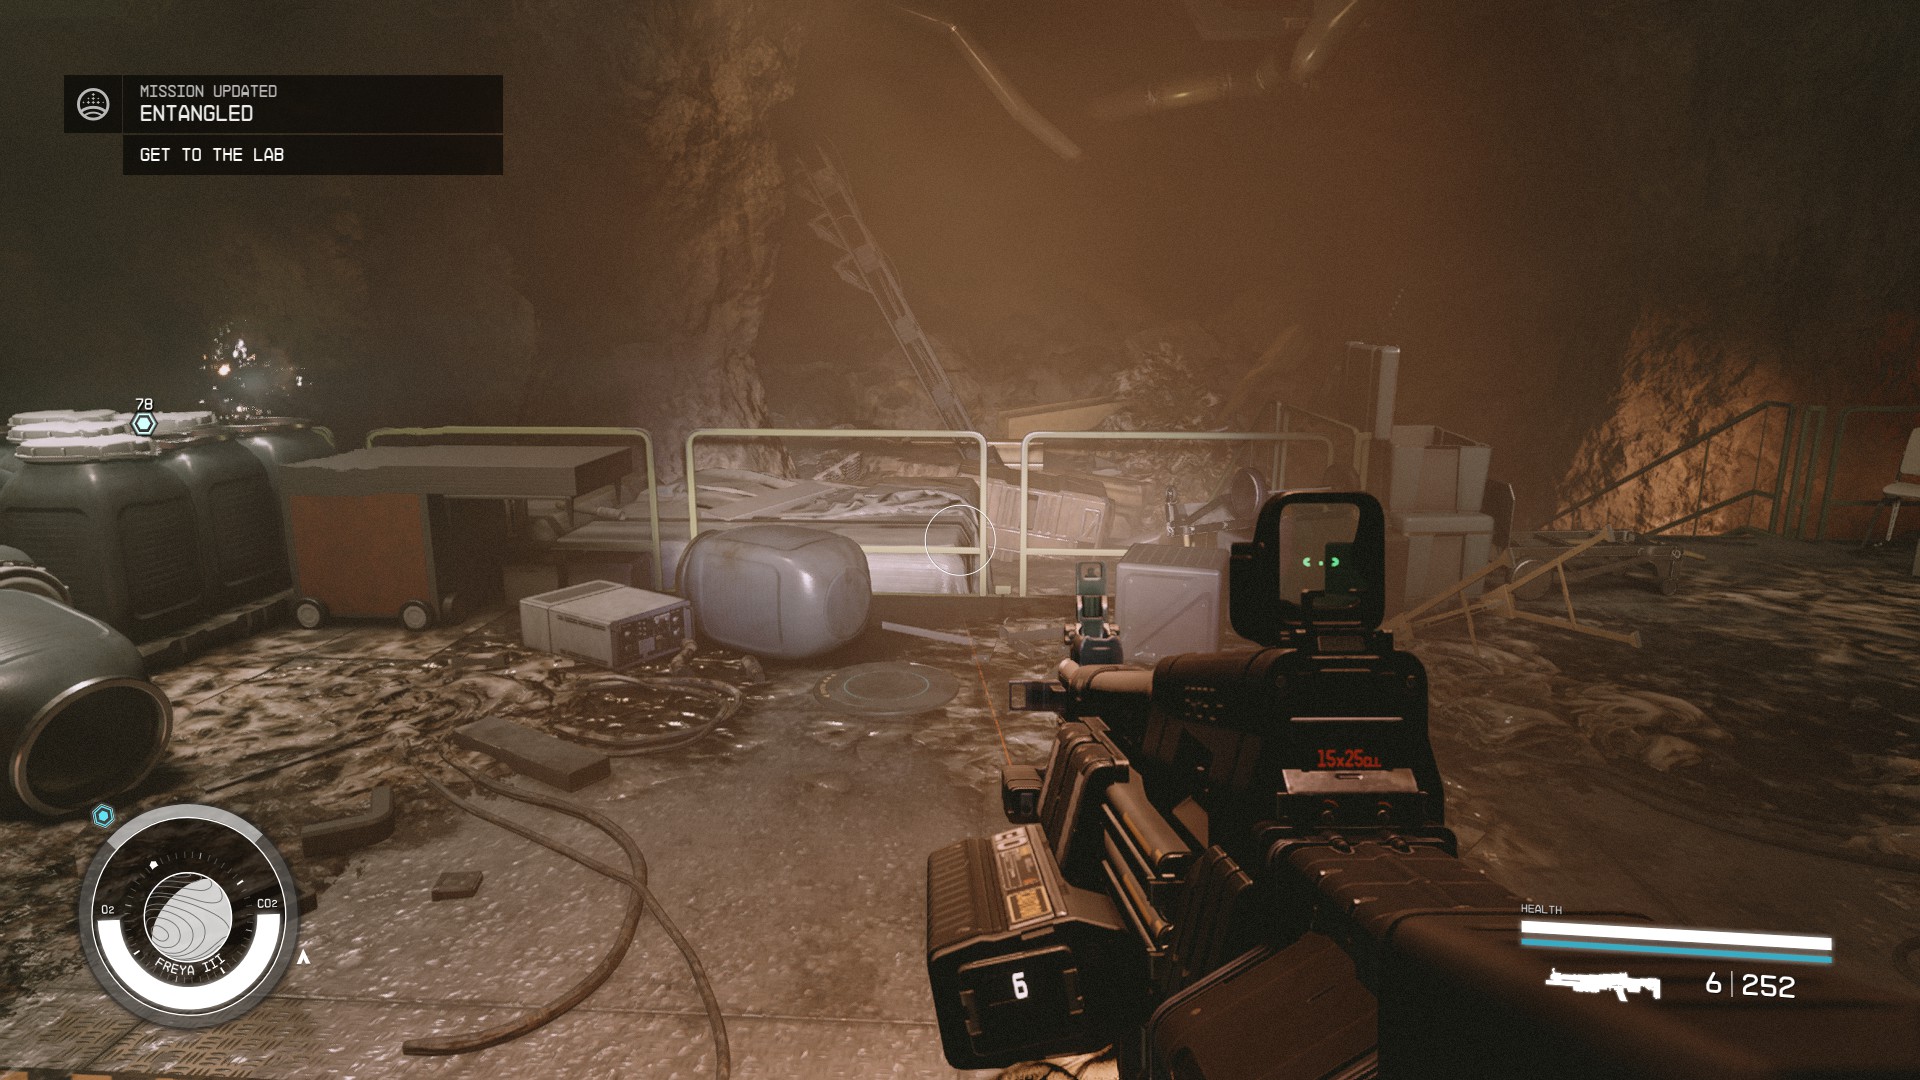
Get to the Lab
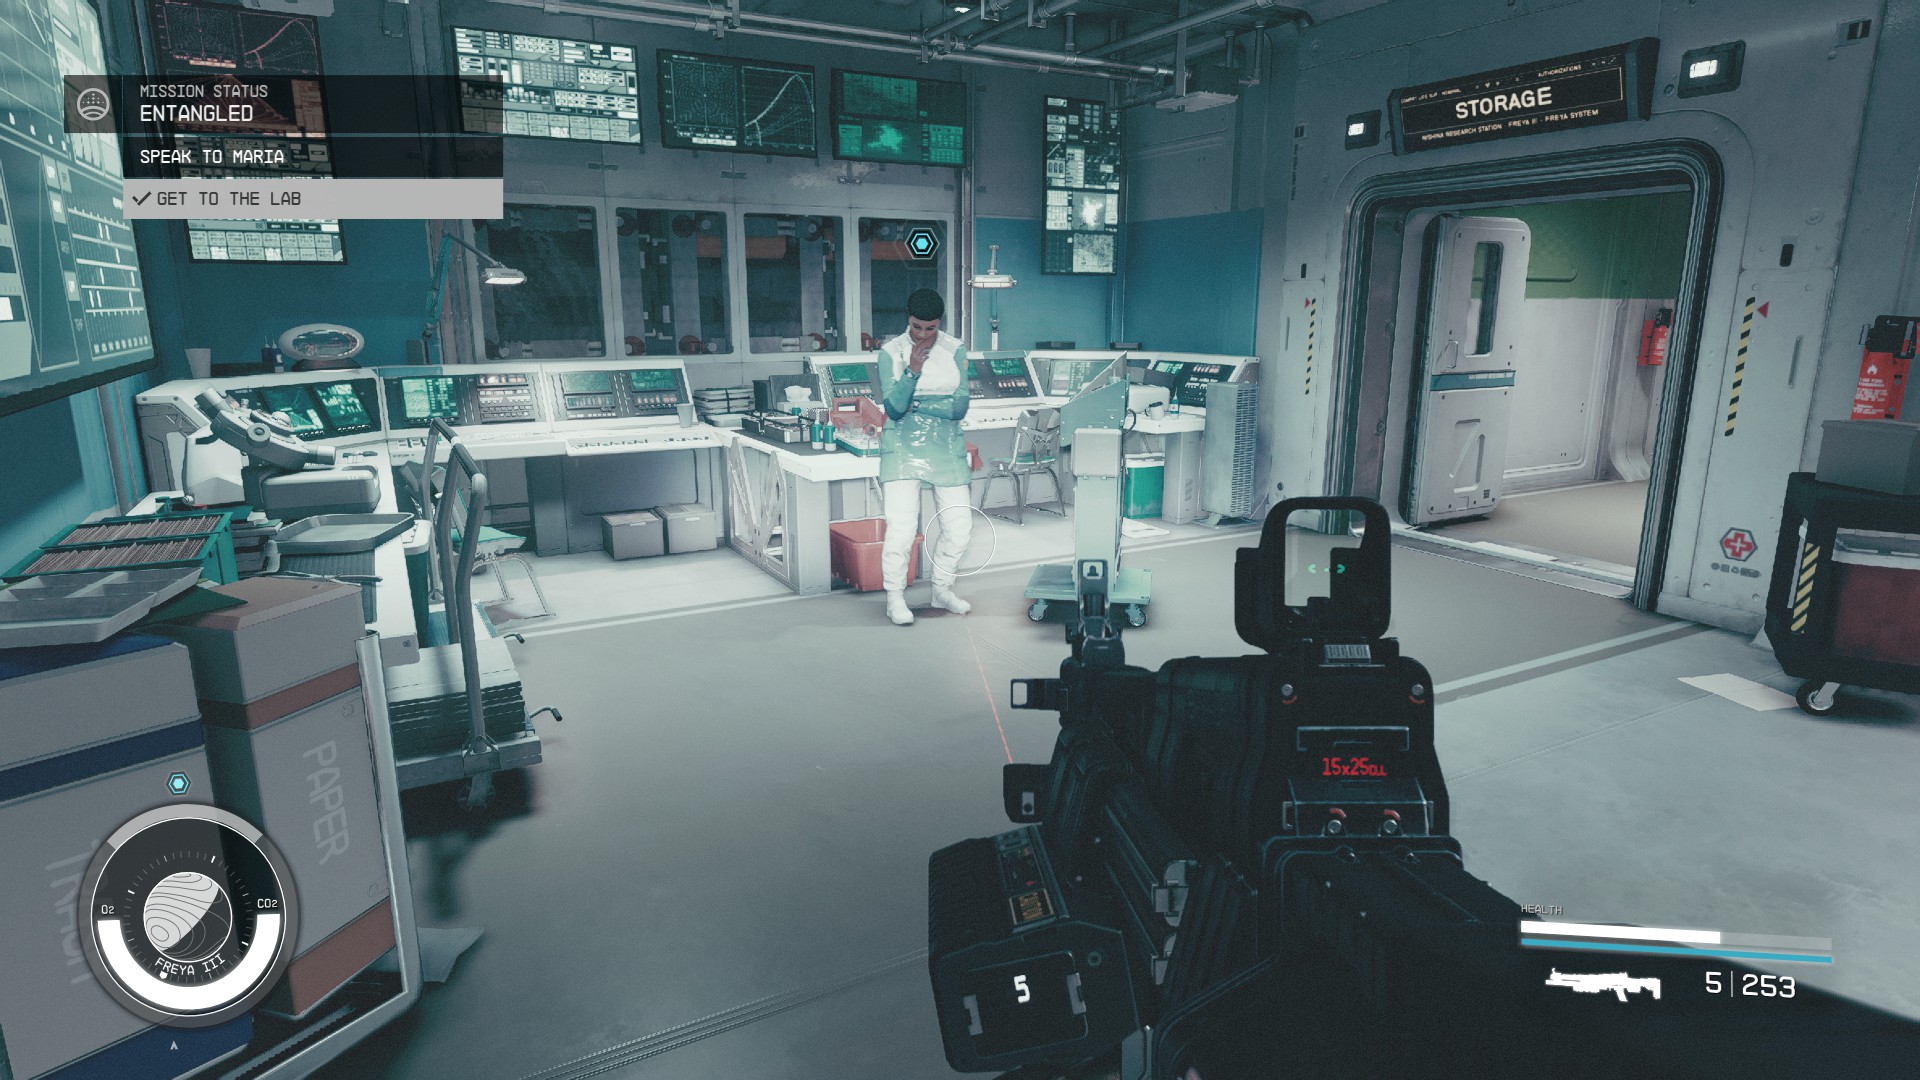
- Start to follow Maria and you will find yourself back in the ruins.
- You will be facing a dead end, so turn around and go through first door on the right and into a large room. You will be attacked by some more Cataxi Hunters.
- Go through this room and then left through a door and into another room.
- Take a left through another door and down a ramp to the floor where Rafael is.
Speak to Rafael
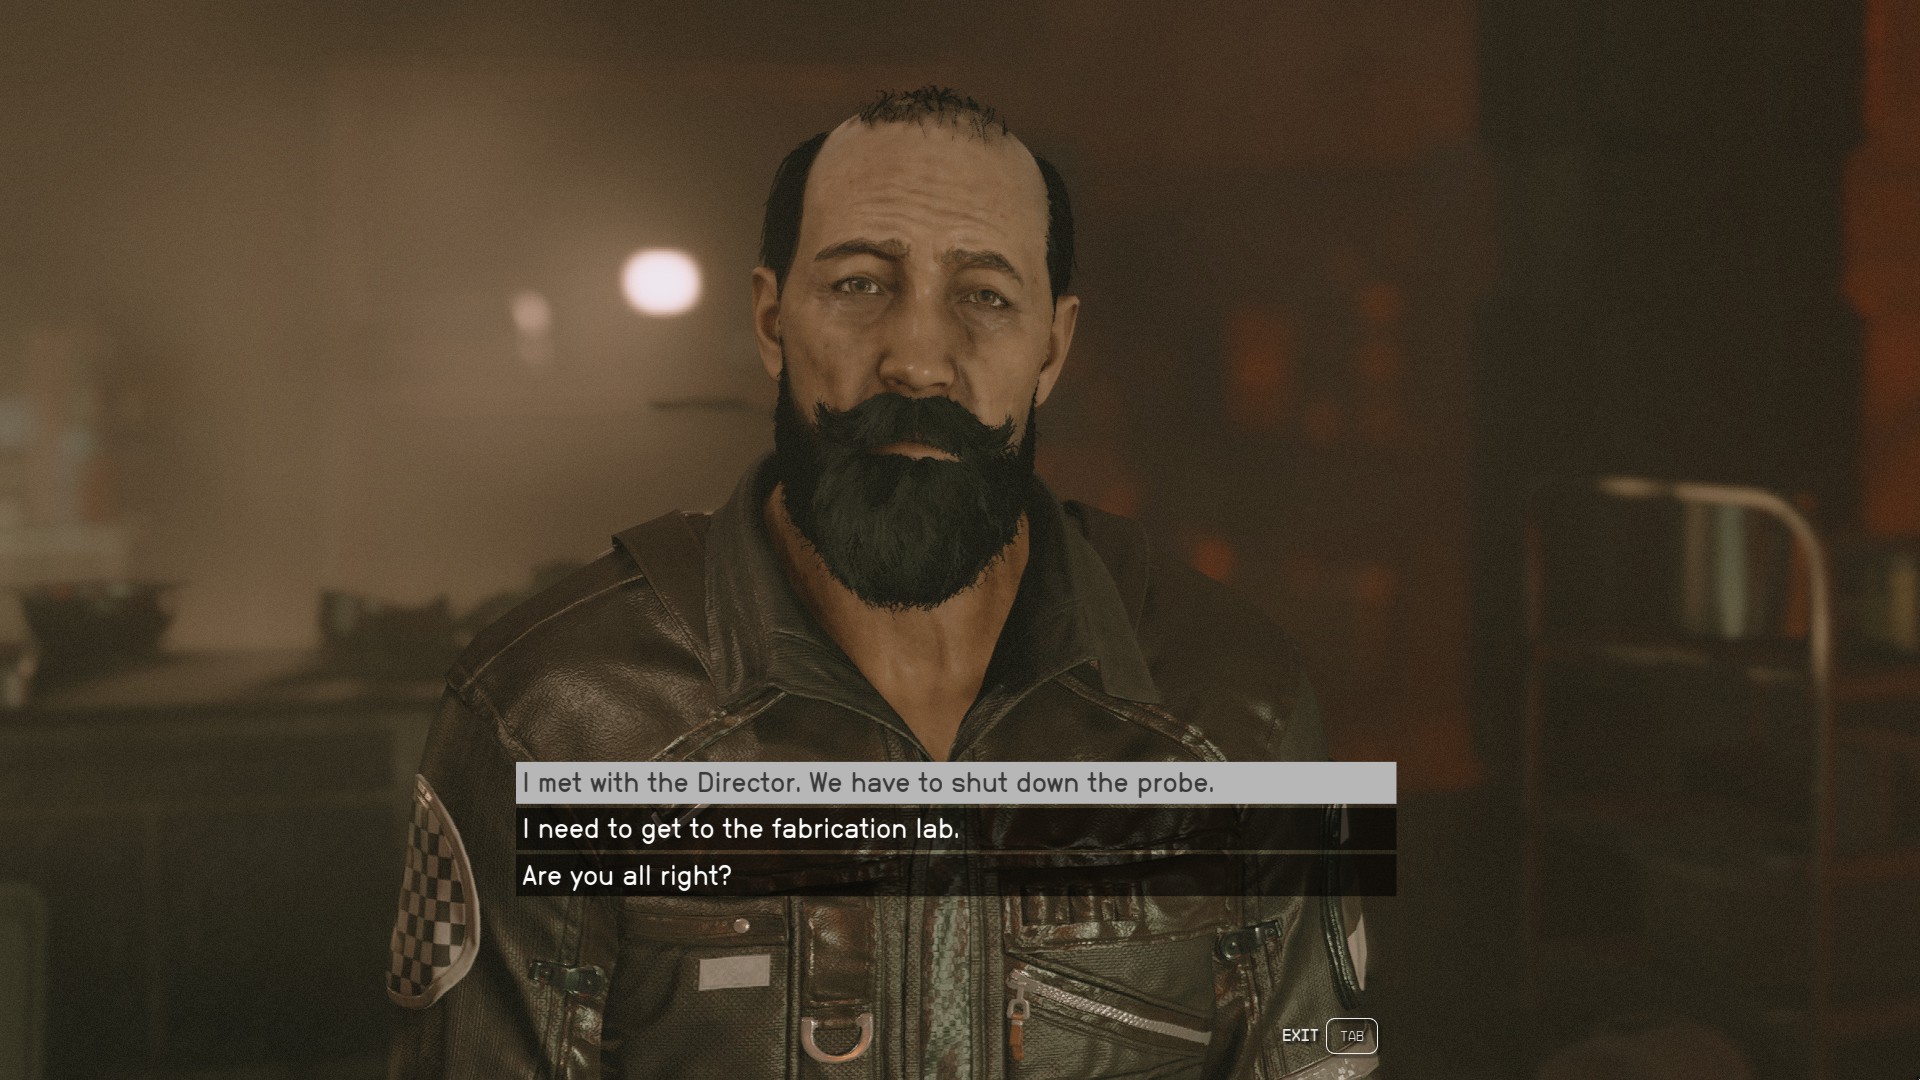
- Talk to Rafael and tell him that the team in the other dimension wants us to shut down the probe.
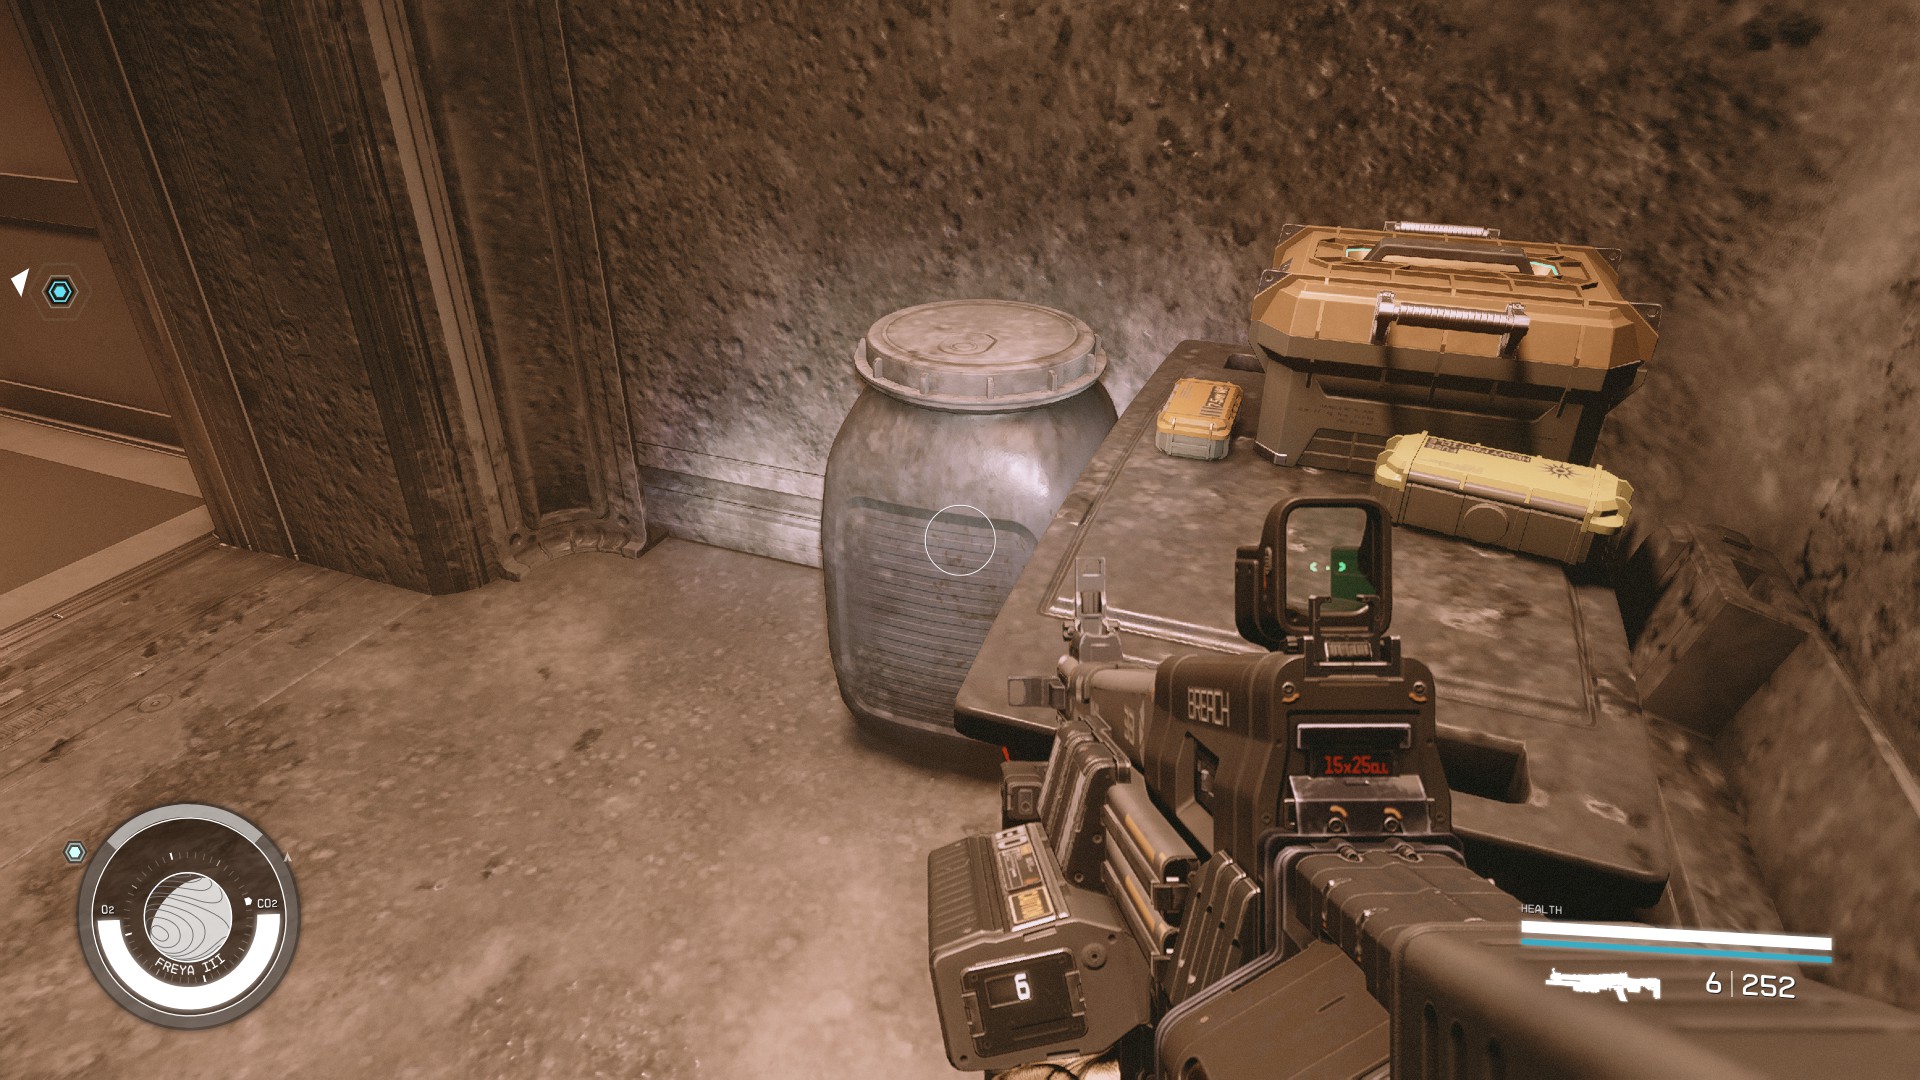
- Collect the items from the various containers behind him and then unlock the next door.
- Fight the two Cataxi Hunters and then you will be transported back to your dimension.
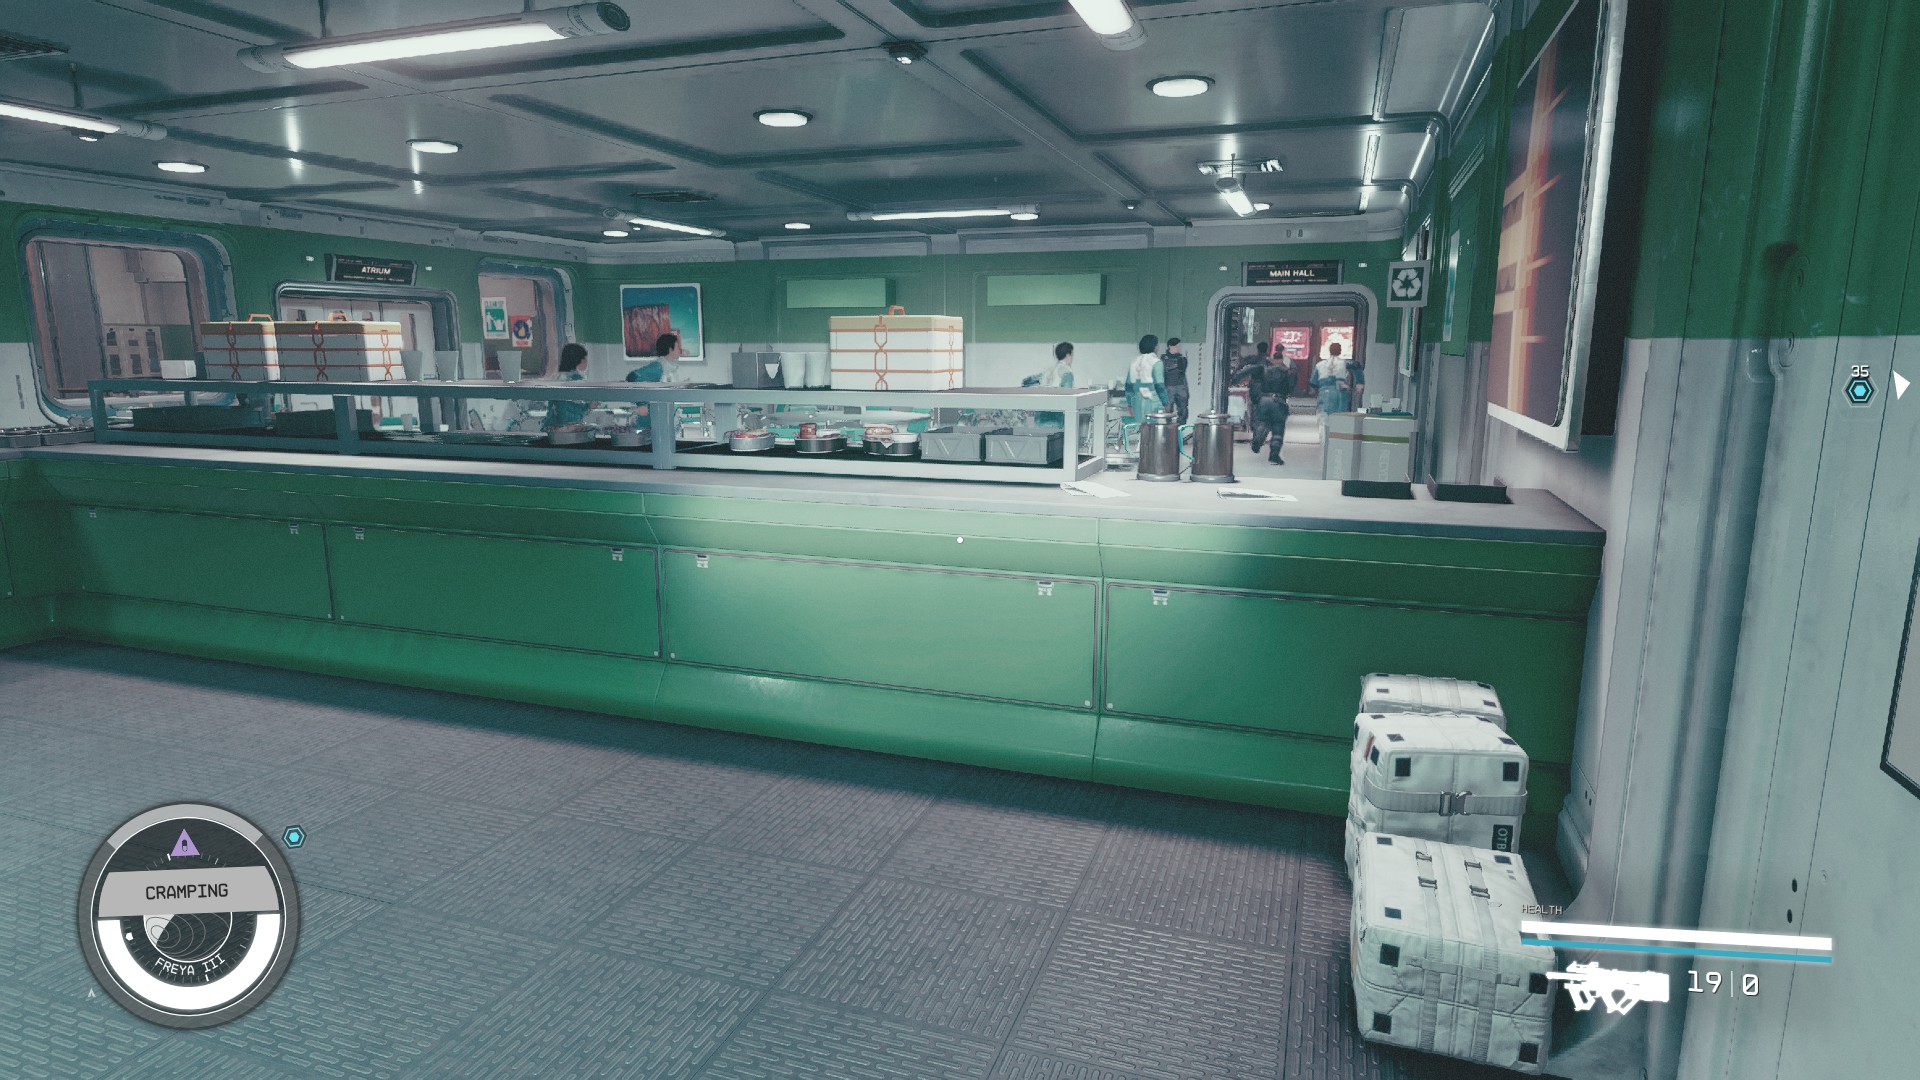
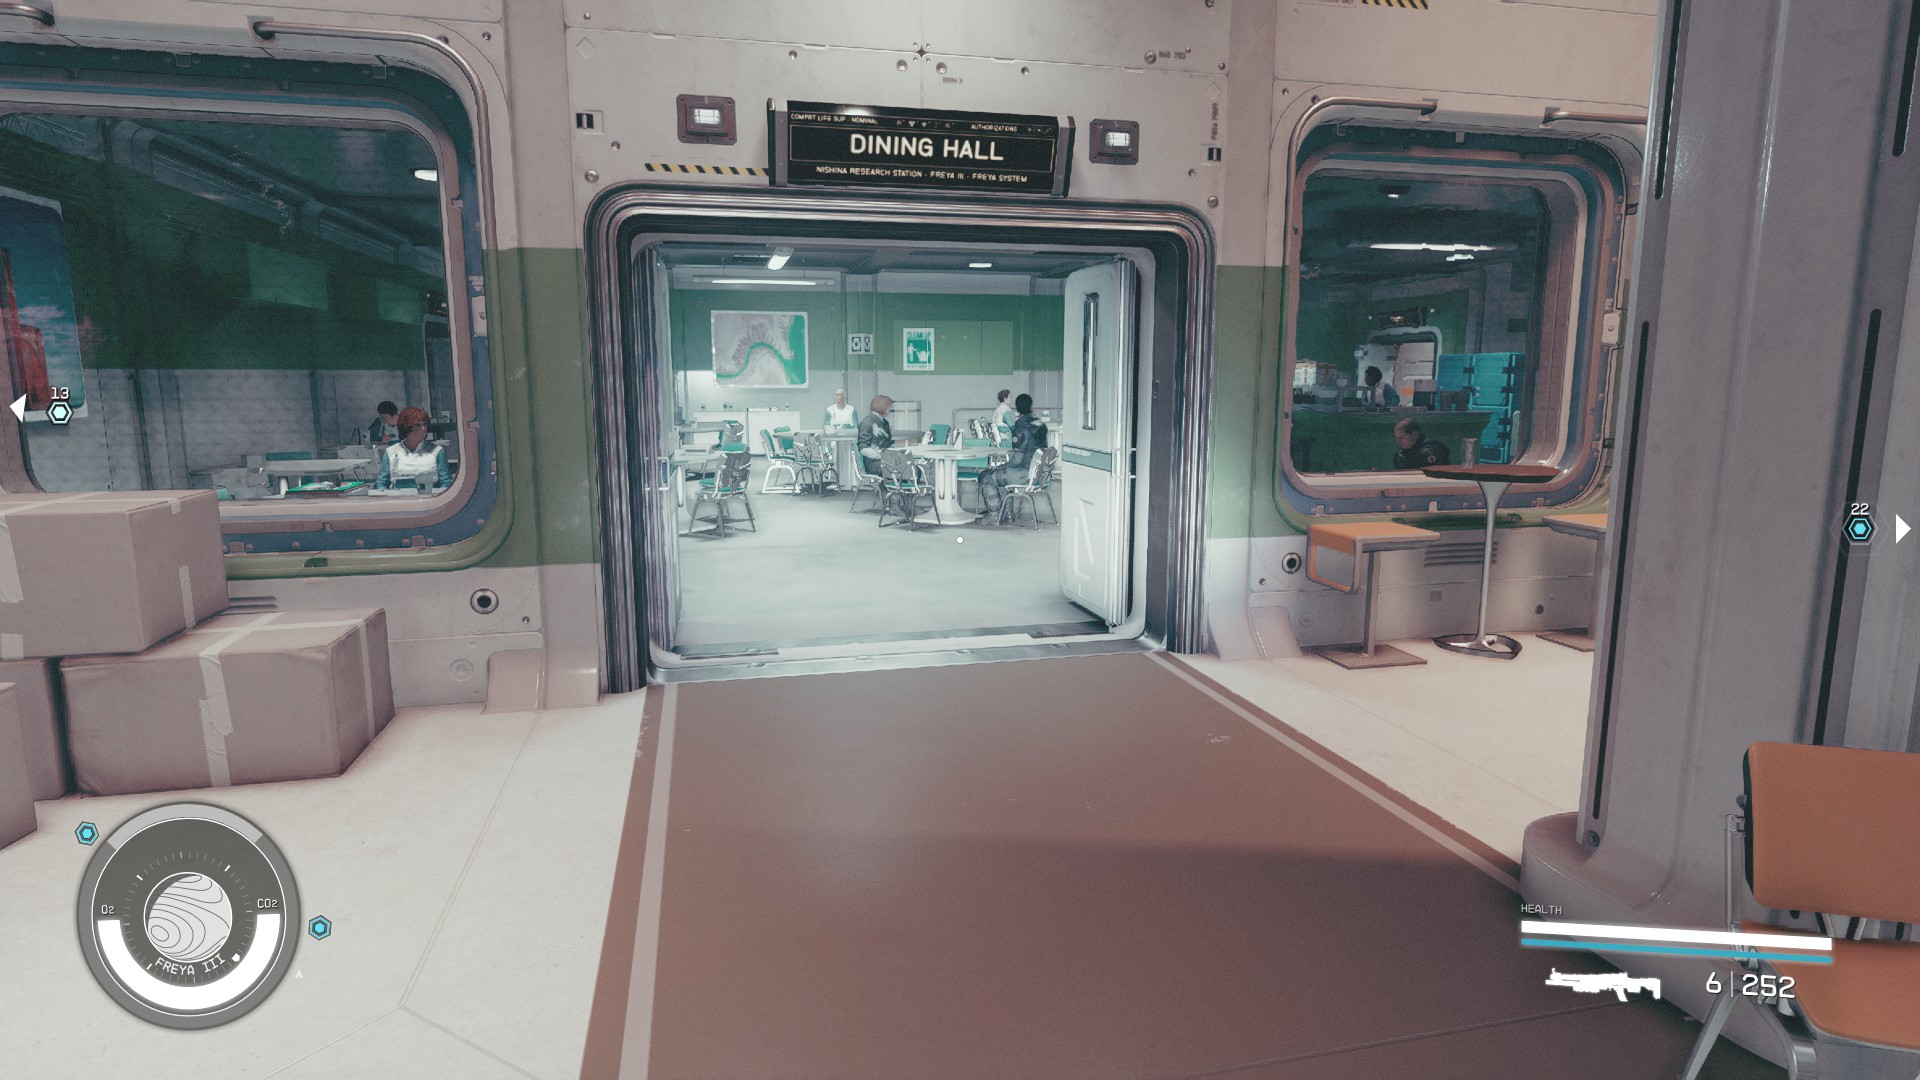
- You will appear in the cafeteria and scare the scientists out of the room.
- Almost all the doors are locked, so follow the scientists. As soon as you walk through the door you will shift again.
Speak to Rafael
- Continue forward and eliminate the three Cataxi Hunters that attack you.
- Speak to Rafael again.
Speak to Ethan
- Go to through the door on the right and you will shift again.
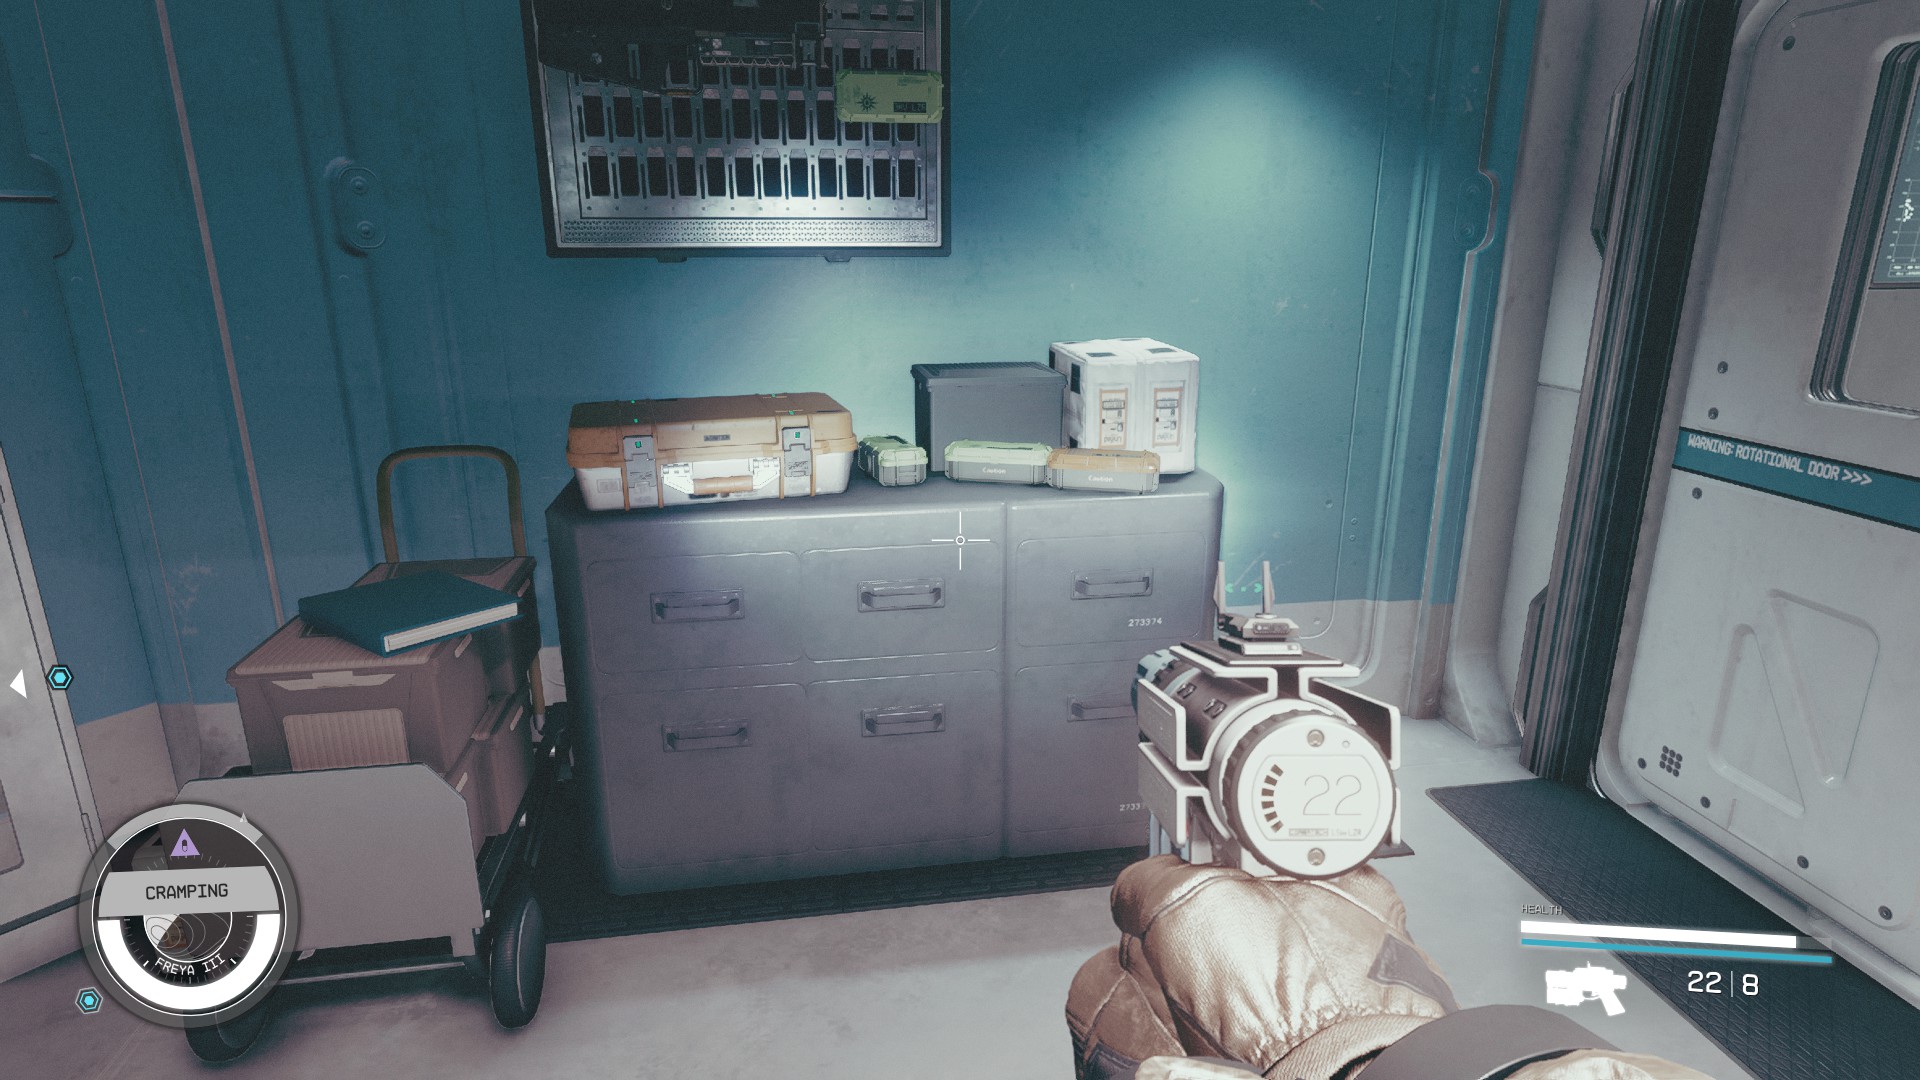
- On the left of where you appear are some more containers and a locked weapon case.
- Talk to Ethan and he will tell you where to go next and open the door for you. Before you go, ask him if he has anything to help with the onslaught of Cataxi Hunters. He will give you a special weapon to use called the Experiment A-7.
Speak to Maria
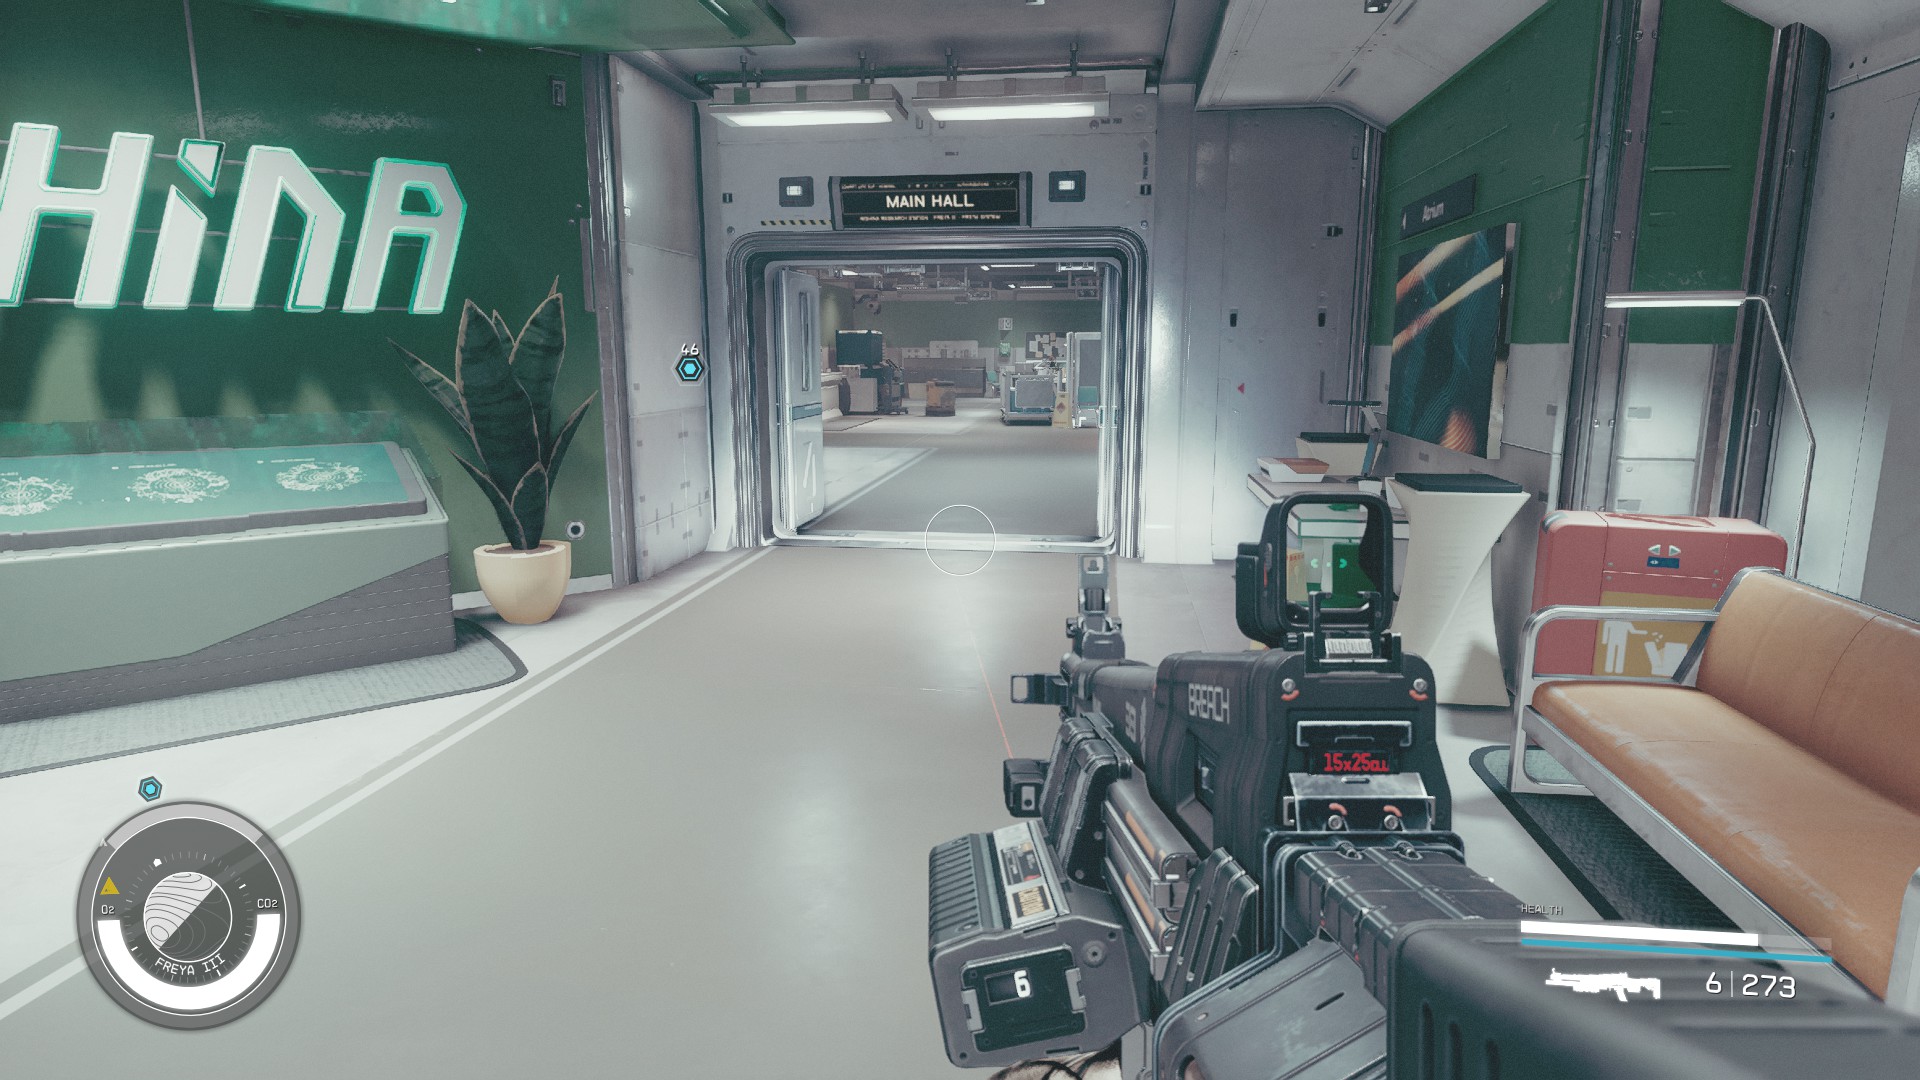
- Walk through the open door behind you and then go right and take the door to the Main Hall.
- You will shift again. Go straight and fight through the Cataxi.
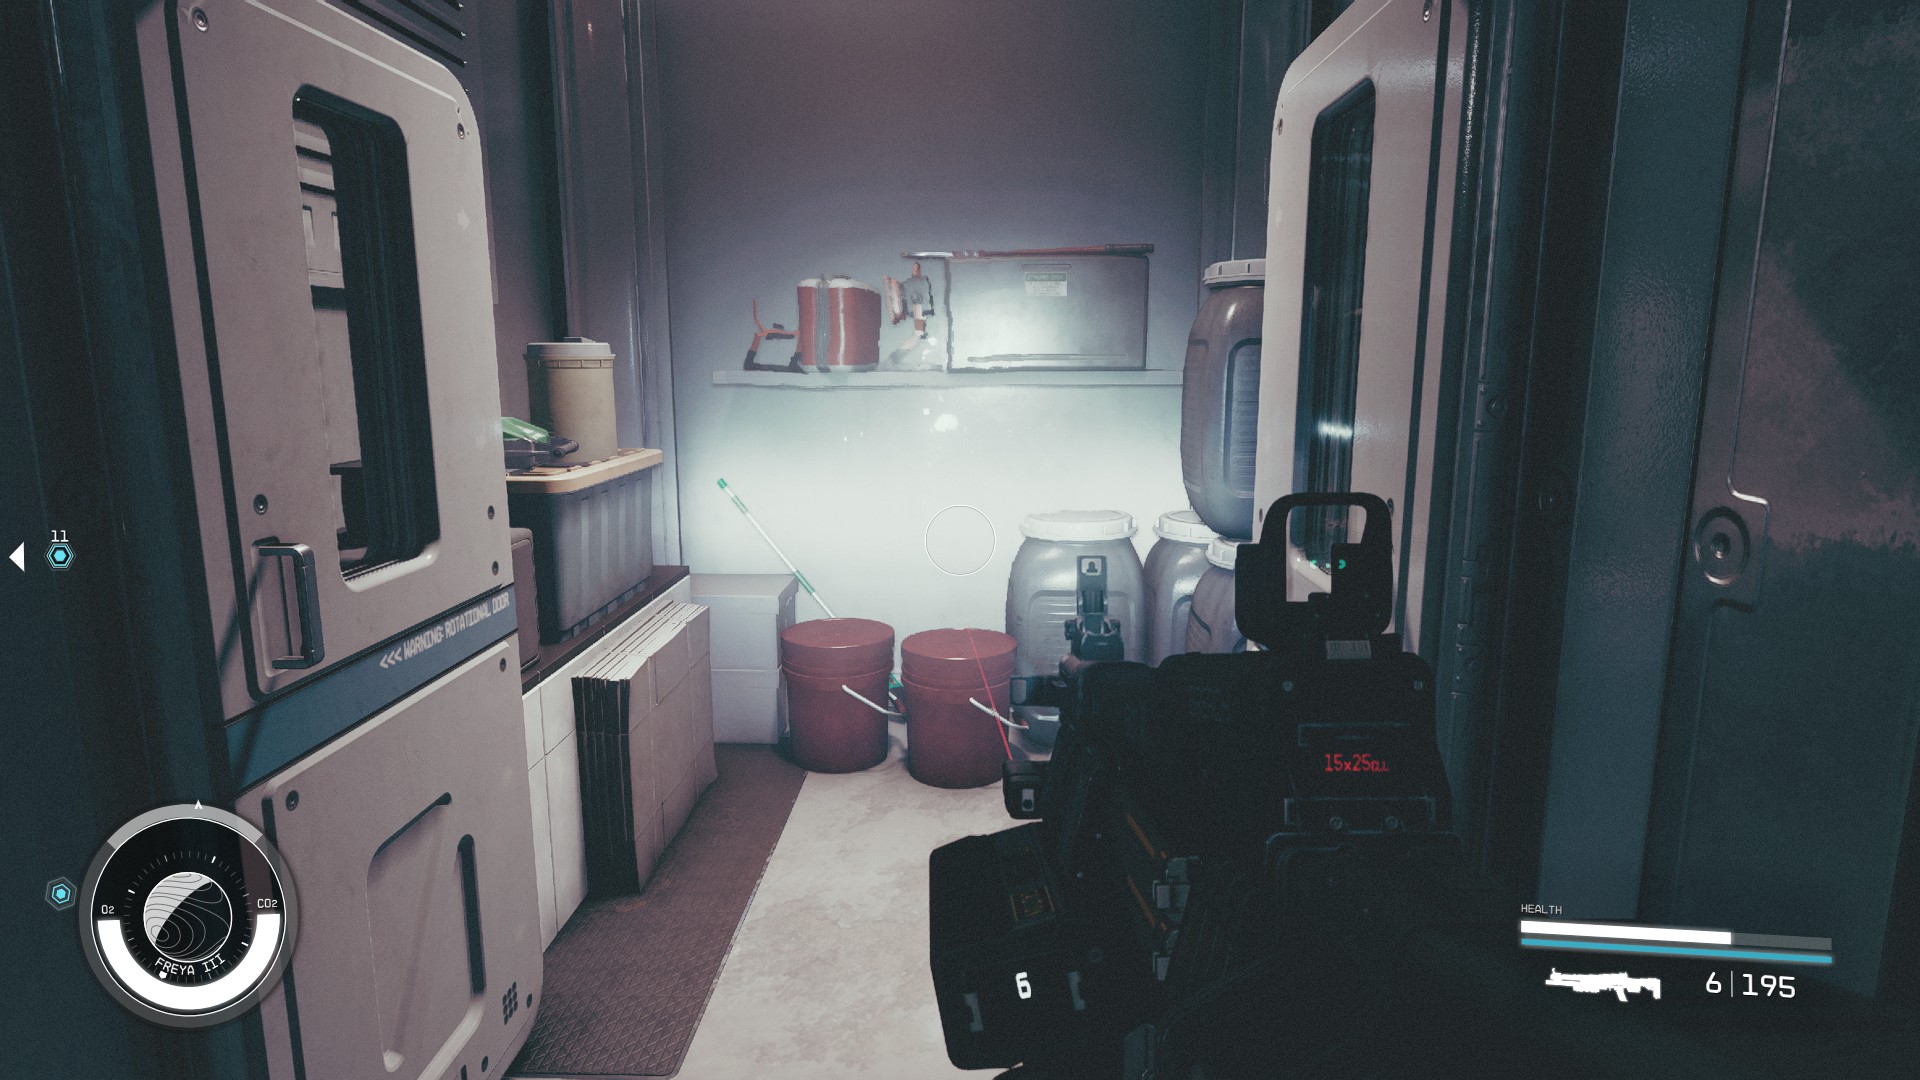
- You will come to two doors. The door on the right leads to a room that contains some ammo.
- Return to the room before and take the left door this time. Walk around the corner to the next door.
- You will be attacked by some more Cataxi Hunters again. Clear them out and then take the next door to the left and up the stairs.
- You will shift back to your dimension. Go up the stairs and loot the containers in the next room and pick up the Cred Sticks and Digipicks.
- Talk to Maria once you finish grabbing all the loot.
Assist Maria
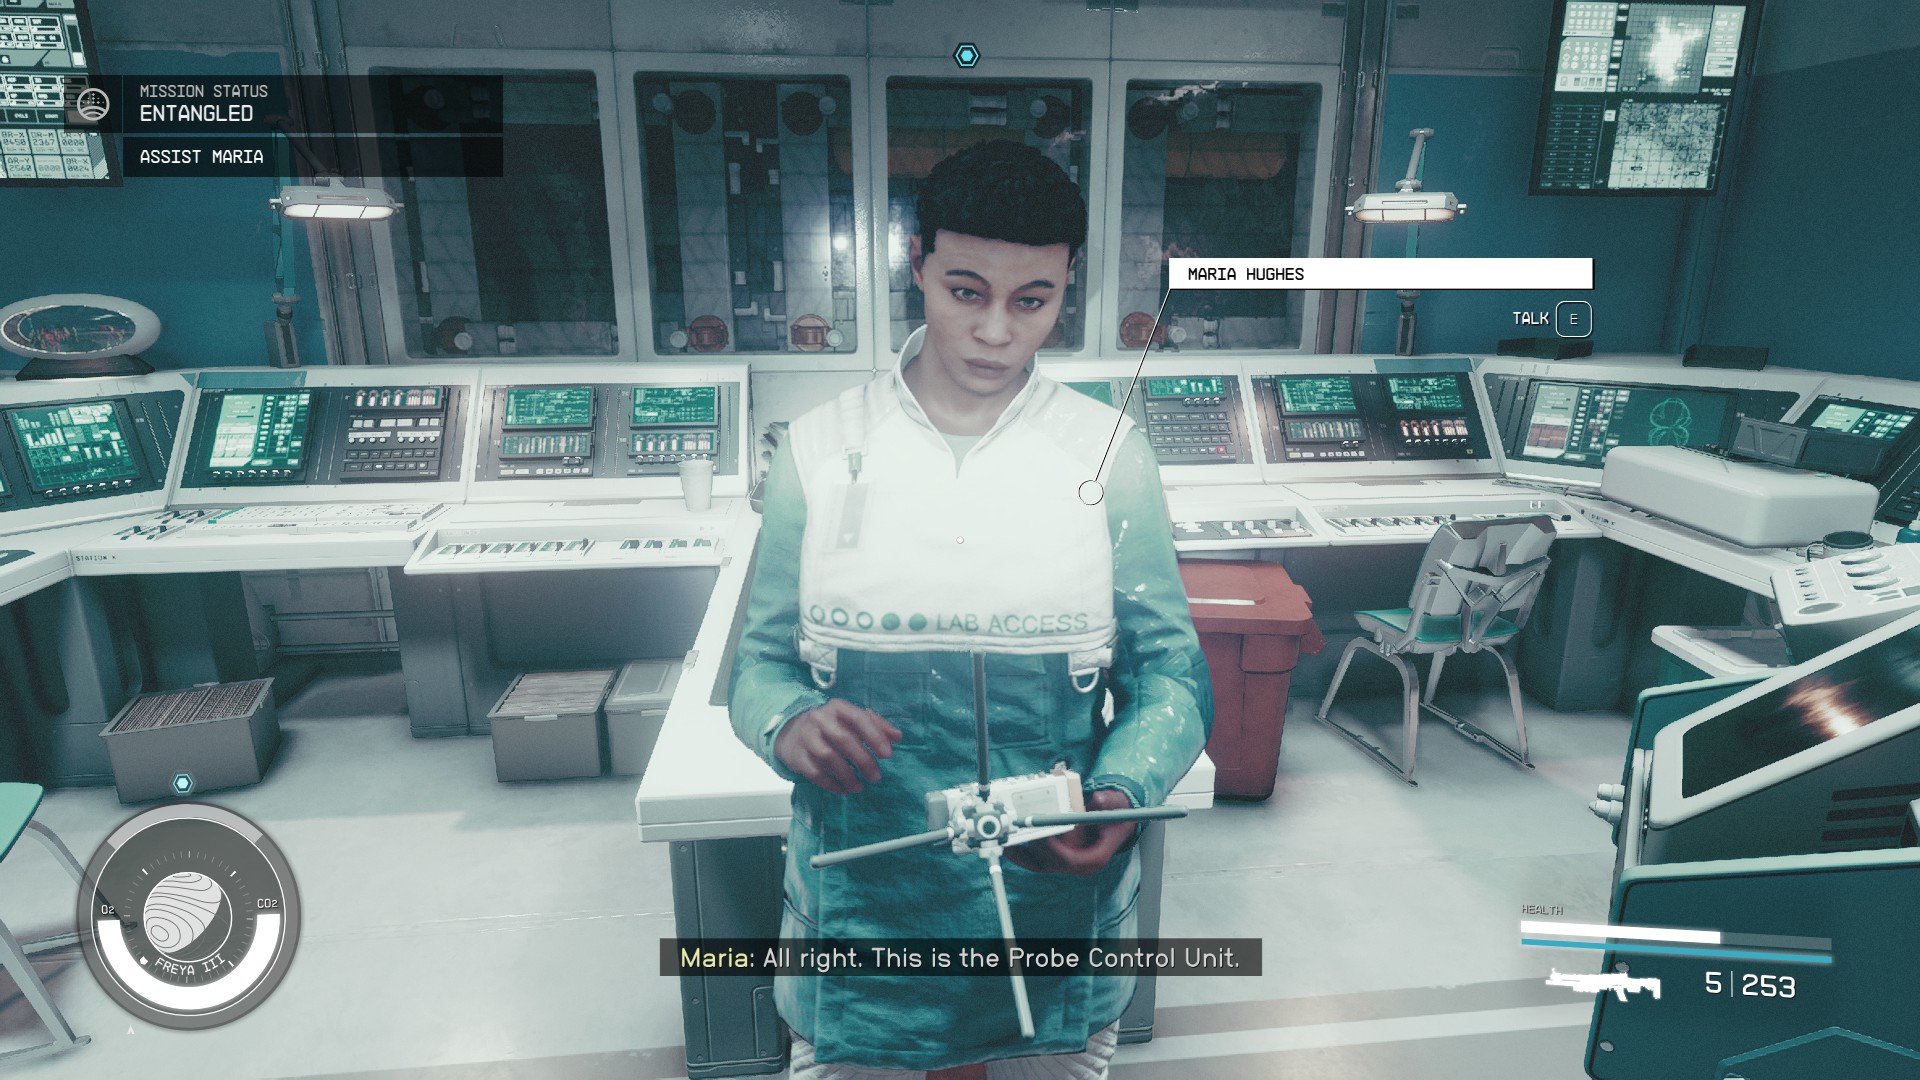
- Tell Maria what is happening and ask for her assistance in shutting down the probe.
Stand in the Distortion
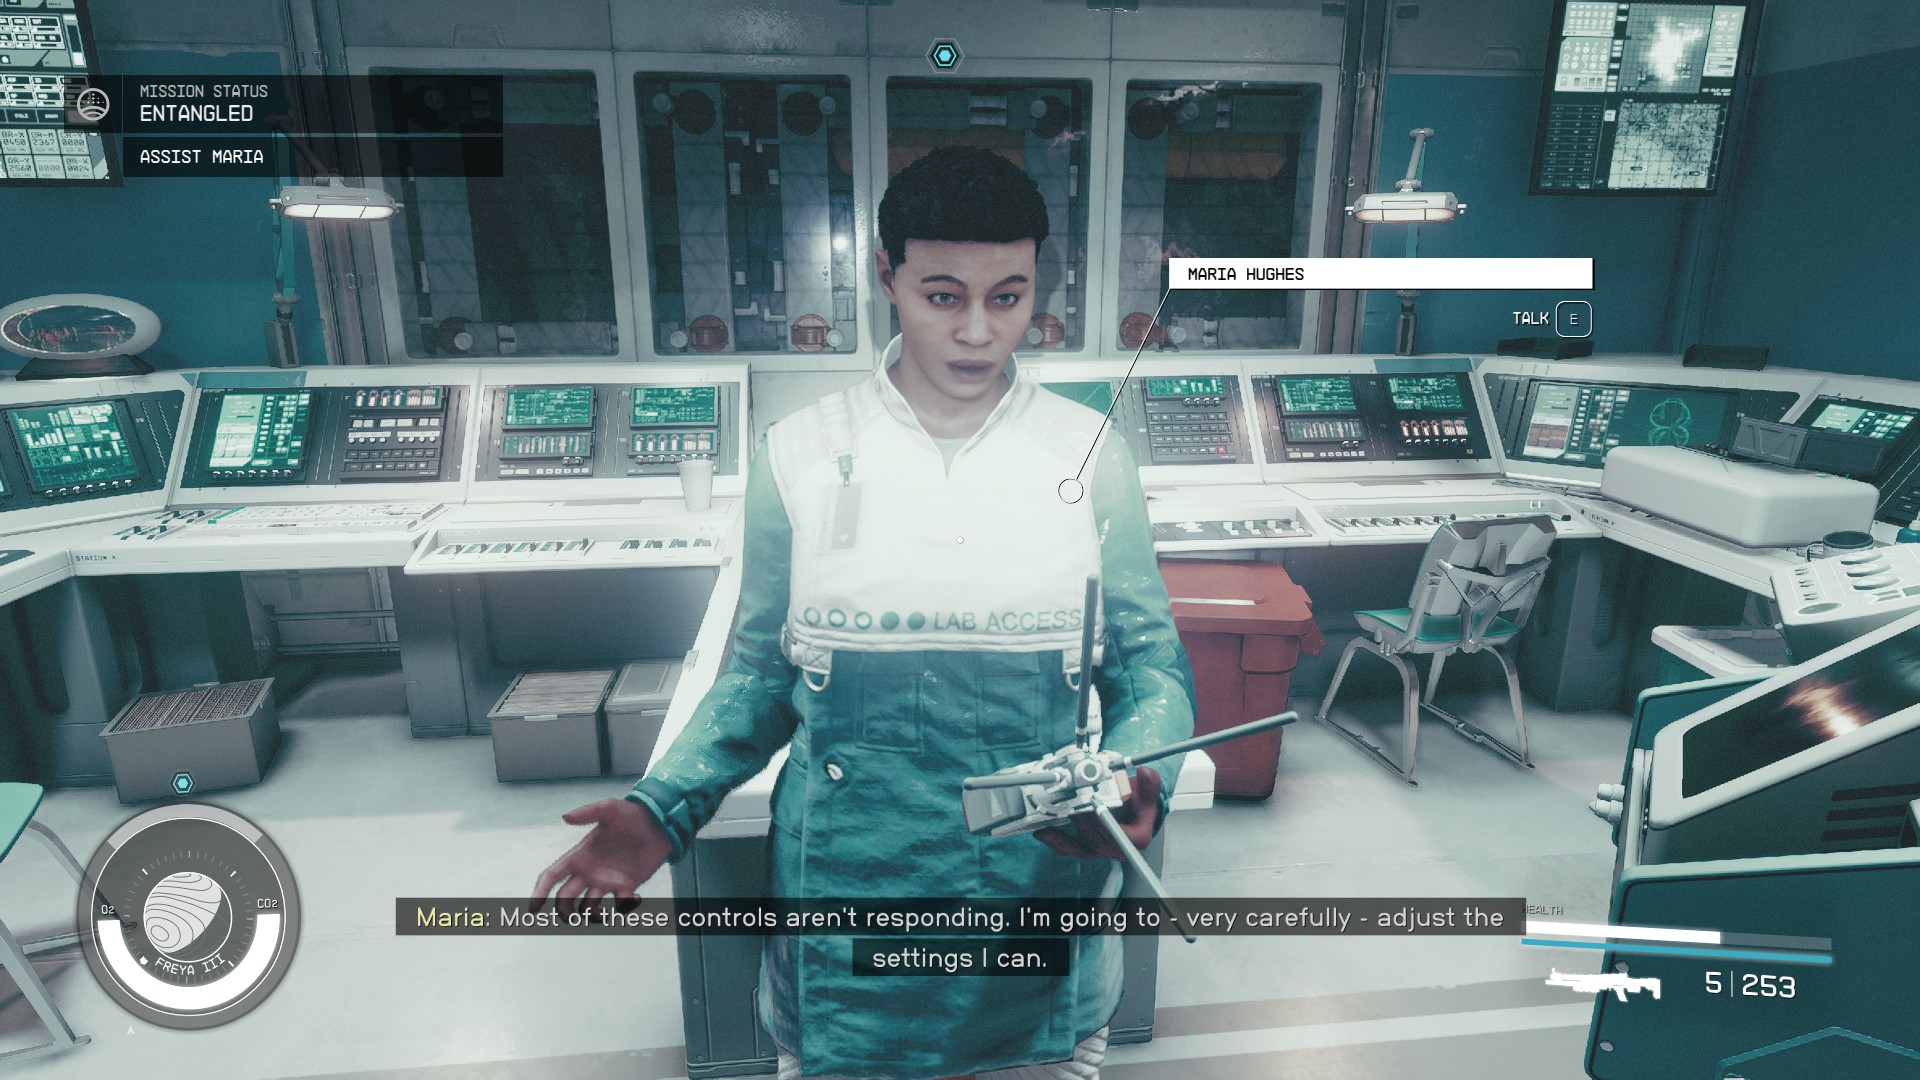
- Maria will take the probe control unit from you and adjust some settings.
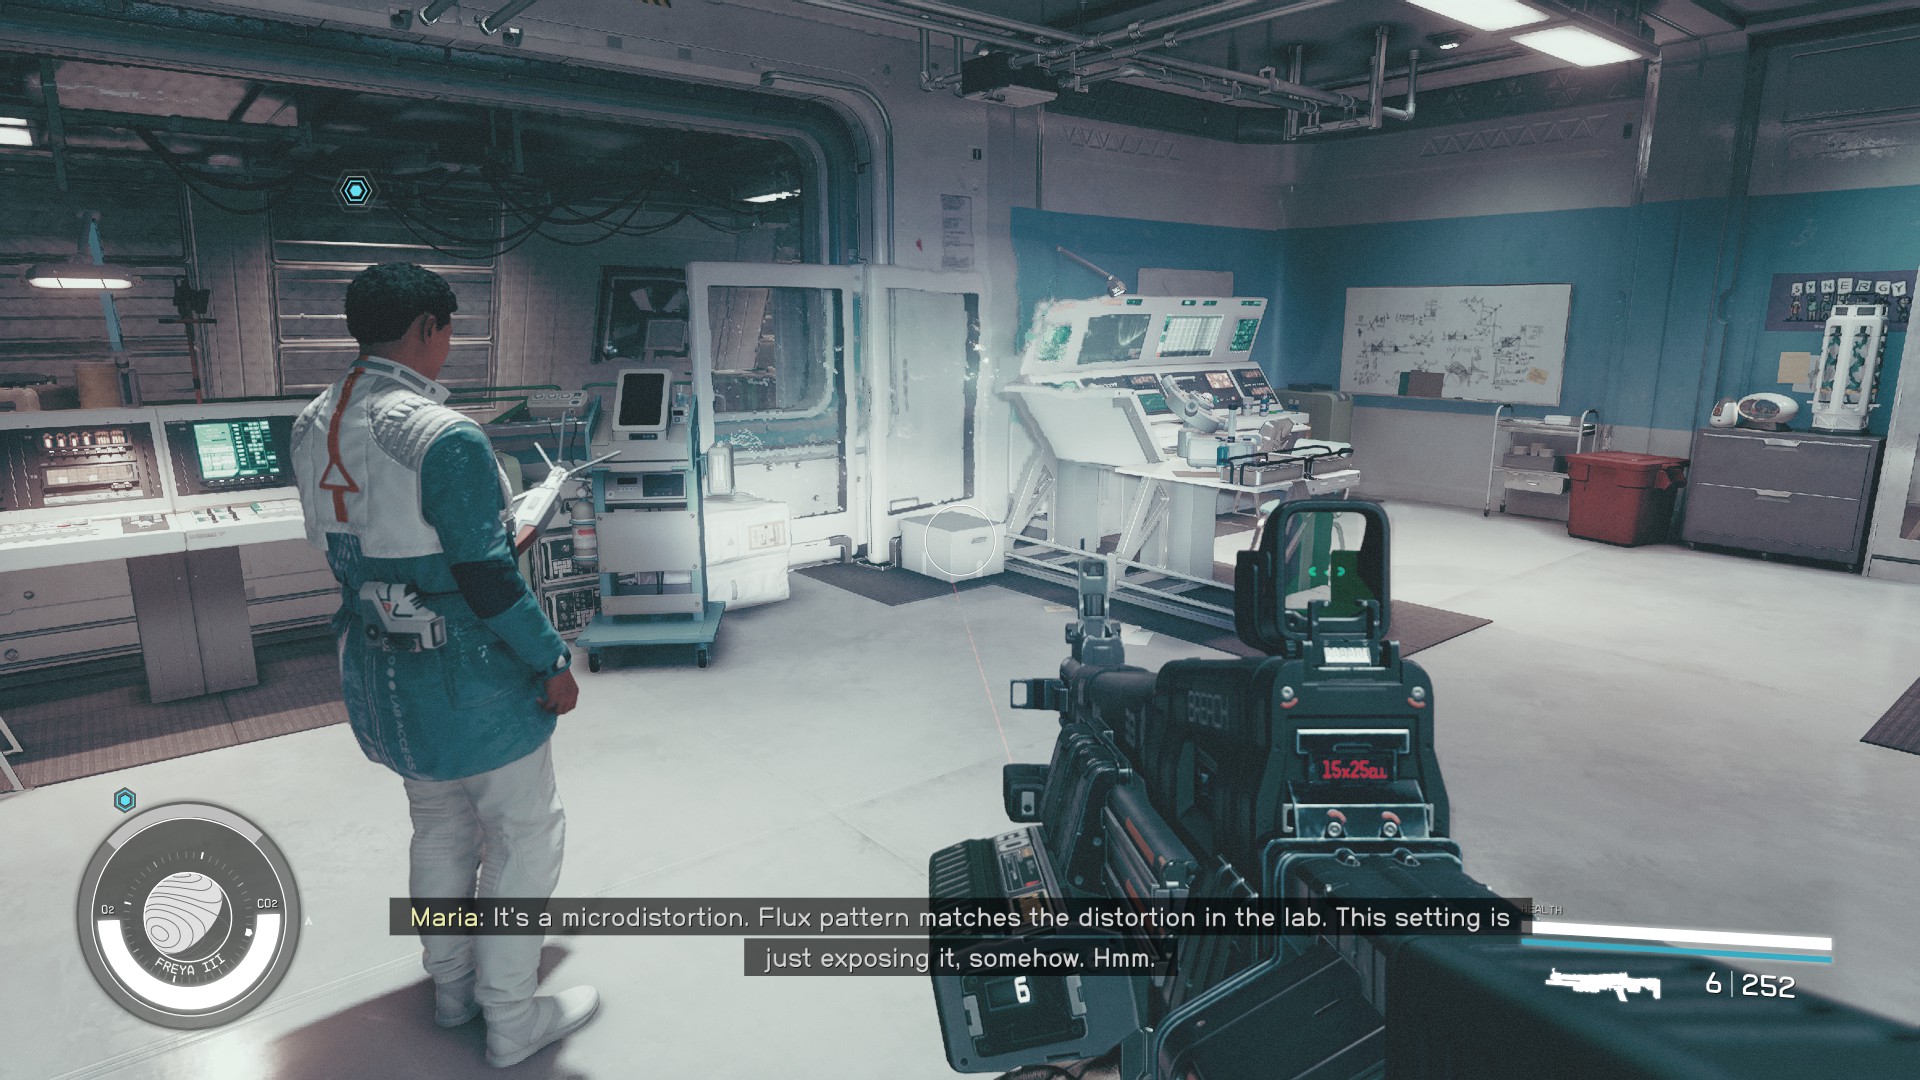
- She immediately gets weird readings. Together you discover the distortions that are scattered throughout the lab.
- Walk over and stand in the distortion you discovered. Nothing Happens. She will recalibrate again and it works this time!
Find a Probe Control Unit
- Grab the probe control unit from the other dimension. There is a container to loot behind the control unit.
Recalibrate the Distortion
- Calibrate the distortion in the same room to return to Maria.
Speak to Maria
- Maria will tell you to keep the settings on low until you want to shift at a distortion.
- She then asks you to go back to talk to the Director.
Speak to Director Patel
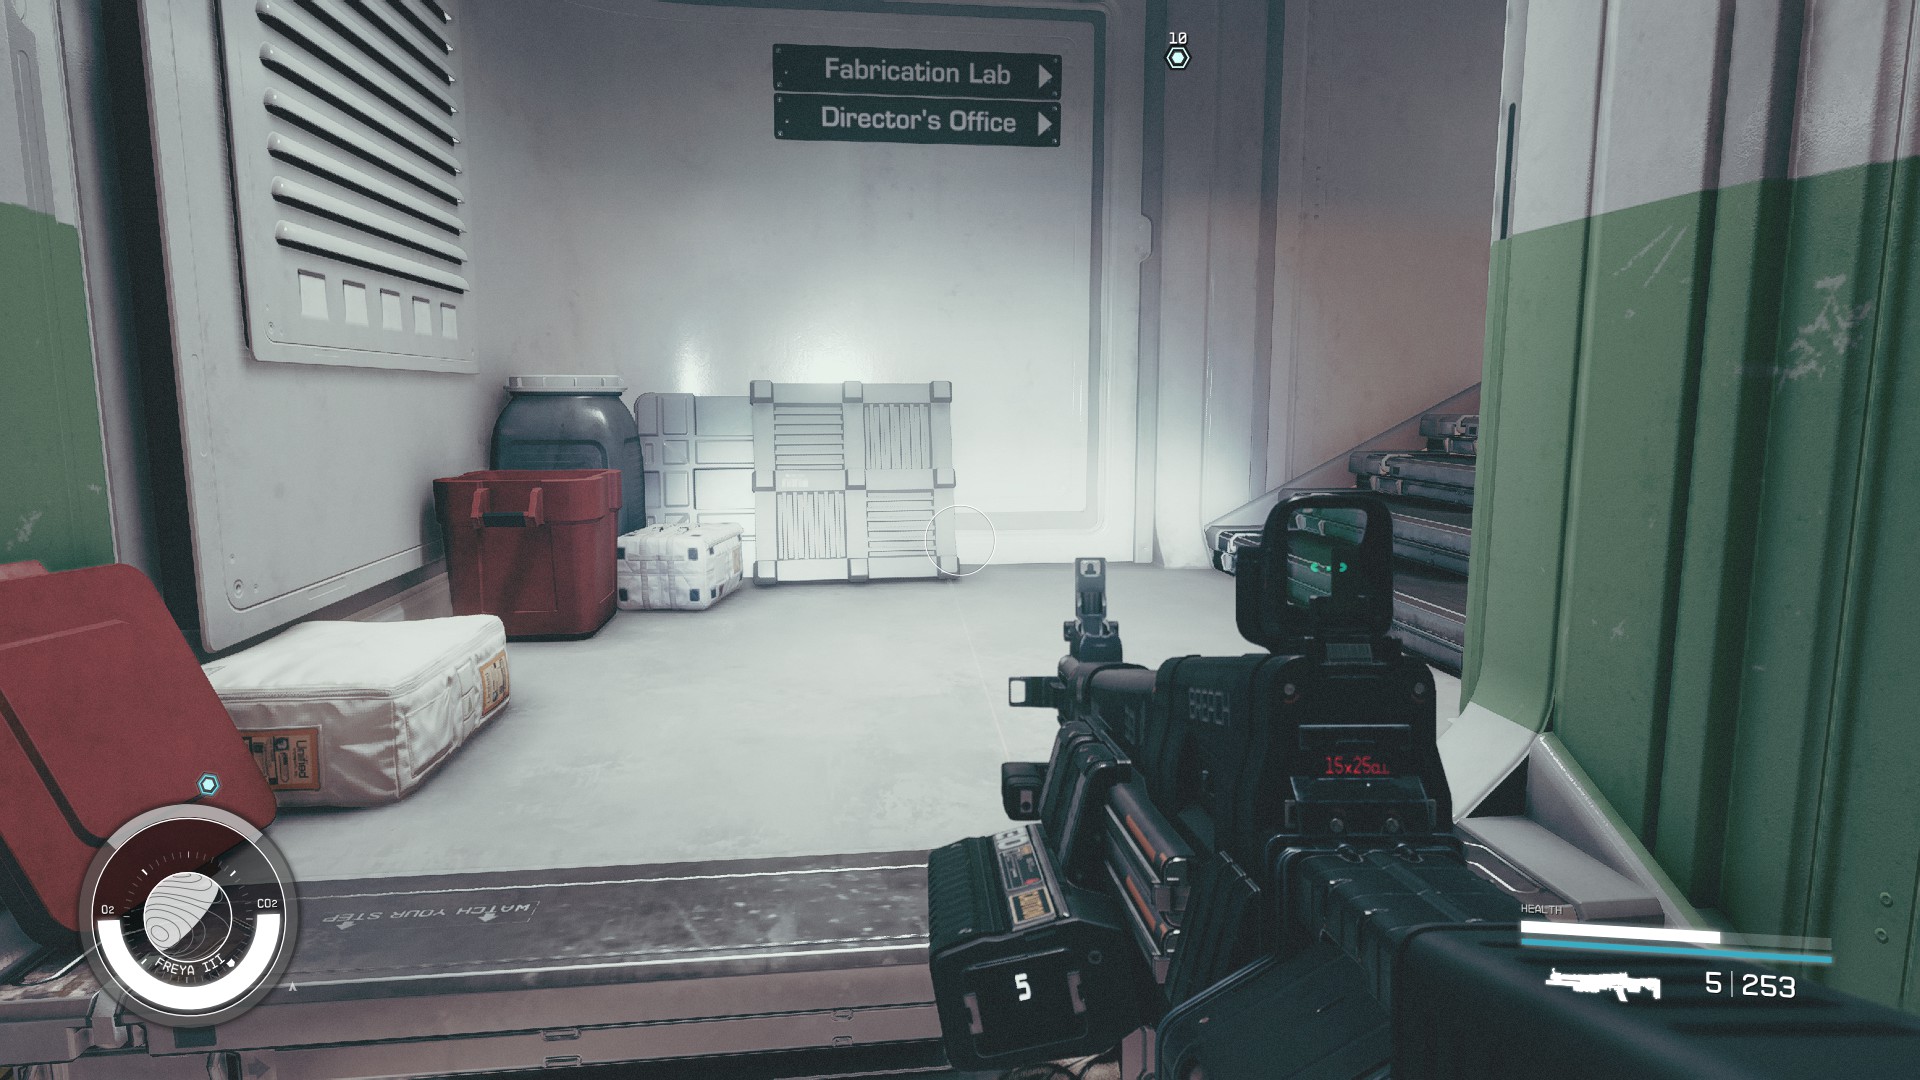
- Walk down the hallway on the right and take the next door on the left back to the Director's Office.
- She will tell you that once you deactivate the probe you will be stuck in whatever dimension you are in, so choose carefully.
Get Supplies [Optional]
- Take the door on the right of the room and walk down the hallway.
- Go down the steps and then through two doors on the right side to get to the clinic.
- Talk to Dr. Tabitha Barakova and ask her for some medical supplies to take along.
Take the Elevator
- Leave the Clinic and continue down the hall to the cafeteria. Go through the cafeteria to the Main Hall.
- Walk around the corner and into the elevator until you get to a anomaly. Take this and shift back to the other dimension.
- The room you appear in has a few containers and some ammo to pick up.
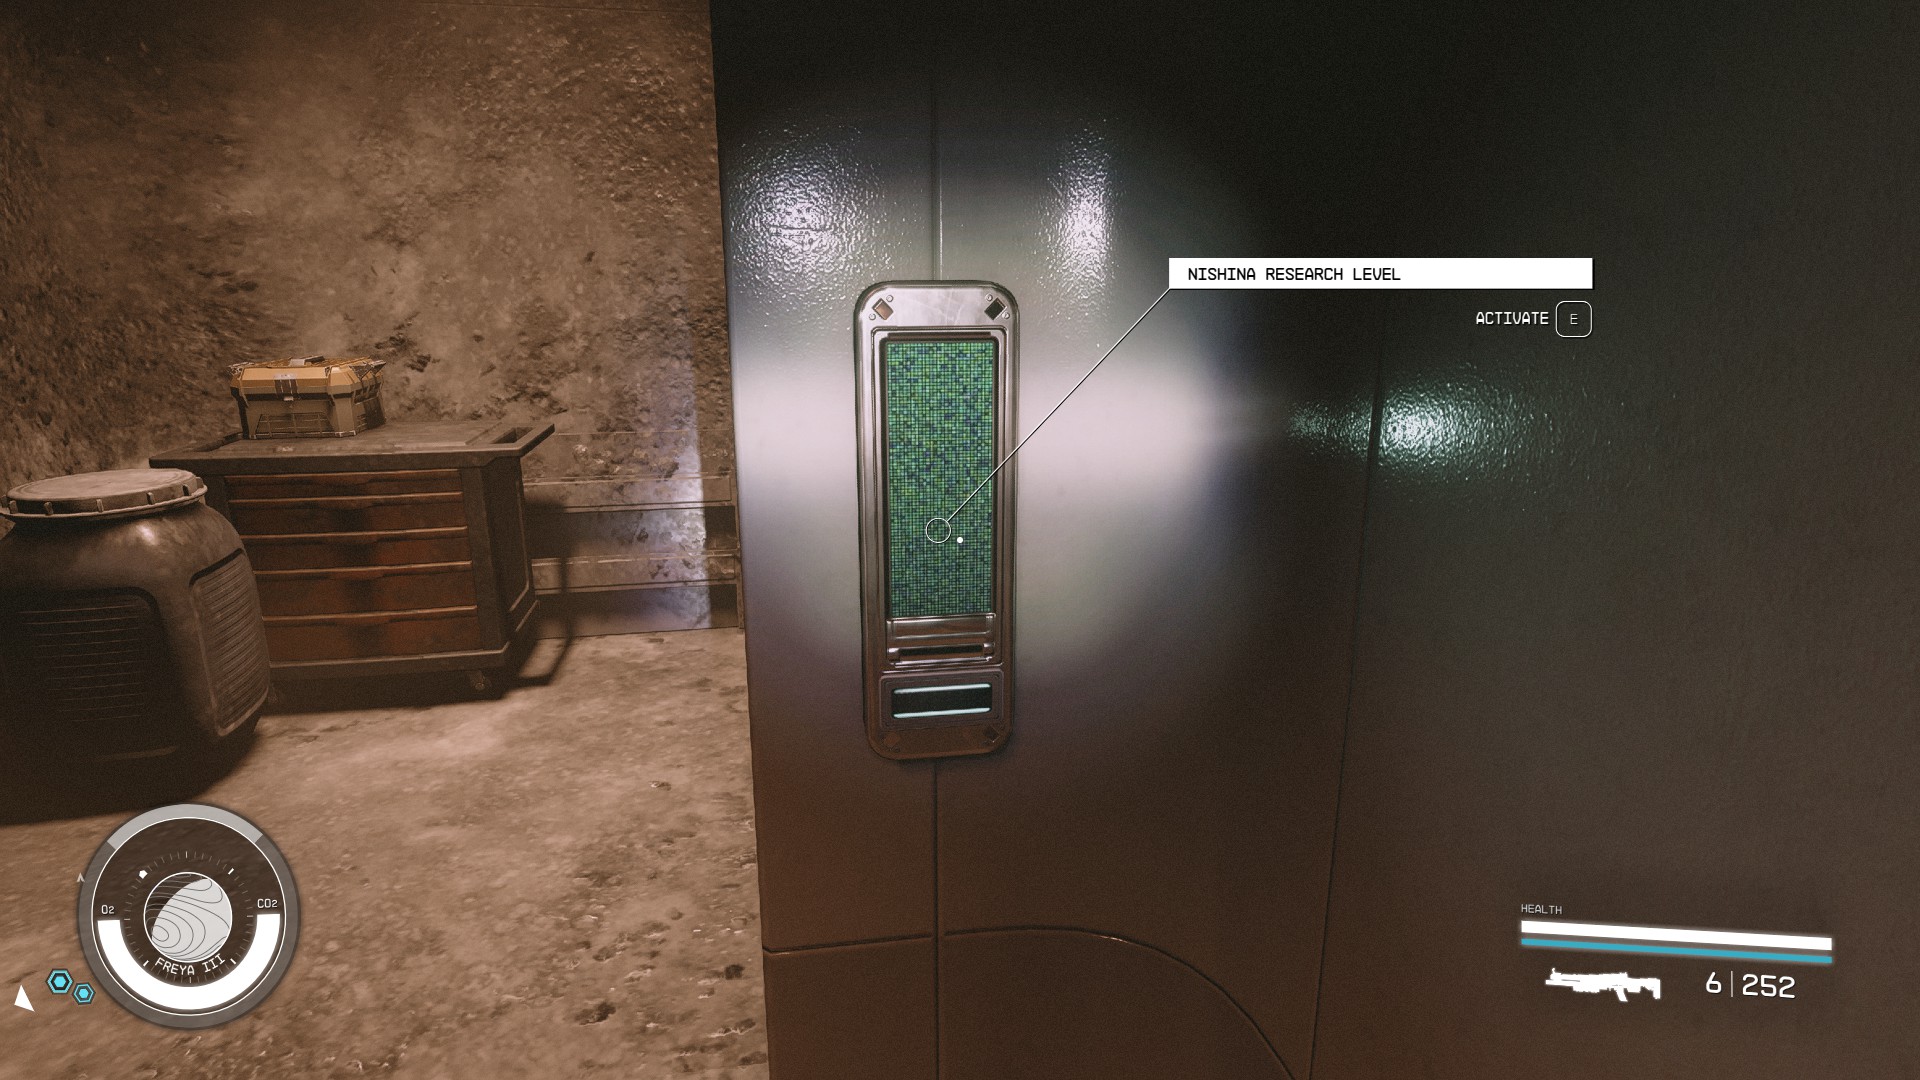
- Take the elevator down to the research level.
Override the Lockdown in the Facilities Section
- There is no where to go in this first area, so take the distortion on the left on the elevator exit.
- Go down the stairs and you will see a distortion and a locked door on your right. Take the distortion to shift into the ruins, where the door is open. Or, you can also just unlock the door with a digipick.
- If you decide to go to the ruins, walk towards the marker and you will find a keycard that you can use to unlock the door.
- Shift back using any of the nearby distortions and you will be attacked by the security system. Take out the robots and a ceiling turret.
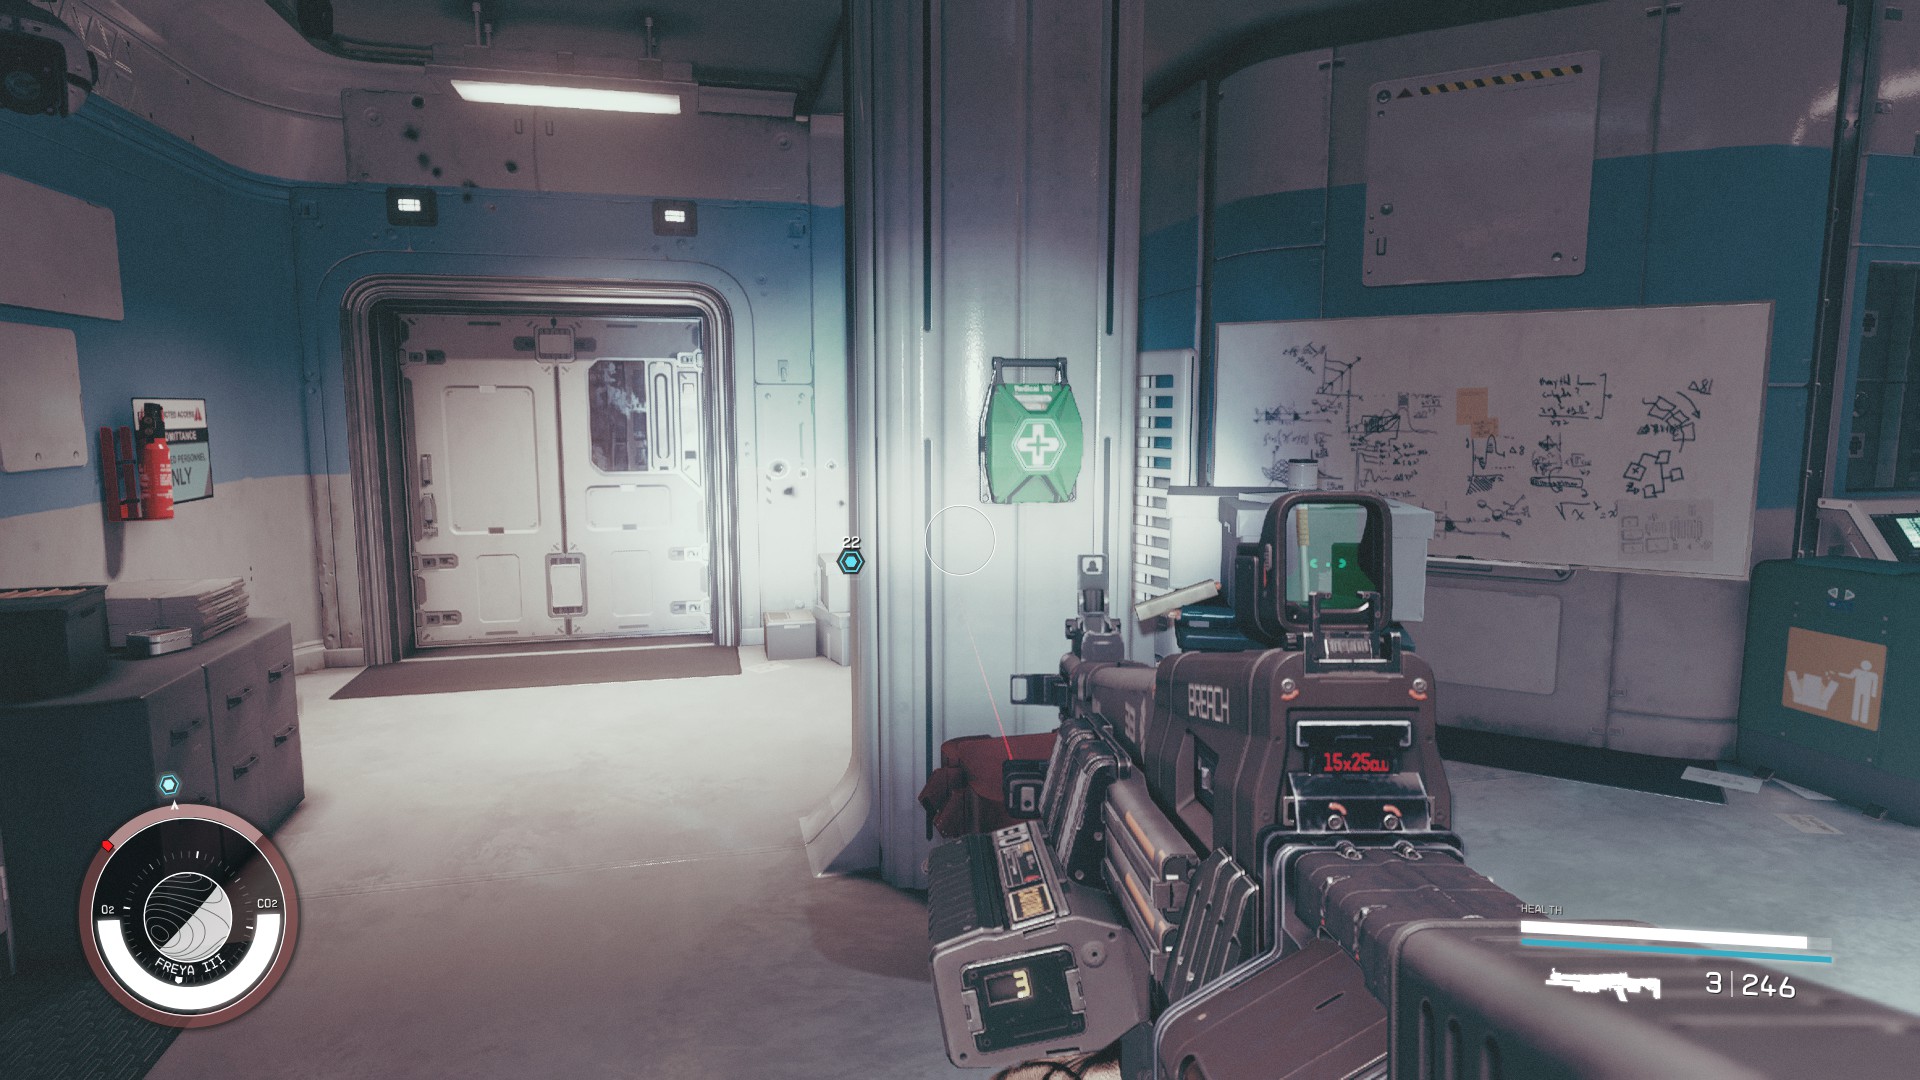
- Grab the medical kit, unlock the door and head down the stairs.
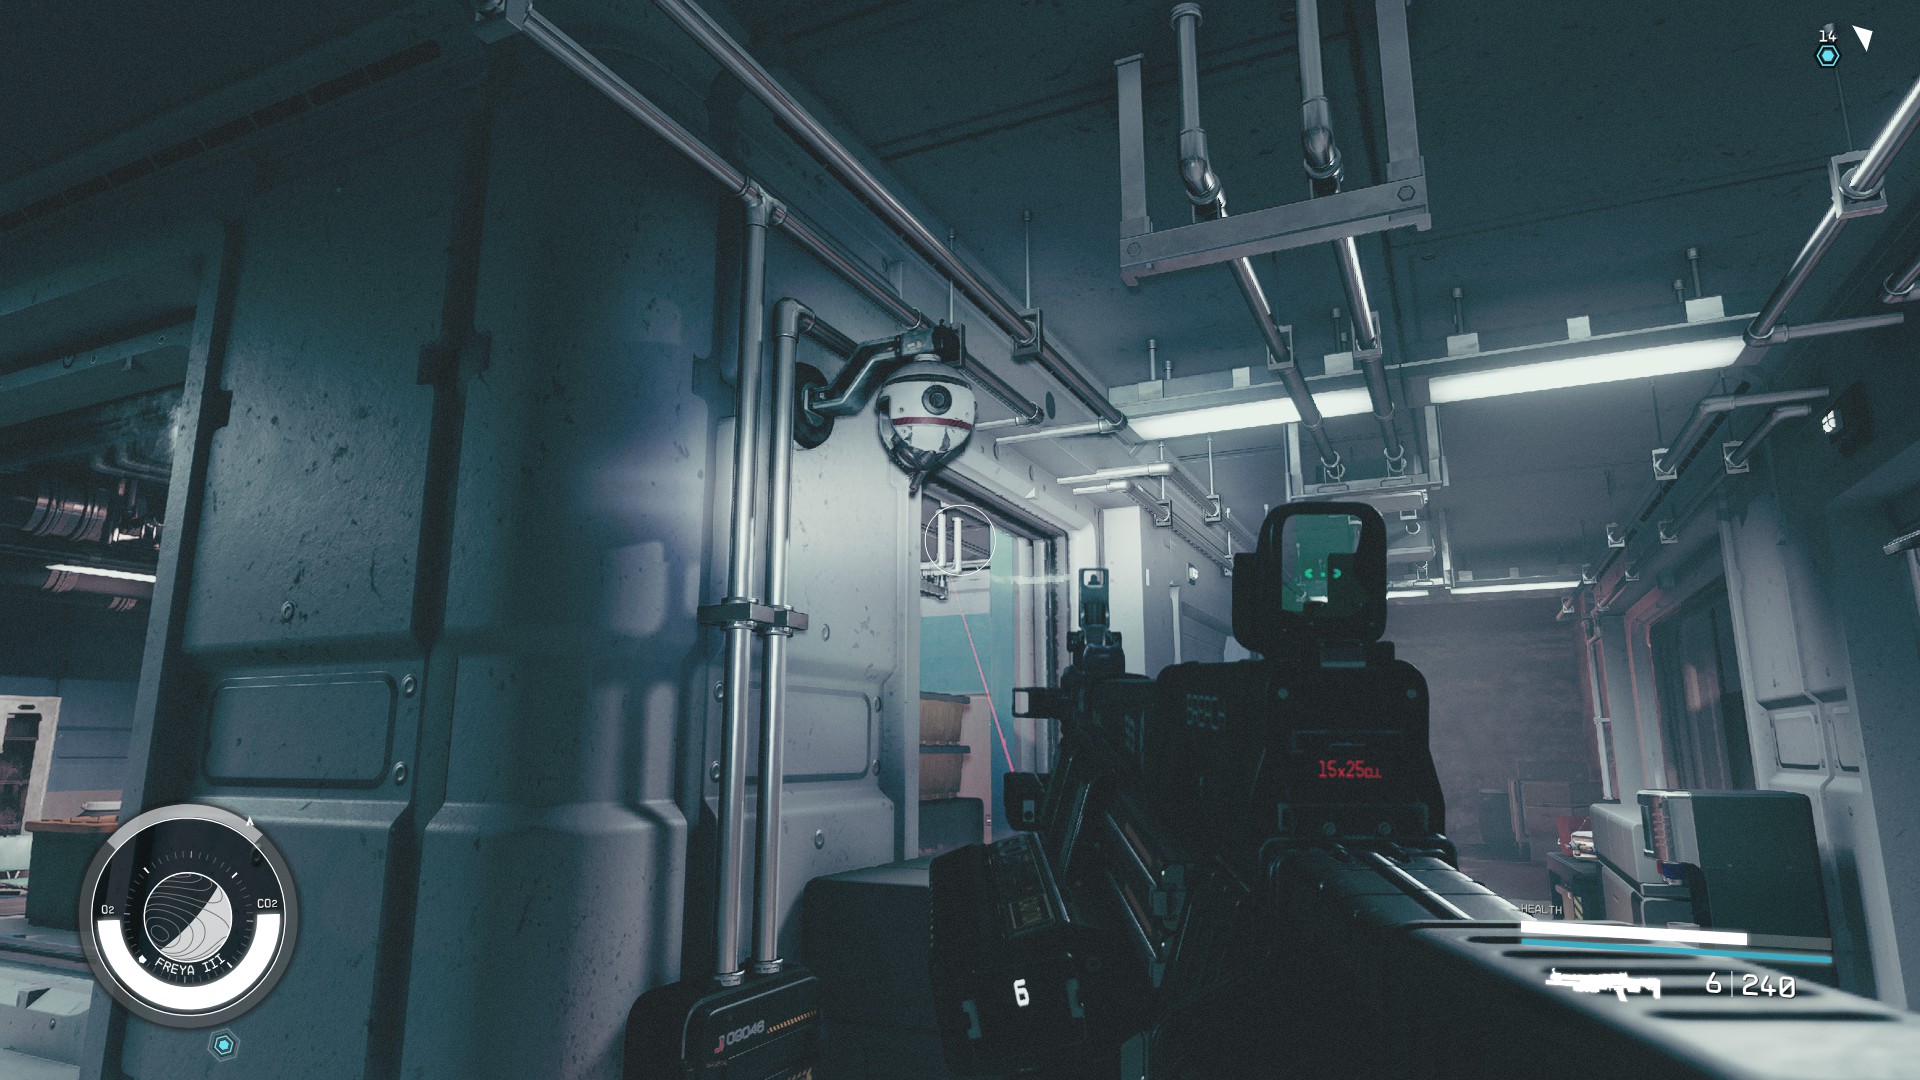
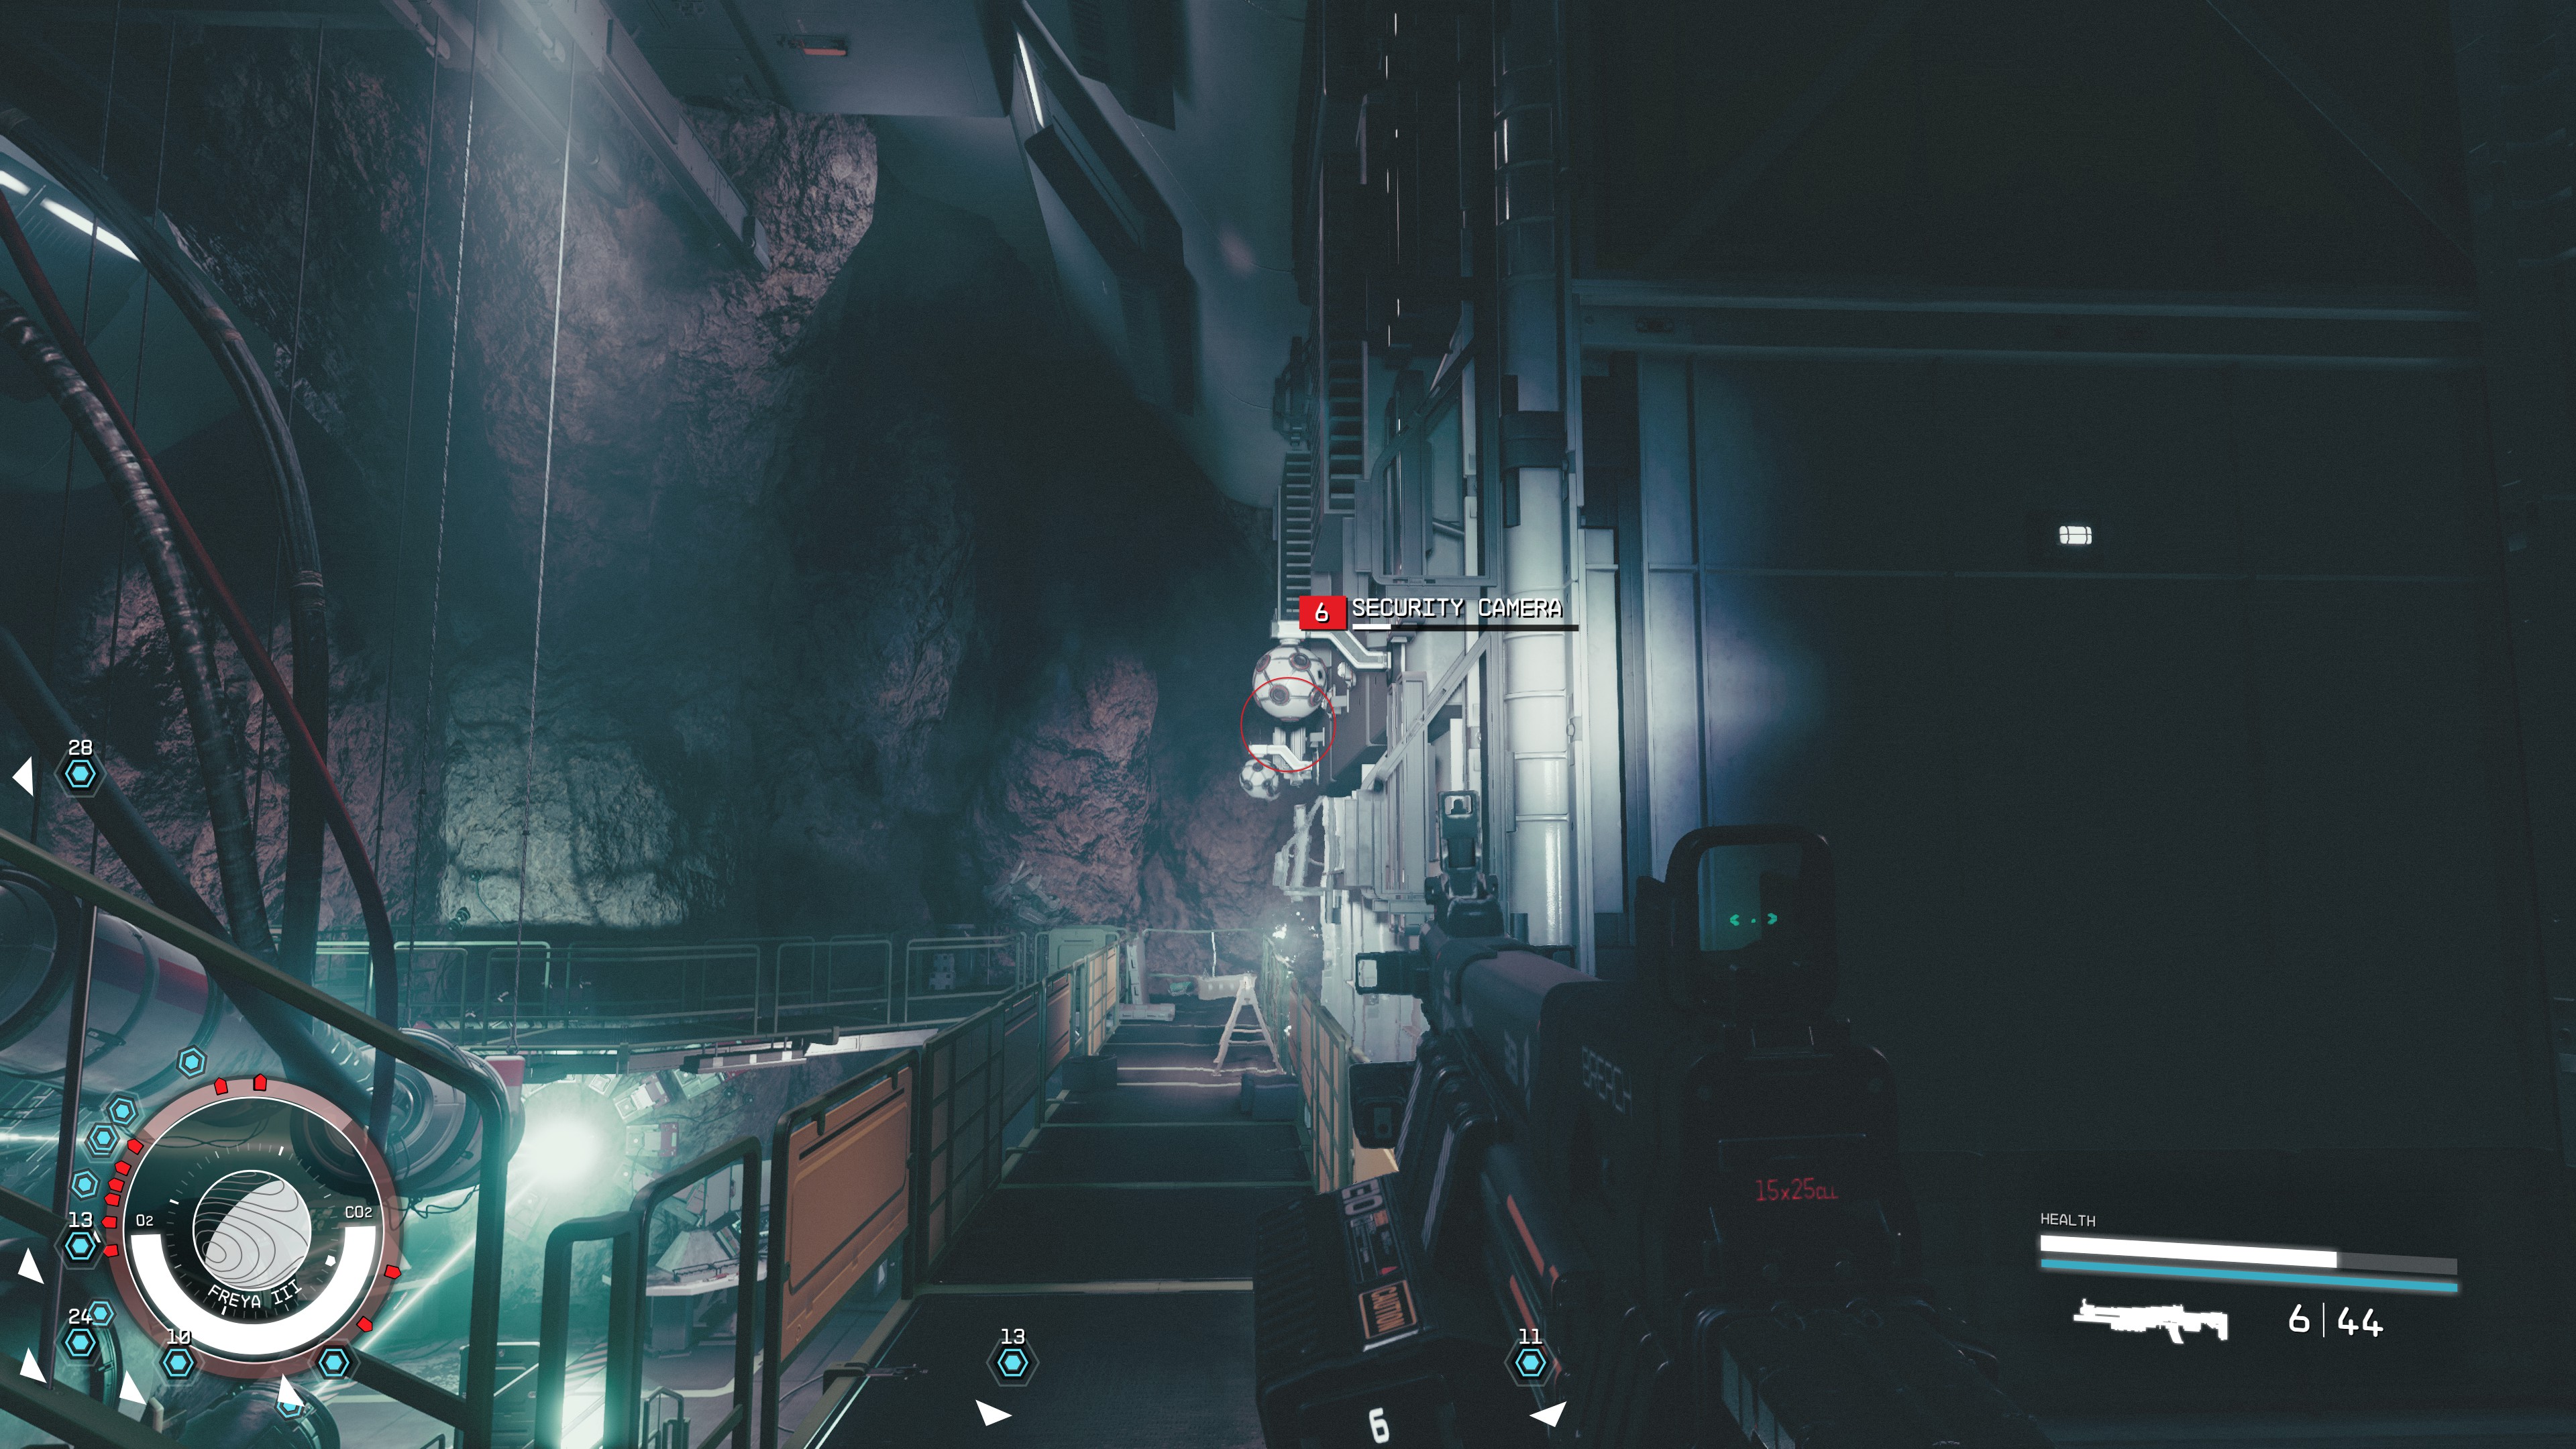
- Destroy the turret and security camera that notice you.
- Go through the first door and shift again using the distortion in the room.
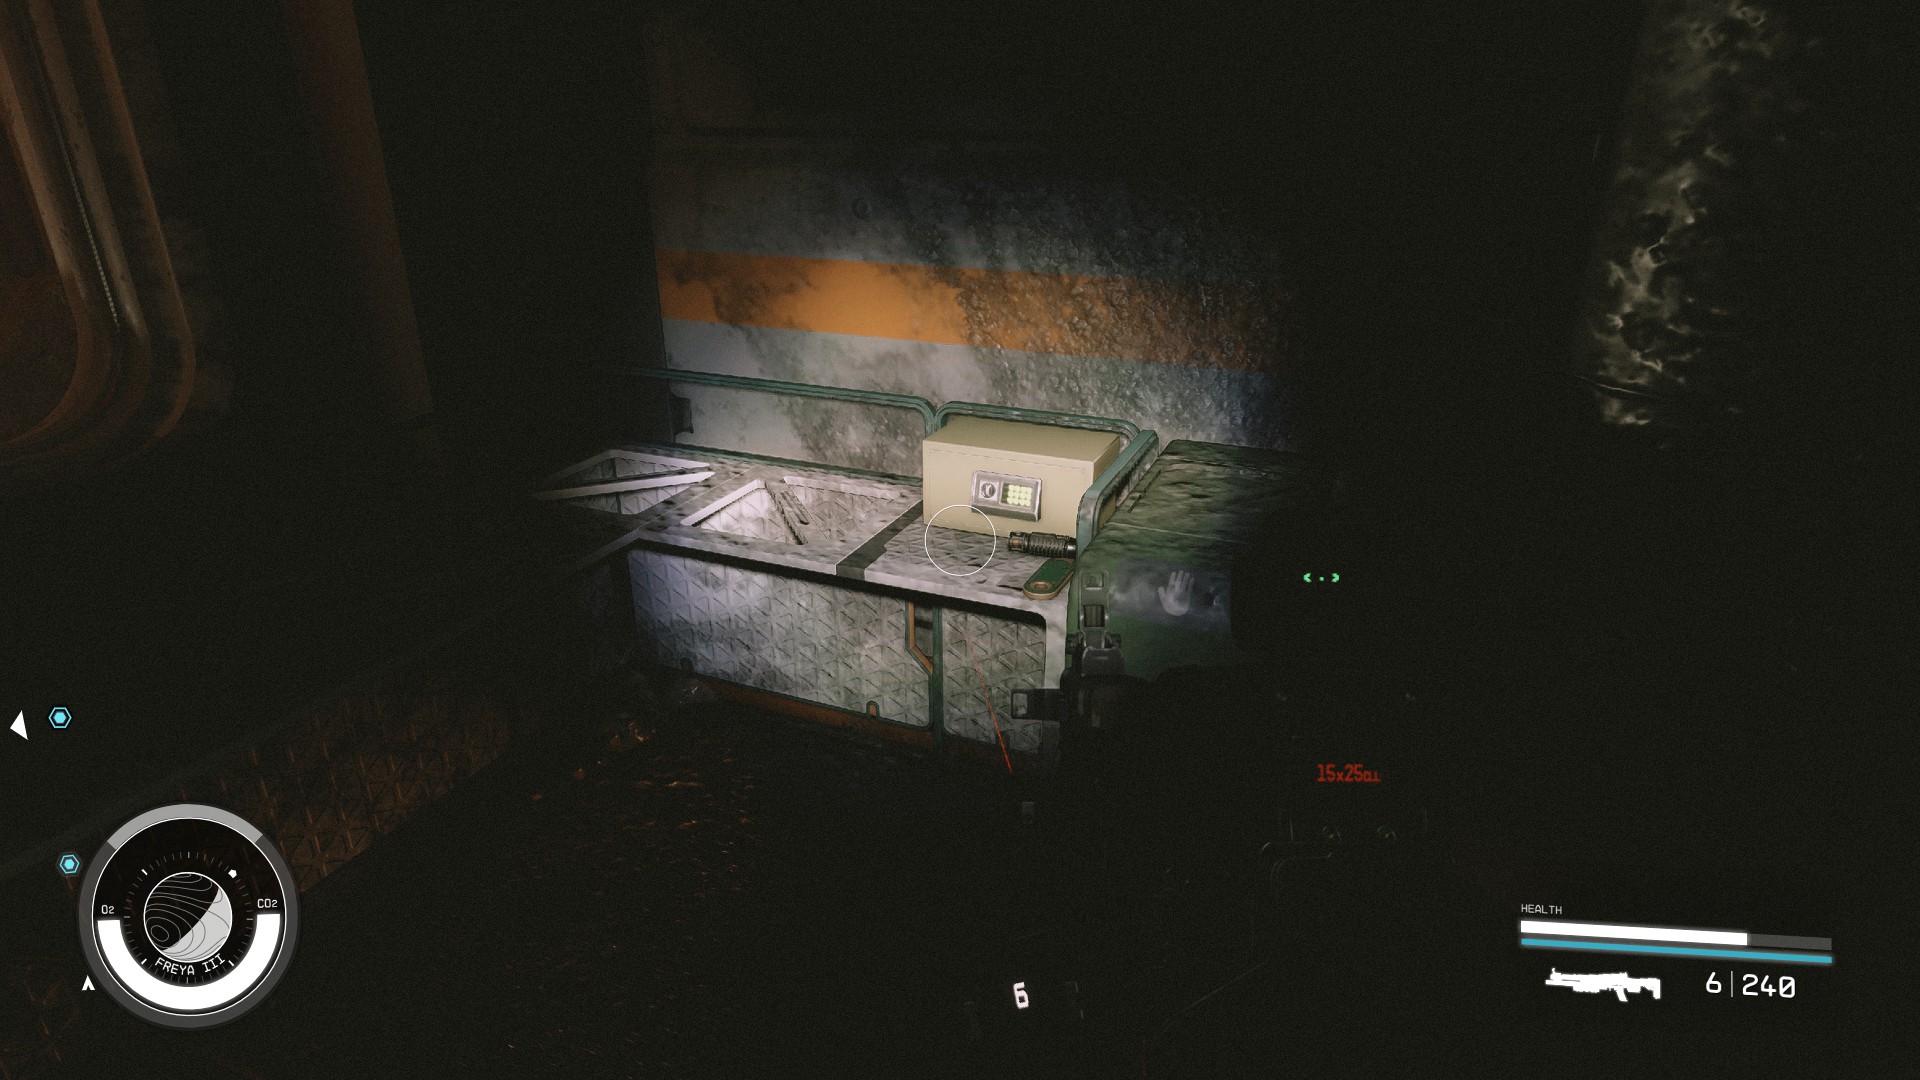
- Take the door on the right and walk straight another door and into a control room. Walk to the other end of the room where the broken PC is and to a lockbox.
- Go through the anomaly in order to shift back to the dimension where the computer is not broken.
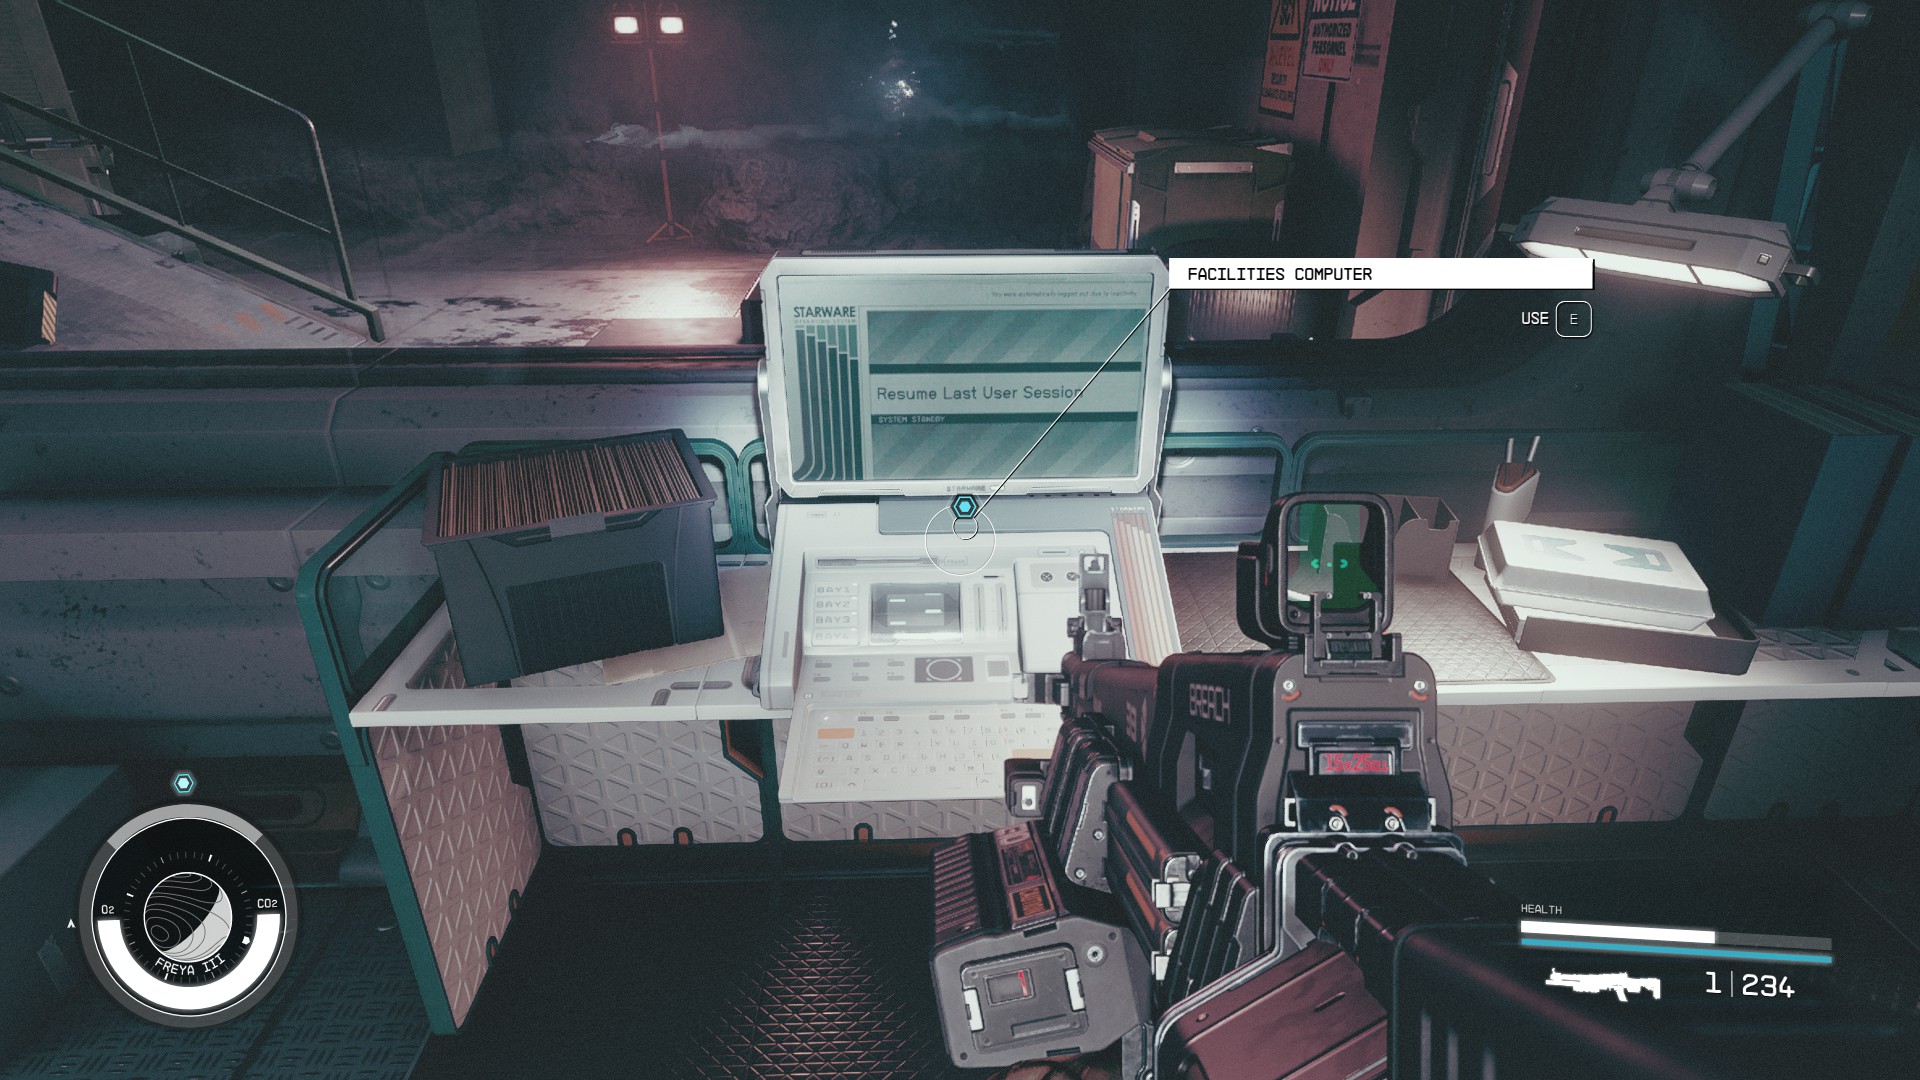
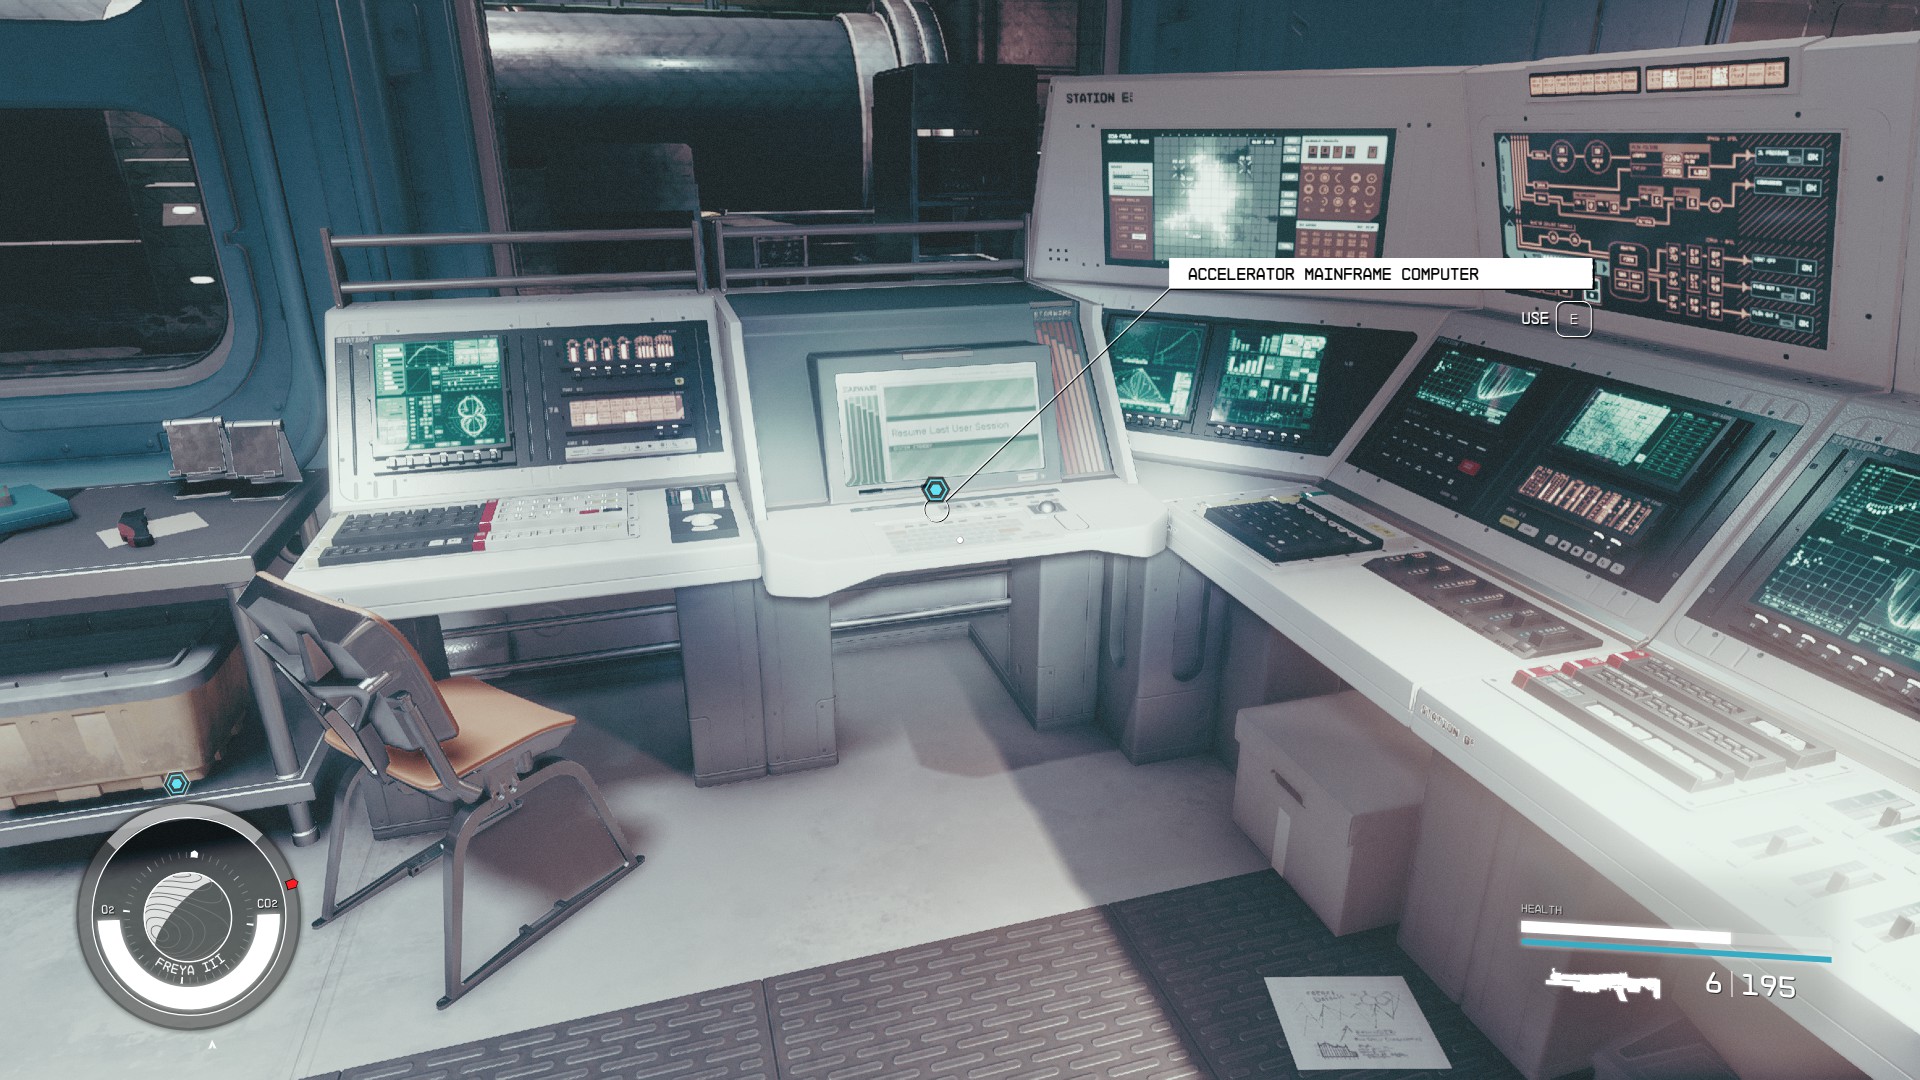
- You can shut down the security system by turning on the computer. Once this is complete the doors in this area will open.
Override the Lockdown in the Accelerator Section
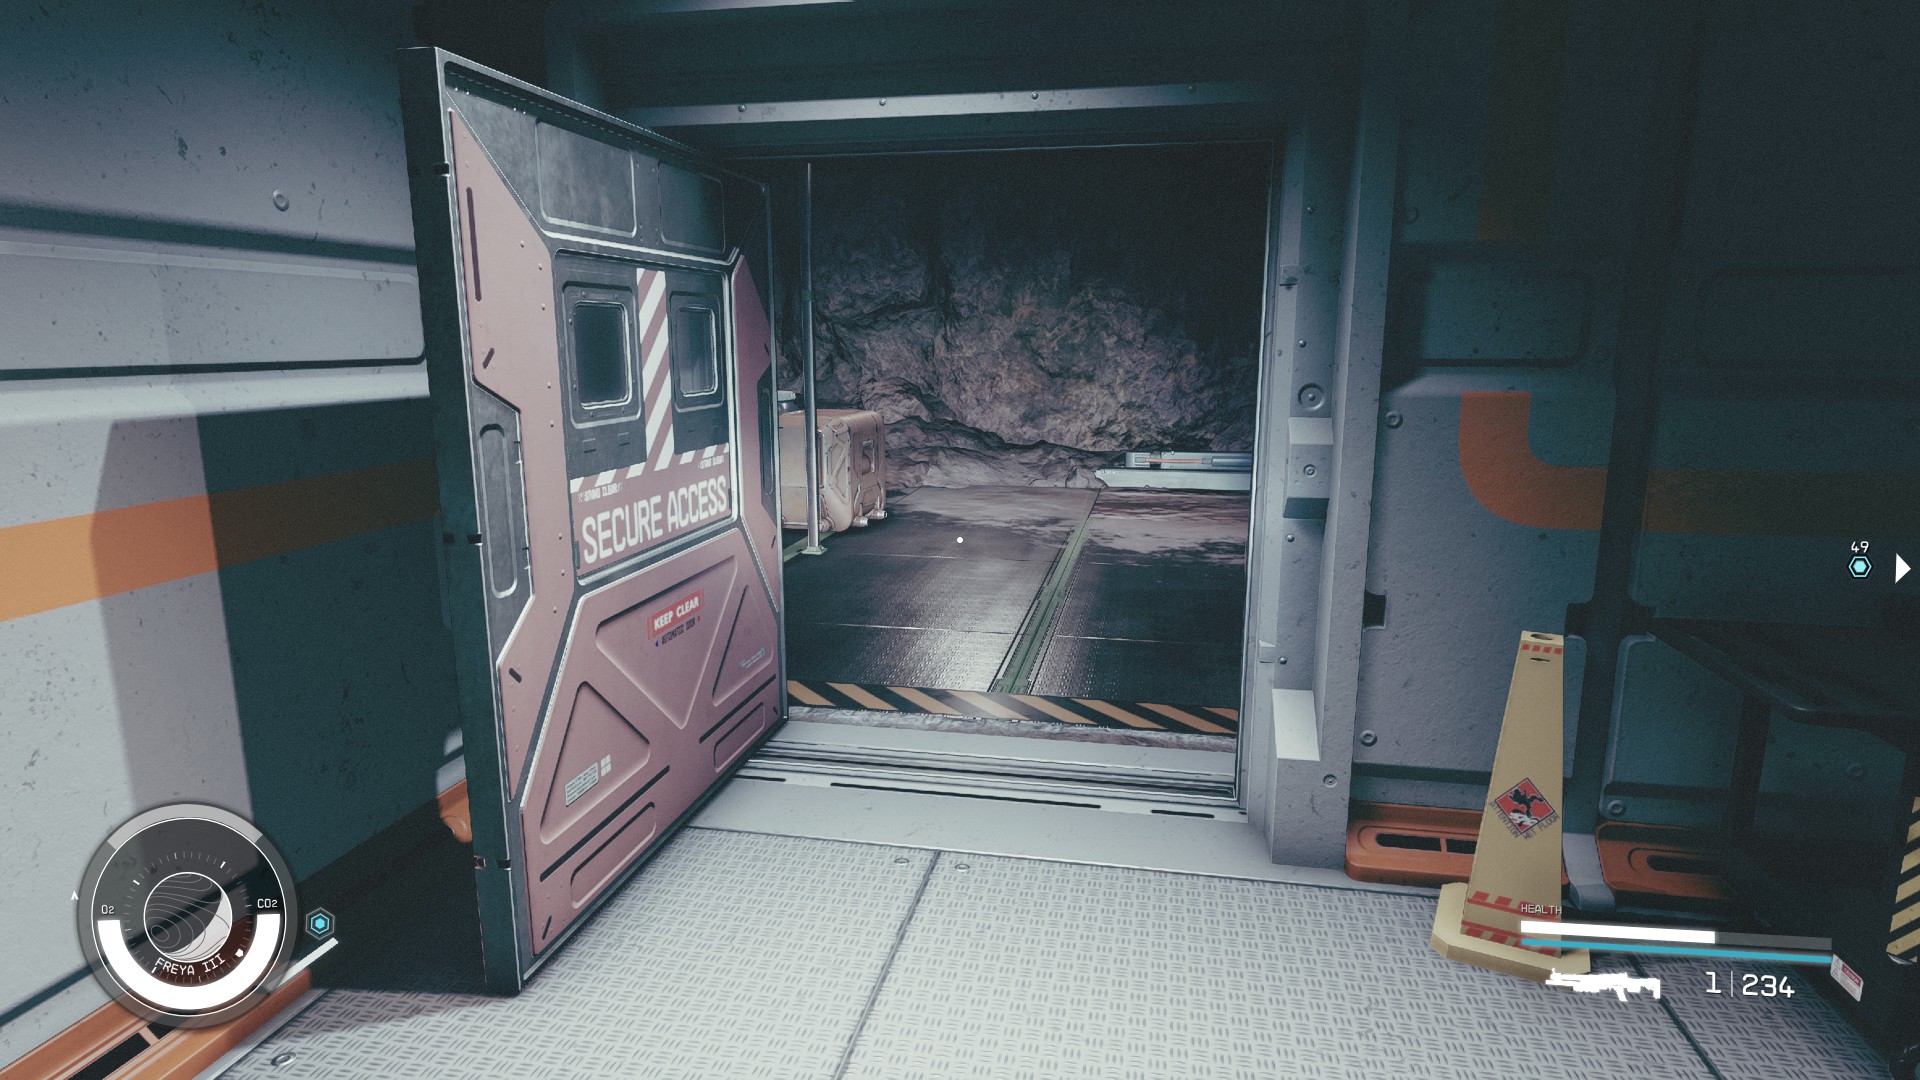
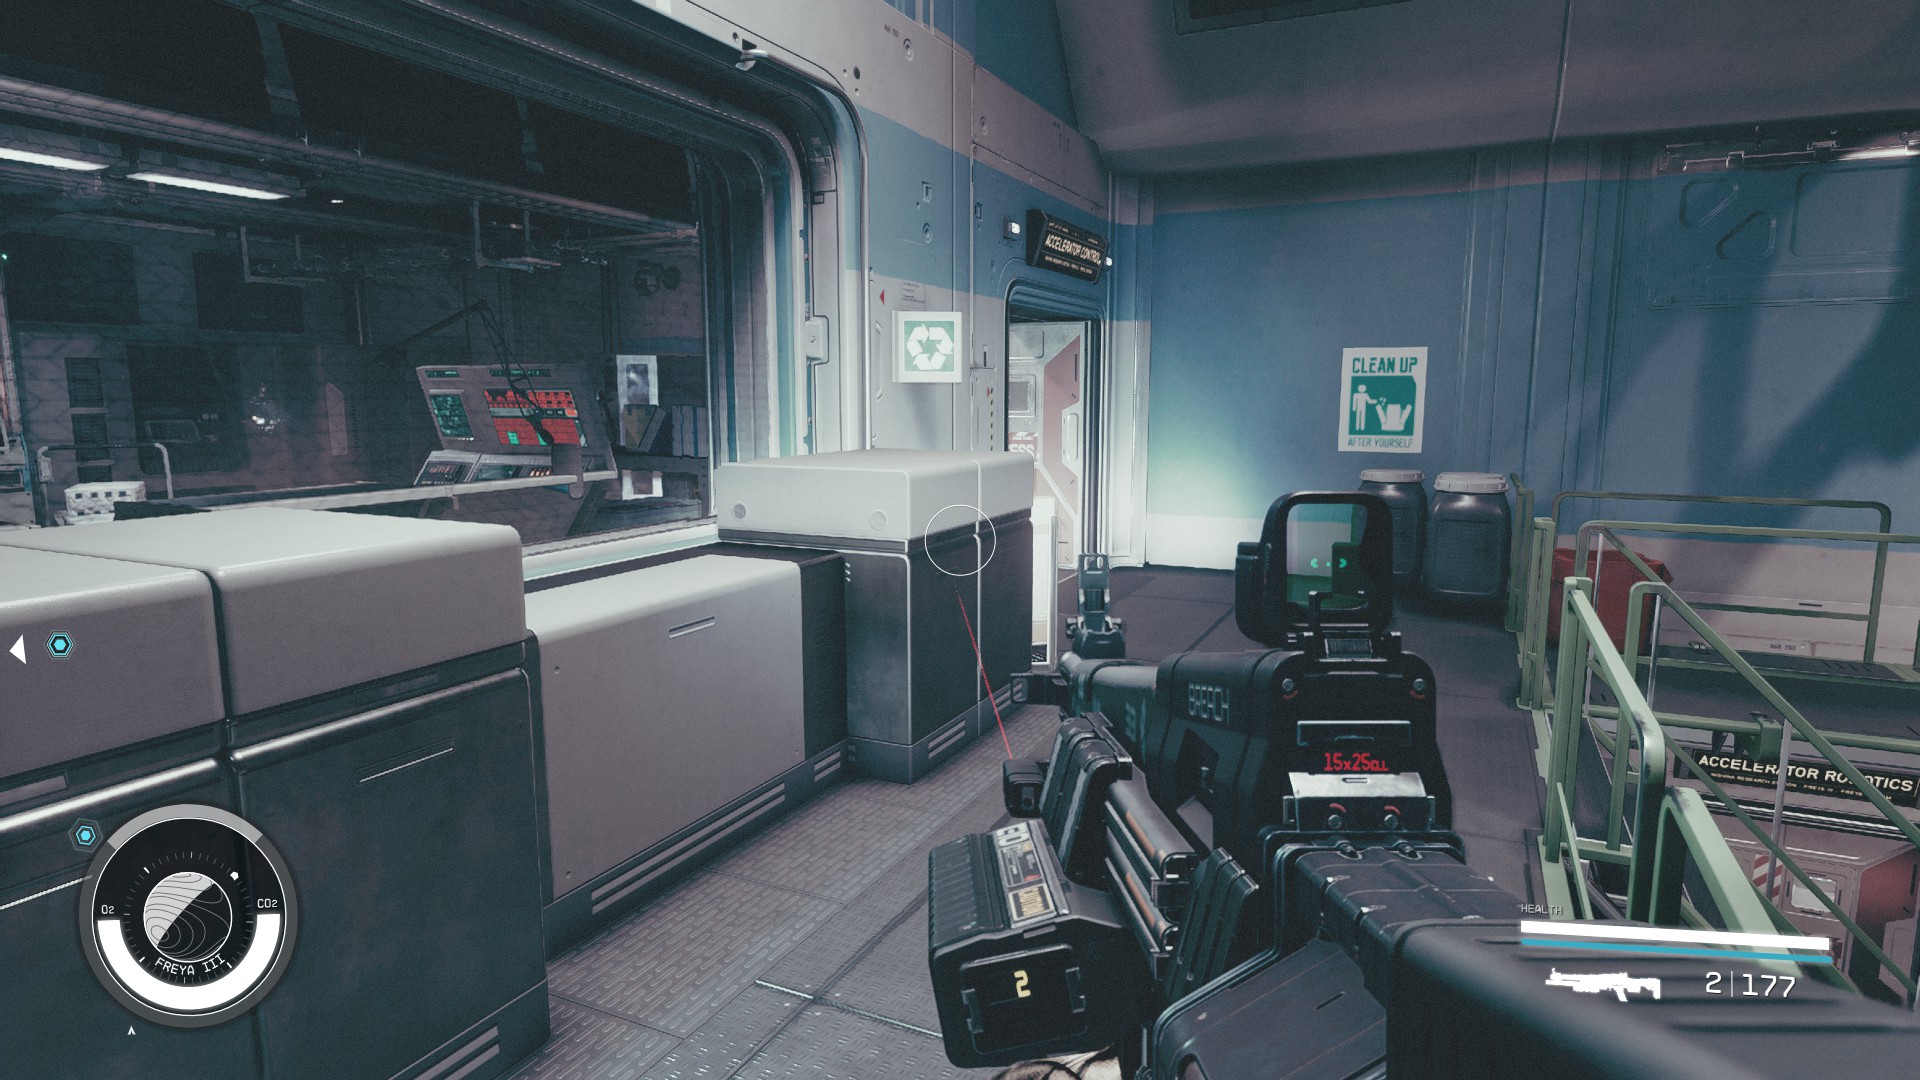
- Go through the emergency door that is now open next to you.
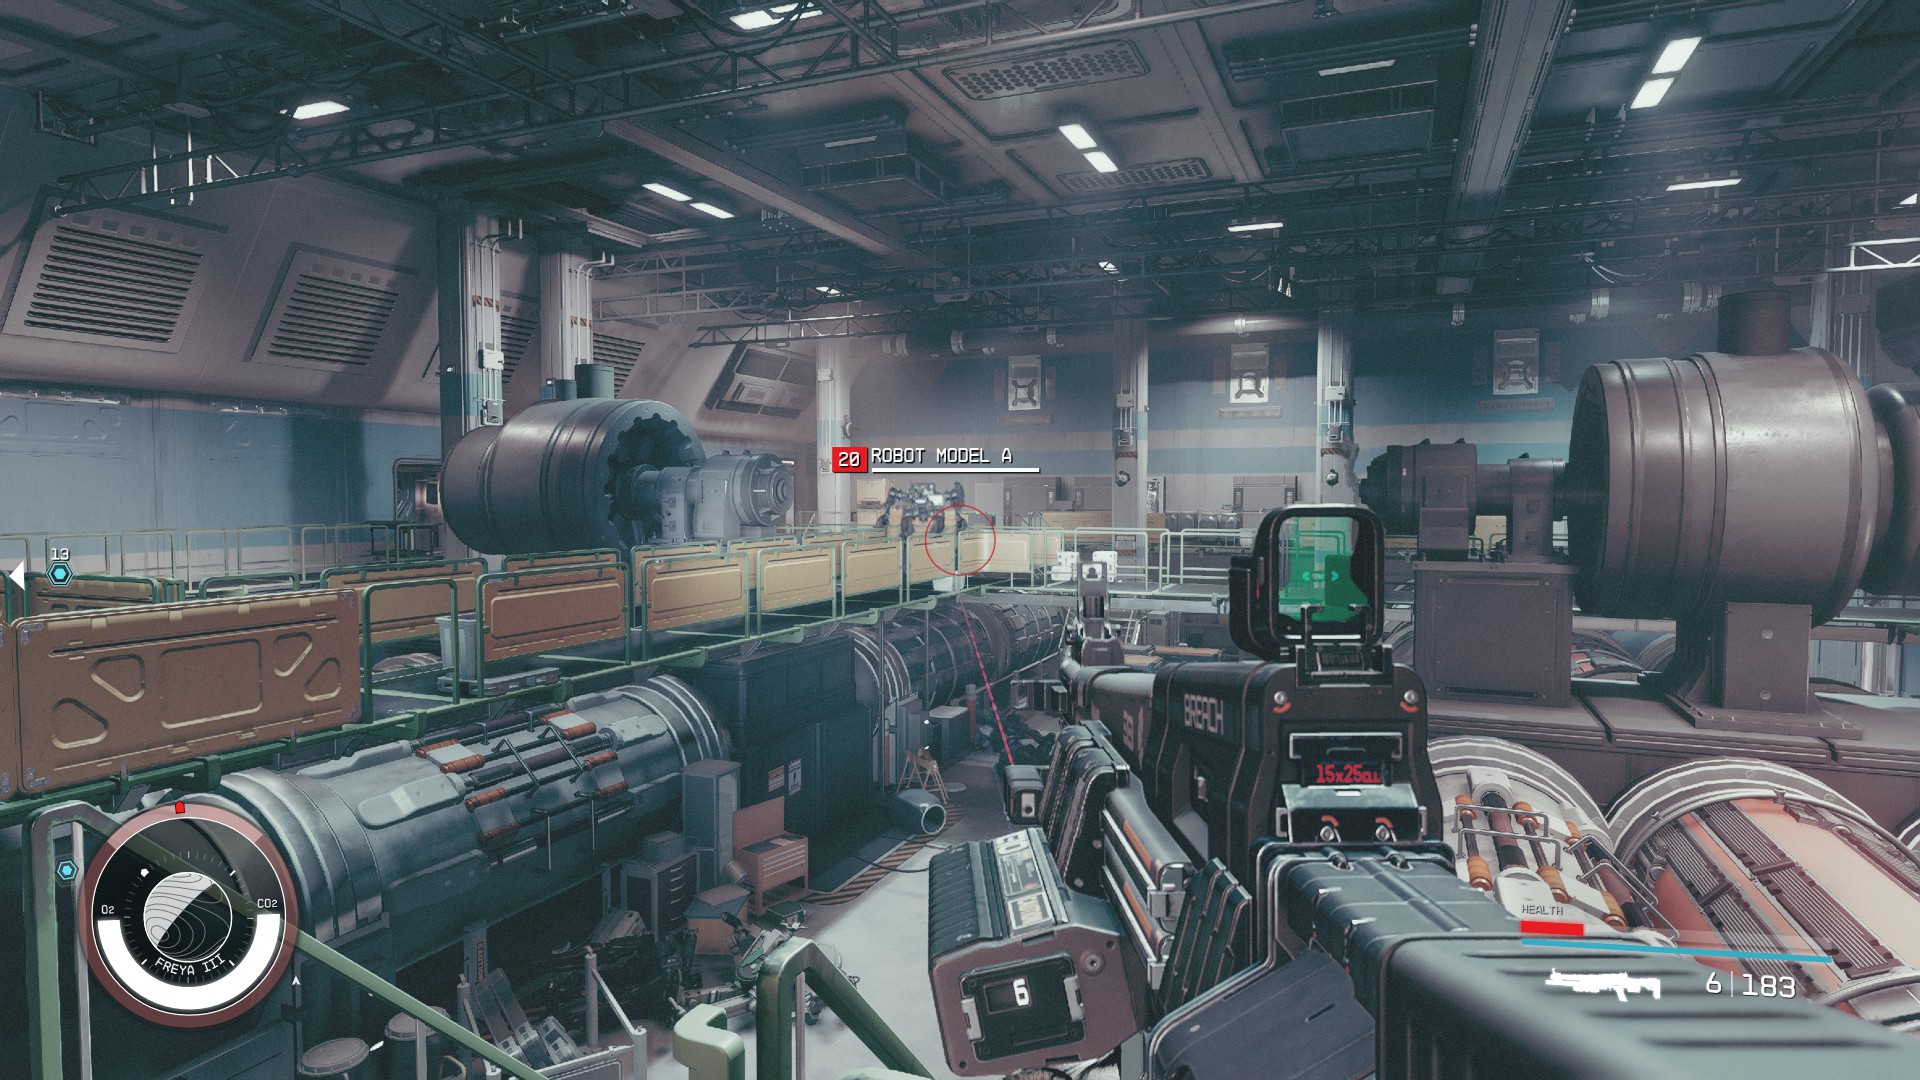
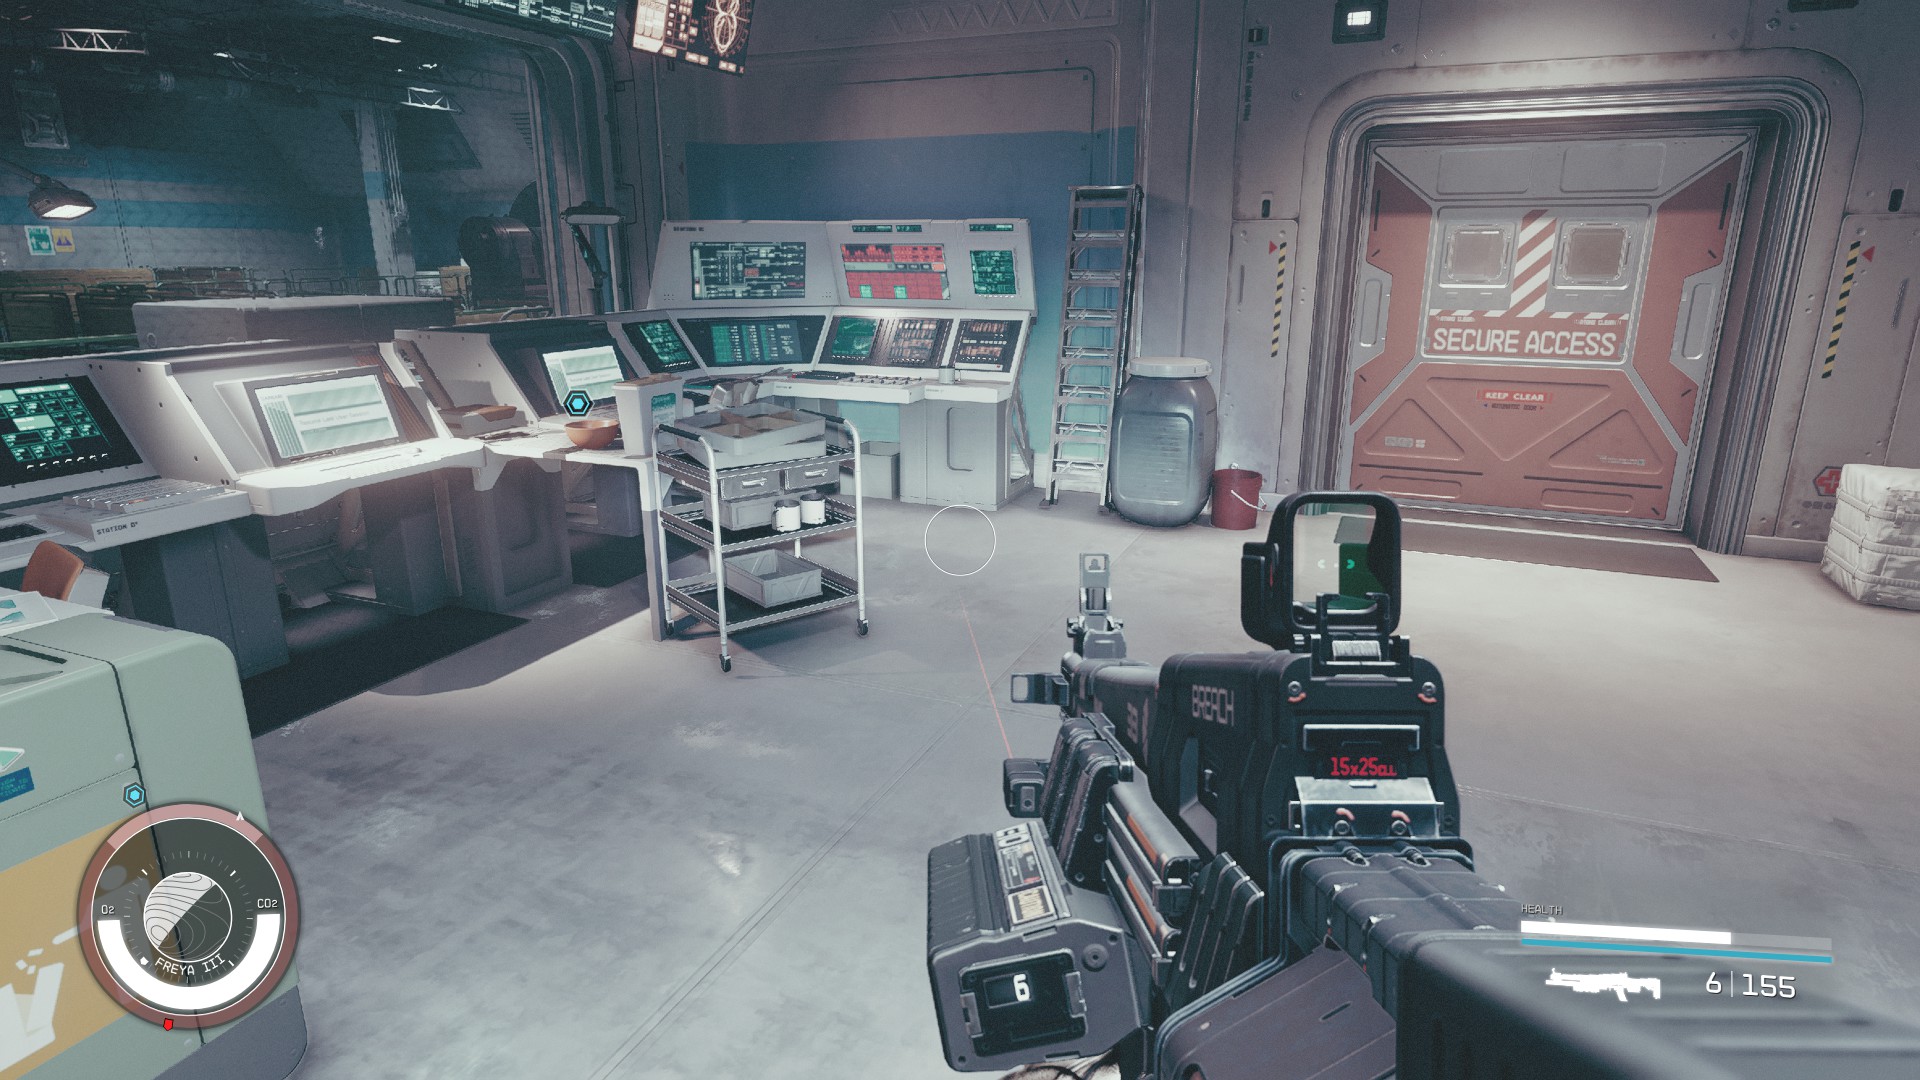
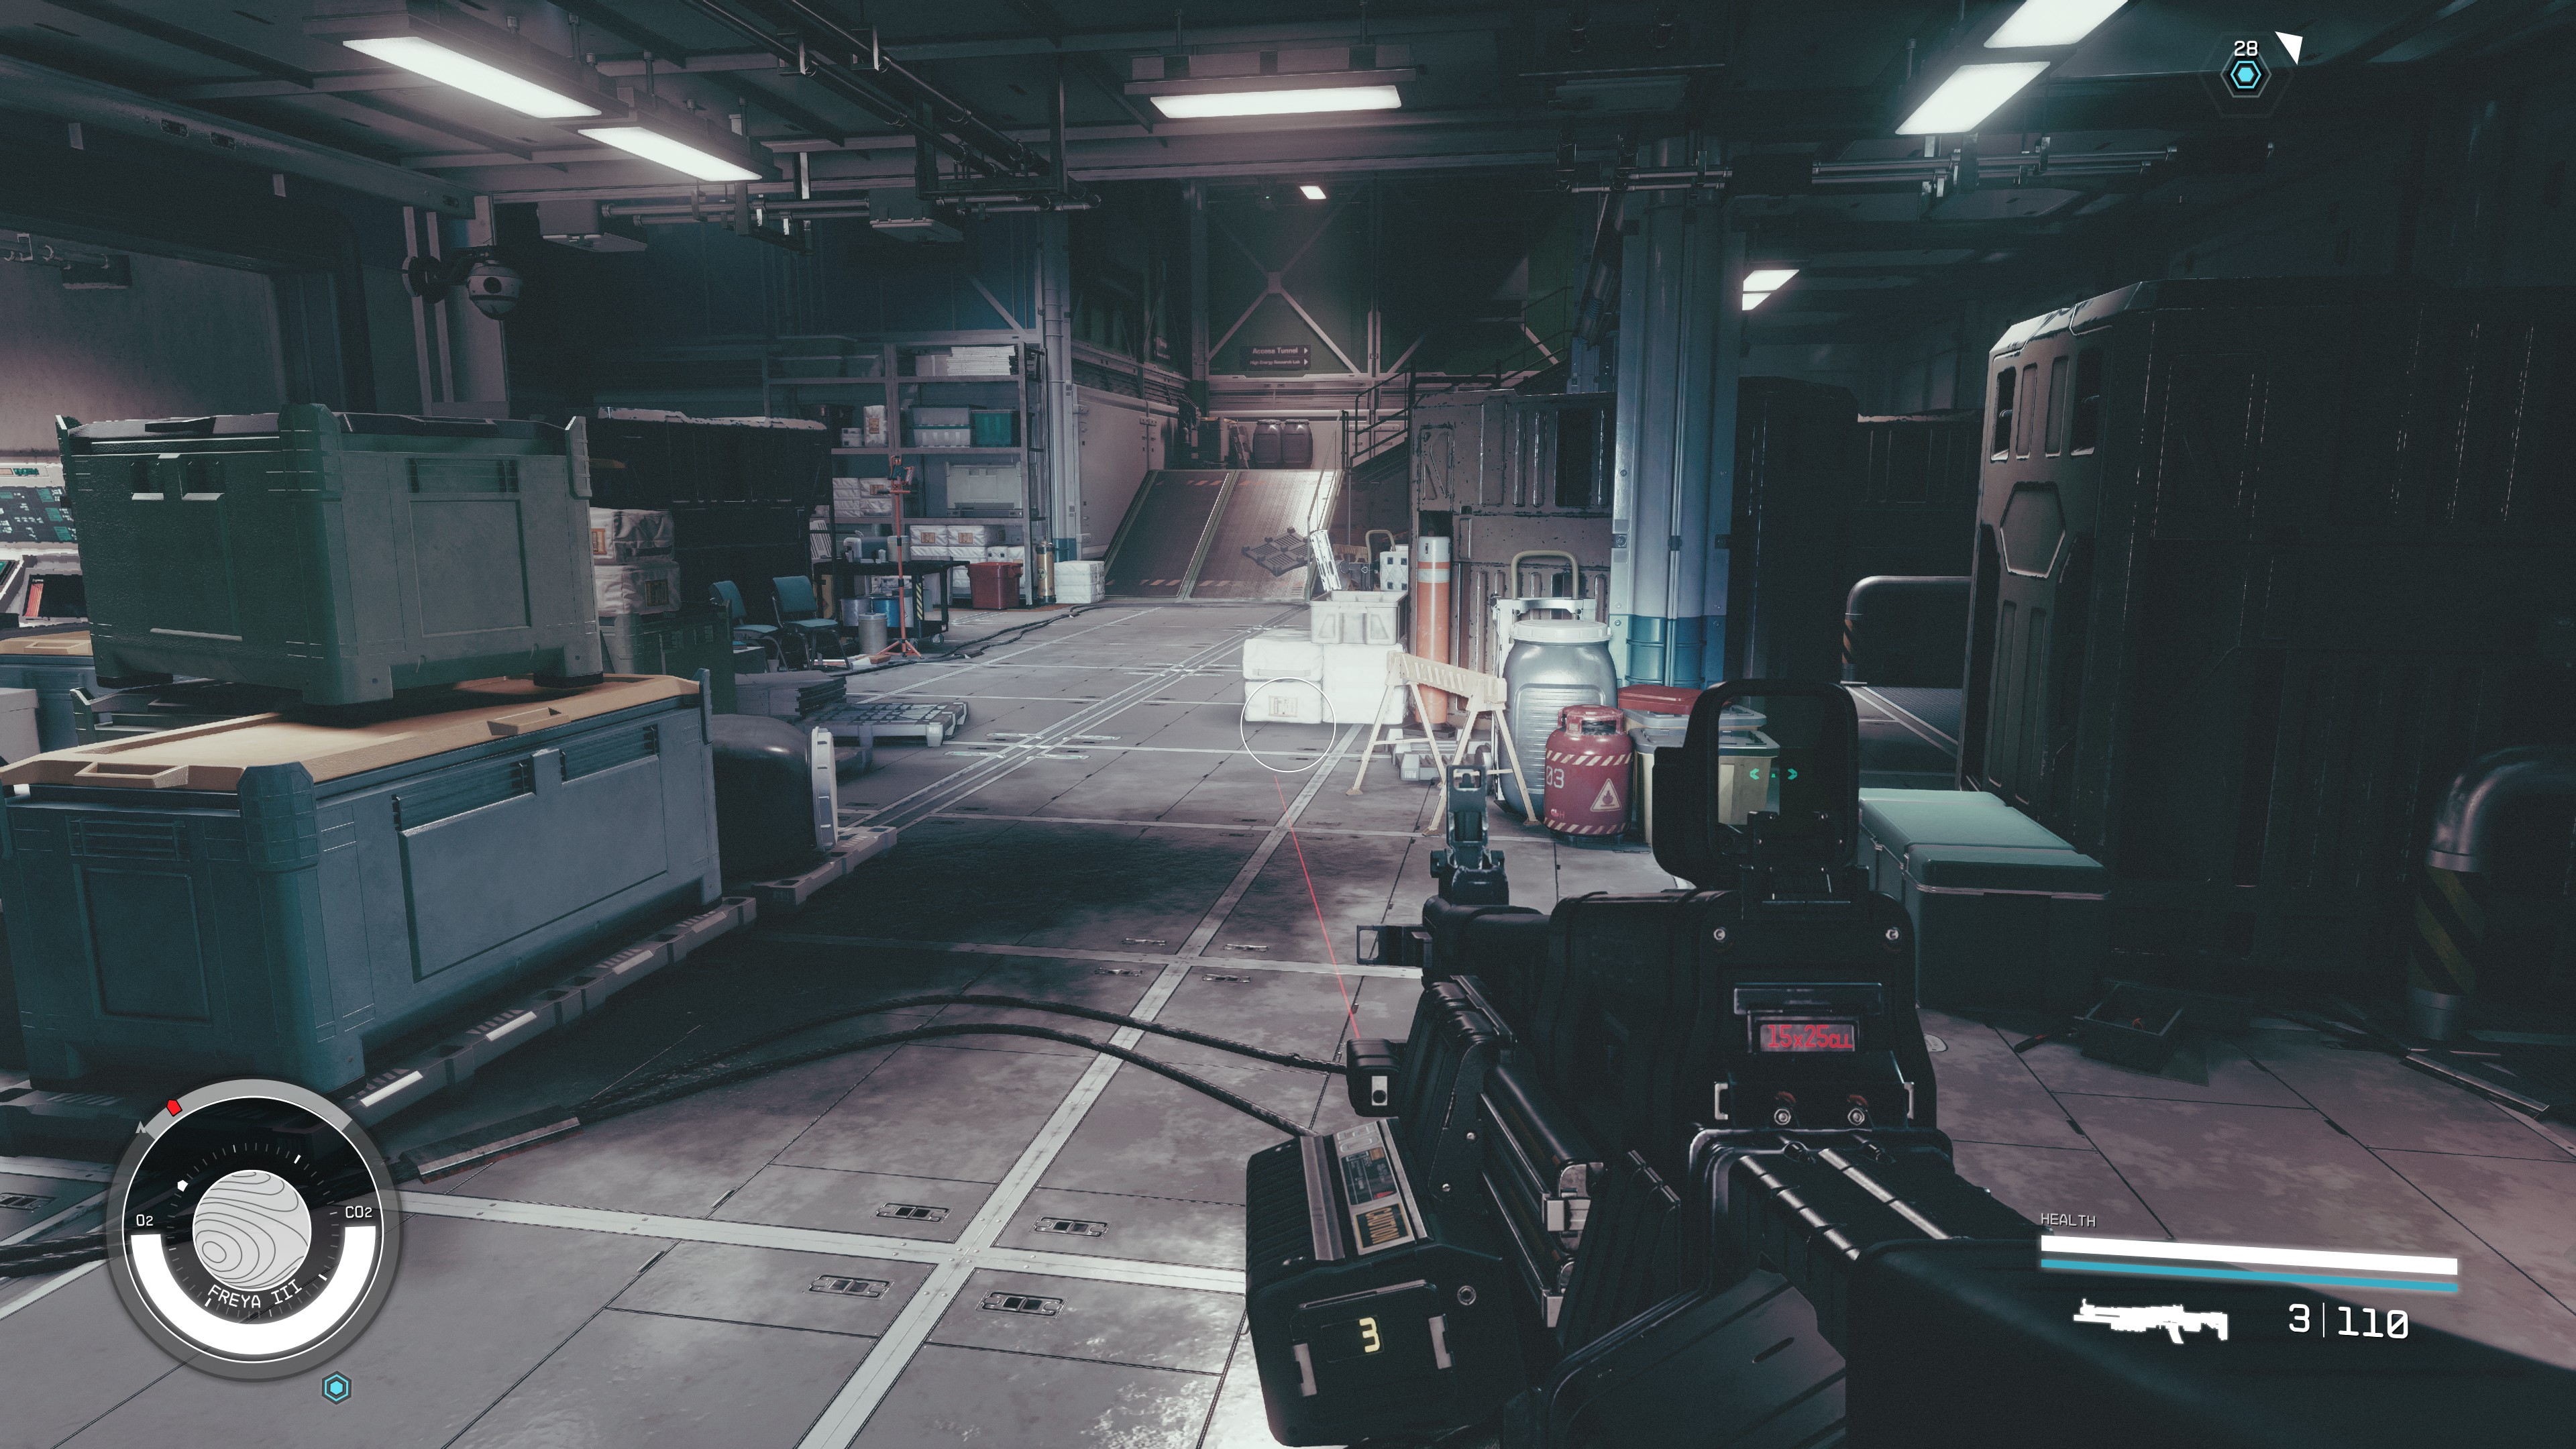
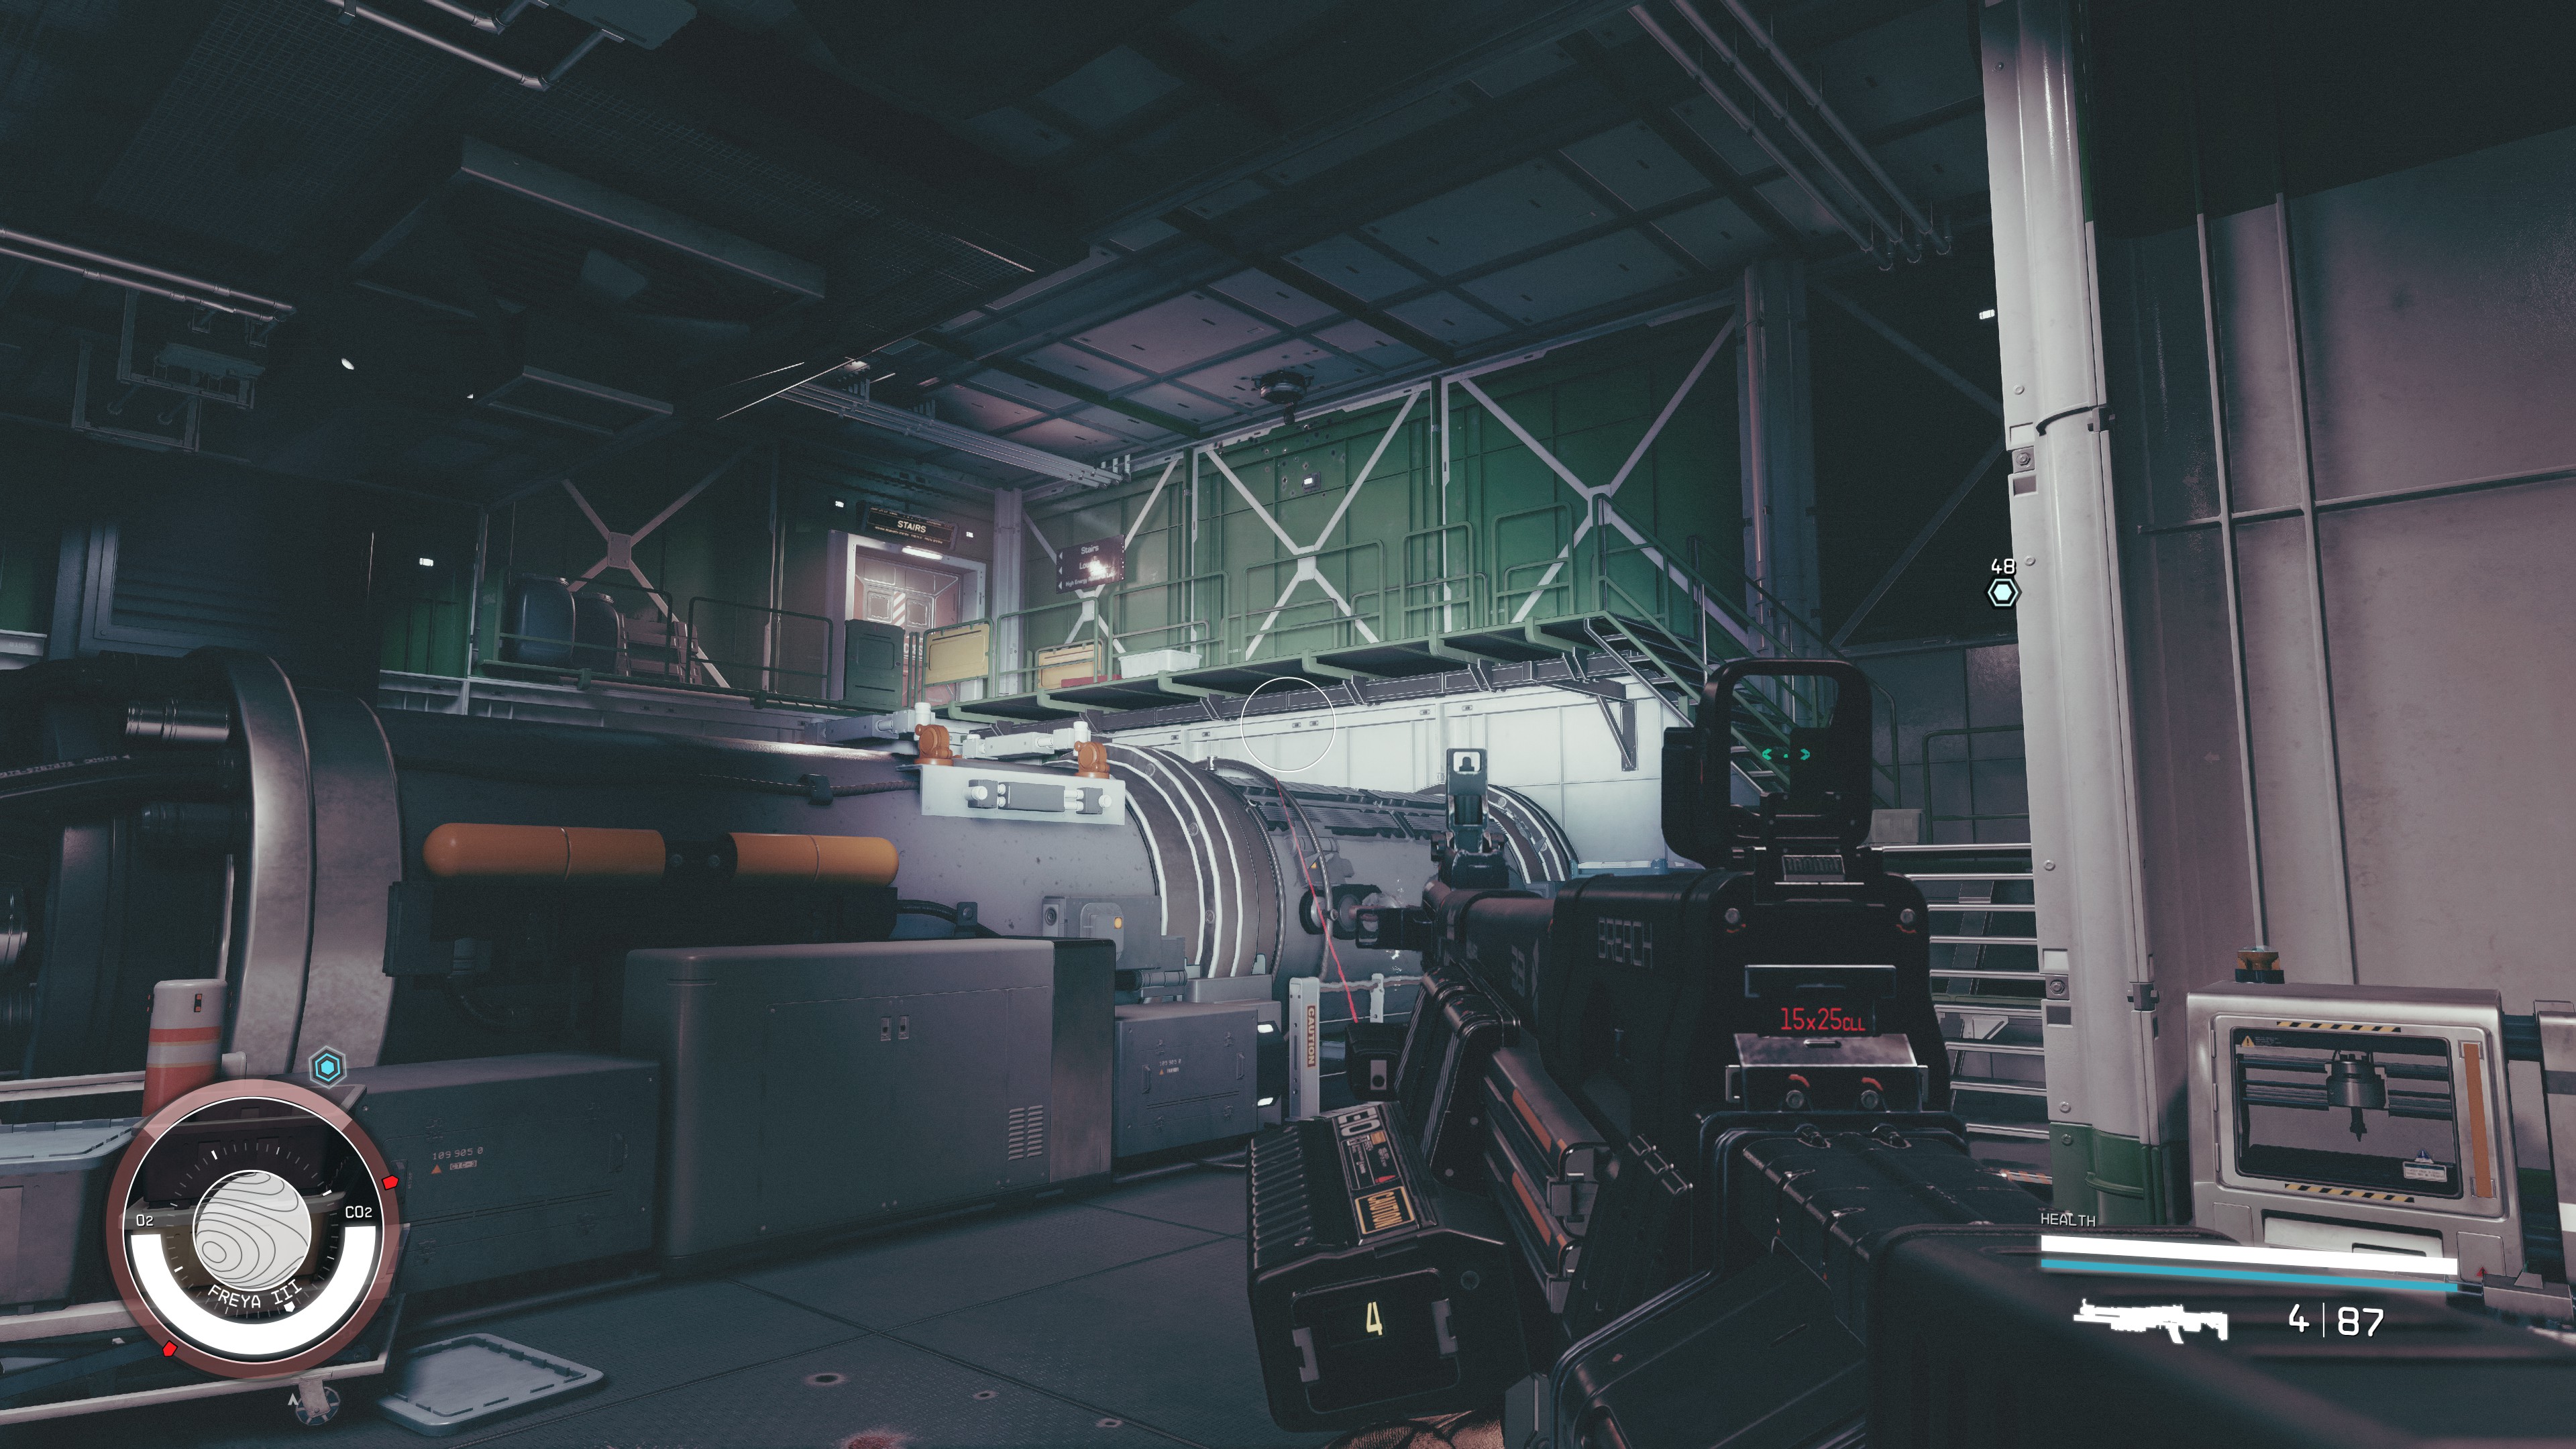
- Turn left and go through the door labeled "Particle Accelerator". Go down the hall and then turn and go down the stairs. You will come into a large room and the security system will sound the alarm and you will be attacked.
- Destroy the robots, turrets and cameras.
- Walk up onto the balcony walkway and take the distortion in the North East part of the room. You will be attacked by some Cataxi, so be ready to take them out.
- Make your way to the emergency door all the way across the room in the Northwest corner. Go into the room and straight through to the broken stairs.
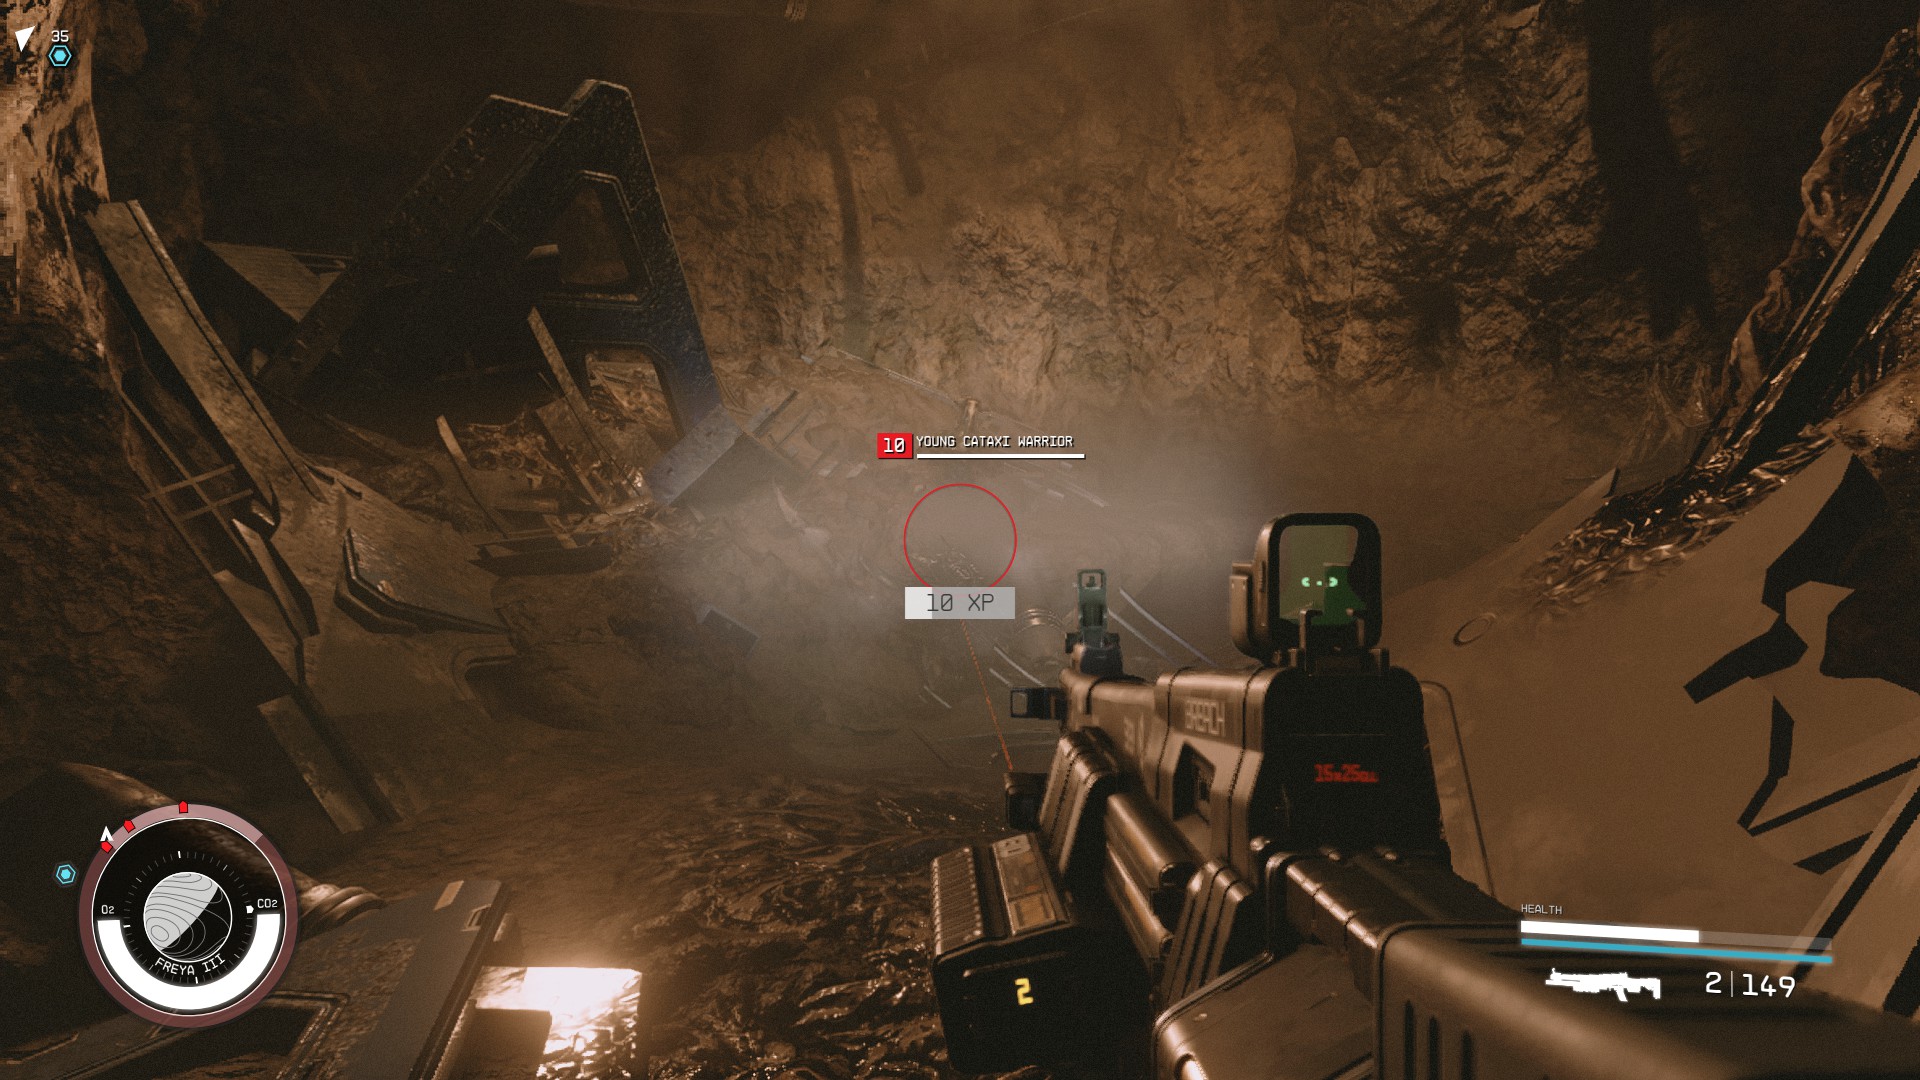
- Jump down and fight some more Cataxi.
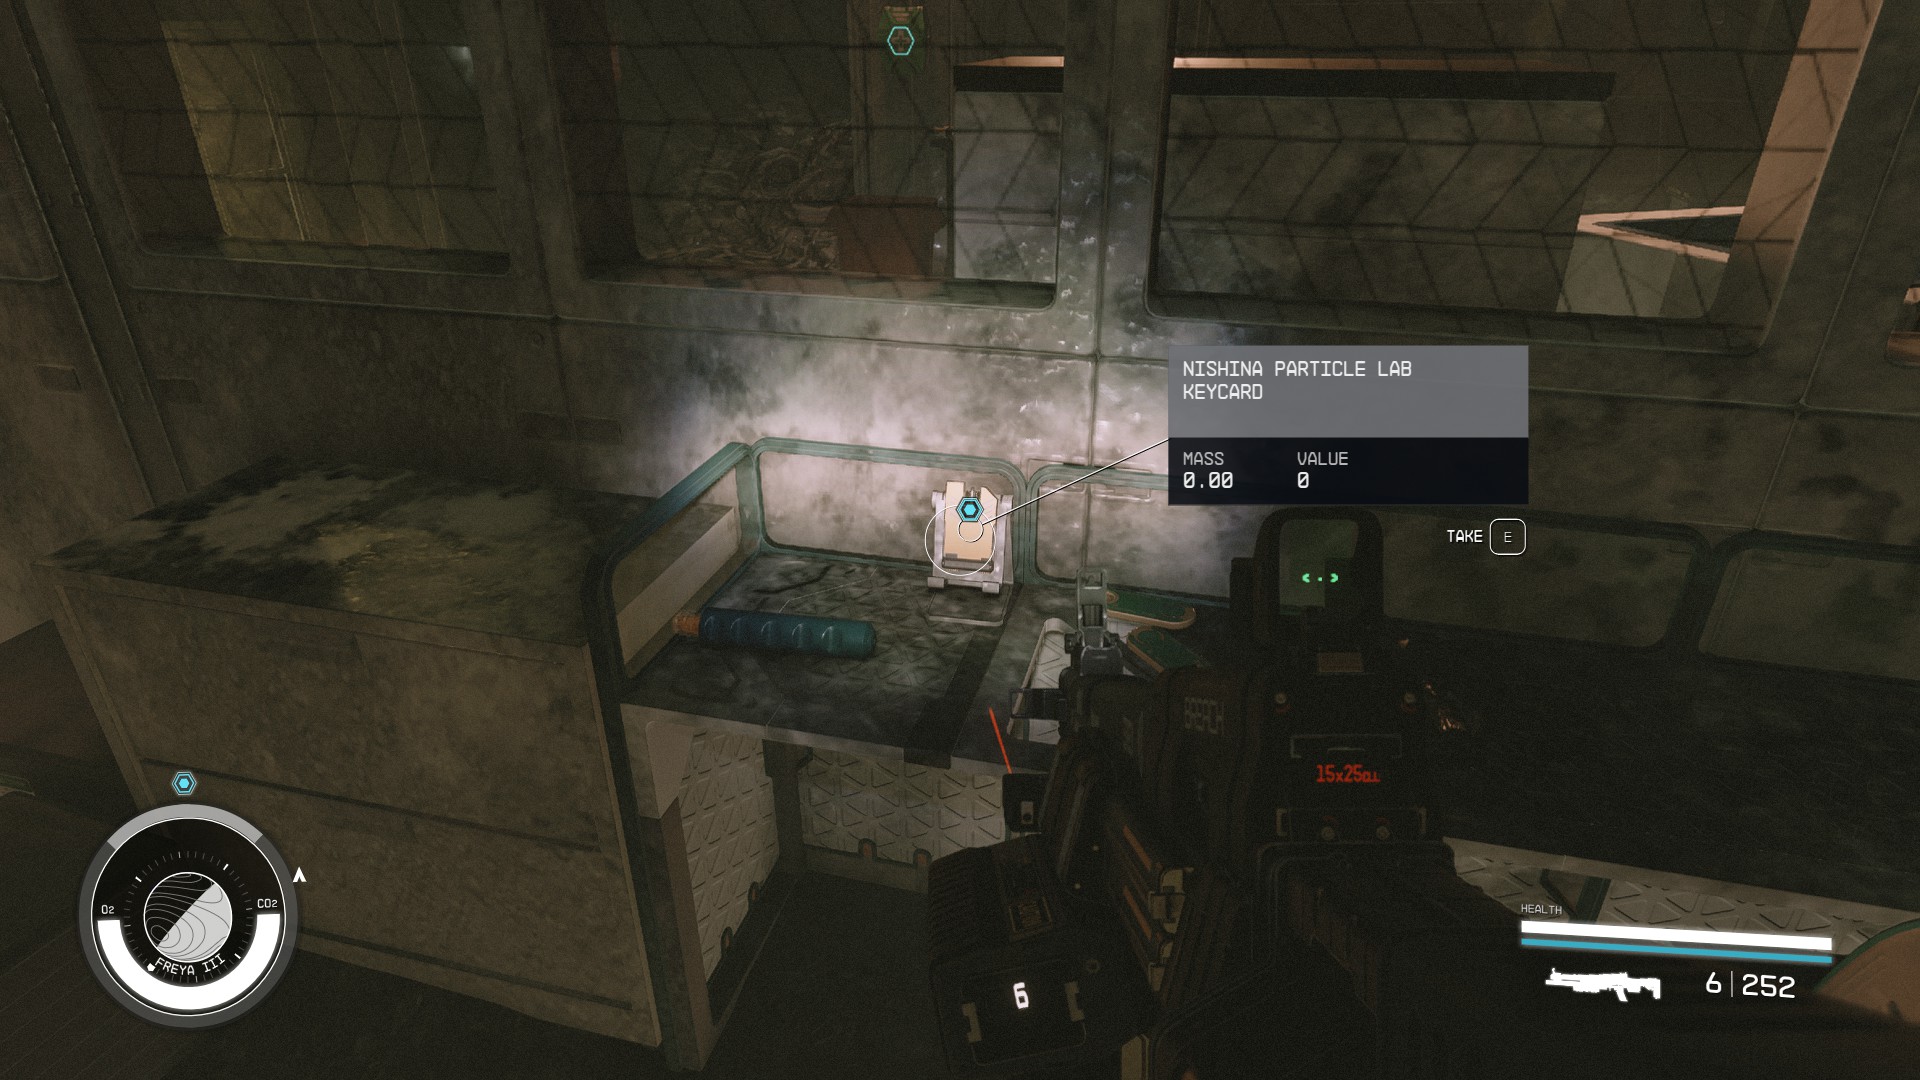
- Pick up the keycard to the utility closet.
- Take the anomaly under the stairs and then walk back up the stairs now that they are fixed.
- Take the distortion next to the emergency door. go into the middle of this room and take the anomaly.
- Jump down below the balcony and walk to the utility closet in the Northwest. Take the Medical Kit and shift.
- Walk towards the broken PC and take the distortion across from it.
- Override the security system on this computer to complete the objective.
Override the Lockdown in the Storage Section
- Take the distortion in the corner behind you back to the ruins.
- Go through the distortion in the corner near the blocked door to go back to the closet. This will sound another alarm and you will need to fight off more robots.
- There is a door on the balcony that is now open that leads to a control room.
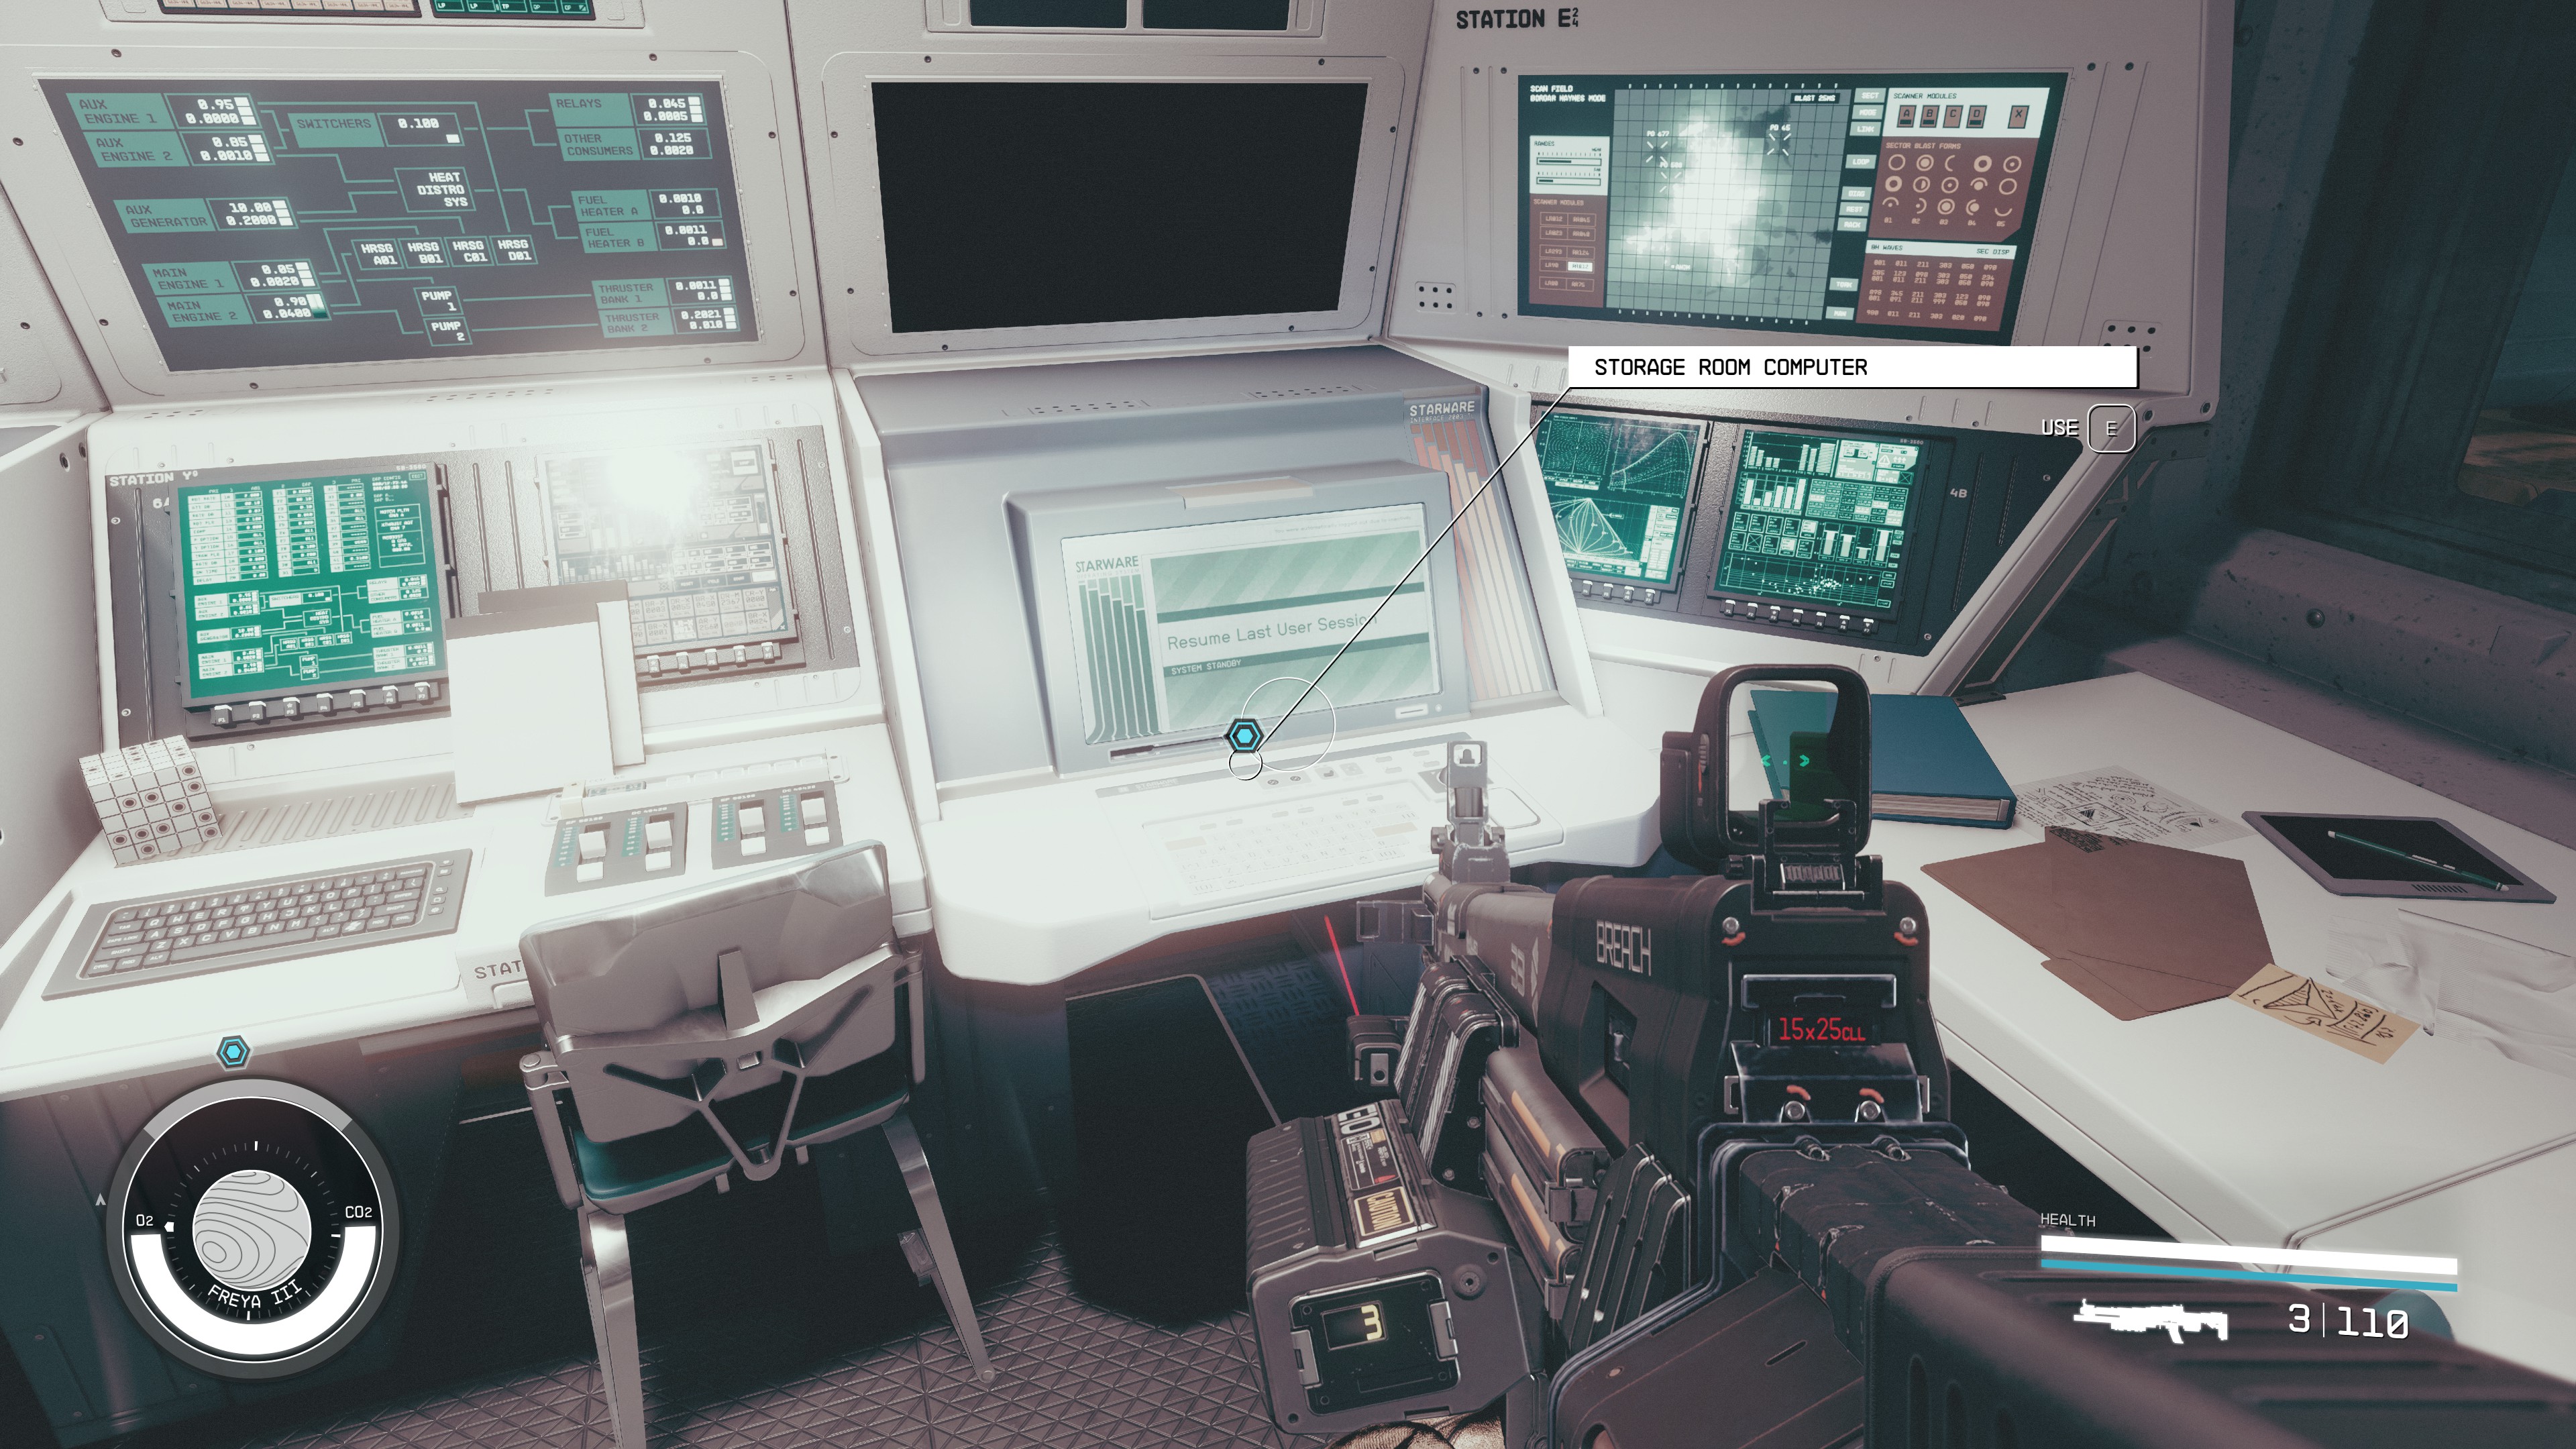
- Go to the computer and deactivate the security.
- Go through the newly opened door on your right. Turn right and take the stairs down and back into the large room.
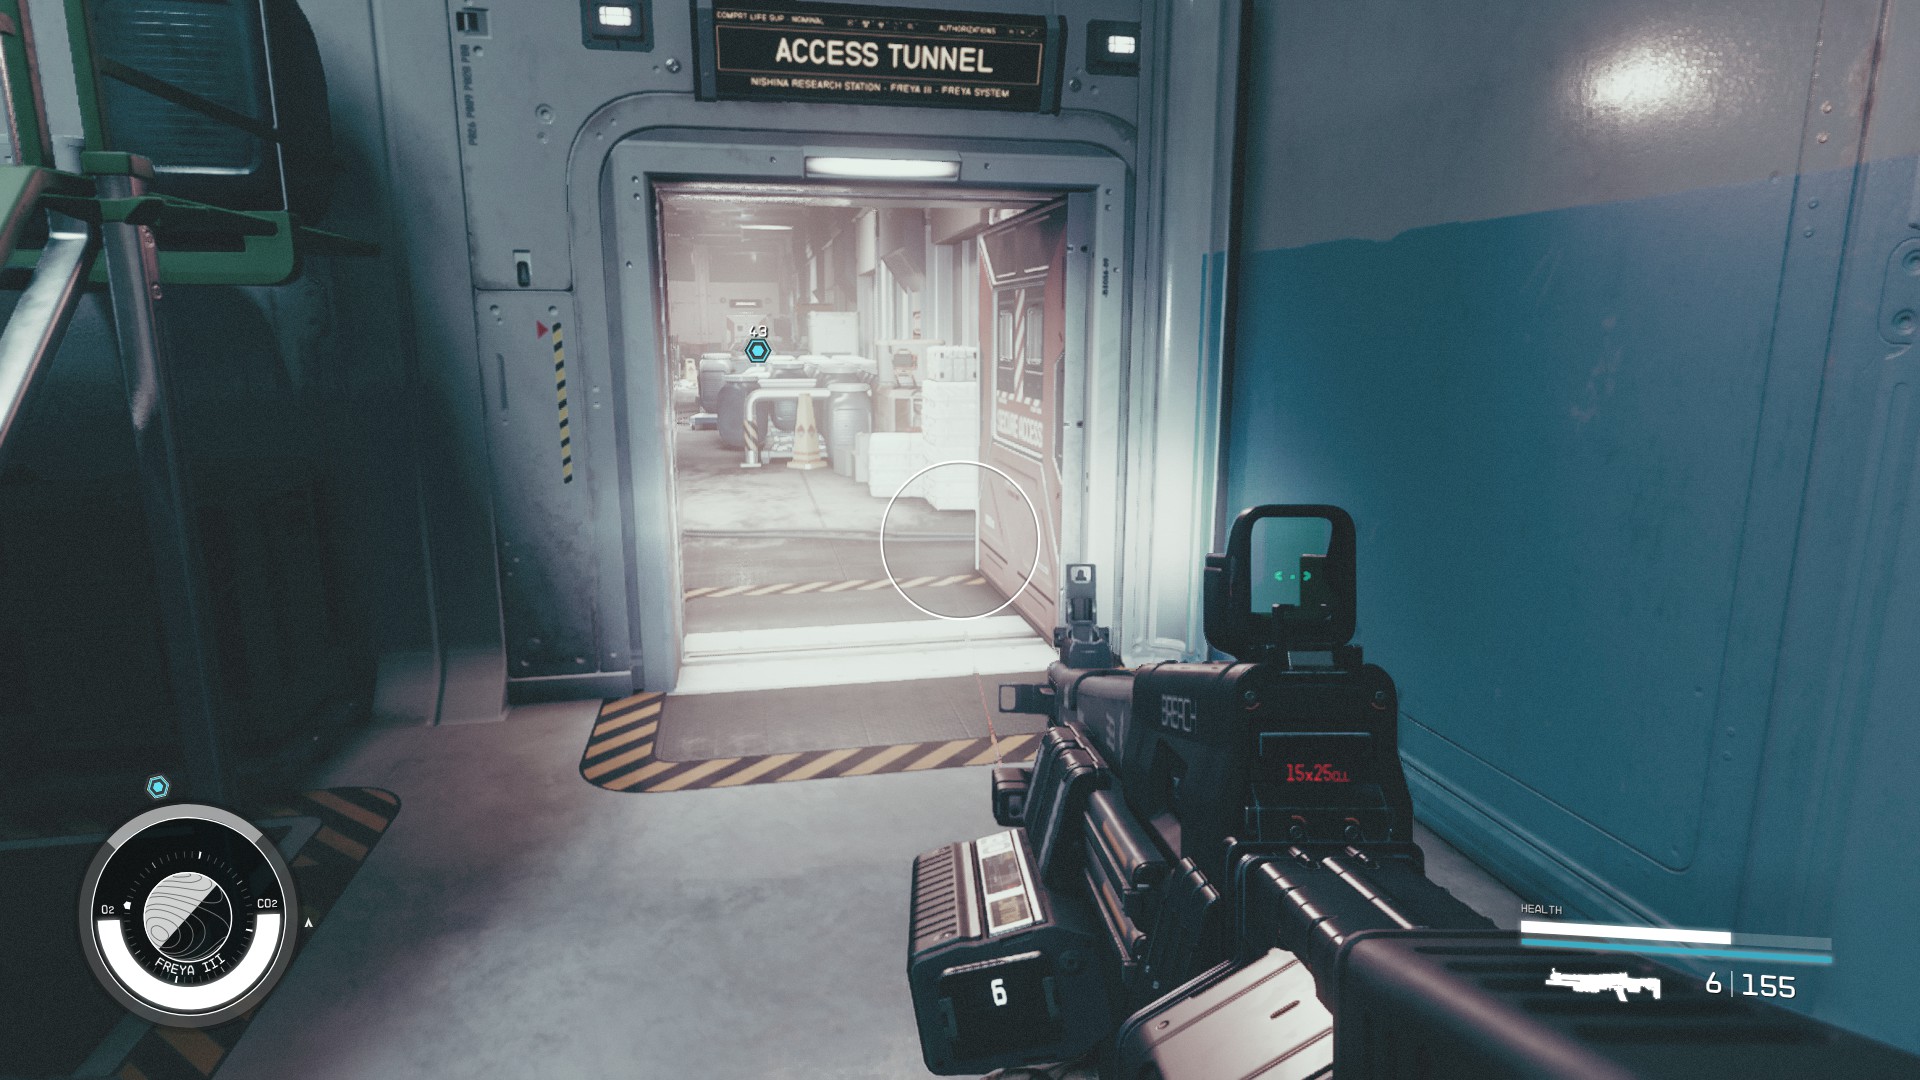
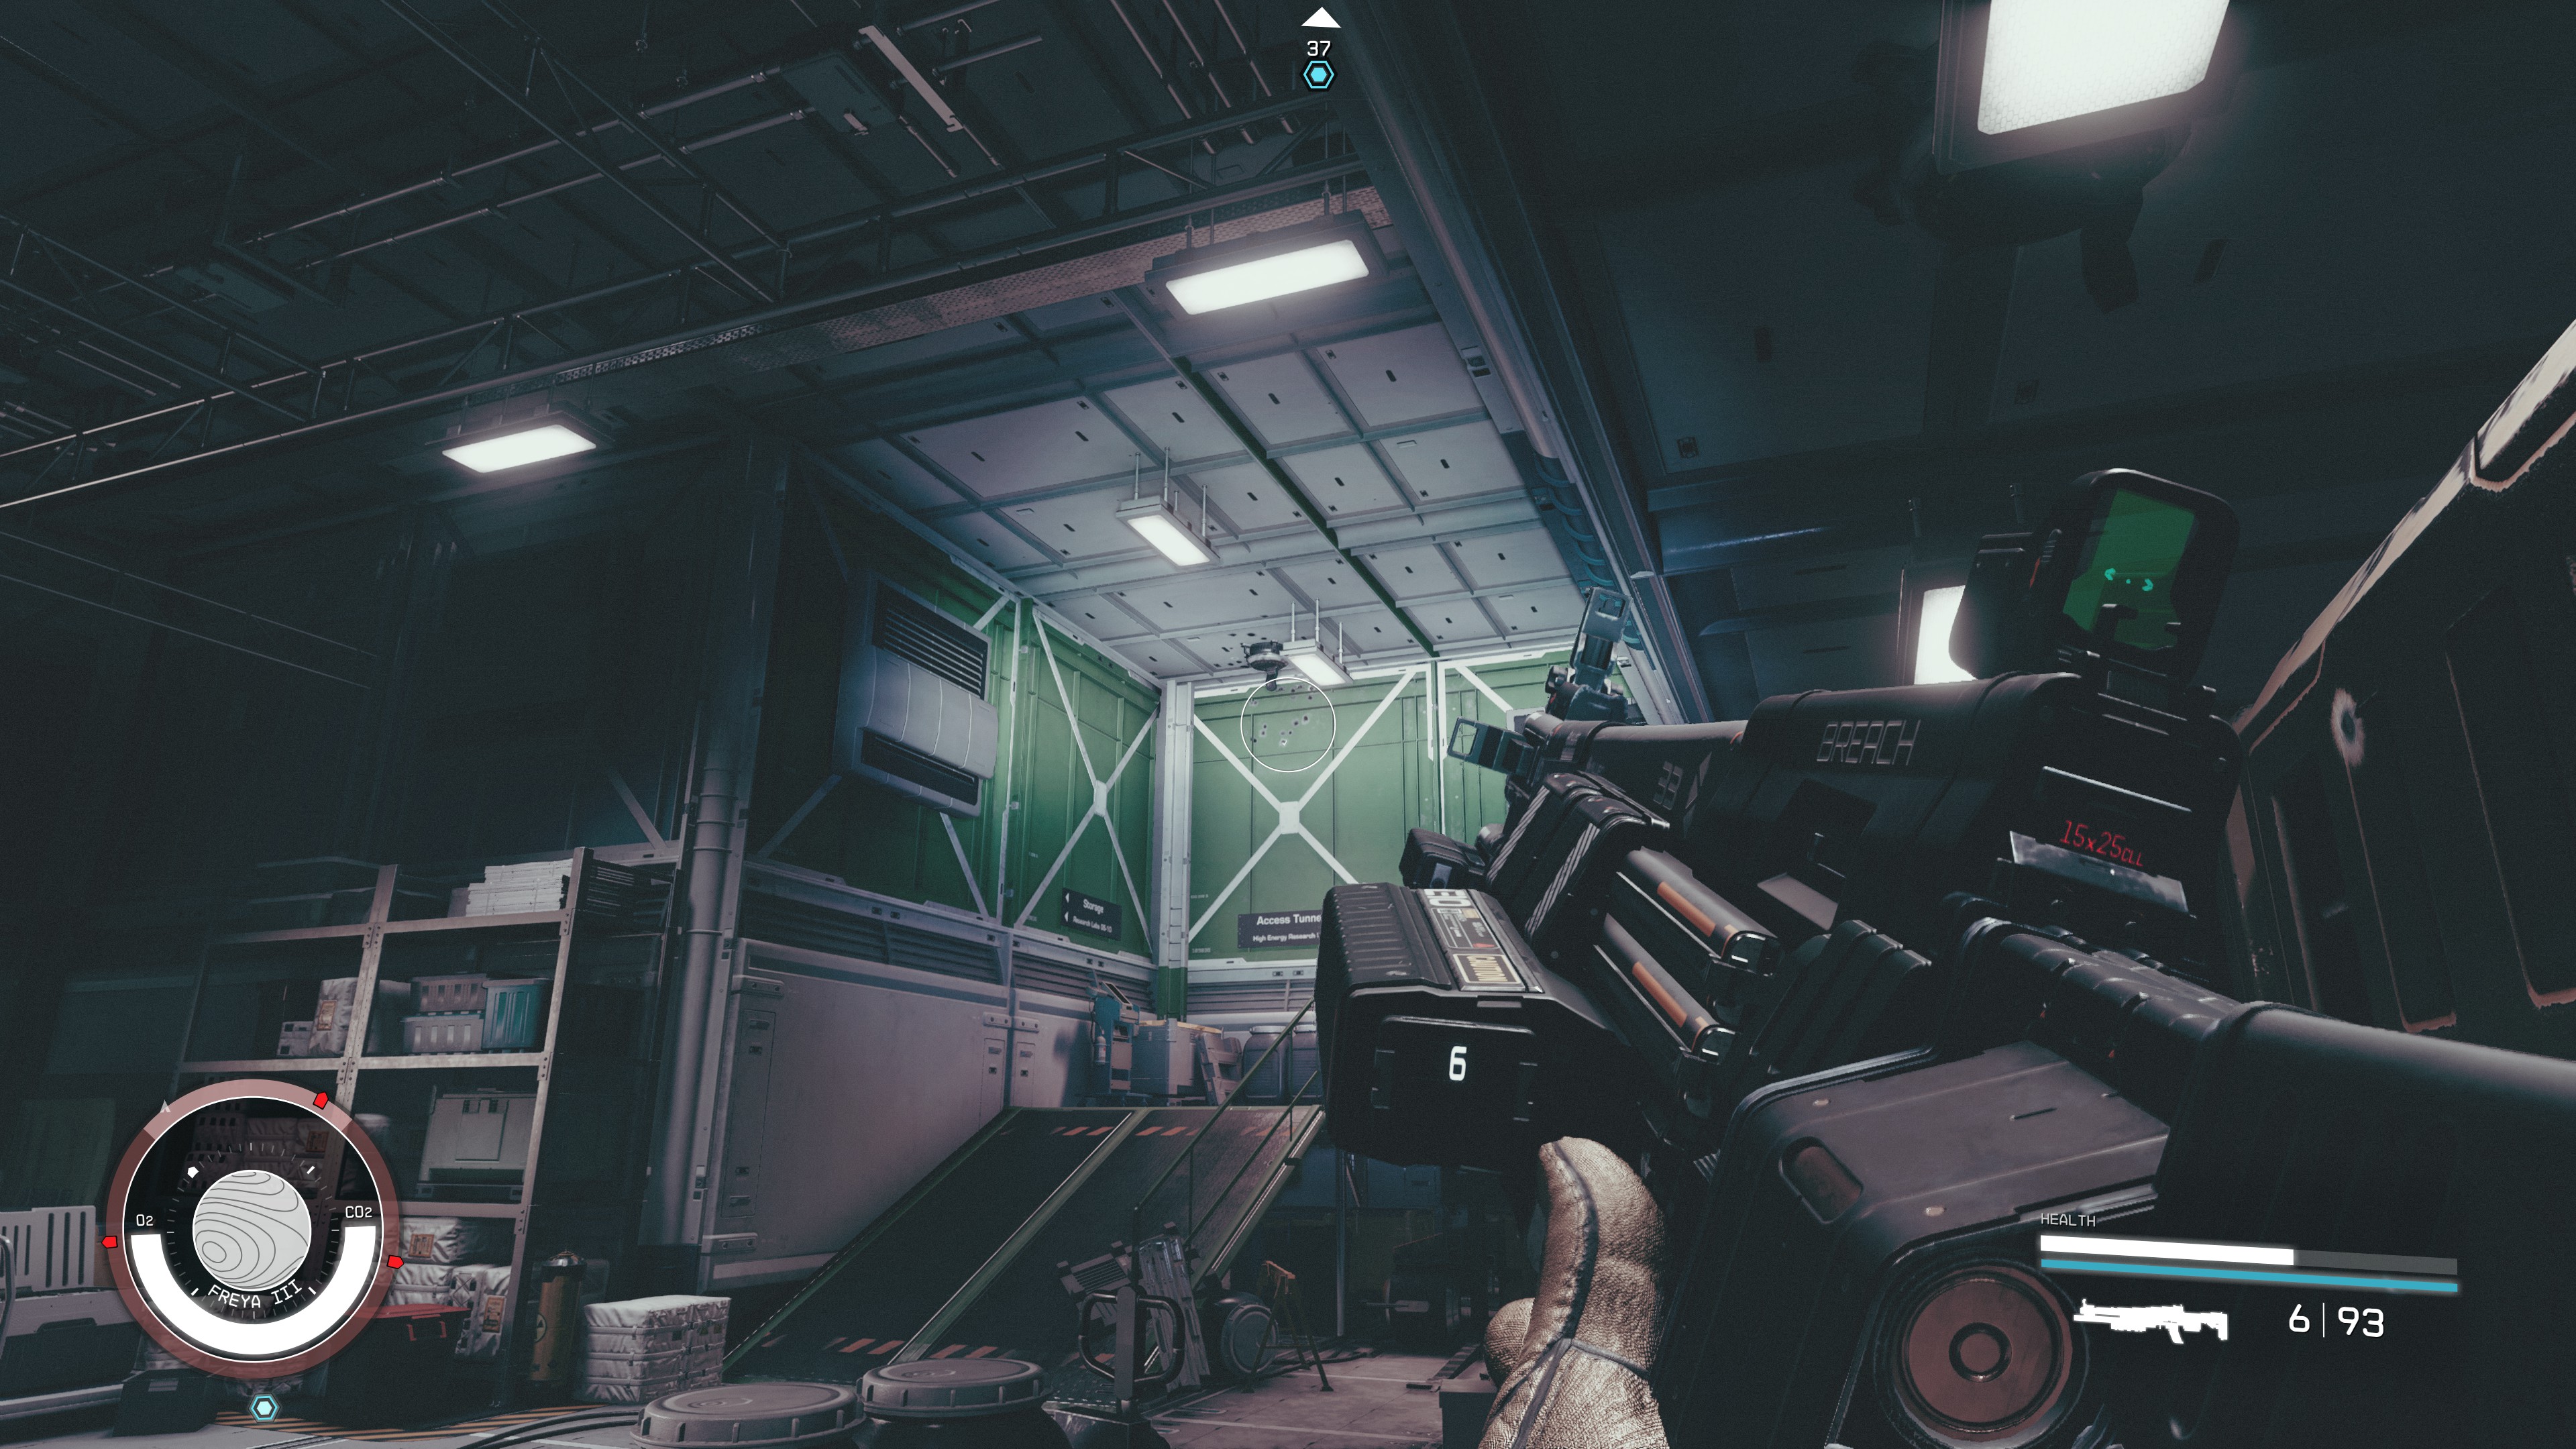
- Go all the way to the Northeast door in this room and through it to get to the Access Tunnel.
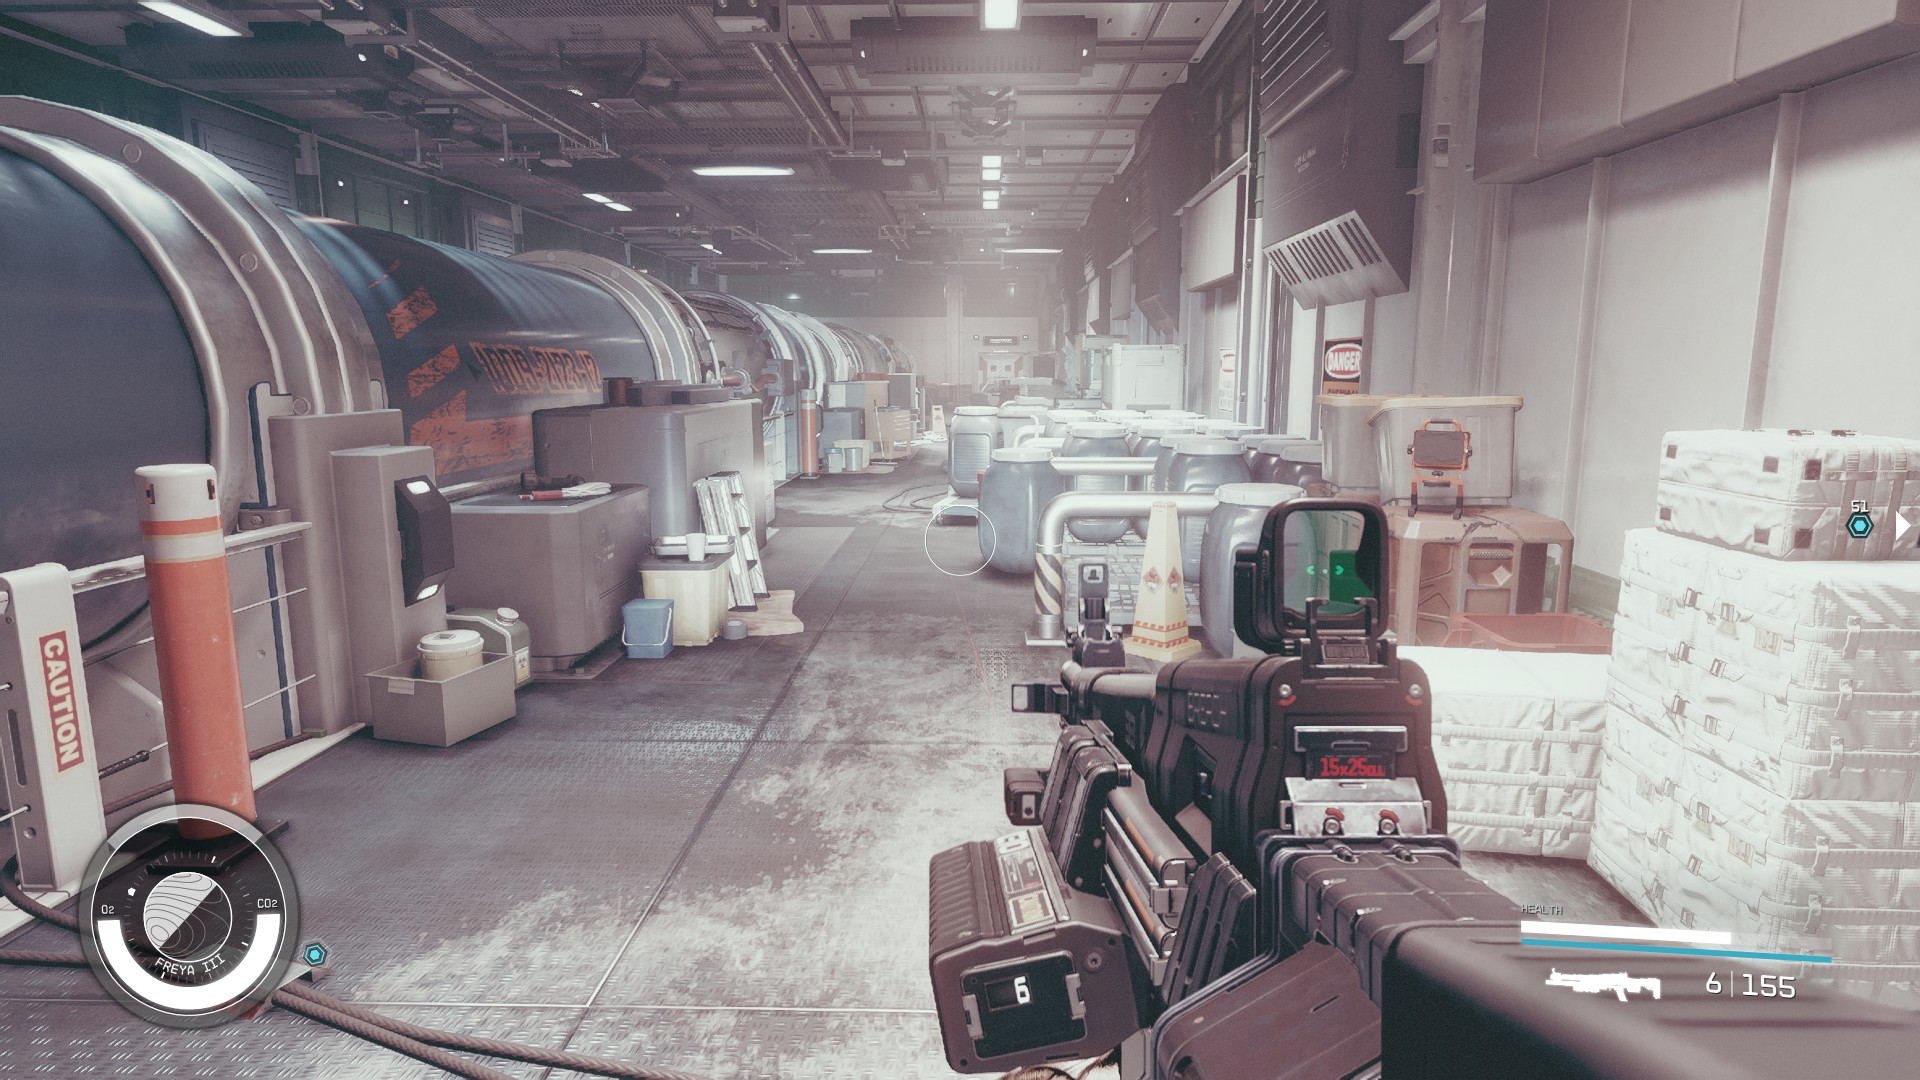
- Walk to the end of this area, collect the loot and then take the nearby distortion.
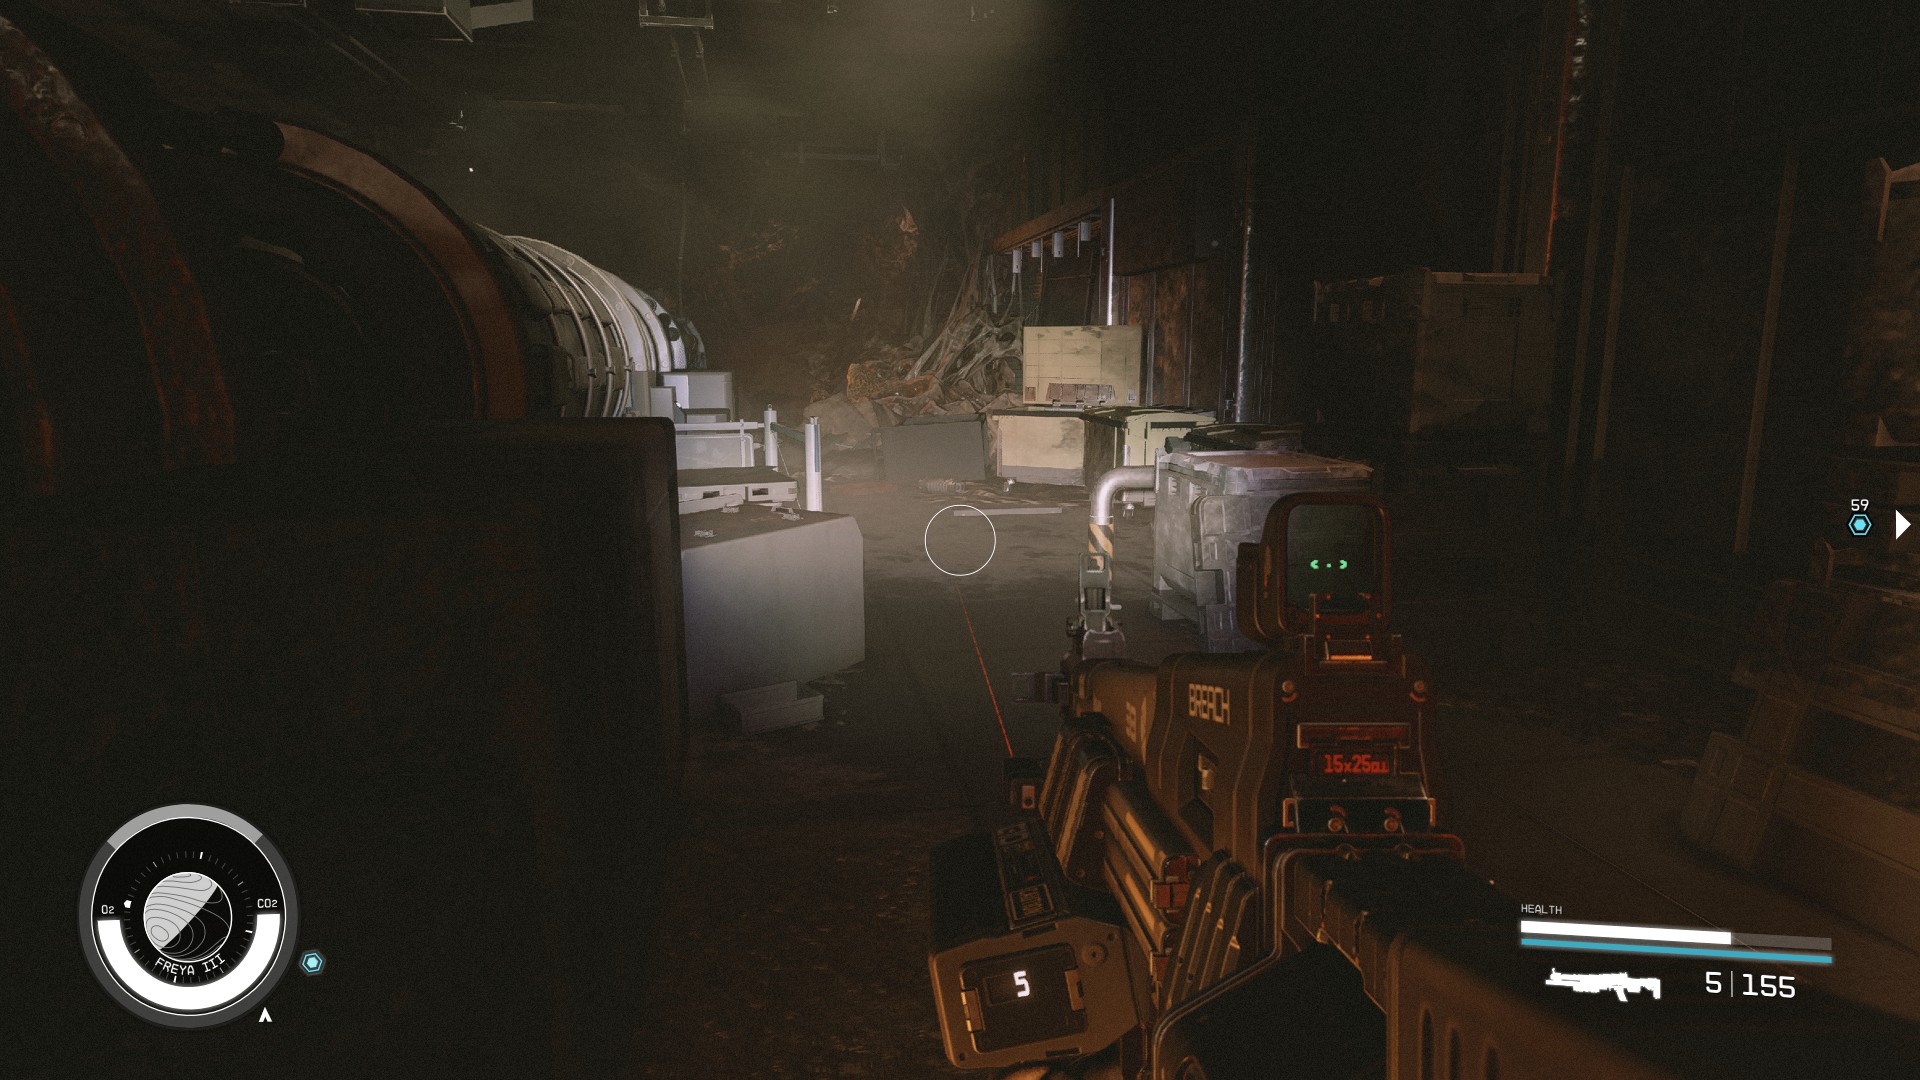
- You want to go down the cave, but you can grab the container on the left side of this room first.
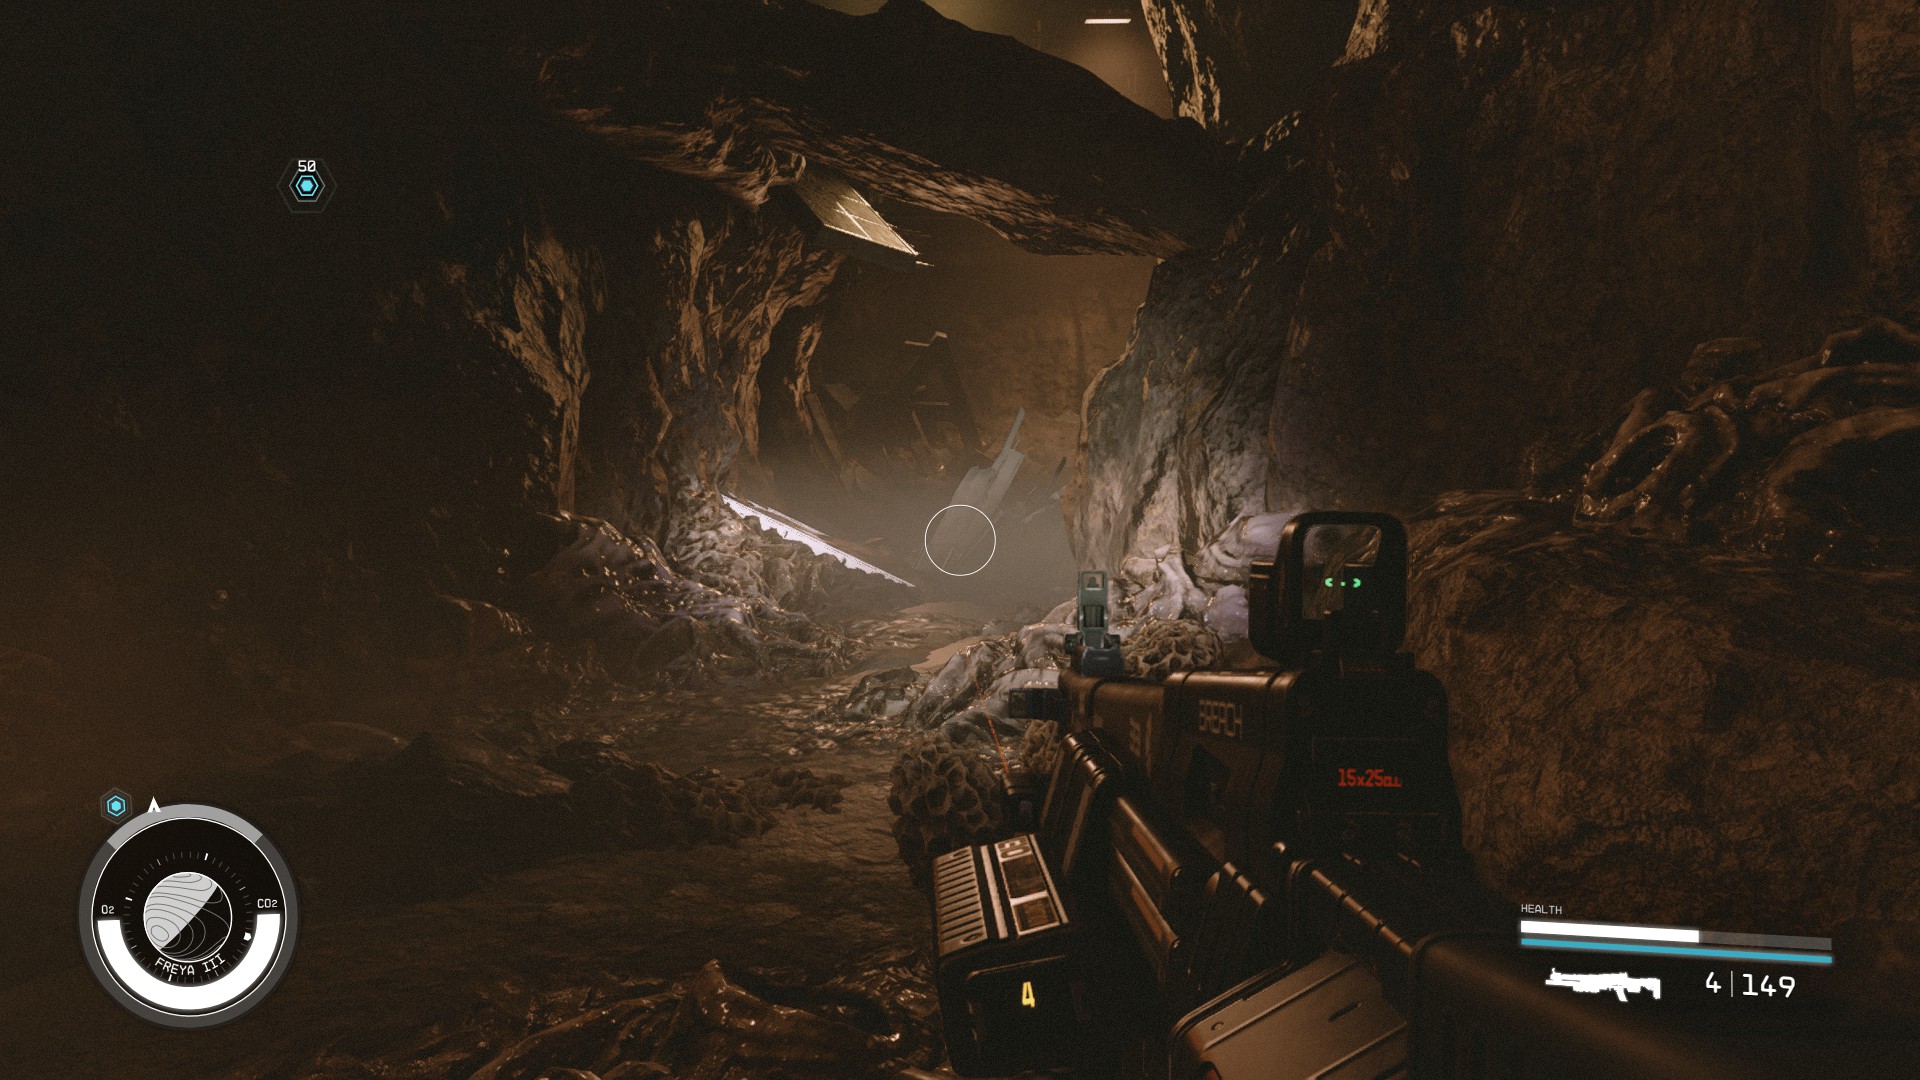
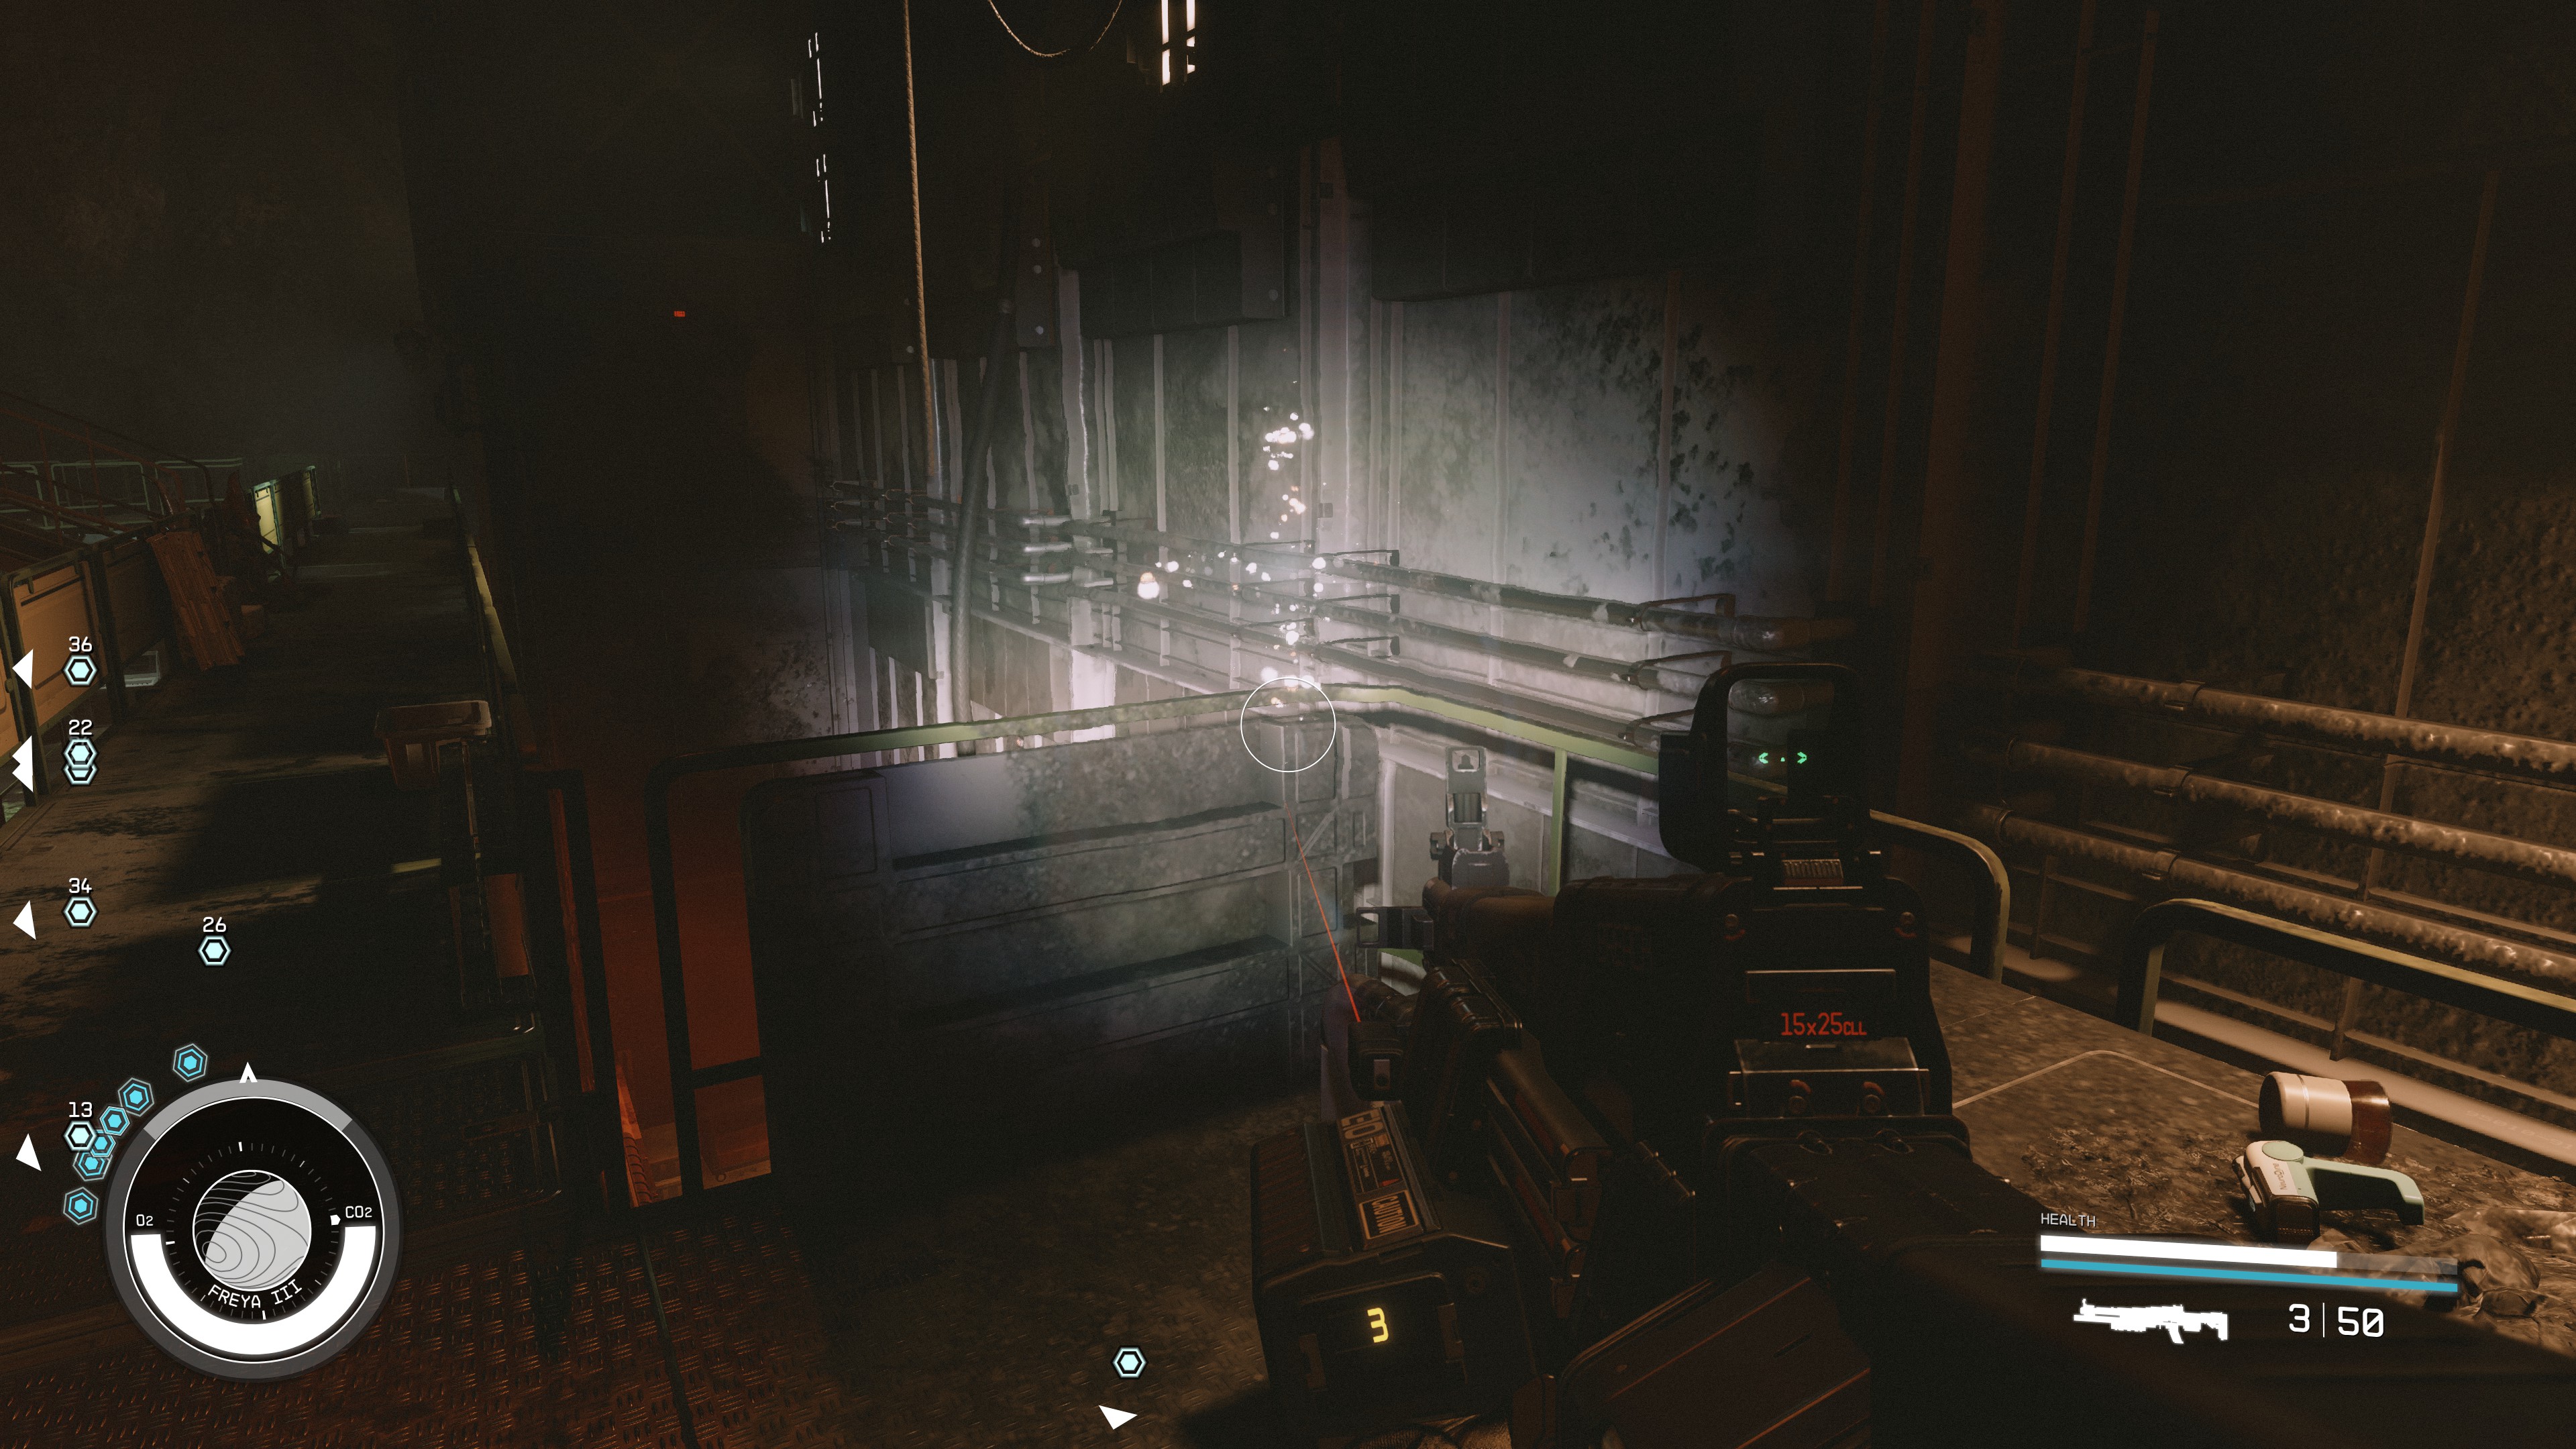
- Walk along through the empty cave, fighting Cataxi on the way, to the next distortion. Empty the nearby containers and shift.
- Keep following the cave again and then take the anomaly at the end to get back to the ruins.
- Turn to the right and walk to the area with a broken balcony. Jump up and walk over to the anomaly and shift into a control room.
- Once you defect the robots, go out into the hallway and to the next control room. Take the anomaly in here.
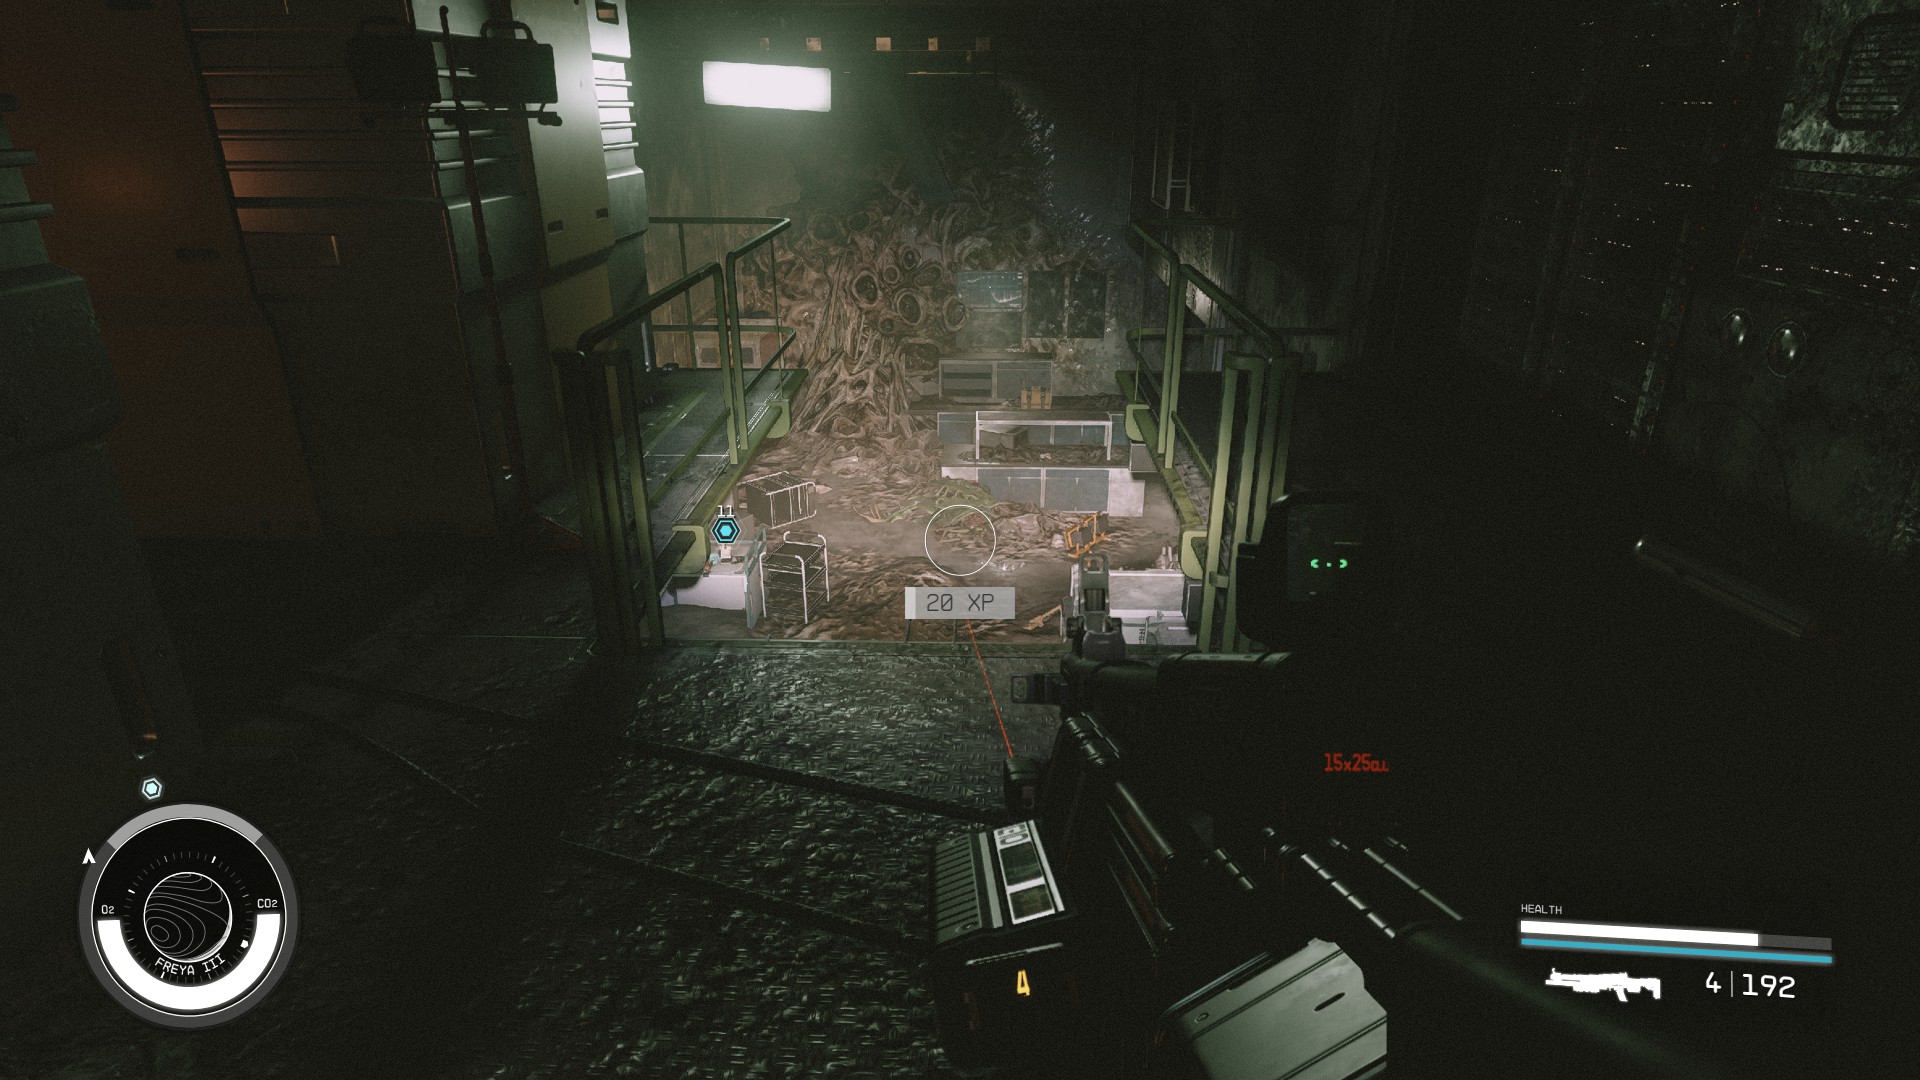
- Turn right and go into the cave. Fight the Cataxi Queen.
- Follow the path to a set of stairs. Walk up the stairs and continue following the path. You will get to a ramp at the end, which you want to walk down.
- Go through the control room to the emergency door and shift with the distortion in the room.
- You will be in the control room with the last security system computer. Disable the security to complete the objective.
Disengage Power Interlocks [0/7] or Switch Universes
- Leave the control room and go up the ramp in the next room.
- An alarm will sound and you will be attacked by turrets.
- Take the distortion under the stairs.
- Go through the door now that it is open in the ruins. Continue following the path until you get into a large room containing the probe.
- You will notice that there are seven switches through the room where the probe is. This is the time you want to choose whether to save Rafael or the stay in your dimension and save the research team. In order to shift to the desired dimension you can take any distortion in this room.
- Fight off the Cataxi or the Robots, depending on what you choose. Travel around the room to the different switches.
Shut Down the Probe
- Once you turn all seven switches you will be able to turn off the probe. Hit the switch to turn it off.
Take the Artifact
- Walk up to the Artifact and take it.
- Make your way back to the elevator and return to the surface.
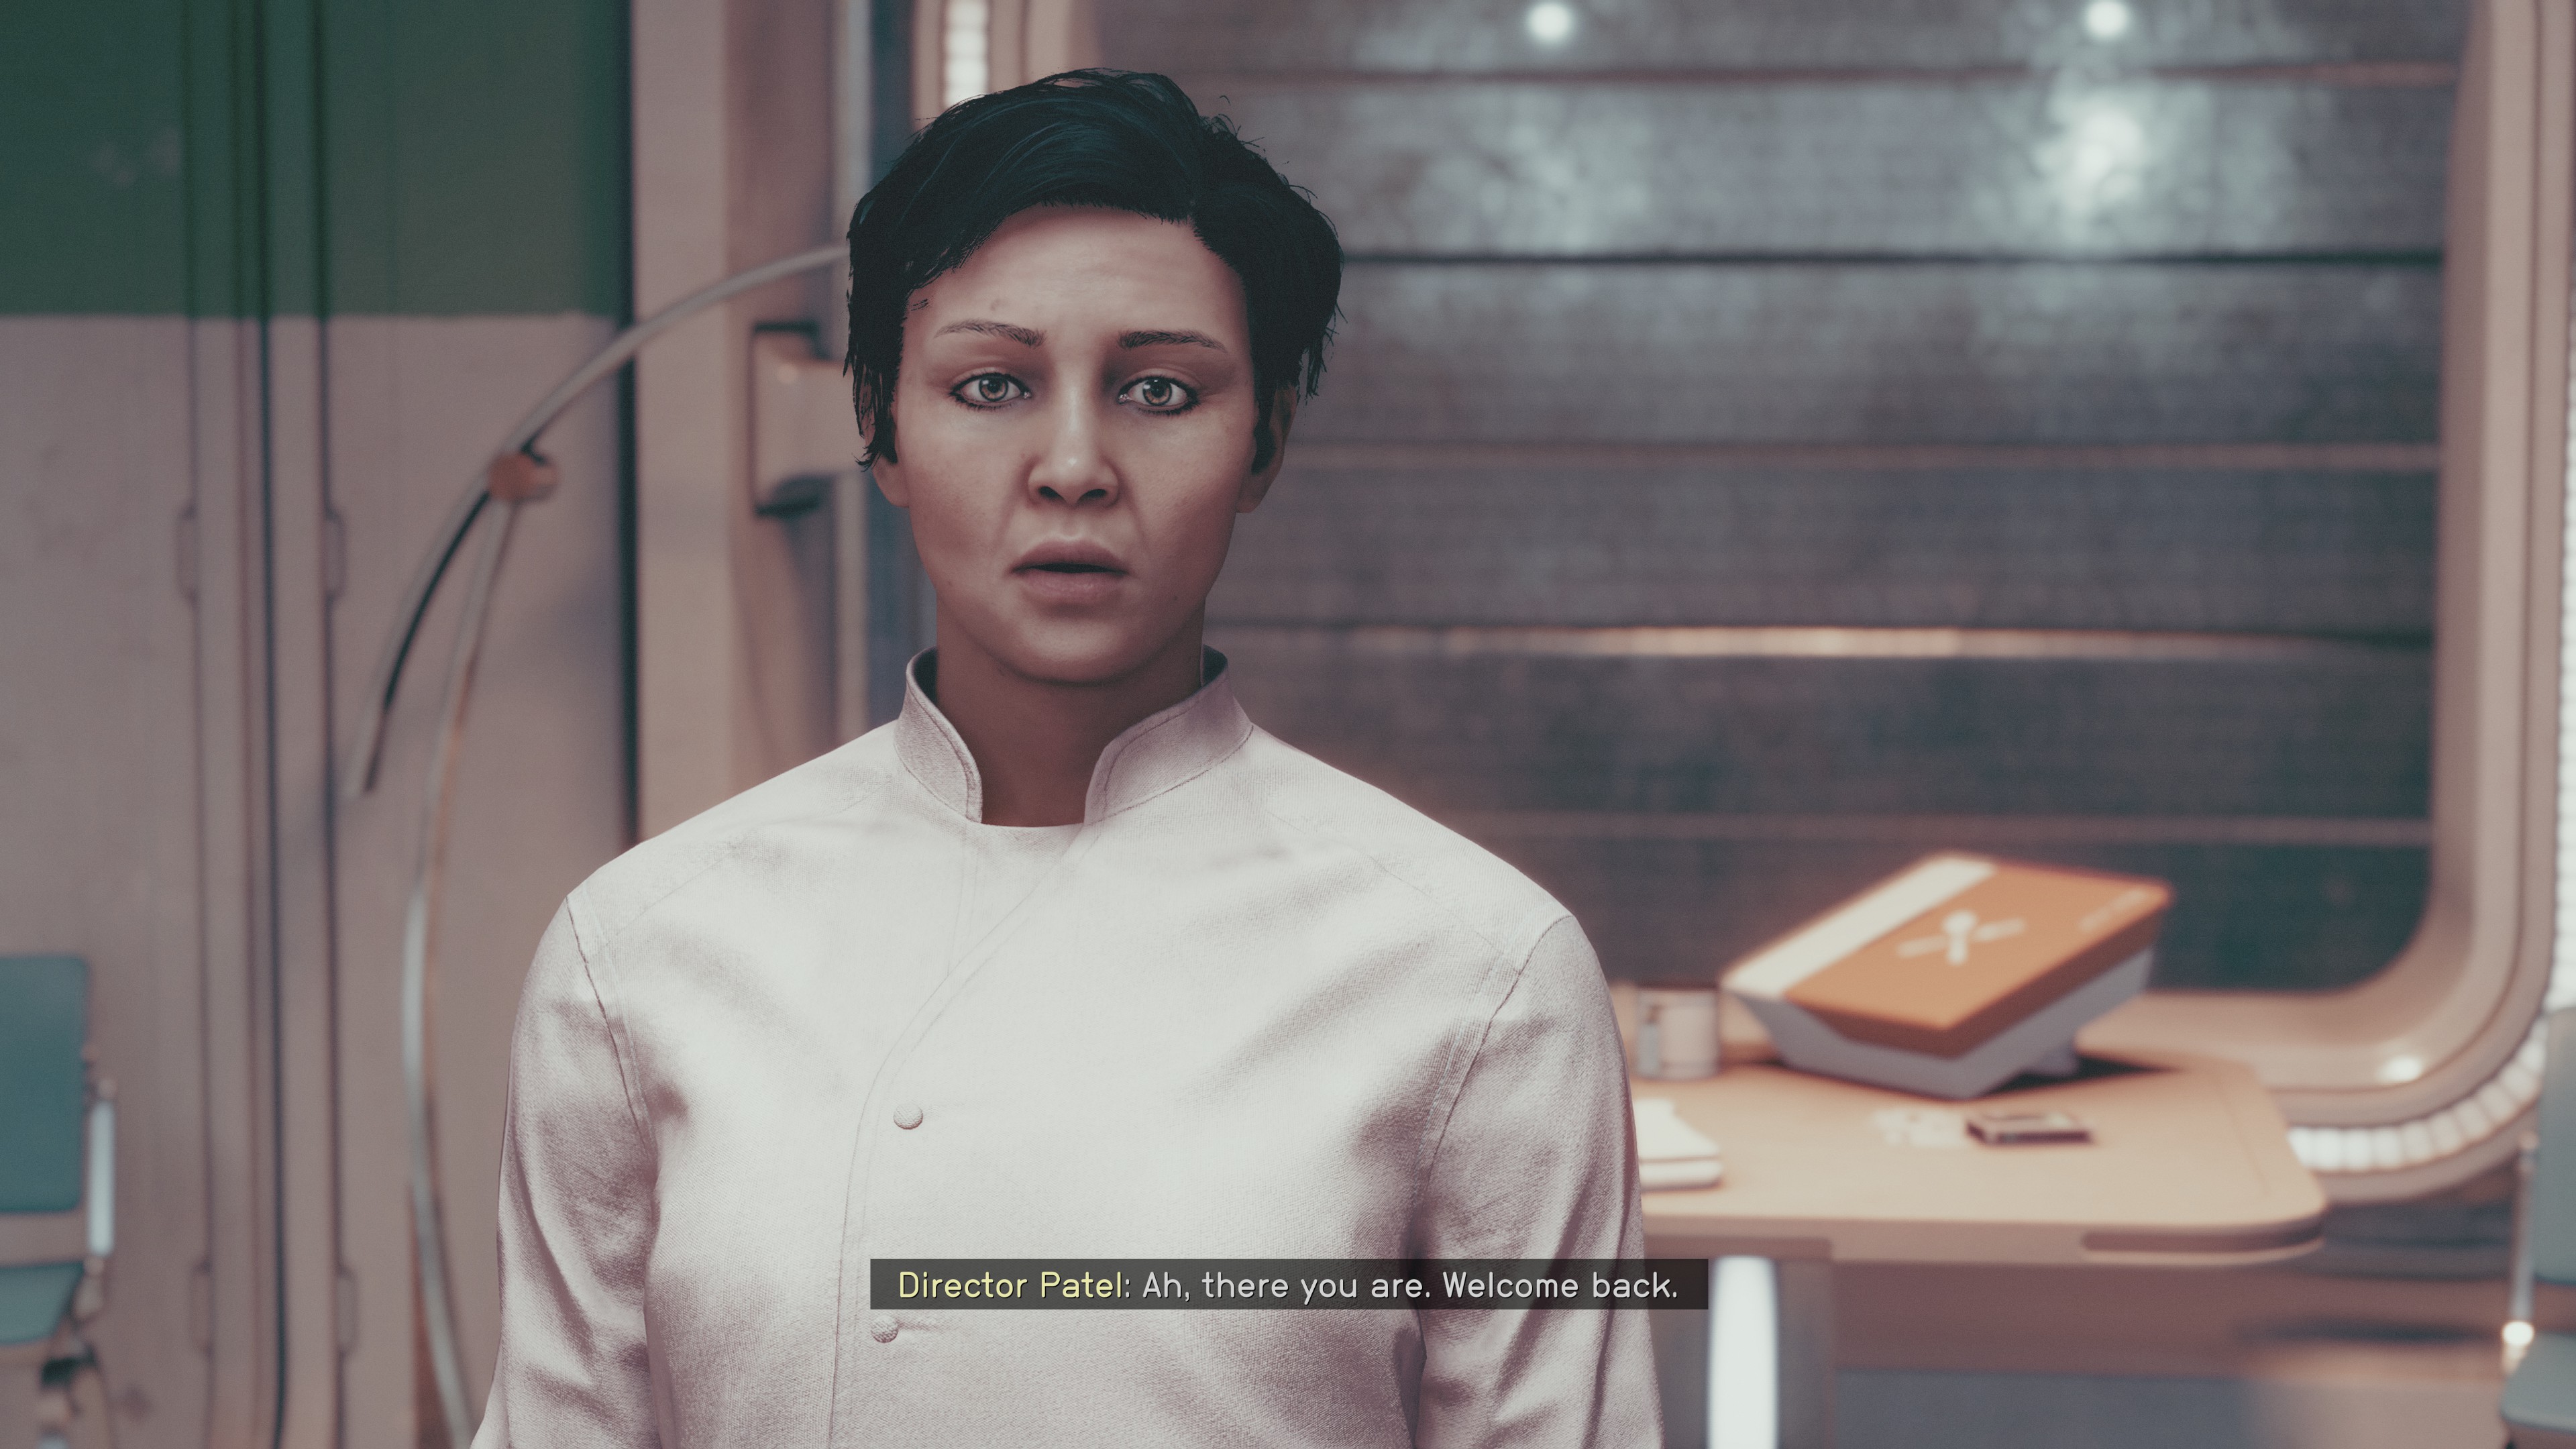
Speak to Director Patel
- Speak to Director Patel and tell her that the mission was successful and that the probe was shut down.


