High Price to Pay
| High Price to Pay | |
|---|---|
| |
| Information | |
| Type | Main Mission |
| Number | 11 |
| Location | The Lodge, New Atlantis |
| Starting NPC | Noel |
| Description | "Something is going on at the Lodge, your help is needed." |
| Reward | 800 XP, 13300 Credits, Calibrated Constellation Pack |
| Achievement | High Price to Pay (Achievement) |
| Previous Mission | No Sudden Moves |
| Next Mission | Unity |
| Patch | 1.0 |
High Price to Pay is the mission 11 of Main Mission.
Walkthrough
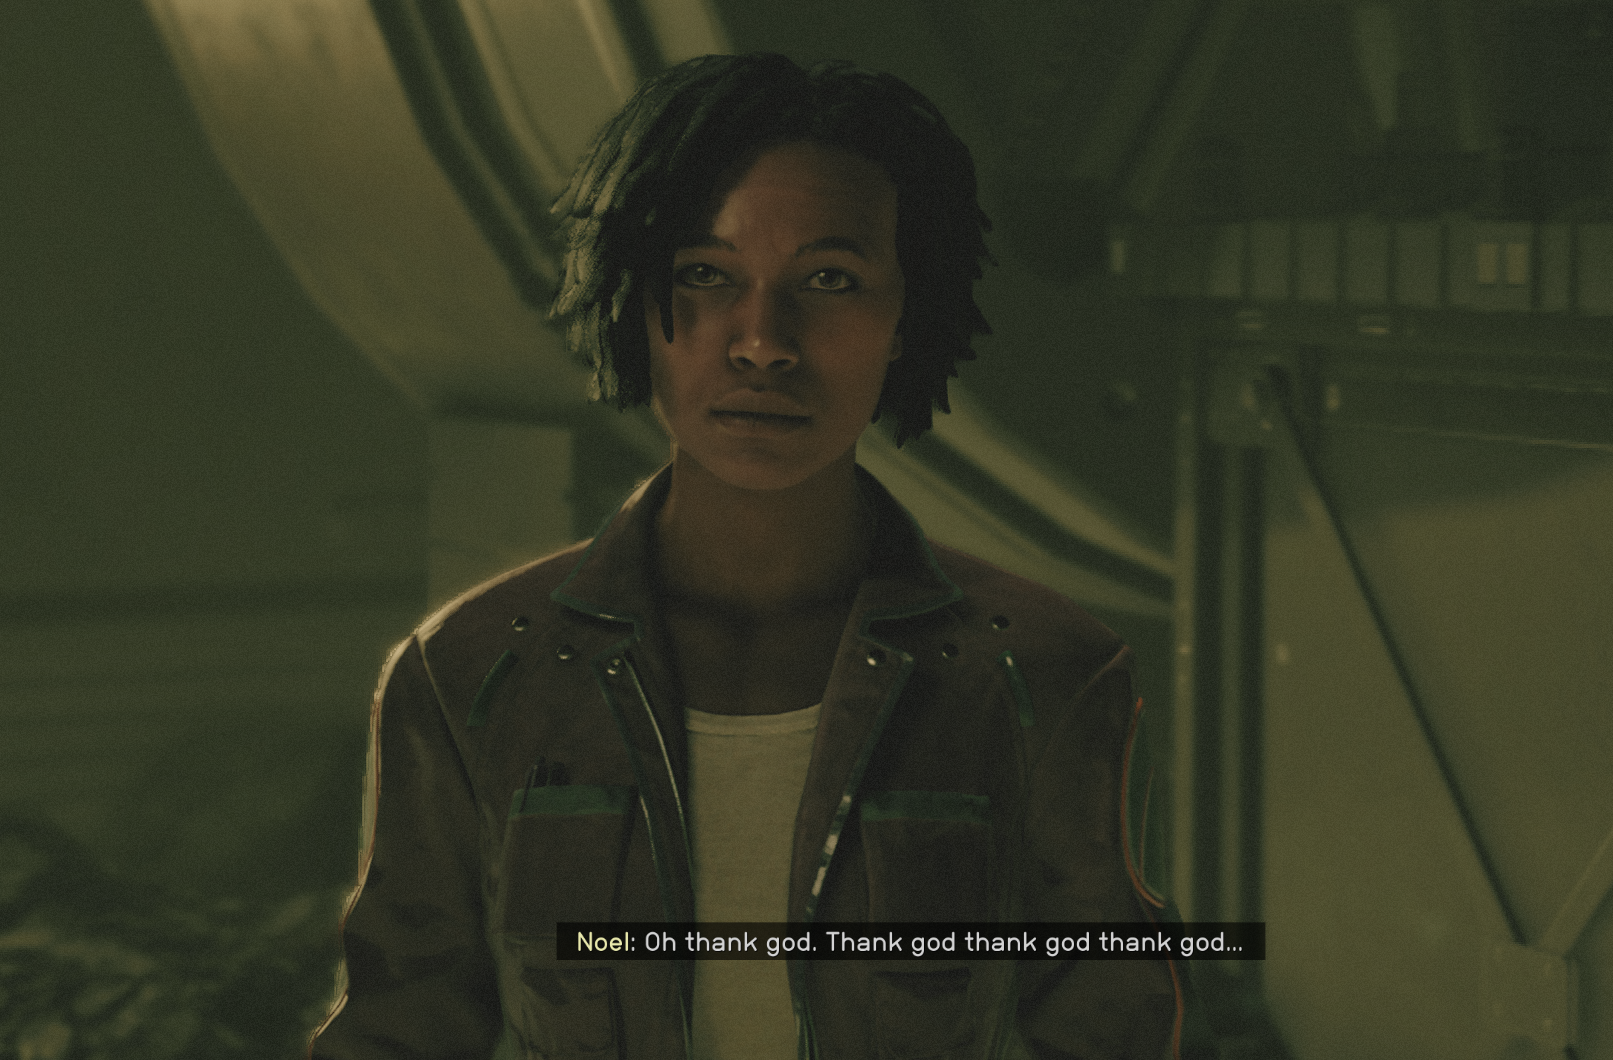
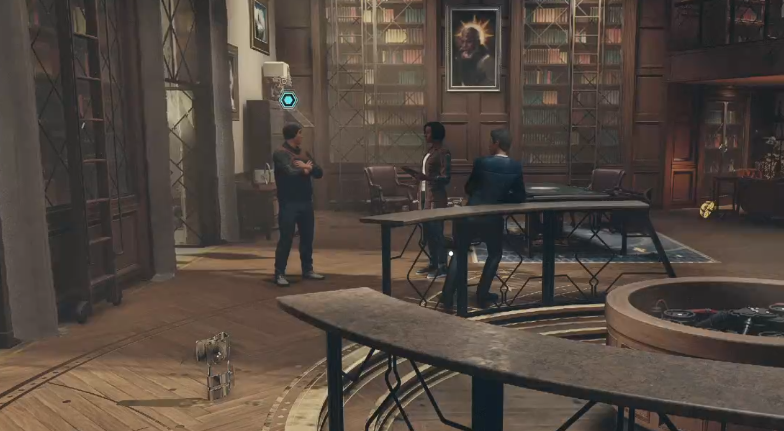
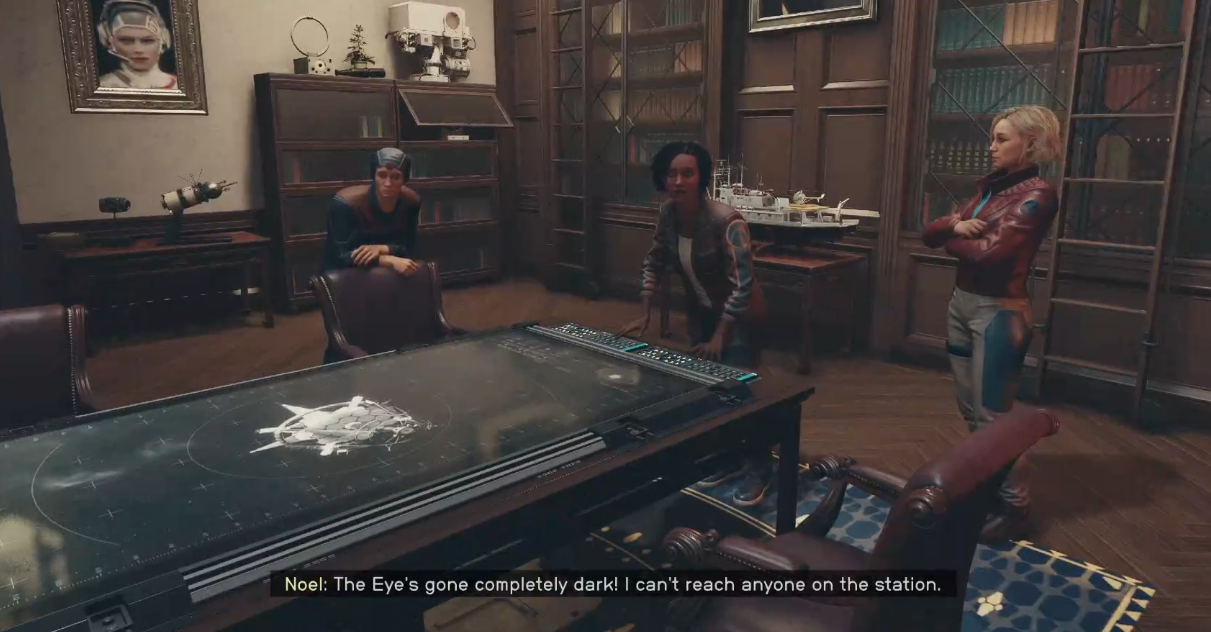
As soon as you've placed the Artifact in the previous mission, No Sudden Moves, the main mission High Price to Pay begins. You'll find Noel nearby, ready to share some urgent news. After a brief but intense conversation, you're faced with a difficult choice: stay at the Lodge to defend it or leave for the Eye. Choose carefully—Barrett will die if you leave immediately, while Sarah will die if you defend the Lodge. The weight of your choice hangs heavy in the digital air.
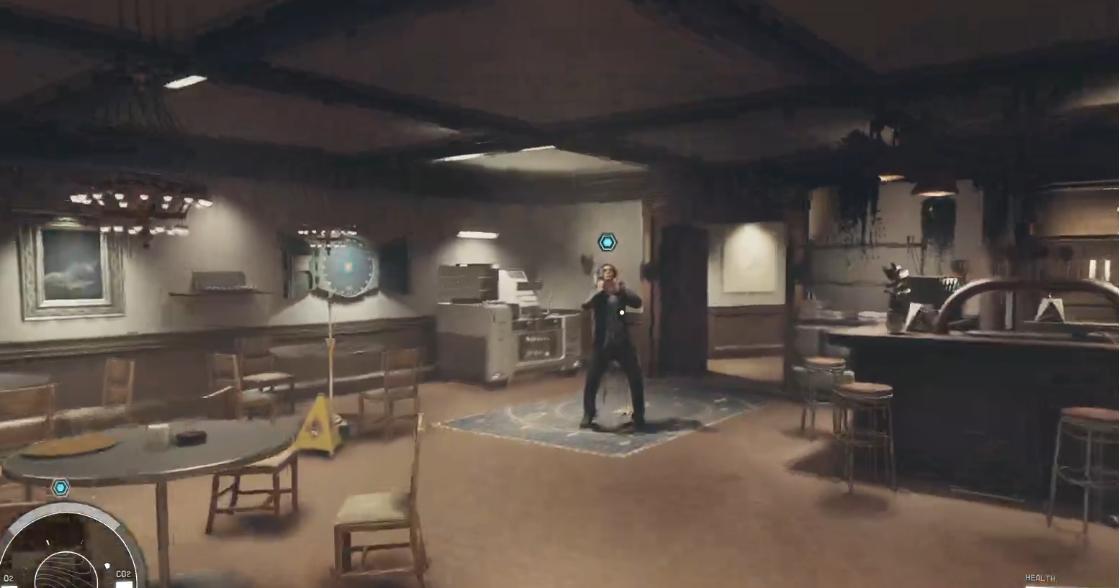
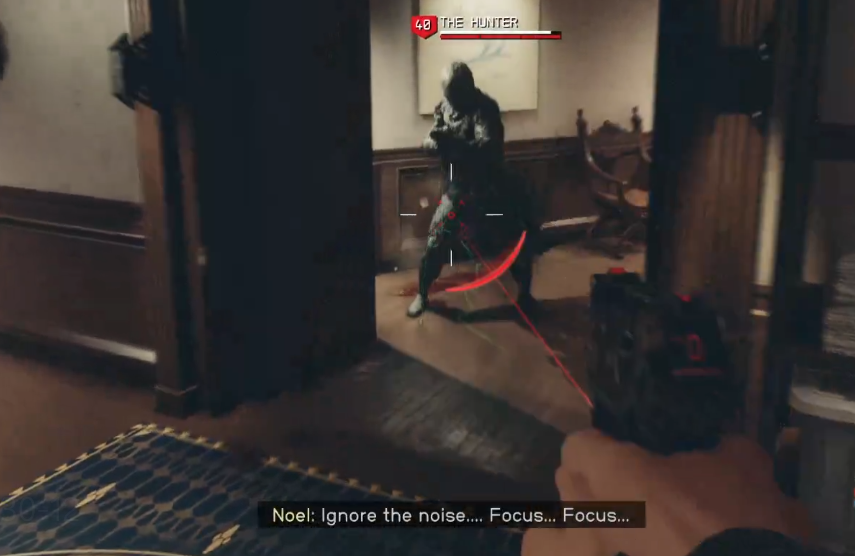
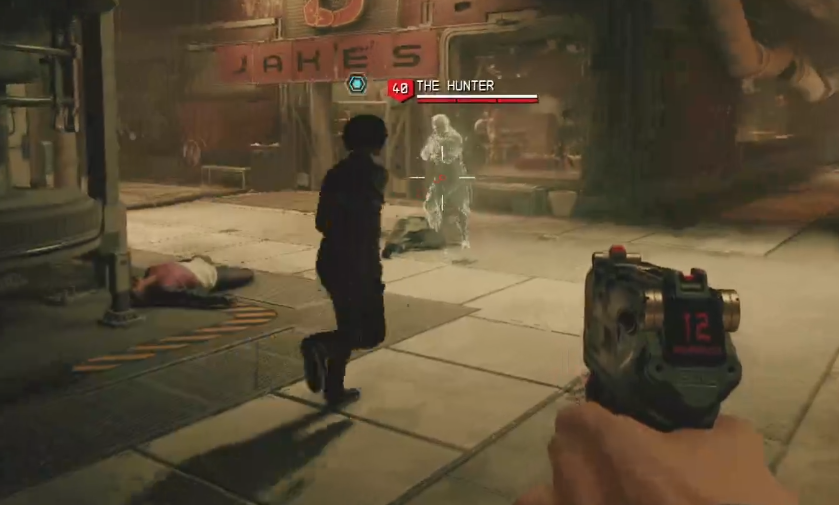
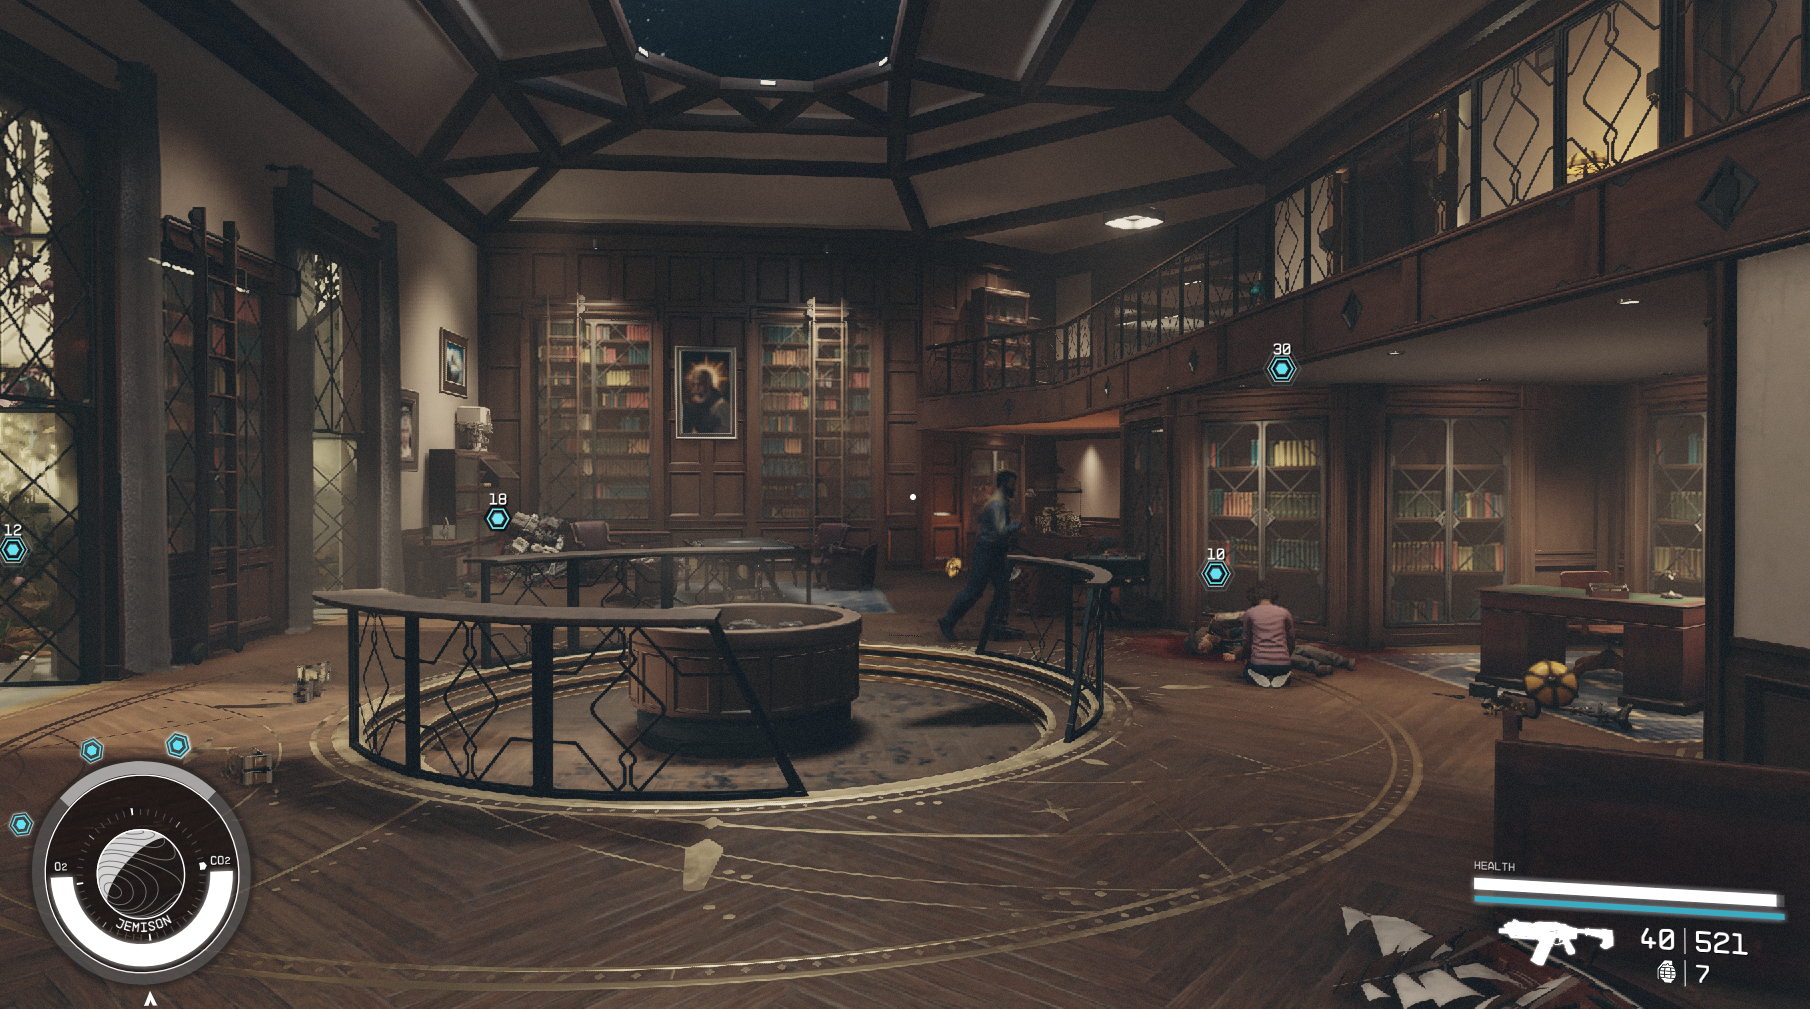
Assuming you opt to defend the Lodge, a prompt soon nudges you to check on Walter. Heading upstairs, you find him relatively okay but visibly shaken. Right when you're about to breathe a sigh of relief, the ominous figure known as the Hunter barges into the Lodge. This new foe is a considerable upgrade from previous enemies, able to spawn a clone of themselves while packing a mean punch. Quick tip: use the bar as cover to mitigate some of that damage while dodging attacks from both the Hunter and their clone.
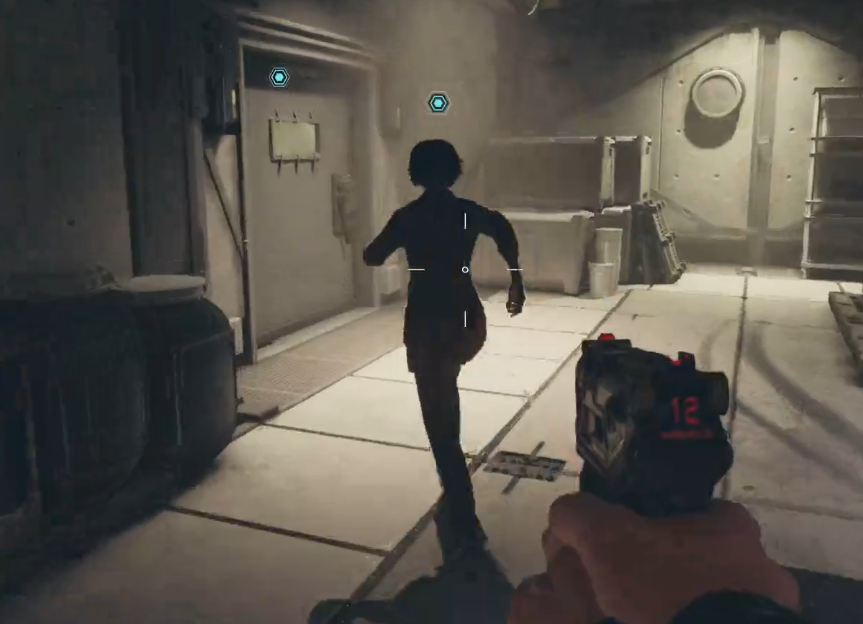
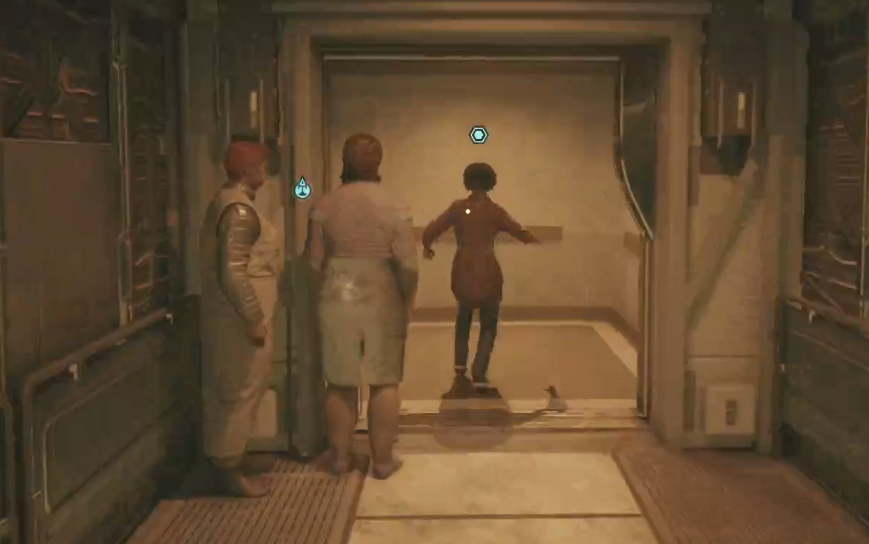
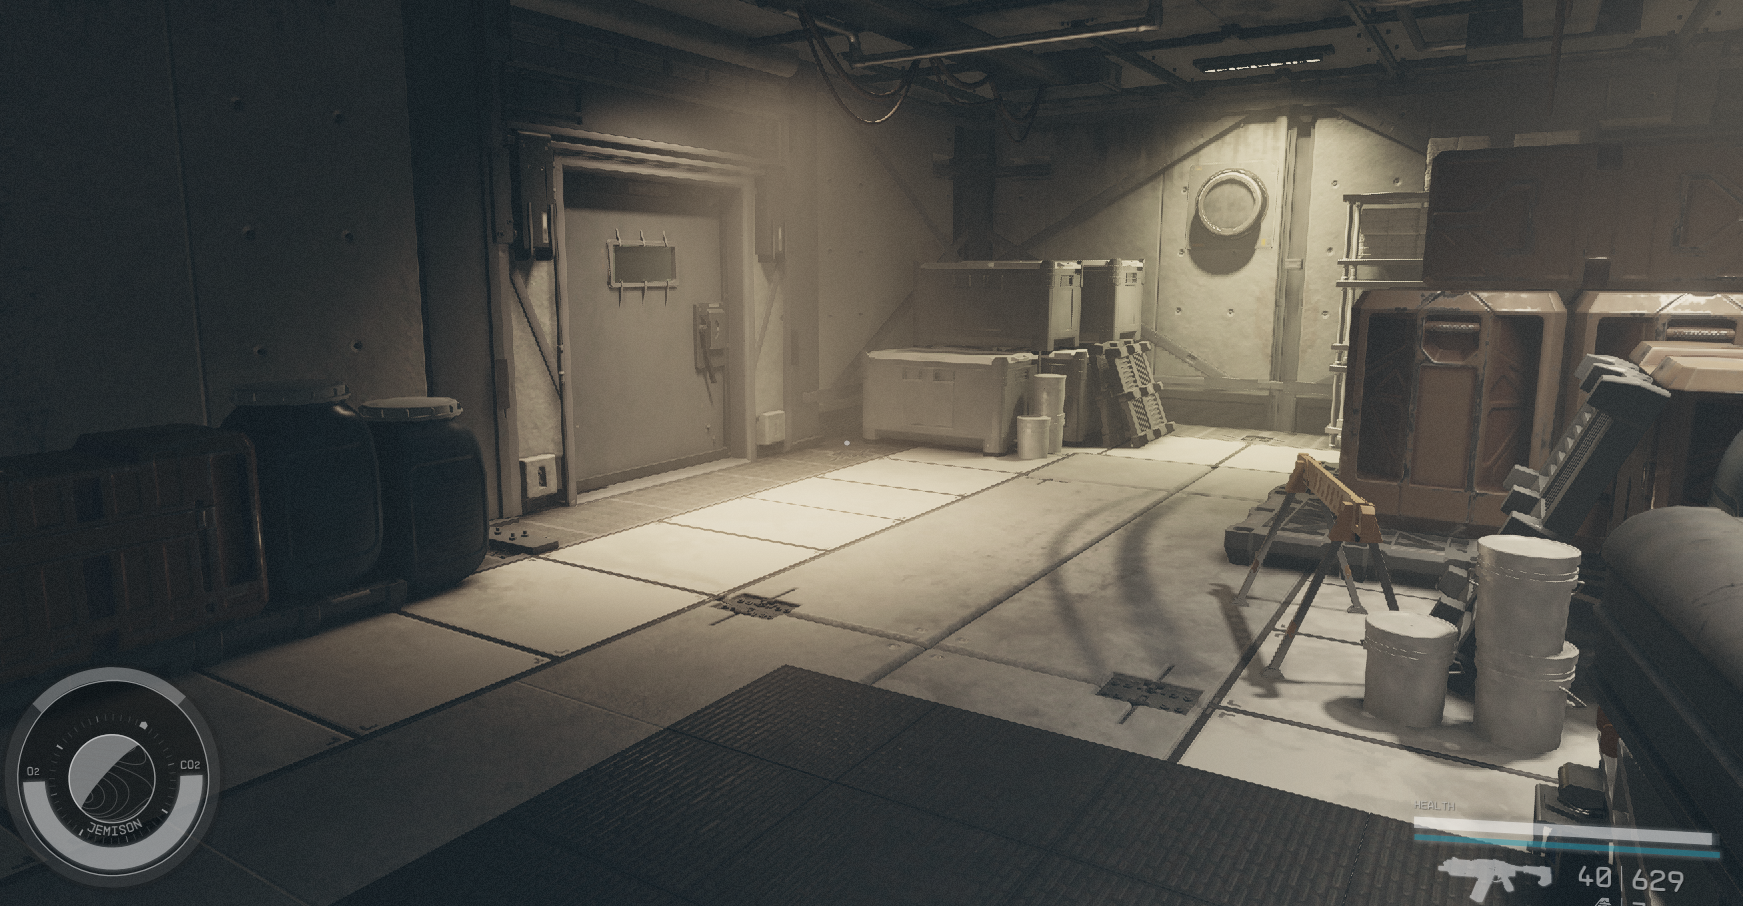
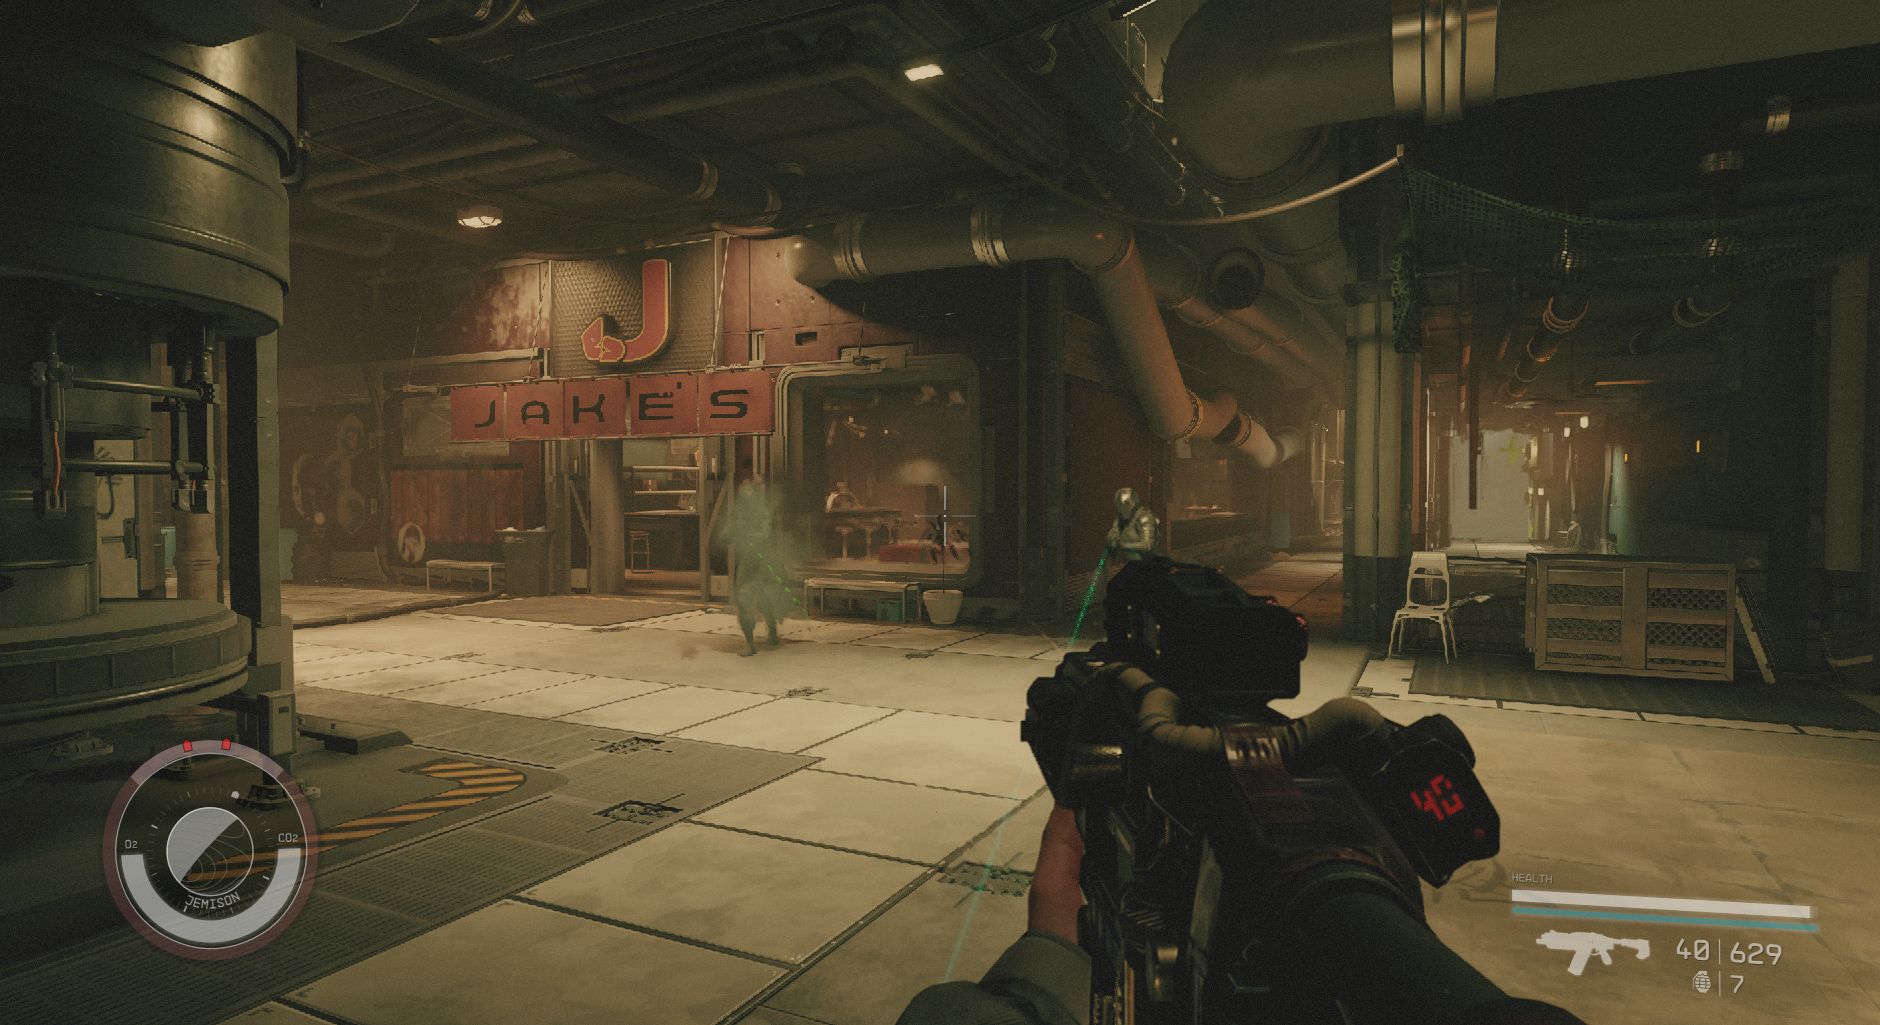
After what feels like an eternity but is just a few adrenaline-fueled minutes, Noel completes packing the Artifact. Time to make a grand exit. Noel takes the lead, guiding you through the basement and out into the Well. Follow him, but keep an eye out for the Hunter, who will relentlessly reappear even if you manage to inflict enough damage to make them temporarily vanish.
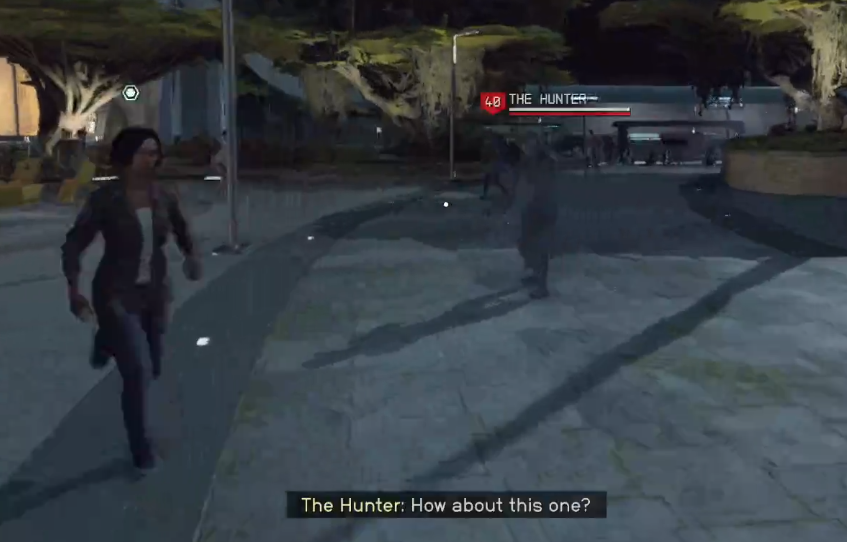
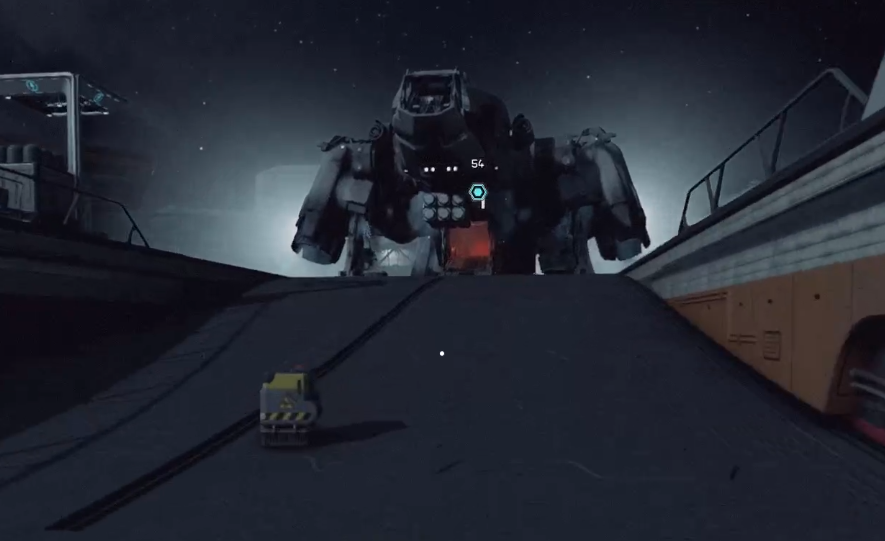
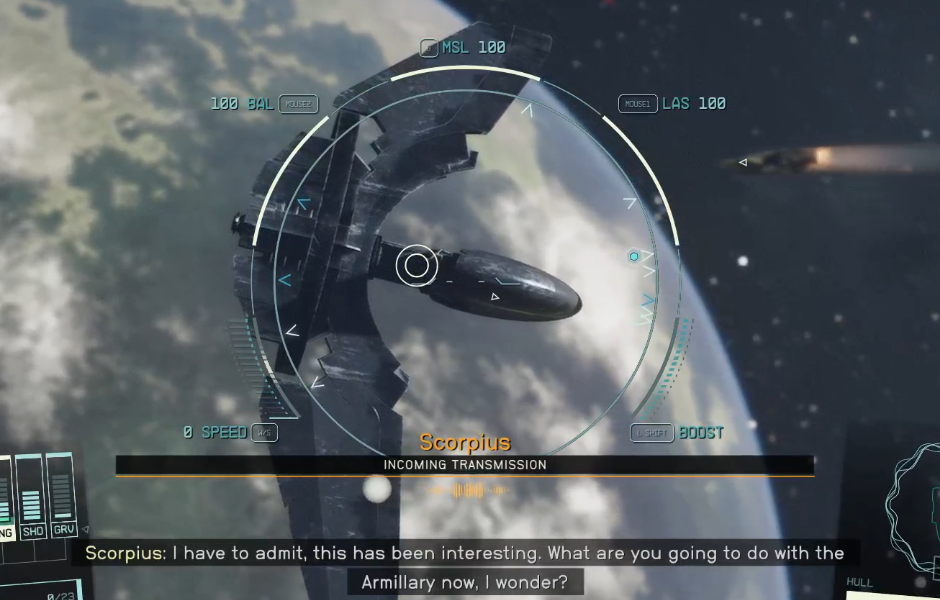
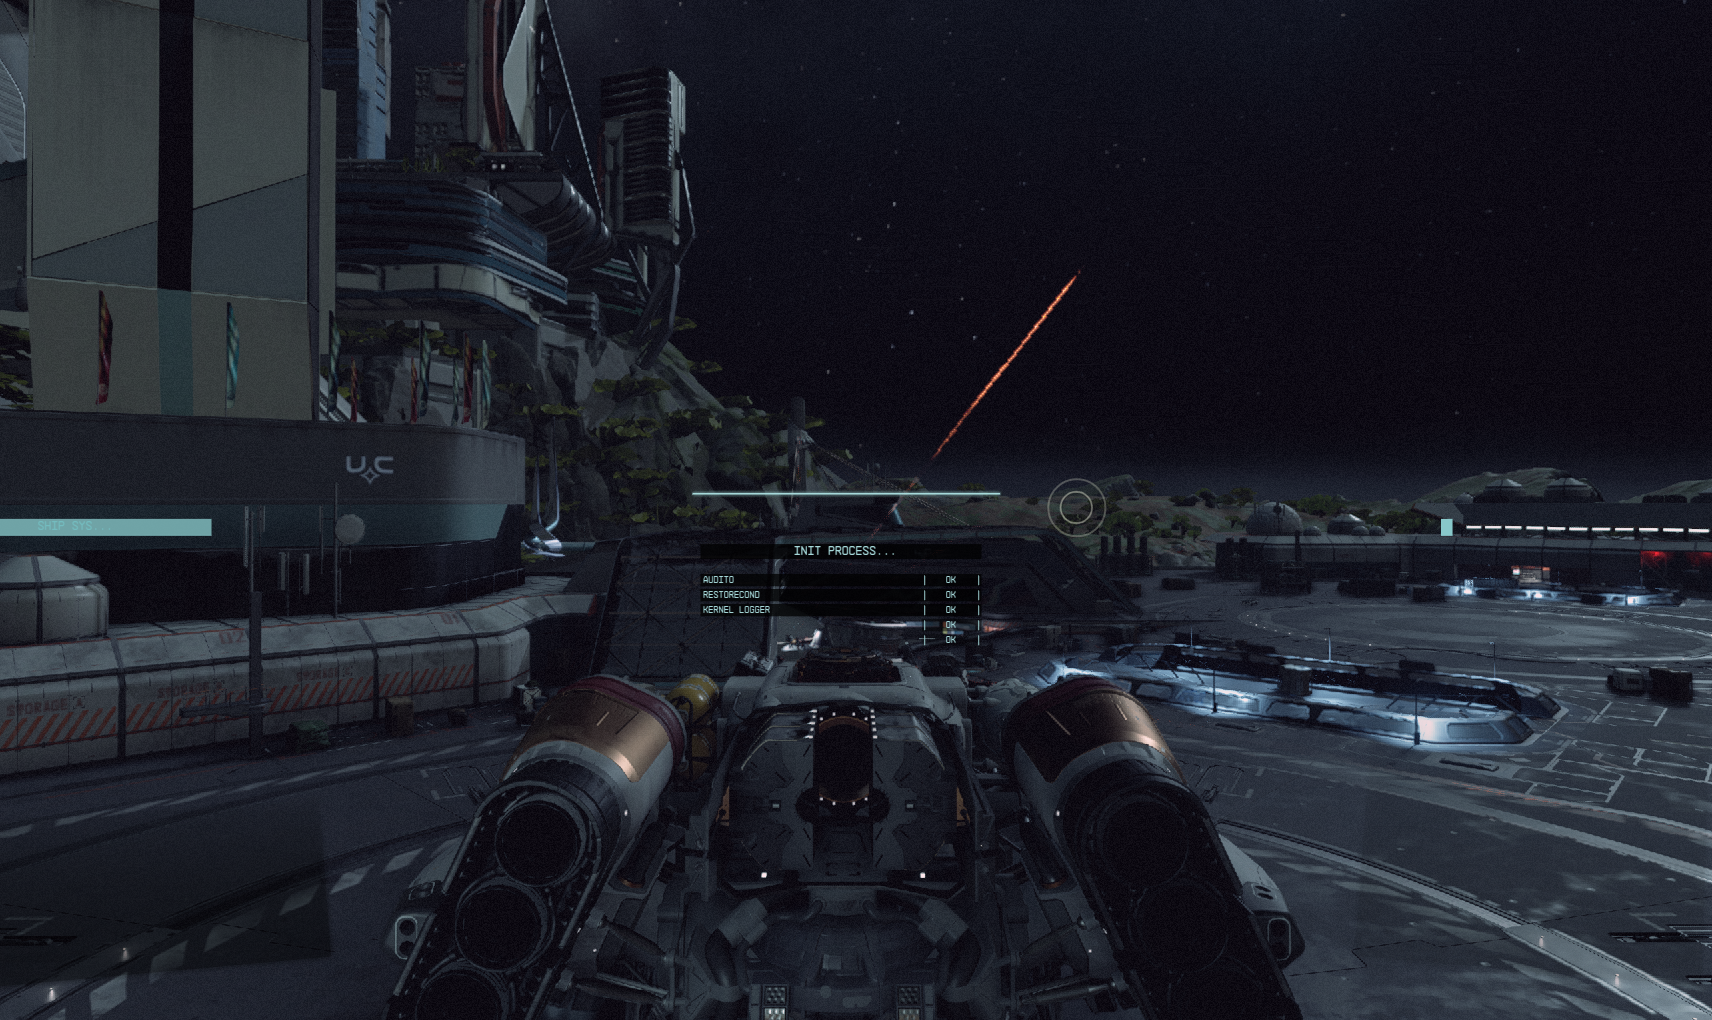
Making your way through the Well and then to the Spaceport, you manage to reach your ship, though not without some heart-stopping moments. The Hunter continues to chase you but seems partially distracted by UC Security, buying you precious time to leap into the cockpit of your ship. You initiate take-off and soon find yourself in Jemison orbit, finally breathing easier. The Hunter contacts you one more time before disappearing, leaving behind some valuable items if you managed to destroy a few of their clones earlier.
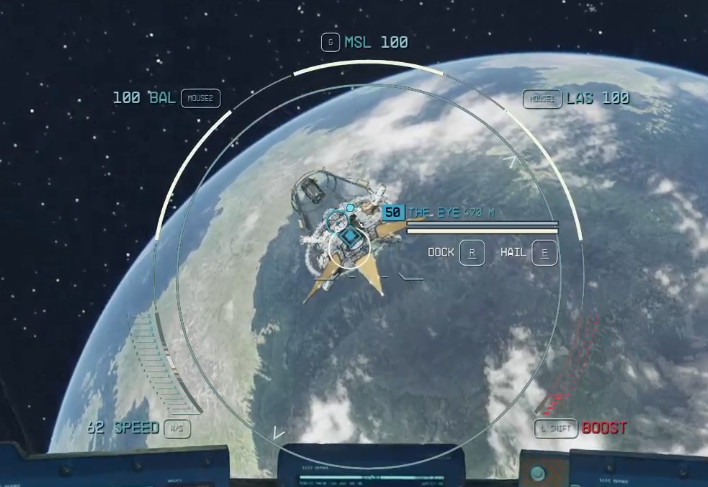
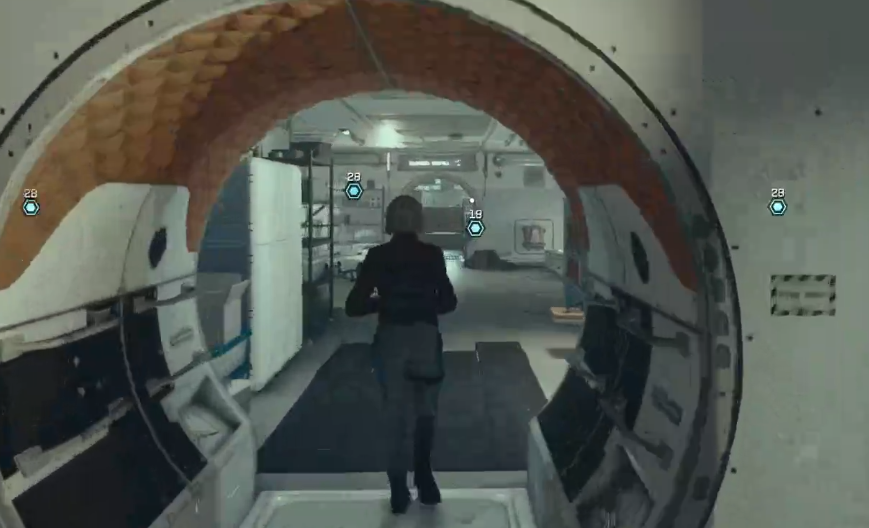
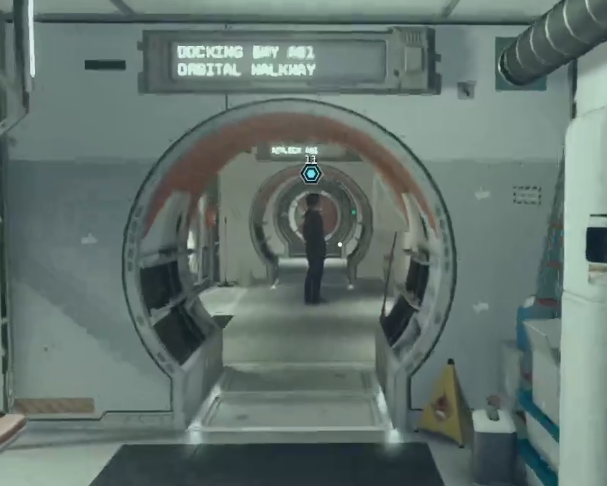
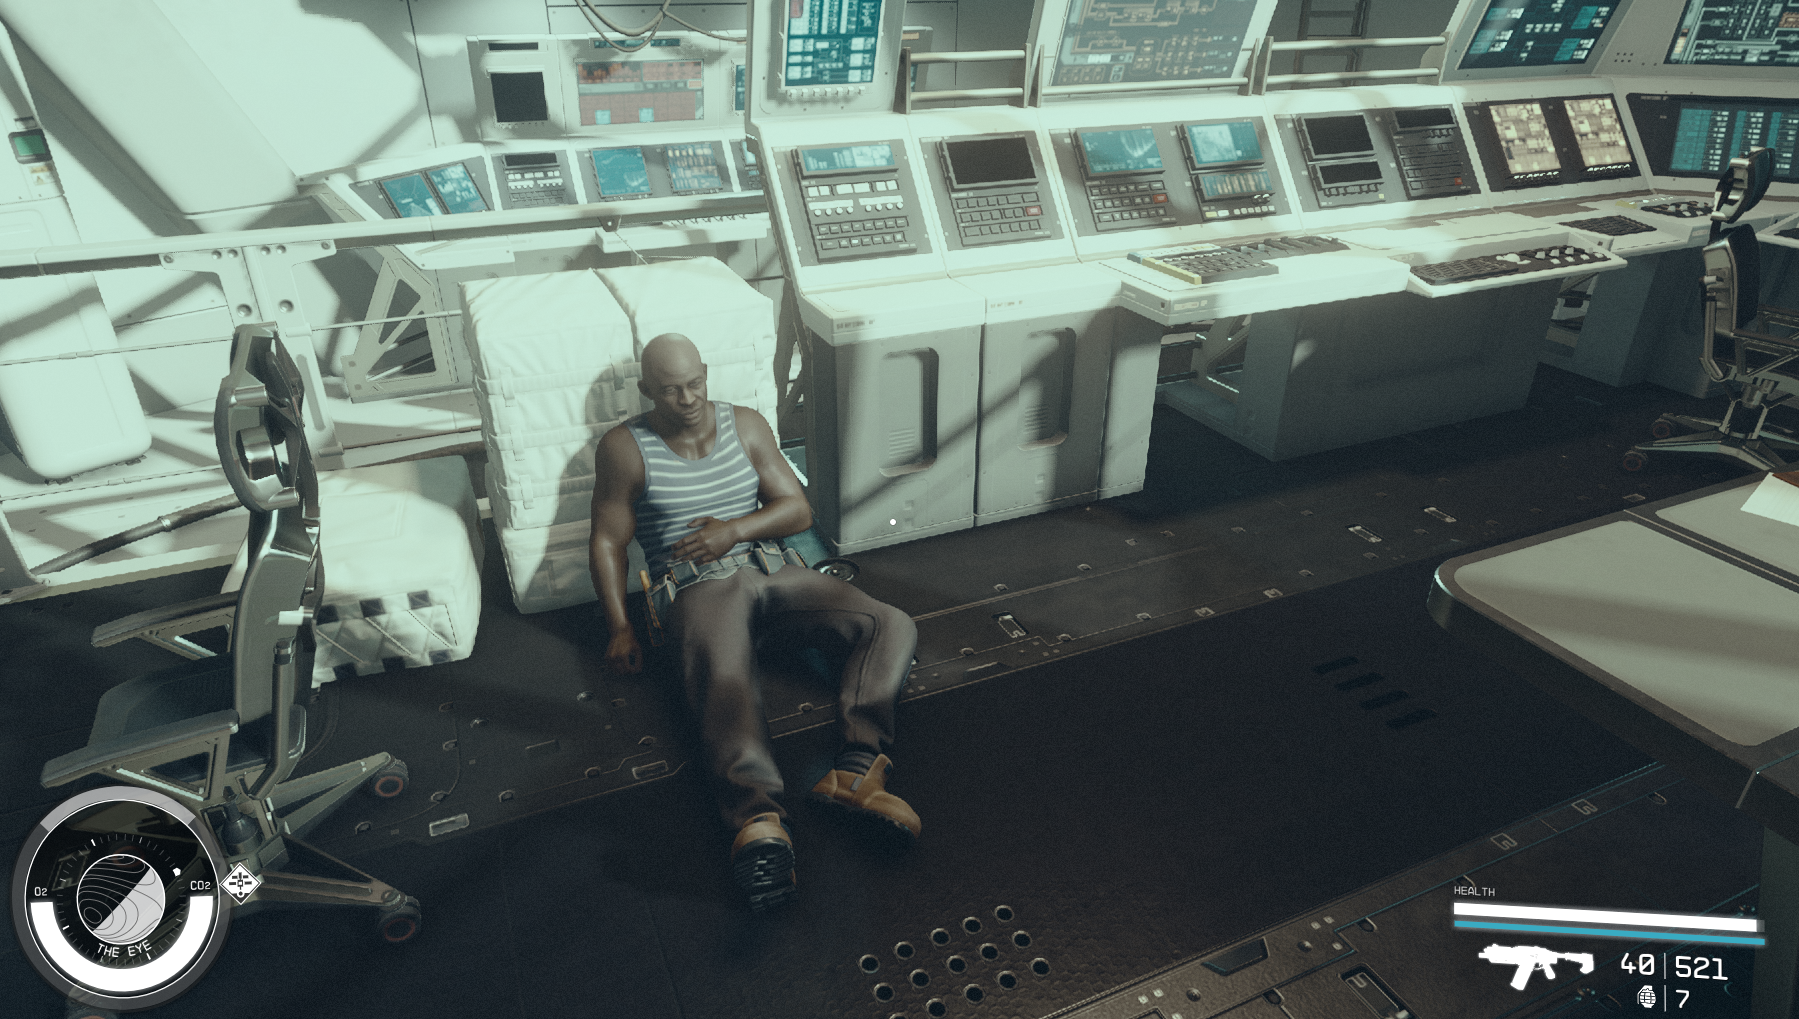
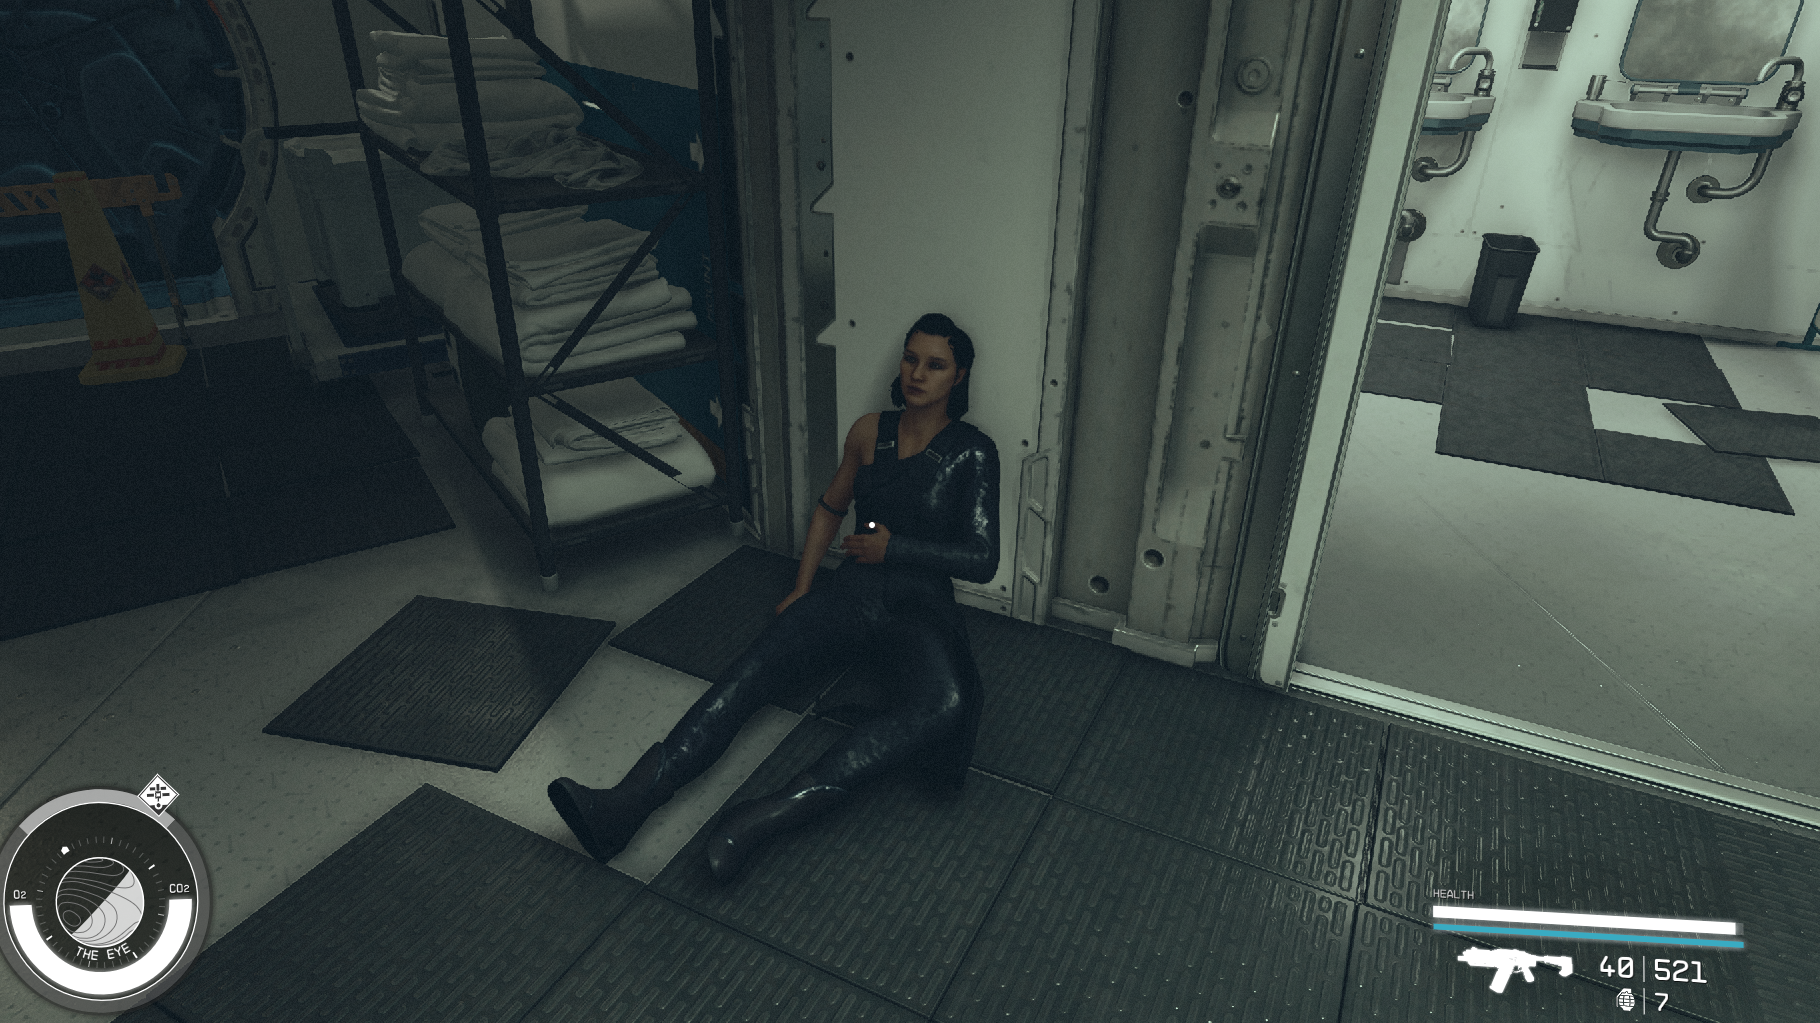
Once you're orbiting safely around the Eye, your mission updates to "Find everyone on the Eye." One by one, you go through the list of marked objectives to check up on your companions, finally learning about Sarah's sad fate. With a heavy heart, you make your way back to Noel.
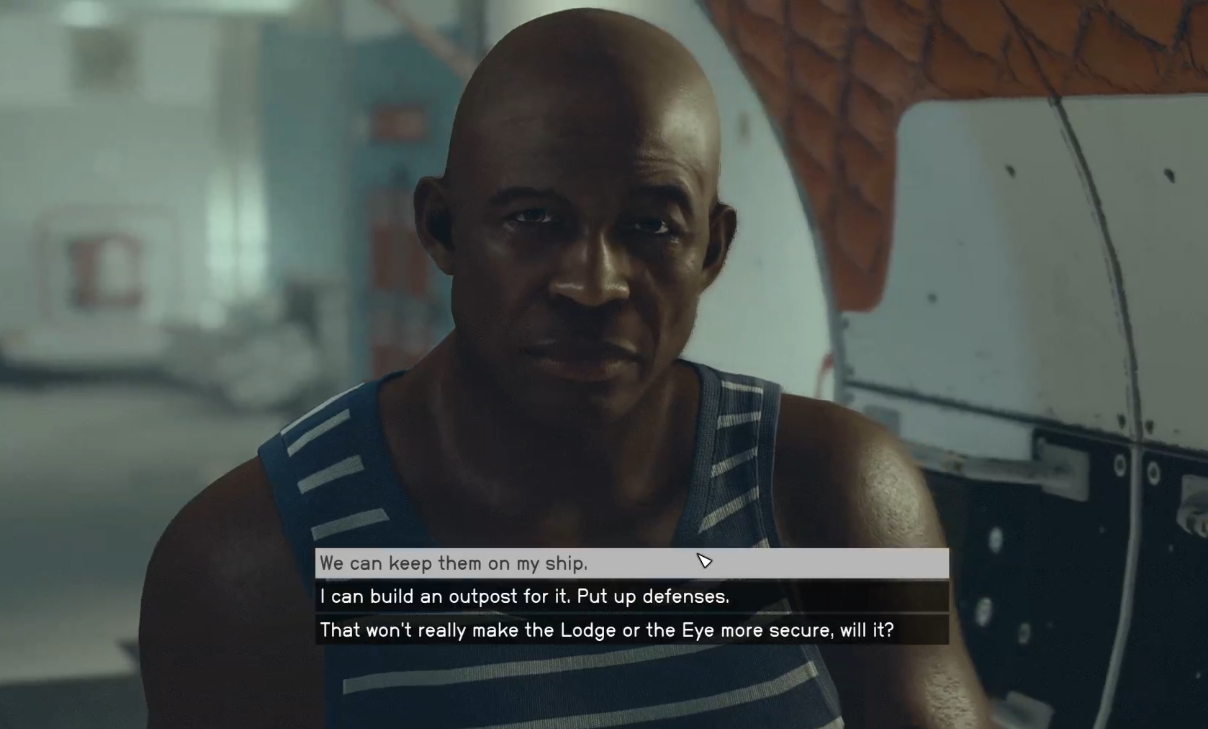
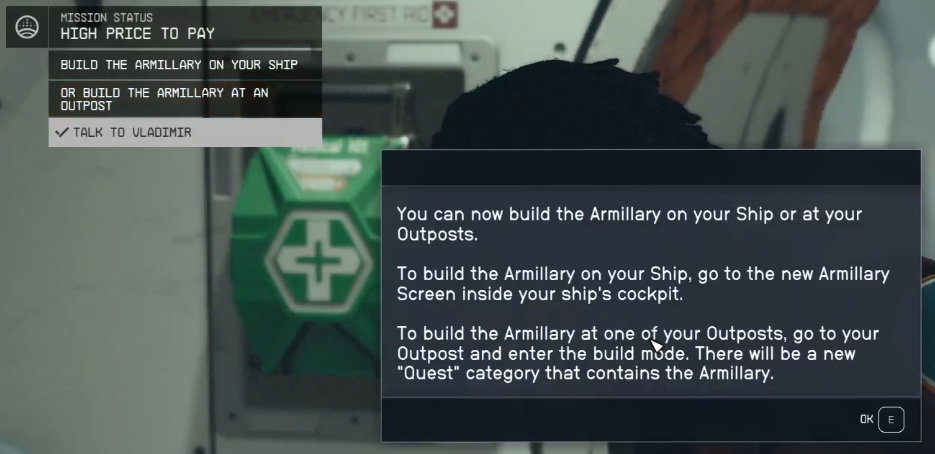
You're almost there—time to talk to Vladimir on the Eye to hash out your next steps. Noel entrusts you with all the Artifact pieces, and you're now given the choice to build the Armillary either on your ship or at an Outpost. A quick note: if you decide to place it on your ship, expect to get attacked by Starborn everywhere. If it's at an Outpost, they'll only attack you near that location.
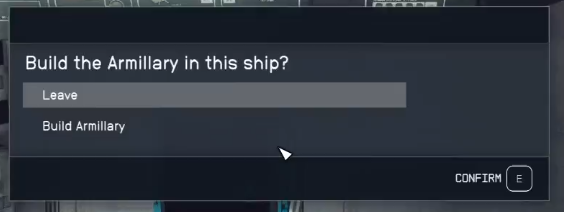
Building the Armillary on your ship is as simple as interacting with the panel in the cockpit. If you decide to build it at an Outpost, you'll need to use the Quest menu to get it constructed.
Once the Armillary is built, your final task is to return to the Lodge. Unlike before, you can't fast-travel directly there, making your trek back through New Atlantis a bit longer. Upon arriving at the Lodge, you're prompted to talk to Matteo to wrap up the mission. After an emotional conversation, the screen fades to black, marking the end of the High Price to Pay mission in Starfield.
And that's it, you've navigated the complexities, made the tough calls, and lived to tell the tale. Brace yourself for what comes next in this expansive universe, but for now, take a moment to process the high price you've paid.
Tips and Tricks
- This quest has two paths to completion based on a player choice. It is recommended that you create a backup save prior to this choice so you can replay through it to get the result you prefer.
- This quest has a major decision to be made in it. Choose carefully!
- Returning to the Lodge after ending this quest will give you a new quest "Missed Beyond Measure."
Objectives
Talk to Noel
- Vladimir will inform you that The Eye has been attacked and that a companion is grievously injured. The Hunter will then patch in and tell you he's coming to the Lodge to take the artifacts.
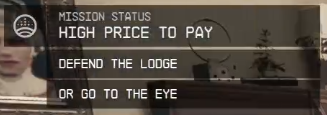
Defend the Lodge or Go to the Eye
- You will be presented with two different paths to complete this quest. You can either defend the Lodge to protect the artifacts or go to The Eye to assist your injured companion. These options have different results, so choose carefully.
Path A: Defend the Lodge
- Walter will start choking - check on him upstairs in the bar.
- When approaching Walter, The Hunter will come out of stealth and attack you.
Hold Off the Hunter
- You cannot defeat The Hunter. Buy time for Noel to complete bundling up the Artifacts for transport.
Escape The Lodge
Go to Your Ship
- Make your way through The Well and the Spaceport district of New Atlantis. The Hunter will follow you throughout and attack you and NPCs - like in the previous step, you cannot defeat him.
- Board your ship. Your companions will automatically join you even if they are lagging behind.
Go to The Eye
- After taking off into orbit, a Starborn ship named Scorpius will automatically hail you and start a dialog sequence.
- Dock and board The Eye.
Find Everyone on The Eye
- Your companions who were not with you at The Lodge will be injured and spread out on The Eye. Check in with each companion.
- A companion will be lying dead on the floor - you cannot save them, even with an optional medicine check.
- The remaining companions are in the other wings of The Eye.
Return to Noel
- Return to Noel. She will be in the central hallway near the airlock. Tell her the bad news about your dead companion.
Path B: Go to the Eye
Find Everyone on the Eye
- Find each of your injured companions that were not in the Lodge
- One companion and Vladimir will be in the central area
- The others will be located in the central corridors
Go to the Lodge
Find Everyone In the Lodge
- One of your companions that was left at the Lodge will be grievously injured. You will not be able to save them.
- Locate everyone else in the Lodge, most folks are in the room with the artifacts, Walter will be found upstairs.
Find Noel
- You'll find her a short way into the Well
Escape to Your Ship
- When you find Noel, the Hunter will appear, you will need to hold him off while Noel and your companion make their way to the spaceport
- Make your way through The Well and the Spaceport district of New Atlantis. The Hunter will follow you throughout and attack you and NPCs - like in the previous step, you cannot defeat him.
- Board your ship. Your companions will automatically join you even if they are lagging behind.
Initiate Take-off and Go to the Eye
- After taking off into orbit, a Starborn ship named Scorpius will automatically hail you and start a dialog sequence.
- Dock and board The Eye.
Talk to Vladimir
- Return to Vladimir to initiate the next dialog sequence. Your companions will discuss your next steps to defend the Artifacts.
- To build the Armillary on your ship, interact with the screen to the right side of the cockpit.
- To build the Armillary on an outpost, select armillary from the first tab ("Quest") in the build mode menu.
Return to The Lodge and Talk to Matteo
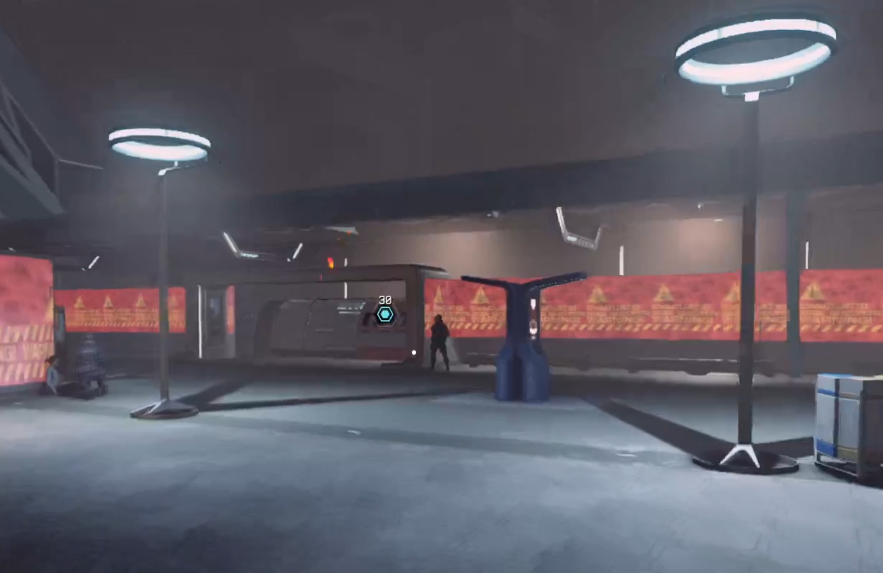
- New Atlantis is under high alert, and you will be unable to fast travel to The Lodge. Land your ship at the spaceport and ride the NAT to the MAST district to get to The Lodge.
- Your companion's belongings will be placed in a storage crate in the basement. This will give you an additional quest to obtain their belongings.
- Talk to Matteo to initiate the next dialog sequence and finish the quest.
