Delivering Devils: Difference between revisions
Sneaky pete (talk | contribs) (Created page with "==Tips and Tricks== *You may obtain the "Secret Outpost" slate off of the body of a dead Spacer during the optional Objective to enter the Abandoned Mines. This will provide you with the mission: Mantis. *You can use your Scanner to bring up the Map of Mars and fast travel more easily back to Cydonia from the Abandoned Mines. ==Objectives== ===Ask about Percival at the Trade Authority=== *Navigate to Mars in the Sol System and land in [...") |
Sneaky pete (talk | contribs) No edit summary |
||
| Line 1: | Line 1: | ||
==Tips and Tricks== | ==Tips and Tricks== | ||
*You may obtain the "Secret Outpost" slate off of the body of a dead Spacer during the optional Objective to enter the [[Abandoned Mine]]s. This will provide you with the [[mission]]: Mantis. | *You may obtain the "[[Secret Outpost]]" slate off of the body of a dead [[Spacer]] during the optional Objective to enter the [[Abandoned Mine]]s. This will provide you with the [[mission]]: [[Mantis]]. | ||
*You can use your [[Scanner]] to bring up the Map of [[Mars]] and fast travel more easily back to [[Cydonia]] from the [[Abandoned Mine]]s. | *You can use your [[Scanner]] to bring up the Map of [[Mars]] and fast travel more easily back to [[Cydonia]] from the [[Abandoned Mine]]s. | ||
| Line 8: | Line 8: | ||
[[File:Starfield_DeliveringDevilsCydonia__EN.PNG|400px]] | [[File:Starfield_DeliveringDevilsCydonia__EN.PNG|400px]] | ||
*Head to the [[Trade Authority]] | *Head to the [[Trade Authority Outpost]]. | ||
[[File:Starfield_DeliveringDevilsTradeAuth_EN.jpg|400px]] | [[File:Starfield_DeliveringDevilsTradeAuth_EN.jpg|400px]] | ||
*Speak to Oktai Enbayar. | *Speak to [[Oktai Enbayar]]. | ||
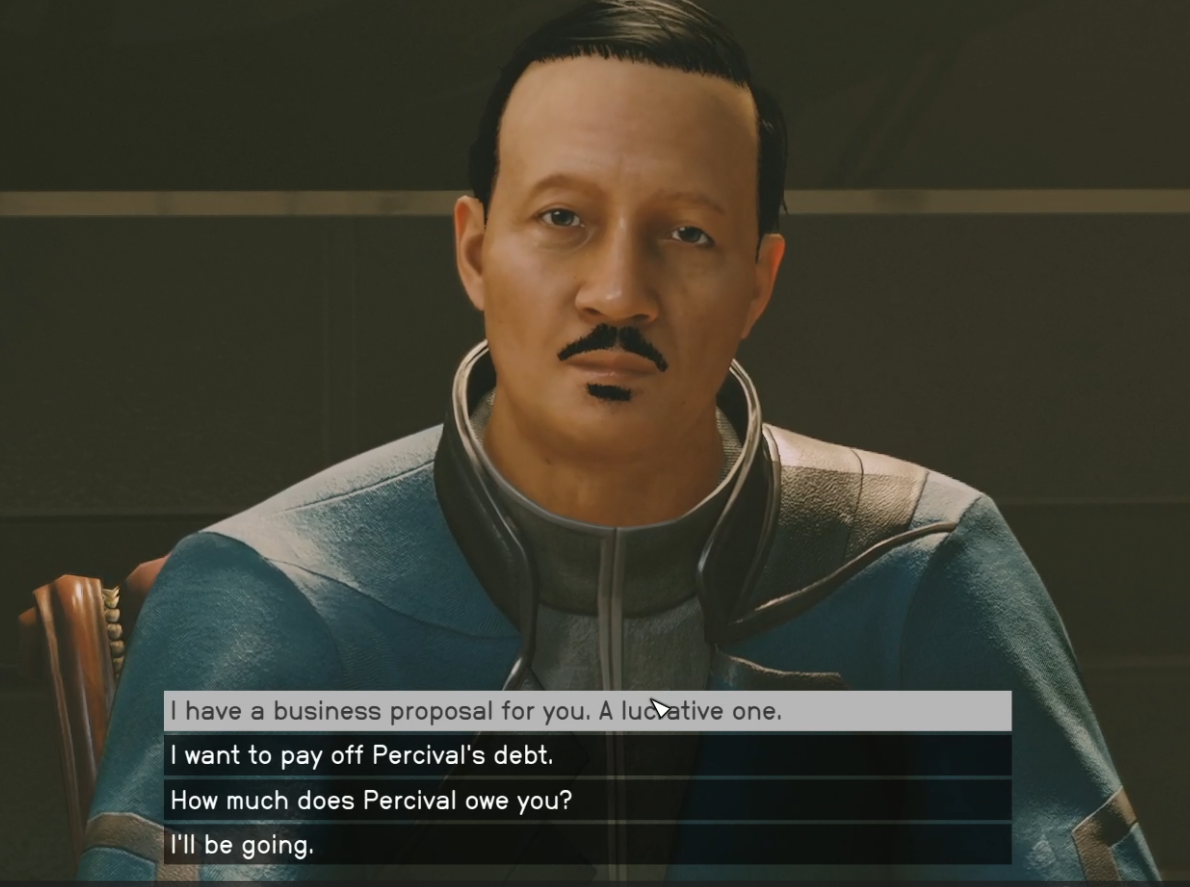
[[File:Starfield_DeliveringDevilsOktai_All.PNG|400px]] | [[File:Starfield_DeliveringDevilsOktai_All.PNG|400px]] | ||
*Turns out Percival no longer works for the [[Trade Authority]]. In fact, he owes them money. | *Turns out [[Percival]] no longer works for the [[Trade Authority]]. In fact, he owes them money. [[Oktai Enbayar]] suggested someone in "[[The Sixth Circle]]" bar may know where he's hiding. | ||
===Speak to the Miners at The Sixth Circle=== | ===Speak to the Miners at The Sixth Circle=== | ||
| Line 20: | Line 20: | ||
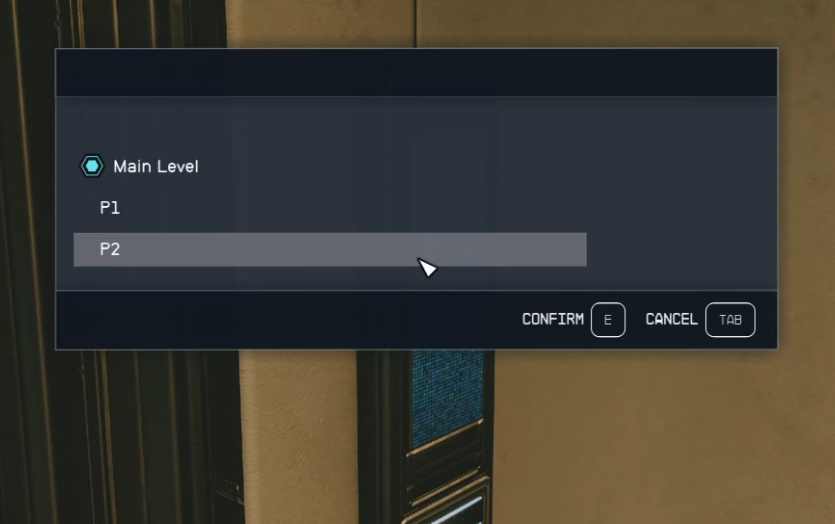
[[File:Starfield_DeliveringDevilsP2_EN.PNG|400px]] | [[File:Starfield_DeliveringDevilsP2_EN.PNG|400px]] | ||
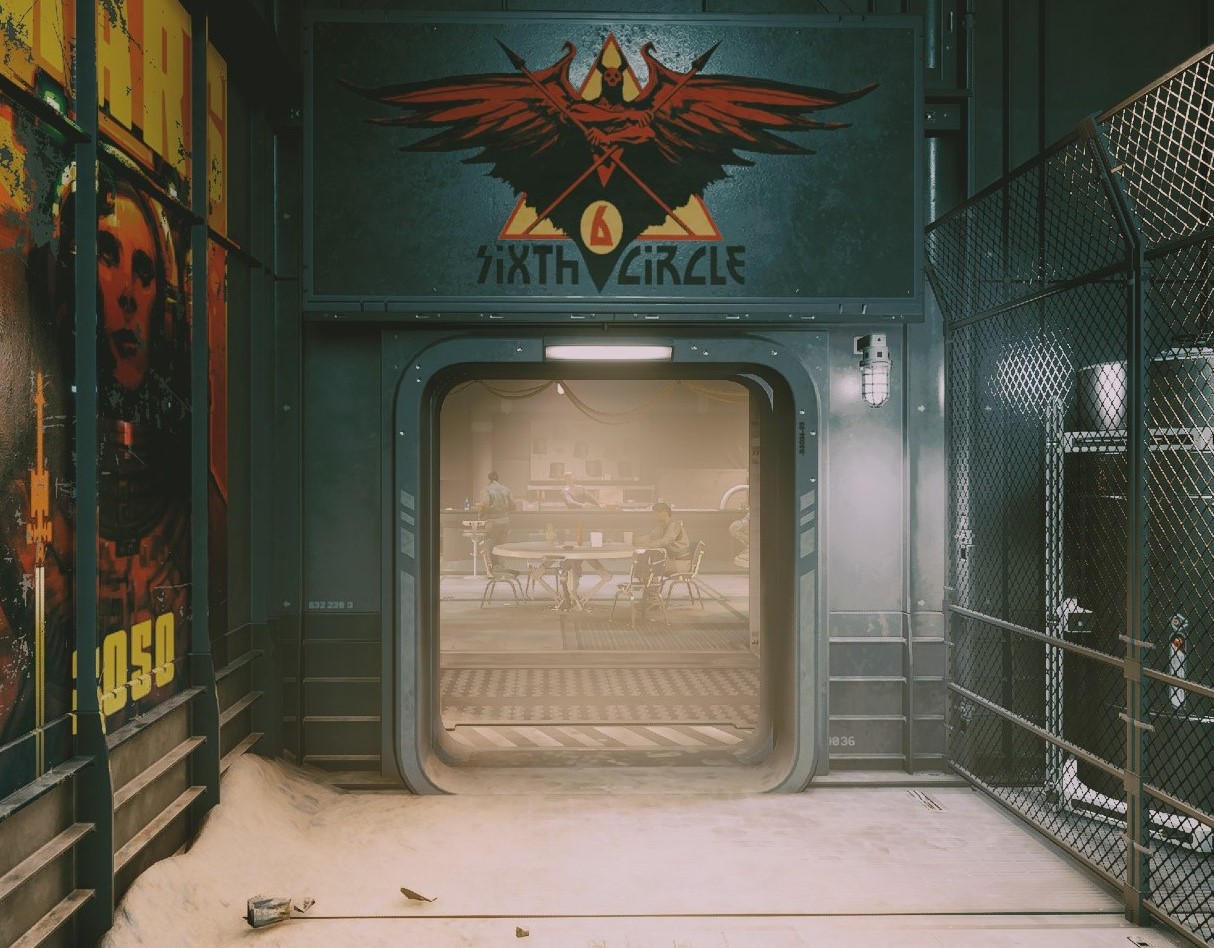
*Exit the elevator and head into the "The Sixth Circle" bar. | *Exit the elevator and head into the "[[The Sixth Circle]]" bar. | ||
[[File:Starfield_DeliveringDevilsSixthCircle_EN.jpg|400px]] | [[File:Starfield_DeliveringDevilsSixthCircle_EN.jpg|400px]] | ||
*Speak to Andy and Lou at the bar. | *Speak to [[Andy]] and [[Lou]] at the bar. | ||
[[File:Starfield_DeliveringDevilsAndy_All.PNG|400px]] | [[File:Starfield_DeliveringDevilsAndy_All.PNG|400px]] | ||
===Speak to the Bartender=== | ===Speak to the Bartender=== | ||
*Talk to Lou. He tells you that Percival might come out of hiding if his dept to the [[Trade Authority]] is paid off. | *Talk to [[Lou]]. He tells you that [[Percival]] might come out of hiding if his dept to the [[Trade Authority]] is paid off. | ||
===Pay off Percival's Dept=== | ===Pay off Percival's Dept=== | ||
*You have three options to clear Percival's Debt: pay it yourself, break into the [[Trade Authority]] to reduce the amount, or clear out the Deep Mines and collect some research for Cambridge. In this walkthrough, we have gone through the steps to collect the research from the [[Abandoned Mine]]s. | *You have three options to clear [[Percival]]'s Debt: pay it yourself, break into the [[Trade Authority]] to reduce the amount, or clear out the [[Deep Mines]] and collect some research for [[Cambridge]]. In this walkthrough, we have gone through the steps to collect the research from the [[Abandoned Mine]]s. | ||
===(Optional Objective: Speak to the Bar Patron)=== | ===(Optional Objective: Speak to the Bar Patron)=== | ||
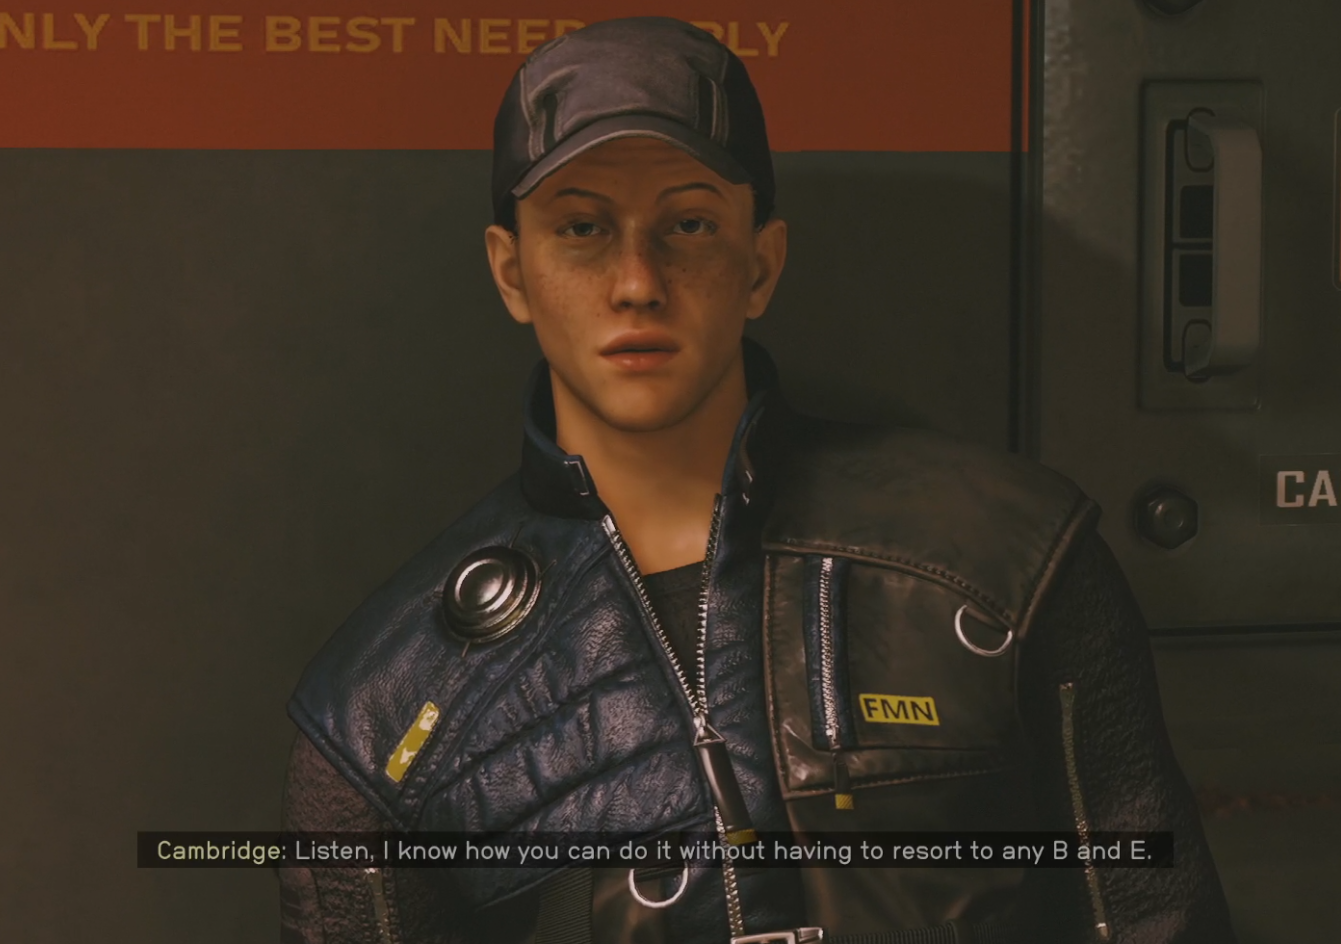
*Talk to Cambridge Cooper. | *Talk to [[Cambridge Cooper]]. | ||
[[File:Starfield_DeliveringDevilsCambridge_EN.PNG|400px]] | [[File:Starfield_DeliveringDevilsCambridge_EN.PNG|400px]] | ||
*He says there is another option that doesn't involve breaking the law. If you give their research on Aqueous Hematite over to Oktai at the [[Trade Authority]], they may waive Percival's debt. This requires you to clear out some [[Spacers]] in the Deep mines in order to obtain the rest of the research. | *He says there is another option that doesn't involve breaking the law. If you give their research on [[Aqueous Hematite]] over to [[Oktai]] at the [[Trade Authority]], they may waive [[Percival]]'s debt. This requires you to clear out some [[Spacers]] in the Deep mines in order to obtain the rest of the research. | ||
===(Optional Objective: Kill the Space Leader in the Deep Mines)=== | ===(Optional Objective: Kill the Space Leader in the Deep Mines)=== | ||
*If you decide to go this route, head to the Main Level using the Elevator after speaking with Cambridge, then exit [[Cydonia]]. | *If you decide to go this route, head to the Main Level using the Elevator after speaking with [[Cambridge]], then exit [[Cydonia]]. | ||
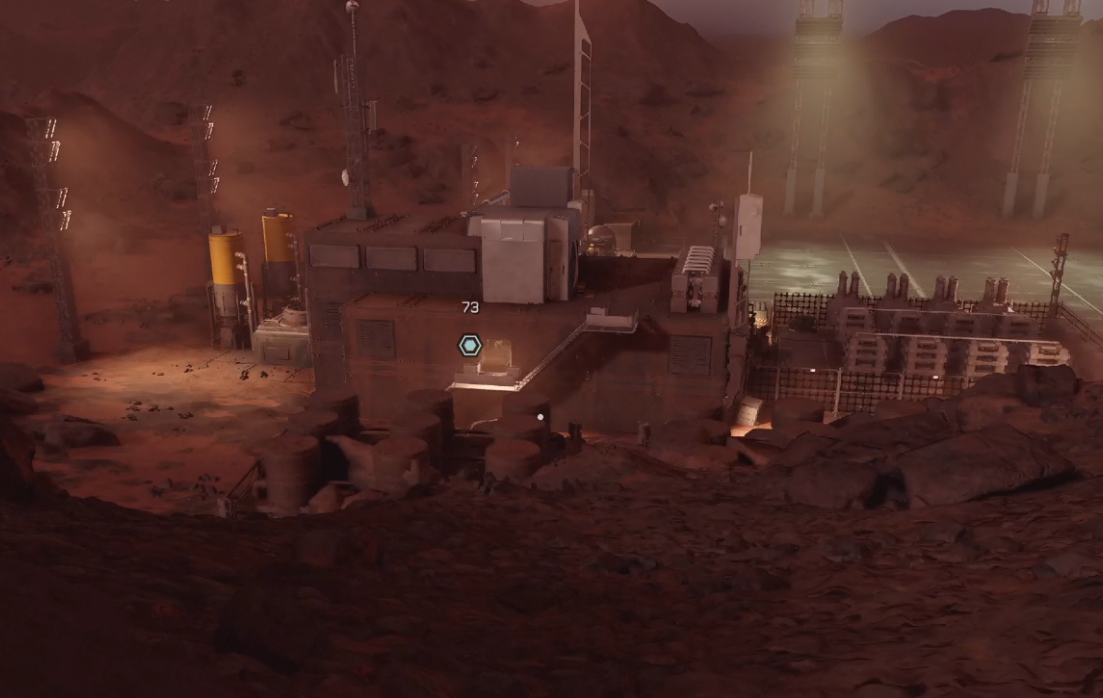
*Head through Mar's Terrain by following the [[mission]] marker to the [[Abandoned Mine]]s. | *Head through Mar's Terrain by following the [[mission]] marker to the [[Abandoned Mine]]s. | ||
| Line 47: | Line 47: | ||
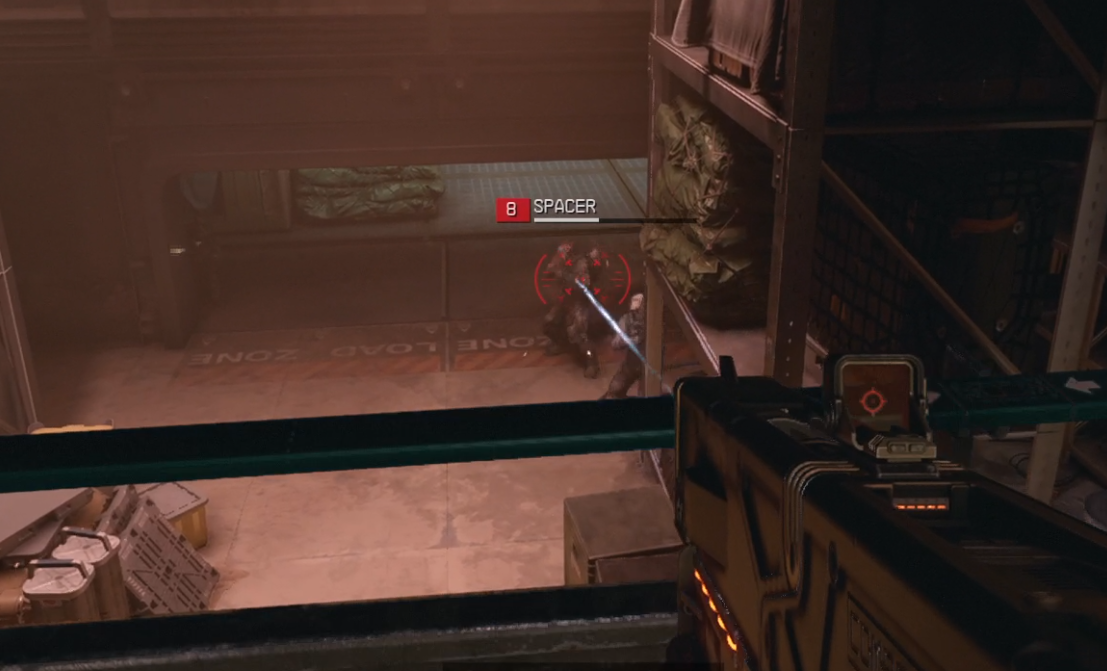
[[File:Starfield_DeliveringDevilsSpacers_EN.PNG|400px]] | [[File:Starfield_DeliveringDevilsSpacers_EN.PNG|400px]] | ||
*Once the Spacer's are cleared out of that main area, go through the yellow door to head deeper into the [[Abandoned Mine]]s. | *Once the [[Spacer]]'s are cleared out of that main area, go through the yellow door to head deeper into the [[Abandoned Mine]]s. | ||
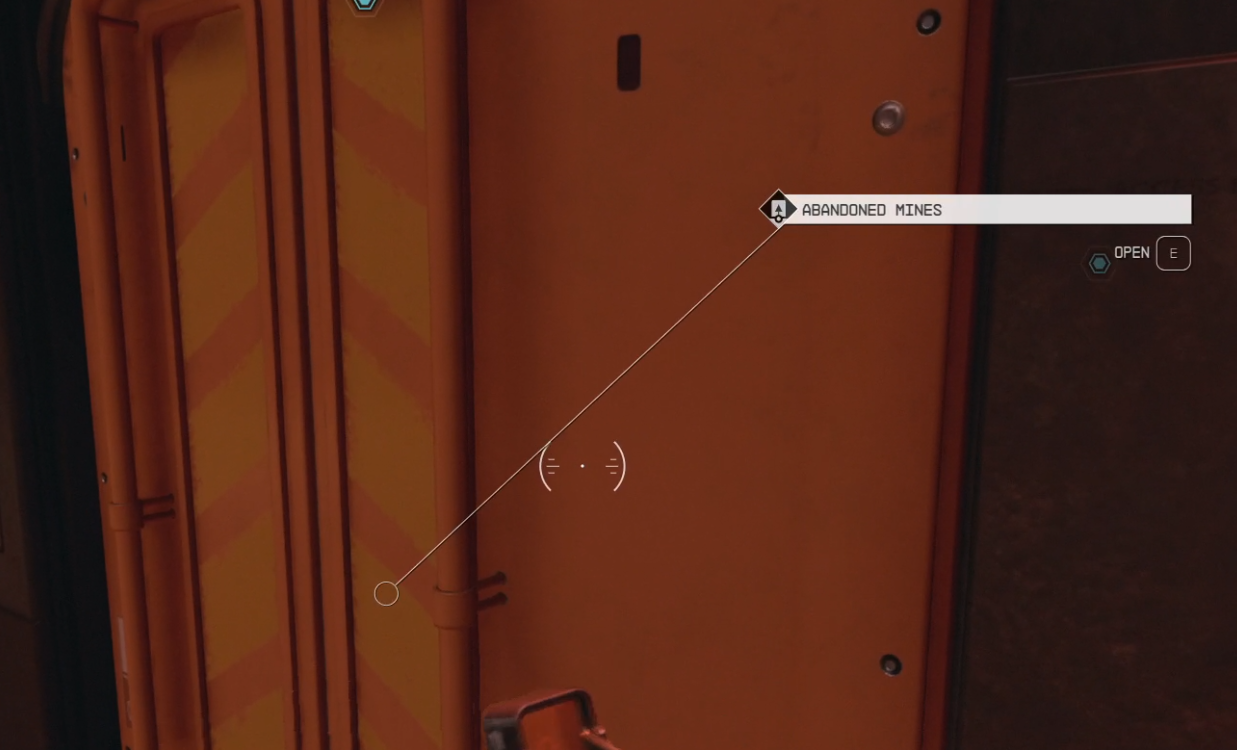
[[File:Starfield_DeliveringDevilsAbandonedMinesDoor_EN.PNG|400px]] | [[File:Starfield_DeliveringDevilsAbandonedMinesDoor_EN.PNG|400px]] | ||
*Continue through the [[Abandoned Mine]]s, taking out more [[Spacers]] as you go. | *Continue through the [[Abandoned Mine]]s, taking out more [[Spacers]] as you go. | ||
*Defeat the Spacer Leader named "Spacer Punk." | *Defeat the [[Spacer Leader]] named "[[Spacer Punk]]." | ||
[[File:Starfield_DeliveringDevilsSpacerPunk_EN.PNG|400px]] | [[File:Starfield_DeliveringDevilsSpacerPunk_EN.PNG|400px]] | ||
===(Optional Objective: Contact Cambridge on the Comms Panel)=== | ===(Optional Objective: Contact Cambridge on the Comms Panel)=== | ||
*After putting down | *After putting down the [[Spacer]]'s leader, head into one of the trailers and speak to [[Cambridge]] through the intercom. | ||
[[File:Starfield_DeliveringDevilsIntercom_EN.PNG|400px]] | [[File:Starfield_DeliveringDevilsIntercom_EN.PNG|400px]] | ||
*He instructs you to grab a Laser [[Cutter]] and collect samples of Hematite to then deposit in the Thresher. He provides you with the passcode for the machine: "Ares2330." | *He instructs you to grab a Laser [[Cutter]] and collect samples of [[Hematite]] to then deposit in the Thresher. He provides you with the passcode for the machine: "Ares2330." | ||
===(Optional Objective: Deposit the Hematite in the Thresher)=== | ===(Optional Objective: Deposit the Hematite in the Thresher)=== | ||
*Head back into the chamber where you came in and collect | *Head back into the chamber where you came in and collect the [[Hematite]] samples with your Laser [[Cutter]]. If you already collected them when taking out the [[Spacer]]'s, you can head straight to the [[Thresher Machine]]. | ||
*Deposit the Hematite into the Thresher. | *Deposit the [[Hematite]] into the Thresher. | ||
[[File:Starfield_DeliveringDevilsThresher_EN.PNG|400px]] | [[File:Starfield_DeliveringDevilsThresher_EN.PNG|400px]] | ||
| Line 73: | Line 73: | ||
===(Optional Objective: Contact Cambridge)=== | ===(Optional Objective: Contact Cambridge)=== | ||
*After collecting Percival and Cambridge's research, head back to the intercom to contact Cambridge. He tells you about the Elevator key you can grab from the Thresher room. | *After collecting [[Percival]] and [[Cambridge]]'s research, head back to the intercom to contact Cambridge. He tells you about the Elevator key you can grab from the Thresher room. | ||
===(Optional Objective: Find the Elevator Key)=== | ===(Optional Objective: Find the Elevator Key)=== | ||
| Line 79: | Line 79: | ||
[[File:Starfield_DeliveringDevilsExitKey_EN.PNG|400px]] | [[File:Starfield_DeliveringDevilsExitKey_EN.PNG|400px]] | ||
*Take the Elevator using the key to exit through the Deep Mines Employee Exit. | *Take the Elevator using the key to exit through the [[Deep Mines]] Employee Exit. | ||
[[File:Starfield_DeliveringElevator_EN.PNG|400px]] | [[File:Starfield_DeliveringElevator_EN.PNG|400px]] | ||
| Line 85: | Line 85: | ||
===(Optional Objective: Return the Data to Cambridge)=== | ===(Optional Objective: Return the Data to Cambridge)=== | ||
*Return to your [[ship]] or use the map to fast travel back to [[Cydonia]]. | *Return to your [[ship]] or use the map to fast travel back to [[Cydonia]]. | ||
*Make your way back to Cambridge at the Sixth Circle. | *Make your way back to [[Cambridge]] at the [[Sixth Circle]]. | ||
[[File:Starfield_DeliveringDevilsReturntoCambridge_EN.PNG|400px]] | [[File:Starfield_DeliveringDevilsReturntoCambridge_EN.PNG|400px]] | ||
*He advises you to take the data to Oktai at the [[Trade Authority]] in order to clear Percival's debt. | *He advises you to take the data to [[Oktai]] at the [[Trade Authority]] in order to clear [[Percival]]'s debt. | ||
===(Optional Objective: Use Cambridge's Data to Clear Percival's Debt)=== | ===(Optional Objective: Use Cambridge's Data to Clear Percival's Debt)=== | ||
| Line 94: | Line 94: | ||
[[File:Starfield_DeliveringDevilsMainLevel_EN.PNG|400px]] | [[File:Starfield_DeliveringDevilsMainLevel_EN.PNG|400px]] | ||
*Head to the [[Trade Authority]] and speak to Oktai Enbayar. | *Head to the [[Trade Authority]] and speak to [[Oktai Enbayar]]. | ||
[[File:Starfield_DeliveringDevilsOktaiTrade_EN.PNG|400px]] | [[File:Starfield_DeliveringDevilsOktaiTrade_EN.PNG|400px]] | ||
*After convincing Oktai to clear Percival's debt, head back to the Sixth Circle to find out Percival's location. | *After convincing [[Oktai]] to clear [[Percival]]'s debt, head back to the [[Sixth Circle]] to find out Percival's location. | ||
===Speak to Lou=== | ===Speak to Lou=== | ||
*Lou tells you that Percival is held up in the old Red Devils Head Quarters. He gives you the drill waste room key to allow you to get through the Deep Mines to reach it. | *[[Lou]] tells you that [[Percival]] is held up in the old [[Red Devils Head Quarters]]. He gives you the drill waste room key to allow you to get through the [[Deep Mines]] to reach it. | ||
===Find Percival=== | ===Find Percival=== | ||
*Travel to the Deep Mines. | *Travel to the [[Deep Mines]]. | ||
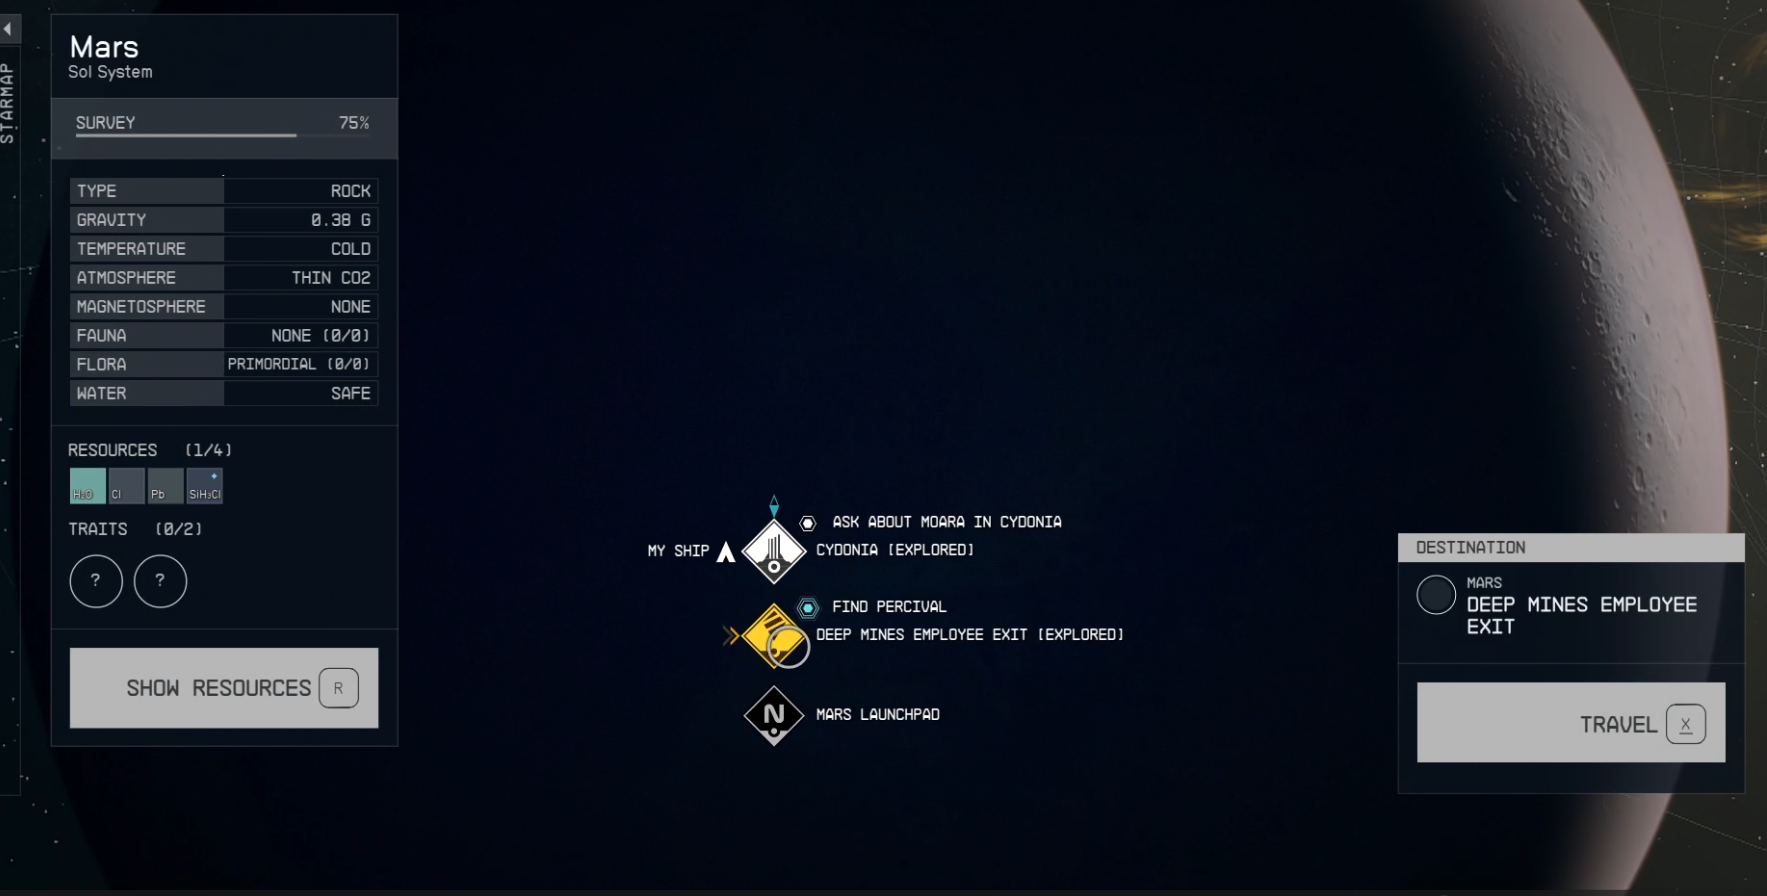
[[File:Starfield_DeliveringDevilsDeepMines_EN.PNG|400px]] | [[File:Starfield_DeliveringDevilsDeepMines_EN.PNG|400px]] | ||
| Line 109: | Line 109: | ||
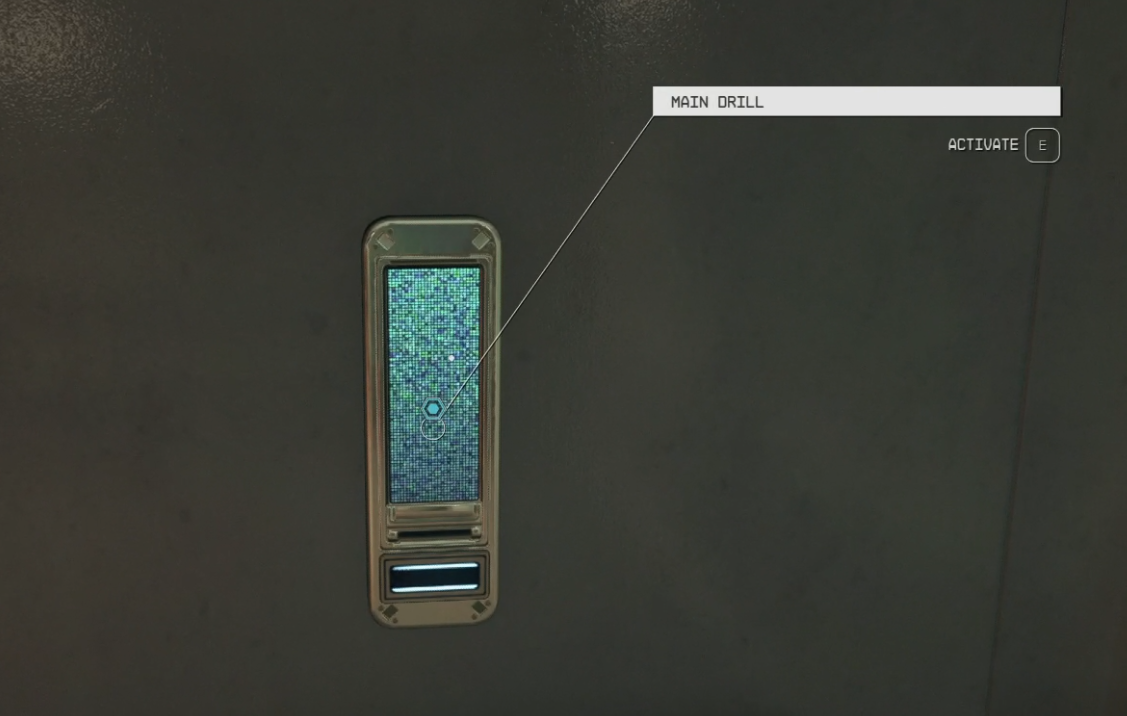
[[File:Starfield_DeliveringDevilsMainDrill_EN.PNG|400px]] | [[File:Starfield_DeliveringDevilsMainDrill_EN.PNG|400px]] | ||
*Head through the Mine to the Drill Waste Room. If you already cleared the Spacer's during the optional objective to obtain the Hematite research, the area will be clear. | *Head through the Mine to the [[Drill Waste Room]]. If you already cleared the [[Spacer]]'s during the optional objective to obtain the [[Hematite]] research, the area will be clear. | ||
[[File:Starfield_DeliveringDevilsDrillWasteRoom_EN.PNG|400px]] | [[File:Starfield_DeliveringDevilsDrillWasteRoom_EN.PNG|400px]] | ||
| Line 115: | Line 115: | ||
[[File:Starfield_DeliveringDevilsMassiveStructure_All.PNG|400px]] | [[File:Starfield_DeliveringDevilsMassiveStructure_All.PNG|400px]] | ||
*Speak to Percival. | *Speak to [[Percival]]. | ||
[[File:Starfield_DeliveringDevilsPercival_All.PNG|400px]] | [[File:Starfield_DeliveringDevilsPercival_All.PNG|400px]] | ||
===Follow Percival=== | ===Follow Percival=== | ||
*After giving Percival the [[Terrormorph]] [[Sam]]ple, follow him to the [[Research Station]]. | *After giving [[Percival]] the [[Terrormorph]] [[Sam]]ple, follow him to the [[Research Station]]. | ||
[[File:Starfield_DeliveringDevilsFollowPercival_ALL.PNG|400px]] | [[File:Starfield_DeliveringDevilsFollowPercival_ALL.PNG|400px]] | ||
===Meet Hadrian at the Sixth Cricle=== | ===Meet Hadrian at the Sixth Cricle=== | ||
*Percival analyzed the sample and confirmed [[Hadrian]]s suspicion - it's just like the one from Londinion - a city destroyed by the [[Terrormorph]]s. Now you must make your way back to the "Sixth Circle" to speak with Hadrian. | *[[Percival]] analyzed the sample and confirmed [[Hadrian]]s suspicion - it's just like the one from [[Londinion]] - a city destroyed by the [[Terrormorph]]s. Now you must make your way back to the "[[Sixth Circle]]" to speak with Hadrian. | ||
*[[Fast Travel]] back to [[Cydonia]] and make your way to the Sixth Circle where [[Hadrian]] is waiting out front. | *[[Fast Travel]] back to [[Cydonia]] and make your way to the [[Sixth Circle]] where [[Hadrian]] is waiting out front. | ||
[[File:Starfield_DeliveringDevilsHadrian_All.PNG|400px]] | [[File:Starfield_DeliveringDevilsHadrian_All.PNG|400px]] | ||
===Follow Hadrian=== | ===Follow Hadrian=== | ||
*Follow [[Hadrian]] and Percival to the backroom of the Sixth Circle and speak to Hadrian. | *Follow [[Hadrian]] and [[Percival]] to the backroom of the [[Sixth Circle]] and speak to Hadrian. | ||
*You learn that the data needed to decipher what the Terrormoph data means is sitting in the Archives which is heavily restricted and monitored. You will need to convince the Cabinet to provide you access to those Archives. | *You learn that the data needed to decipher what the Terrormoph data means is sitting in [[the Archives]] which is heavily restricted and monitored. You will need to convince [[the Cabinet]] to provide you access to those Archives. | ||
*Meet [[Hadrian]] at in [[New Atlantis]] to continue with the quest Eyewitness. | *Meet [[Hadrian]] at in [[New Atlantis]] to continue with the quest [[Eyewitness]]. | ||
Revision as of 15:58, 12 September 2023
Tips and Tricks
- You may obtain the "Secret Outpost" slate off of the body of a dead Spacer during the optional Objective to enter the Abandoned Mines. This will provide you with the mission: Mantis.
- You can use your Scanner to bring up the Map of Mars and fast travel more easily back to Cydonia from the Abandoned Mines.
Objectives
Ask about Percival at the Trade Authority
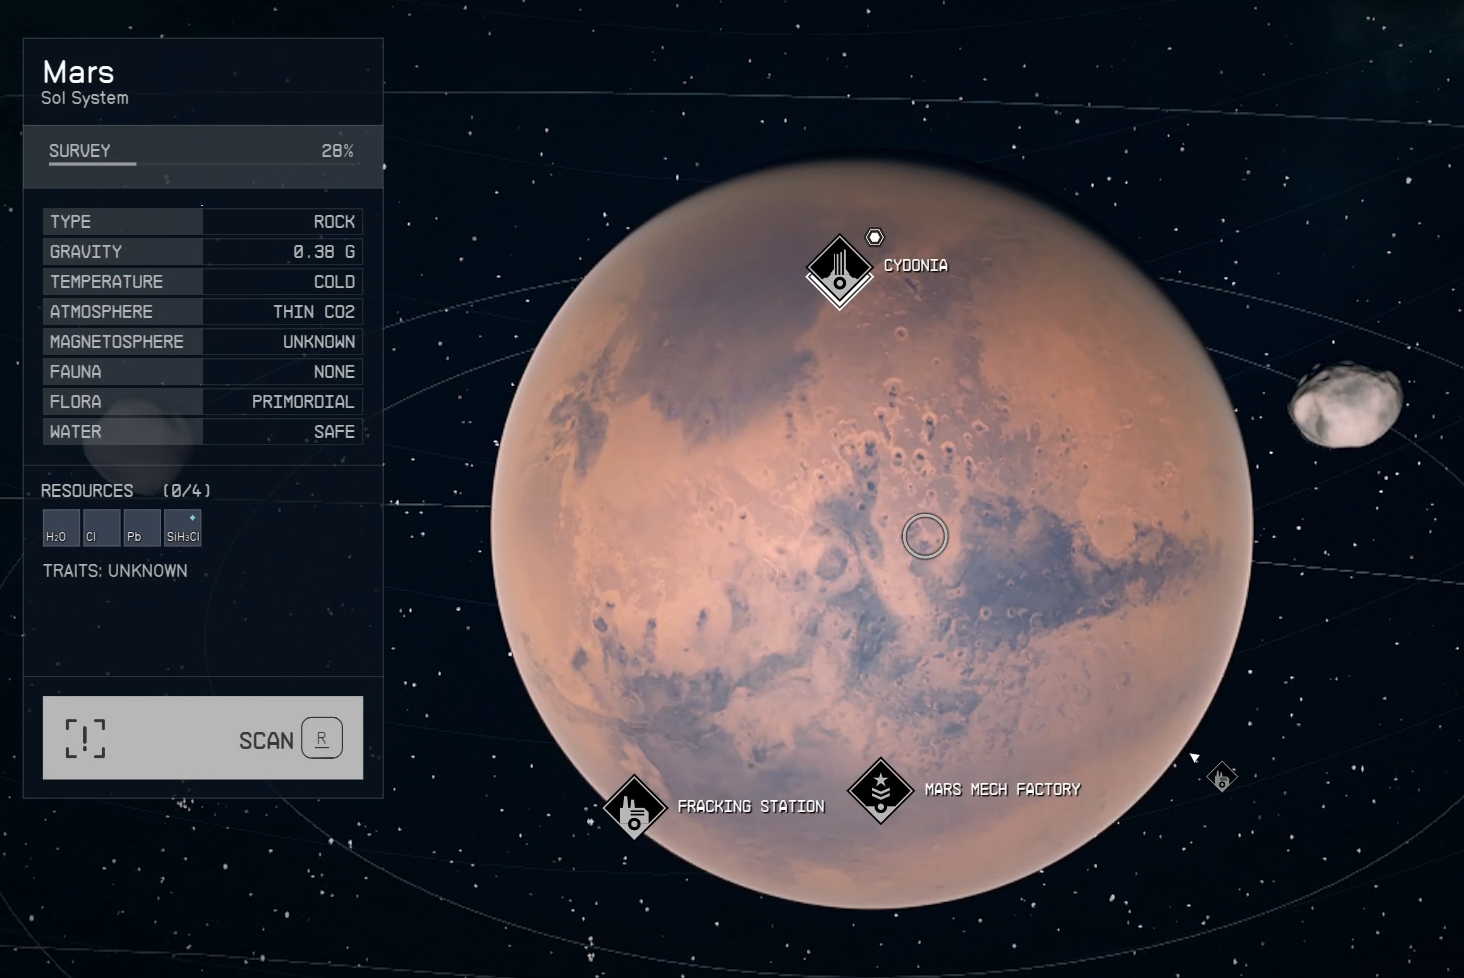
- Navigate to Mars in the Sol System and land in Cydonia.
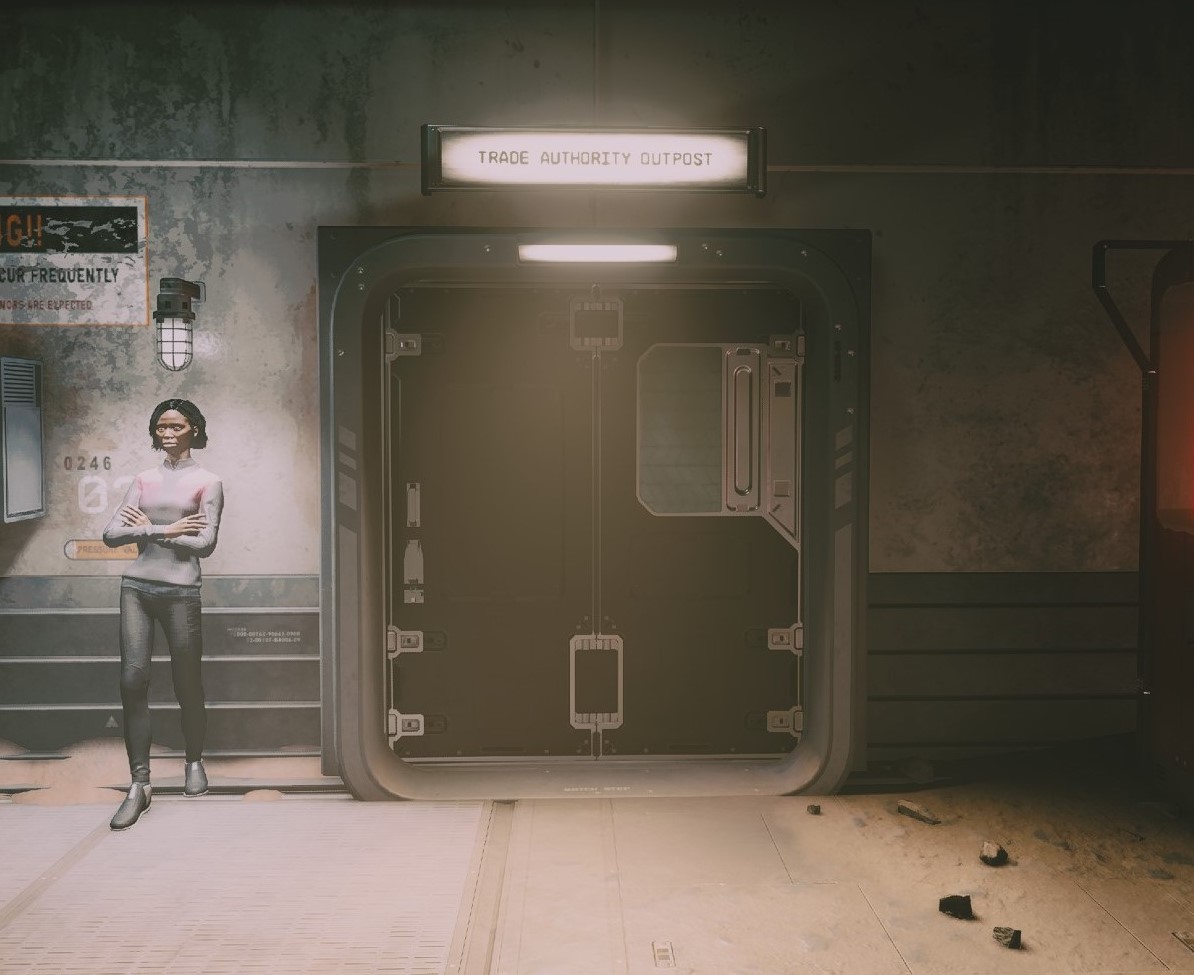
- Head to the Trade Authority Outpost.
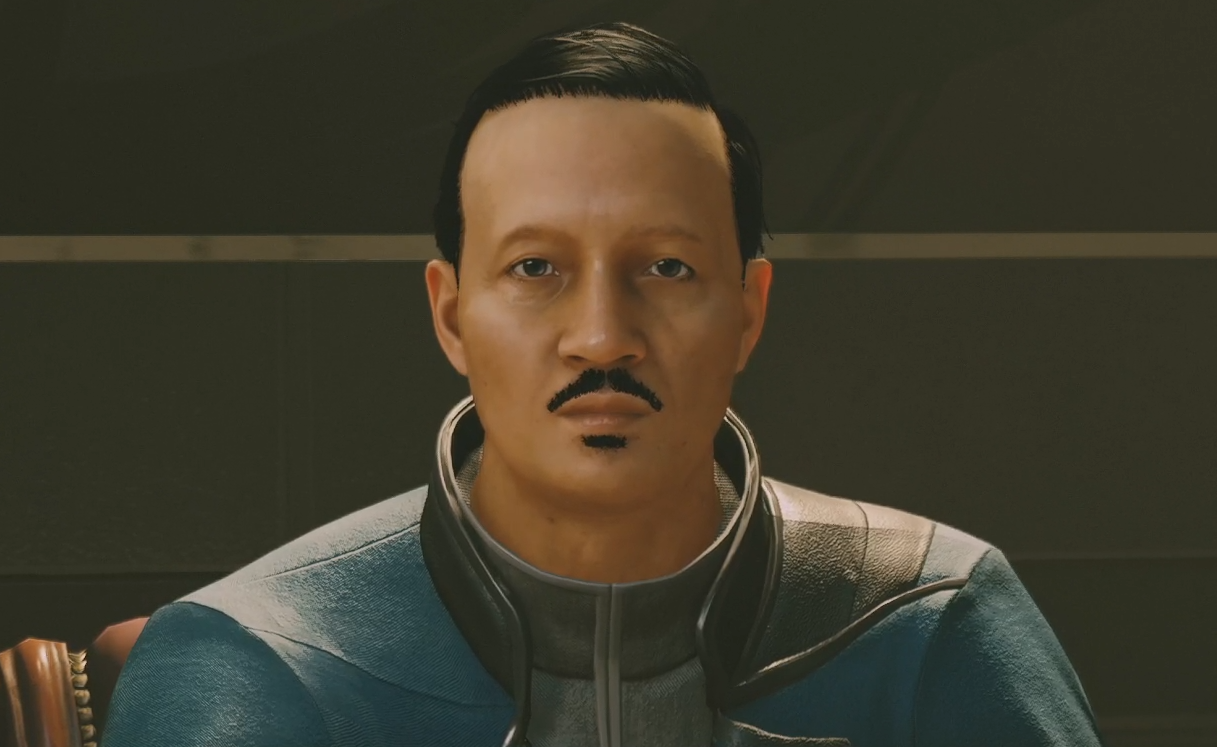
- Speak to Oktai Enbayar.
- Turns out Percival no longer works for the Trade Authority. In fact, he owes them money. Oktai Enbayar suggested someone in "The Sixth Circle" bar may know where he's hiding.
Speak to the Miners at The Sixth Circle
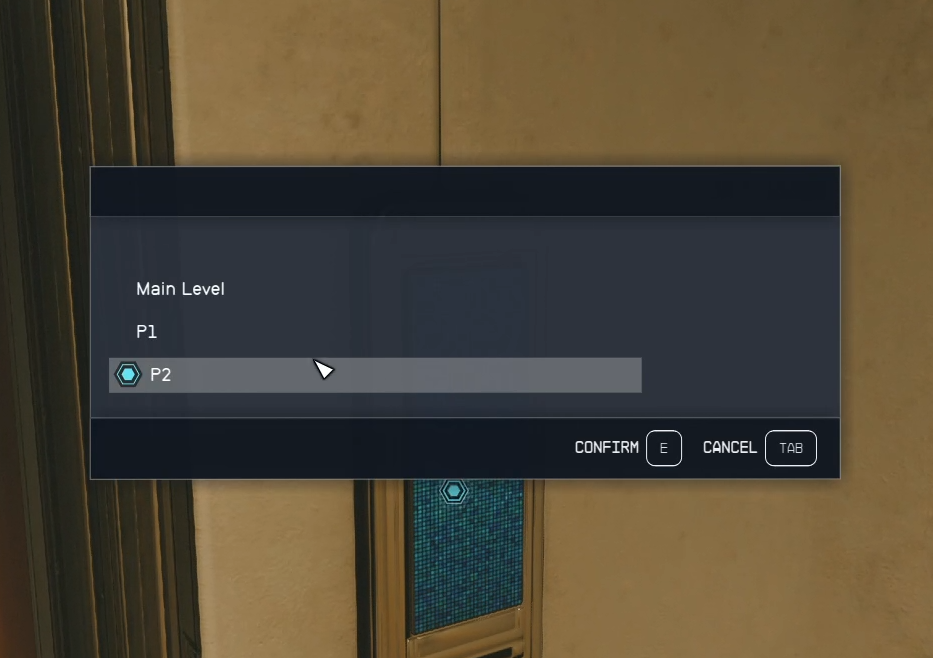
- Head down the stairs from the Trade AAuthority and take the Elevator on the right to P2.
- Exit the elevator and head into the "The Sixth Circle" bar.
Speak to the Bartender
- Talk to Lou. He tells you that Percival might come out of hiding if his dept to the Trade Authority is paid off.
Pay off Percival's Dept
- You have three options to clear Percival's Debt: pay it yourself, break into the Trade Authority to reduce the amount, or clear out the Deep Mines and collect some research for Cambridge. In this walkthrough, we have gone through the steps to collect the research from the Abandoned Mines.
(Optional Objective: Speak to the Bar Patron)
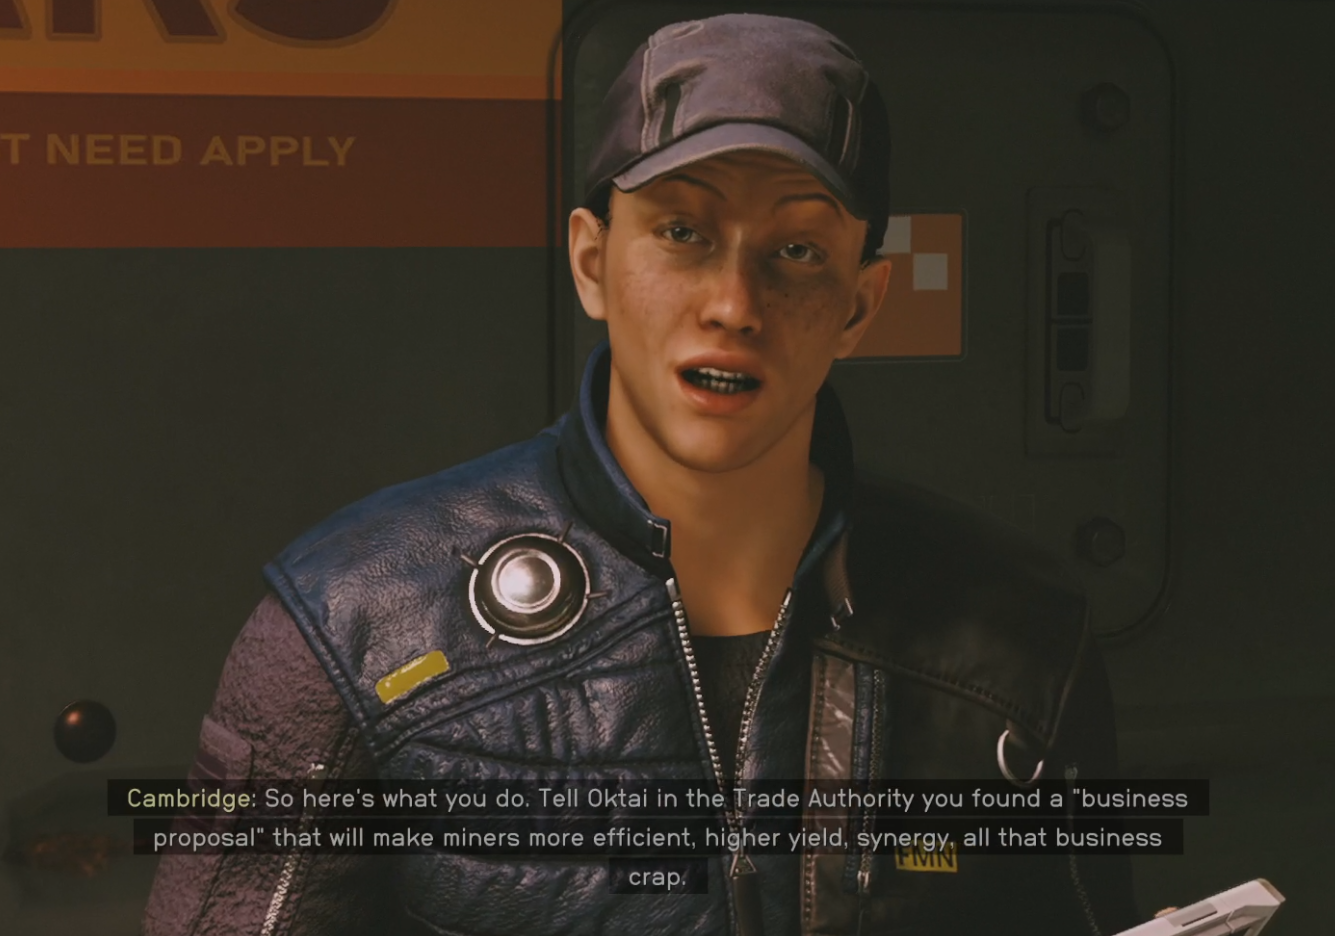
- Talk to Cambridge Cooper.
- He says there is another option that doesn't involve breaking the law. If you give their research on Aqueous Hematite over to Oktai at the Trade Authority, they may waive Percival's debt. This requires you to clear out some Spacers in the Deep mines in order to obtain the rest of the research.
(Optional Objective: Kill the Space Leader in the Deep Mines)
- If you decide to go this route, head to the Main Level using the Elevator after speaking with Cambridge, then exit Cydonia.
- Head through Mar's Terrain by following the mission marker to the Abandoned Mines.
- Head into the building and take out the Spacers.
- Once the Spacer's are cleared out of that main area, go through the yellow door to head deeper into the Abandoned Mines.
- Continue through the Abandoned Mines, taking out more Spacers as you go.
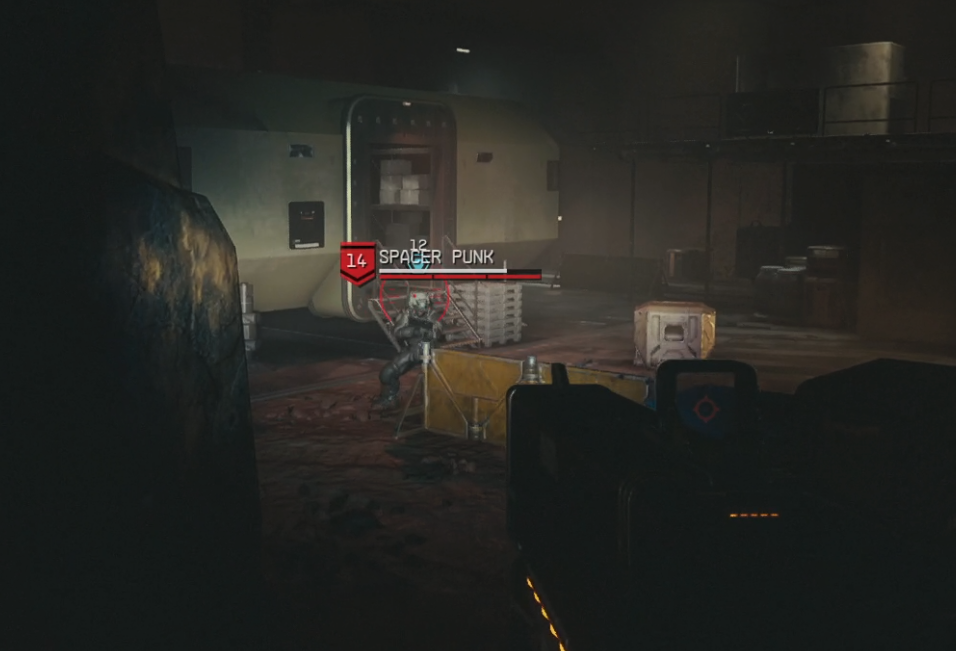
- Defeat the Spacer Leader named "Spacer Punk."
(Optional Objective: Contact Cambridge on the Comms Panel)
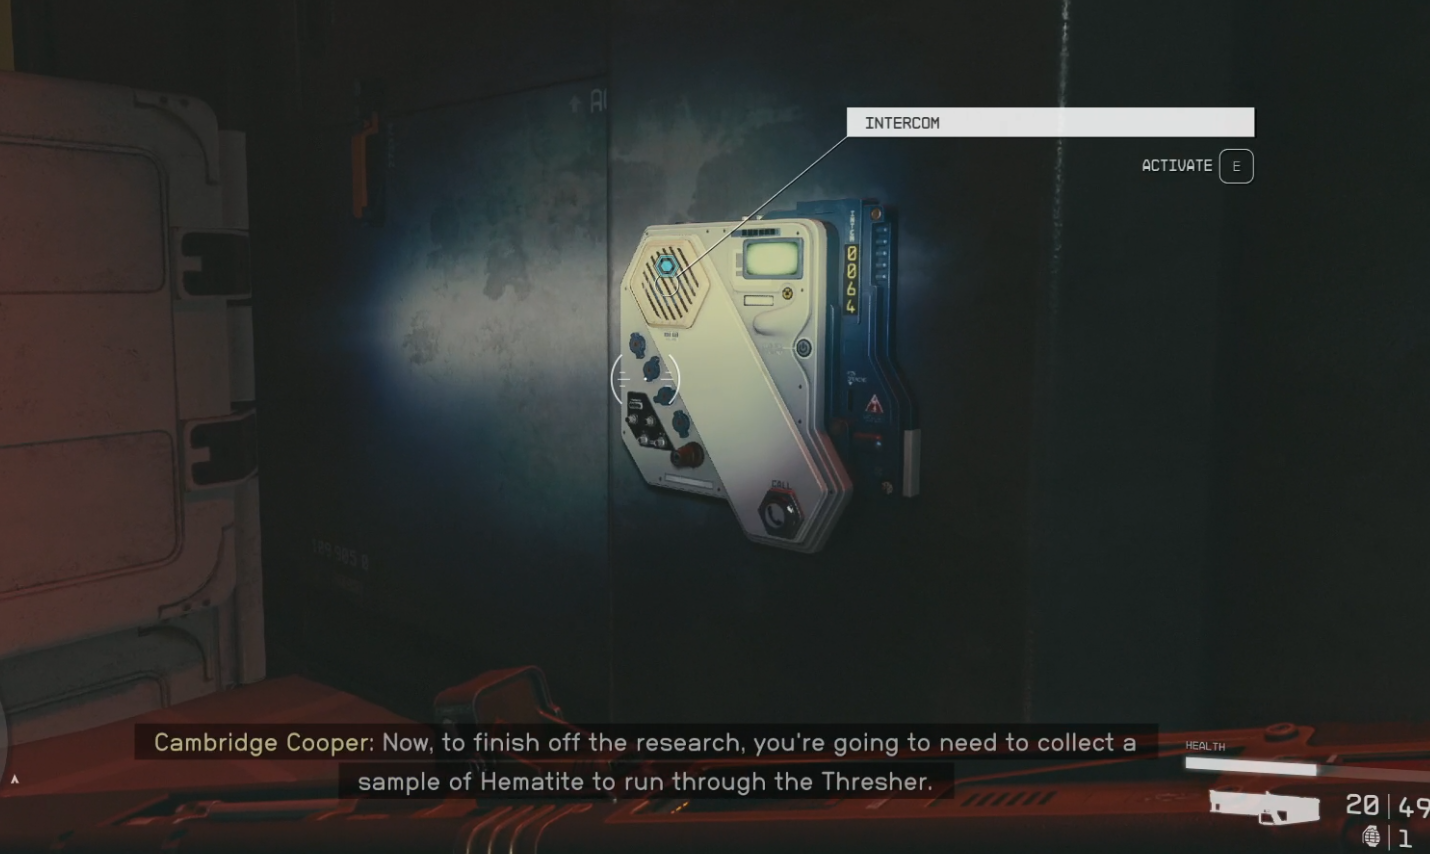
- After putting down the Spacer's leader, head into one of the trailers and speak to Cambridge through the intercom.
- He instructs you to grab a Laser Cutter and collect samples of Hematite to then deposit in the Thresher. He provides you with the passcode for the machine: "Ares2330."
(Optional Objective: Deposit the Hematite in the Thresher)
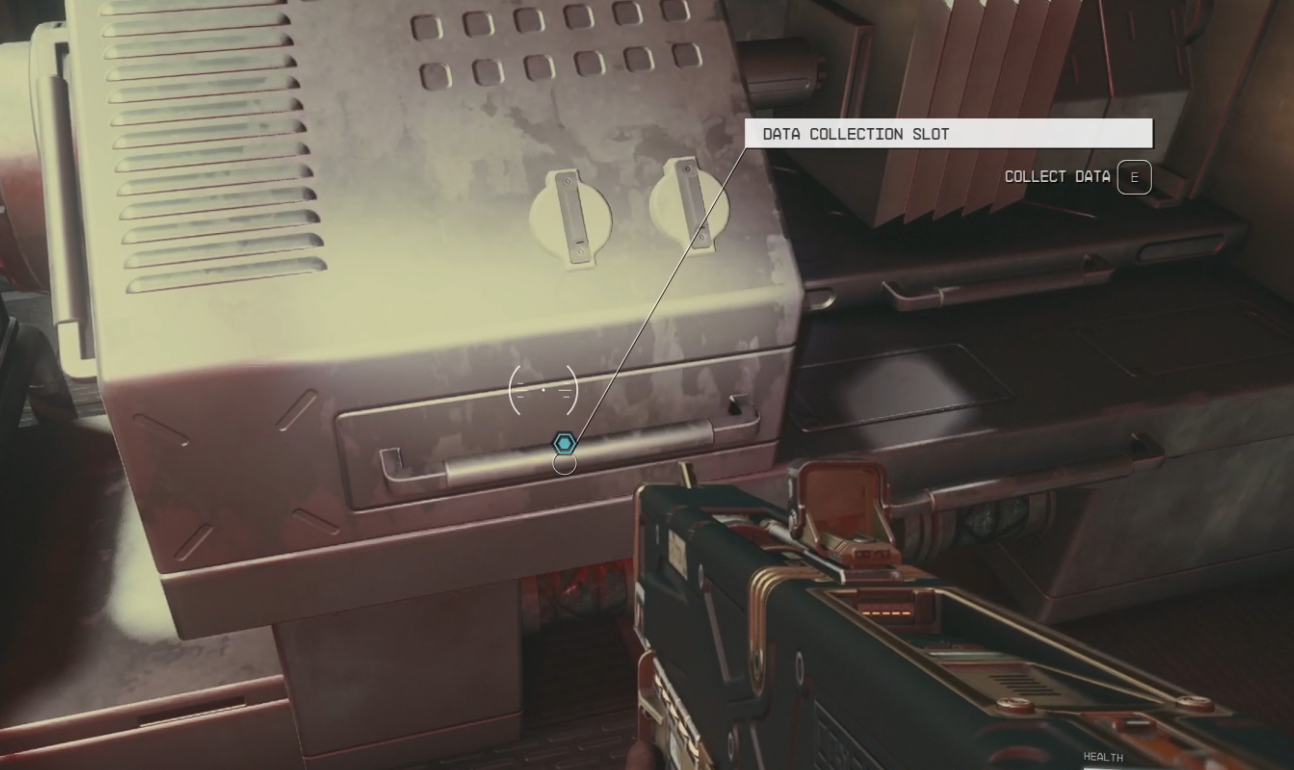
- Head back into the chamber where you came in and collect the Hematite samples with your Laser Cutter. If you already collected them when taking out the Spacer's, you can head straight to the Thresher Machine.
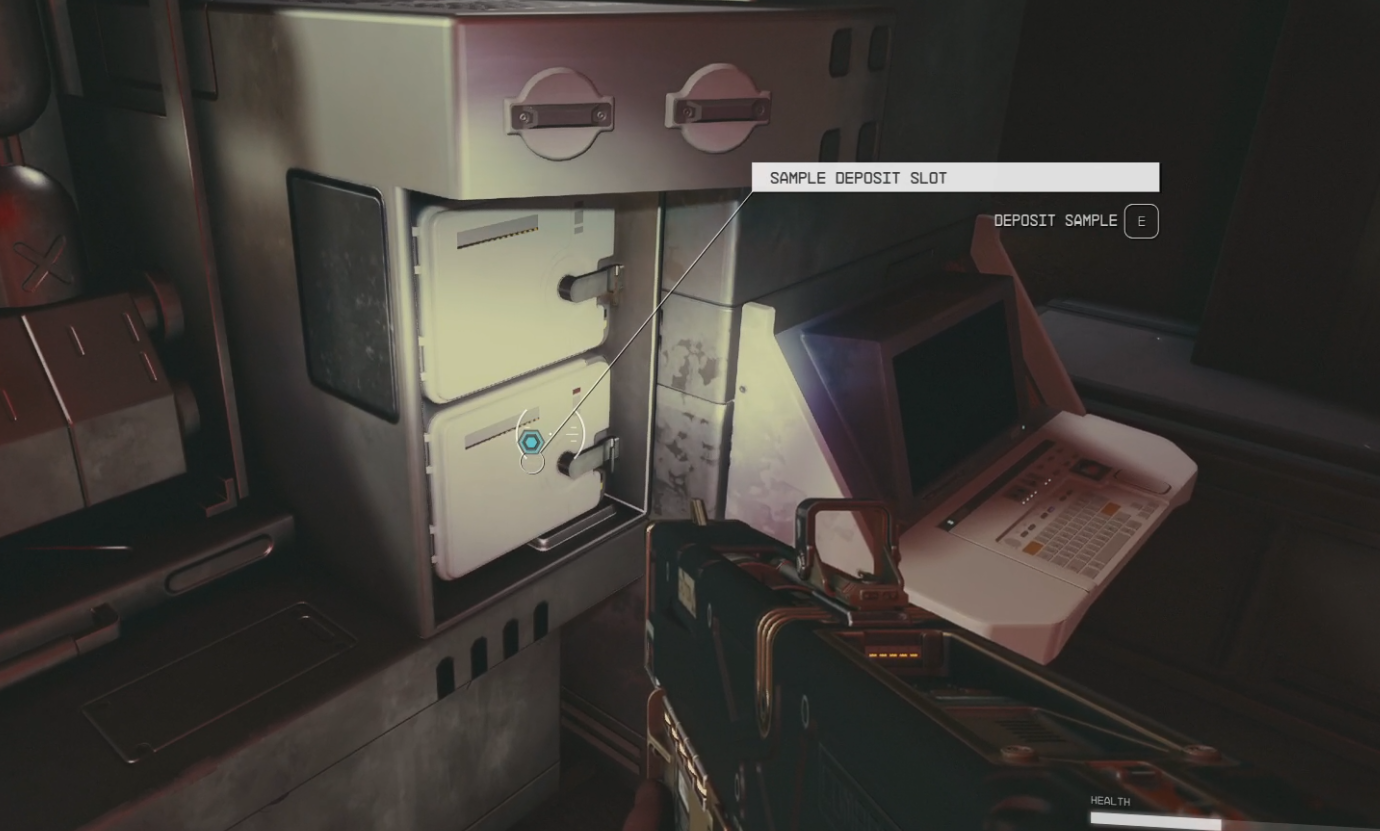
- Deposit the Hematite into the Thresher.
(Optional Objective: Wait for the Thresher to Complete the Analysis)
- Wait for the Thresher to do its thing and then collect the results.
(Optional Objective: Contact Cambridge)
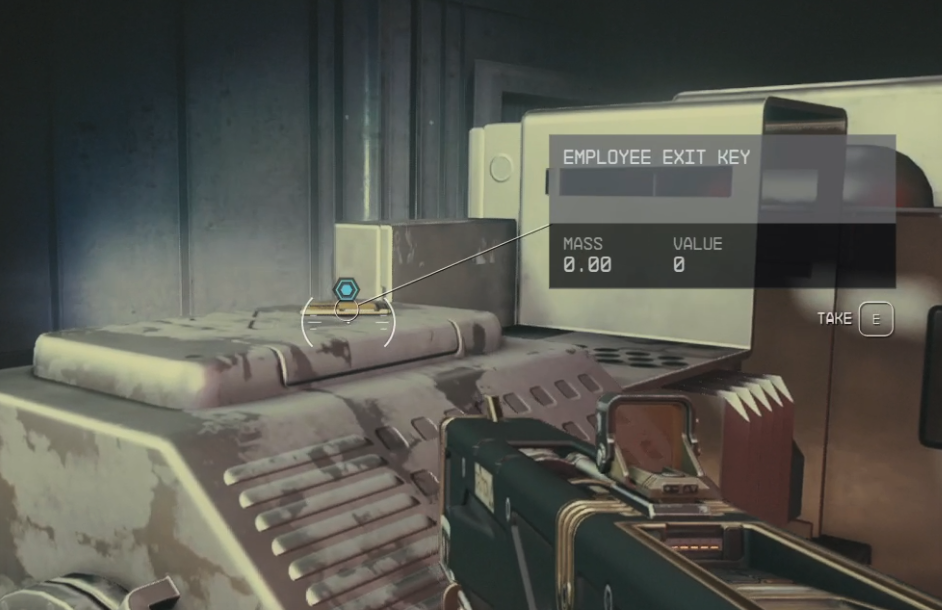
- After collecting Percival and Cambridge's research, head back to the intercom to contact Cambridge. He tells you about the Elevator key you can grab from the Thresher room.
(Optional Objective: Find the Elevator Key)
- Pick up the Elevator Key from the Thresher room.
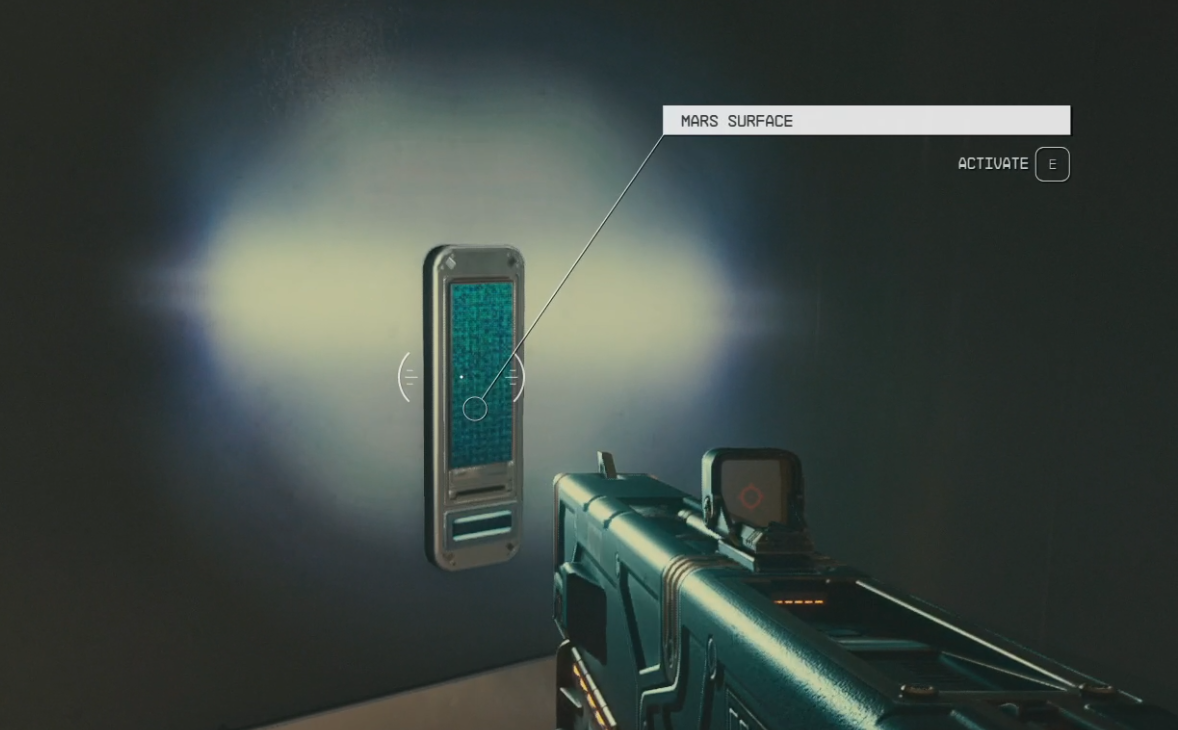
- Take the Elevator using the key to exit through the Deep Mines Employee Exit.
(Optional Objective: Return the Data to Cambridge)
- Return to your ship or use the map to fast travel back to Cydonia.
- Make your way back to Cambridge at the Sixth Circle.
- He advises you to take the data to Oktai at the Trade Authority in order to clear Percival's debt.
(Optional Objective: Use Cambridge's Data to Clear Percival's Debt)
- Take the Elevator to the Main level.
- Head to the Trade Authority and speak to Oktai Enbayar.
- After convincing Oktai to clear Percival's debt, head back to the Sixth Circle to find out Percival's location.
Speak to Lou
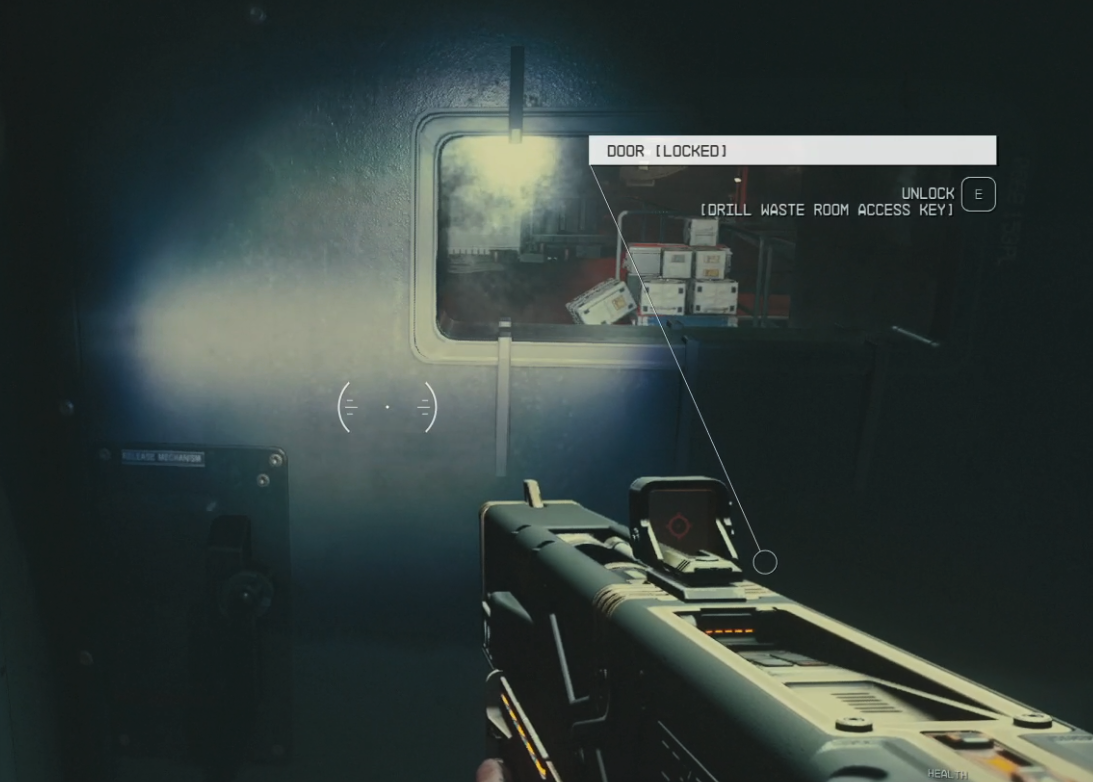
- Lou tells you that Percival is held up in the old Red Devils Head Quarters. He gives you the drill waste room key to allow you to get through the Deep Mines to reach it.
Find Percival
- Travel to the Deep Mines.
- Take the Elevator to the Main Drill.
- Head through the Mine to the Drill Waste Room. If you already cleared the Spacer's during the optional objective to obtain the Hematite research, the area will be clear.
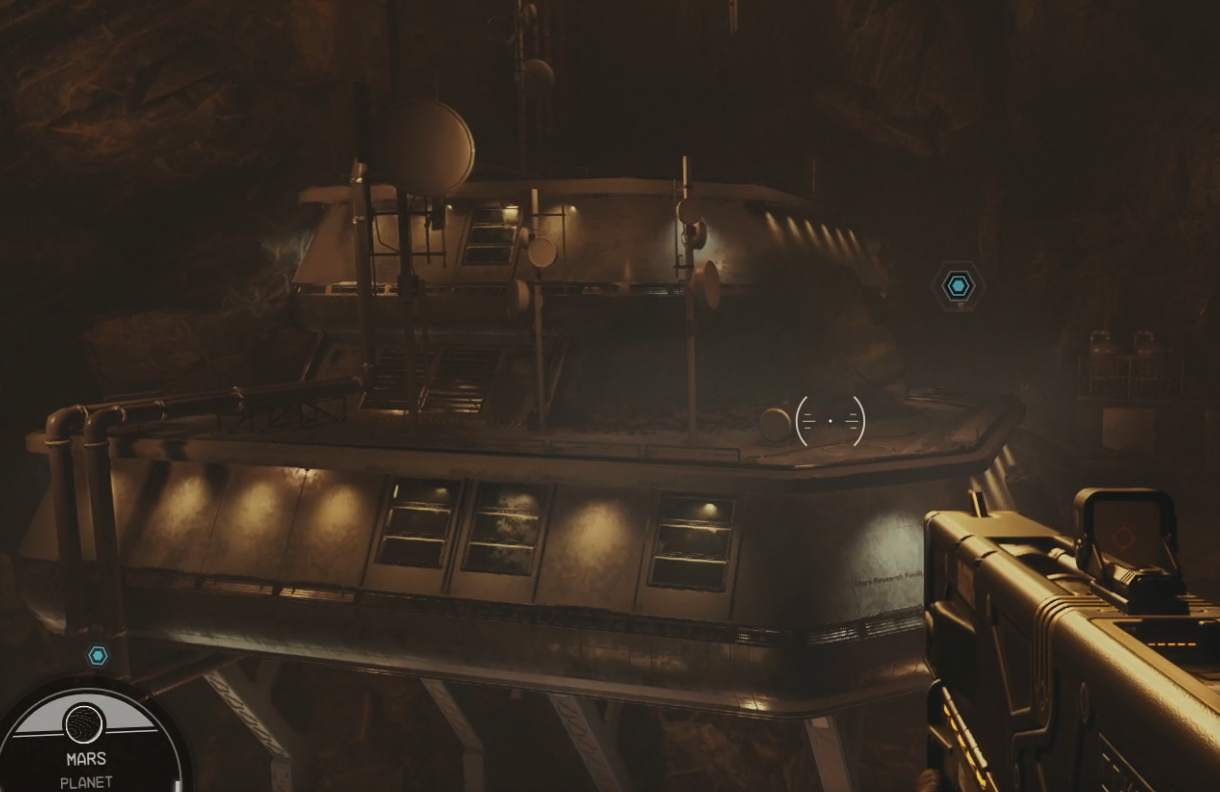
- Make your way through the Mines to the massive structure.
- Speak to Percival.
Follow Percival
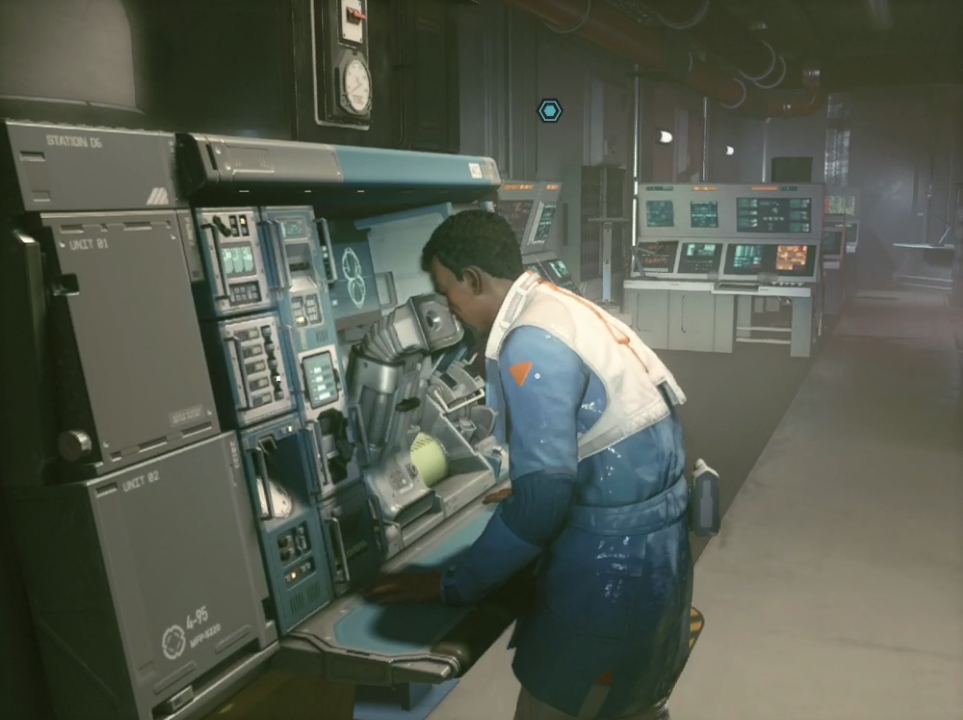
- After giving Percival the Terrormorph Sample, follow him to the Research Station.
Meet Hadrian at the Sixth Cricle
- Percival analyzed the sample and confirmed Hadrians suspicion - it's just like the one from Londinion - a city destroyed by the Terrormorphs. Now you must make your way back to the "Sixth Circle" to speak with Hadrian.
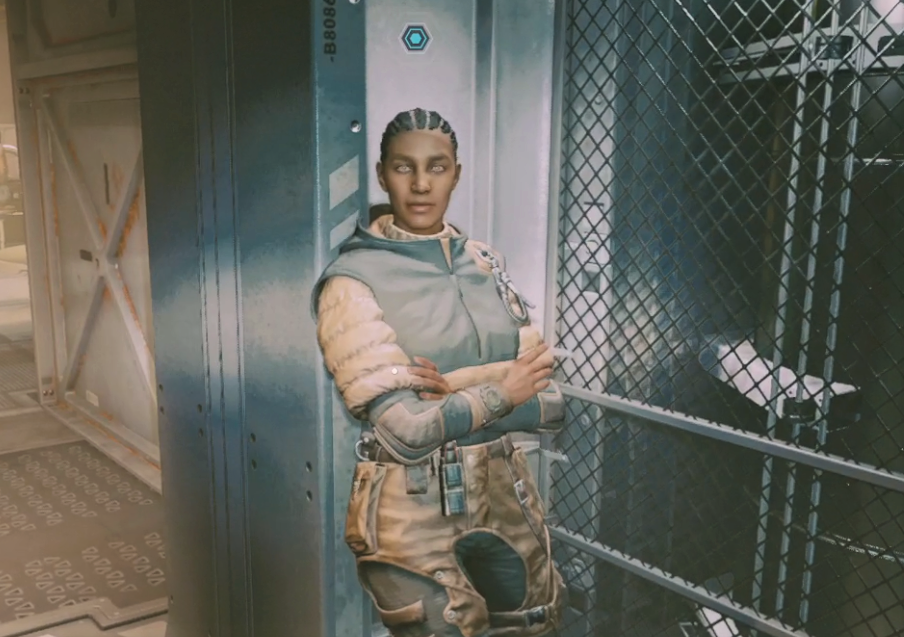
- Fast Travel back to Cydonia and make your way to the Sixth Circle where Hadrian is waiting out front.
Follow Hadrian
- Follow Hadrian and Percival to the backroom of the Sixth Circle and speak to Hadrian.
- You learn that the data needed to decipher what the Terrormoph data means is sitting in the Archives which is heavily restricted and monitored. You will need to convince the Cabinet to provide you access to those Archives.
- Meet Hadrian at in New Atlantis to continue with the quest Eyewitness.


