Grunt Work: Difference between revisions
Sneaky pete (talk | contribs) (Created page with "==Tips and Tricks== *Once the tracking system is turned on and tuned, you can keep track of the distance between the Terrormorph and your current location. This is useful if completing the optional objective to Restore Power to the Kill Lanes before defeating the Terrormorph. ==Objectives== ===Speak to Crew Chief Herath at The New Atlantis Spaceport=== *Take the New Atlantis Transit to the New Atlantis Spaceport and make your way to your ship. [...") |
Sneaky pete (talk | contribs) No edit summary |
||
| (6 intermediate revisions by the same user not shown) | |||
| Line 1: | Line 1: | ||
{{Mission Infobox | |||
|Image = Starfield_GruntWork2ChiefKaneHerath_EN.png | |||
|Name = Grunt Work | |||
|Type = United Colonies Mission | |||
|Number = 2 | |||
|Level = | |||
|Requirement = | |||
|Location = [[Jemison]] - [[MAST District]] - [[MAST Lobby]] / [[Commander Tuala's Office]] | |||
|Starting NPC = Commander Tuala | |||
|Description = Commander Tuala directed me to speak to Crew Chief Herath at The New Atlantis Spaceport in order to collect the materials I’ll be delivering to Tay Ceti II. | |||
|Achievement = | |||
|Previous = Supra et Ultra | |||
|Next = Delivering Devils | |||
|Patch = 1.0 | |||
}} | |||
==Walkthrough== | |||
==Tips and Tricks== | ==Tips and Tricks== | ||
*Once the | *Once the [[tracking system]] is turned on and tuned, you can keep track of the distance between the [[Terrormorph]] and your current location. This is useful if completing the optional objective to [[Restore Power]] to the [[Kill Lanes]] before defeating the Terrormorph. | ||
==Objectives== | ==Objectives== | ||
| Line 7: | Line 26: | ||
[[File:Starfield_GruntWork1Spaceport_EN.PNG|400px]] | [[File:Starfield_GruntWork1Spaceport_EN.PNG|400px]] | ||
*Speak to Crew Chief Kane Herath who will then add the repair materials to deliver to Tau Ceti II. | *Speak to [[Crew Chief]] [[Kane Herath]] who will then add the repair materials to deliver to [[Tau Ceti II]]. | ||
[[File:Starfield_GruntWork2ChiefKaneHerath_EN.png|400px]] | [[File:Starfield_GruntWork2ChiefKaneHerath_EN.png|400px]] | ||
===Make contact with the settlers on Tau Ceti II=== | ===Make contact with the settlers on Tau Ceti II=== | ||
*Enter your [[ship]] and Jump to the Tau Ceti System. | *Enter your [[ship]] and Jump to the [[Tau Ceti System]]. | ||
[[File:Starfield_GruntWork3TAUCetiJump_EN.PNG|400px]] | [[File:Starfield_GruntWork3TAUCetiJump_EN.PNG|400px]] | ||
*Open the [[planet]] Map and land at the Tau Gourmet Production Center. | *Open the [[planet]] Map and land at the [[Tau Gourmet Production Center]]. | ||
[[File:Starfield_GruntWork4TauGourmetCenter_EN.PNG|400px]] | [[File:Starfield_GruntWork4TauGourmetCenter_EN.PNG|400px]] | ||
| Line 26: | Line 45: | ||
===Speak to the Woman=== | ===Speak to the Woman=== | ||
*Head up the stairs to the right to speak to Hadrian. | *Head up the stairs to the right to speak to [[Hadrian]]. | ||
[[File:Starfield_GruntWork6Hadrian_EN.PNG|400px]] | [[File:Starfield_GruntWork6Hadrian_EN.PNG|400px]] | ||
*You learn that a Terrormorph attacked the Settlers and that Hadrian will need a tissue sample to learn more about what happened. In order to help take down the Terrormorph and collect the sample, the security [[system]]s need to be back online. | *You learn that a [[Terrormorph]] attacked the [[Settlers]] and that [[Hadrian]] will need a tissue sample to learn more about what happened. In order to help take down the Terrormorph and collect the sample, the security [[system]]s need to be back online. | ||
===Restore the Security System Connection=== | ===Restore the Security System Connection=== | ||
| Line 43: | Line 62: | ||
===Allow Hadrian to Analyze the System=== | ===Allow Hadrian to Analyze the System=== | ||
*Wait for Hadrian to finish analyzing the System. | *Wait for [[Hadrian]] to finish analyzing the System. | ||
*Hadrian finds that the sensors around the facility are part of the livestock | *[[Hadrian]] finds that the sensors around the facility are part of the livestock [[tracking system]] which can help you keep tabs on how close the [[Terrormorph]] is. However, it is not connected to the network. It needs to be tuned to the right frequency. | ||
===Tune the Livestock Tracker to 183.5=== | ===Tune the Livestock Tracker to 183.5=== | ||
| Line 66: | Line 85: | ||
===Wait for the System to Reengage=== | ===Wait for the System to Reengage=== | ||
*The Terrormorph appears and Hadrian mentions that it is best not to engage it directly, if it can be avoided. | *The [[Terrormorph]] appears and [[Hadrian]] mentions that it is best not to engage it directly, if it can be avoided. | ||
*Hadrian states that the kill lanes are set up, but need power. There are breakers on each of the buildings that can be used to get the kill lanes online.Once they are online, you can choose to lead the | *[[Hadrian]] states that the kill lanes are set up, but need power. There are breakers on each of the buildings that can be used to get the kill lanes online.Once they are online, you can choose to lead the [[Terrormorph]] to the lights so it can be defeated. | ||
===Kill the Terrormorph=== | ===Kill the Terrormorph=== | ||
*Defeat the Terrormorph. | *Defeat the [[Terrormorph]]. | ||
(Optional Objective: | (Optional Objective: [[Restore Power]] to the “[[Kill Lanes]]” 0/3) | ||
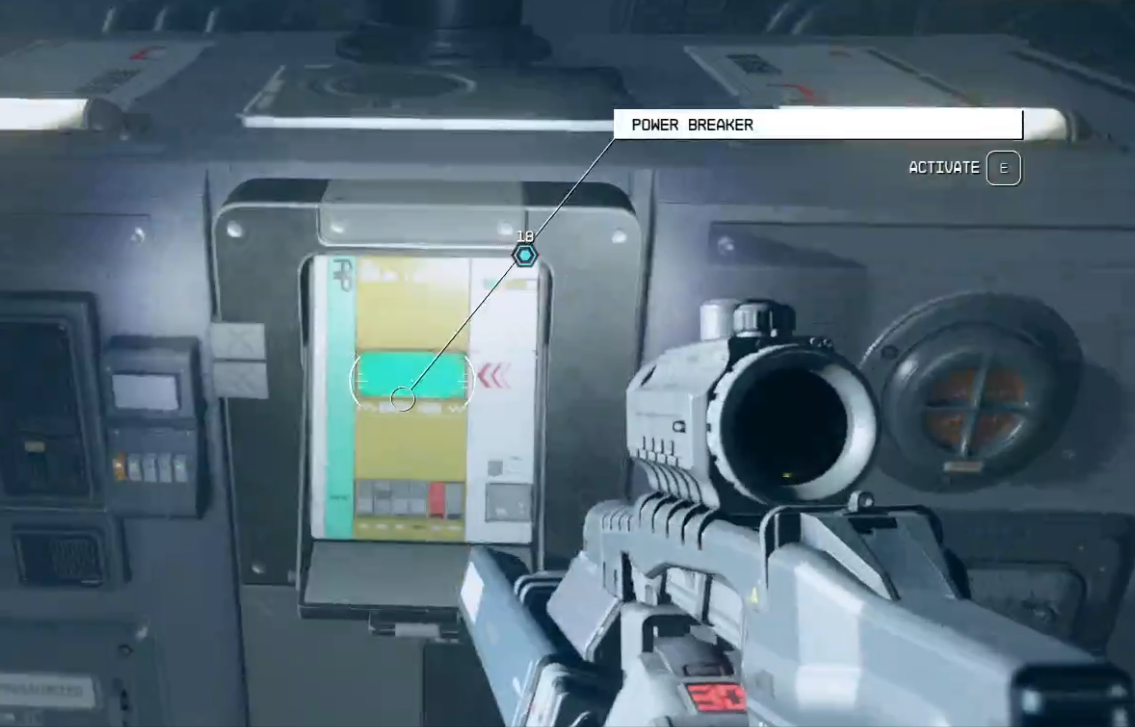
*Make your way to all 3 power breakers and restore power to the kill lanes. | *Make your way to all 3 power breakers and restore power to the kill lanes. | ||
| Line 77: | Line 96: | ||
===Collect the Terrormorph Tissue Sample=== | ===Collect the Terrormorph Tissue Sample=== | ||
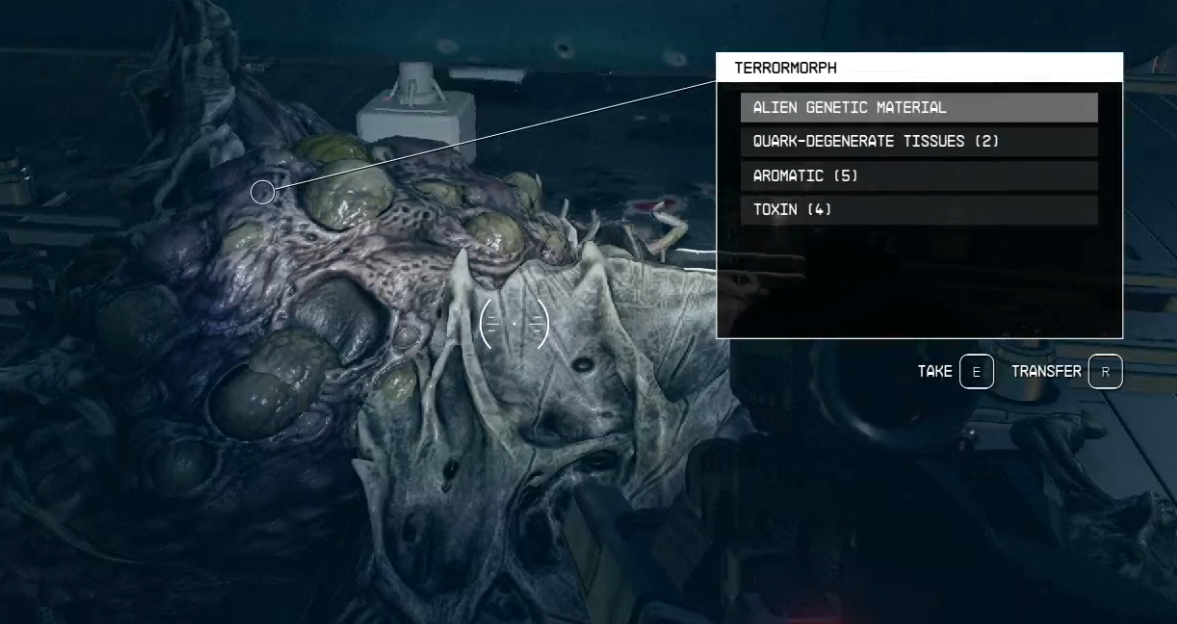
*Once the Terrormorph is defeated, collect the Terrormorph Cell [[Sam]]ple from the corpse. | *Once the [[Terrormorph]] is defeated, collect the Terrormorph Cell [[Sam]]ple from the corpse. | ||
[[File:Starfield_GruntWork16TissueSample_EN.PNG|400px]] | [[File:Starfield_GruntWork16TissueSample_EN.PNG|400px]] | ||
===Return to Hadrian=== | ===Return to Hadrian=== | ||
*Speak to Hadrian and give her the tissue sample. | *Speak to [[Hadrian]] and give her the tissue sample. | ||
===Follow Hadrian=== | ===Follow Hadrian=== | ||
*Follow Hadrian to the microscope so she can analyze the sample. | *Follow [[Hadrian]] to the microscope so she can analyze the sample. | ||
===Speak to Hadrian=== | ===Speak to Hadrian=== | ||
*You learn that the Terrormorph outbreak found on Tau Ceti appeared a lot earlier than expected. Hadrian needs more information to find out more. She asks that you get per[[mission]] from Commander Taula to take the tissue sample to Percival Walker on mars. | *You learn that the [[Terrormorph]] outbreak found on Tau Ceti appeared a lot earlier than expected. [[Hadrian]] needs more information to find out more. She asks that you get per[[mission]] from Commander Taula to take the tissue sample to [[Percival Walker]] on mars. | ||
===Return to Commander Tuala=== | ===Return to Commander Tuala=== | ||
*Travel back to the [[MAST]] district at [[Jemison]] and head to [[the Lobby]] / [[Commander Tuala]]’s Office to speak to Commander Tuala | *Travel back to the [[MAST]] district at [[Jemison]] and head to [[the Lobby]] / [[Commander Tuala]]’s Office to speak to Commander Tuala | ||
*[[Commander Tuala]] gives you two options: Head to the UC Vigilance and help out System Defense against the [[Crimson Fleet]] for the [[mission]] Deep | *[[Commander Tuala]] gives you two options: Head to the [[UC Vigilance]] and help out [[System Defense]] against the [[Crimson Fleet]] for the [[mission]] [[Deep Cover]] and/or continue on with the mission [[Delivering Devils]] and deliver the tissue sample to [[Percival Walker]]. | ||
==Additional Information== | |||
==Images== | |||
==Comments== | |||
<comments /> | |||
[[Category:Missions]] [[Category:Faction Missions]] [[Category:United Colonies Missions]] | |||
Latest revision as of 18:26, 12 September 2023
| Grunt Work | |
|---|---|
| |
| Information | |
| Type | United Colonies Mission |
| Number | 2 |
| Location | Jemison - MAST District - MAST Lobby / Commander Tuala's Office |
| Starting NPC | Commander Tuala |
| Description | Commander Tuala directed me to speak to Crew Chief Herath at The New Atlantis Spaceport in order to collect the materials I’ll be delivering to Tay Ceti II. |
| Previous Mission | Supra et Ultra |
| Next Mission | Delivering Devils |
| Patch | 1.0 |
Grunt Work is the mission 2 of United Colonies Mission.
Walkthrough
Tips and Tricks
- Once the tracking system is turned on and tuned, you can keep track of the distance between the Terrormorph and your current location. This is useful if completing the optional objective to Restore Power to the Kill Lanes before defeating the Terrormorph.
Objectives
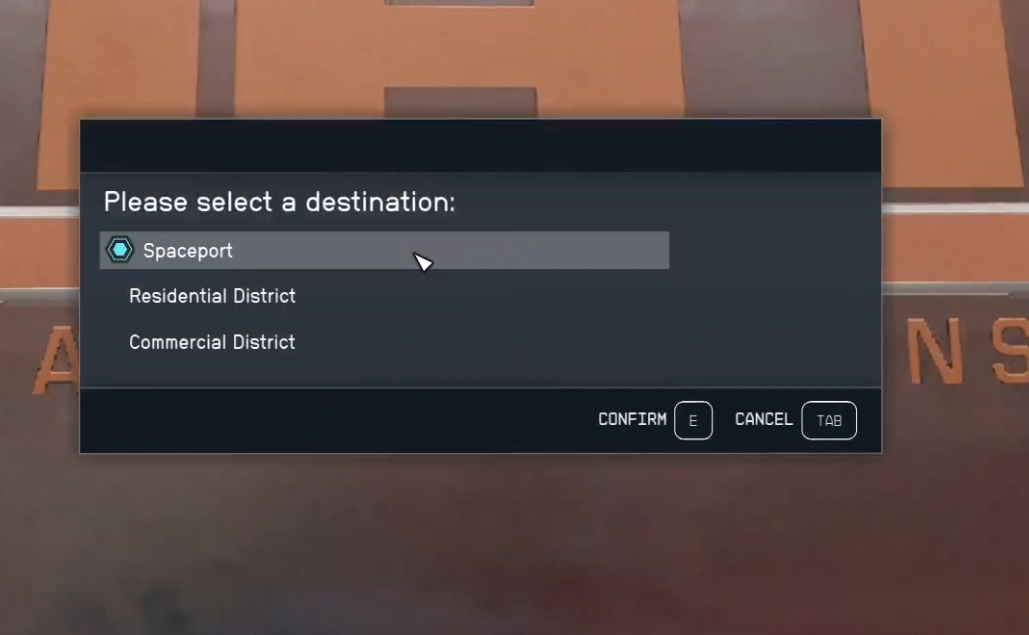
Speak to Crew Chief Herath at The New Atlantis Spaceport
- Take the New Atlantis Transit to the New Atlantis Spaceport and make your way to your ship.
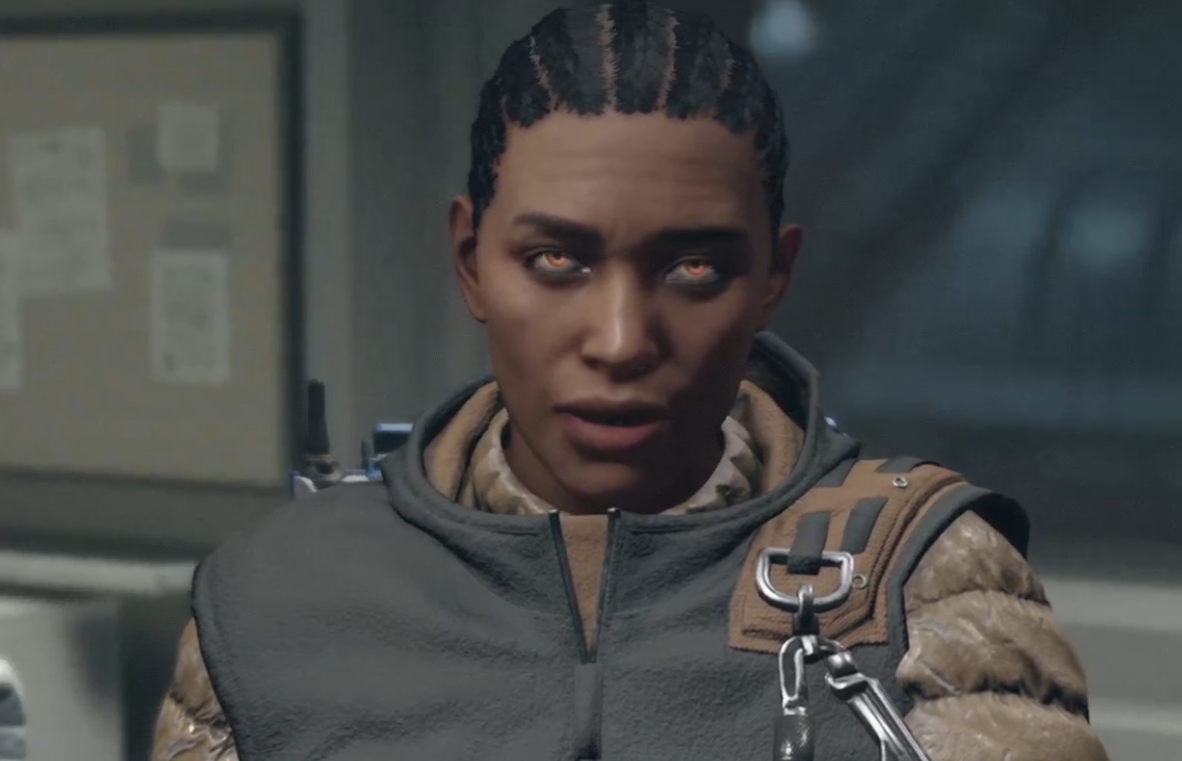
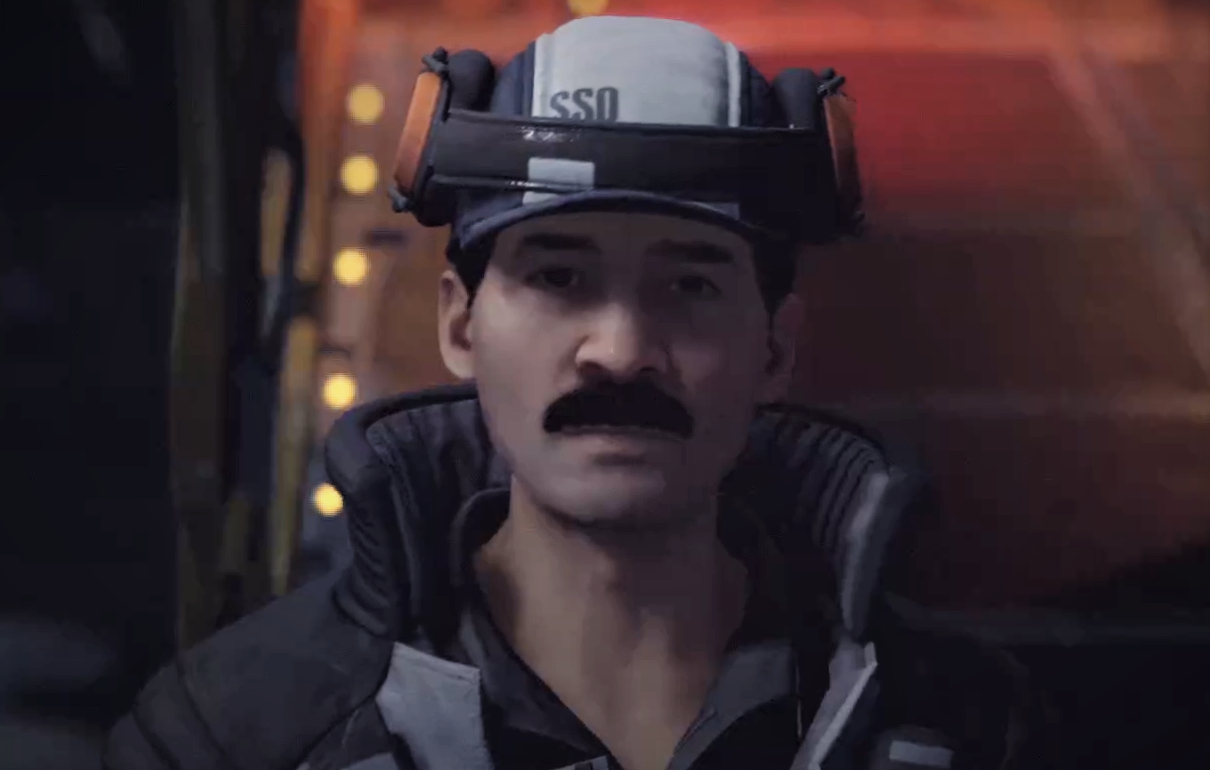
- Speak to Crew Chief Kane Herath who will then add the repair materials to deliver to Tau Ceti II.
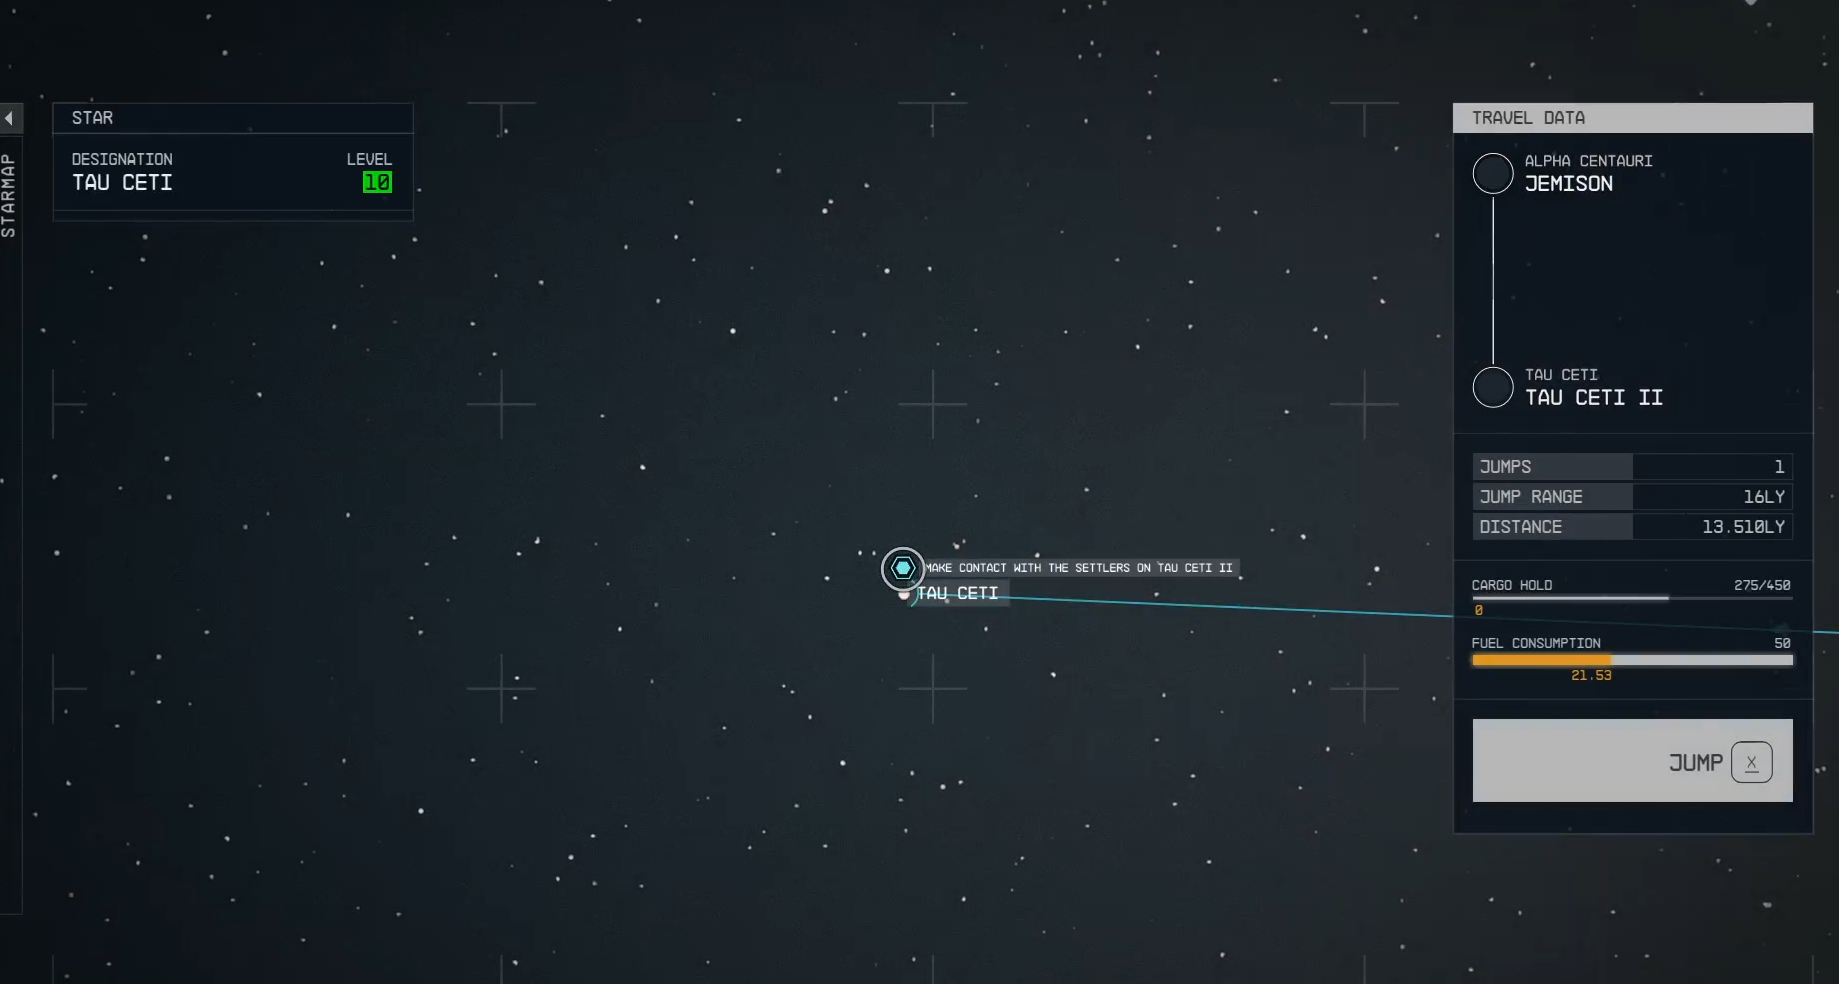
Make contact with the settlers on Tau Ceti II
- Enter your ship and Jump to the Tau Ceti System.
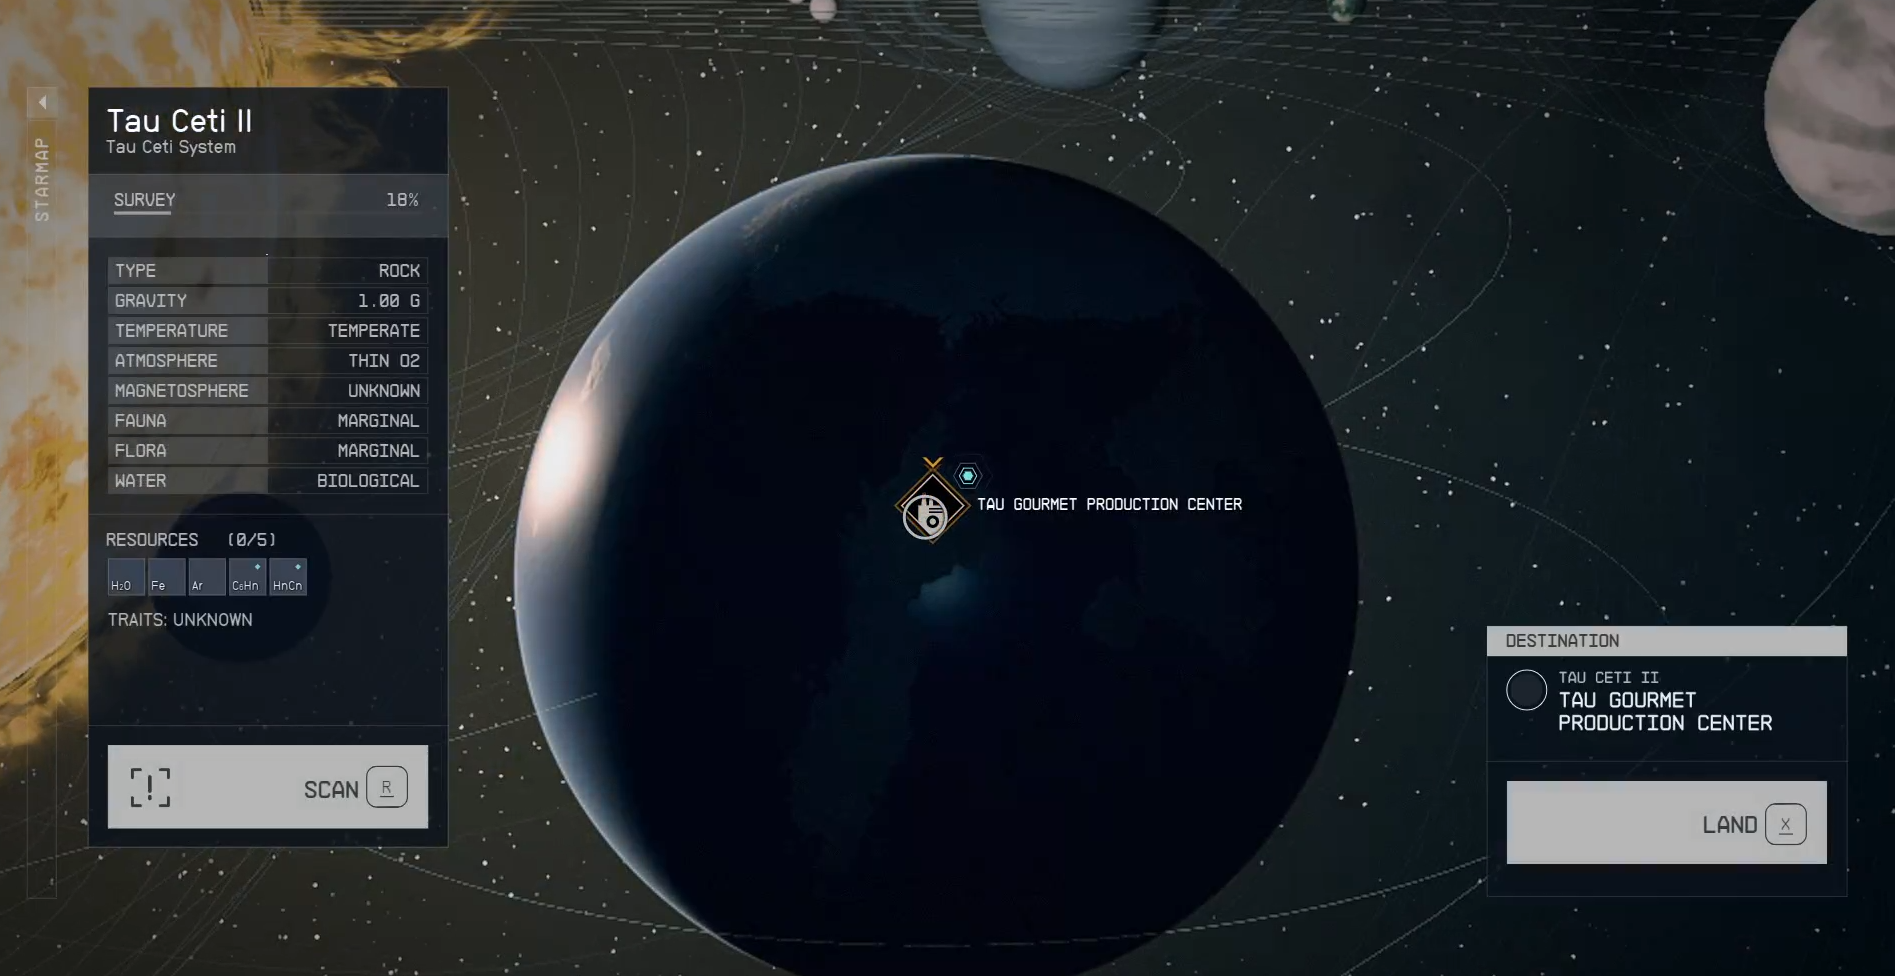
- Open the planet Map and land at the Tau Gourmet Production Center.
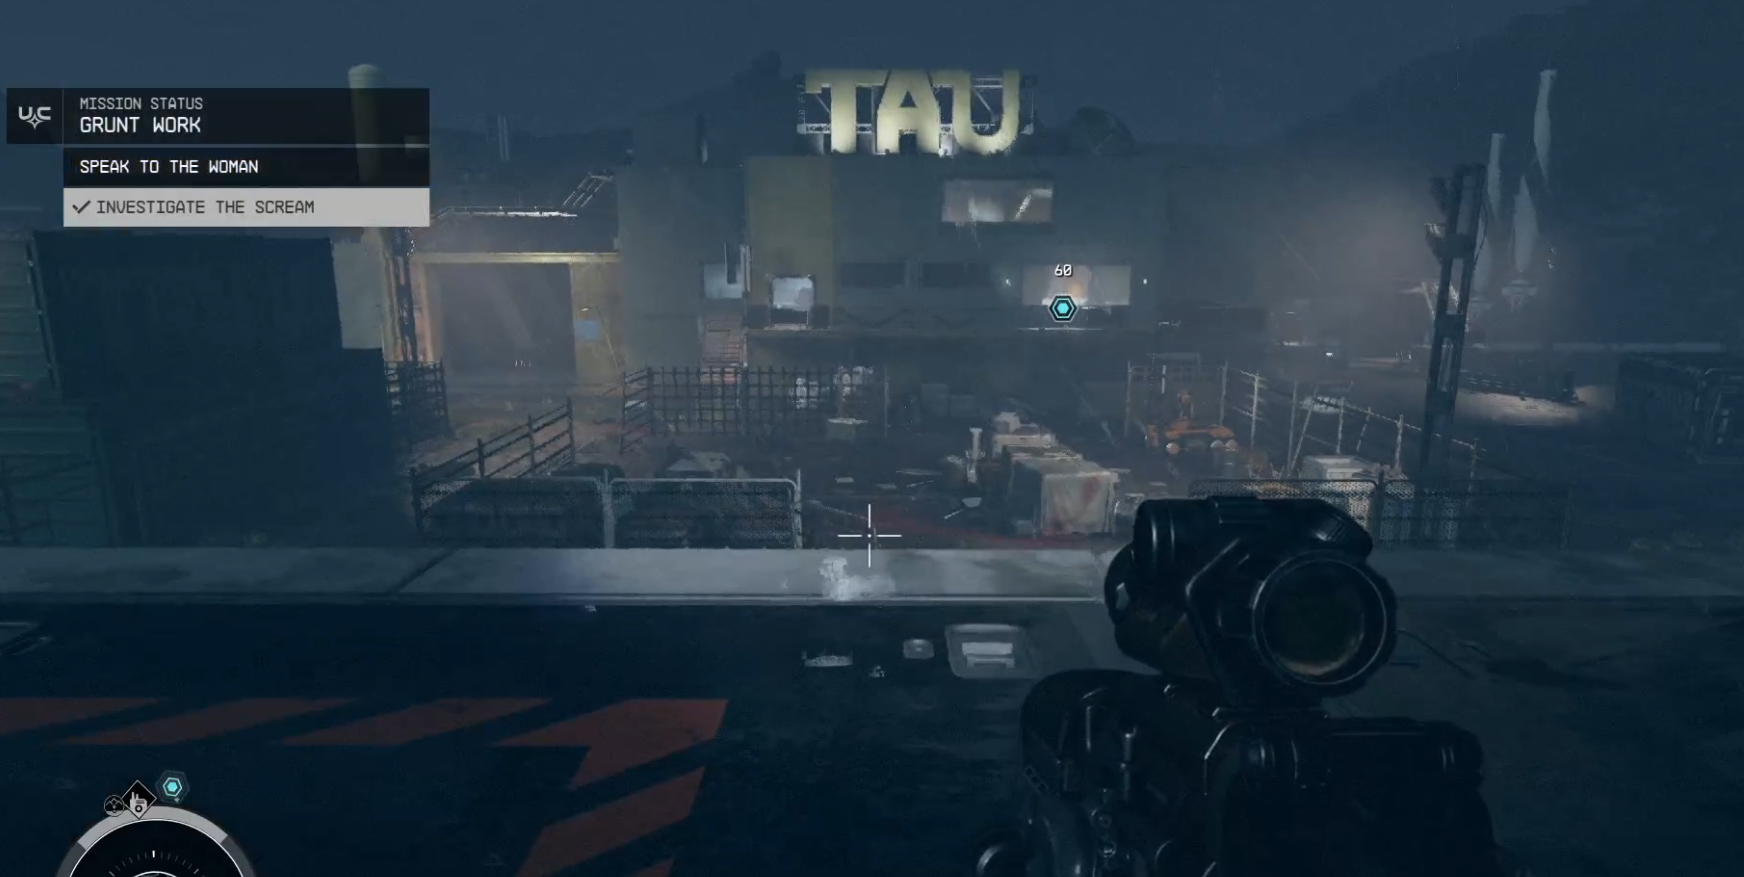
Investigate the Scream
- Make your way to the TAU labeled building
Speak to the Woman
- Head up the stairs to the right to speak to Hadrian.
- You learn that a Terrormorph attacked the Settlers and that Hadrian will need a tissue sample to learn more about what happened. In order to help take down the Terrormorph and collect the sample, the security systems need to be back online.
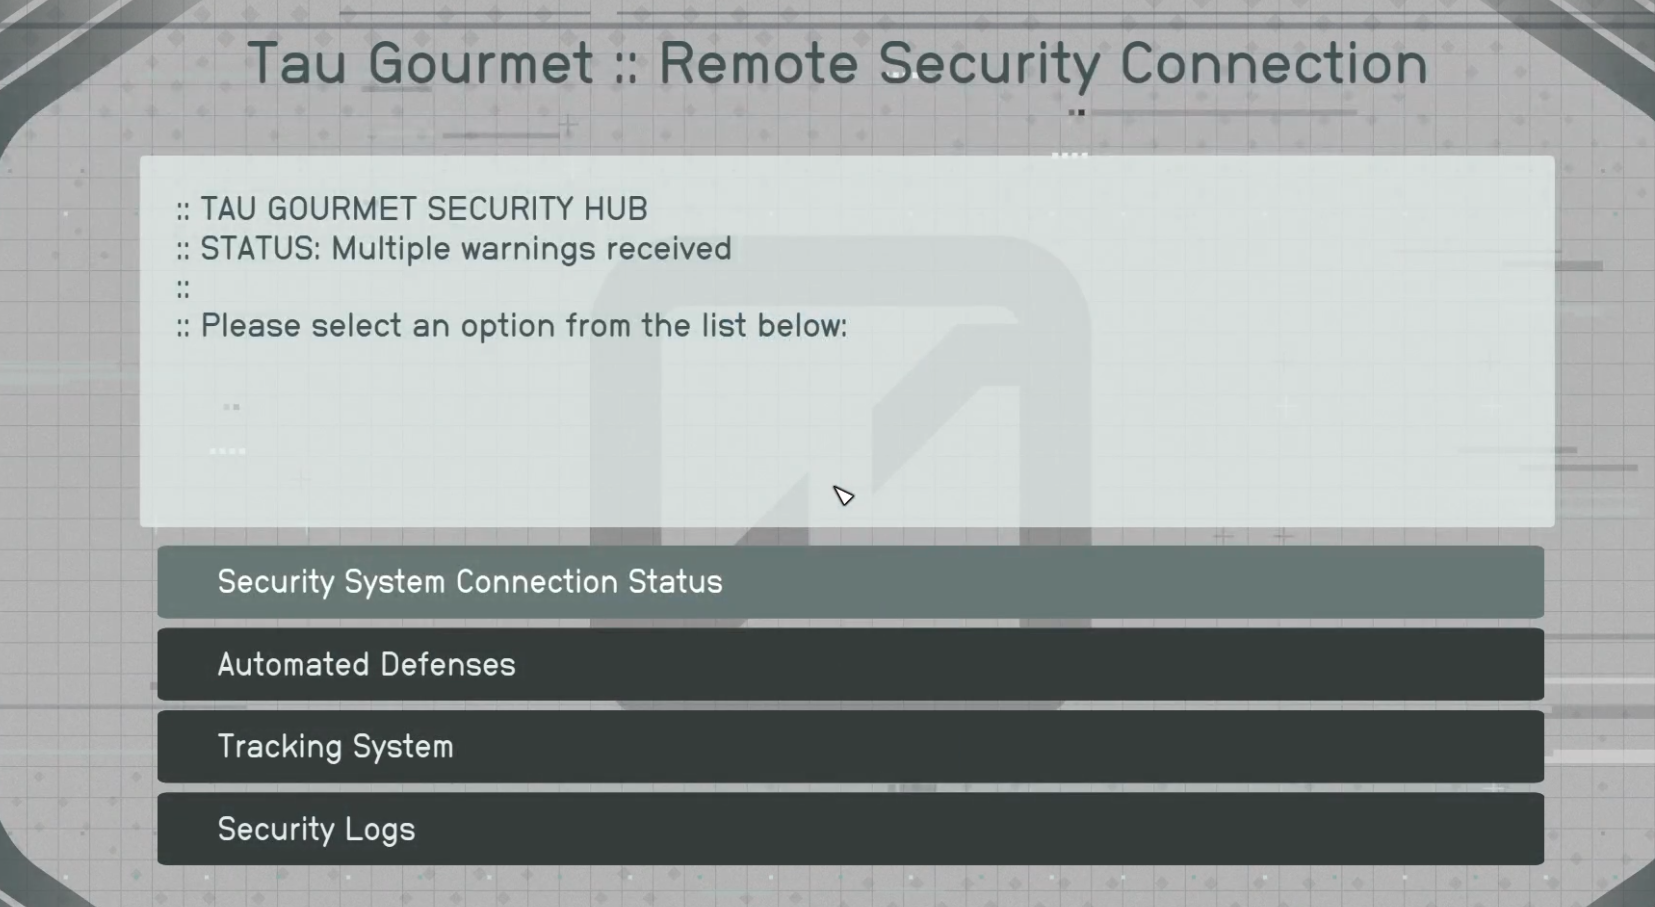
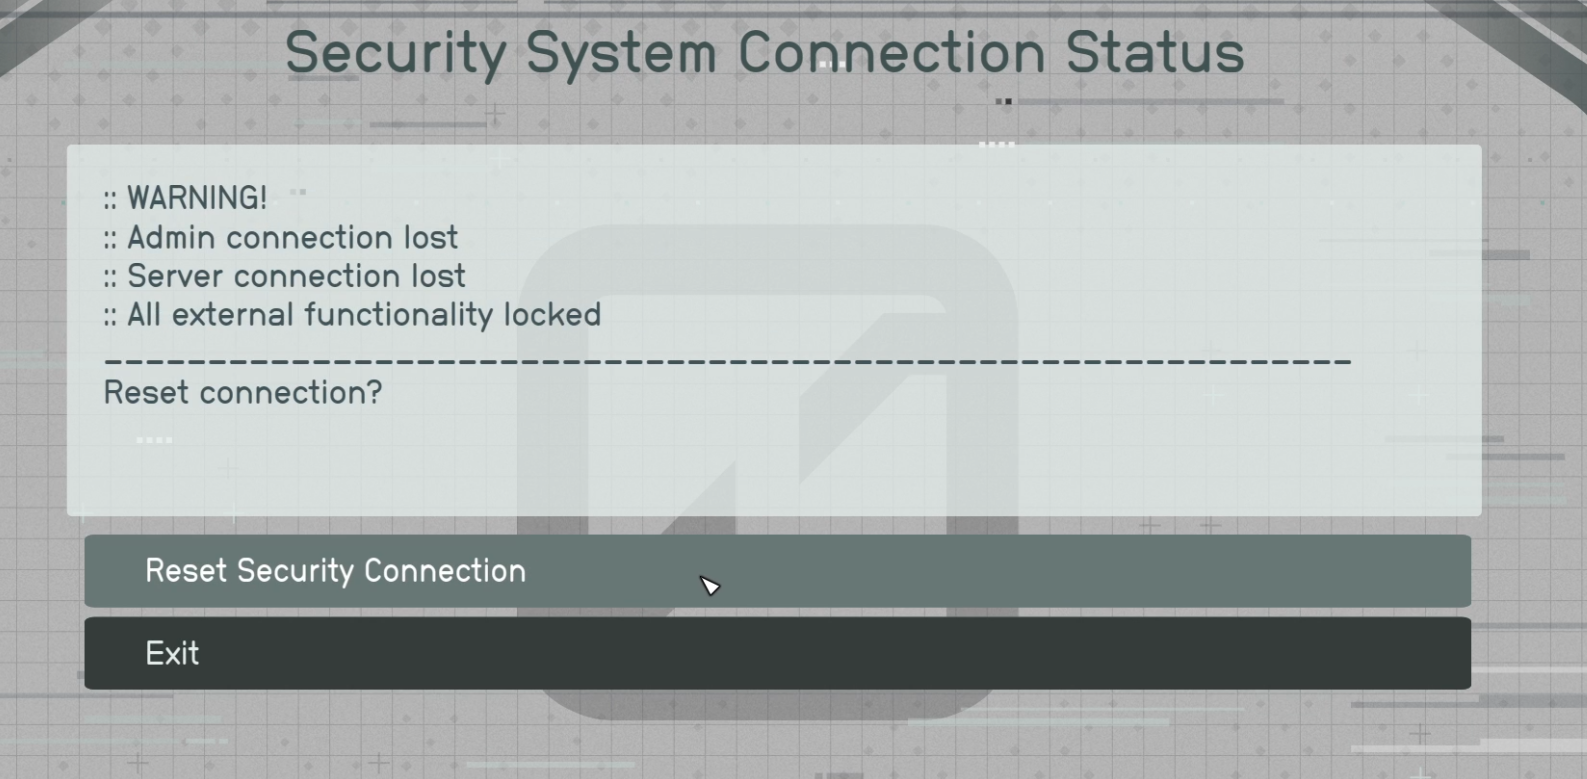
Restore the Security System Connection
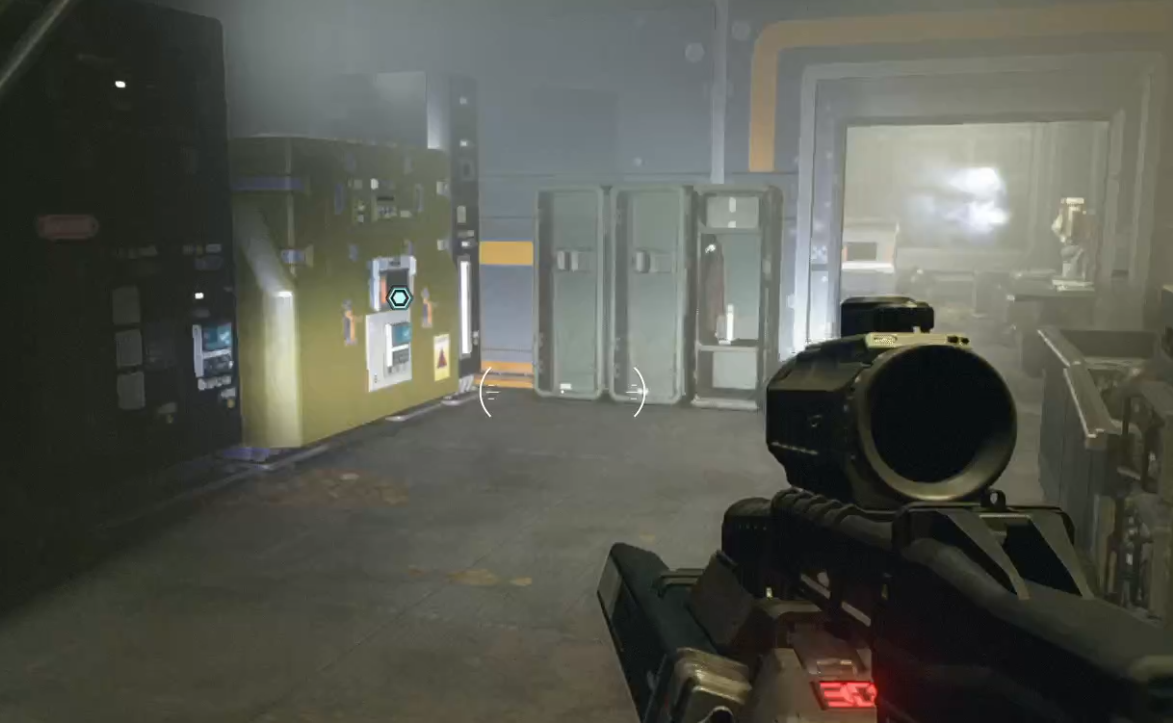
- From the terminal, select “Security System Connection Status”
- Select “Reset the Security Connection”
Allow Hadrian to Analyze the System
- Wait for Hadrian to finish analyzing the System.
- Hadrian finds that the sensors around the facility are part of the livestock tracking system which can help you keep tabs on how close the Terrormorph is. However, it is not connected to the network. It needs to be tuned to the right frequency.
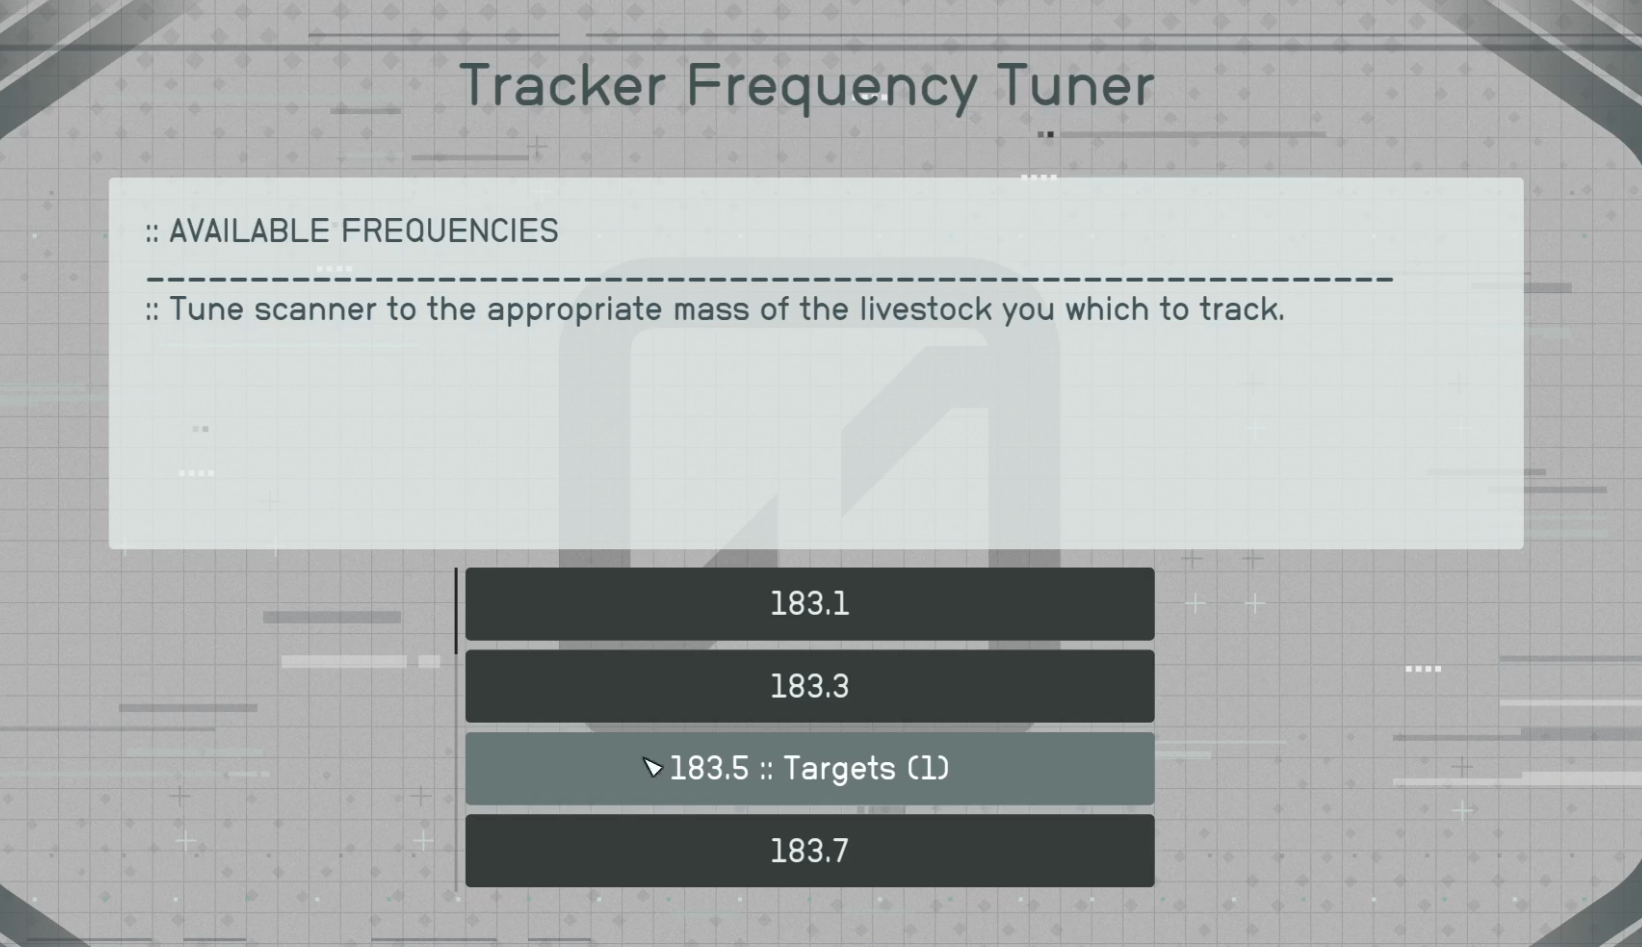
Tune the Livestock Tracker to 183.5
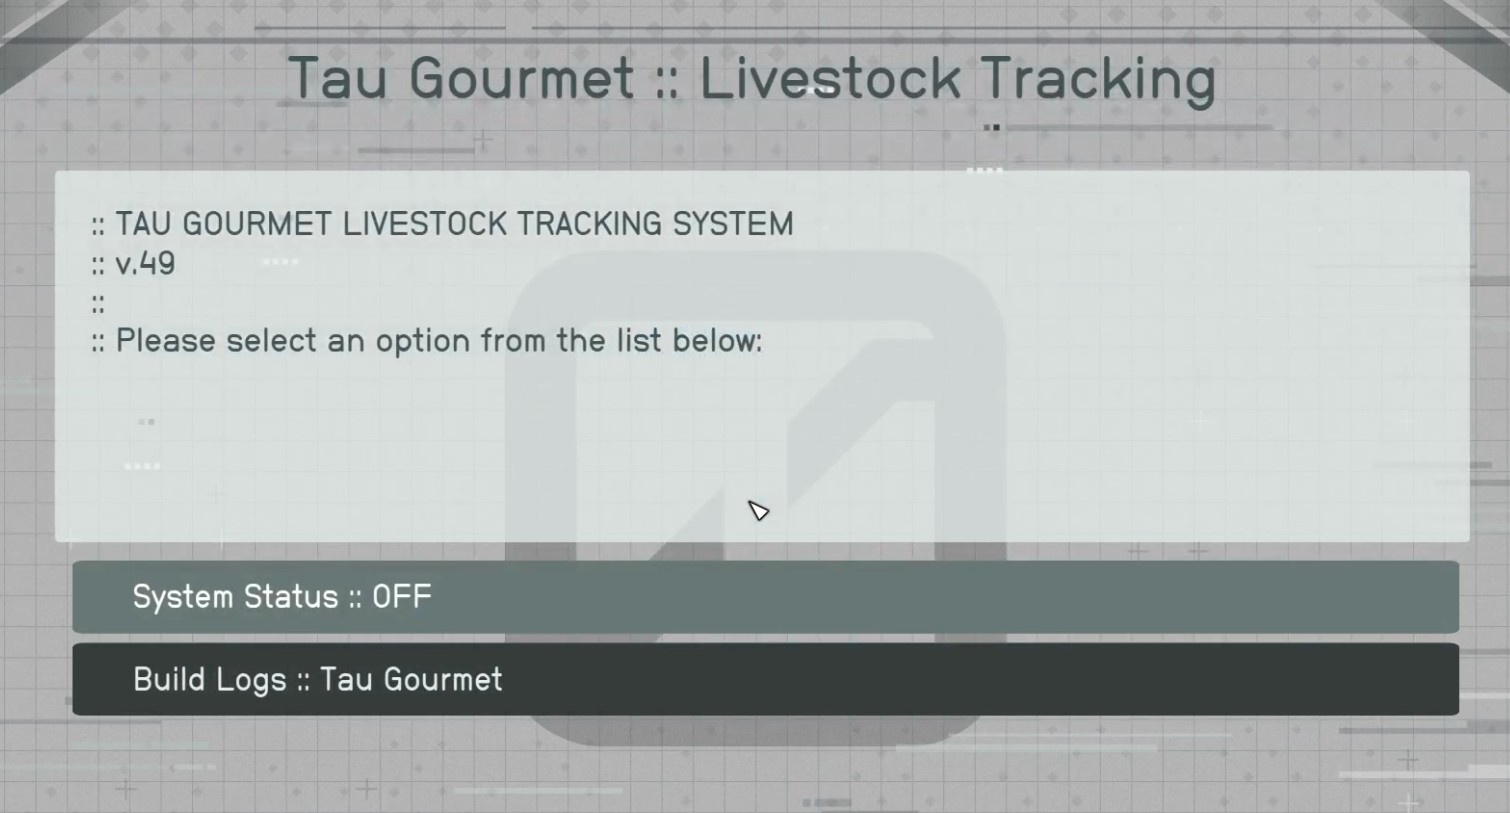
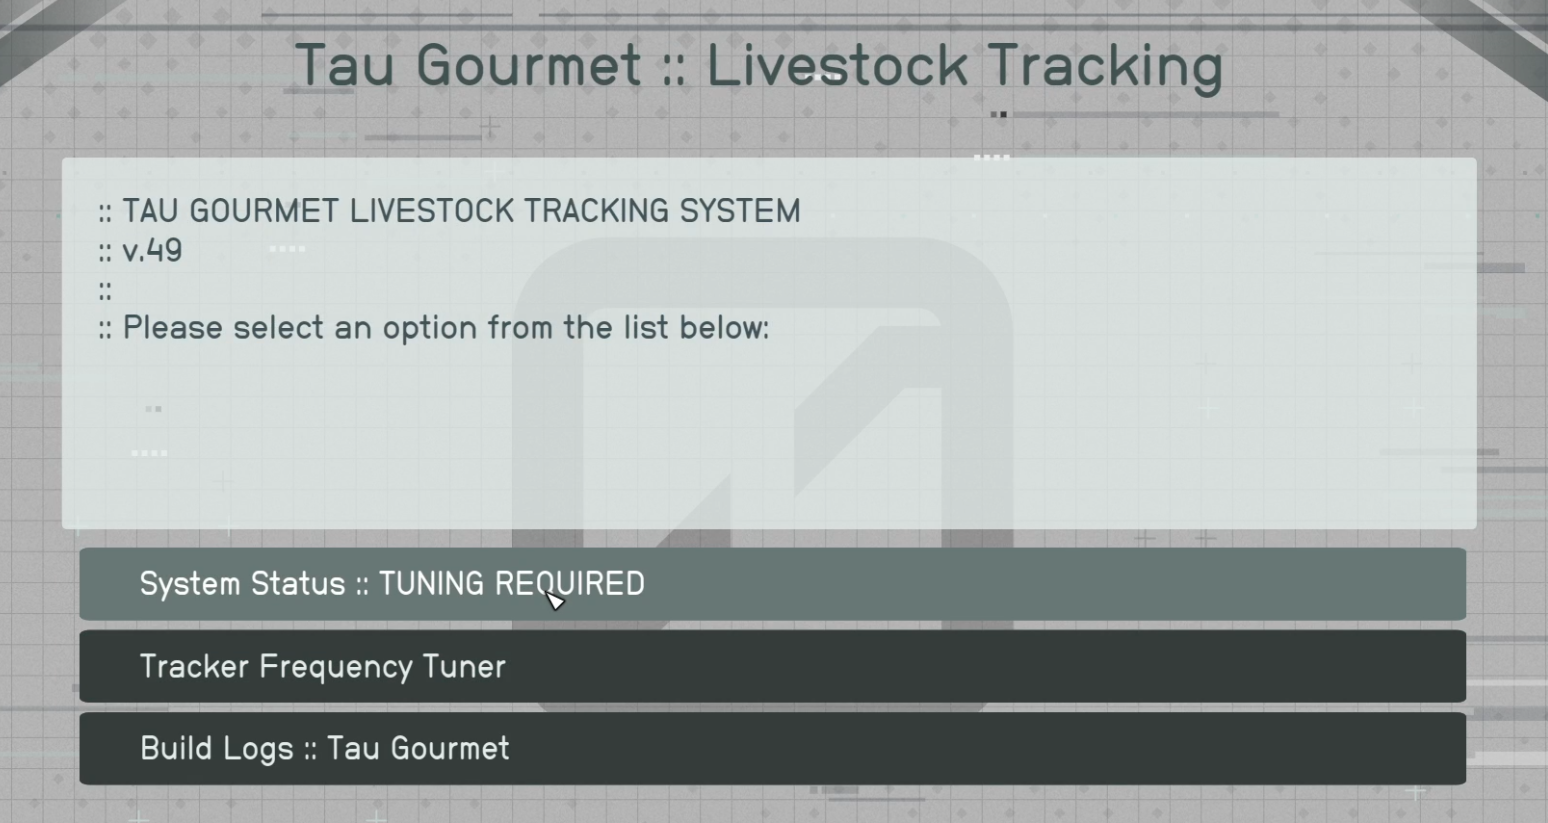
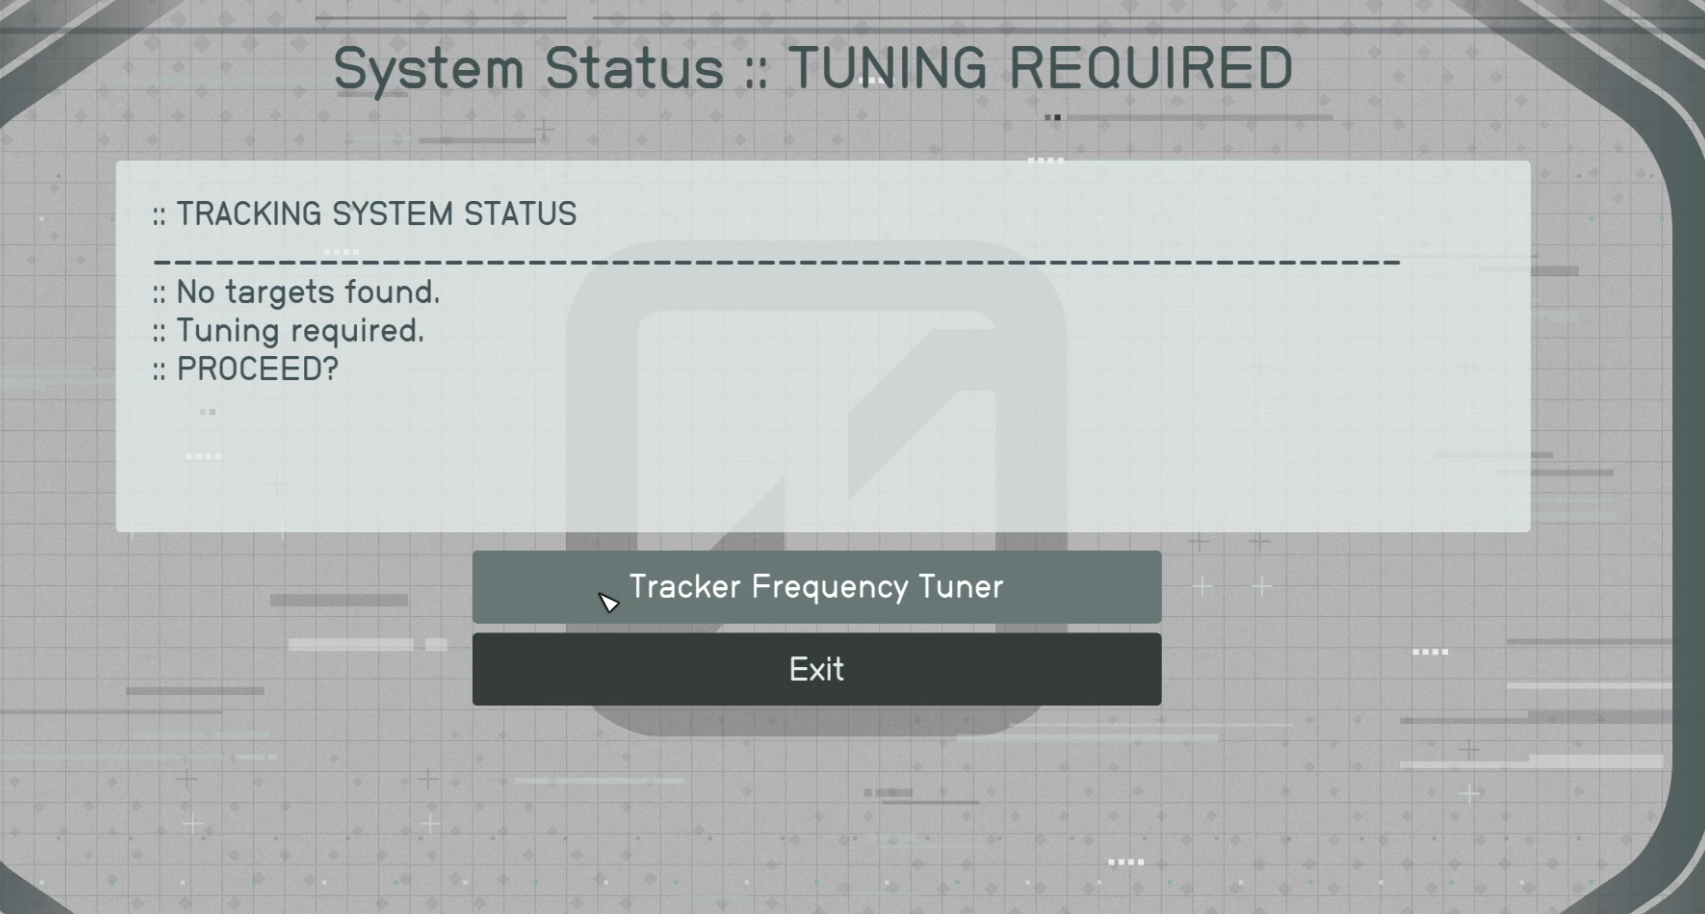
- Go to the adjoining room from the Security outpost and use the terminal to turn on the Tracking System and tune it to 183.5:
- Select “System Status :: OFF.”
- Select “Turn ON Tracking System."
- You will see that Frequency Turning is required for proper tracking.
- Select “System Status :: Tuning required”
- Select “Tracker Frequency Tuner”
- Tune scanner to 183.5
Wait for the System to Reengage
- The Terrormorph appears and Hadrian mentions that it is best not to engage it directly, if it can be avoided.
- Hadrian states that the kill lanes are set up, but need power. There are breakers on each of the buildings that can be used to get the kill lanes online.Once they are online, you can choose to lead the Terrormorph to the lights so it can be defeated.
Kill the Terrormorph
- Defeat the Terrormorph.
(Optional Objective: Restore Power to the “Kill Lanes” 0/3)
- Make your way to all 3 power breakers and restore power to the kill lanes.
Collect the Terrormorph Tissue Sample
- Once the Terrormorph is defeated, collect the Terrormorph Cell Sample from the corpse.
Return to Hadrian
- Speak to Hadrian and give her the tissue sample.
Follow Hadrian
- Follow Hadrian to the microscope so she can analyze the sample.
Speak to Hadrian
- You learn that the Terrormorph outbreak found on Tau Ceti appeared a lot earlier than expected. Hadrian needs more information to find out more. She asks that you get permission from Commander Taula to take the tissue sample to Percival Walker on mars.
Return to Commander Tuala
- Travel back to the MAST district at Jemison and head to the Lobby / Commander Tuala’s Office to speak to Commander Tuala
- Commander Tuala gives you two options: Head to the UC Vigilance and help out System Defense against the Crimson Fleet for the mission Deep Cover and/or continue on with the mission Delivering Devils and deliver the tissue sample to Percival Walker.
Additional Information
Images
Comments
Loading comments...
