The Empty Nest: Difference between revisions
No edit summary |
Sneaky pete (talk | contribs) |
||
| Line 28: | Line 28: | ||
It's time to head back to the Lodge. At the pedestal, interact to place Artifact Chi as the next artifact piece. Wait for a spell as Sam finishes speaking. Finally, converse with him one more time to complete the mission, and voila! Sam becomes a permanent companion option. | It's time to head back to the Lodge. At the pedestal, interact to place Artifact Chi as the next artifact piece. Wait for a spell as Sam finishes speaking. Finally, converse with him one more time to complete the mission, and voila! Sam becomes a permanent companion option. | ||
==Tips and Tricks== | |||
*This quest contains multiple [[Persuasion]] Conversation opportunities. | |||
*Make sure you have your [[Cutter]] in your inventory when entering any cave like formation in order to collect valuable resources. | |||
*The Freestar Collective Faction quest "Job Gone Wrong" is part of this quest, but can be done separately. | |||
==Objectives== | ==Objectives== | ||
=== | ===Talk to Sam Coe=== | ||
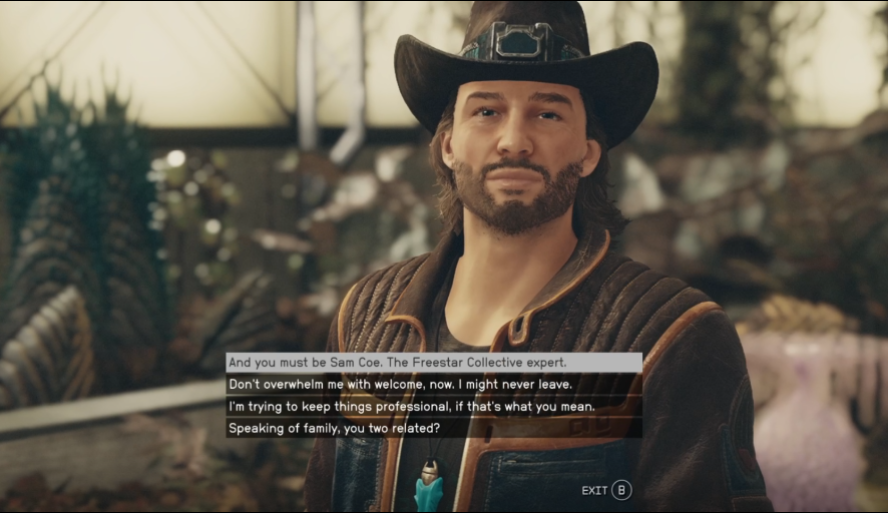
*[[Sam Coe]] it located behind [[Sarah]] in the Conservatory within [[The Lodge]]. | |||
[[File:Starfield_EmptyNest1_EN1.png|400px]] | |||
===Travel to Akila City=== | |||
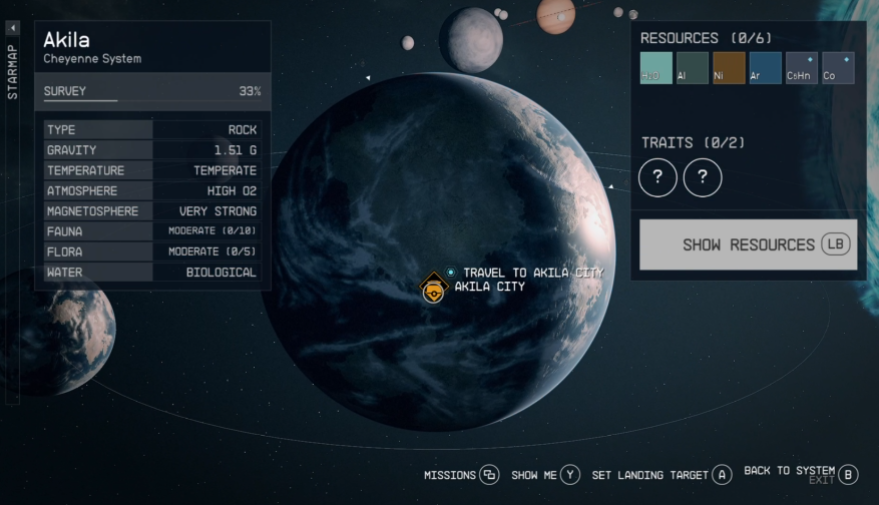
*After speaking with [[Sam]], make your way outside and fast travel to [[Akila City]] in the [[Cheyenne System]]. | |||
*Note: If you have unexplored [[system]]s between wherever you are and Akila, you may need to do multiple jumps until you get close enough to reach Akila. | |||
[[File:Starfield_EmptyNest1_EN2.png|400px]] | |||
===Speak with Sam=== | |||
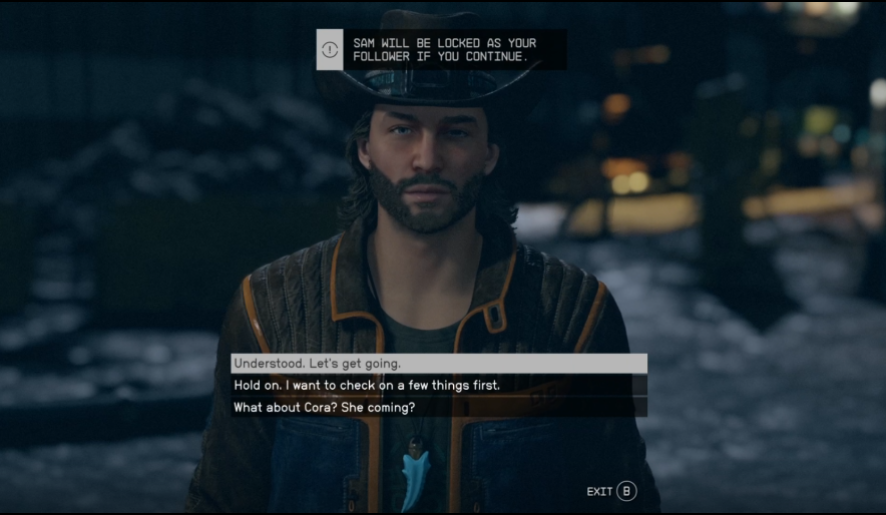
*Once you land, Speak with [[Sam]] who will join you. | |||
*Be aware that [[Sam]] will be locked as your follower until you complete this [[mission]] once you select "Understood. Let's get going." | |||
[[File:Starfield_EmptyNest1_EN3.png|400px]] | |||
===Go to the Galbank Vault=== | |||
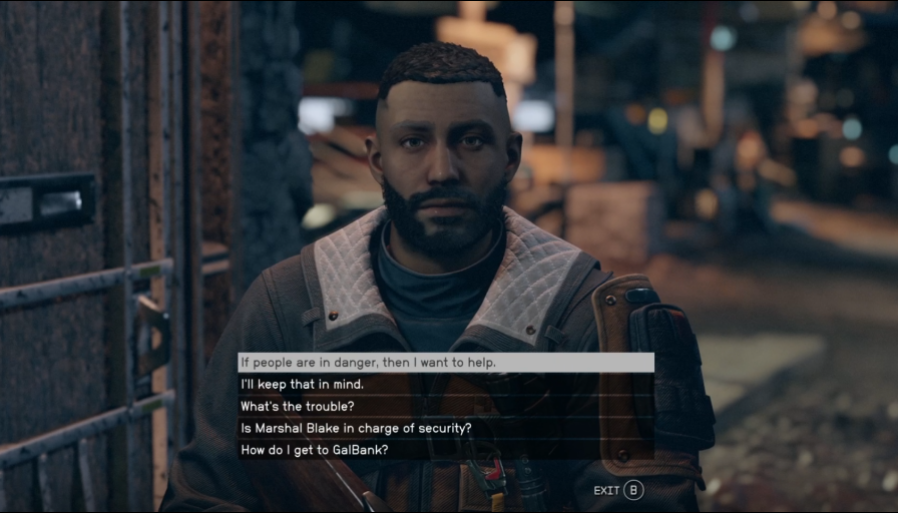
*As you begin your approach to the Galbank Vault, you will be stopped by [[Akila City]] [[Security]]. | |||
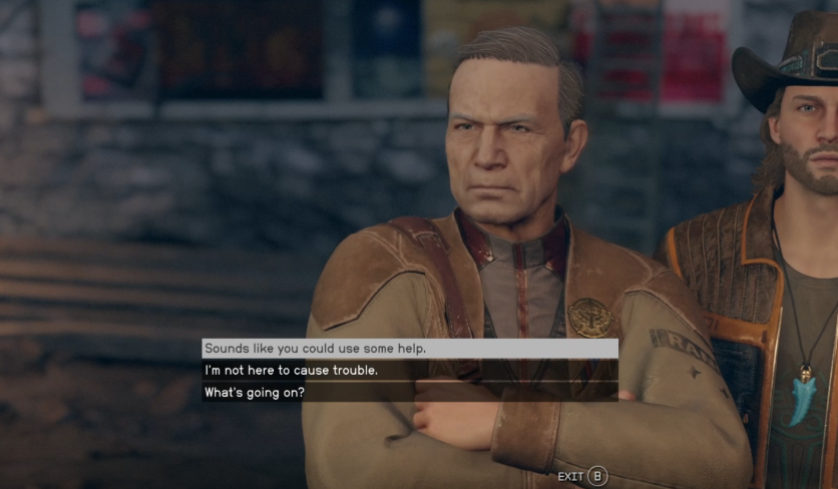
*The guard explains there is trouble at the bank. Follow the dialogue choices and you will need to go speak with [[Mars]]hal Daniel Blake. | |||
[[File:Starfield_EmptyNest1_EN4.png|400px]] | |||
===Mission Update: Job Gone Wrong=== | |||
*Speak with [[Mars]]hal Daniel Blake behind the armed [[guards]] pointing at the bank. During this conversation, you will find out that there is a hostage situation going on inside the bank. You will want to volunteer to handle the situation. In the next step you can try to Persuade them or attack the hostage takers. | |||
[[File:Starfield_EmptyNest1_EN5a.png|400px]] | |||
===Mission Update: Job Gone Wrong - Persuade the Bank Robbers to Surrender=== | |||
*Make your way to the bank's intercom to the left of the main entrance and talk to the hostage takers. | |||
*Test your silver tongue or give them no choice in the matter. [[[Persuasion]] Opportunity] | |||
*If you fail the [[Persuasion]] check and they refuse, you will be prompted with a few options: | |||
**Speak with [[Mars]]hal Daniel on what can be done about it and he will give you a key to sneak around the back of the bank. | |||
**Ask to see the hostages | |||
*If you pass the [[Persuasion]] check, you can still attack them, but you don't need to. You would then report back to [[Mars]]hal Daniel that you've convinced them to let the hostages go. | |||
===Mission Update: Job Gone Wrong - Eliminate the Bank Robbers=== | |||
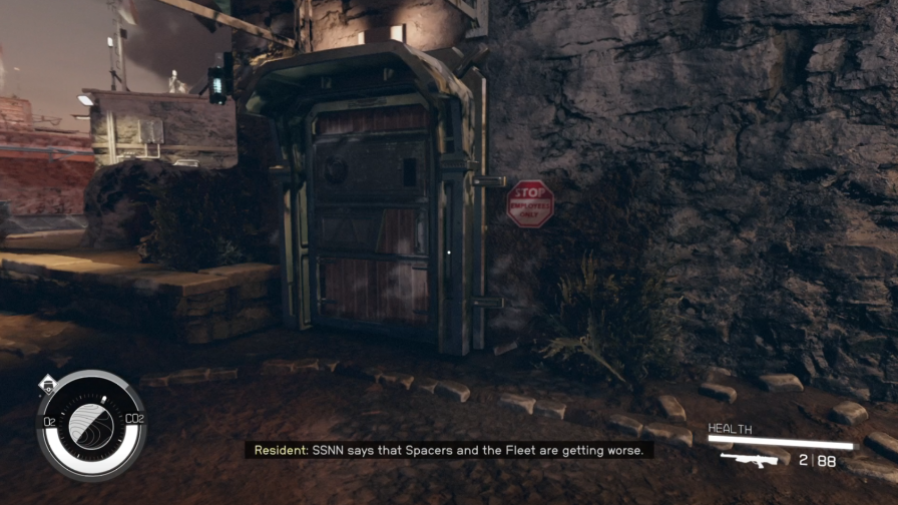
*Go around the back of the bank and use the key to open the door. | |||
[[File:Starfield_EmptyNest1_EN5c.png|400px]] | |||
*Clear out the building of all [[hostile]]s in whatever manner you choose. | |||
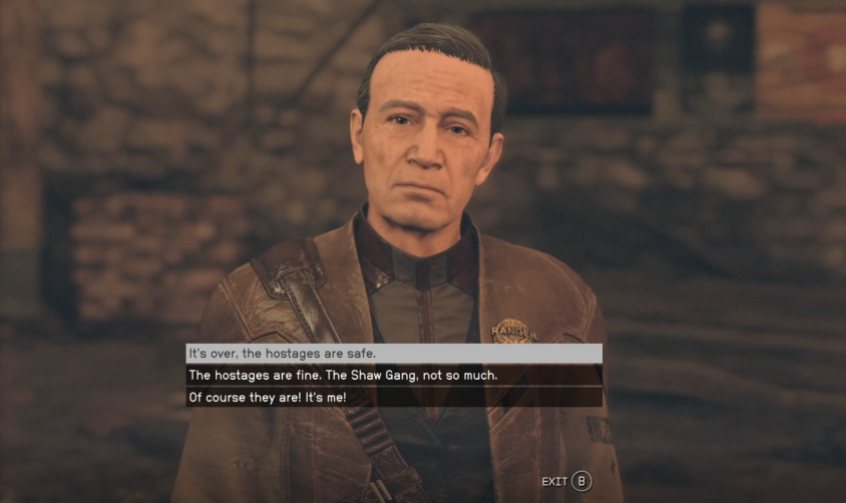
*Once all would-be robbers are dealt with, head back out and speak with the [[Mars]]hal and let him know the hostages are safe. | |||
[[File:Starfield_EmptyNest1_EN6.png|400px]] | |||
*One you have completed Job Gone Wrong, you may proceed to Deputized. | |||
===Go to the Galbank Vault [again]=== | |||
*Re-enter the bank and make your way to [[the vault]]. | |||
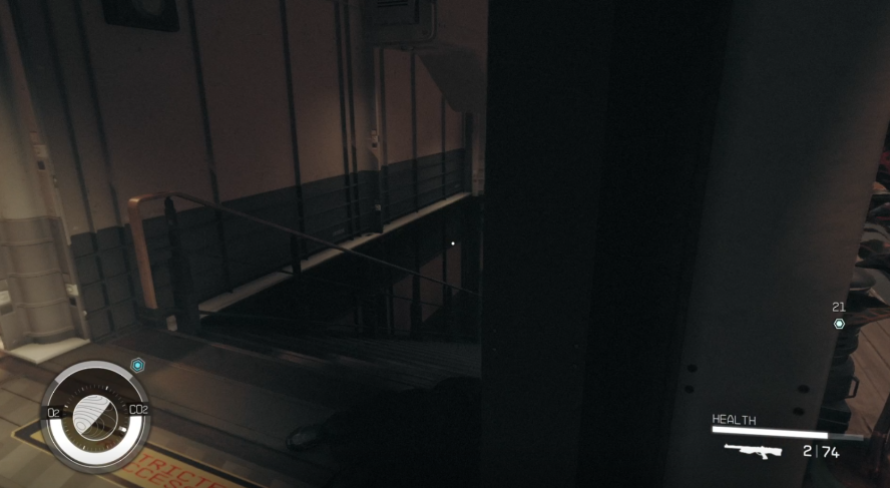
*The vault is downstairs on your first right. | |||
*Enter [[the vault]]. | |||
[[File:Starfield_EmptyNest1_EN7.png|400px]] | |||
===Search for the Maps=== | |||
*There are multiple containers in this room that you will want to search to search until you find the maps. | |||
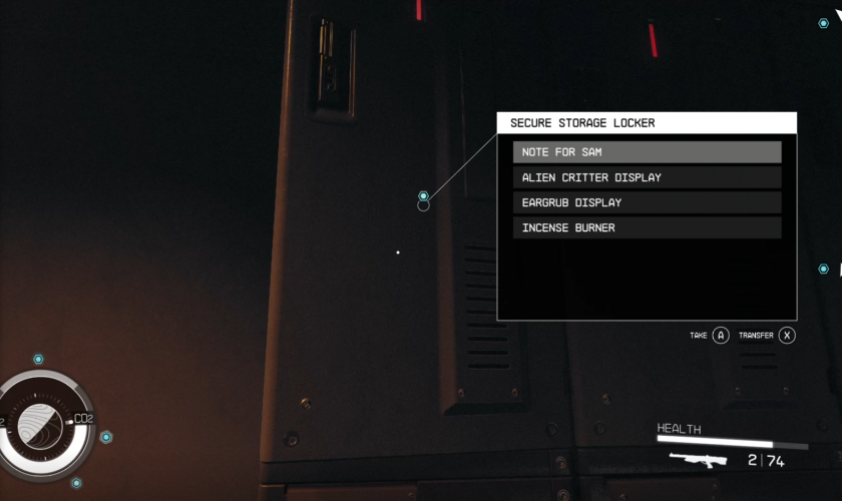
*One of the Secure Storage Lockers contains a note directed towards [[Sam]]. | |||
[[File:Starfield_EmptyNest1_EN8a.png|400px]] | |||
*Seems like someone named "Jacob" has beat us to it. Luckily [[Sam]] knows where to find him. | |||
*Optional: Talk to [[Sam]] about "Jacob." [[[Persuasion]] Opportunity] | |||
===Talk to Jacob=== | |||
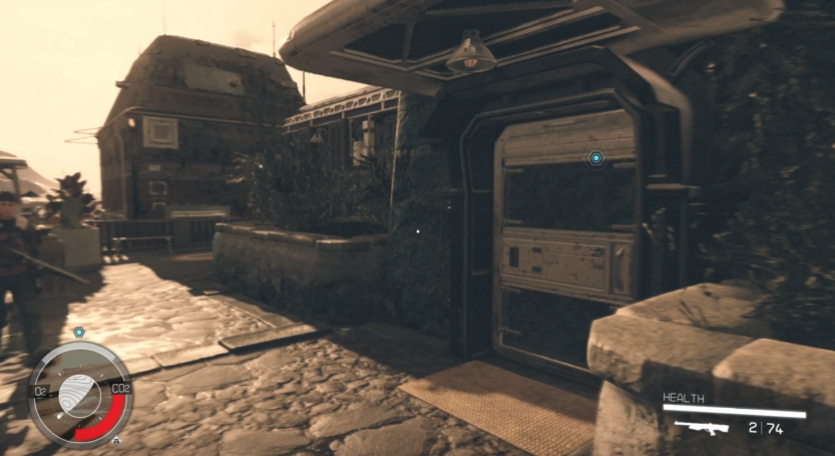
*Leave the bank and head North to the Coe Estate | |||
. | |||
[[File:Starfield_EmptyNest1_EN9a.png|400px]] | |||
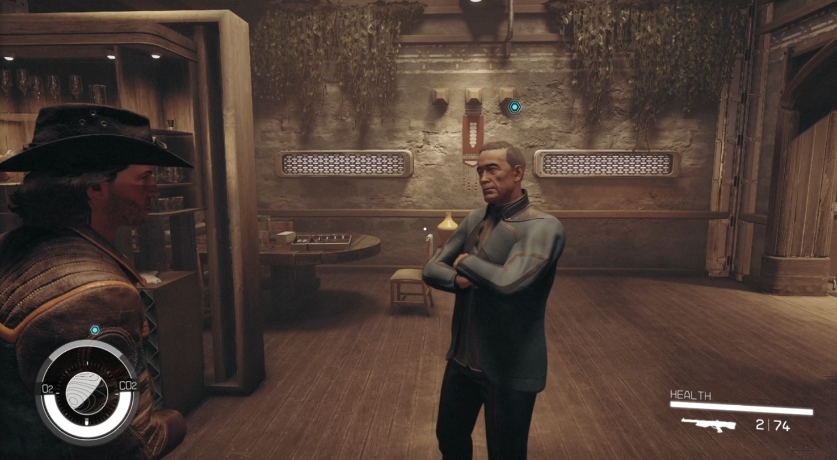
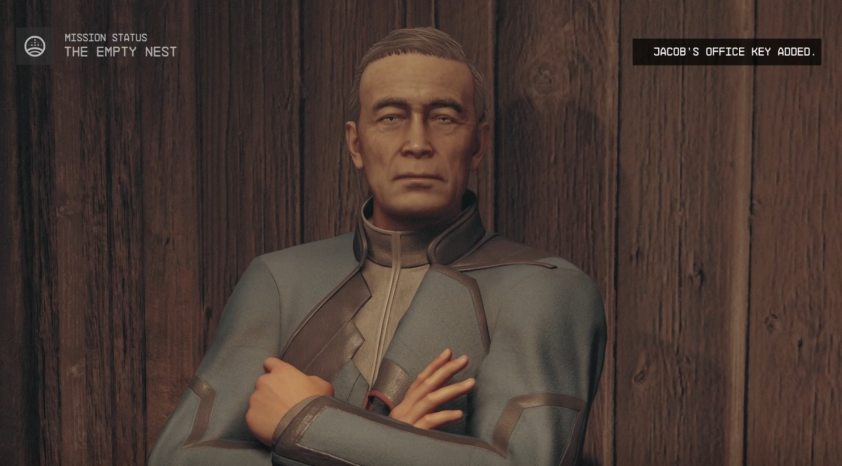
*Upon entering, approach Jacob and let the conversation ensue. | |||
[[File:Starfield_EmptyNest1_EN9b.png|400px]] | |||
=== | ===Talk to Sam=== | ||
[[File:Starfield_EmptyNest1_EN9c.png|400px]] | |||
At this point, you have several options: | |||
=== | ===Talk to Jacob=== | ||
*Approach Jacob and begin the conversation. | |||
*Option 1: [[Persuasion]] Option | |||
**If successful, he'll walk away from the door and allow access to grab the maps. | |||
**If you fail, you will need to try the other two options. | |||
*Option 2: Bring [[Cora]] in and you'll convince Jacob to give you the maps. | |||
*Option 3: [[Sam]] will talk to Jacob and you will need to steal the maps. | |||
[[File:Starfield_EmptyNest1_EN10a.png|400px]] | |||
[[File:Starfield_EmptyNest1_EN10b.png|400px]] | |||
=== | ===Talk to Sam=== | ||
*With map in hand, let's talk to [[Sam]]. | |||
*He will tell you that you need to head to Shaw Gang territory. | |||
=== | ===Travel to the Empty Nest=== | ||
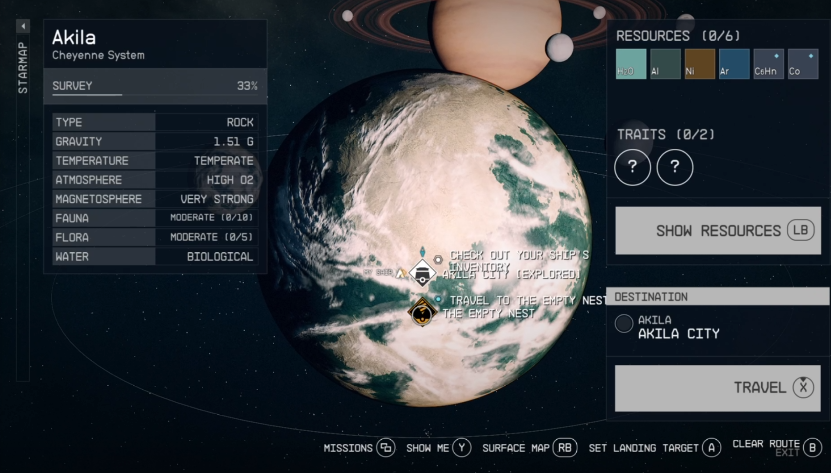
*Found on Akila, open fast travel and select the "Travel to Empty Nest" icon directly below [[Akila City]]. | |||
**Tip: If the fast travel point is missing, back out to galaxy view and reselect the [[planet]]. | |||
* | |||
[[File:Starfield_EmptyNest1_EN11.png|400px]] | |||
=== | ===Get the Artifact=== | ||
[[File:Starfield_EmptyNest1_EN12b.png|400px]] | |||
*It's about to get loud! Clear out the Shaw Gang camp in front of the Empty Nest. | |||
**Tip: You can just run to the Empty Nest entrance, but what's the fun in that? | |||
*When entering there will be a few more gang members to take out. Onward through the tunnels will lead you to a door. Enter this door to get the artifact. | |||
[[File:Starfield_EmptyNest1_EN12a.png|400px]] | |||
=== | ===Leave the Hideout=== | ||
*Make your way back out of the dungeon (you can't fast travel) | |||
*Once outside you'll find a group of gang members lined up in front of the hideout. | |||
=== | ===Deal with Shaw=== | ||
Shaw and her cronies were waiting for us. You have three approaches to this scenario: | |||
*[Speech] - You can [[persuade]] Shaw to let you go peacefully. Failing to persuade Shaw will cause the gang to go [[hostile]] | |||
*[Pay 1000 Credits] -You can bribe Shaw to let them go peacefully | |||
*[Attack] - Kills Shaw's Gang (Selecting this dialogue option causes the gang to go [[hostile]]) | |||
[[File:Starfield_EmptyNest1_EN13.png|400px]] | |||
=== | ===Optional: Kill the Ashta=== | ||
*Your group will be ambushed by Ashta. | |||
*Ashta and the Shaw Gang will begin fighting each other. | |||
*If you stay around and help the Shaw Gang with the Ashta, you will be rewarded. | |||
=== | ===Return to the Lodge=== | ||
*Open up the Starmap and head back to [[the Lodge]] | |||
. | |||
[[File:Starfield_EmptyNest1_EN14.png|400px]] | |||
=== | ===Add the Artifact / Wait for Sam=== | ||
*Place your newly acquired artifact along with the rest and listen to the dialogue between the [[Constellation]] members. | |||
. | |||
[[File:Starfield_EmptyNest1_EN15.png|400px]] | |||
=== | ===Talk to Sam=== | ||
*Talk to Sam and you will have the option of recruiting [[Sam Coe]] as one of your [[Companions]]. | |||
[[File:Starfield_EmptyNest1_EN16.png|400px]] | |||
==Additional Information== | ==Additional Information== | ||
Revision as of 22:22, 11 September 2023
| The Empty Nest | |
|---|---|
| File:The Empty Nest.jpg | |
| Information | |
| Type | Main Mission |
| Number | 3 |
| Level | ????? |
| Location | Landing Site The Lodge in Planet Jemison of Alpha Centauri |
| Starting NPC | Sarah Morgan |
| Description | Sarah Morgan wants me to join an expedition headed up by Sam Coe, another Constellation member. We’ll be going to Freestar Collective space. |
| Reward | 350 XP, 7200 Credits, Sam Coe as Companion |
| Previous Mission | The Old Neighborhood |
| Next Mission | Back to Vectera |
| Patch | 1.0 |
The Empty Nest is the mission 3 of Main Mission.
Walkthrough
As you stroll through the ambient surroundings of the Greenhouse area at the Lodge, approach Sam Coe, who is awaiting your arrival alongside his daughter, Cora. Initiating a conversation triggers the next mission and adds Sam to your crew aboard your spaceship. Before you zoom off to Akila City in the Cheyenne system, remember that Sam will permanently join your party until this mission's end. That said, plan your side quests and activities accordingly.
Your ship lands smoothly on Akila, and Sam is there by the landing area for a brief chat. He'll lay down the mission basics before you proceed to Galbank Vault. A guard near the city's entrance will initiate the "Freestar Collective mission Job Gone Wrong," a subplot you must resolve before progressing the main mission. Marshal Daniel Blake gives you two options: a persuasive conversation with the robbers to defuse the situation peacefully or an all-out assault. The choice is yours, but the persuasive route might offer the best rewards.
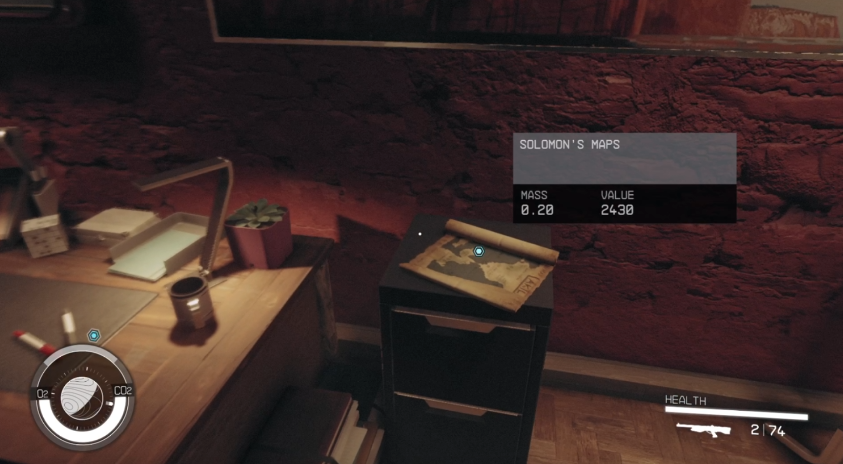
After resolving the bank situation, head into the vault where Sam hands you a key. Use it to find a box containing a “Note for Sam.” Grab that and speak with Sam to learn your next objective, which is to talk to Jacob at the Coe Estate. Your conversation with Jacob doesn't go as planned, but no worries, you have options. You can either persuade Jacob to hand over Solomon's Maps, go fetch Cora from the ship to speak with him (though Sam isn't a fan of that), or pull off a slick theft while Sam distracts Jacob. Choose wisely, grab the maps, and head back to talk to Sam.
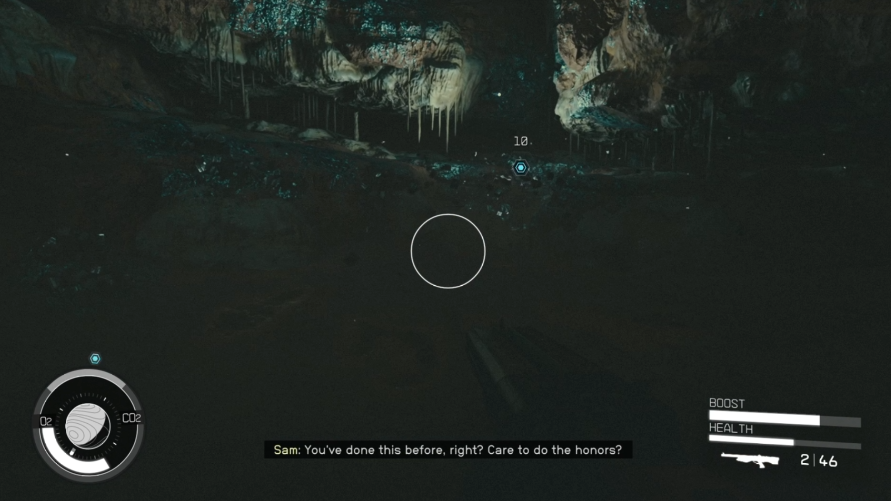
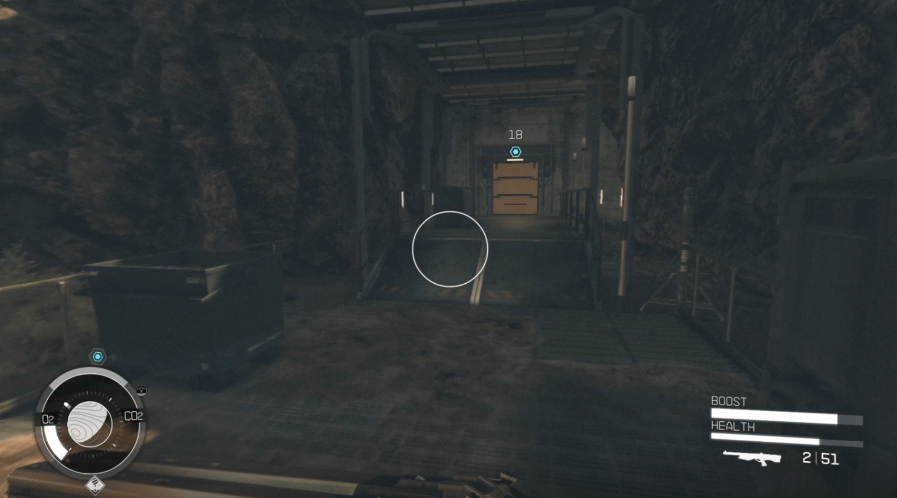
Now that you've acquired Solomon's Maps, the location of the Empty Nest is revealed. This destination is a treacherous journey through a desert filled with challenges, so ensure your gear is up to par. Once you arrive, the area teems with Shaw Gang members, automated turrets, and robots. A good strategy is to pick off the outer guards stealthily to reduce the number of eyes spotting you. As you venture into the Empty Nest cave, there are even more enemies to eliminate. Secure a key from one of them to unlock a gate halfway through. Reaching the end, you finally locate Artifact Chi.
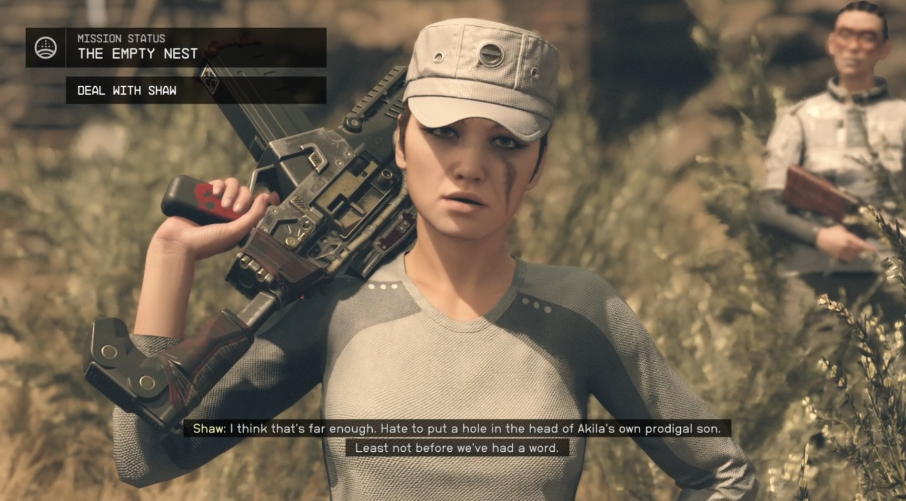
Just when you think it's all smooth sailing, you're ambushed by Shaw of the Shaw Gang upon leaving the cave. Employ your charisma for persuasion, or maybe you prefer a more combative approach; either way, dealing with Shaw is the final hurdle. An optional objective pops up as a horde of Ashta descend upon the area. Defend against these adversaries, and if you chose peace with Shaw, he'll reward you with a weapon and ammunition.
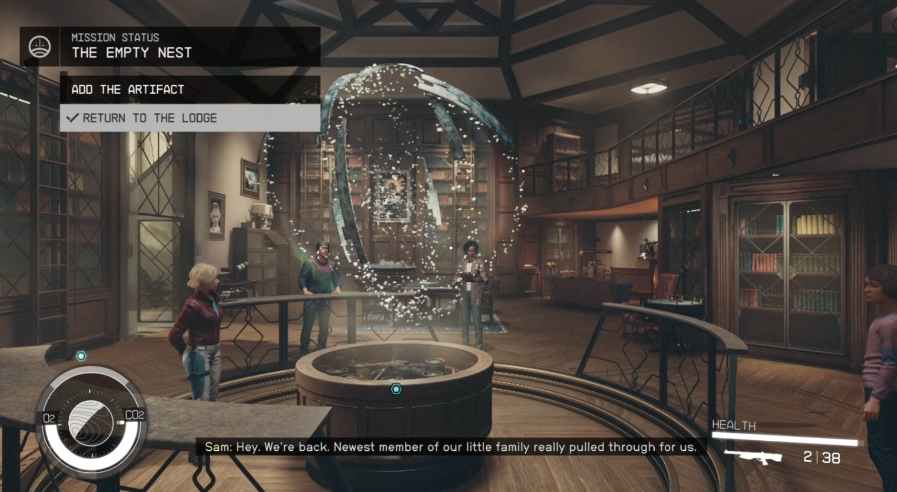
It's time to head back to the Lodge. At the pedestal, interact to place Artifact Chi as the next artifact piece. Wait for a spell as Sam finishes speaking. Finally, converse with him one more time to complete the mission, and voila! Sam becomes a permanent companion option.
Tips and Tricks
- This quest contains multiple Persuasion Conversation opportunities.
- Make sure you have your Cutter in your inventory when entering any cave like formation in order to collect valuable resources.
- The Freestar Collective Faction quest "Job Gone Wrong" is part of this quest, but can be done separately.
Objectives
Talk to Sam Coe
Travel to Akila City
- After speaking with Sam, make your way outside and fast travel to Akila City in the Cheyenne System.
- Note: If you have unexplored systems between wherever you are and Akila, you may need to do multiple jumps until you get close enough to reach Akila.
Speak with Sam
- Once you land, Speak with Sam who will join you.
- Be aware that Sam will be locked as your follower until you complete this mission once you select "Understood. Let's get going."
Go to the Galbank Vault
- As you begin your approach to the Galbank Vault, you will be stopped by Akila City Security.
- The guard explains there is trouble at the bank. Follow the dialogue choices and you will need to go speak with Marshal Daniel Blake.
Mission Update: Job Gone Wrong
- Speak with Marshal Daniel Blake behind the armed guards pointing at the bank. During this conversation, you will find out that there is a hostage situation going on inside the bank. You will want to volunteer to handle the situation. In the next step you can try to Persuade them or attack the hostage takers.
Mission Update: Job Gone Wrong - Persuade the Bank Robbers to Surrender
- Make your way to the bank's intercom to the left of the main entrance and talk to the hostage takers.
- Test your silver tongue or give them no choice in the matter. [[[Persuasion]] Opportunity]
- If you fail the Persuasion check and they refuse, you will be prompted with a few options:
- Speak with Marshal Daniel on what can be done about it and he will give you a key to sneak around the back of the bank.
- Ask to see the hostages
- If you pass the Persuasion check, you can still attack them, but you don't need to. You would then report back to Marshal Daniel that you've convinced them to let the hostages go.
Mission Update: Job Gone Wrong - Eliminate the Bank Robbers
- Go around the back of the bank and use the key to open the door.
- Clear out the building of all hostiles in whatever manner you choose.
- Once all would-be robbers are dealt with, head back out and speak with the Marshal and let him know the hostages are safe.
- One you have completed Job Gone Wrong, you may proceed to Deputized.
Go to the Galbank Vault [again]
- Re-enter the bank and make your way to the vault.
- The vault is downstairs on your first right.
- Enter the vault.
Search for the Maps
- There are multiple containers in this room that you will want to search to search until you find the maps.
- One of the Secure Storage Lockers contains a note directed towards Sam.
- Seems like someone named "Jacob" has beat us to it. Luckily Sam knows where to find him.
- Optional: Talk to Sam about "Jacob." [[[Persuasion]] Opportunity]
Talk to Jacob
- Leave the bank and head North to the Coe Estate
.
- Upon entering, approach Jacob and let the conversation ensue.
Talk to Sam
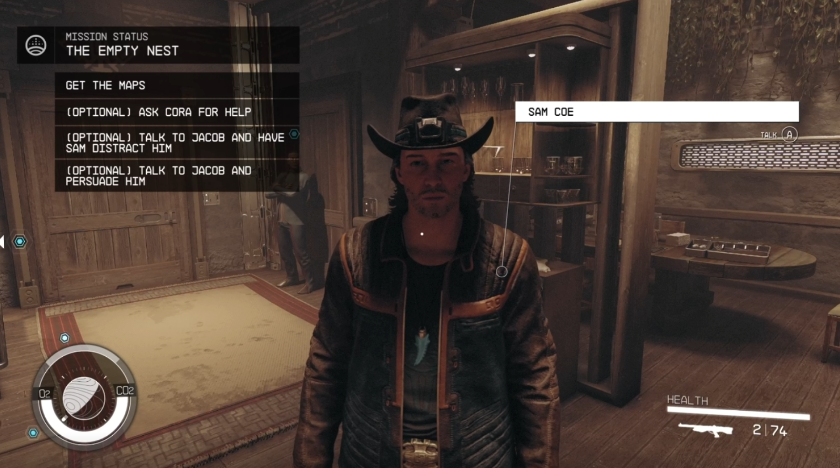 At this point, you have several options:
Talk to Jacob
- Approach Jacob and begin the conversation.
- Option 1: Persuasion Option
- If successful, he'll walk away from the door and allow access to grab the maps.
- If you fail, you will need to try the other two options.
- Option 2: Bring Cora in and you'll convince Jacob to give you the maps.
- Option 3: Sam will talk to Jacob and you will need to steal the maps.
Talk to Sam
- With map in hand, let's talk to Sam.
- He will tell you that you need to head to Shaw Gang territory.
Travel to the Empty Nest
- Found on Akila, open fast travel and select the "Travel to Empty Nest" icon directly below Akila City.
- Tip: If the fast travel point is missing, back out to galaxy view and reselect the planet.
Get the Artifact
- It's about to get loud! Clear out the Shaw Gang camp in front of the Empty Nest.
- Tip: You can just run to the Empty Nest entrance, but what's the fun in that?
- When entering there will be a few more gang members to take out. Onward through the tunnels will lead you to a door. Enter this door to get the artifact.
Leave the Hideout
- Make your way back out of the dungeon (you can't fast travel)
- Once outside you'll find a group of gang members lined up in front of the hideout.
Deal with Shaw
Shaw and her cronies were waiting for us. You have three approaches to this scenario:
- [Speech] - You can persuade Shaw to let you go peacefully. Failing to persuade Shaw will cause the gang to go hostile
- [Pay 1000 Credits] -You can bribe Shaw to let them go peacefully
- [Attack] - Kills Shaw's Gang (Selecting this dialogue option causes the gang to go hostile)
Optional: Kill the Ashta
- Your group will be ambushed by Ashta.
- Ashta and the Shaw Gang will begin fighting each other.
- If you stay around and help the Shaw Gang with the Ashta, you will be rewarded.
Return to the Lodge
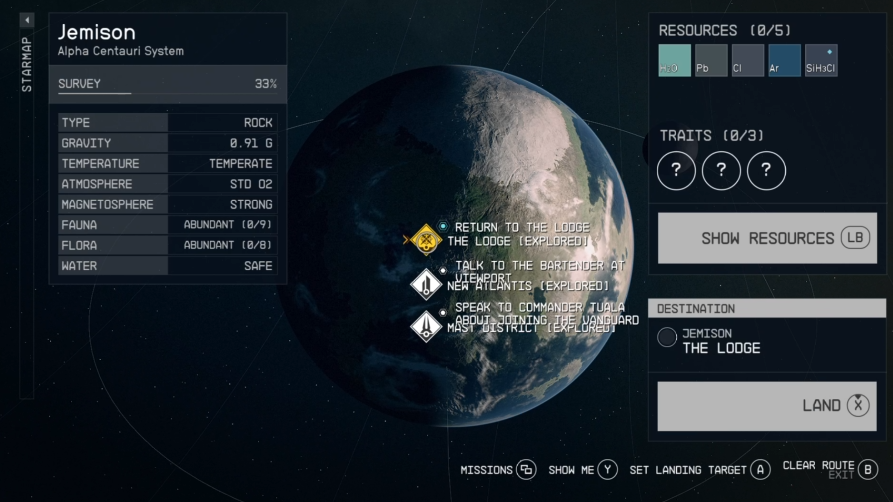
- Open up the Starmap and head back to the Lodge
.
Add the Artifact / Wait for Sam
- Place your newly acquired artifact along with the rest and listen to the dialogue between the Constellation members.
.
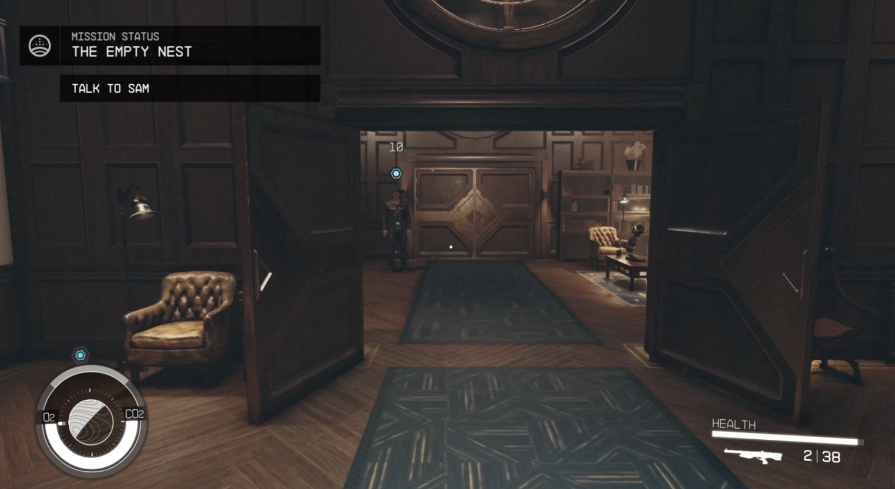
Talk to Sam
- Talk to Sam and you will have the option of recruiting Sam Coe as one of your Companions.


