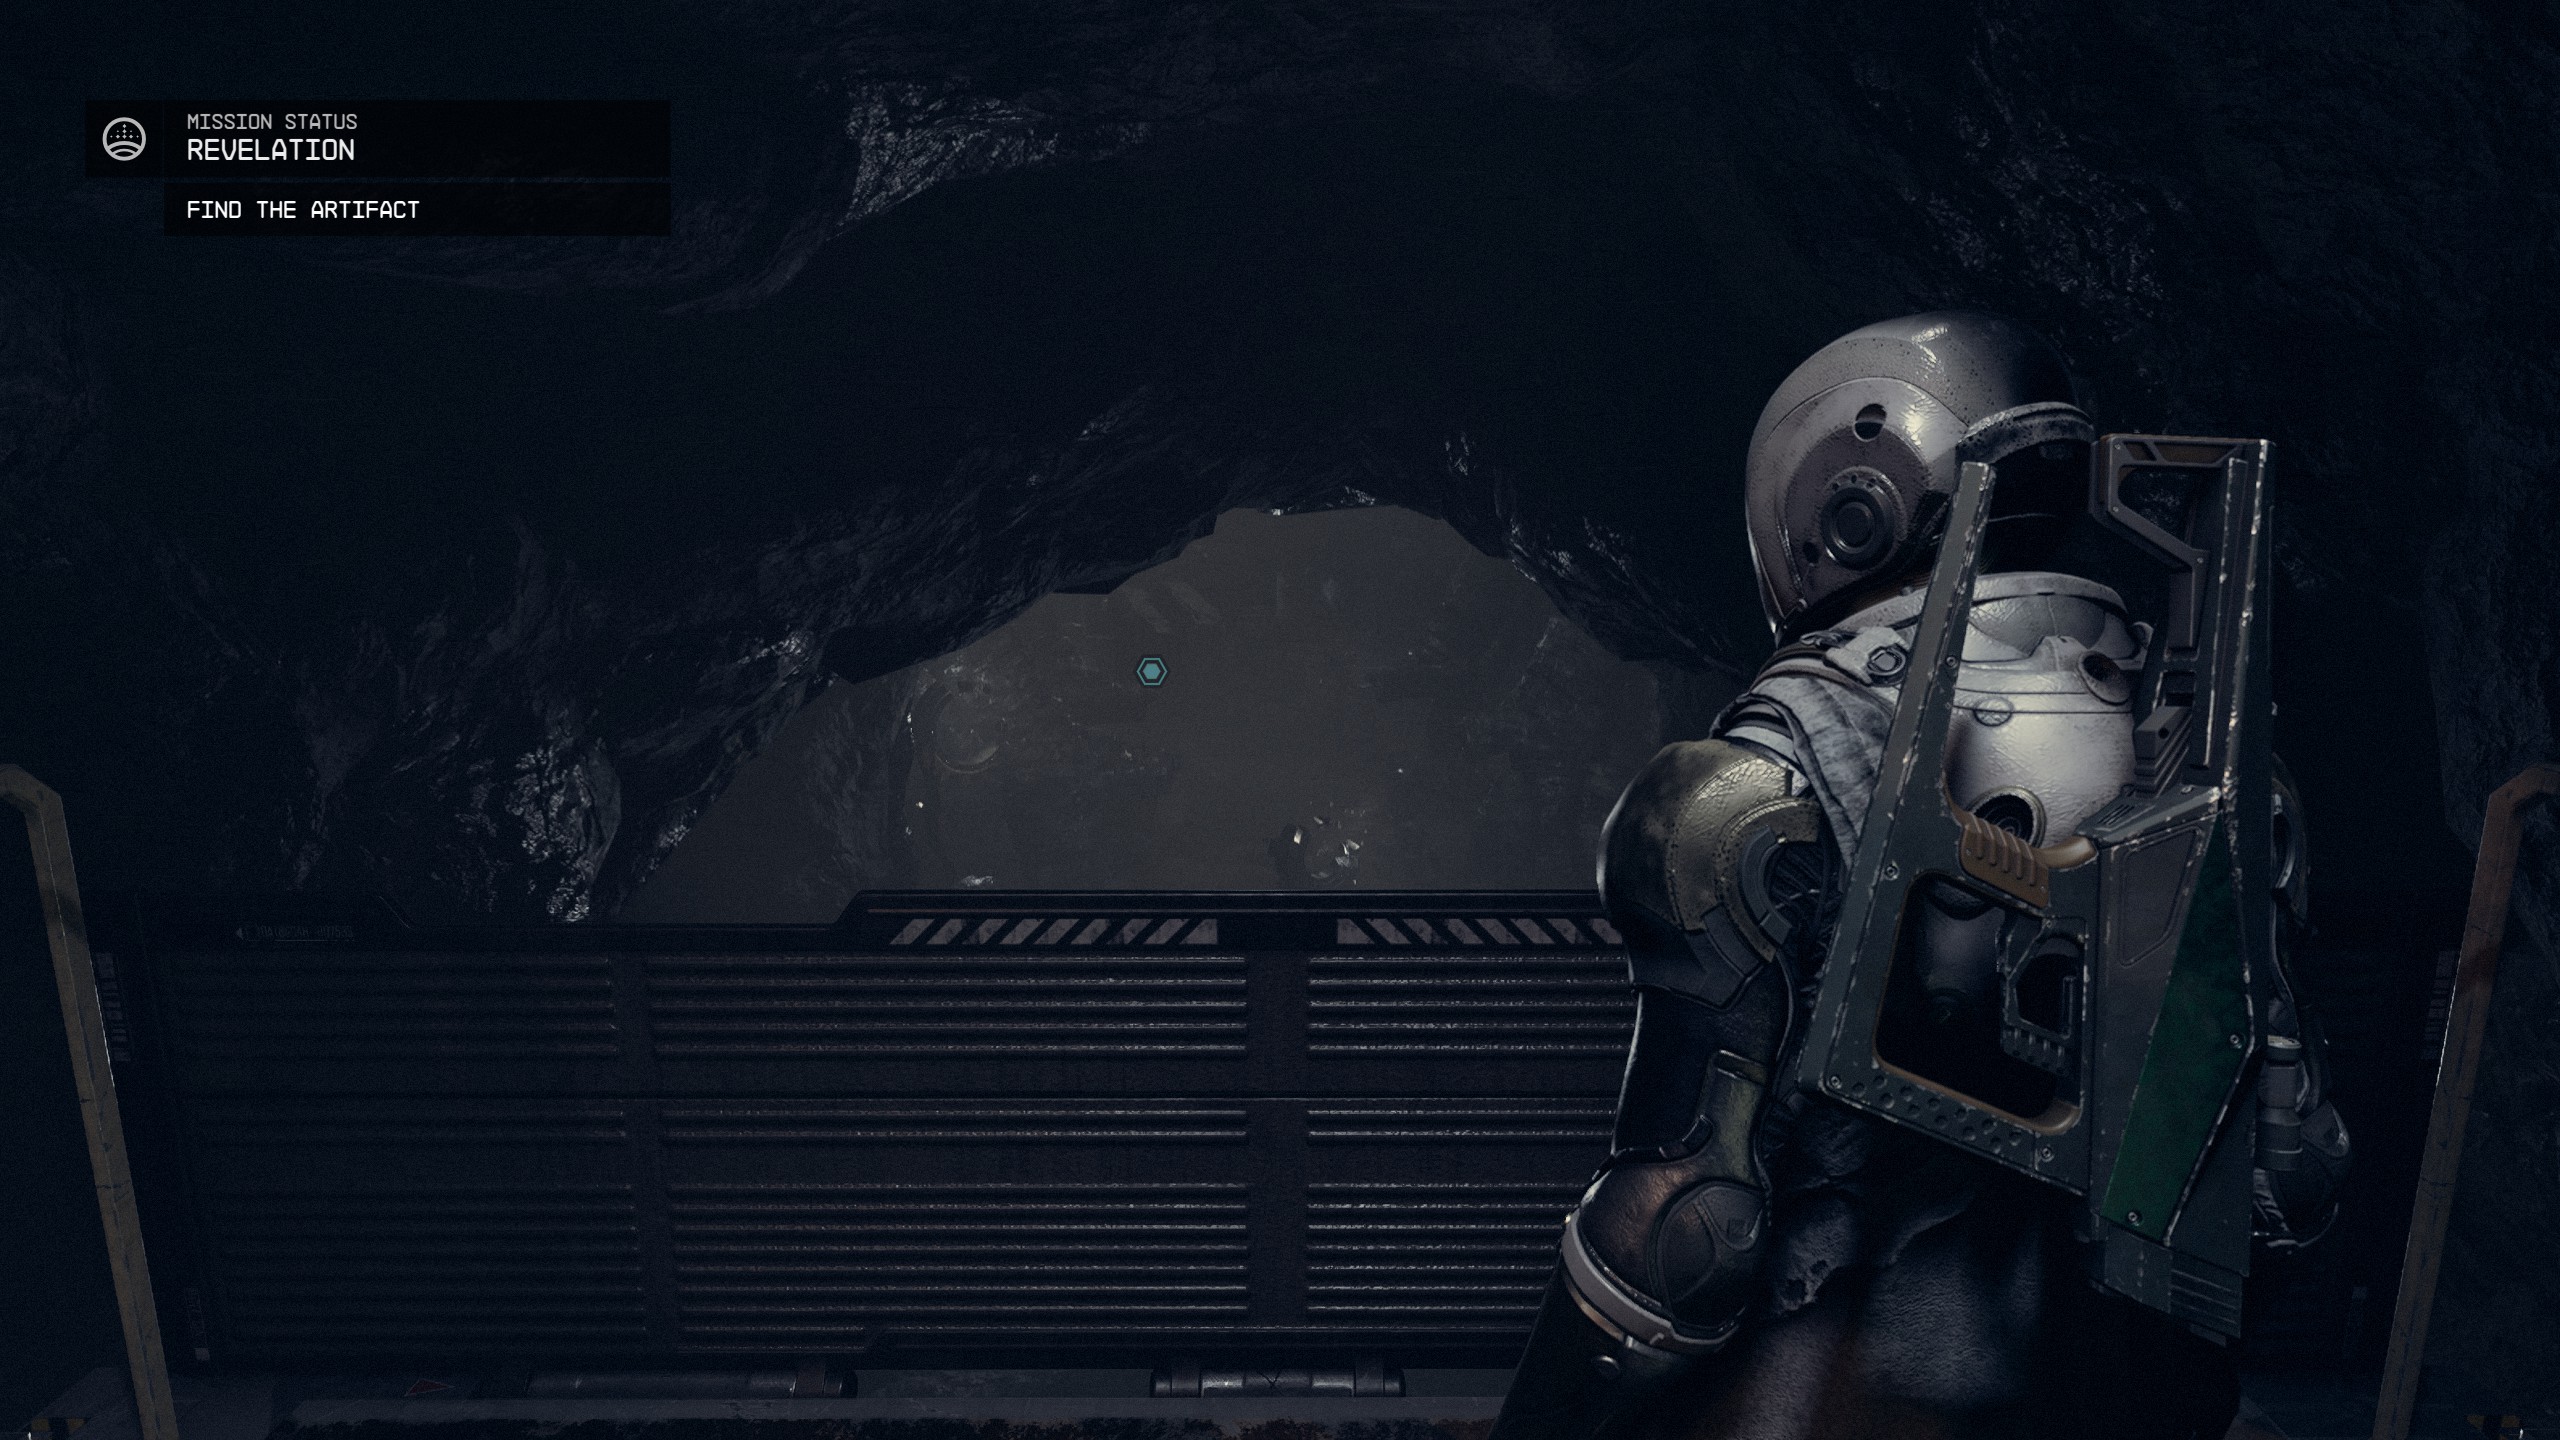
Revelation
| Revelation | |
|---|---|
| |
| Information | |
| Type | Main Mission |
| Number | 18 |
| Location | Masada III, Buried Temple |
| Starting NPC | Nishina Research Station |
| Description | I must go to the Buried Temple on Masada III, where I will confront the Hunter and his allies for the final Artifact. |
| Reward | 5000 XP |
| Previous Mission | Unearthed, Final Glimpses, Entangled |
| Next Mission | One Giant Leap |
| Patch | 1.0 |
Revelation is the mission 18 of Main Mission.
Walkthrough
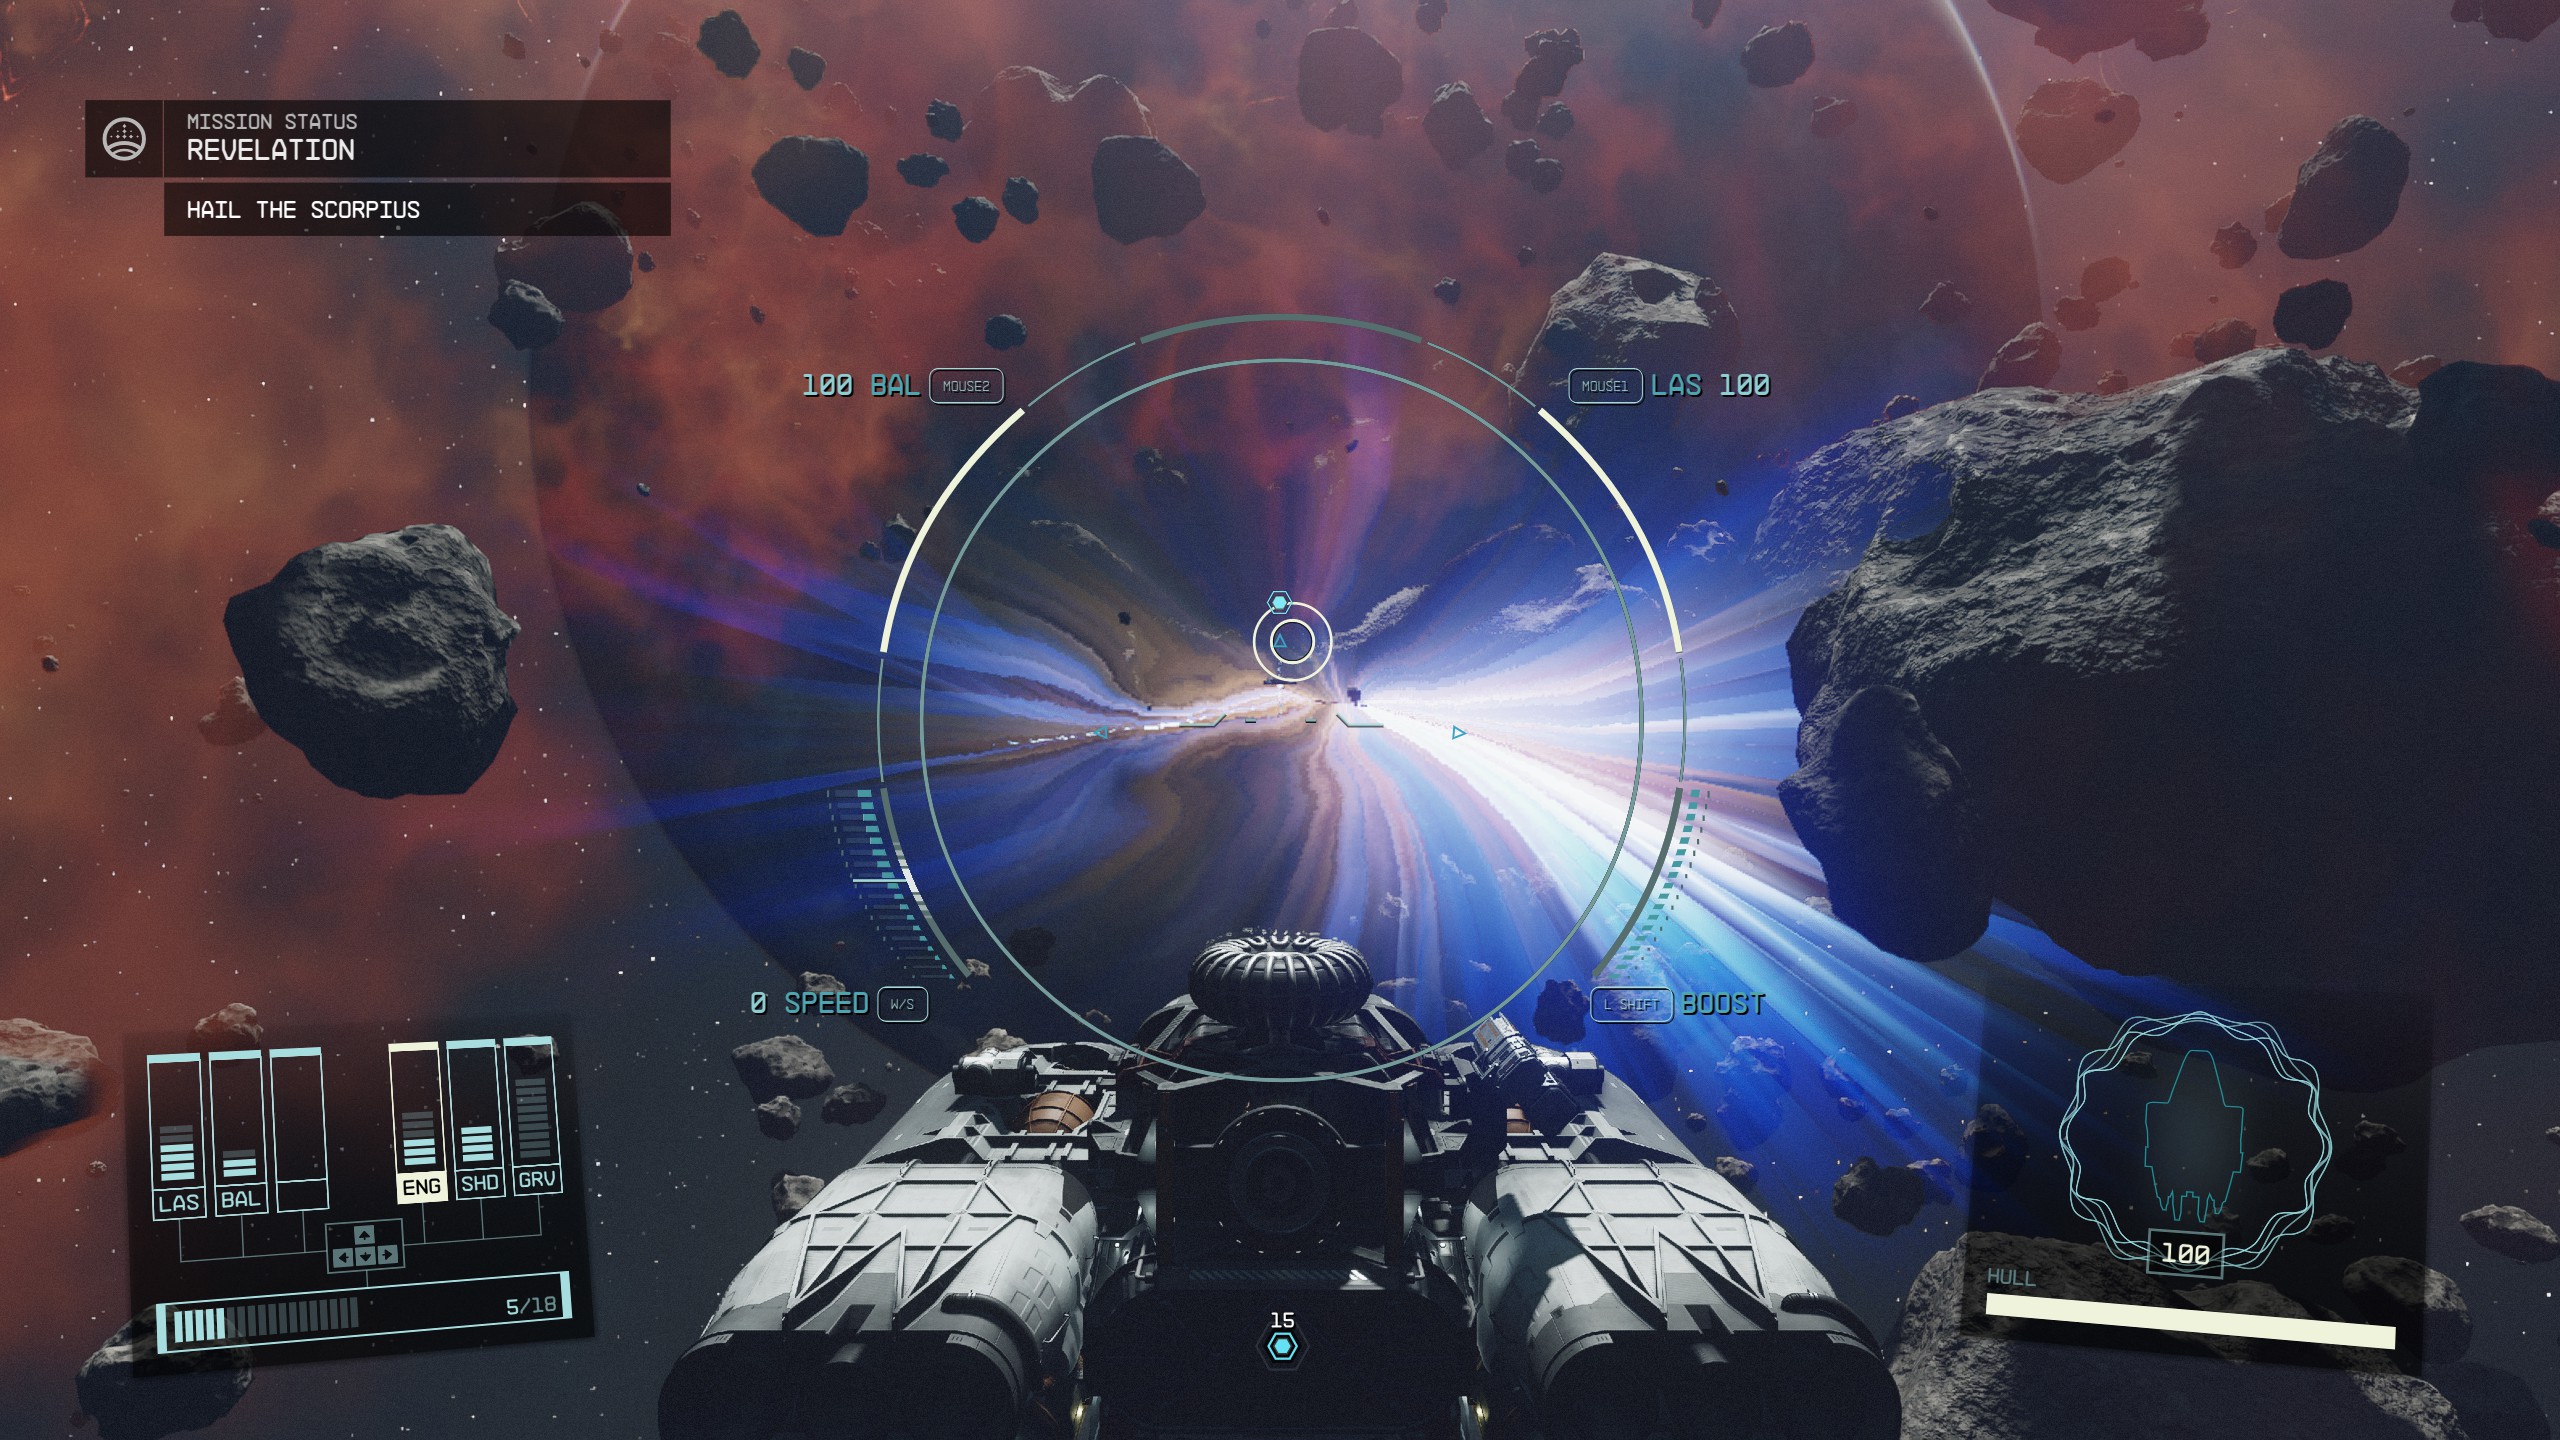
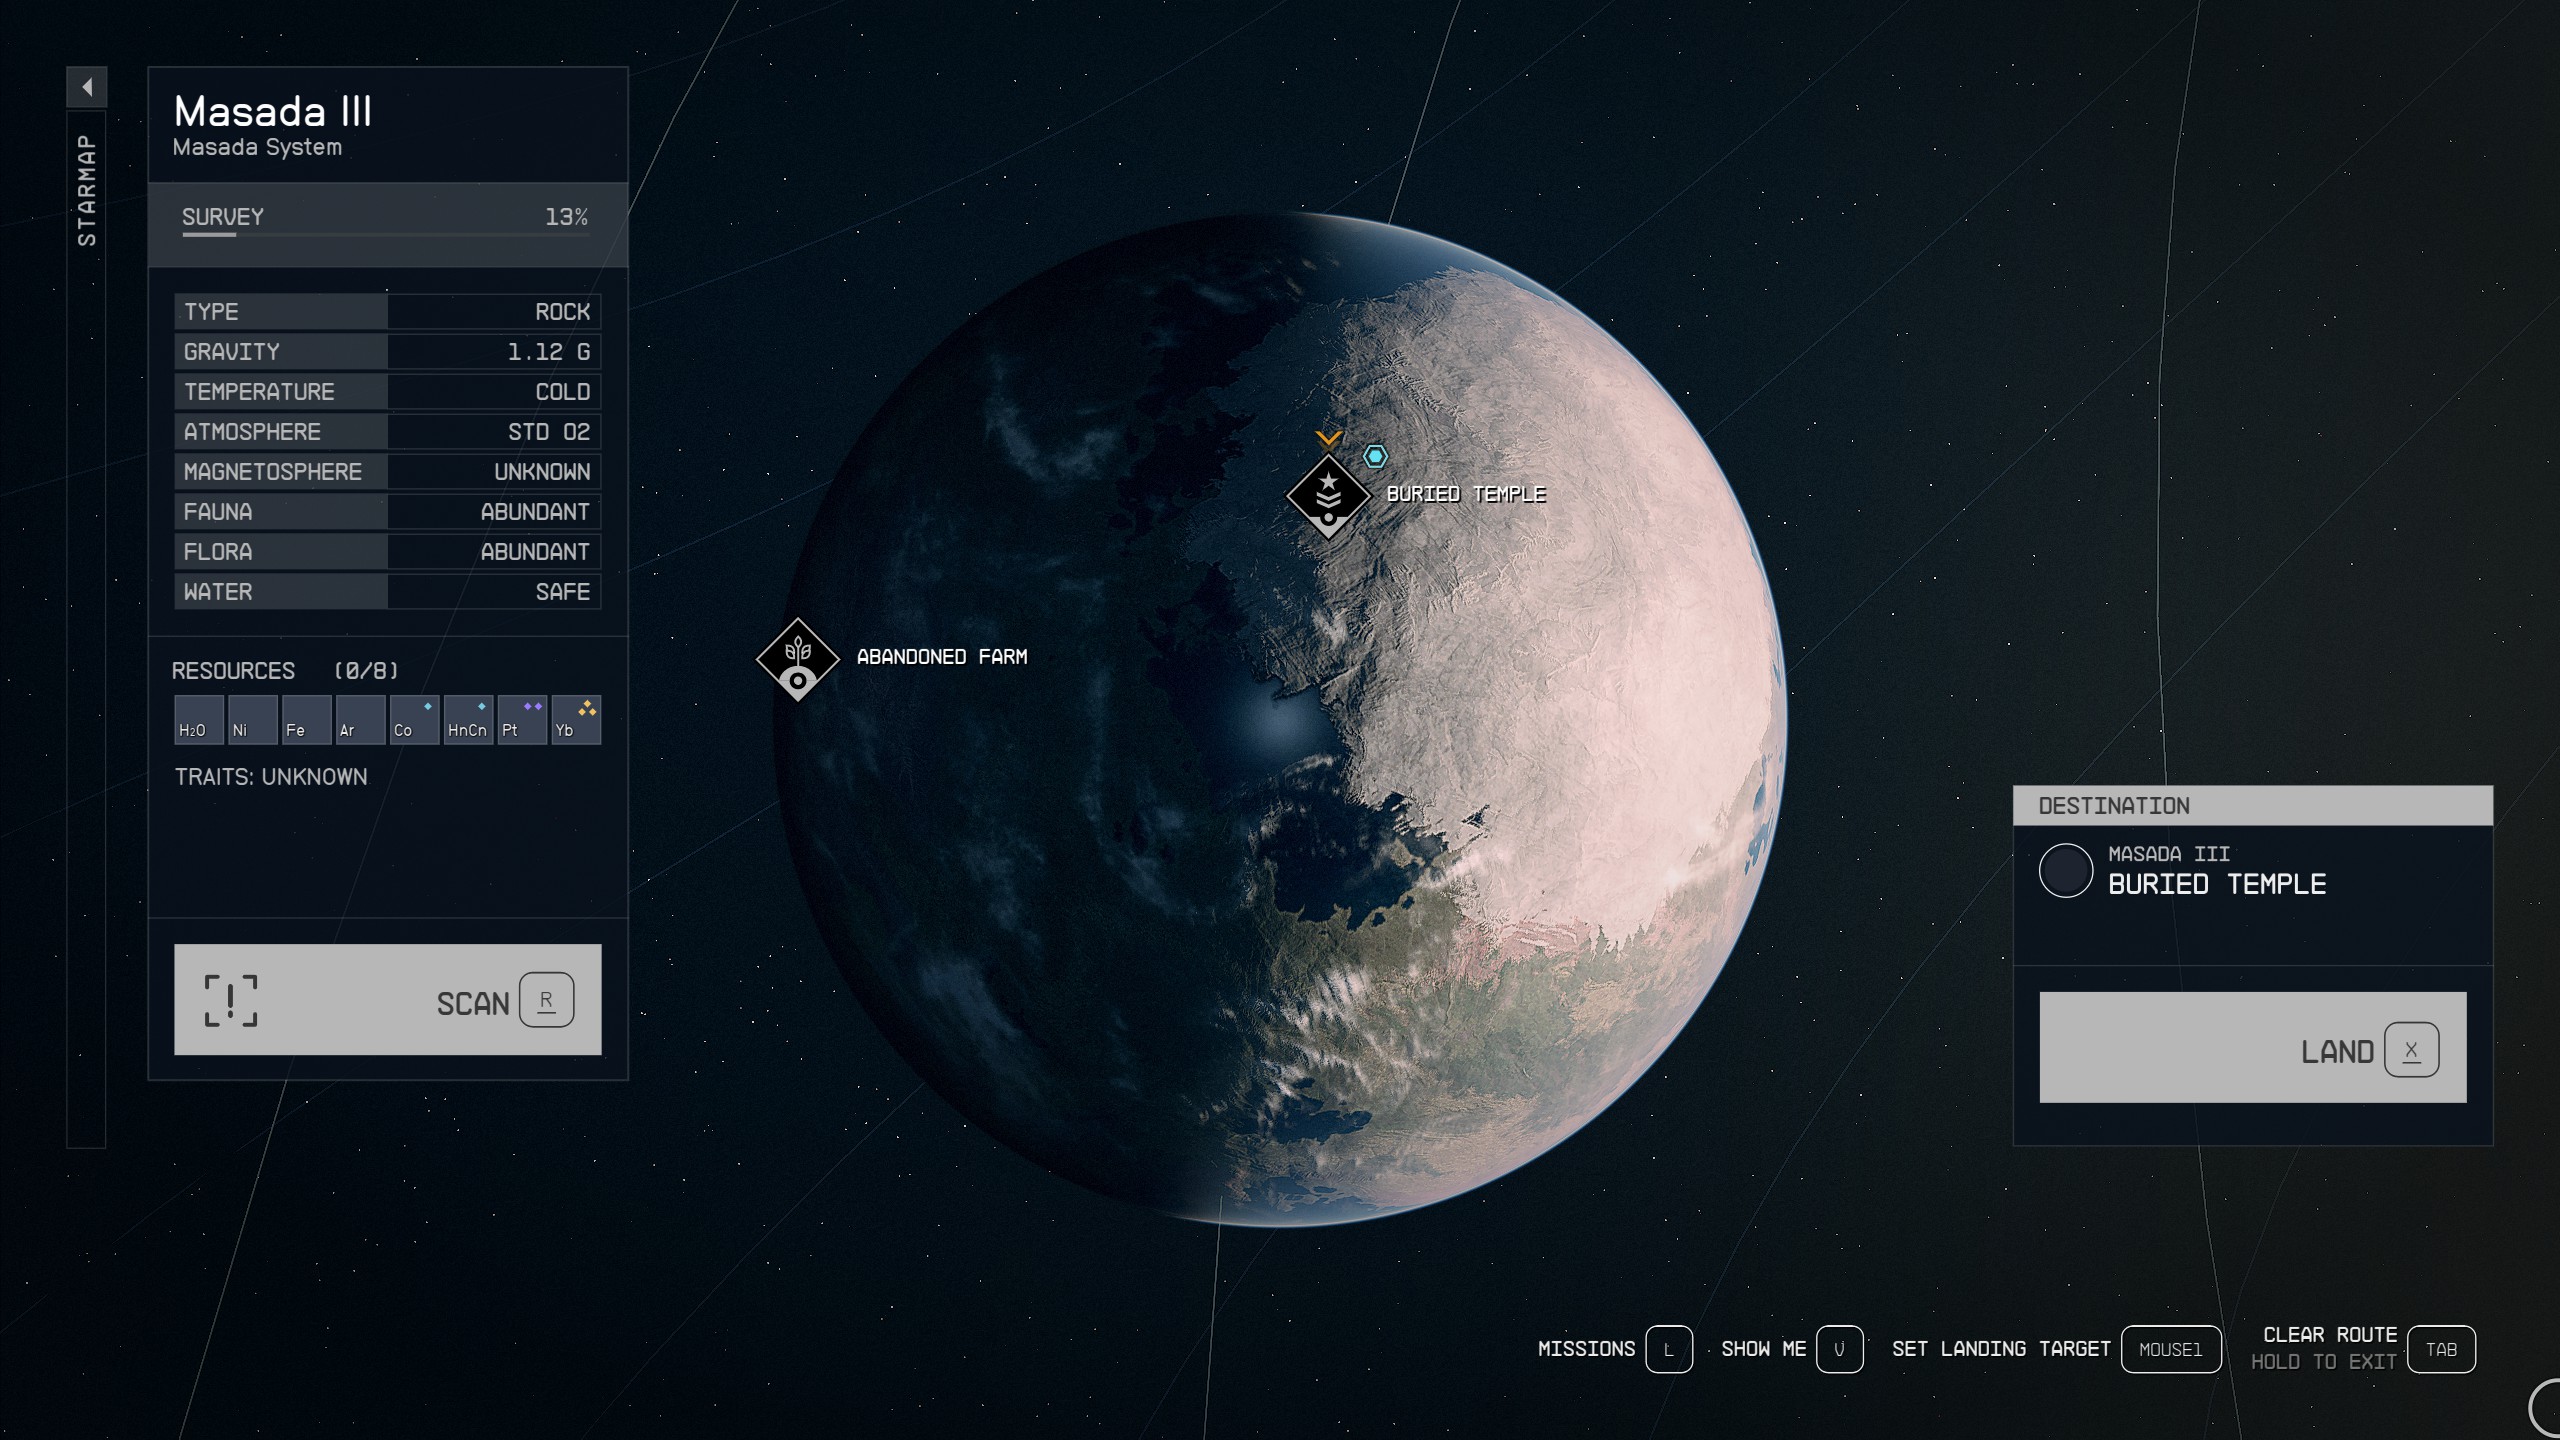
As you gear up for the final confrontation with the Starborn in Starfield, ensure your ship is well-equipped and ready for battle. You'll need to navigate to Masada III, a high-level system that requires you to jump through several dangerous systems en route. Be swift with your grav jumps to avoid unnecessary encounters. Upon entering the space around Masada III, you'll be thrust into a ship fight against the faction you didn't side with during the Unearthed mission. Therefore, it's crucial to have extra Ship Parts for repairs.
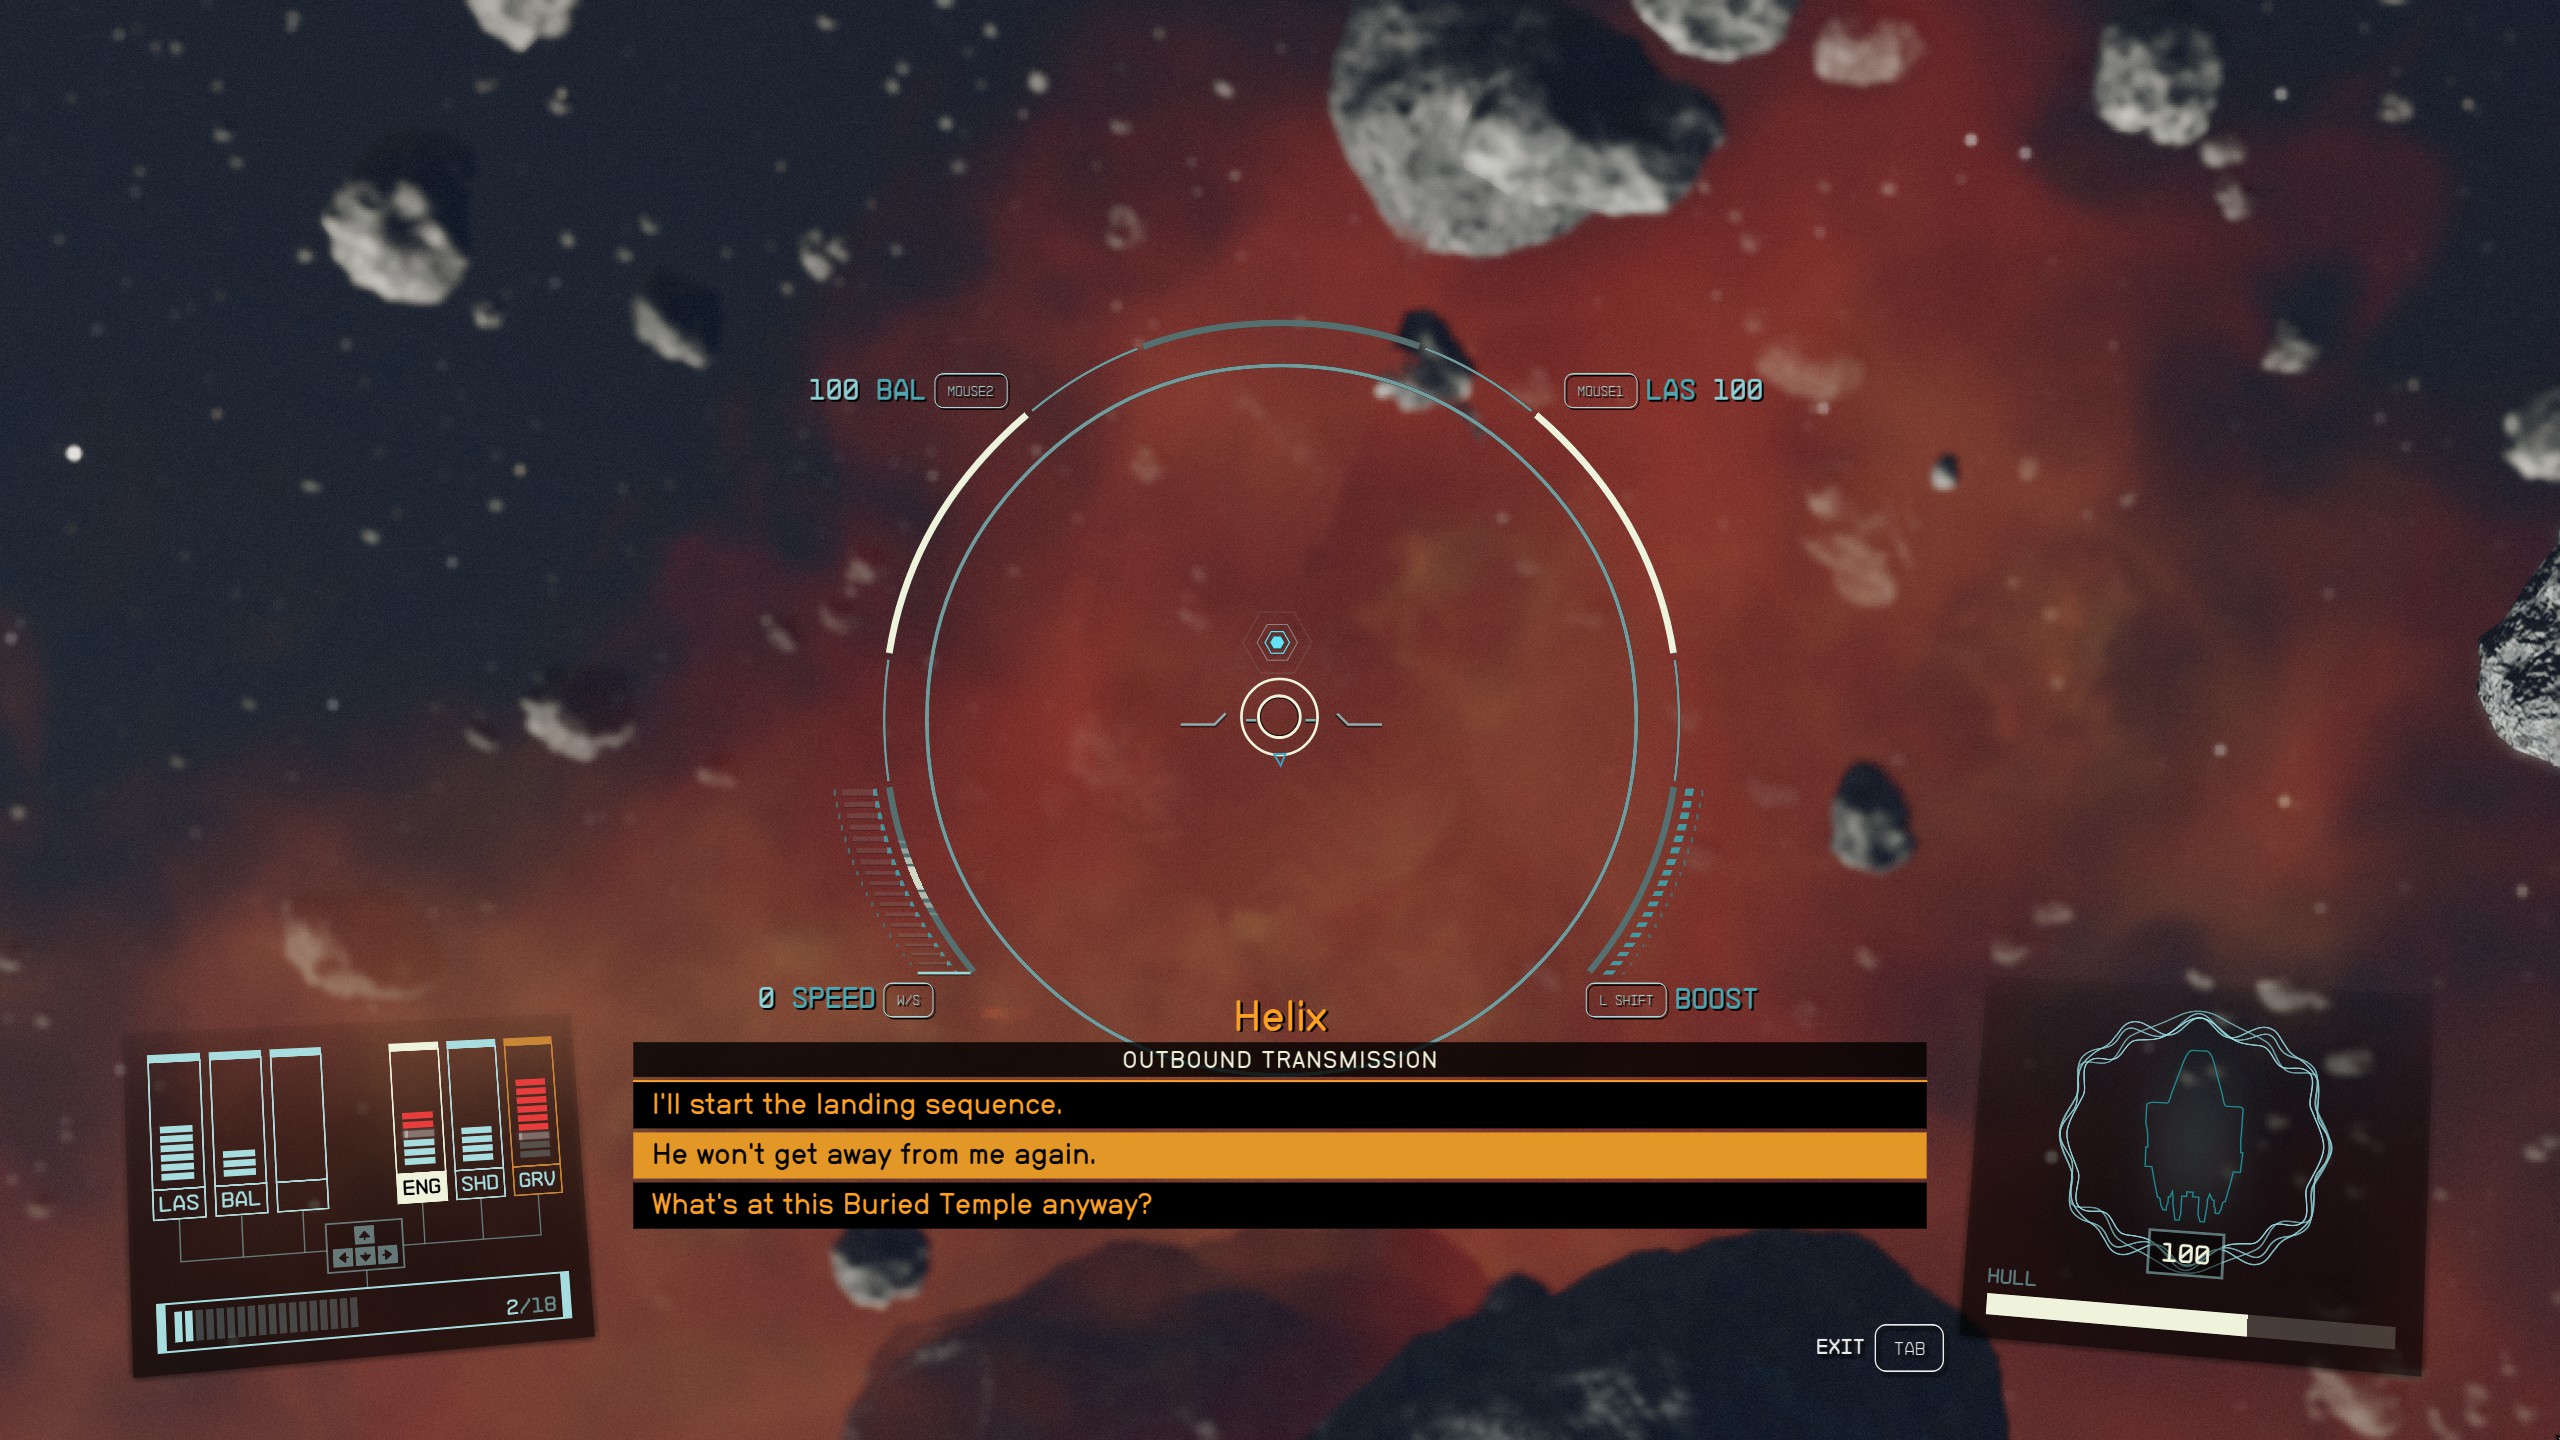
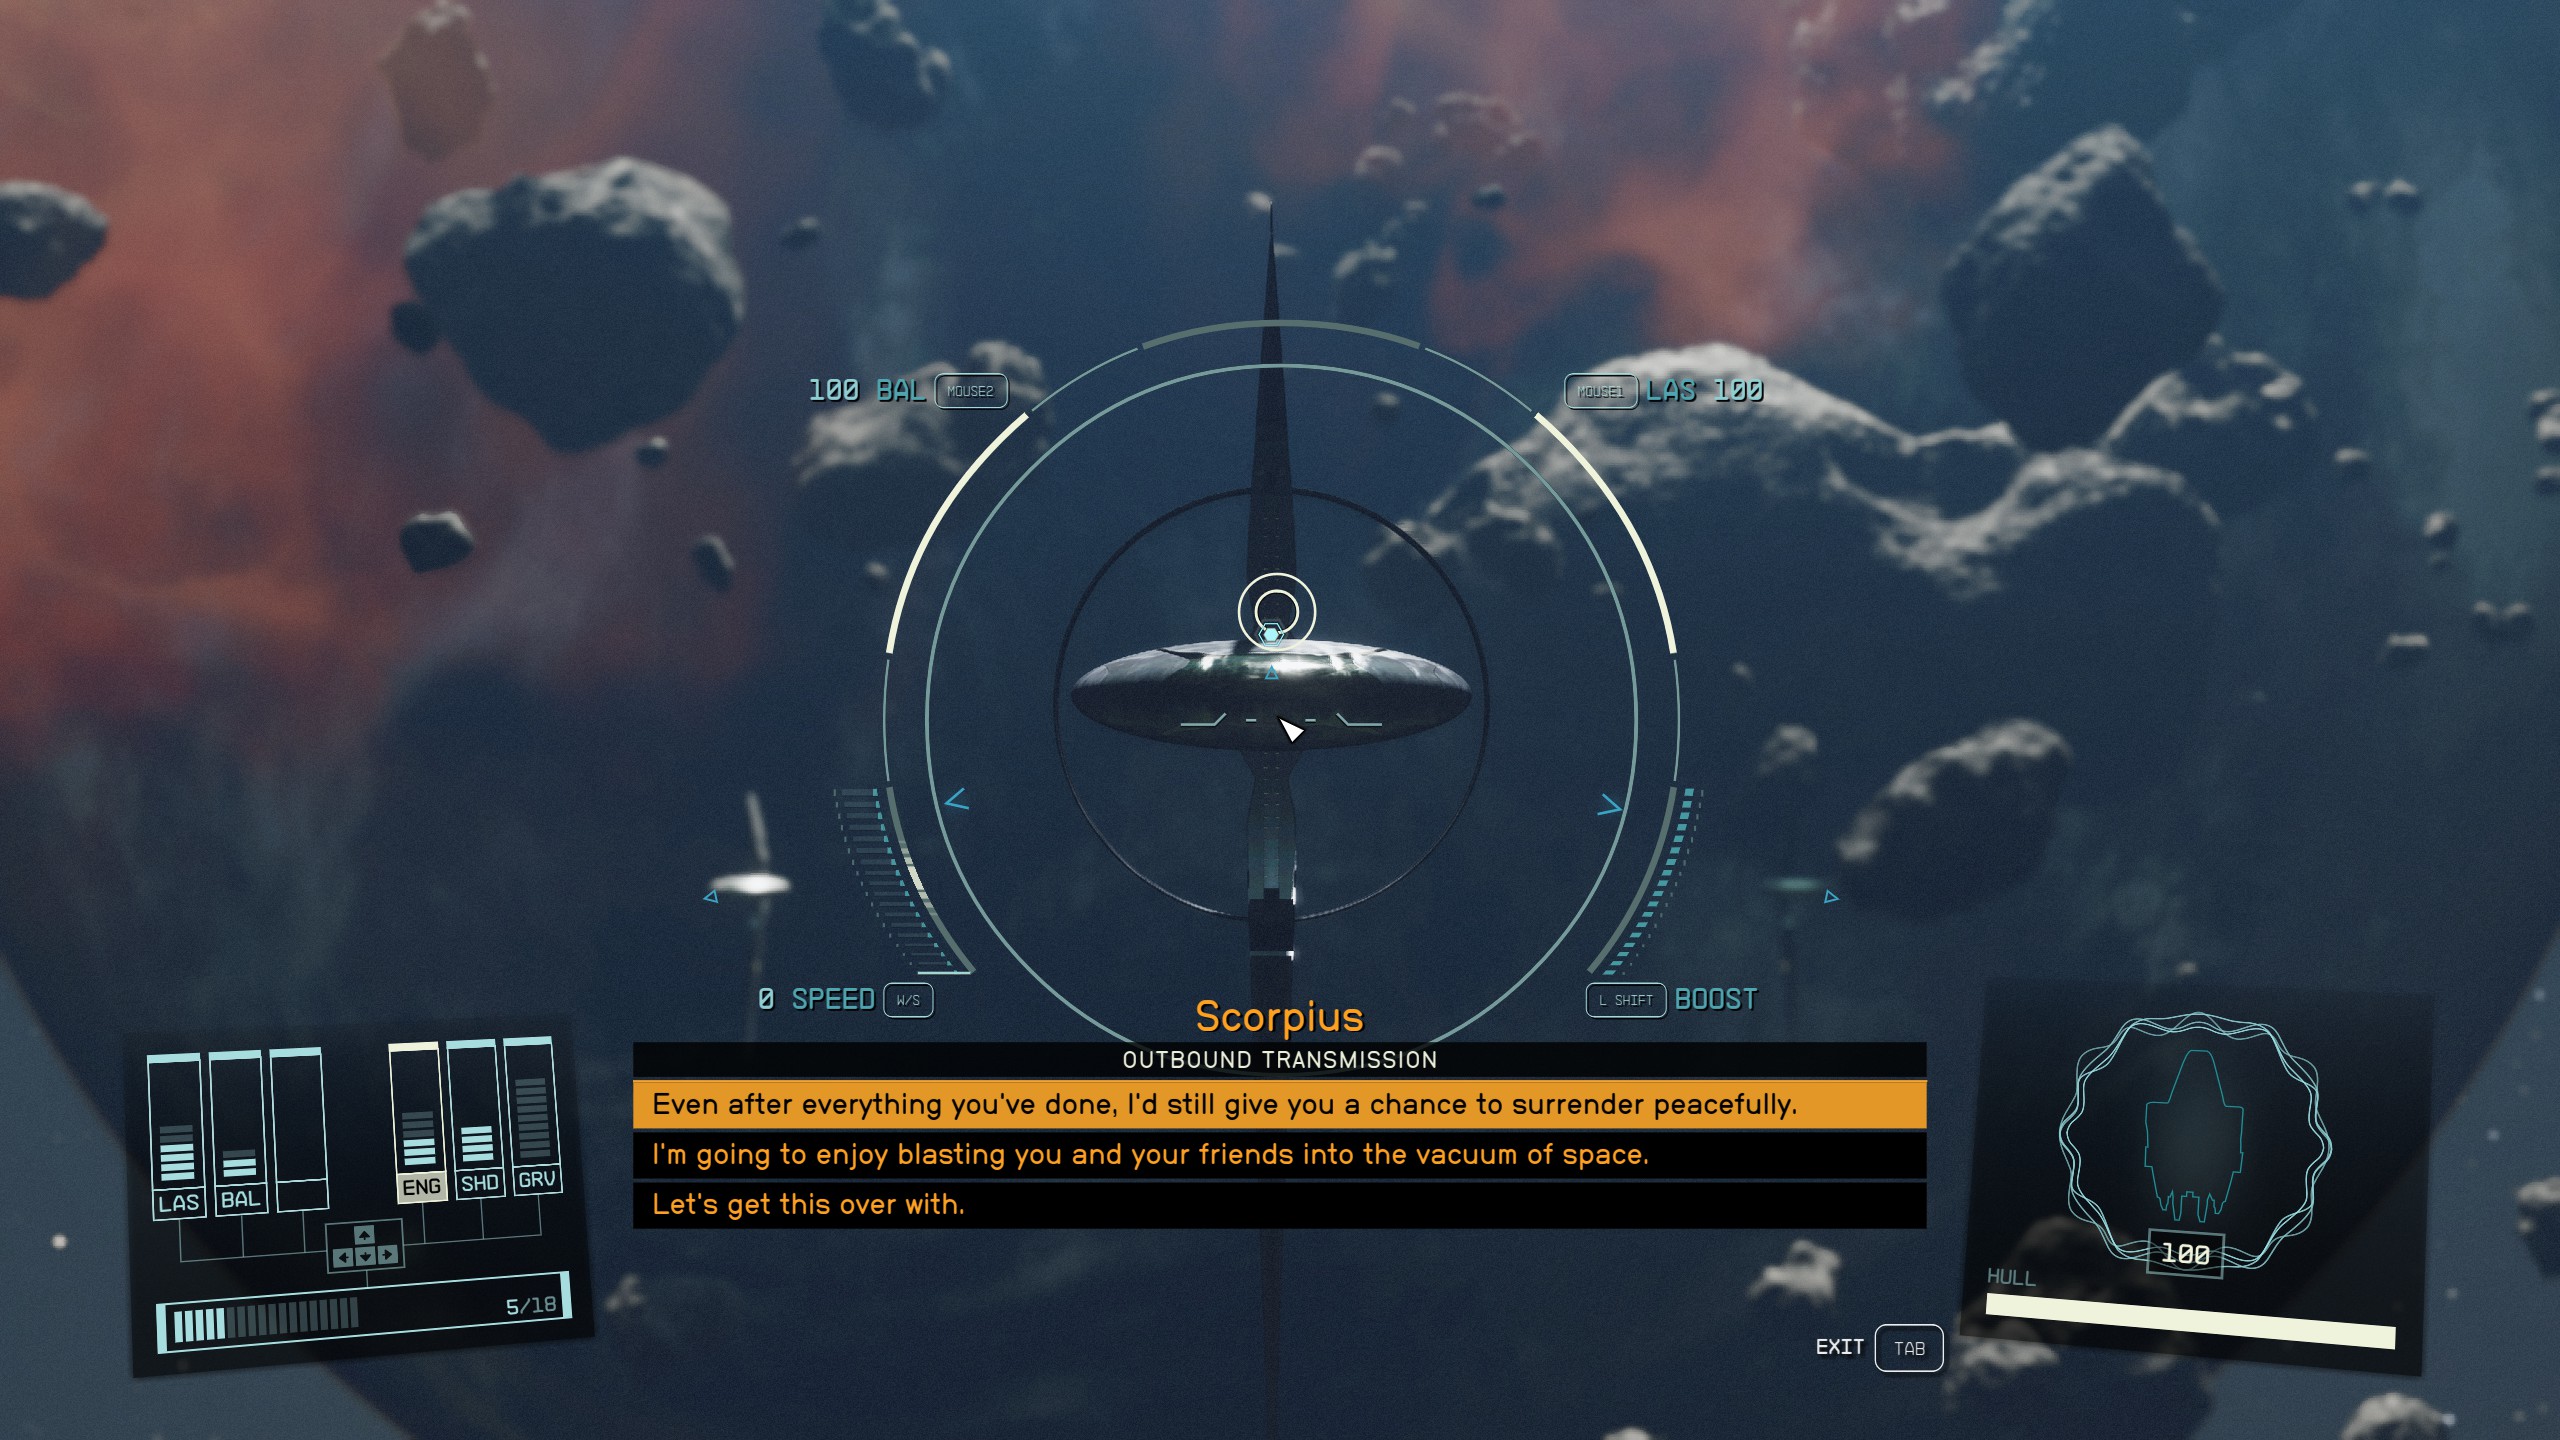
Once you're in the Masada III system, your ship will automatically hail the Scorpius or Helix, depending on who you're set to face. You'll engage in a brief dialogue with the Starborn, but don't expect to negotiate your way out of this. The fight is inevitable. You'll now square off against a total of three Starborn ships. If you've sided with either the Hunter or the Emissary, they will join the fray after a while to help. At the outset, though, you're on your own. Aim to take down the weaker ships first to lessen the incoming fire. Once the Scorpius or Helix's health drops to about half, they'll warp out, effectively ending this stage of the battle.
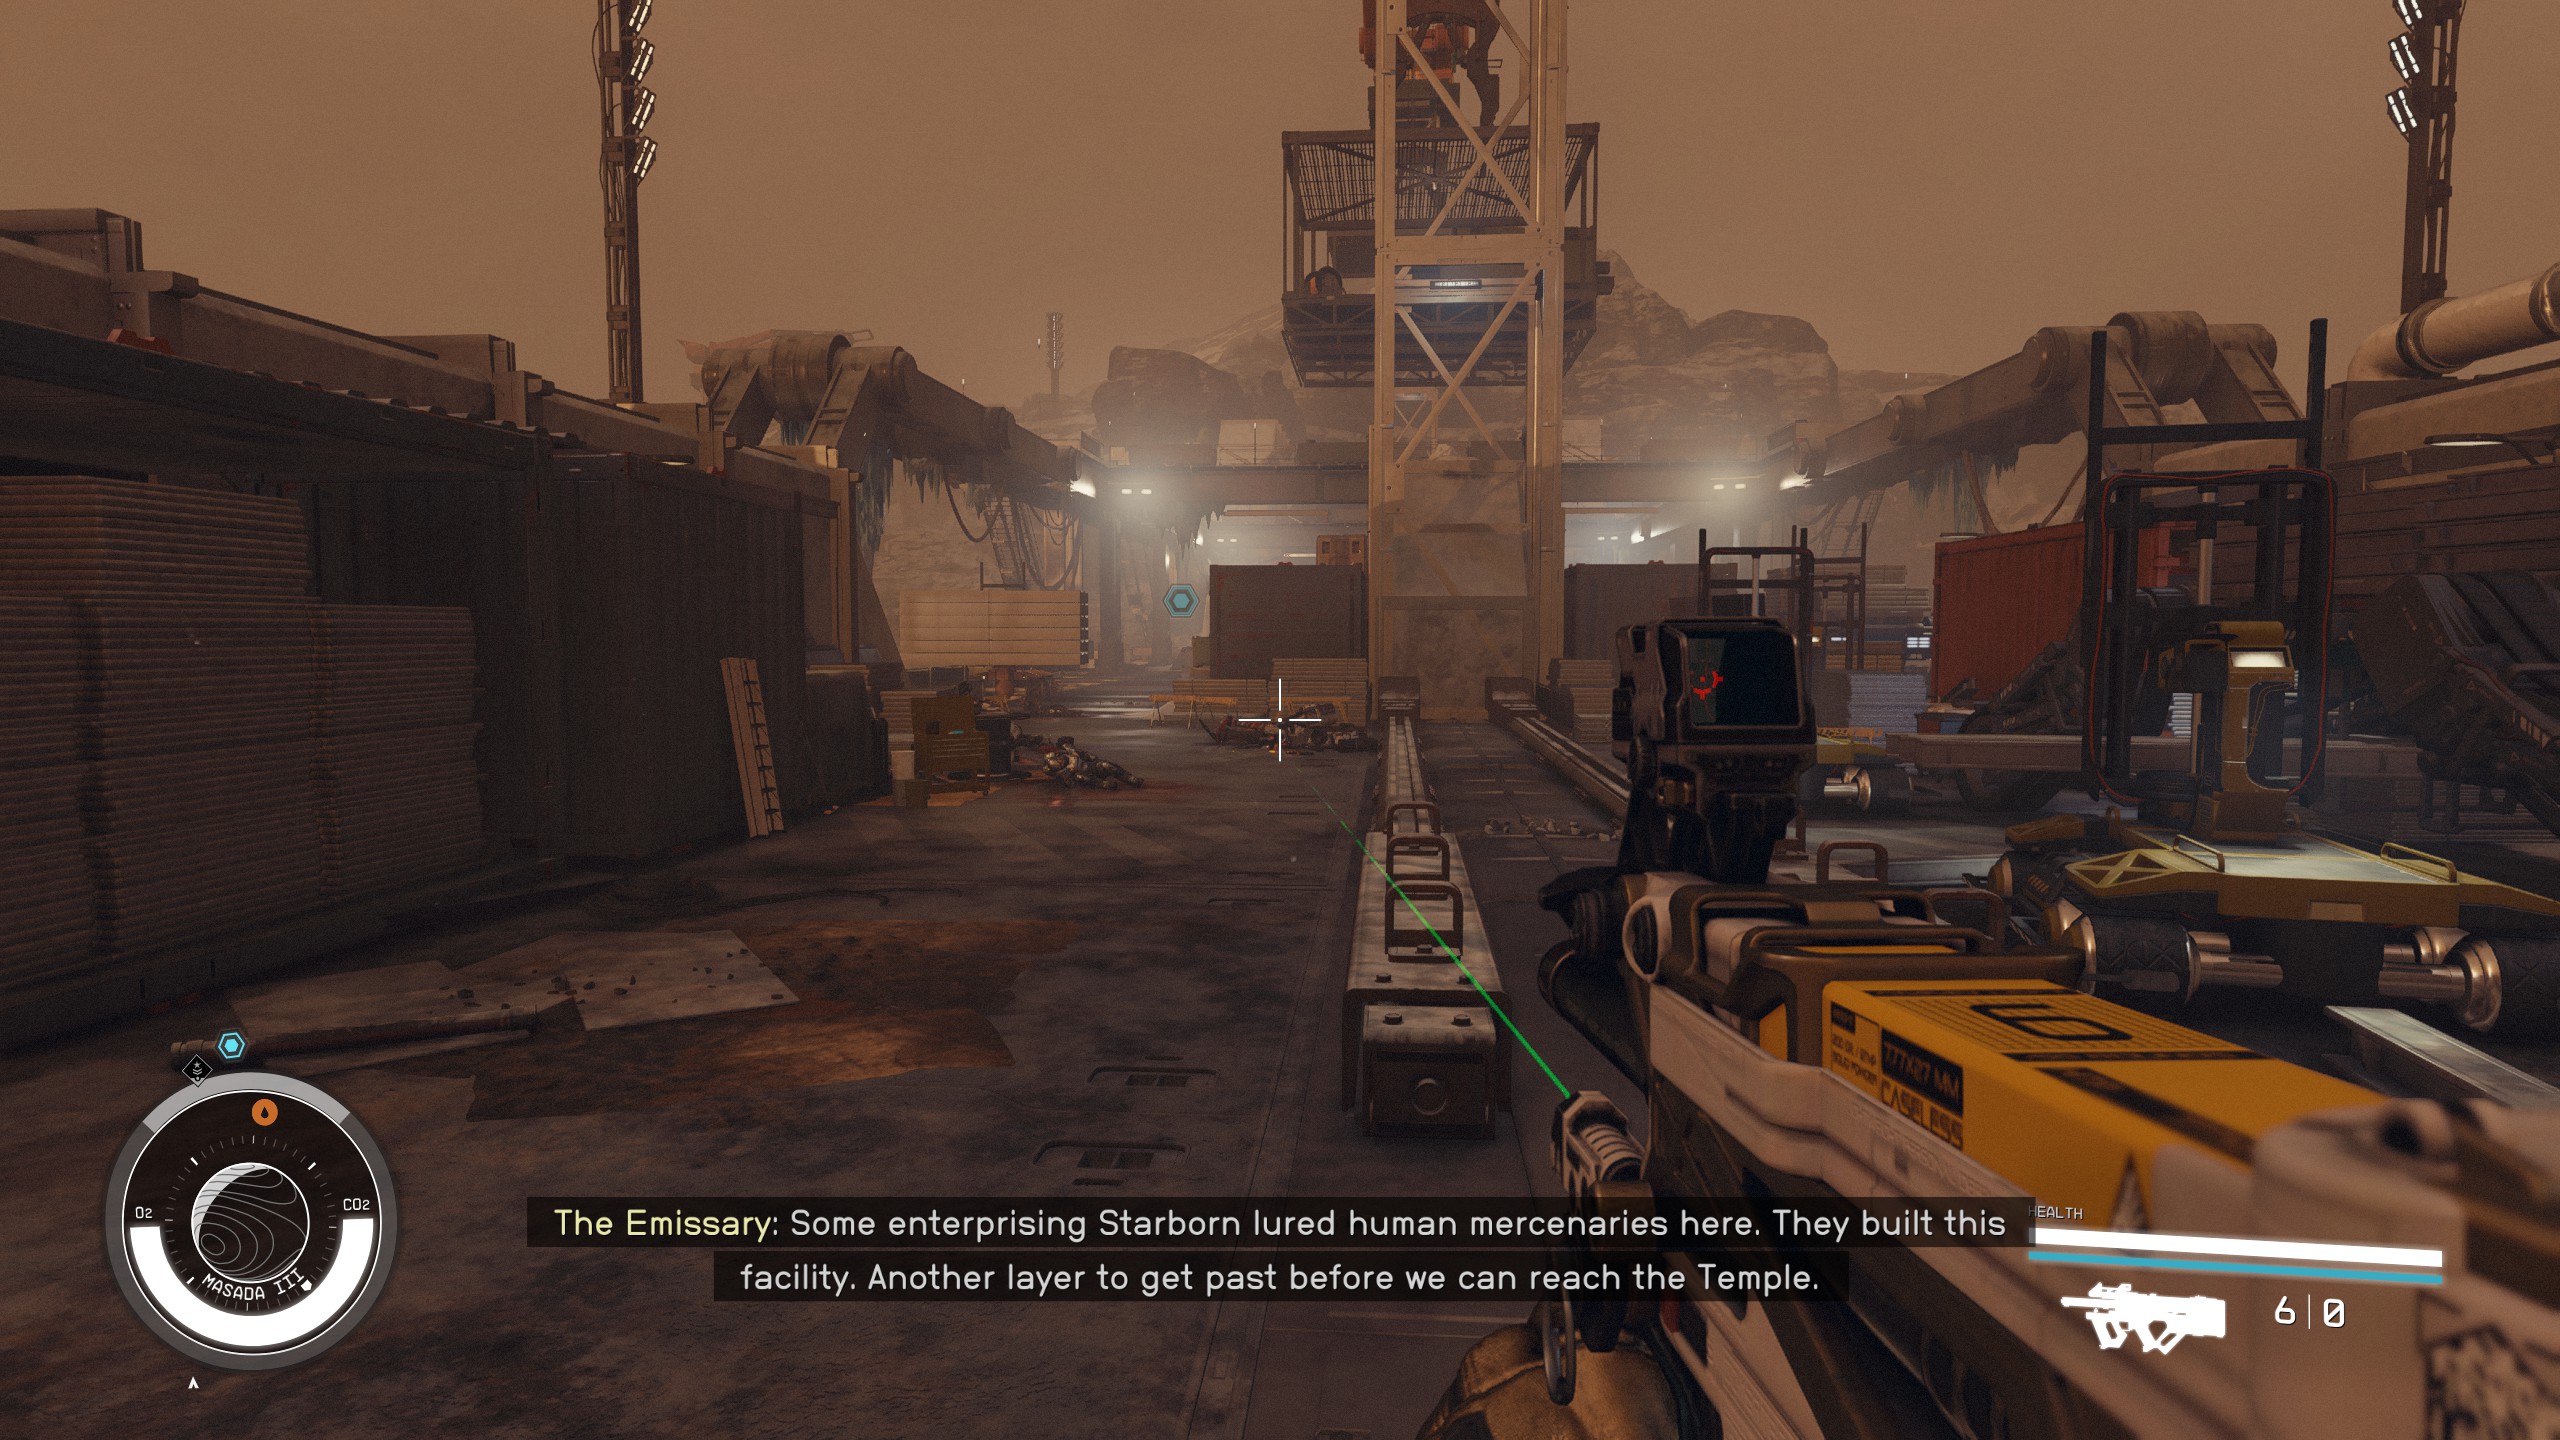
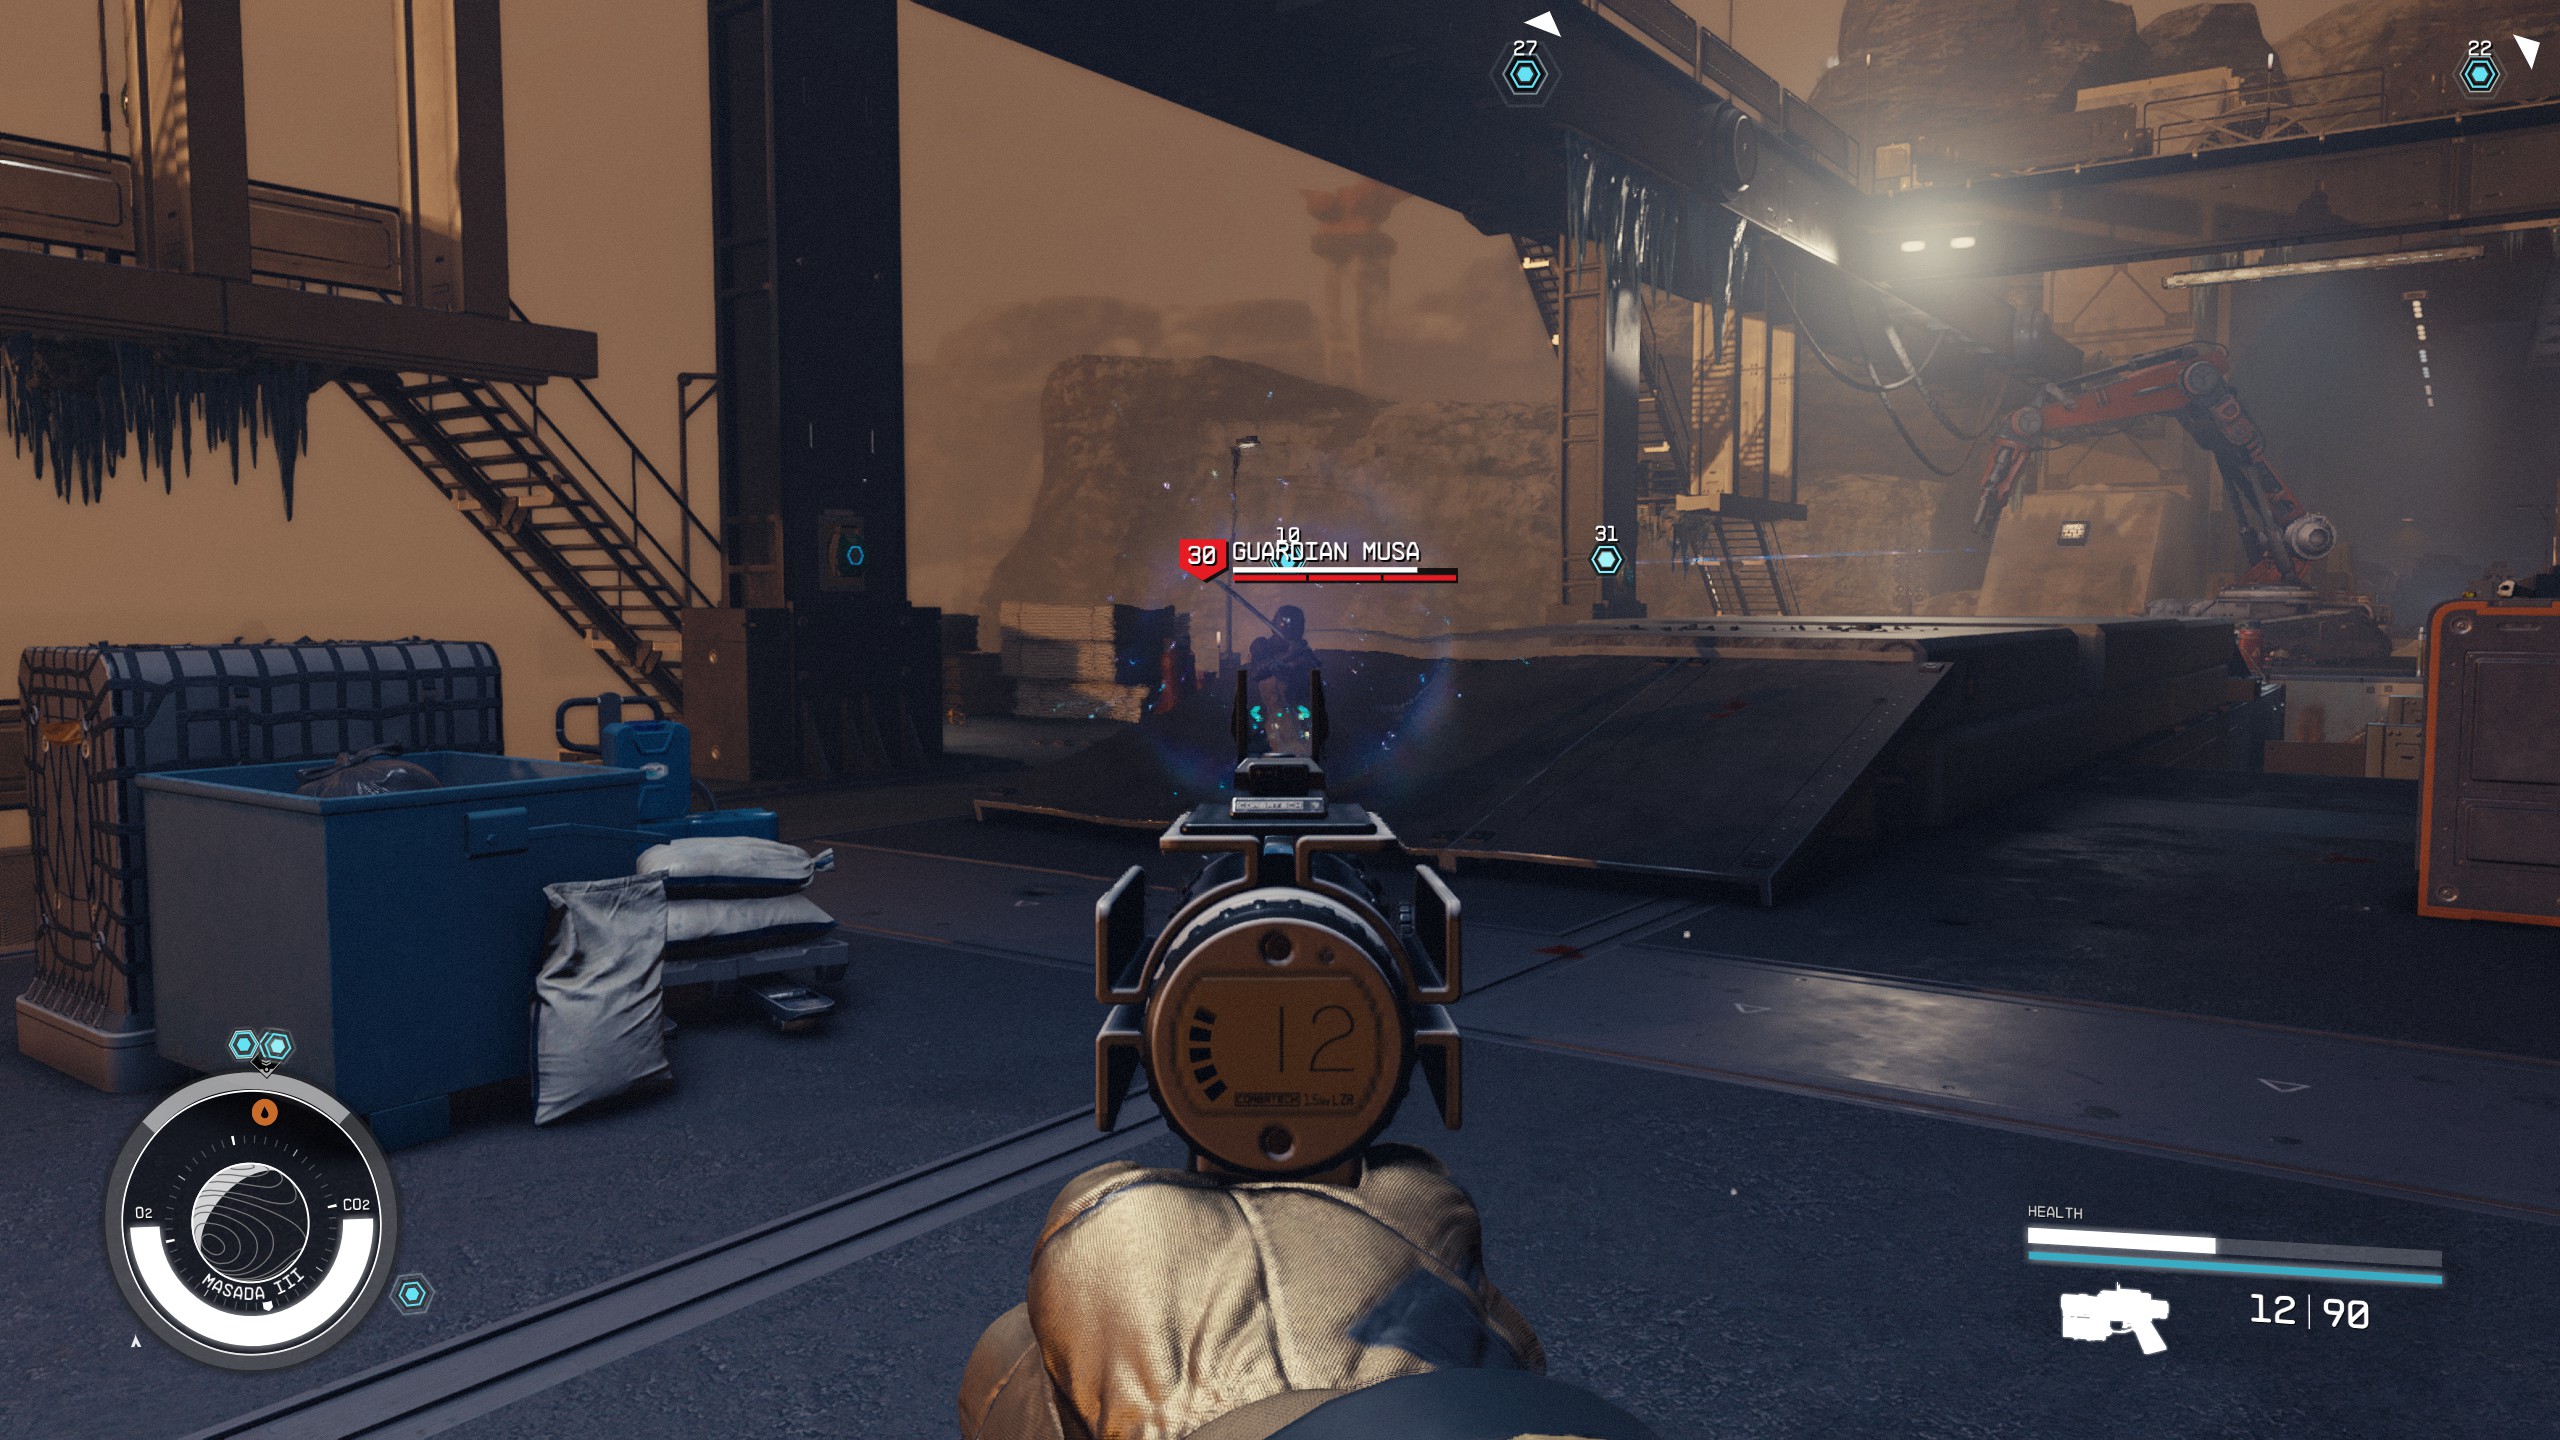
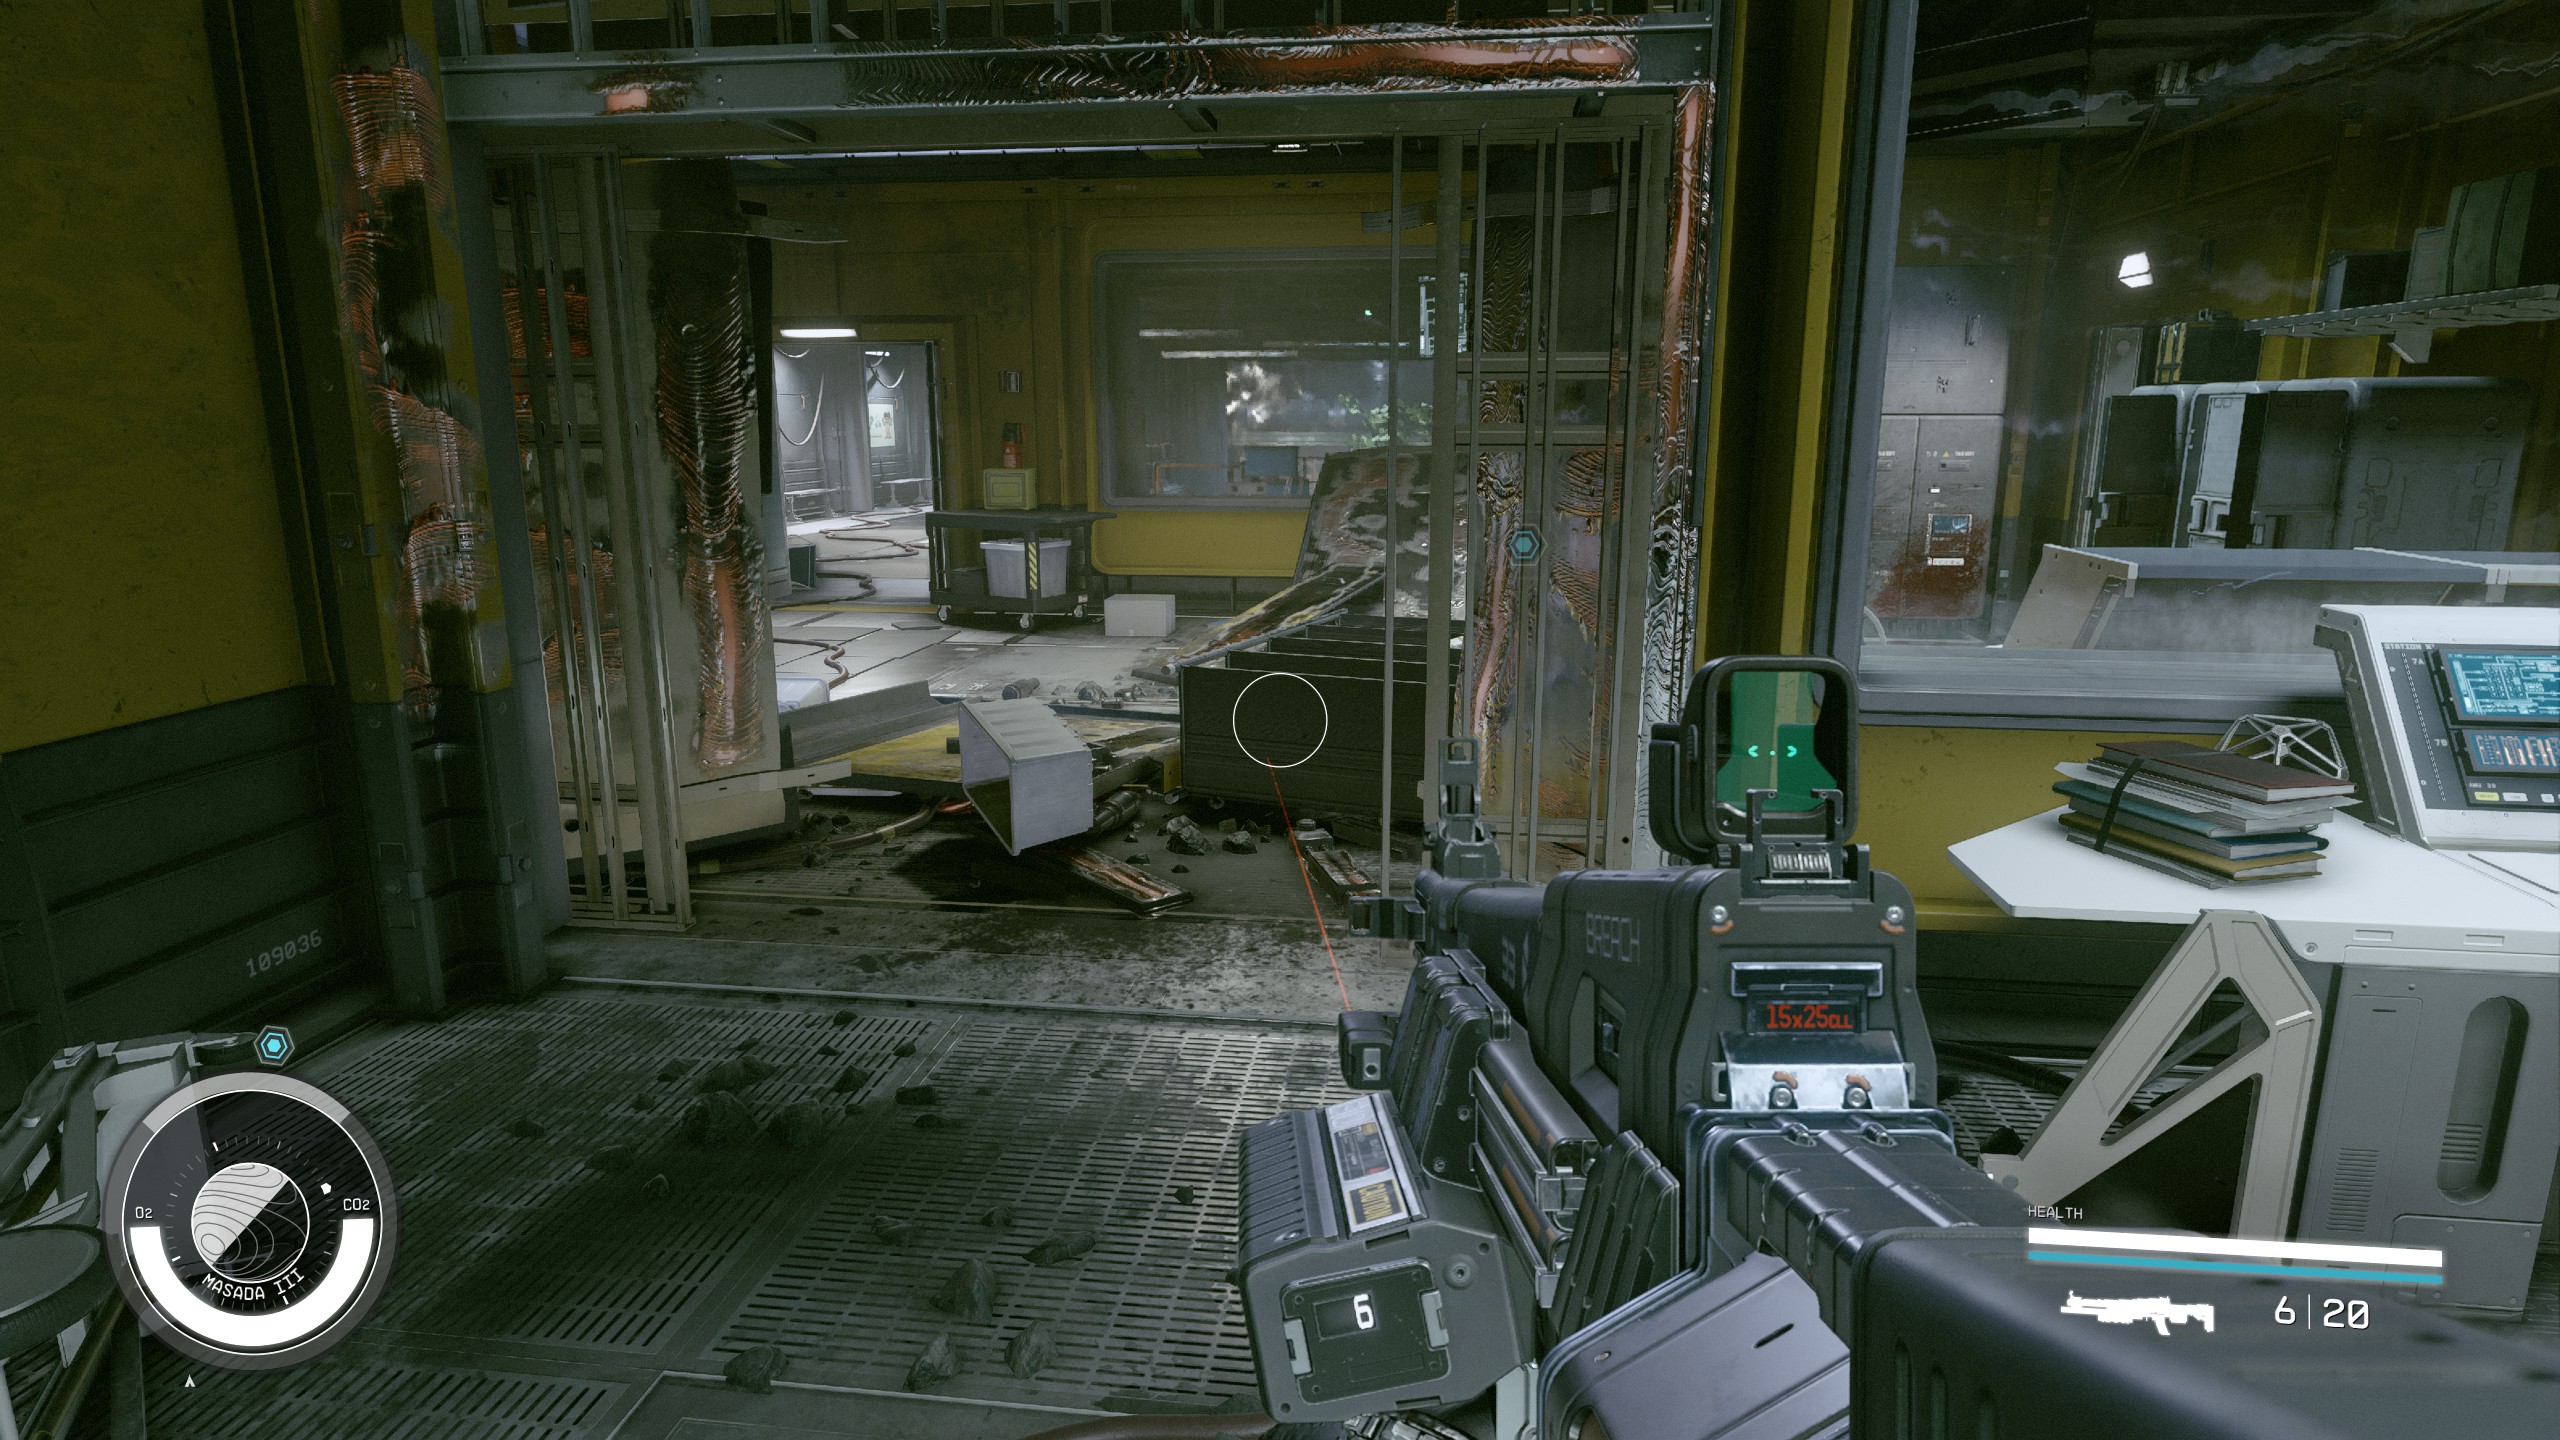
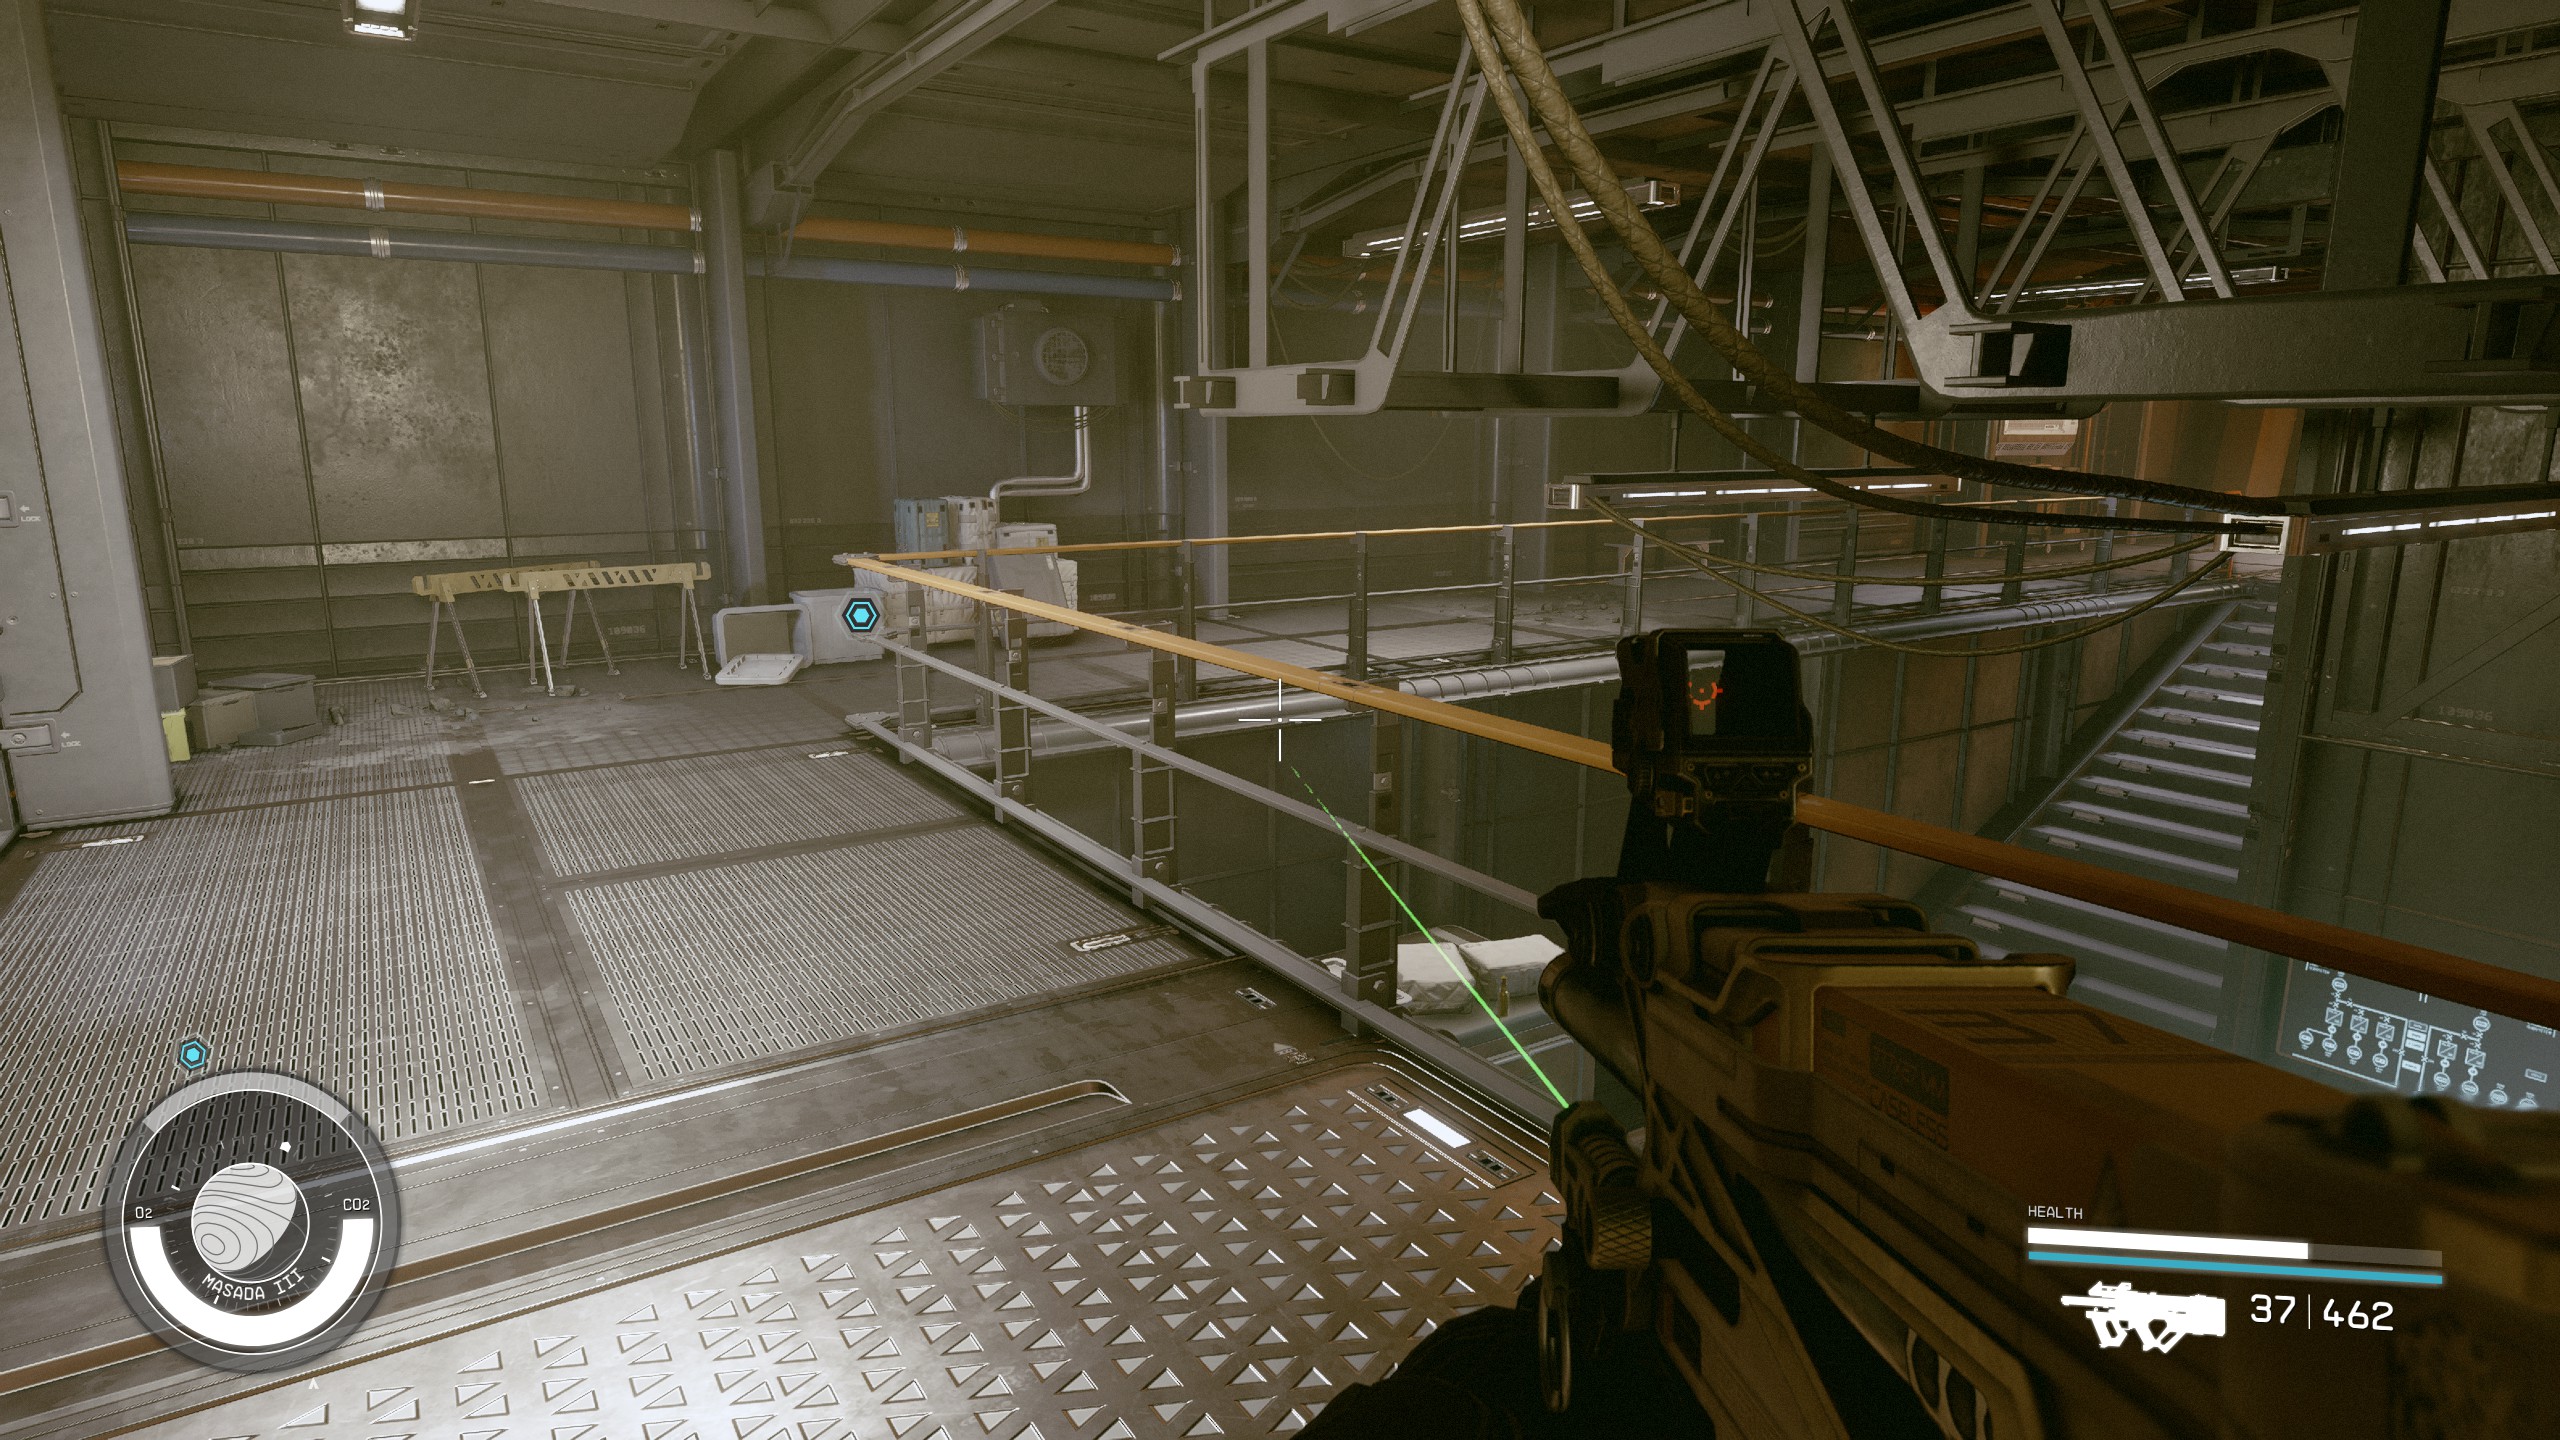
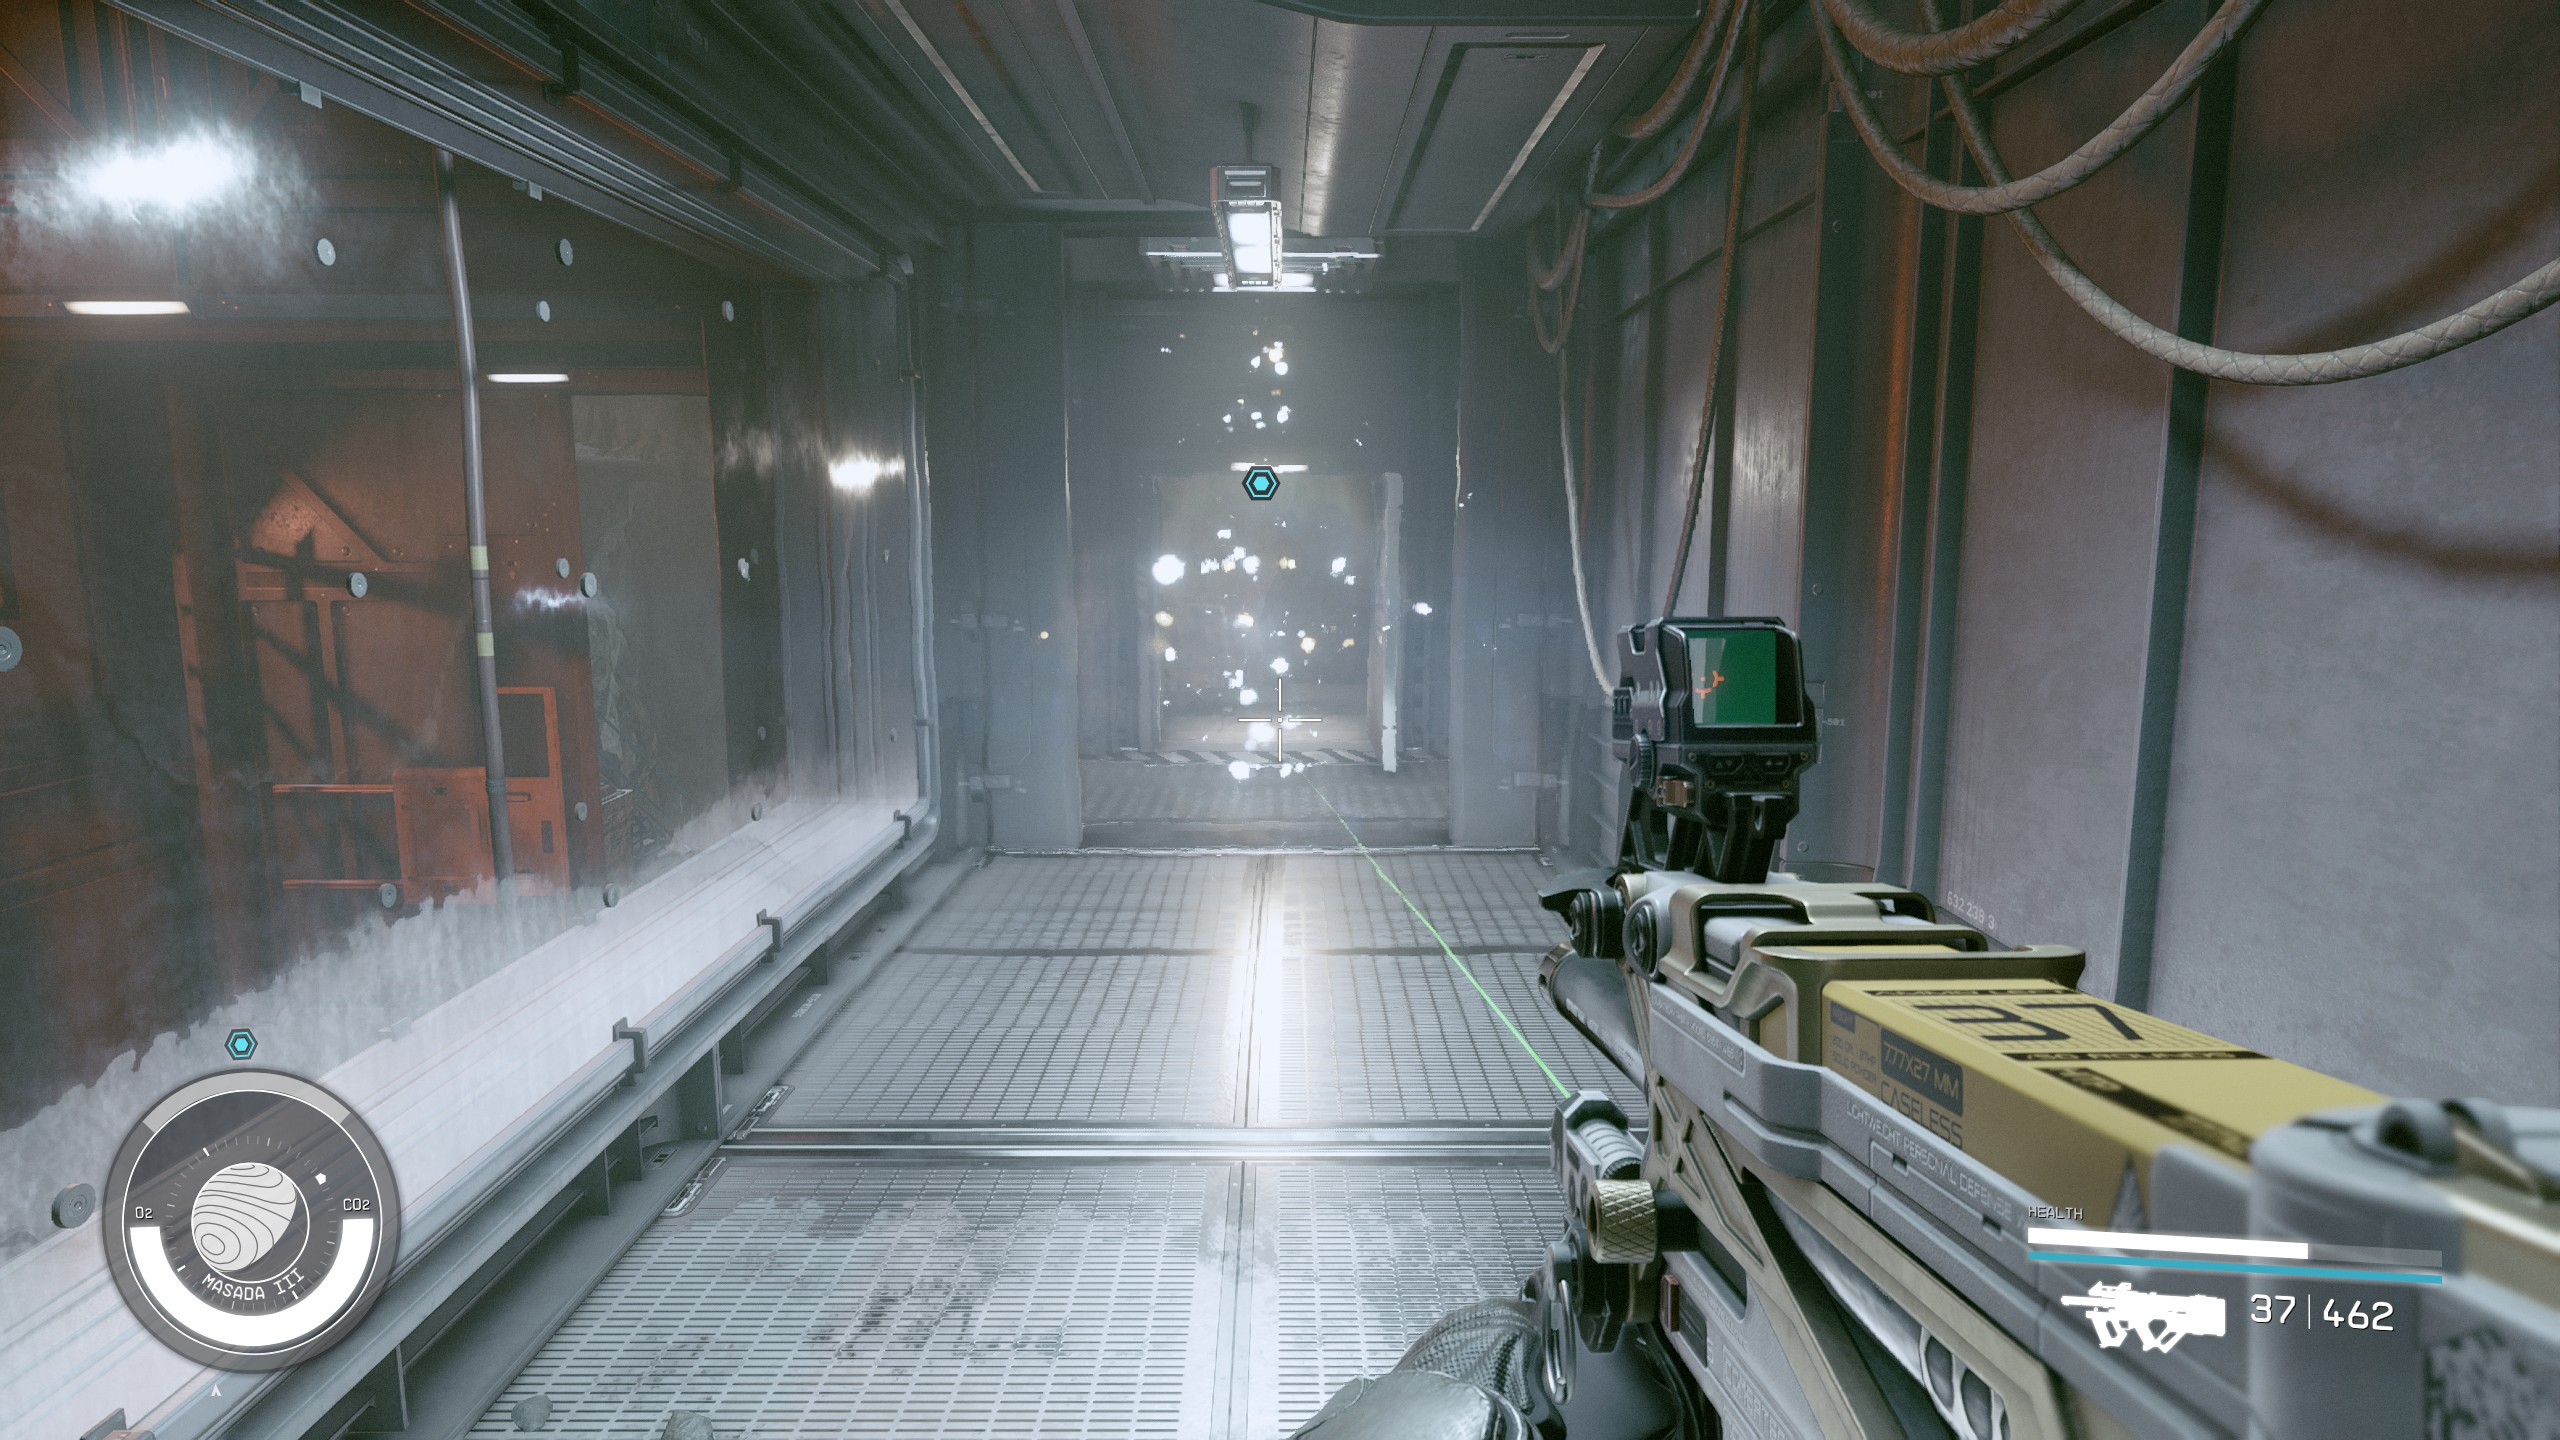
With the enemy ships dispatched, open your map and land your ship at the Buried Temple. This is where you'll find the Artifact that the mission revolves around. The area leading up to the temple serves as an enemy gauntlet filled with Starborn minions. Equip your best weapons and prepare for some heavy combat. The first Starborn you encounter here will have a gimmick: they spawn clones that appear and disappear, complicating the fight. Eliminate them and move on. Remember, First Aid kits are scattered throughout the area for quick healing.
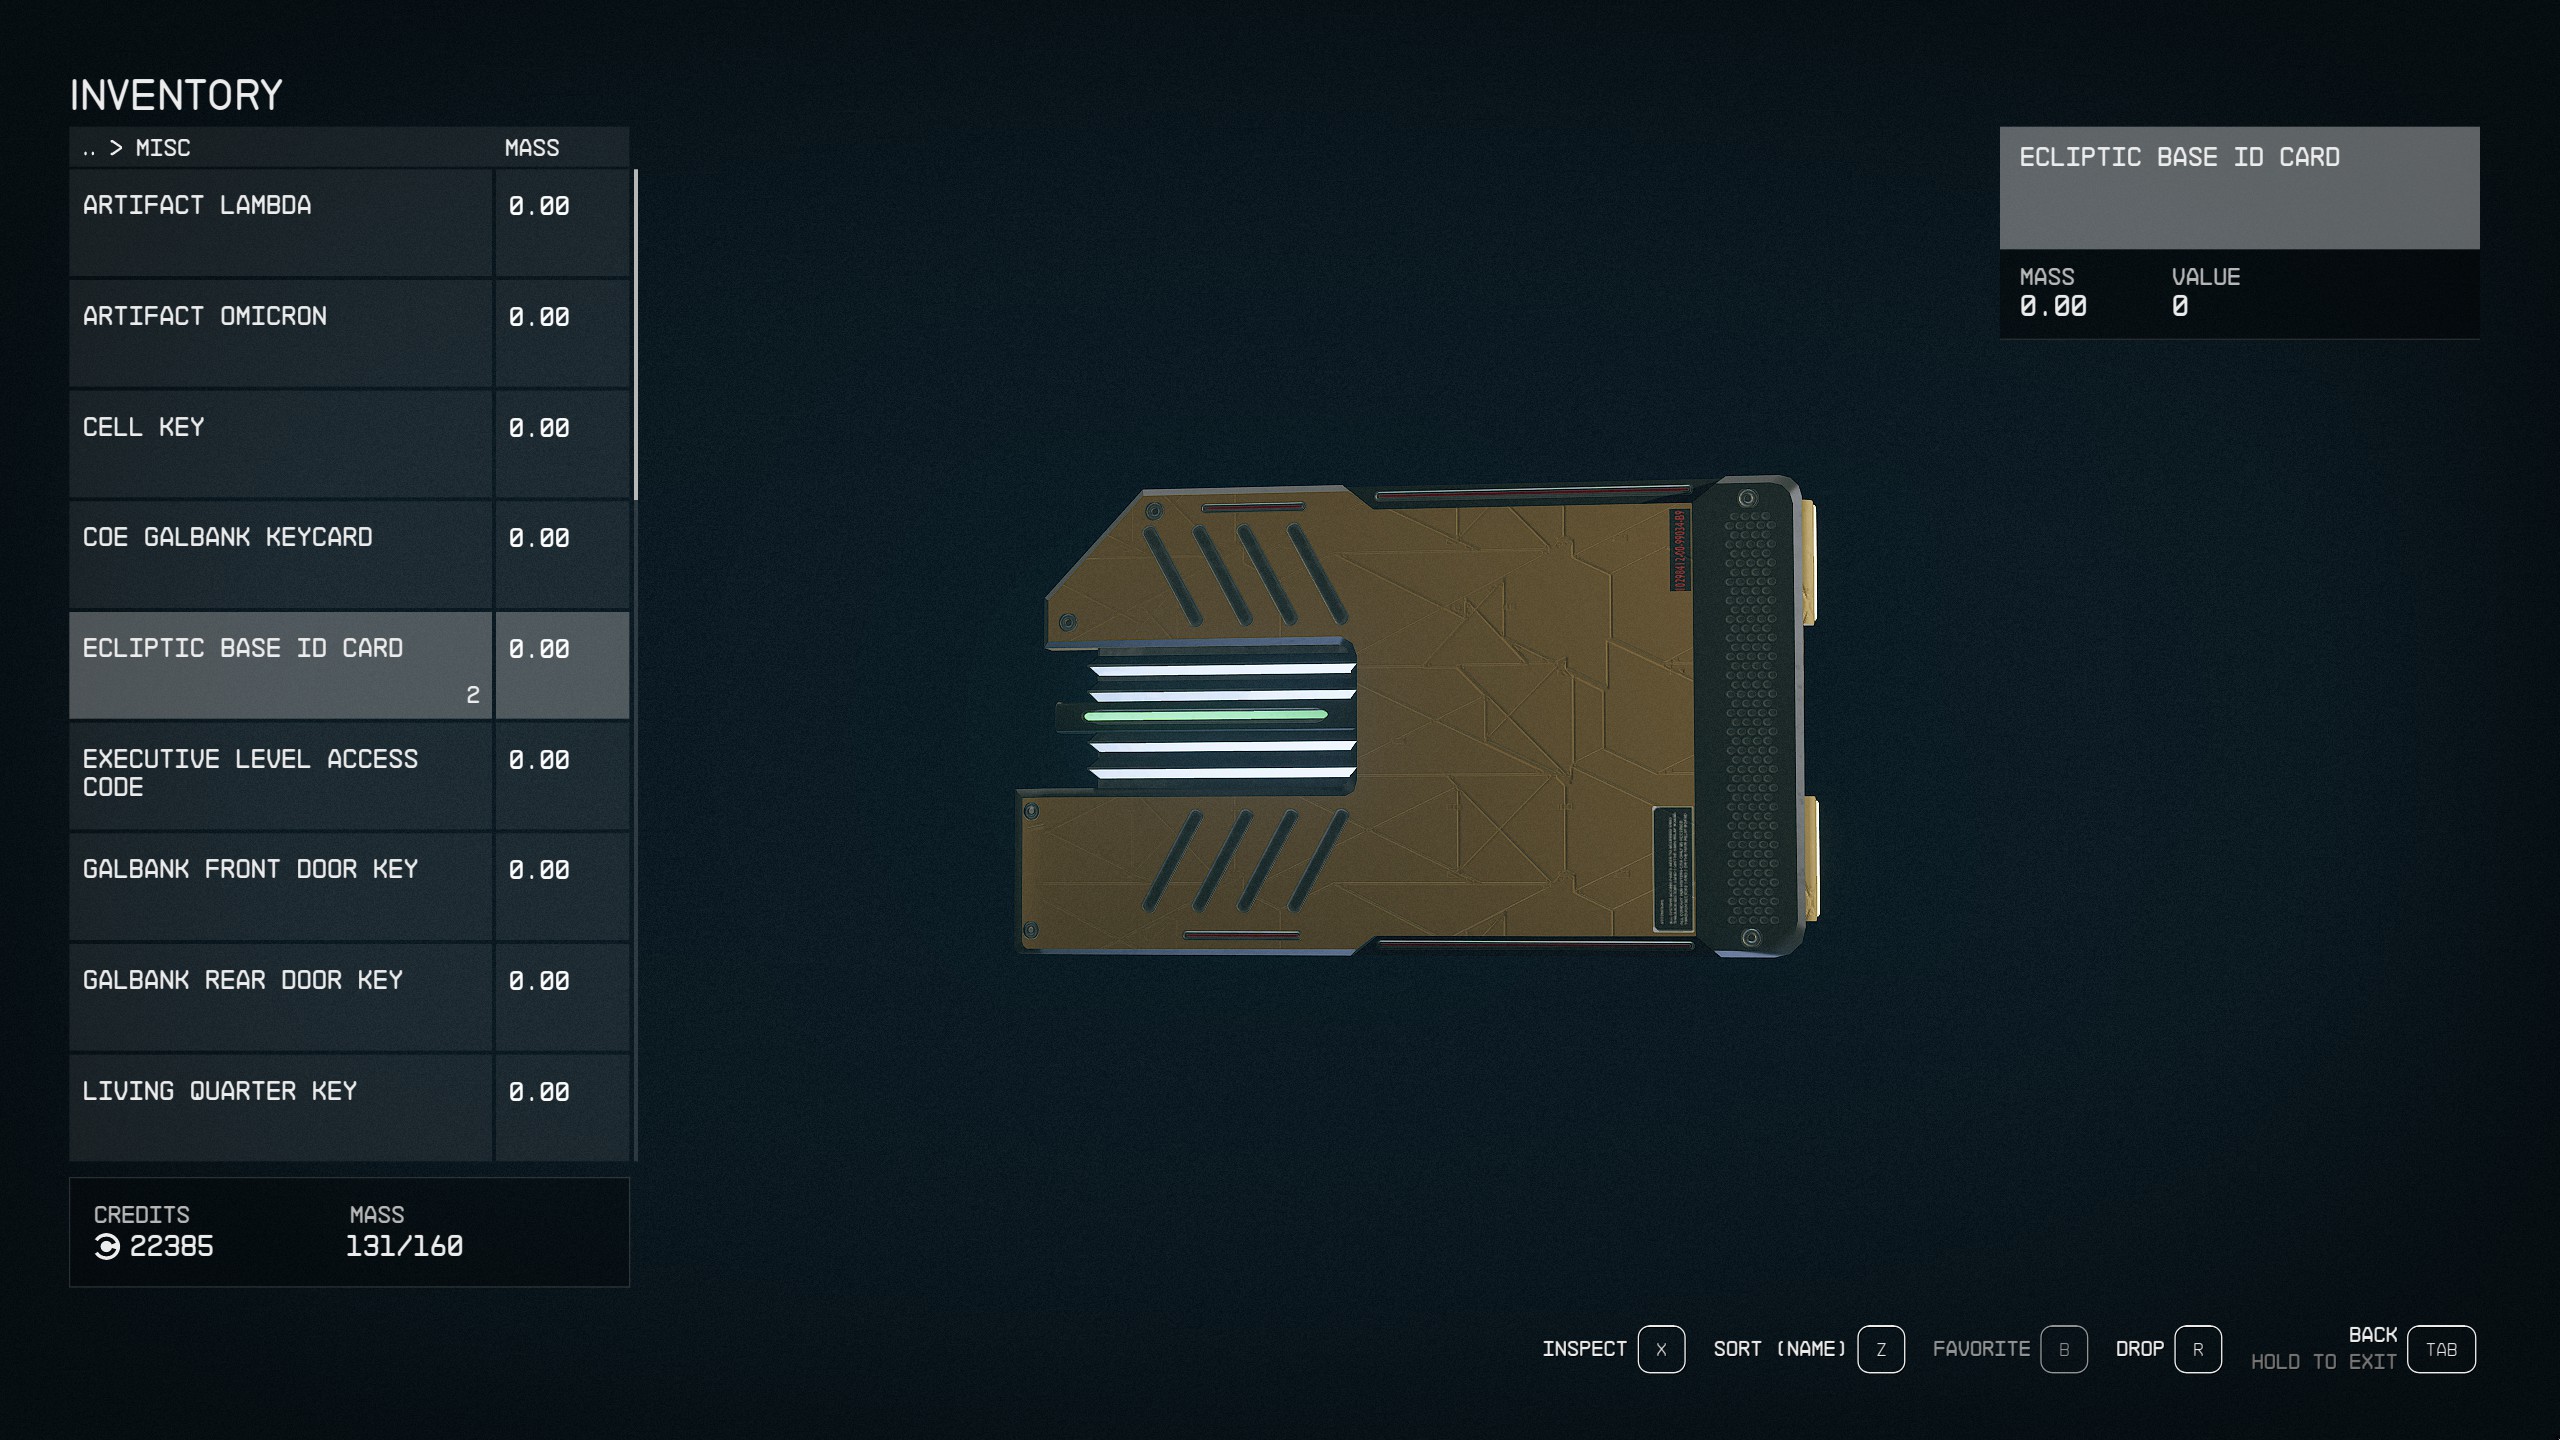
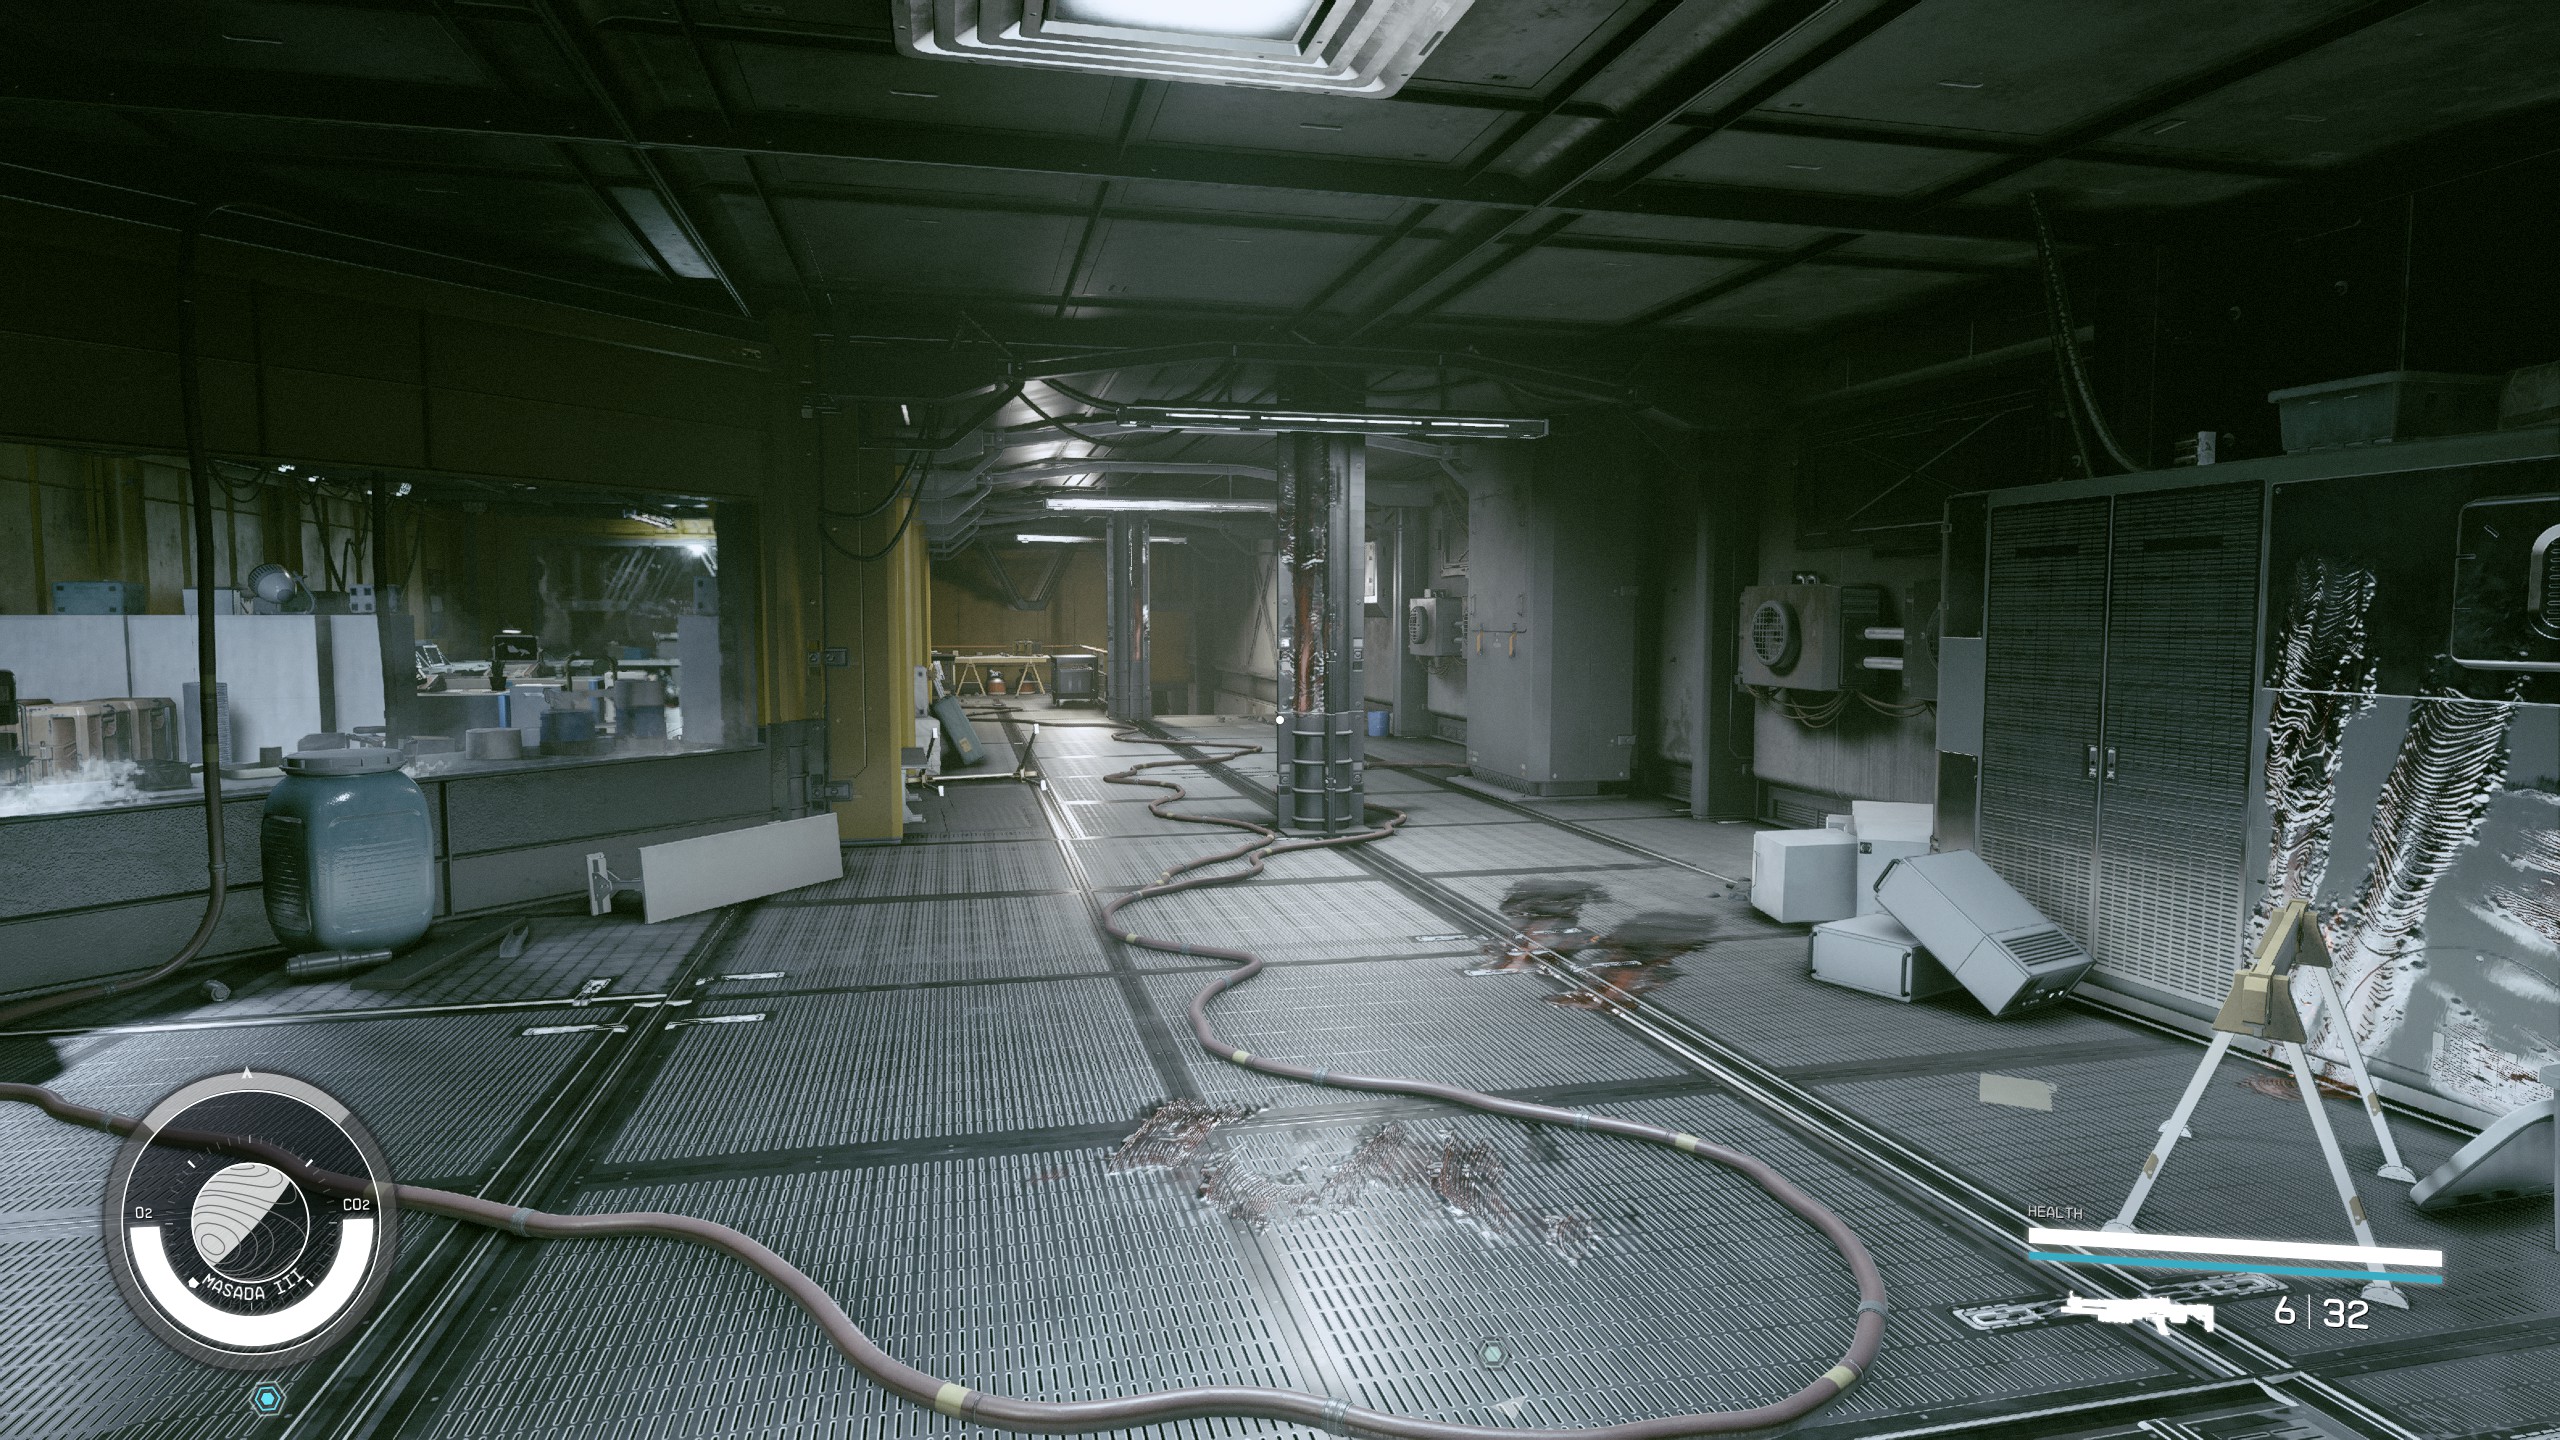
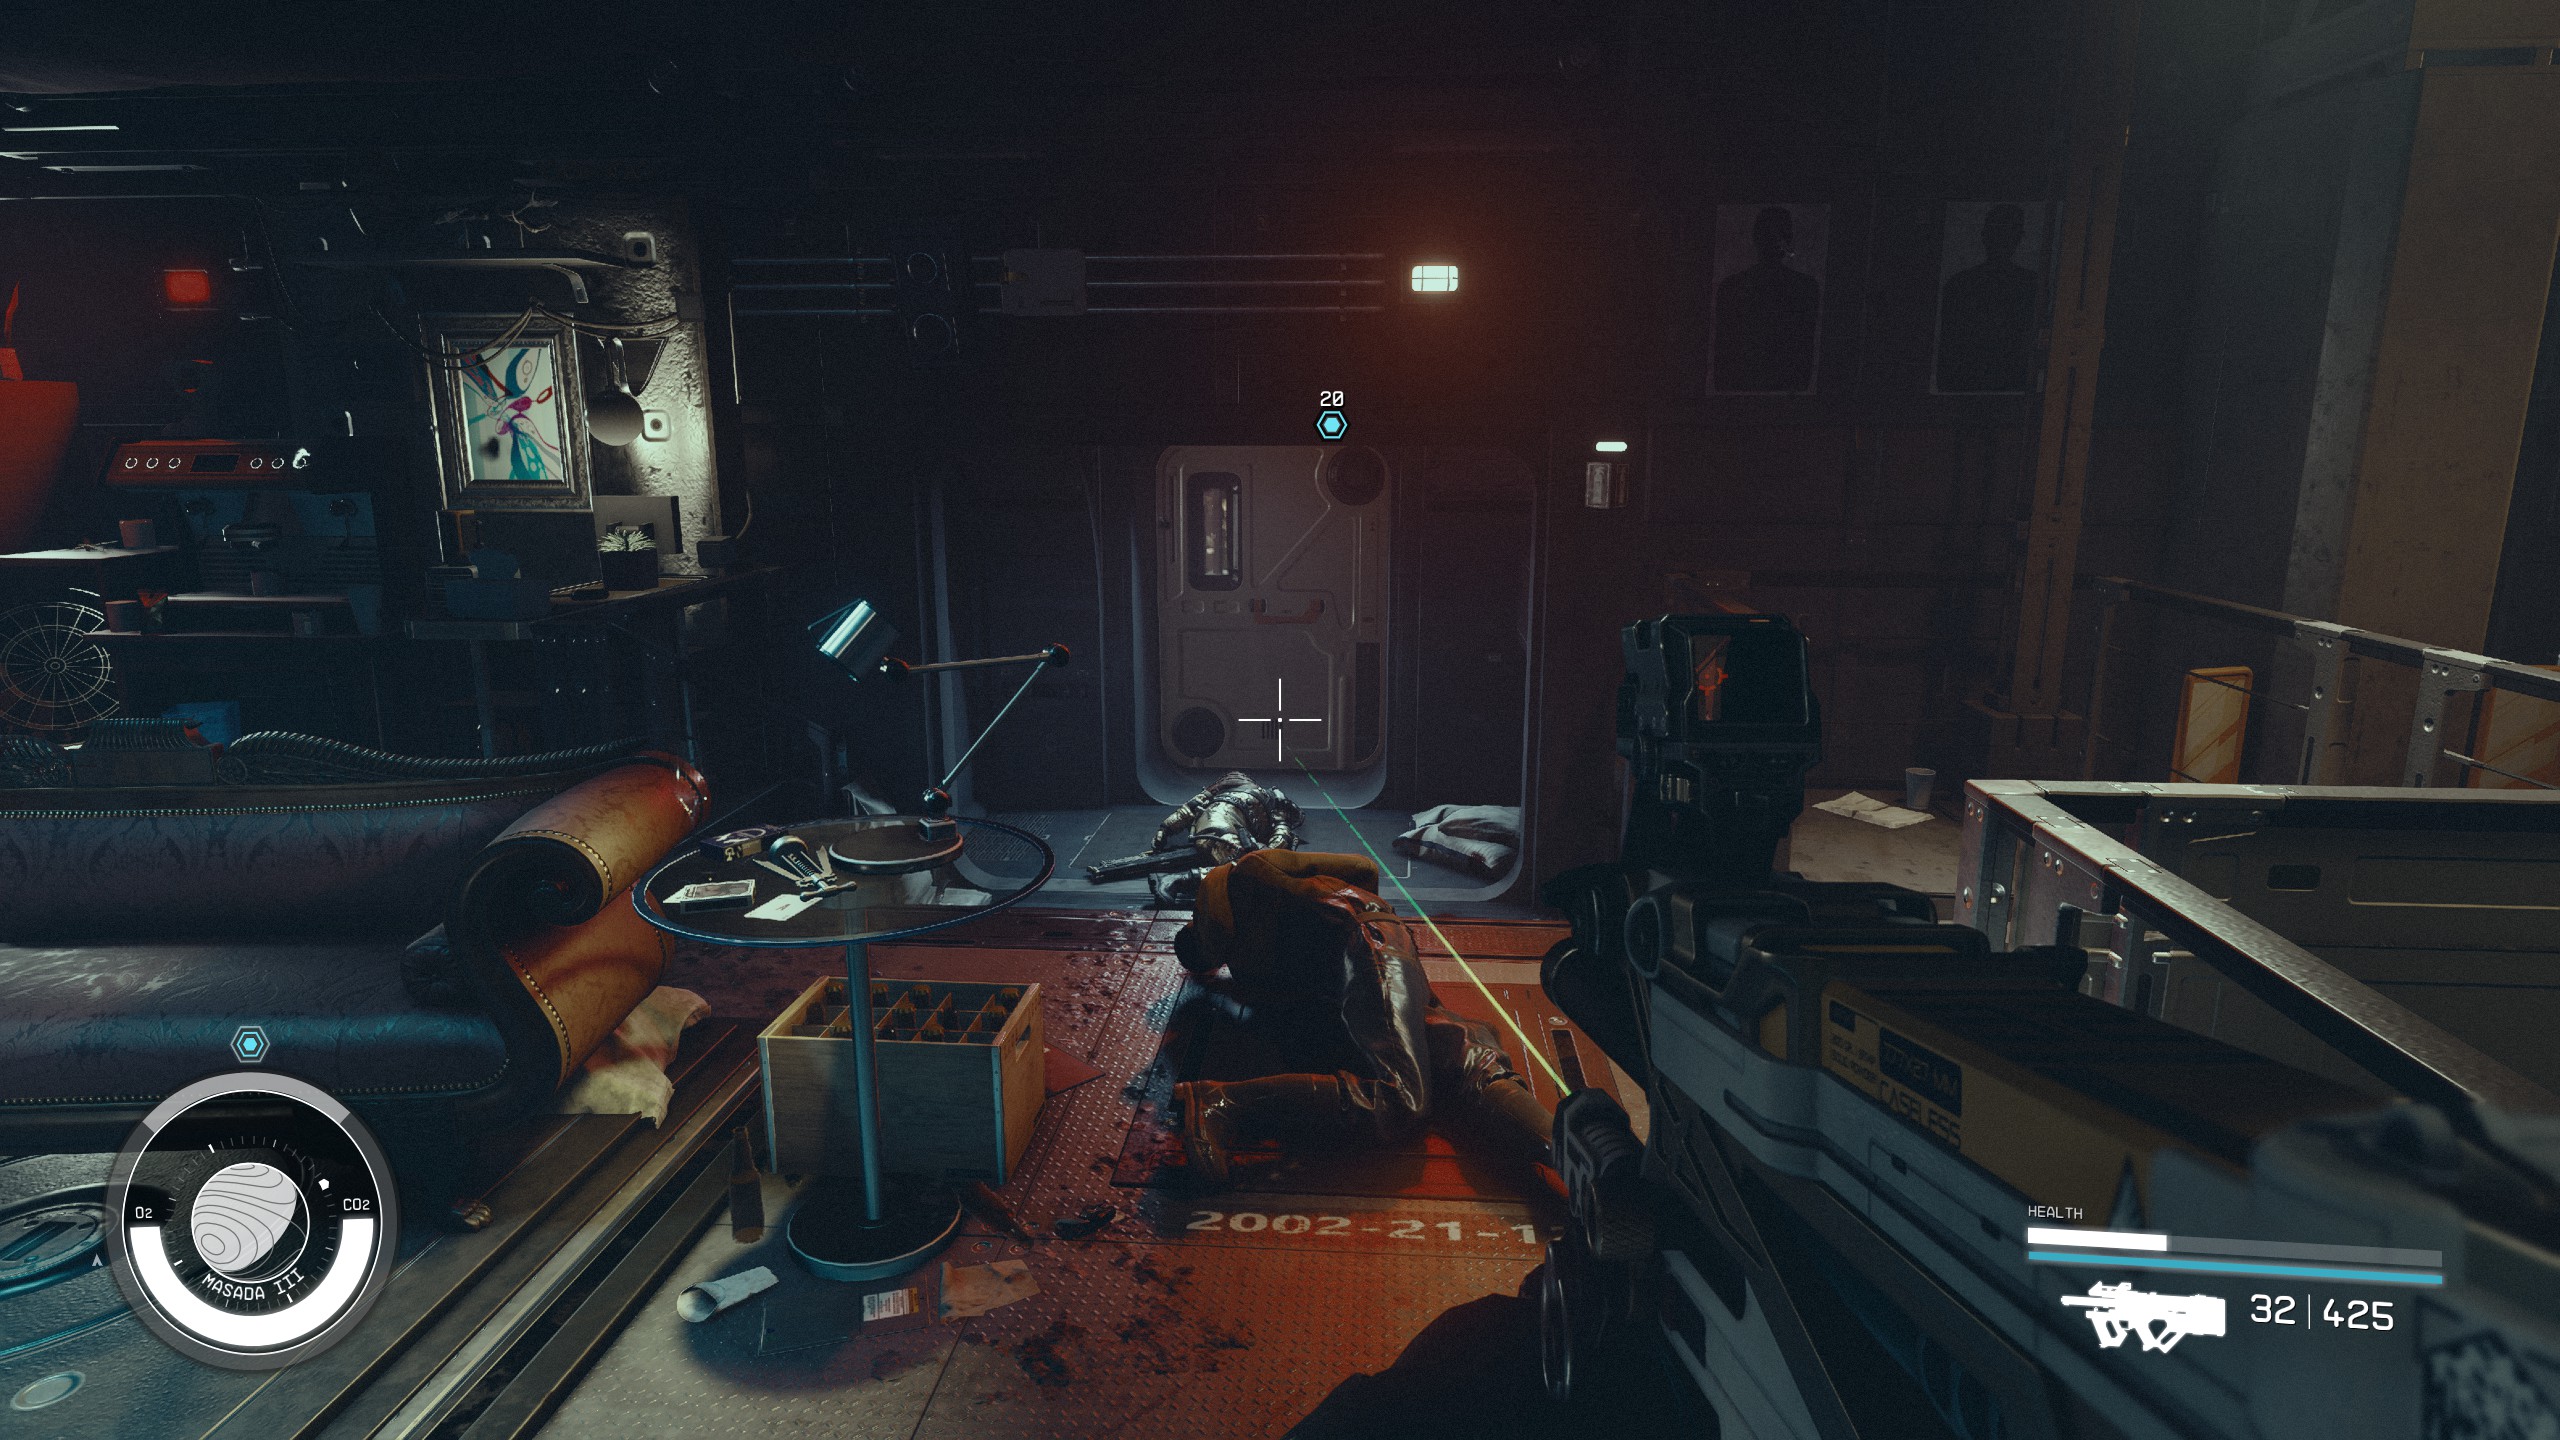
Follow the path leading into a tunnel until you reach another open area. Here, another Starborn awaits, summoning a host of Ecliptic Soldiers to keep you busy. They are relatively low-level and should be dispatched quickly. Afterward, focus on defeating the Starborn. Once it's down, pick up the dropped Ecliptic Base ID Card to open a marked door and continue your journey into the temple.
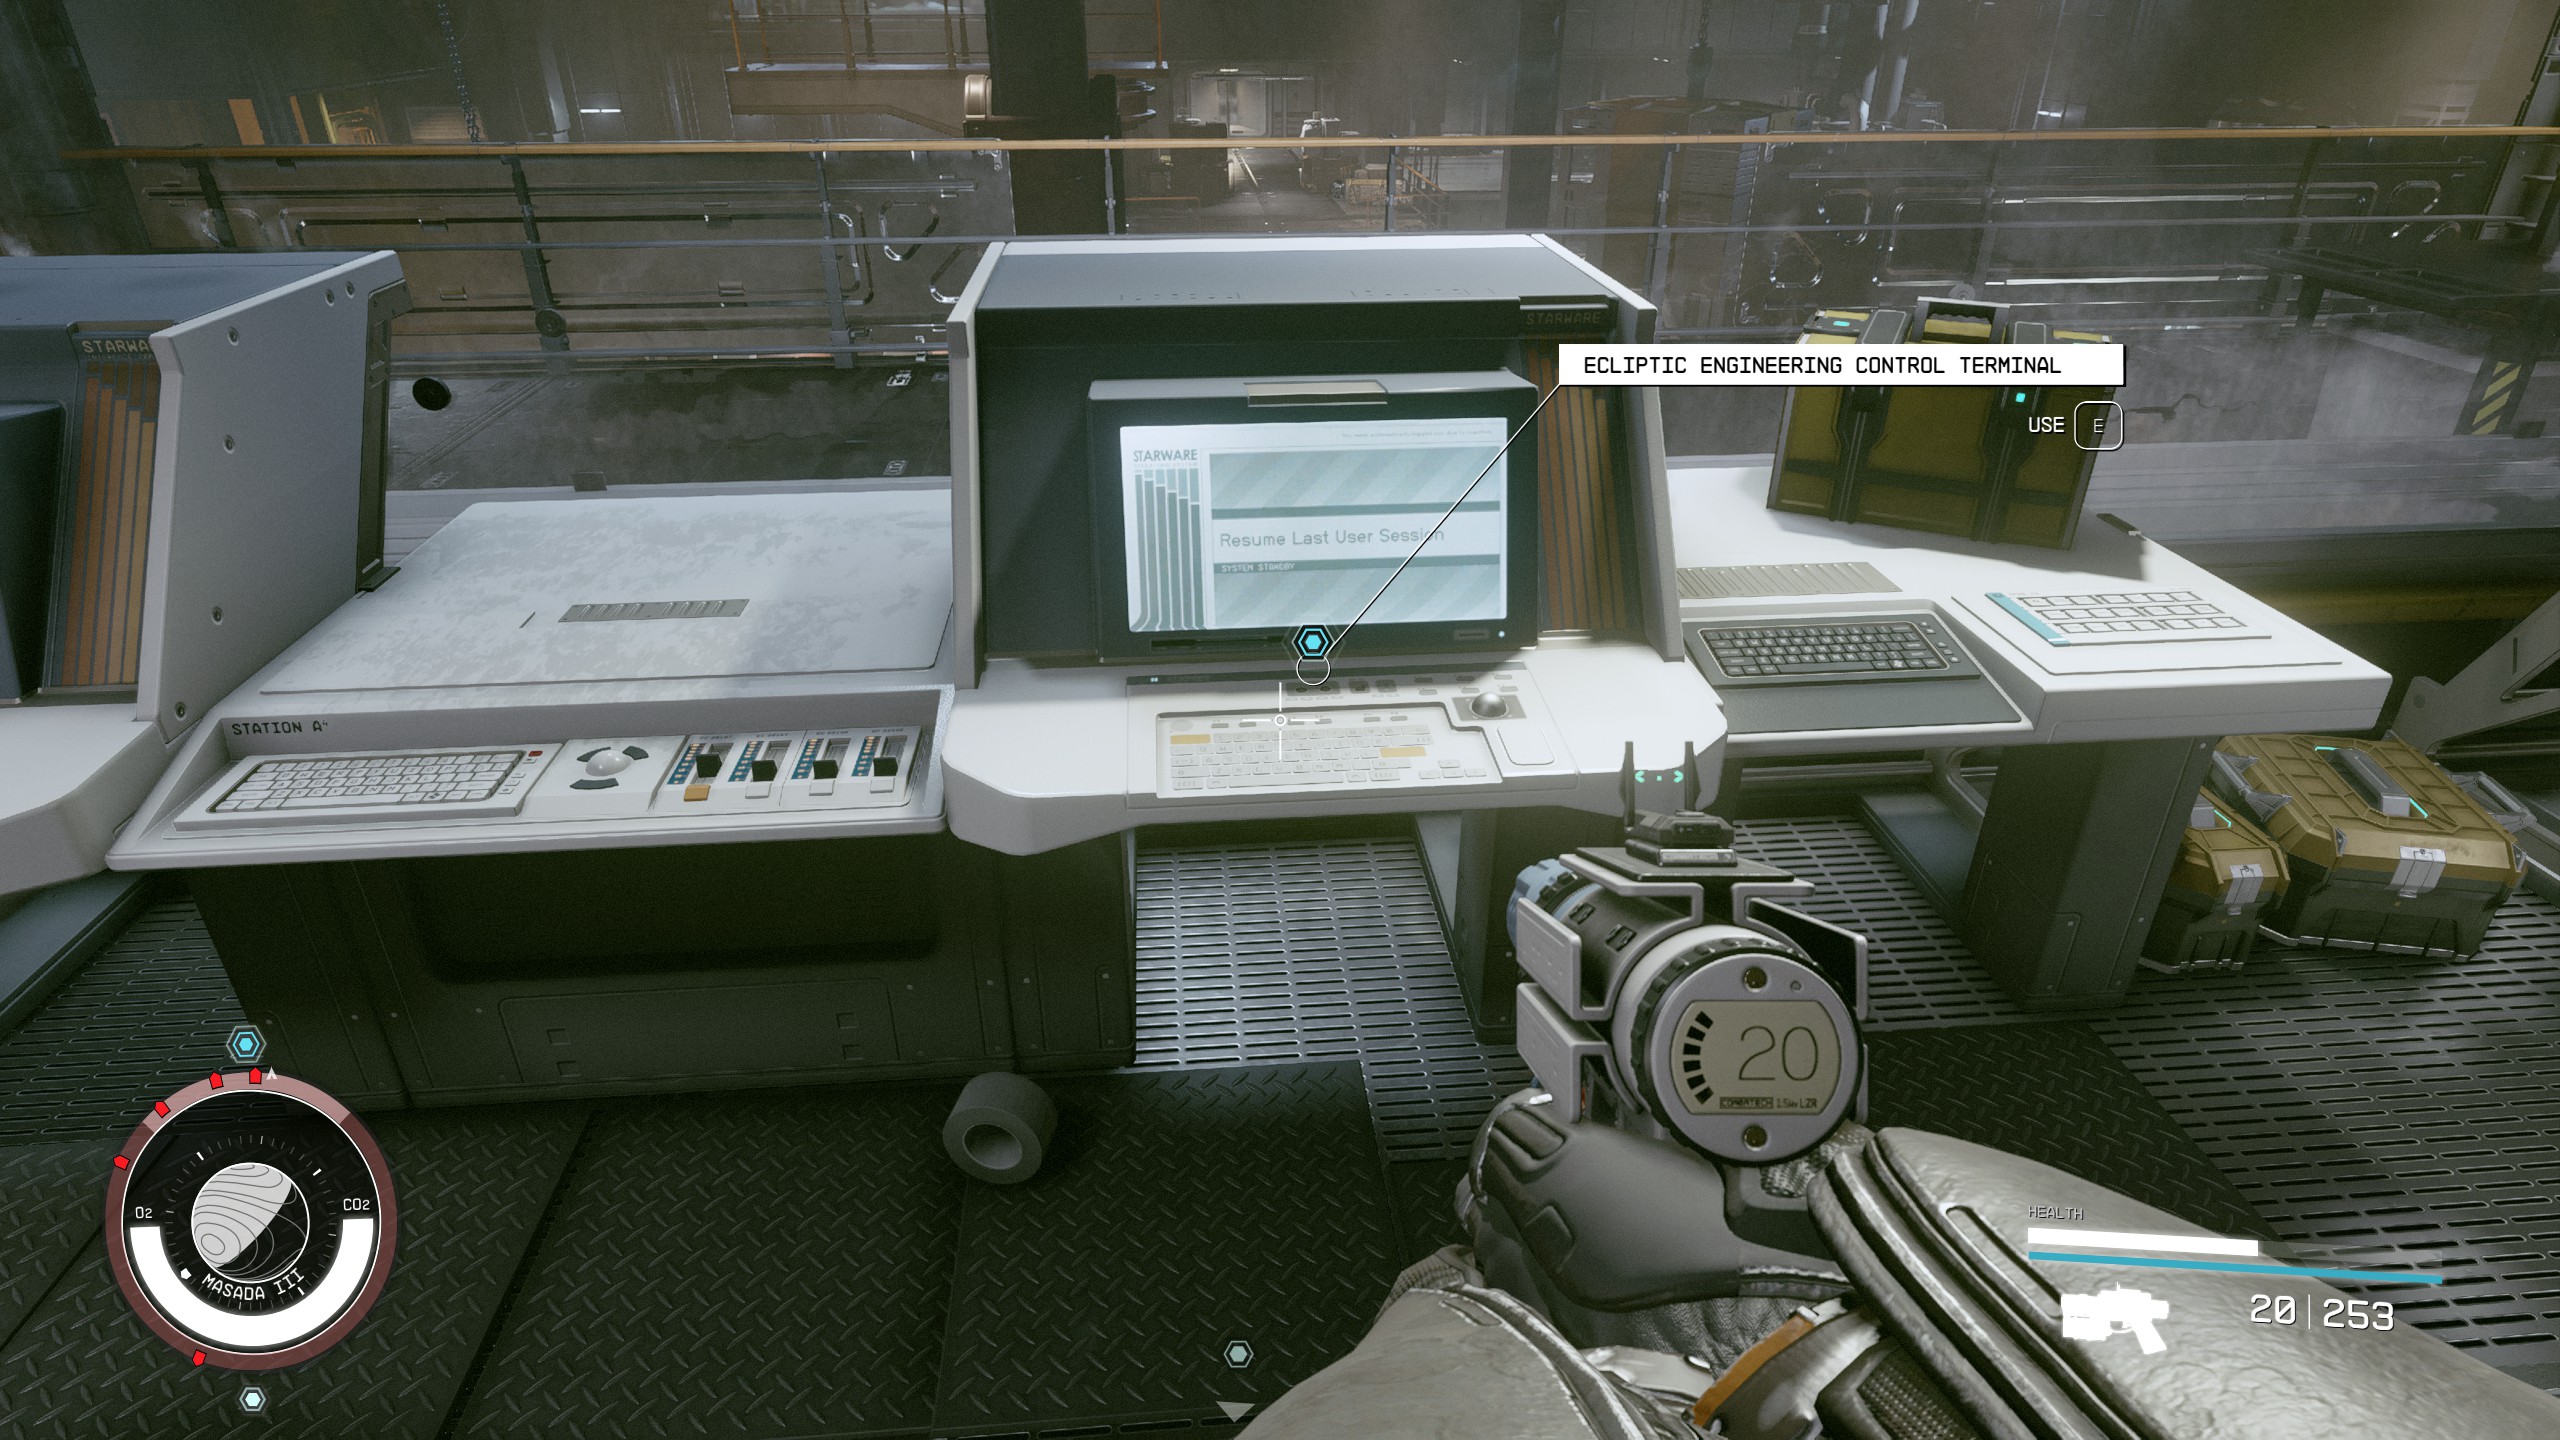
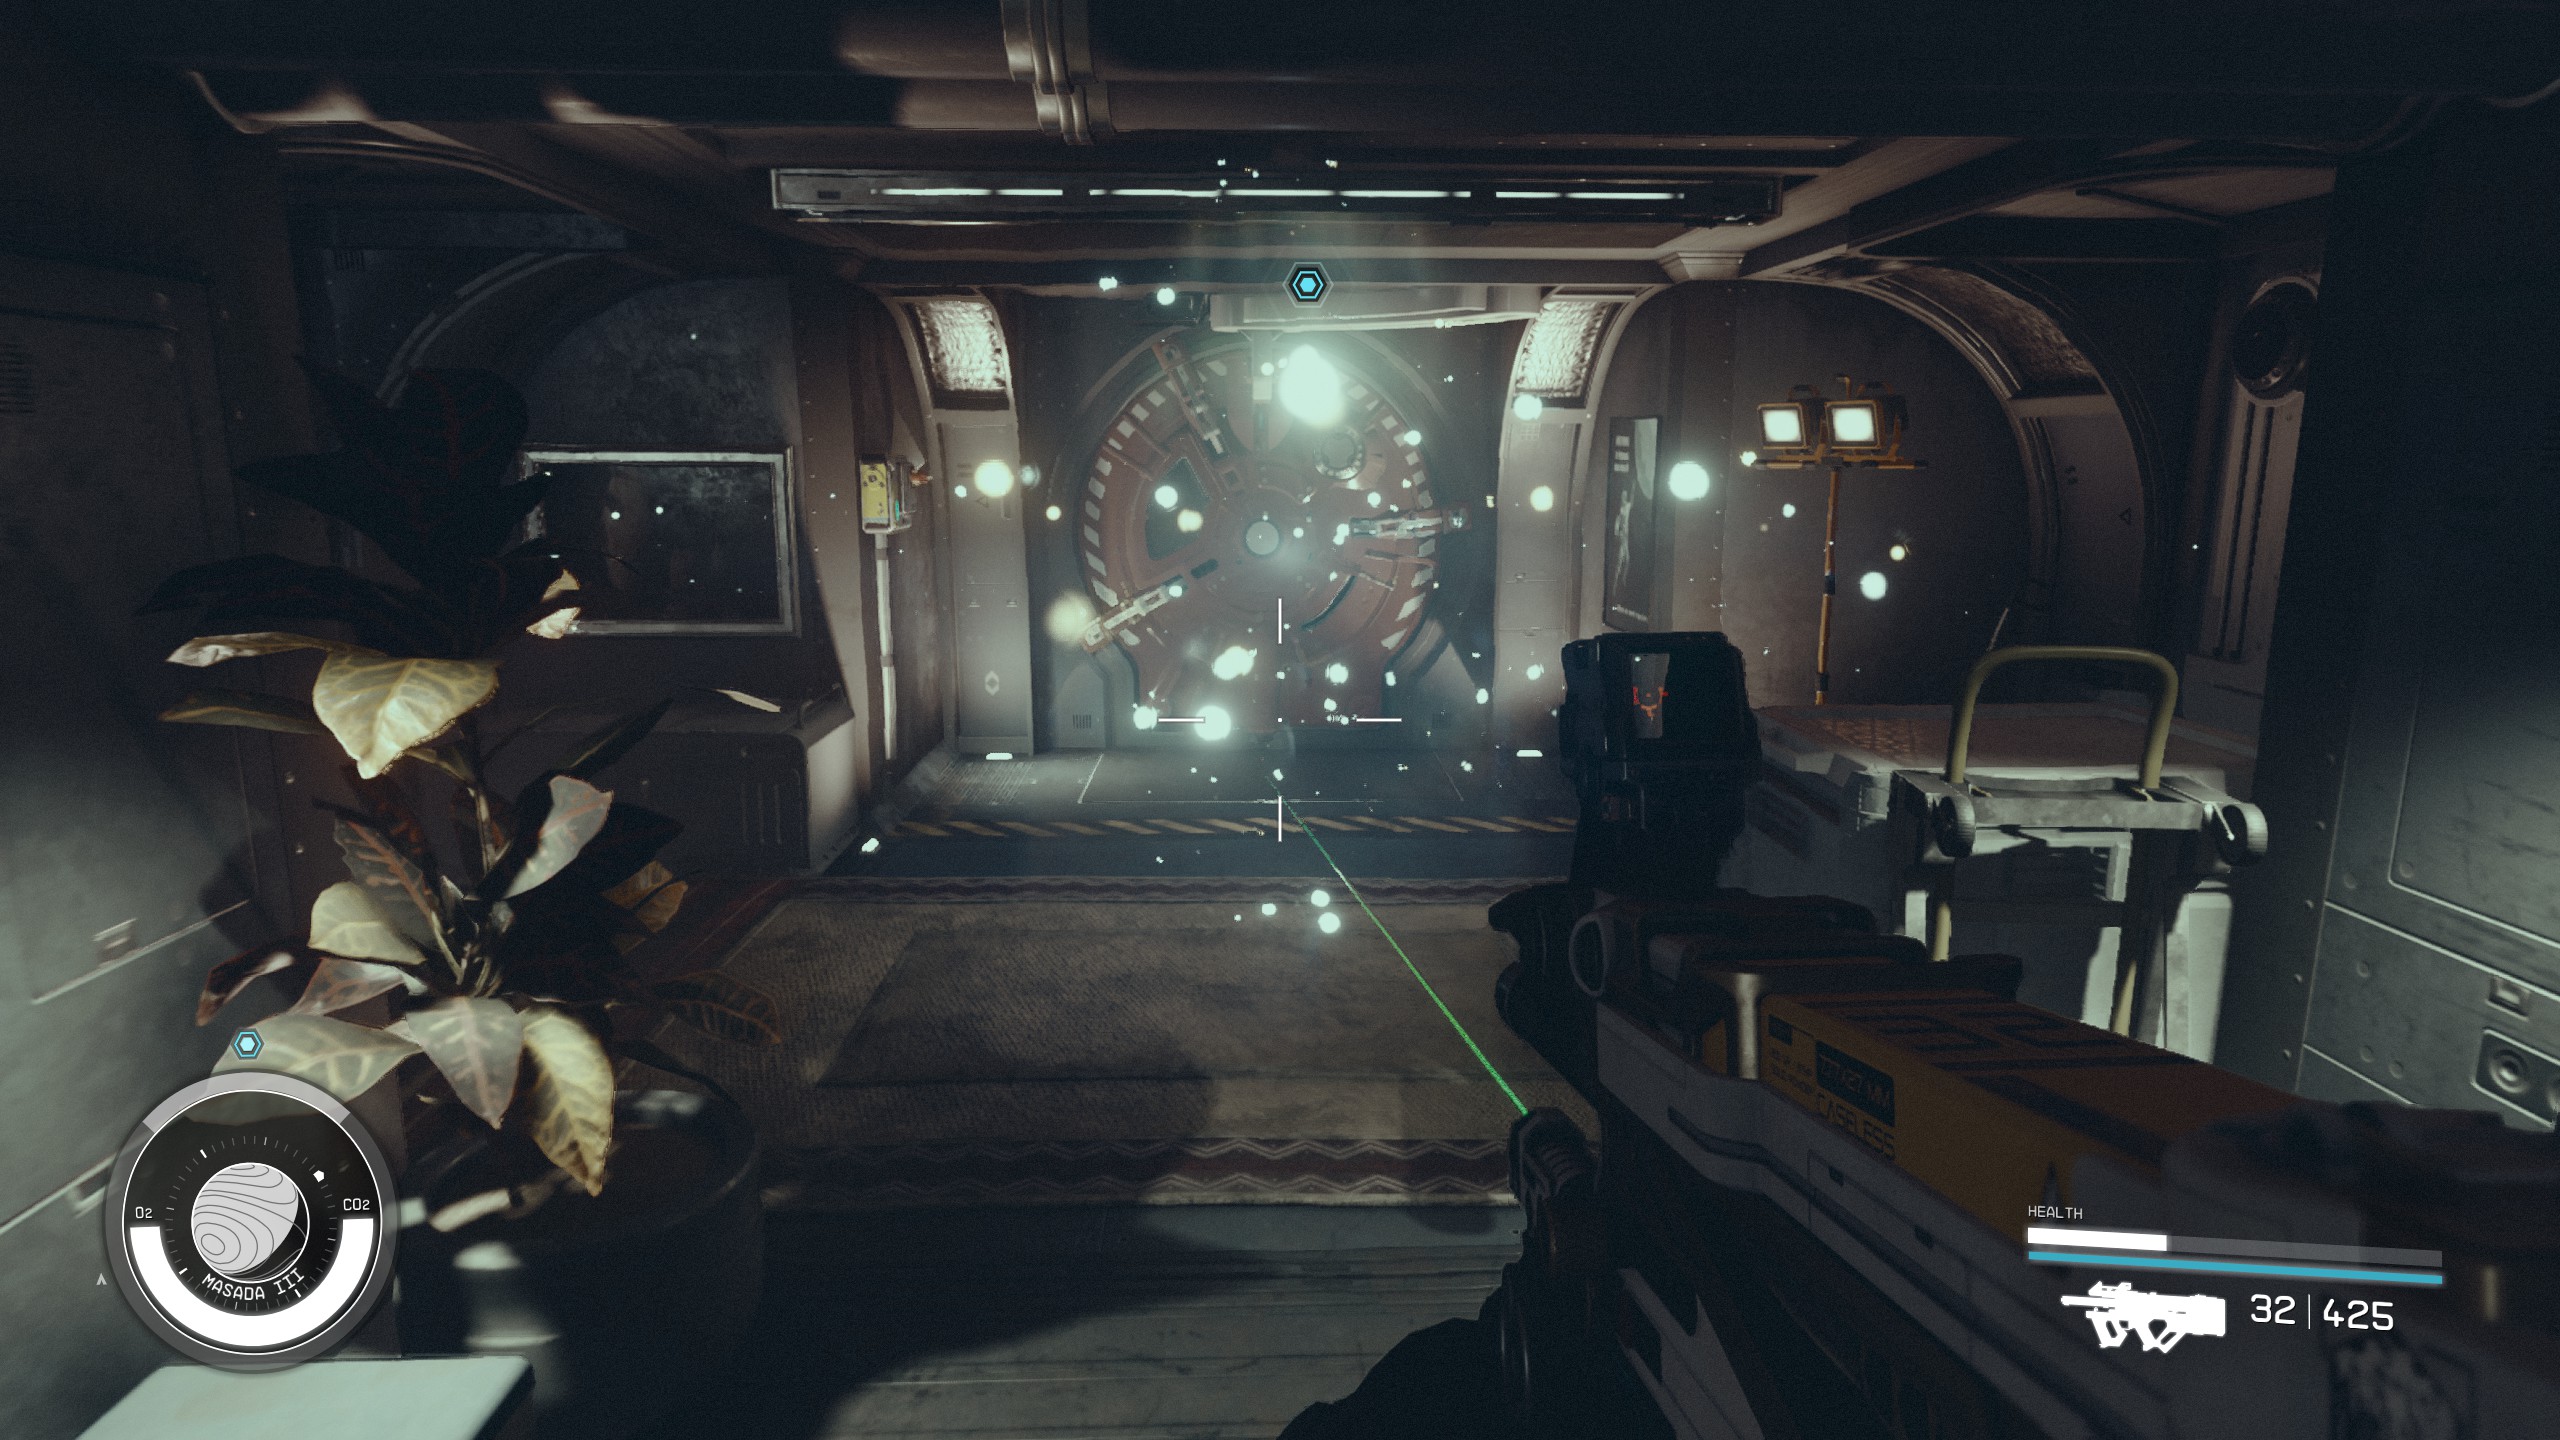
Inside, you'll find your path blocked by a large Anomaly. Walk into it, only to find yourself in a flashback to the start of the game. Traverse through it as you did initially to exit and return to the temple. The next Starborn fight adds automated security defenses to the mix. If you have a high hacking skill, you can disable or commandeer these defenses by hacking a Master level lock in a booth on the top level of the catwalk.
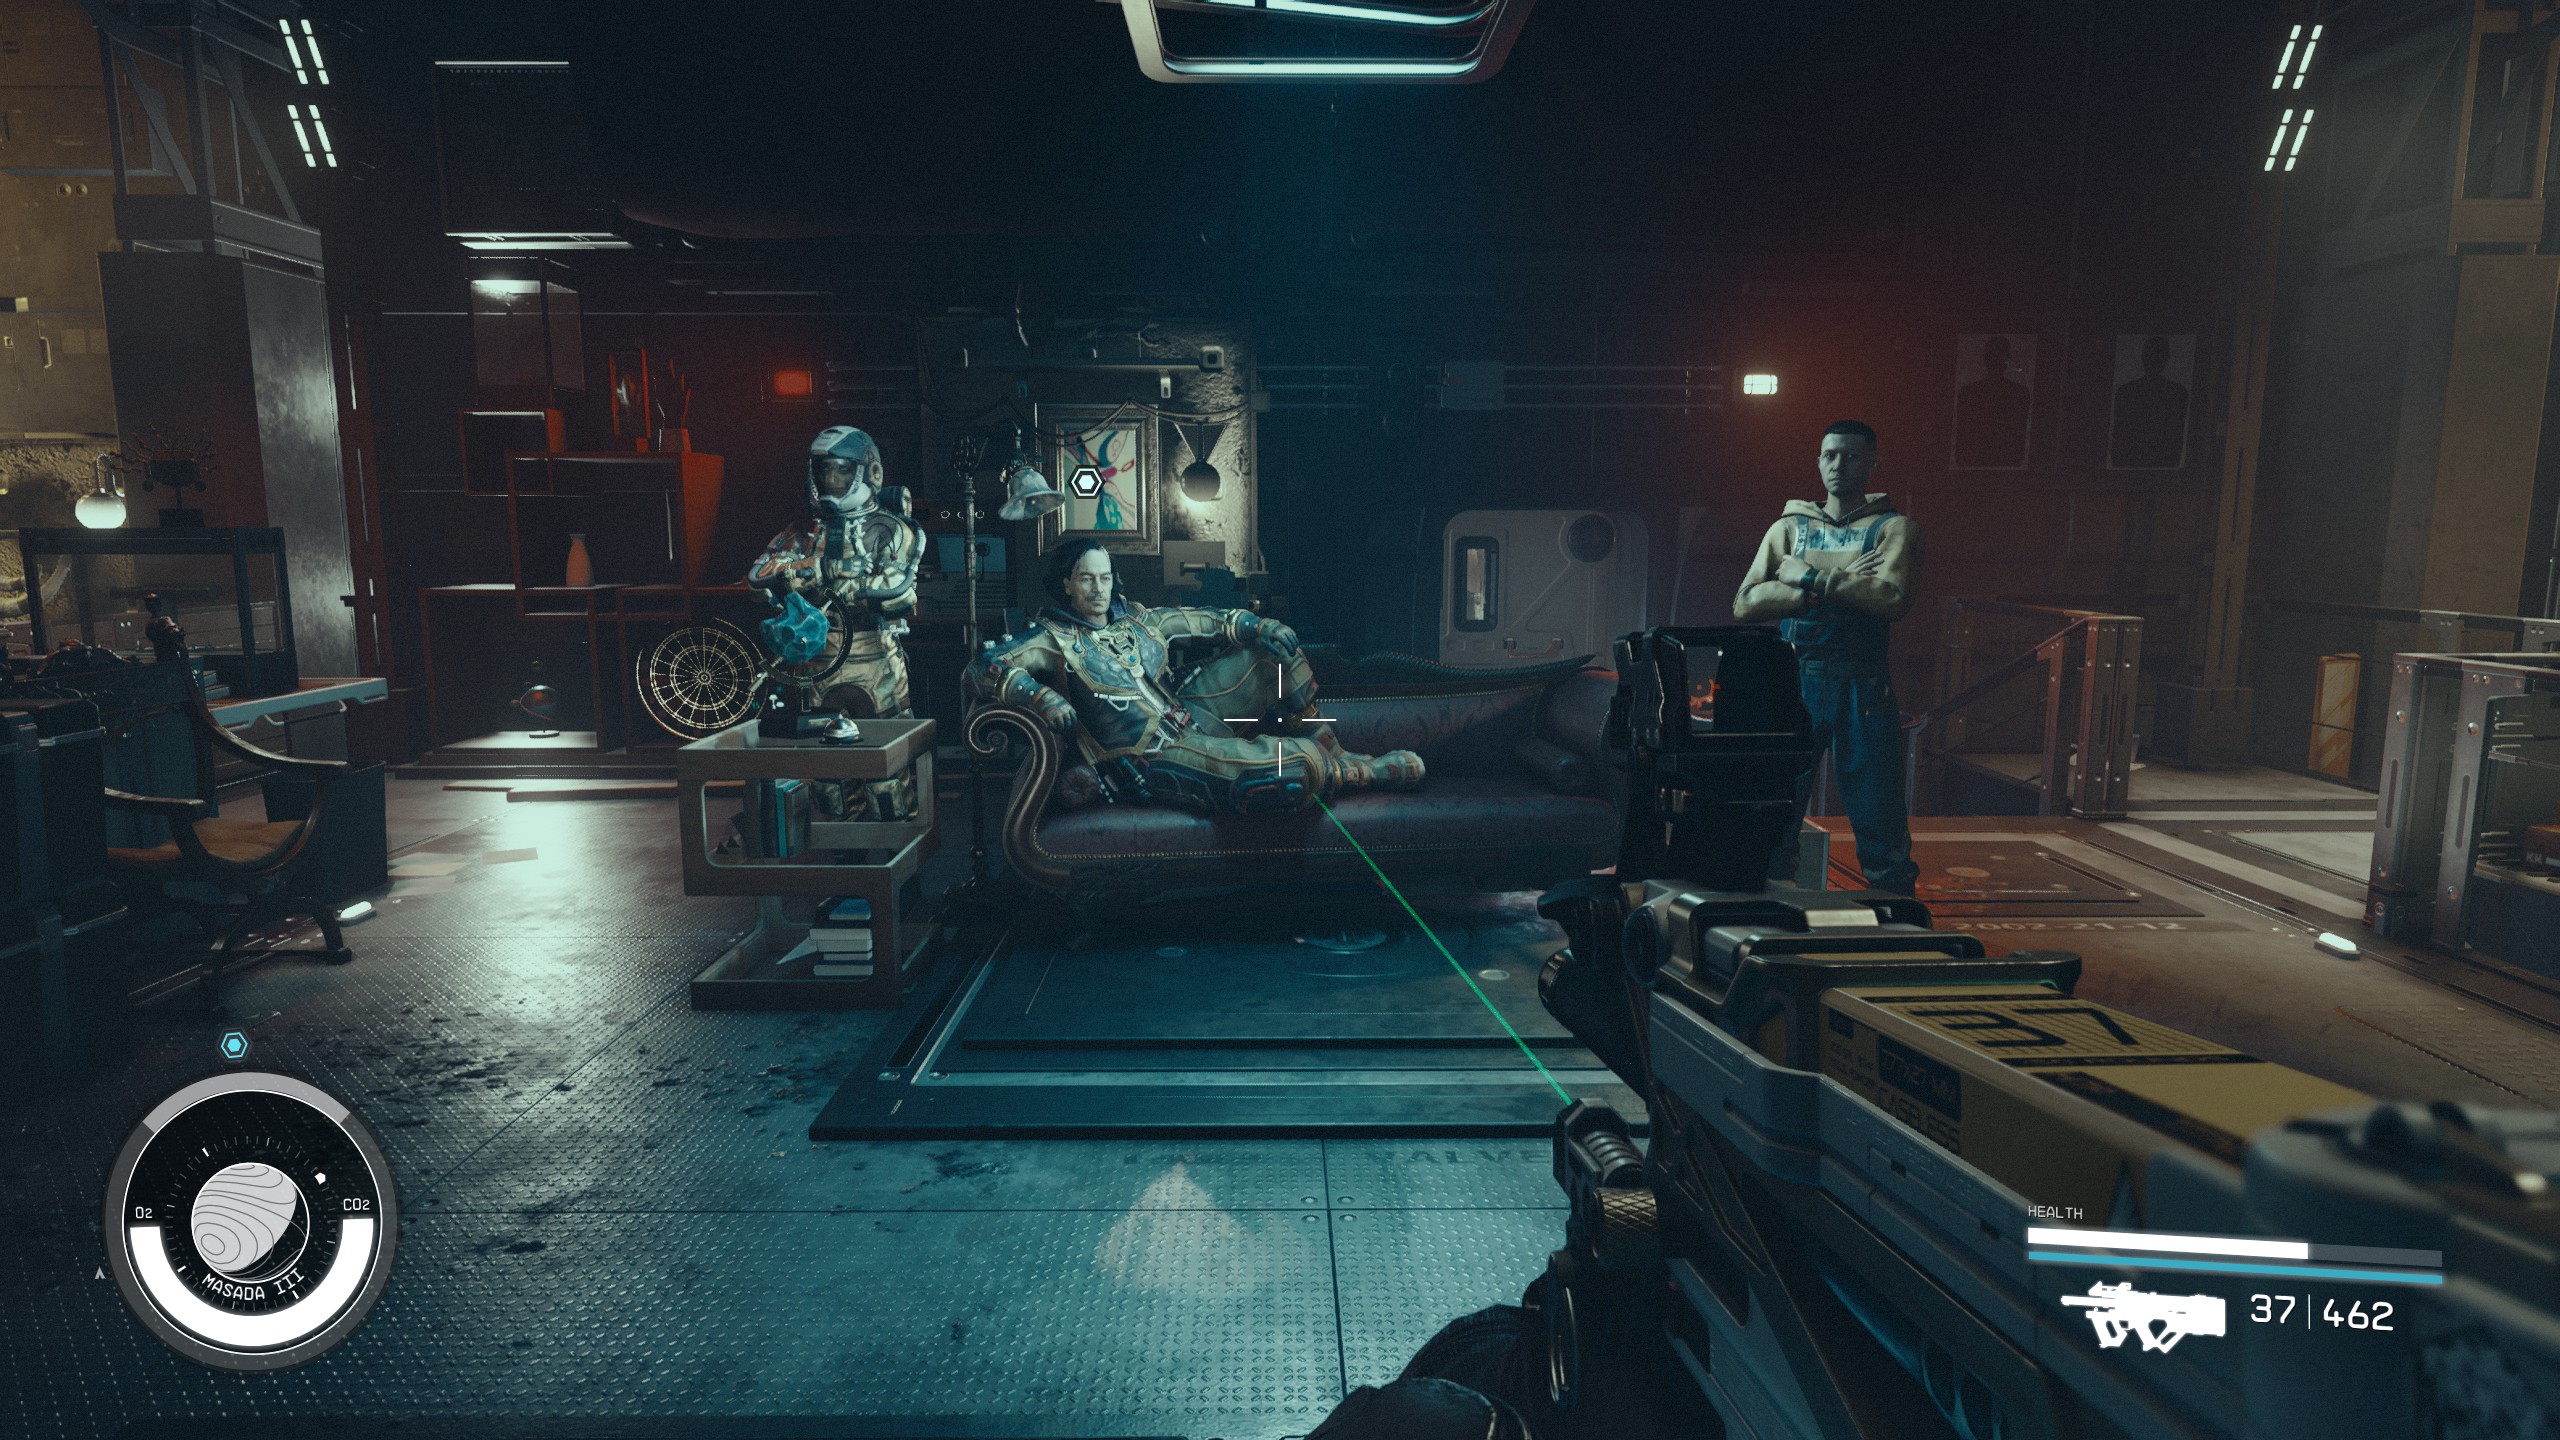
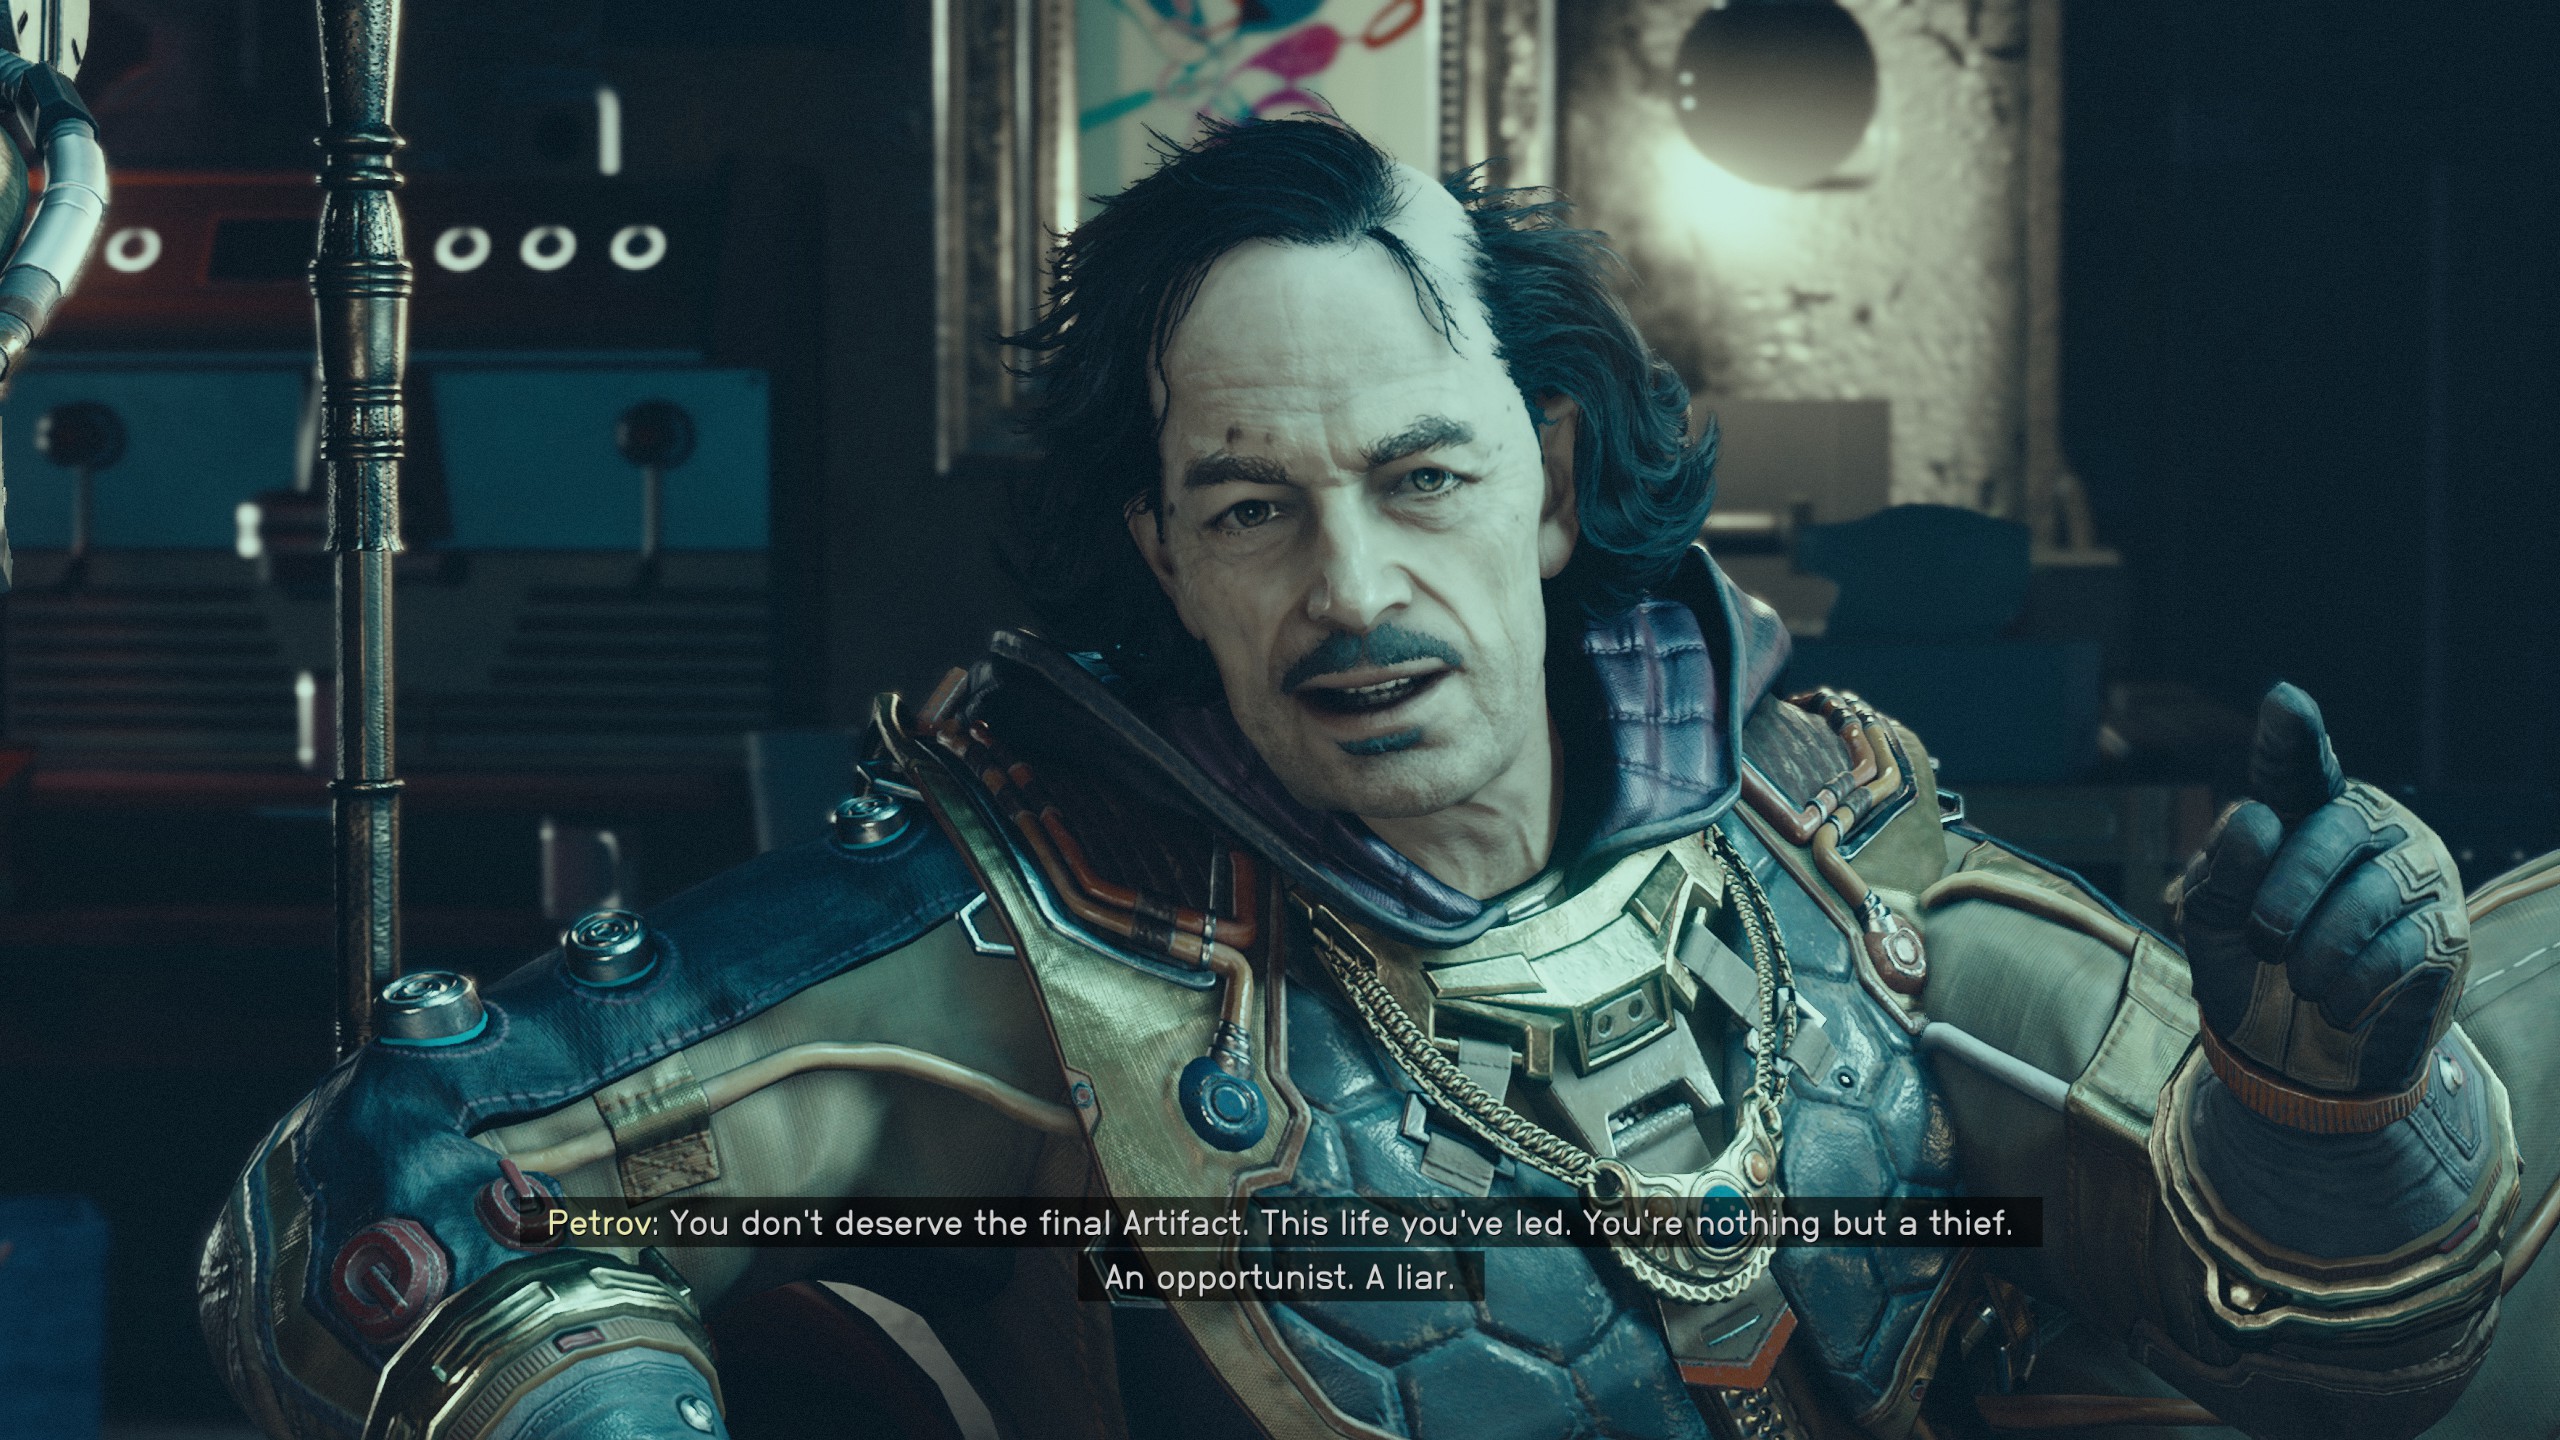
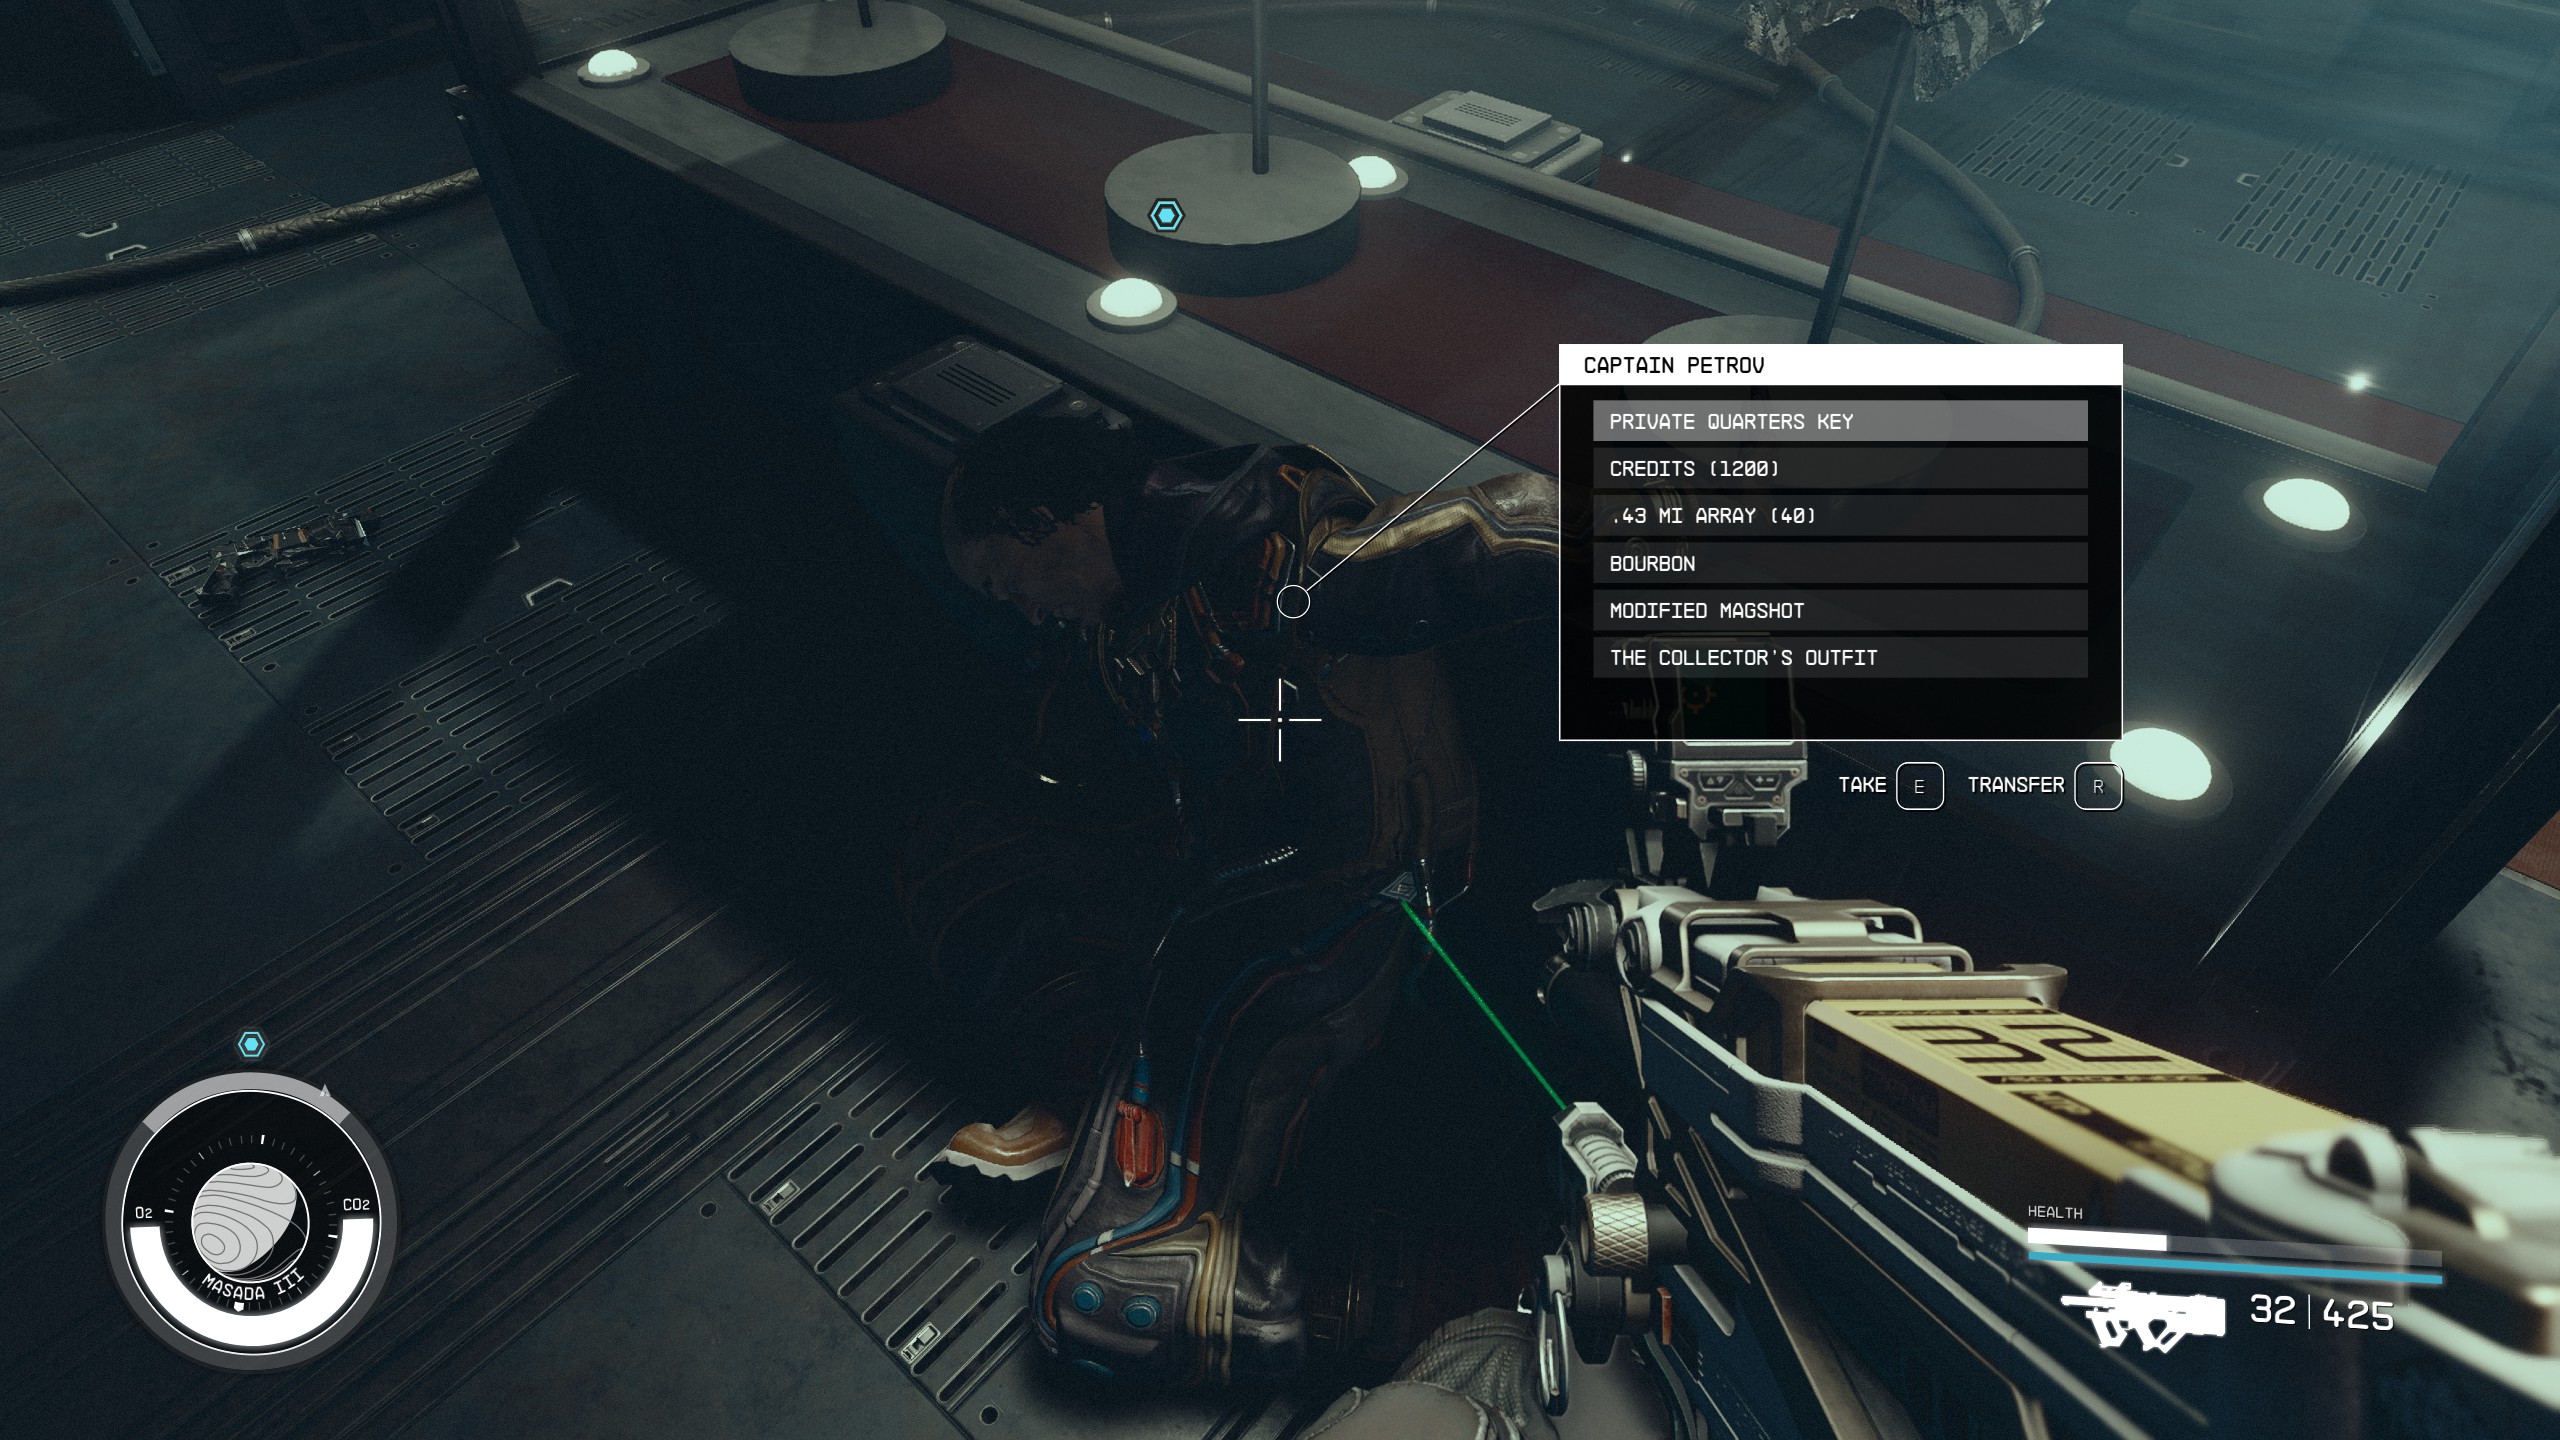
With the Starborn and defenses out of the way, grab another dropped keycard to proceed. Another Anomaly will appear, this time placing you in Petrov’s ship. Defeat Petrov and his crew, then grab the Private Quarters Key to leave the Anomaly and return to the temple.
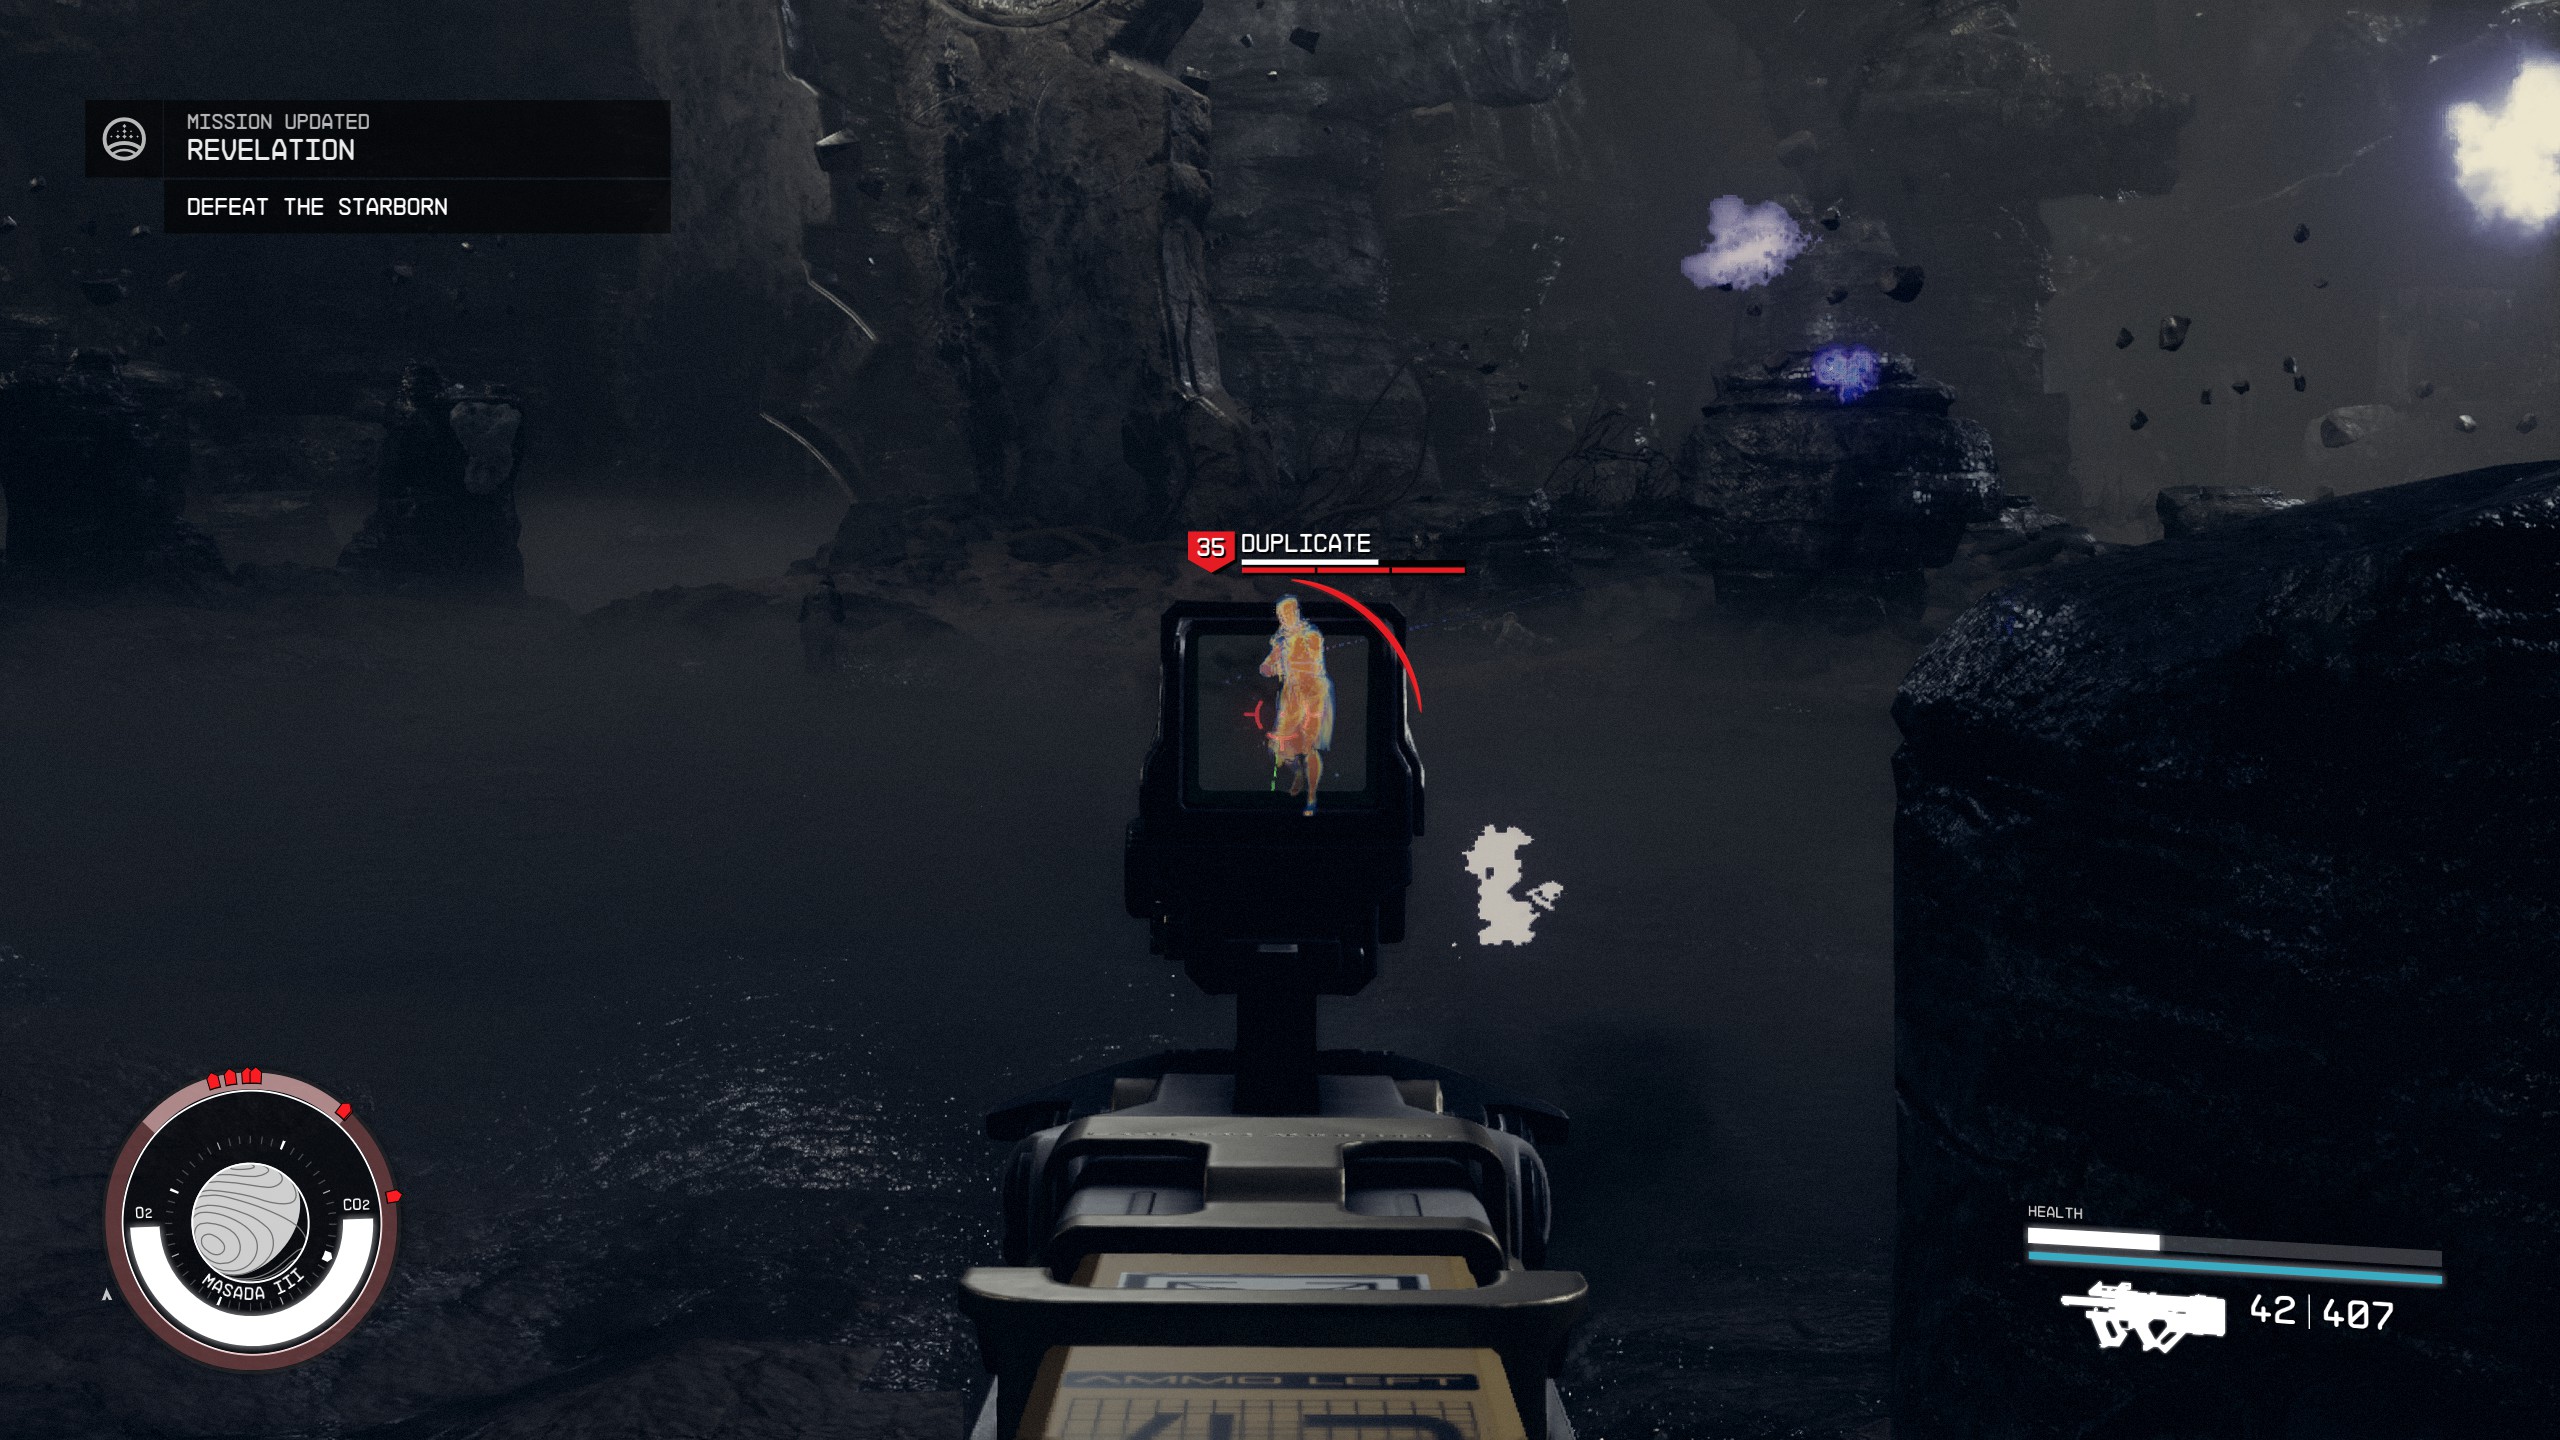
An elevator takes you down to another Anomaly, an alternate version of events on the Eye. Stock up on weapons, ammo, and consumables at the bottom before facing the final Starborn miniboss, who summons duplicate enemies. Defeat them and head towards the temple. Here, you'll have the choice to fight or talk down the Hunter or the Emissary. The latter is easier with a banked auto Persuasion.
Once you’ve dealt with the Hunter/Emissary, either through combat or conversation, you'll have a chance to loot or automatically receive their Artifacts. A brief conversation ensues if you've sided with one of them. Finally, the climax of your mission and, indeed, of the entire Starfield game: approach the Artifact at the center of the room and interact with it. This action completes the mission.
Tips and Tricks
- Make sure you have upgraded your starship and have some ship parts for repairs. See Ship Building
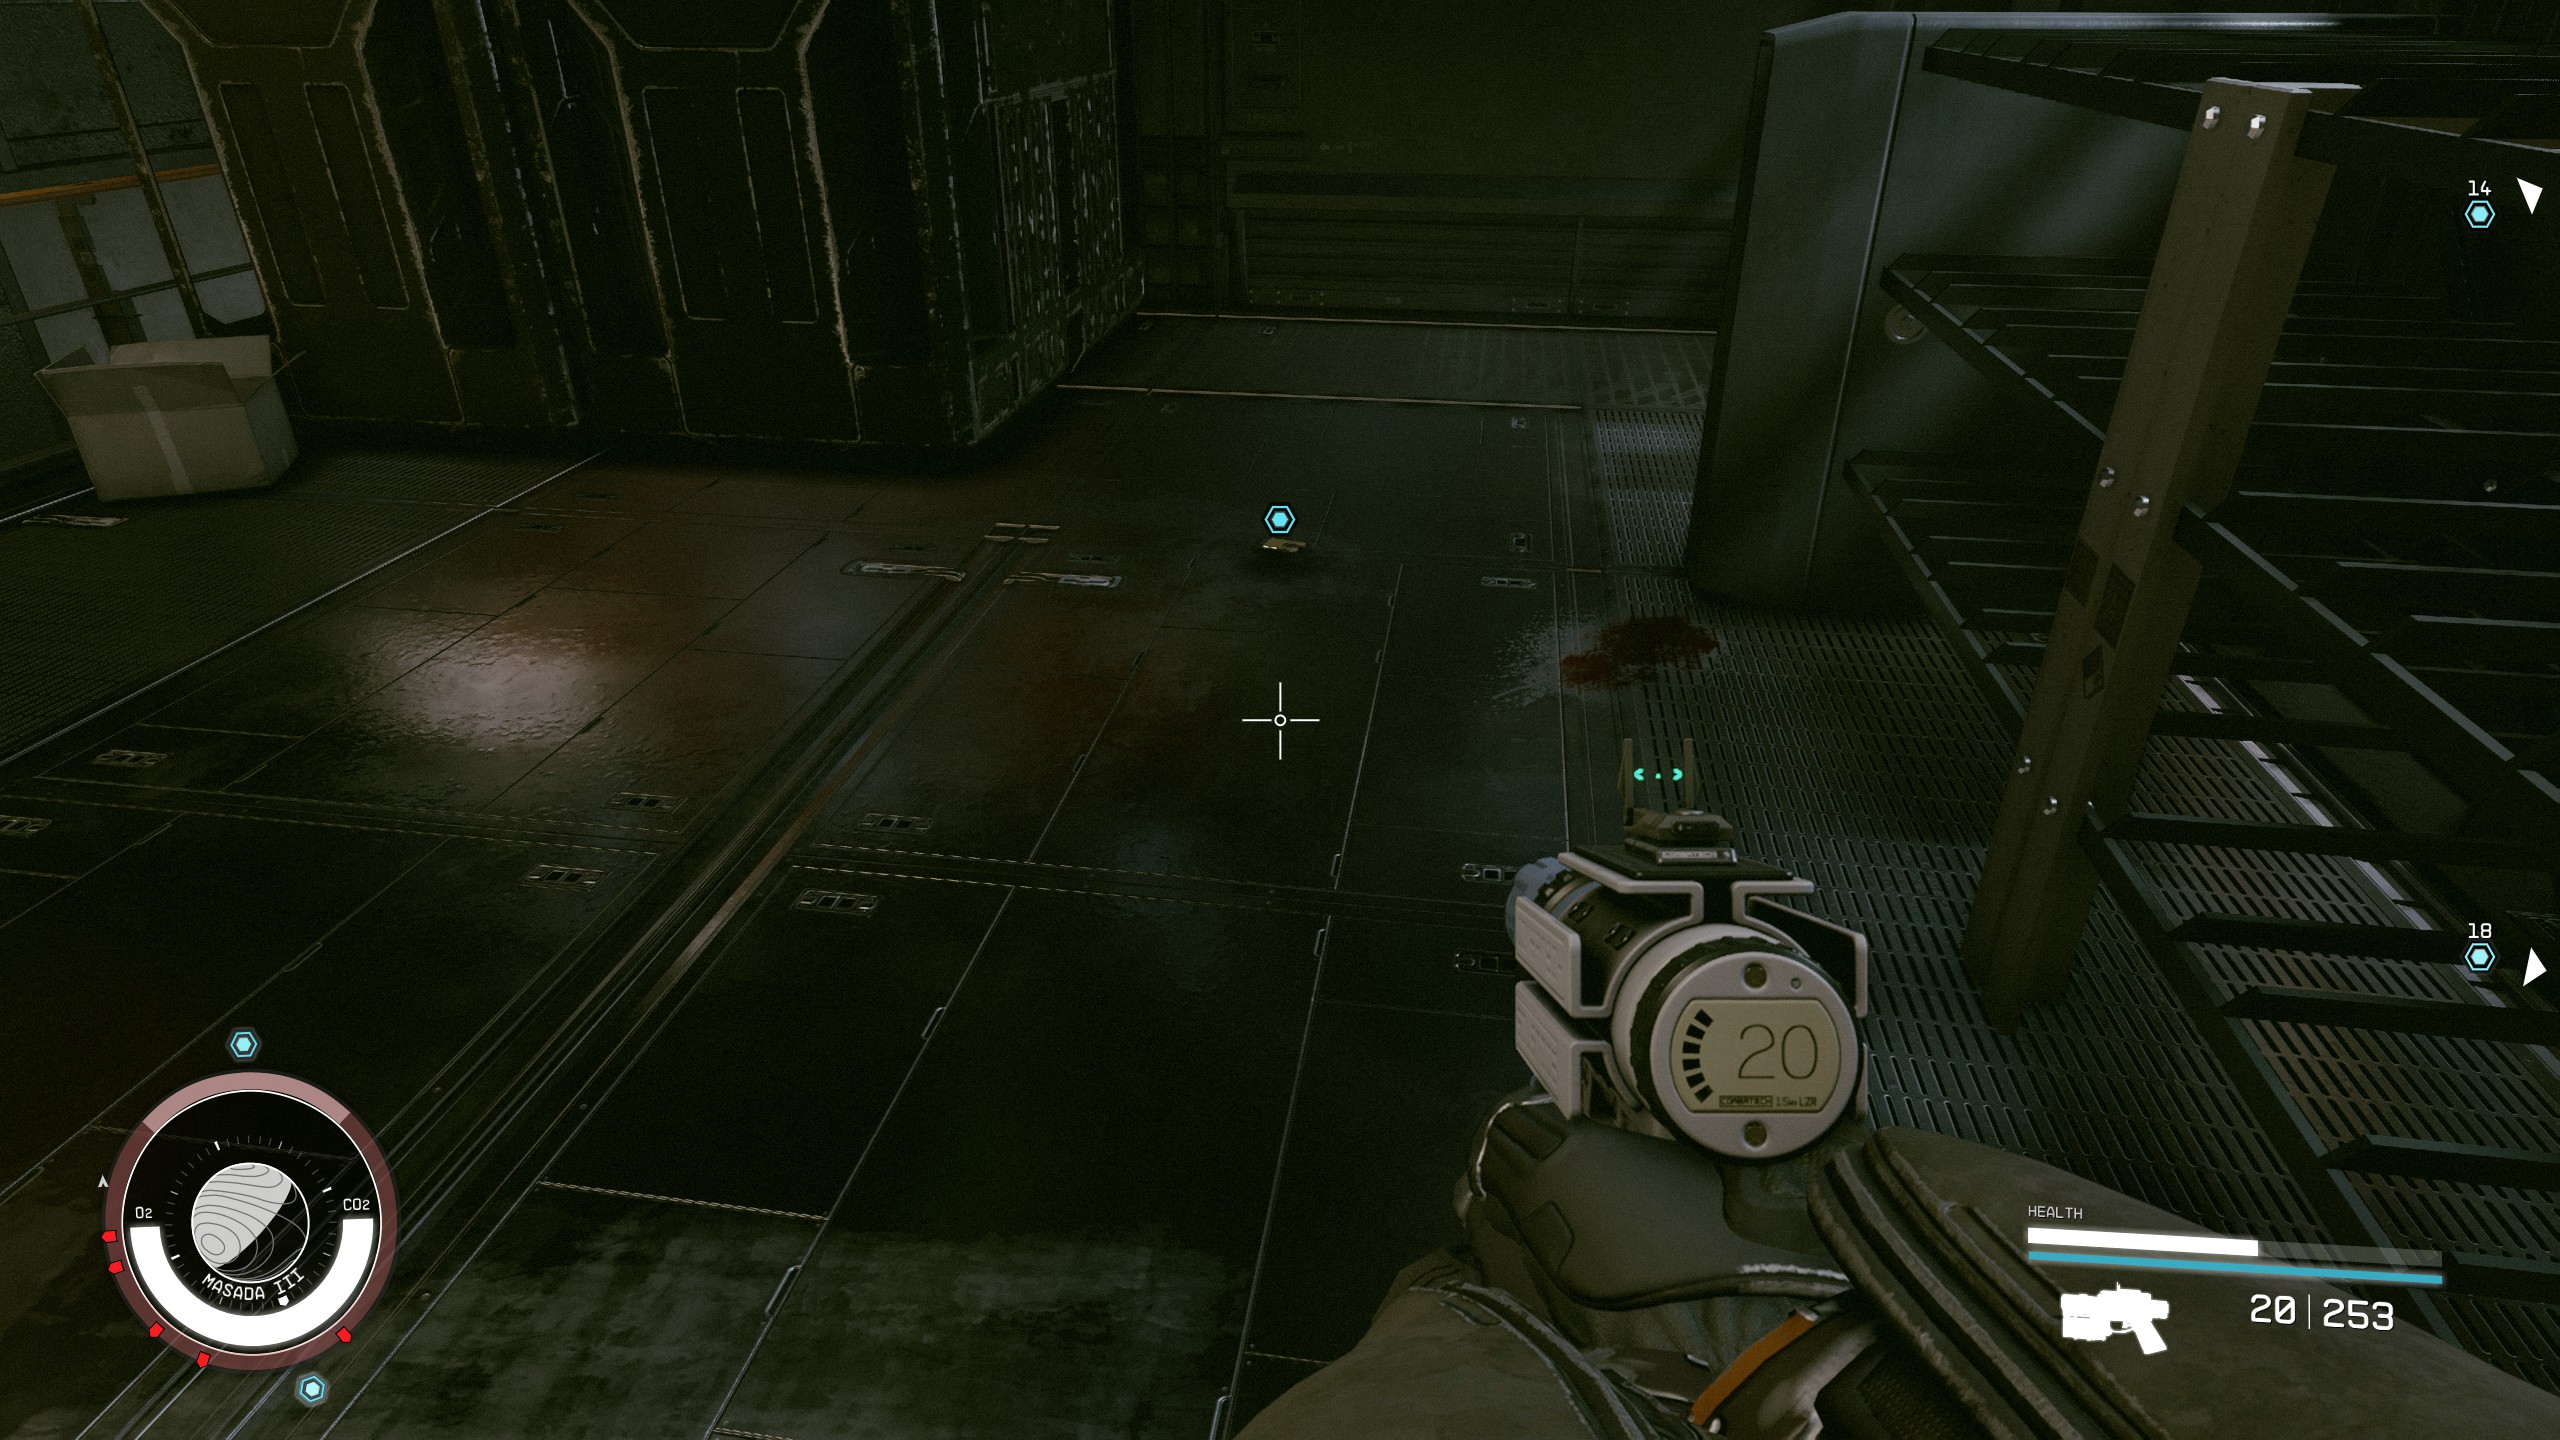
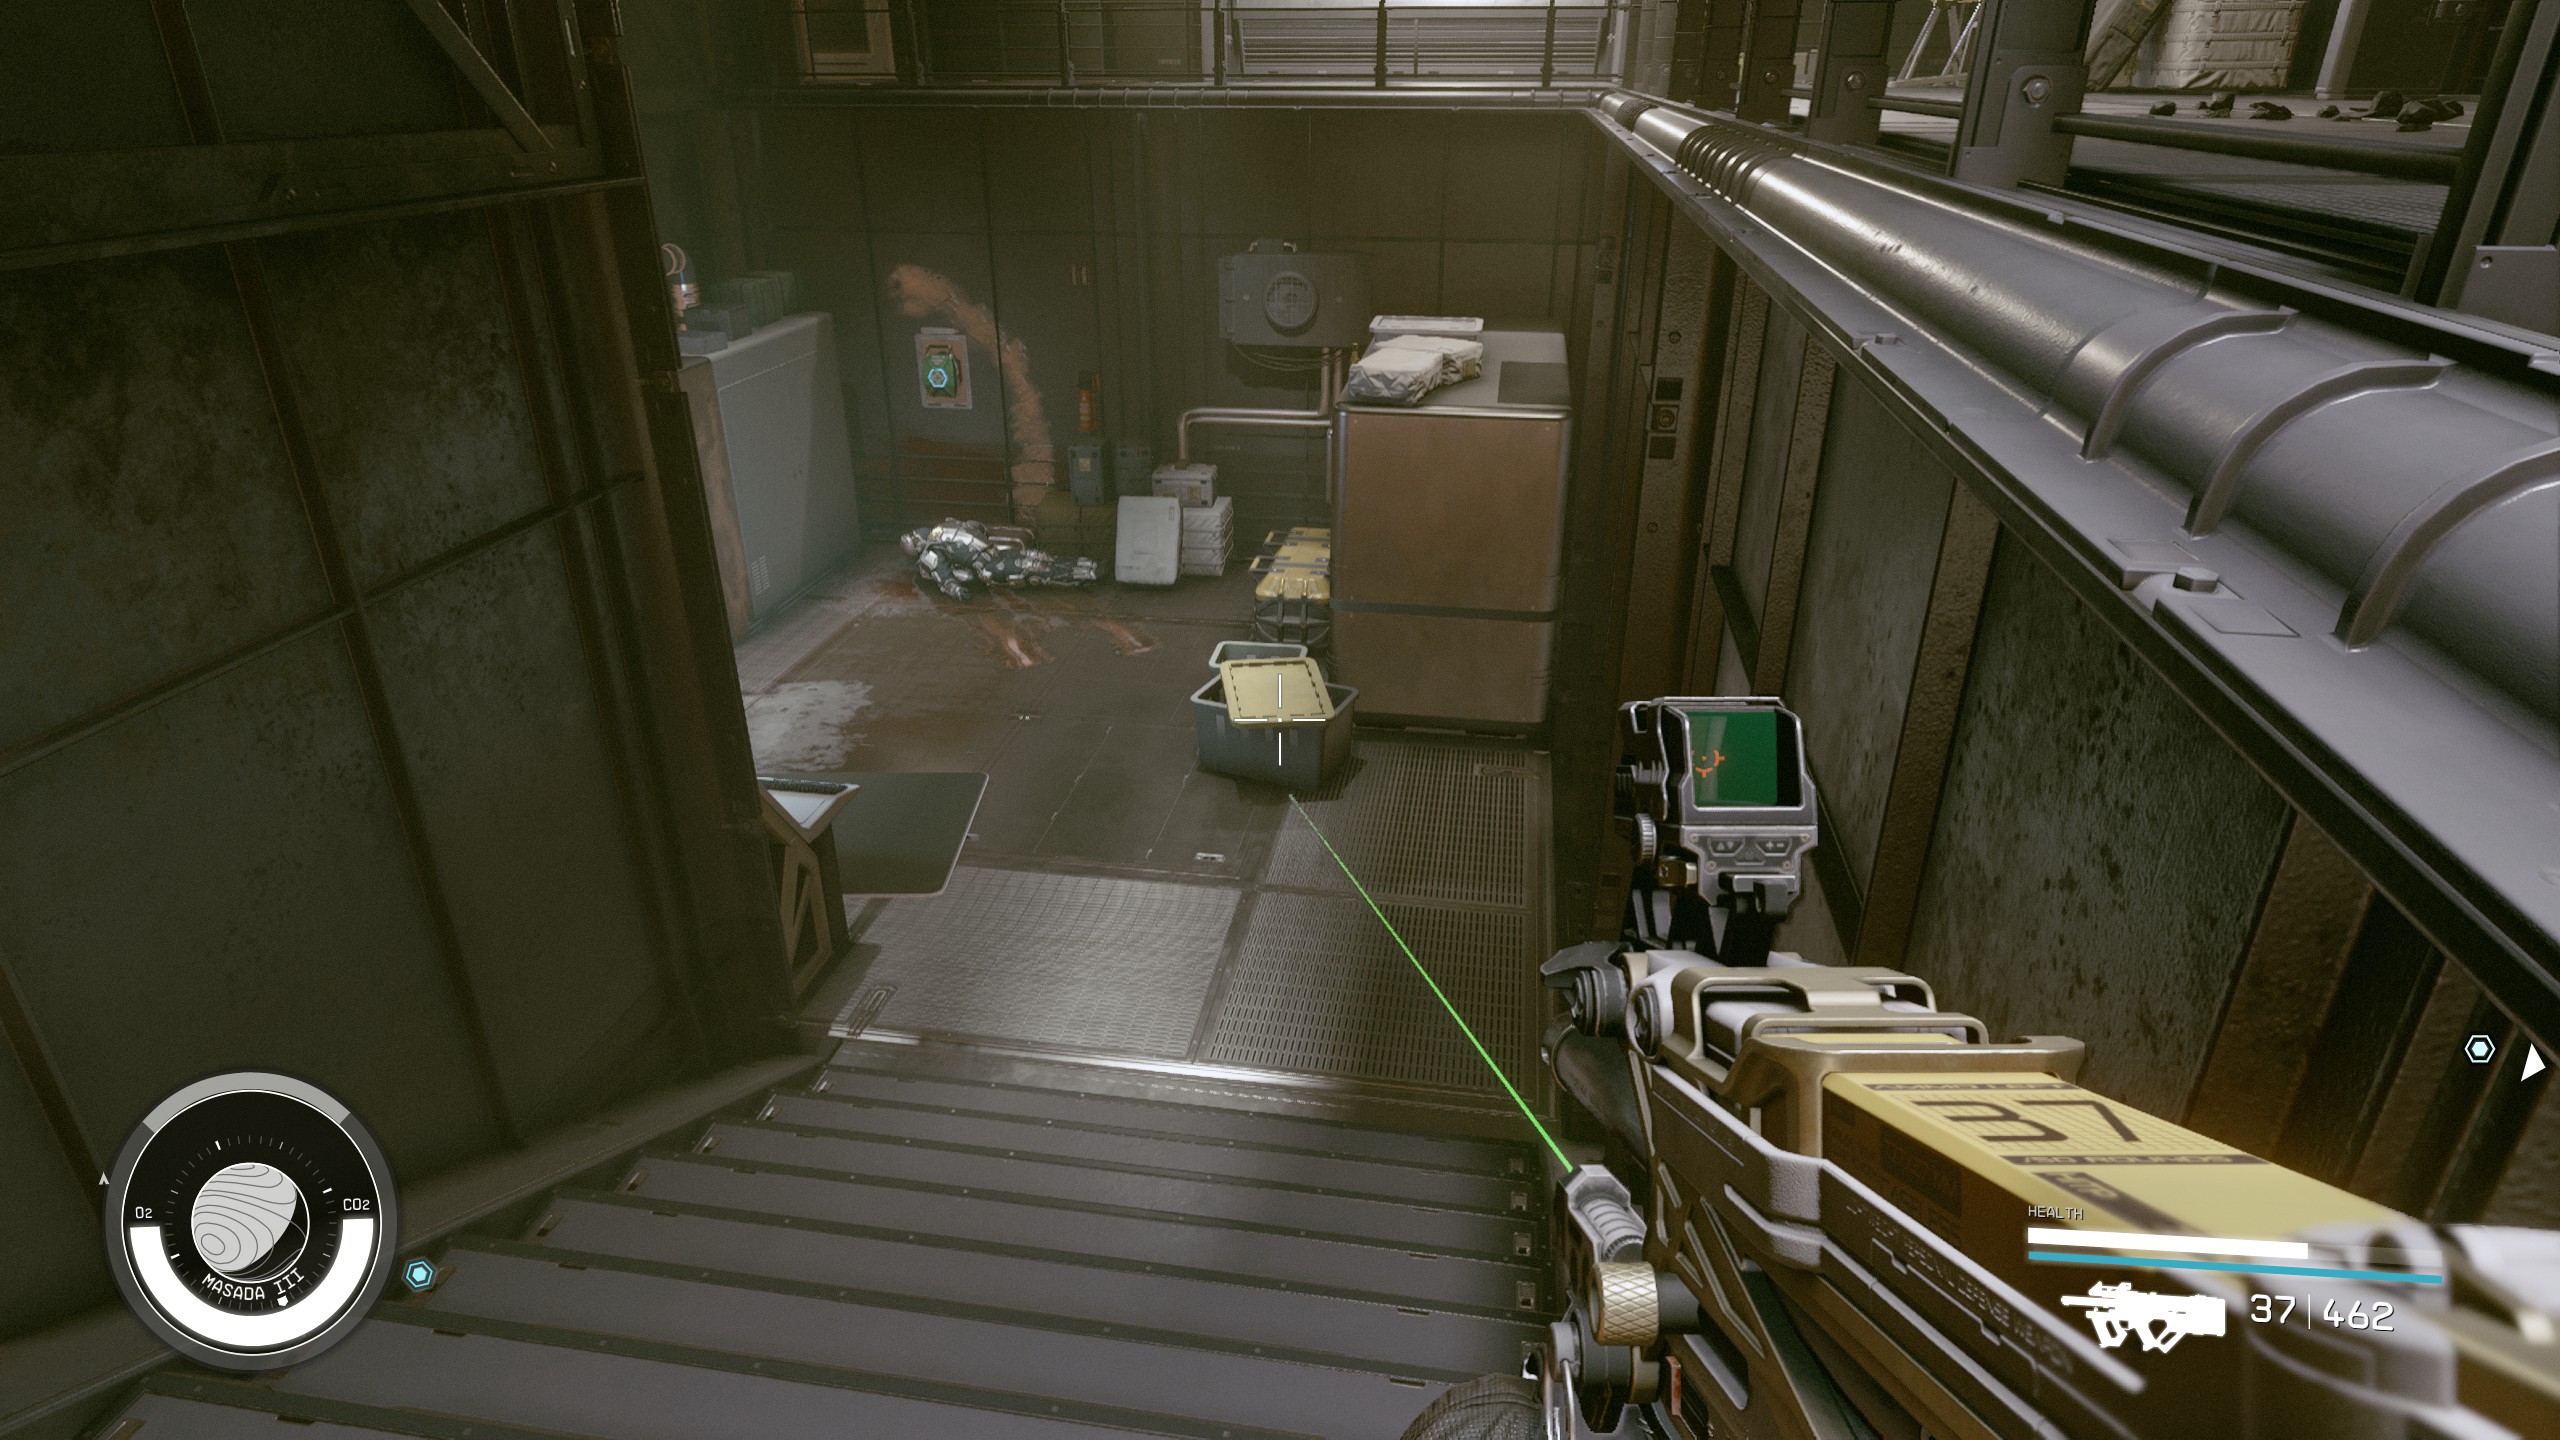
- During the first fight with the Starborn, there will be many medical kits around you that you can take if you need to.
- Make sure to bring along Experiment A-7, as it's still a powerful weapon and will help you take down the Starborn faster.
- This quest may have you fight different enemies, depending on choices made earlier in the game.
Objectives
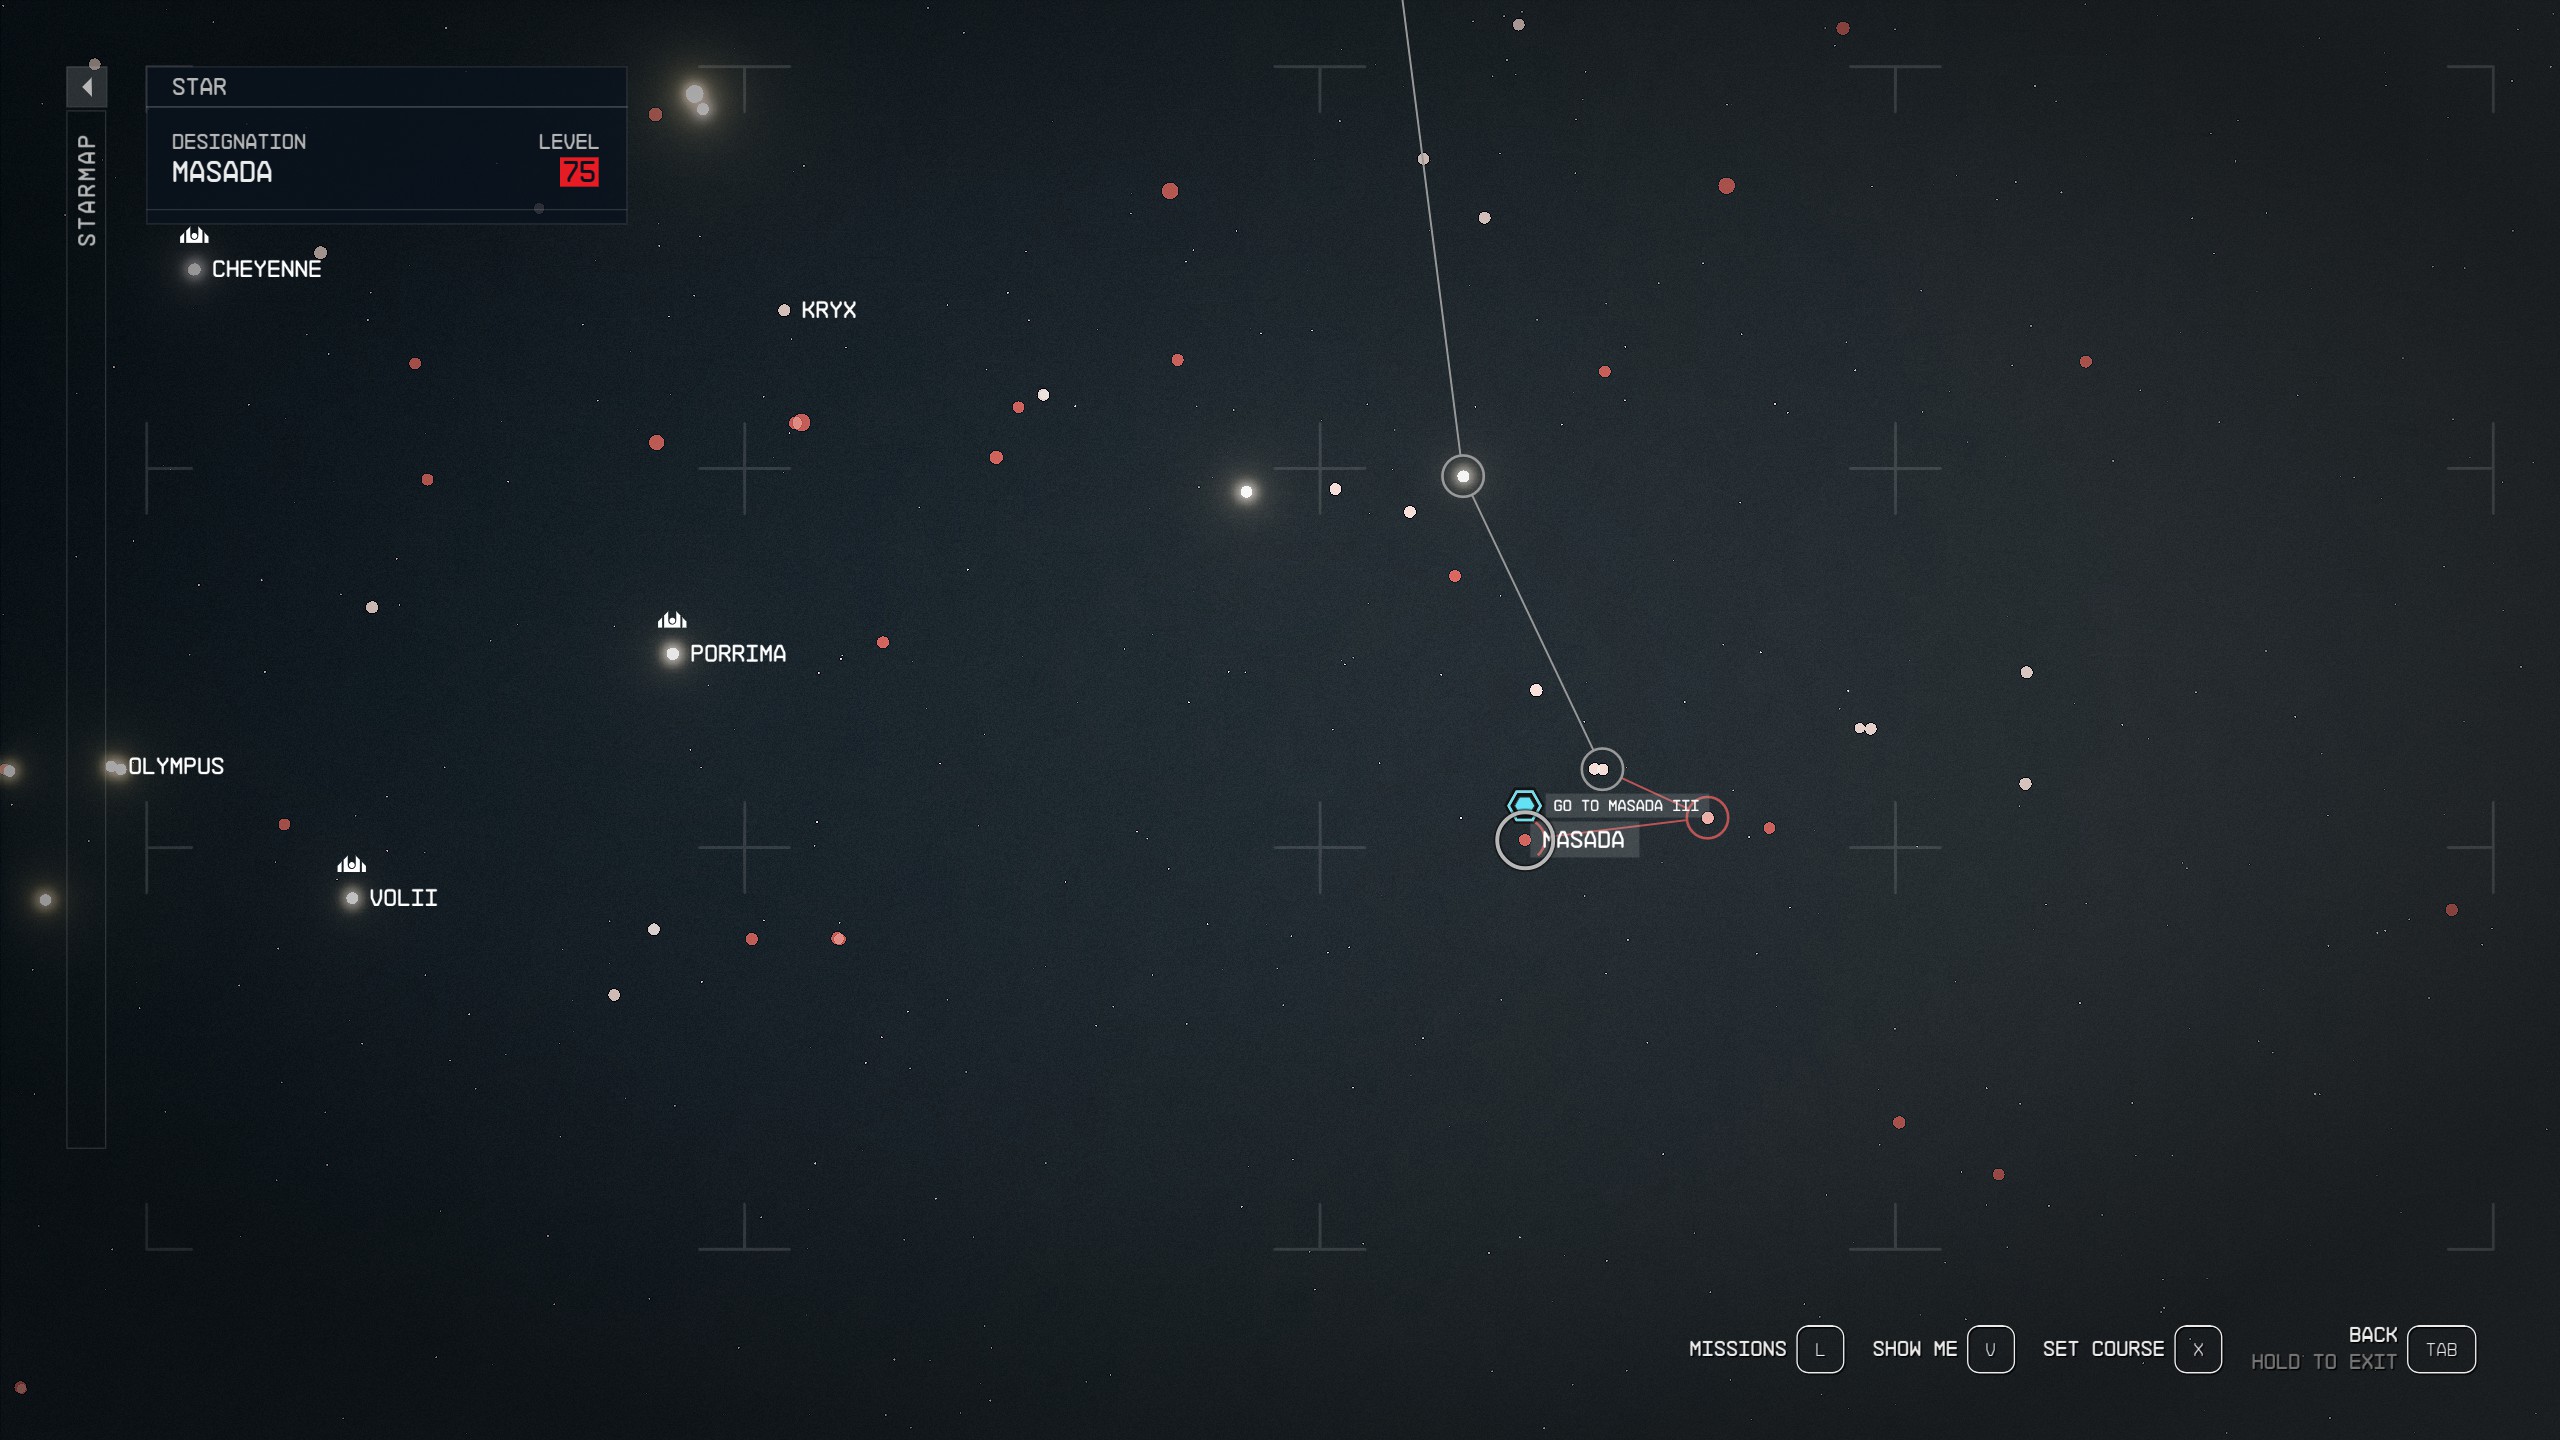
Go to Masada III
- Open your map and find the Masada System. This system is very far away, so depending on your LY range, you may need to jump several times to get there.
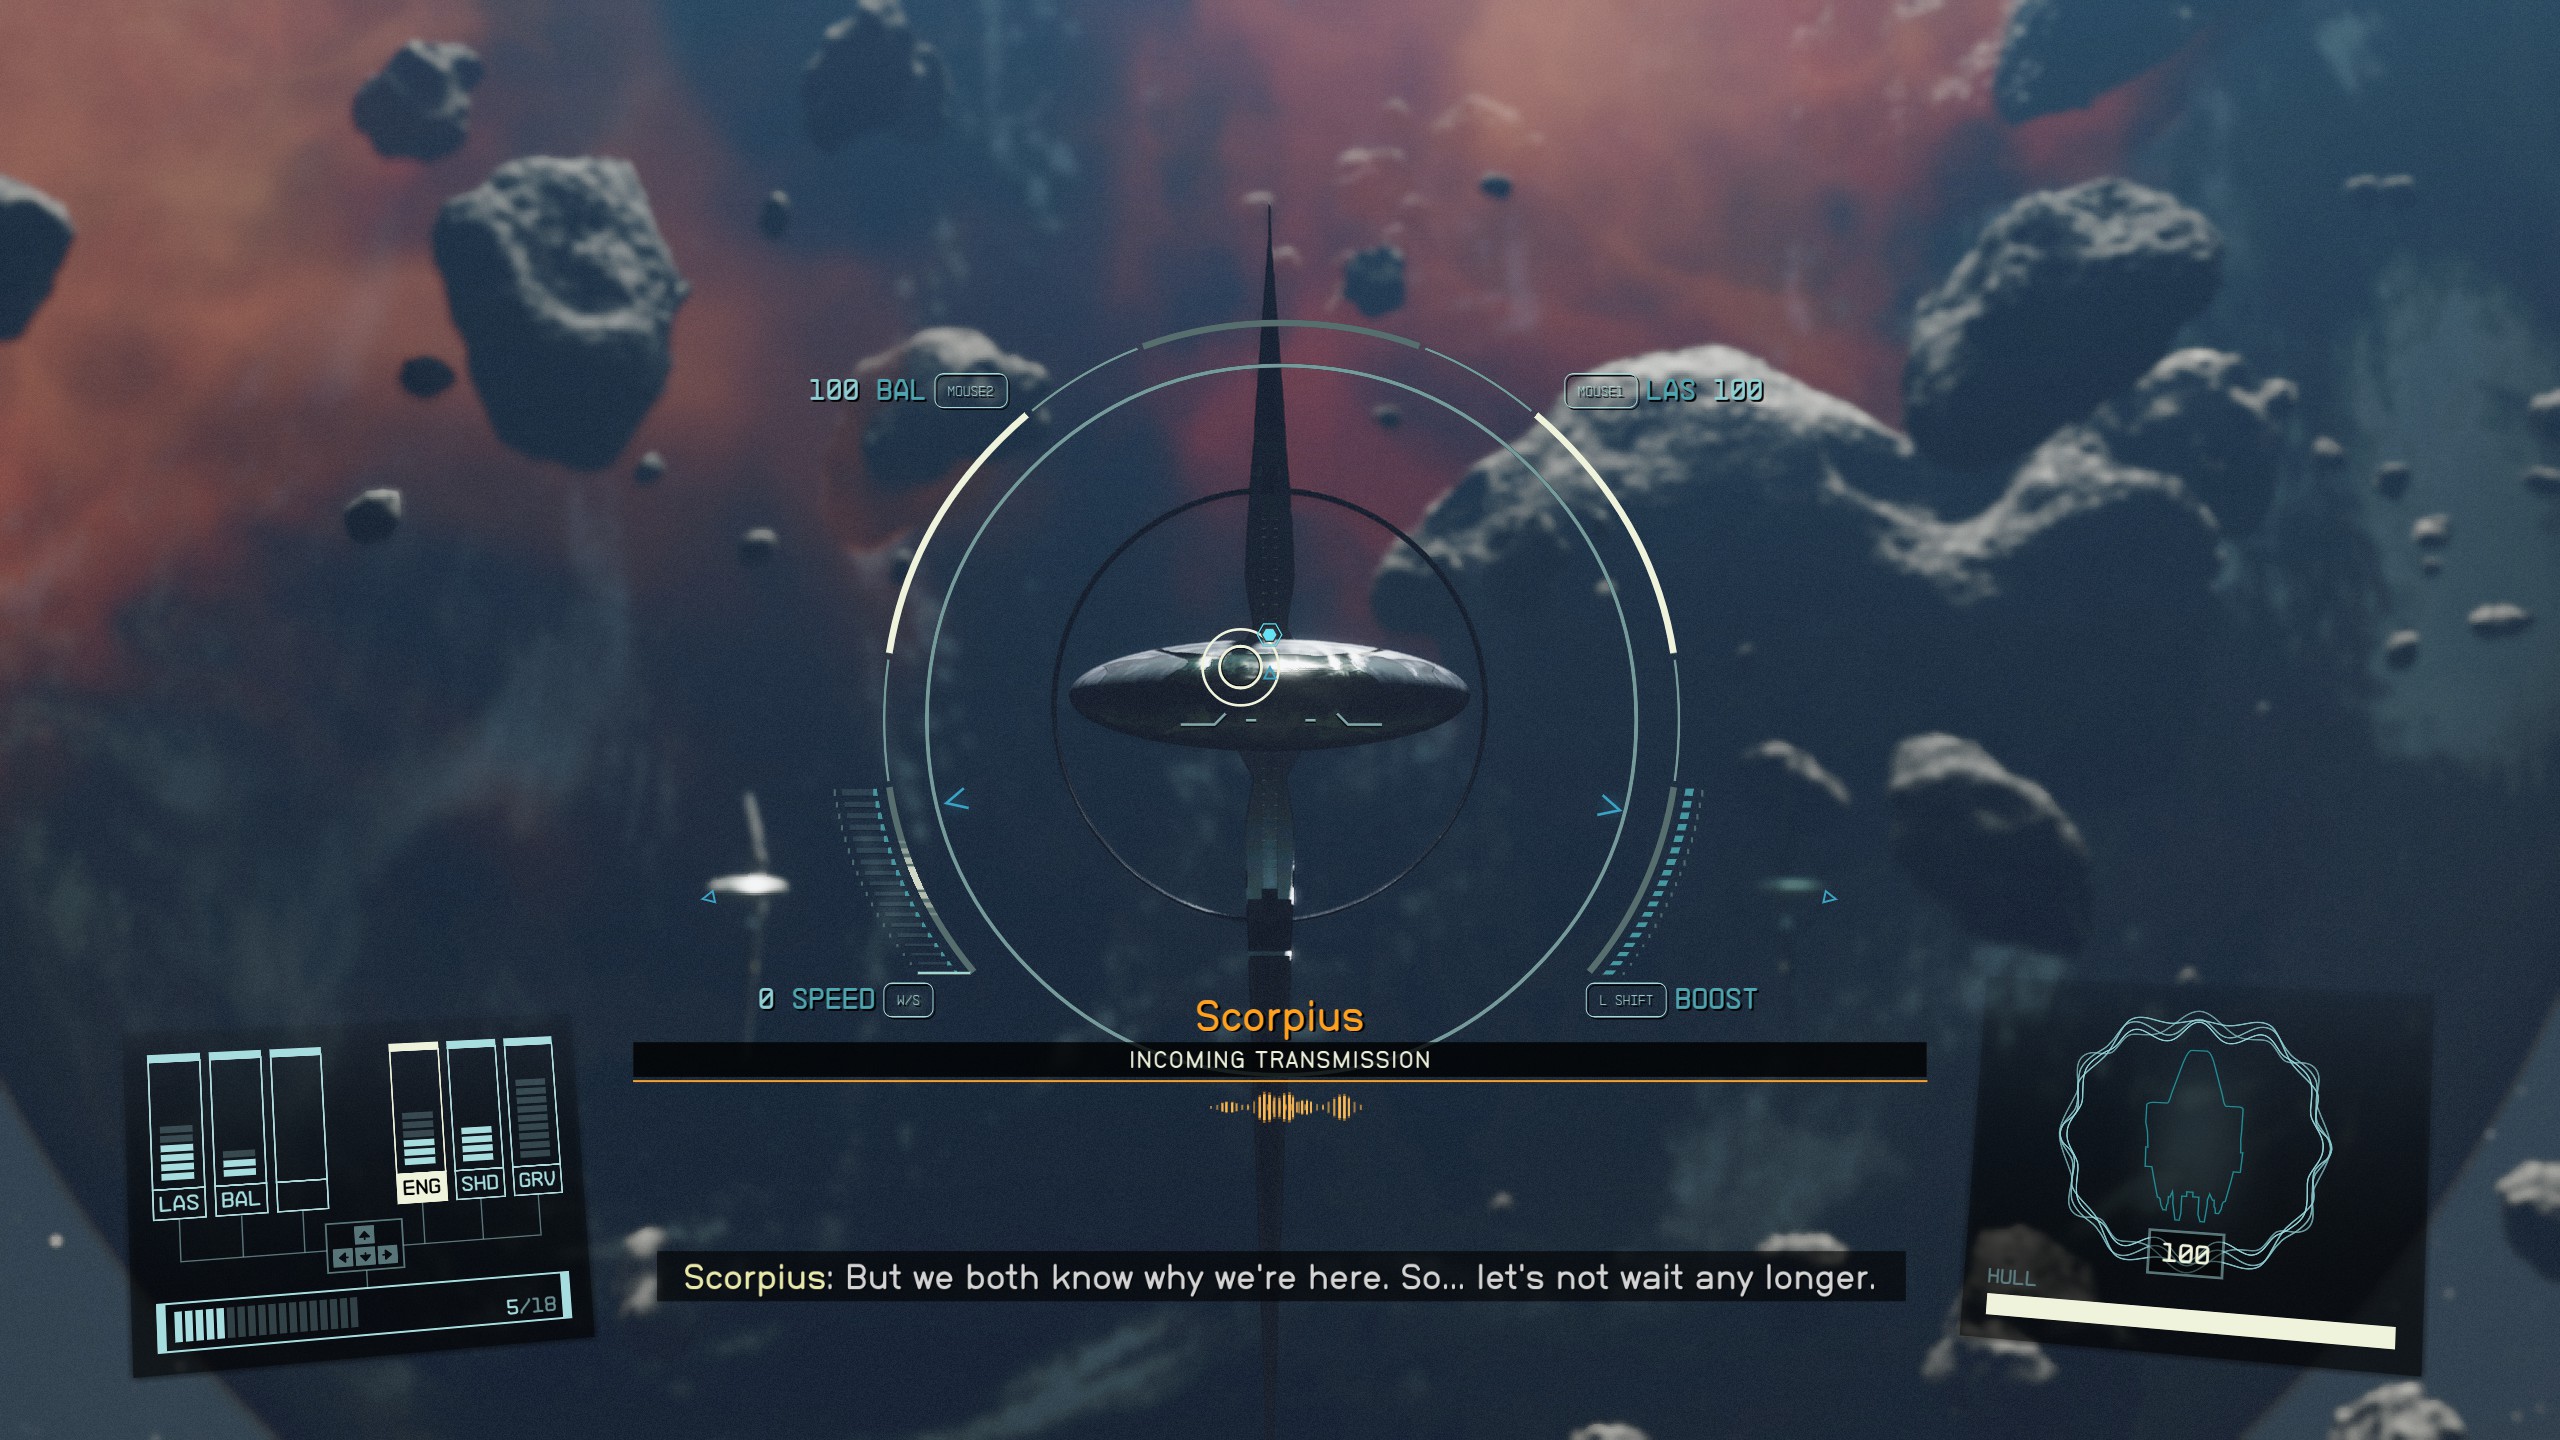
Hail the Scorpius
- As soon as you enter Masada III you will be hailed by the Scorpius.
- The Hunter will tell you that no matter what you say, there will be a fight between the two of you.
Defeat the Starborn Ships
- After the conversation is over you will be attacked by the Hunter and two other Starborn ships.
- Focus on the Scorpius first. Once his ship is damaged enough he will flee and land at the bury temple. The Helix shows up and helps you fight.
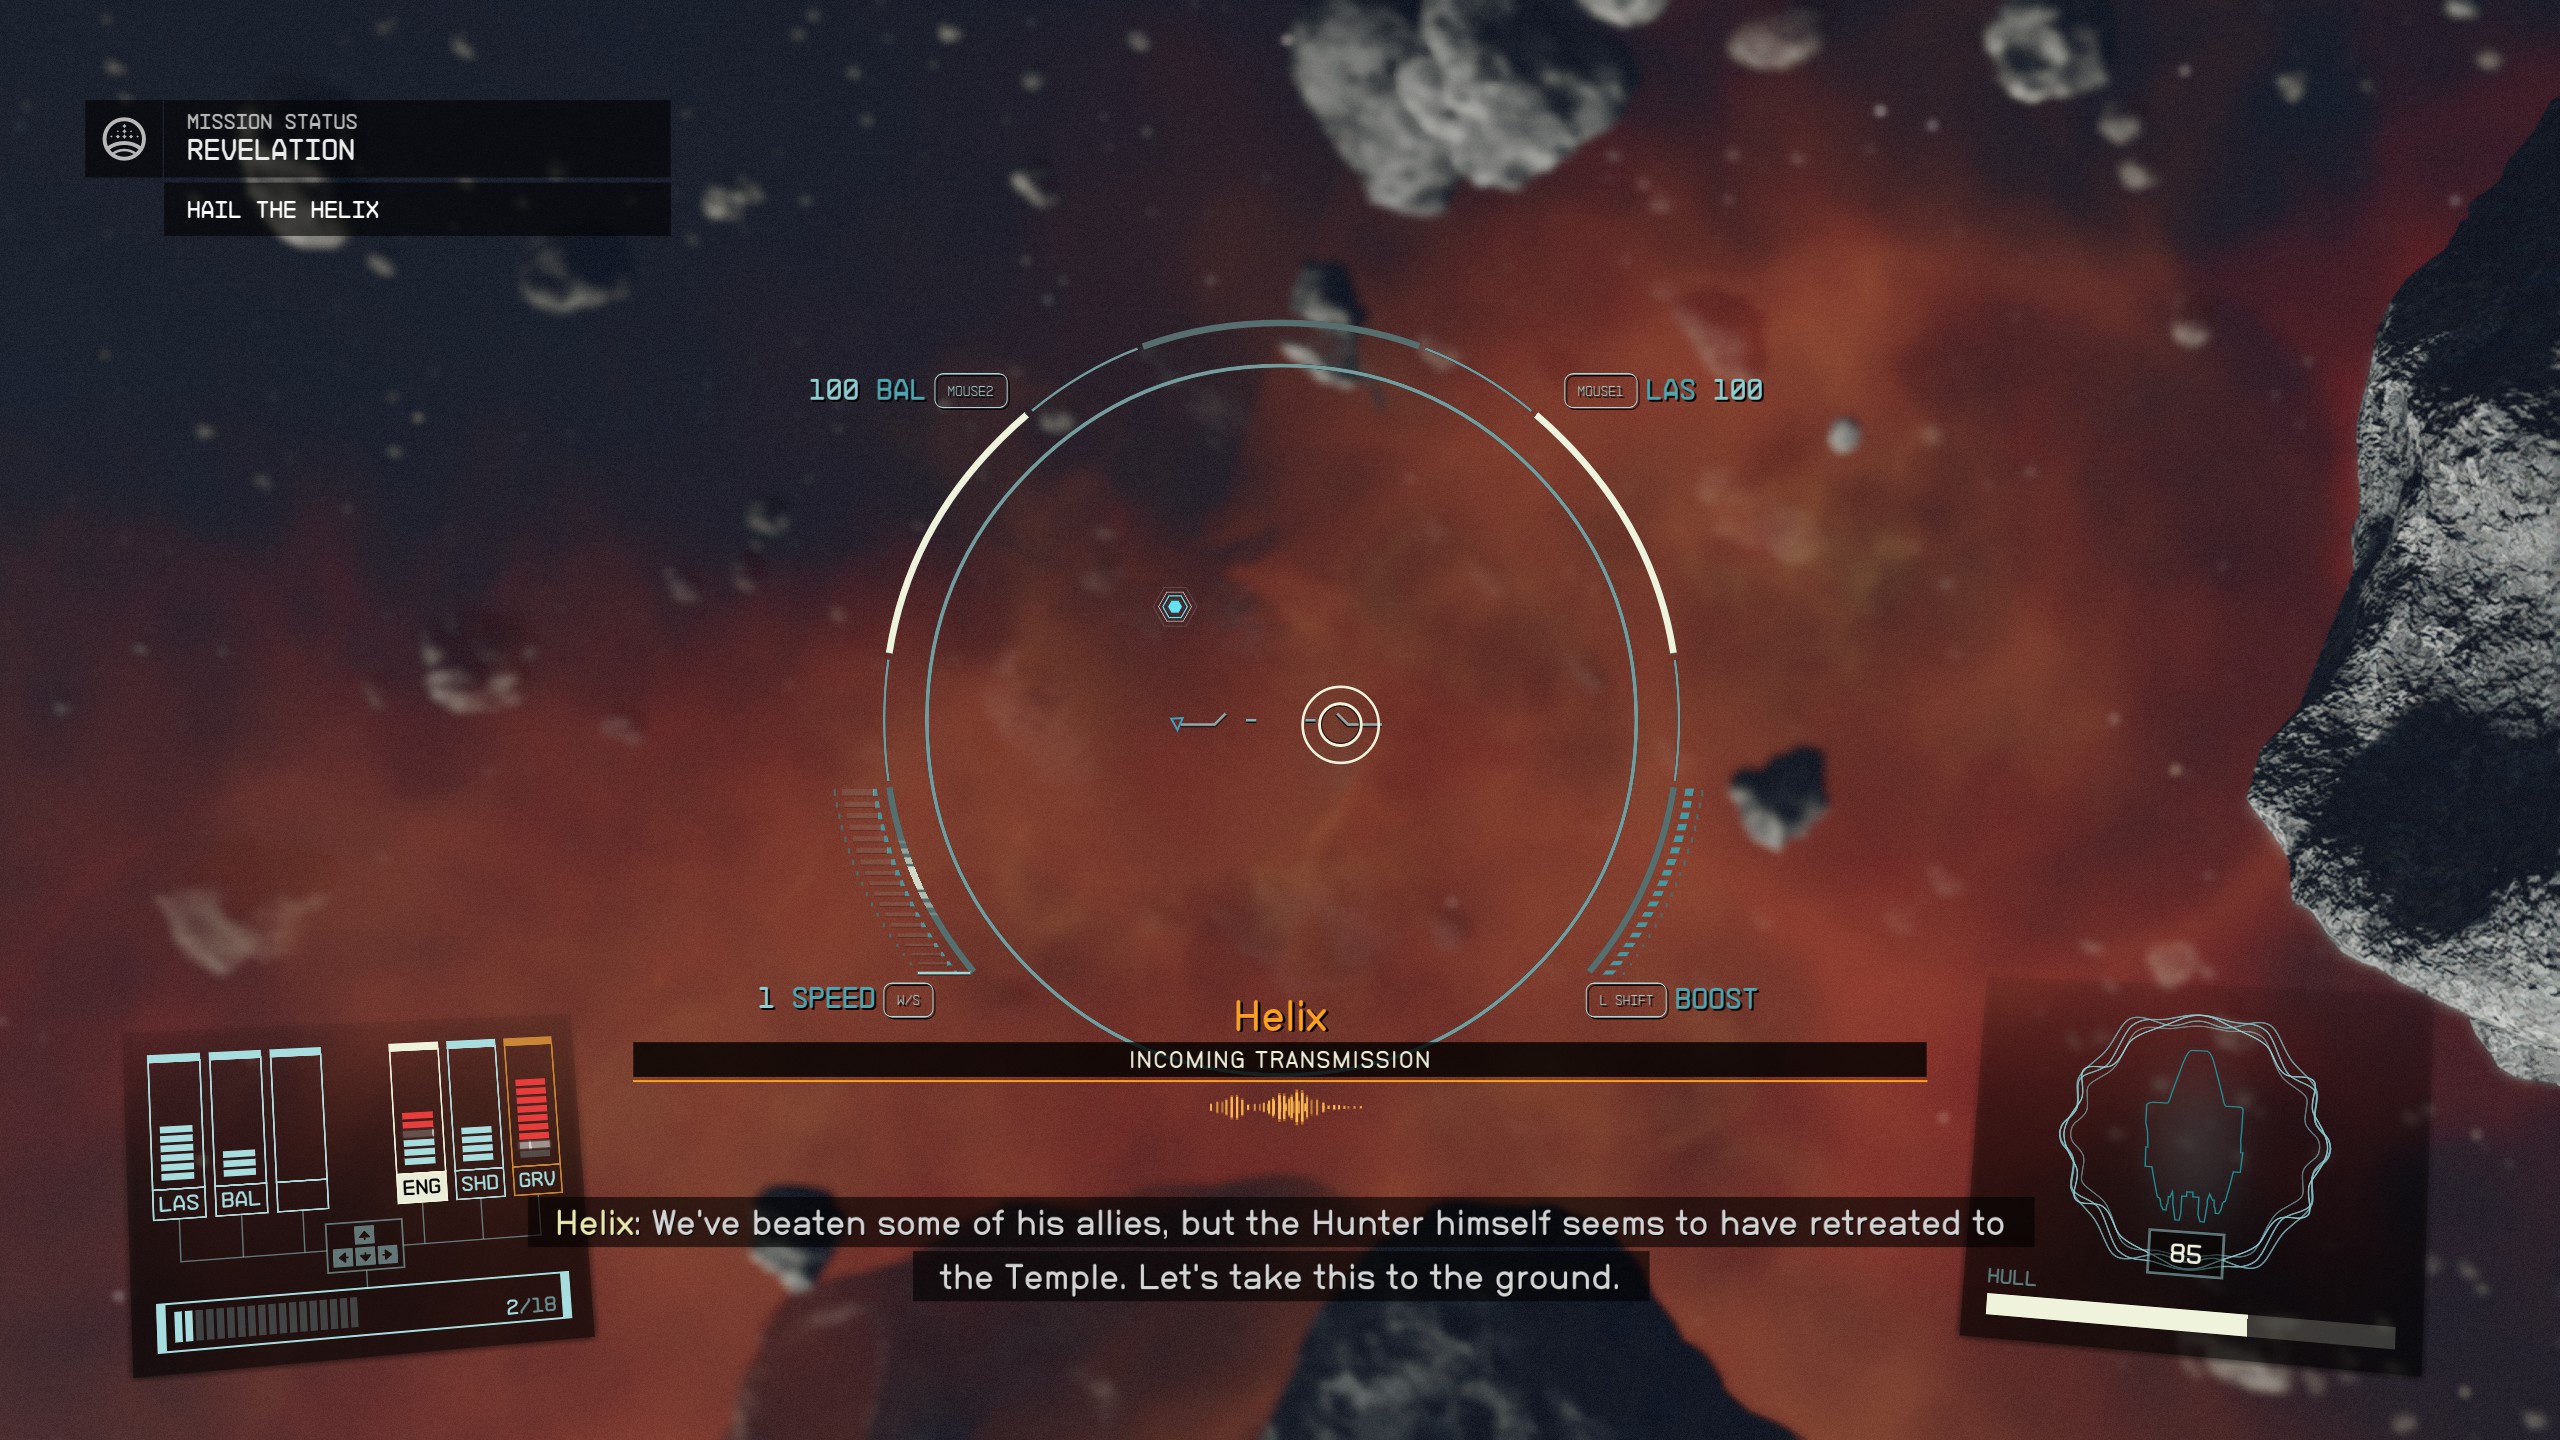
Hail the helix
- Once you defeat the other two ships, the Emissary will hail you from their ship, the Helix.
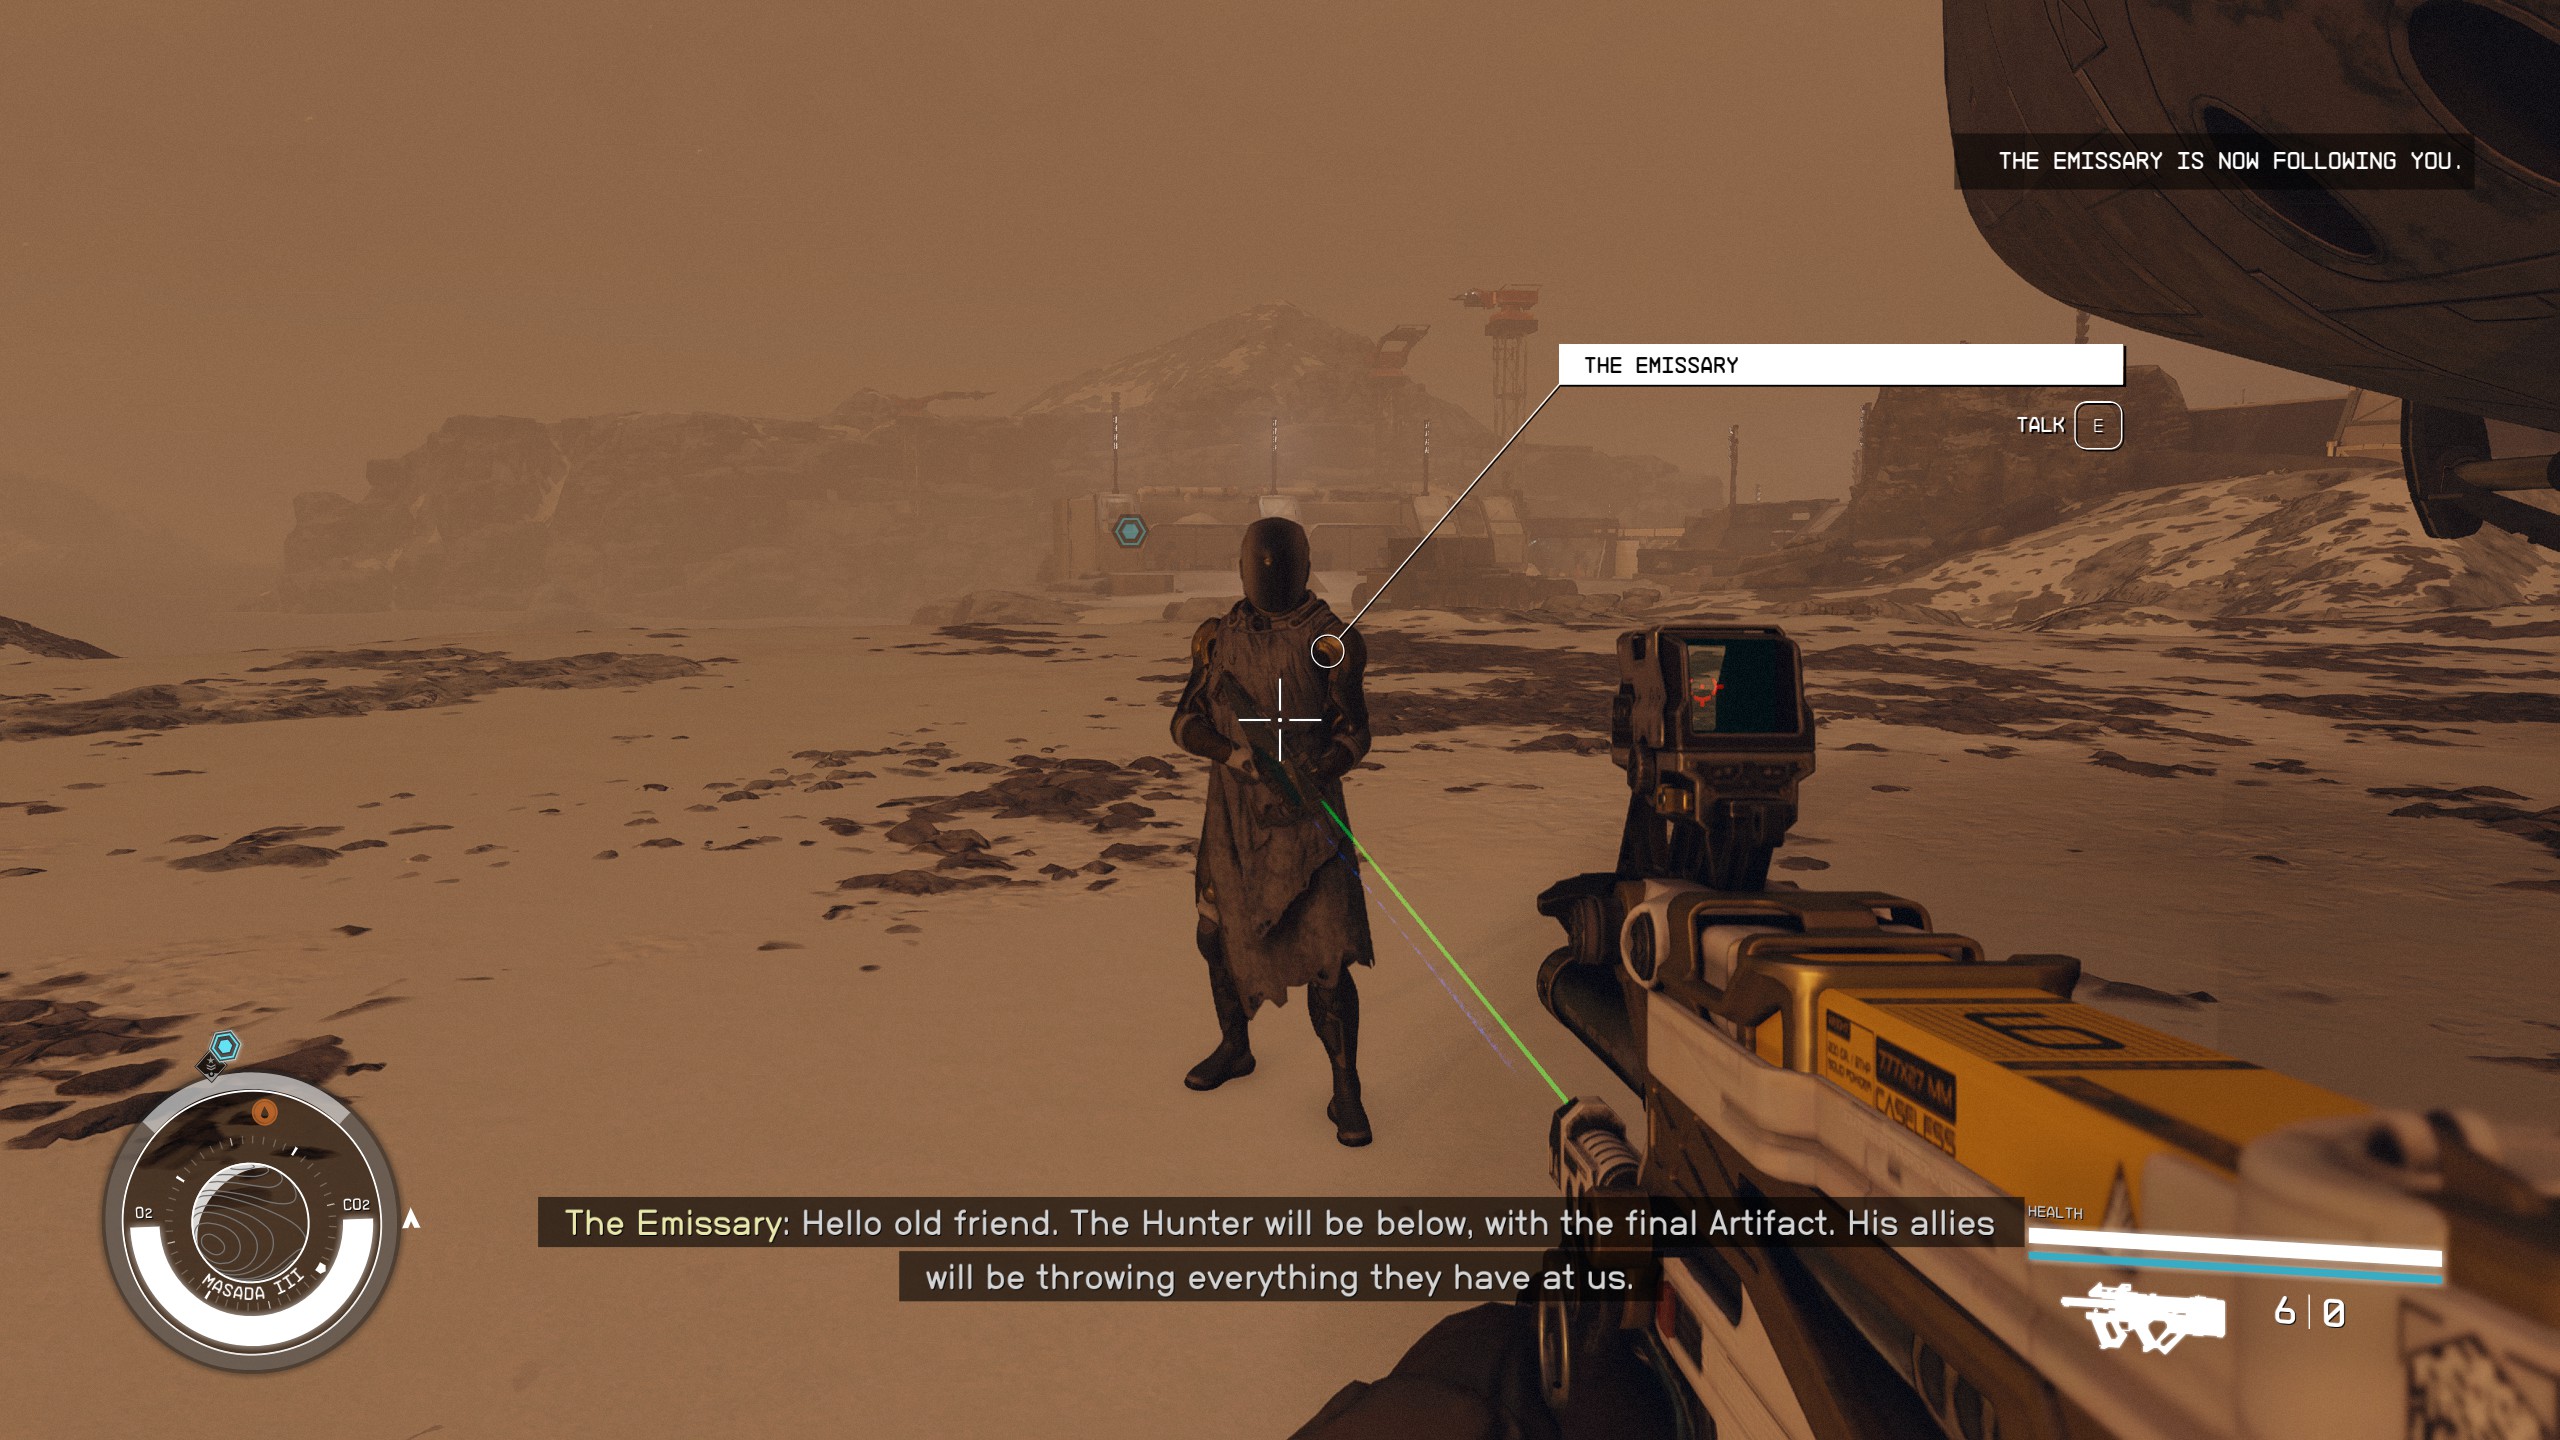
- The Emissary will tell you that the Hunter ran away to the temple and that we need to follow.
Land at the Buried Temple
- Land your ship at the Buried Temple marker on the planet.
- Leave your ship and the Emissary will walk over to you.
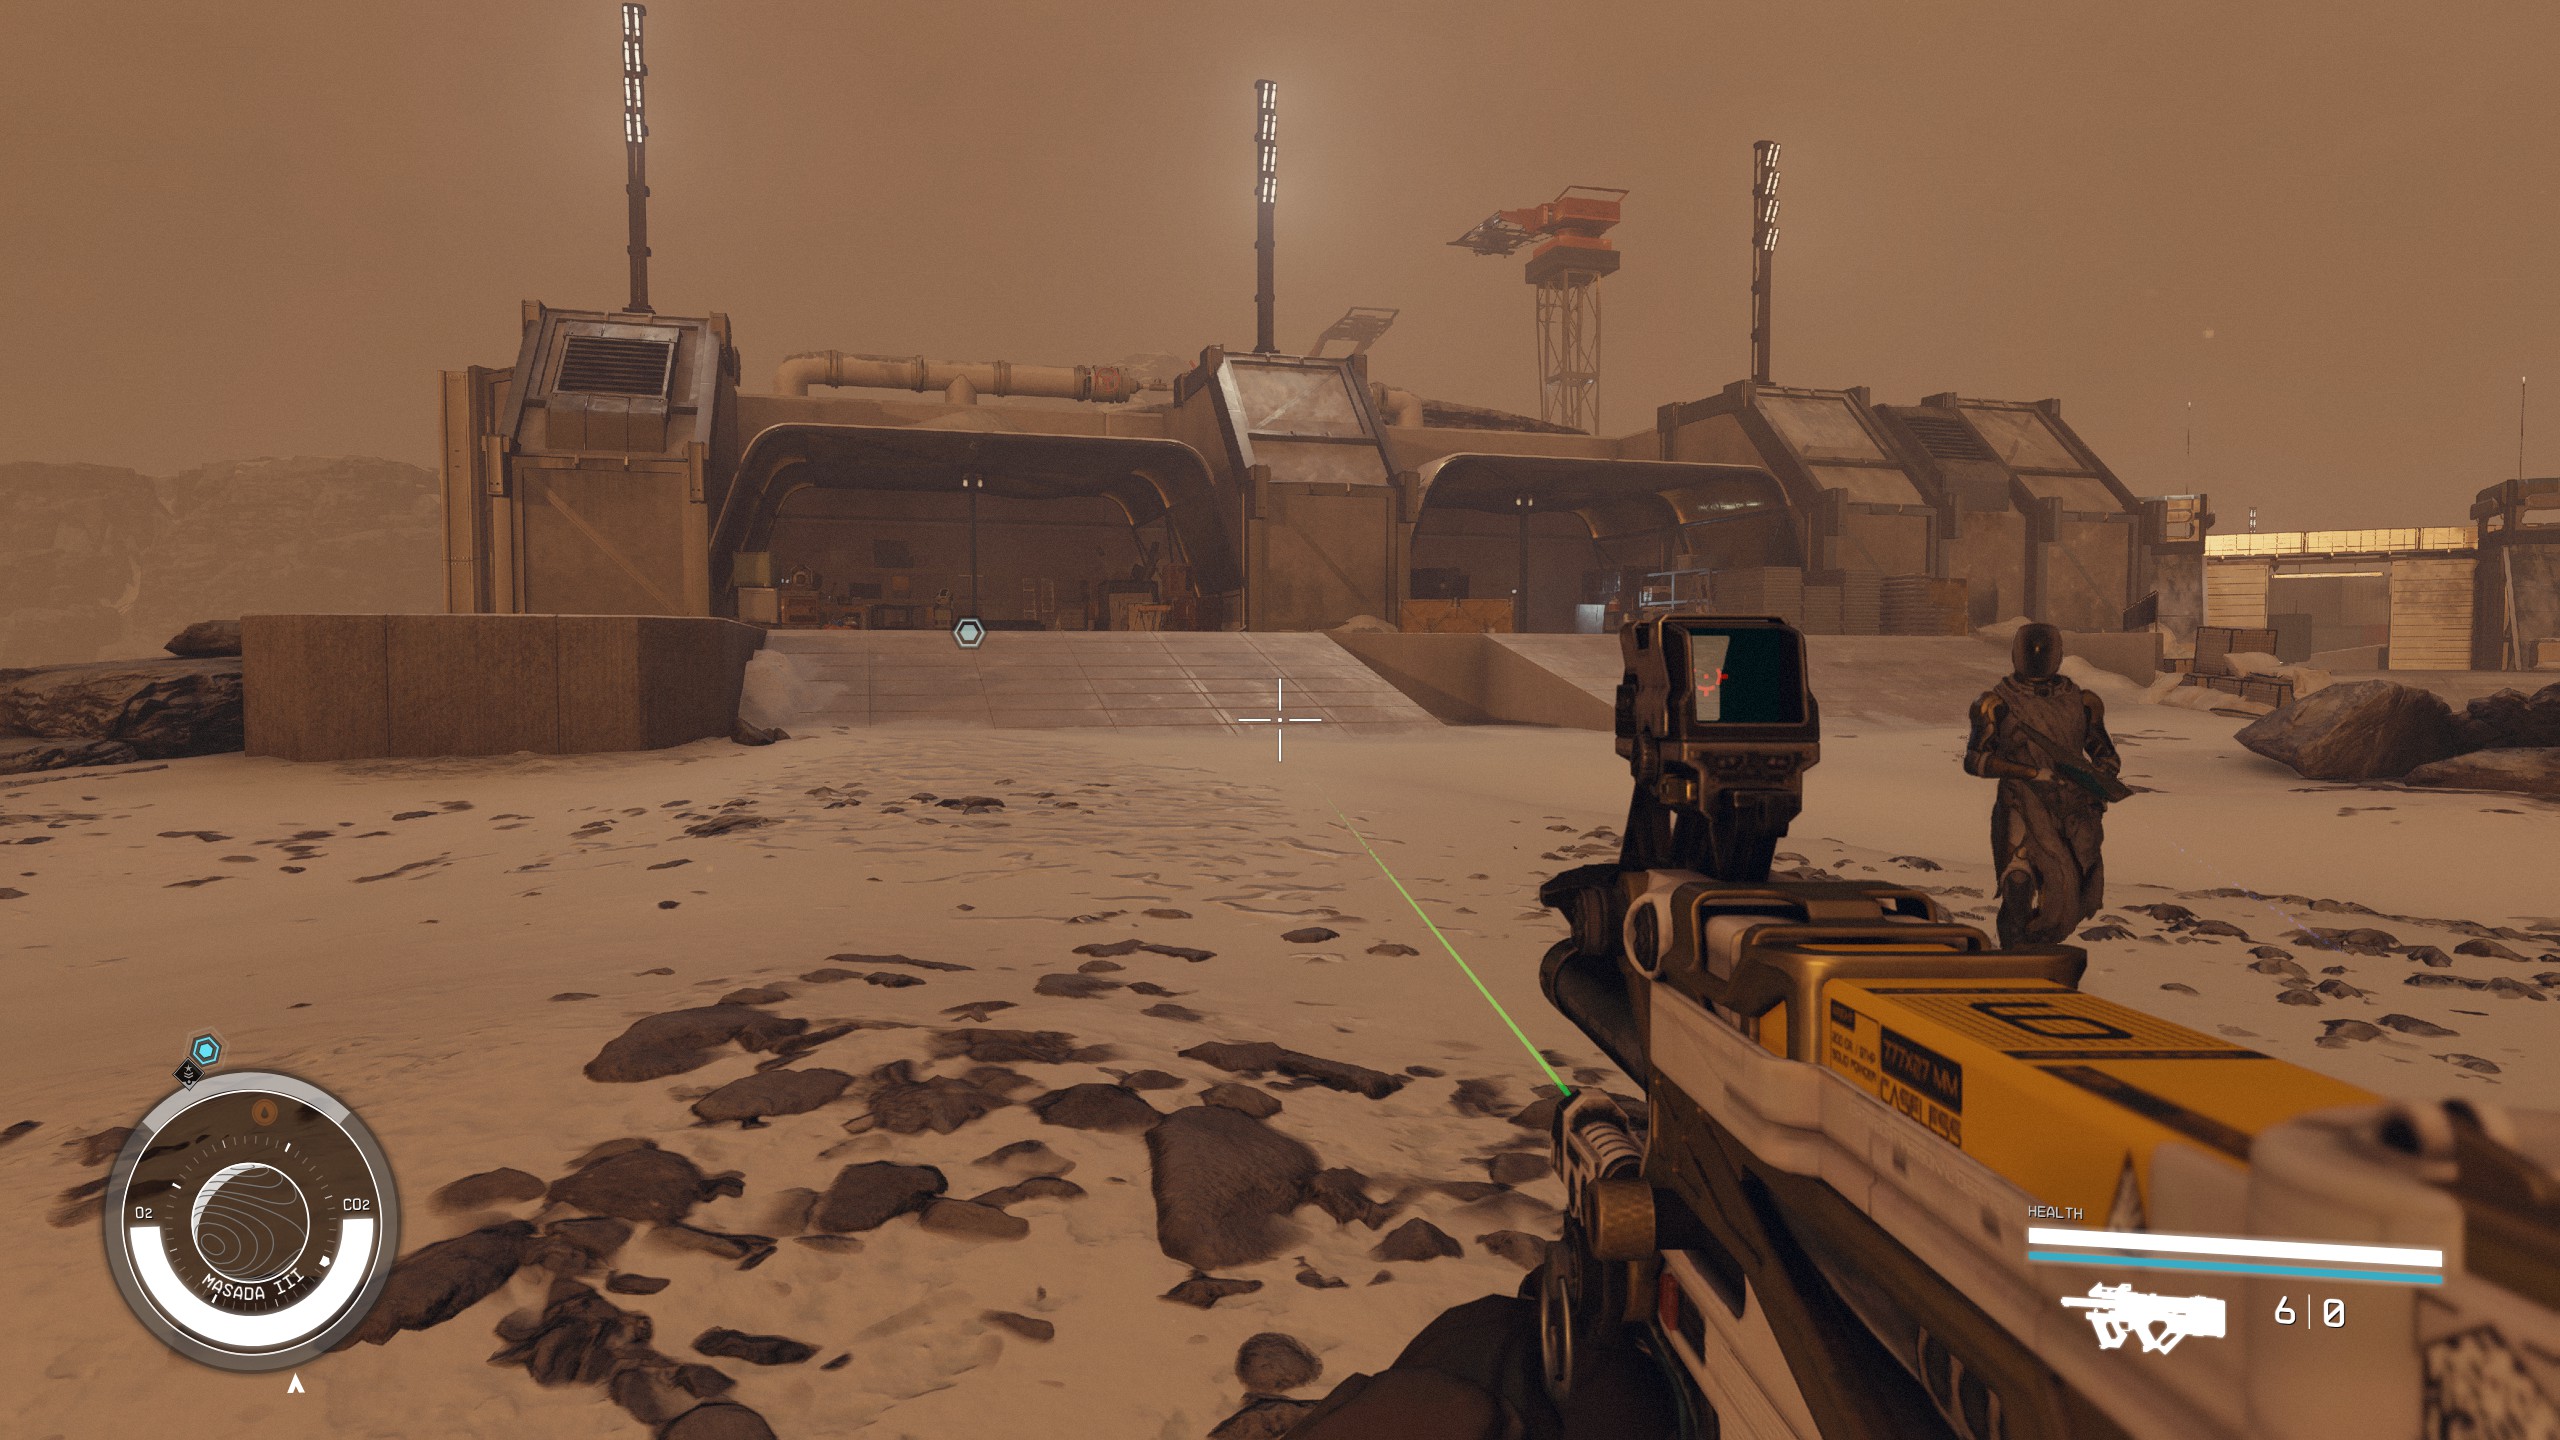
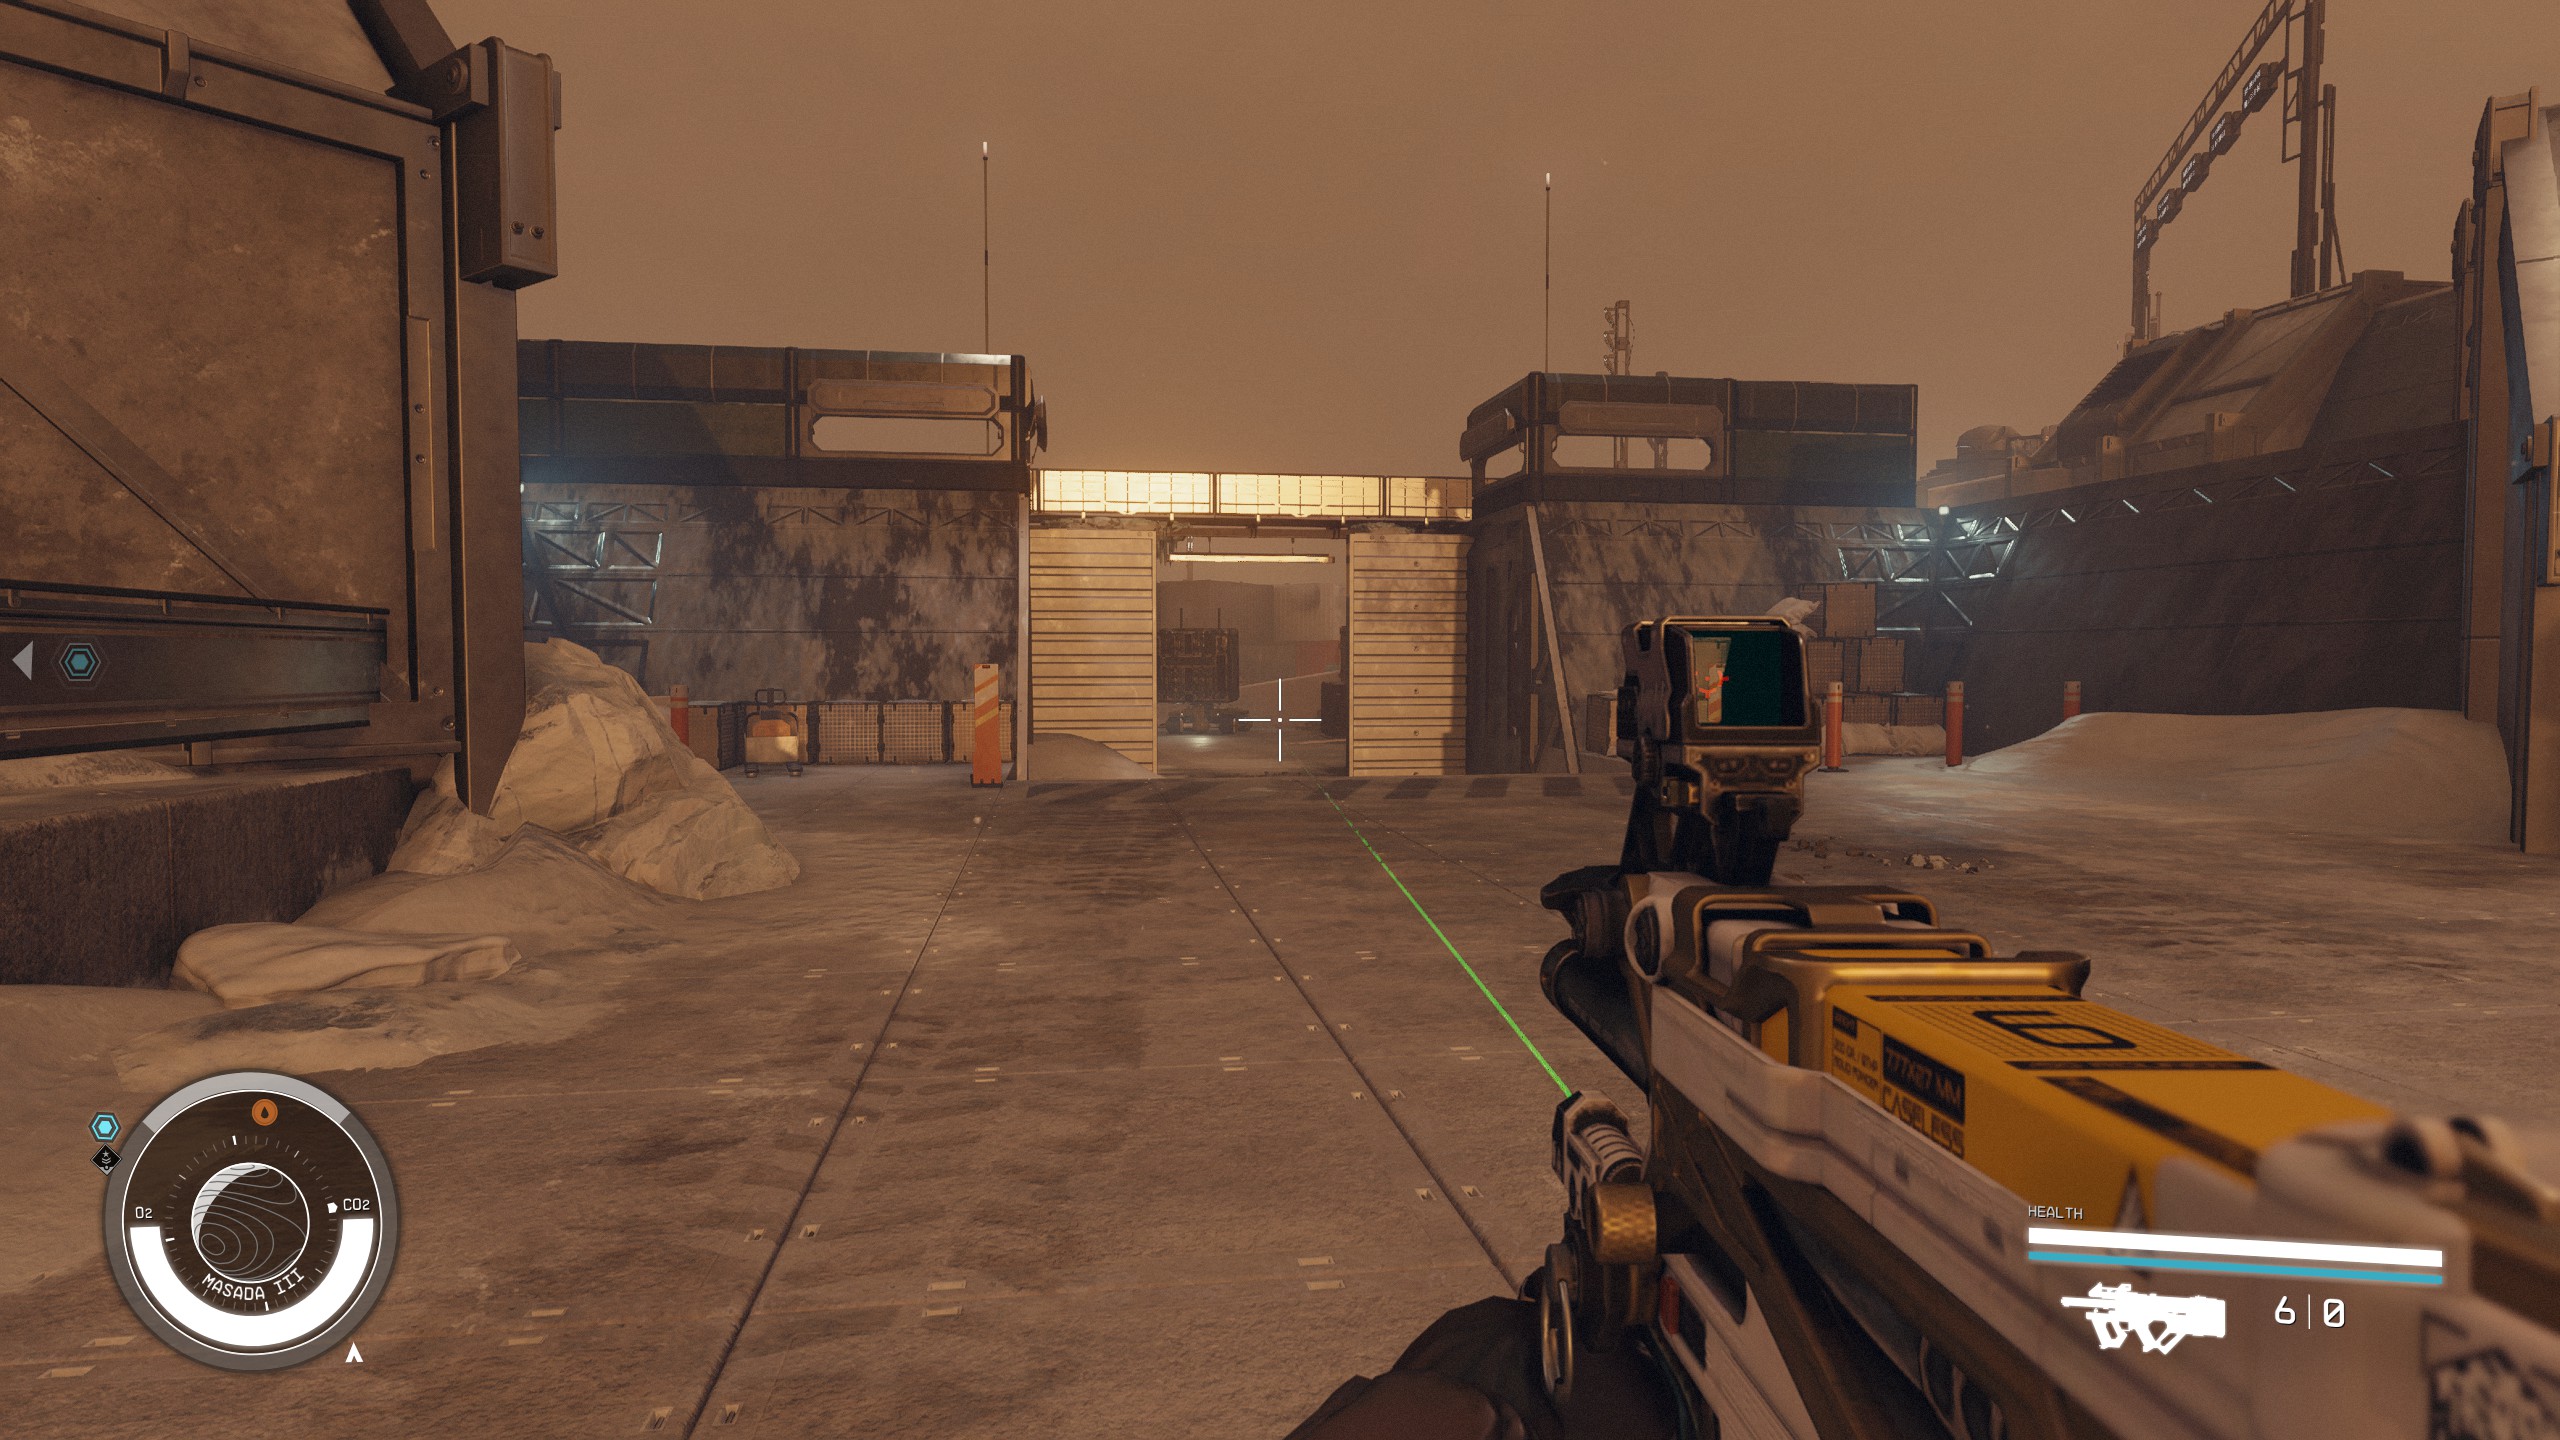
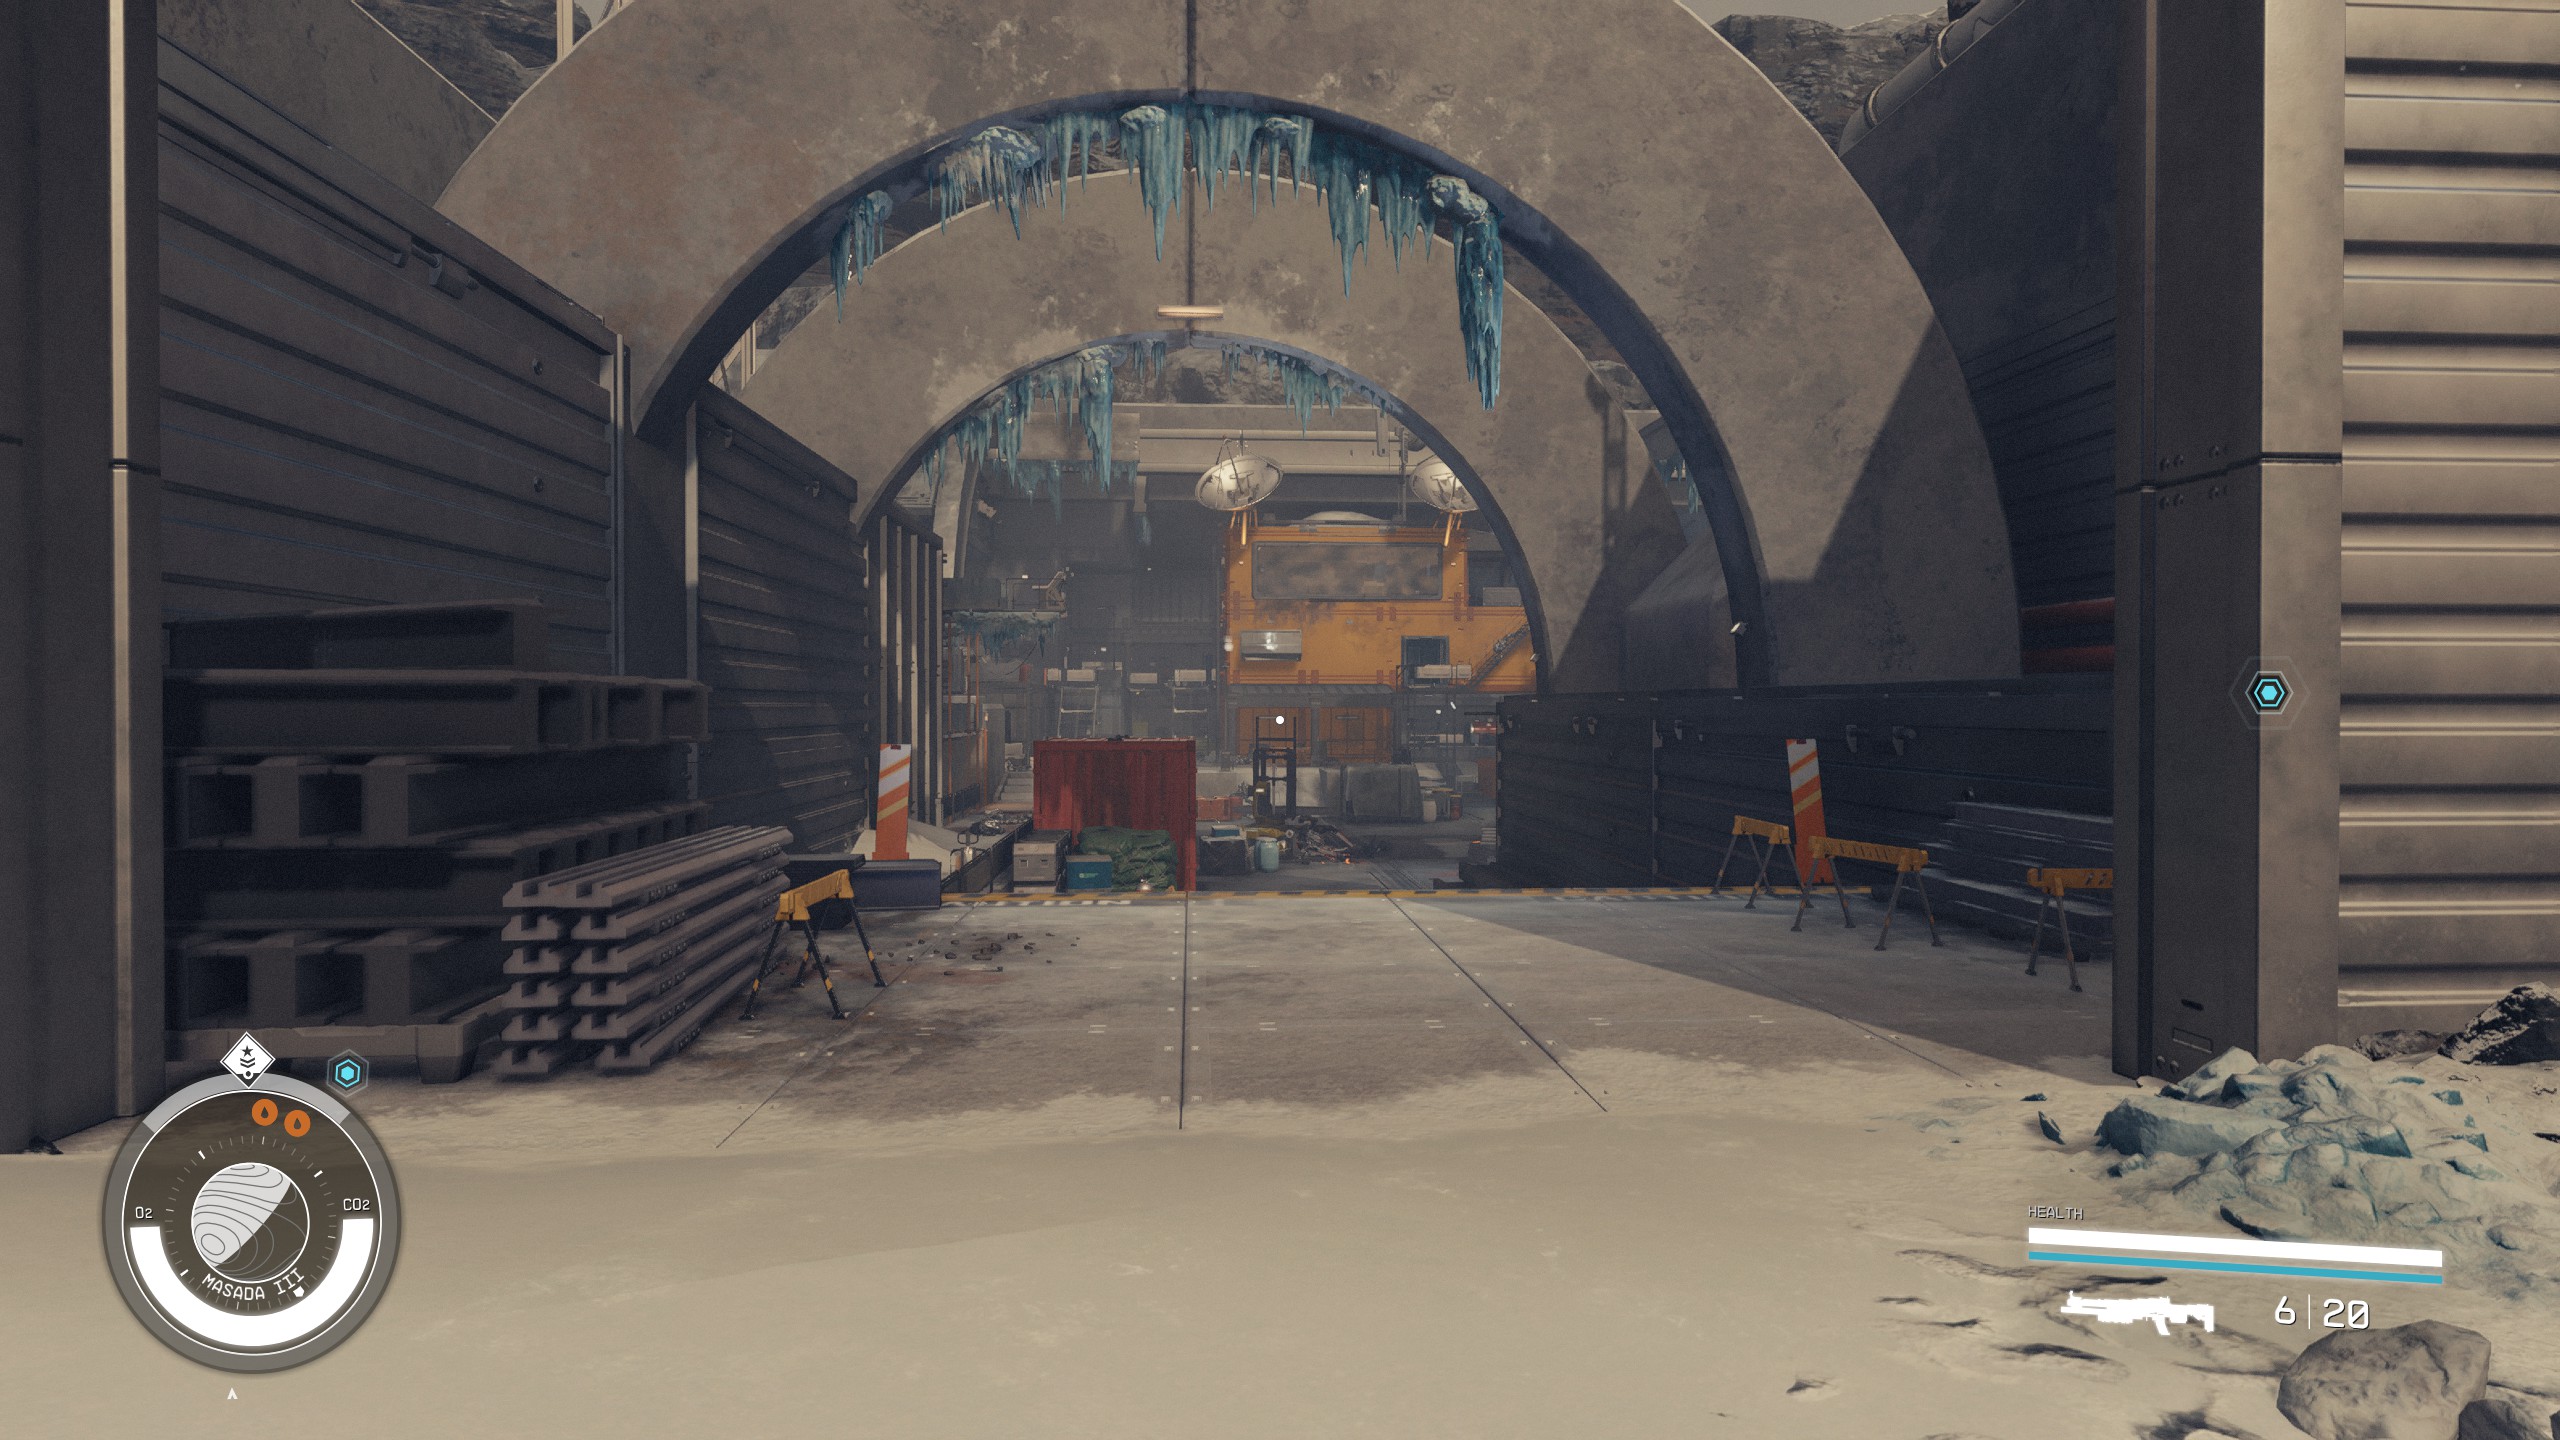
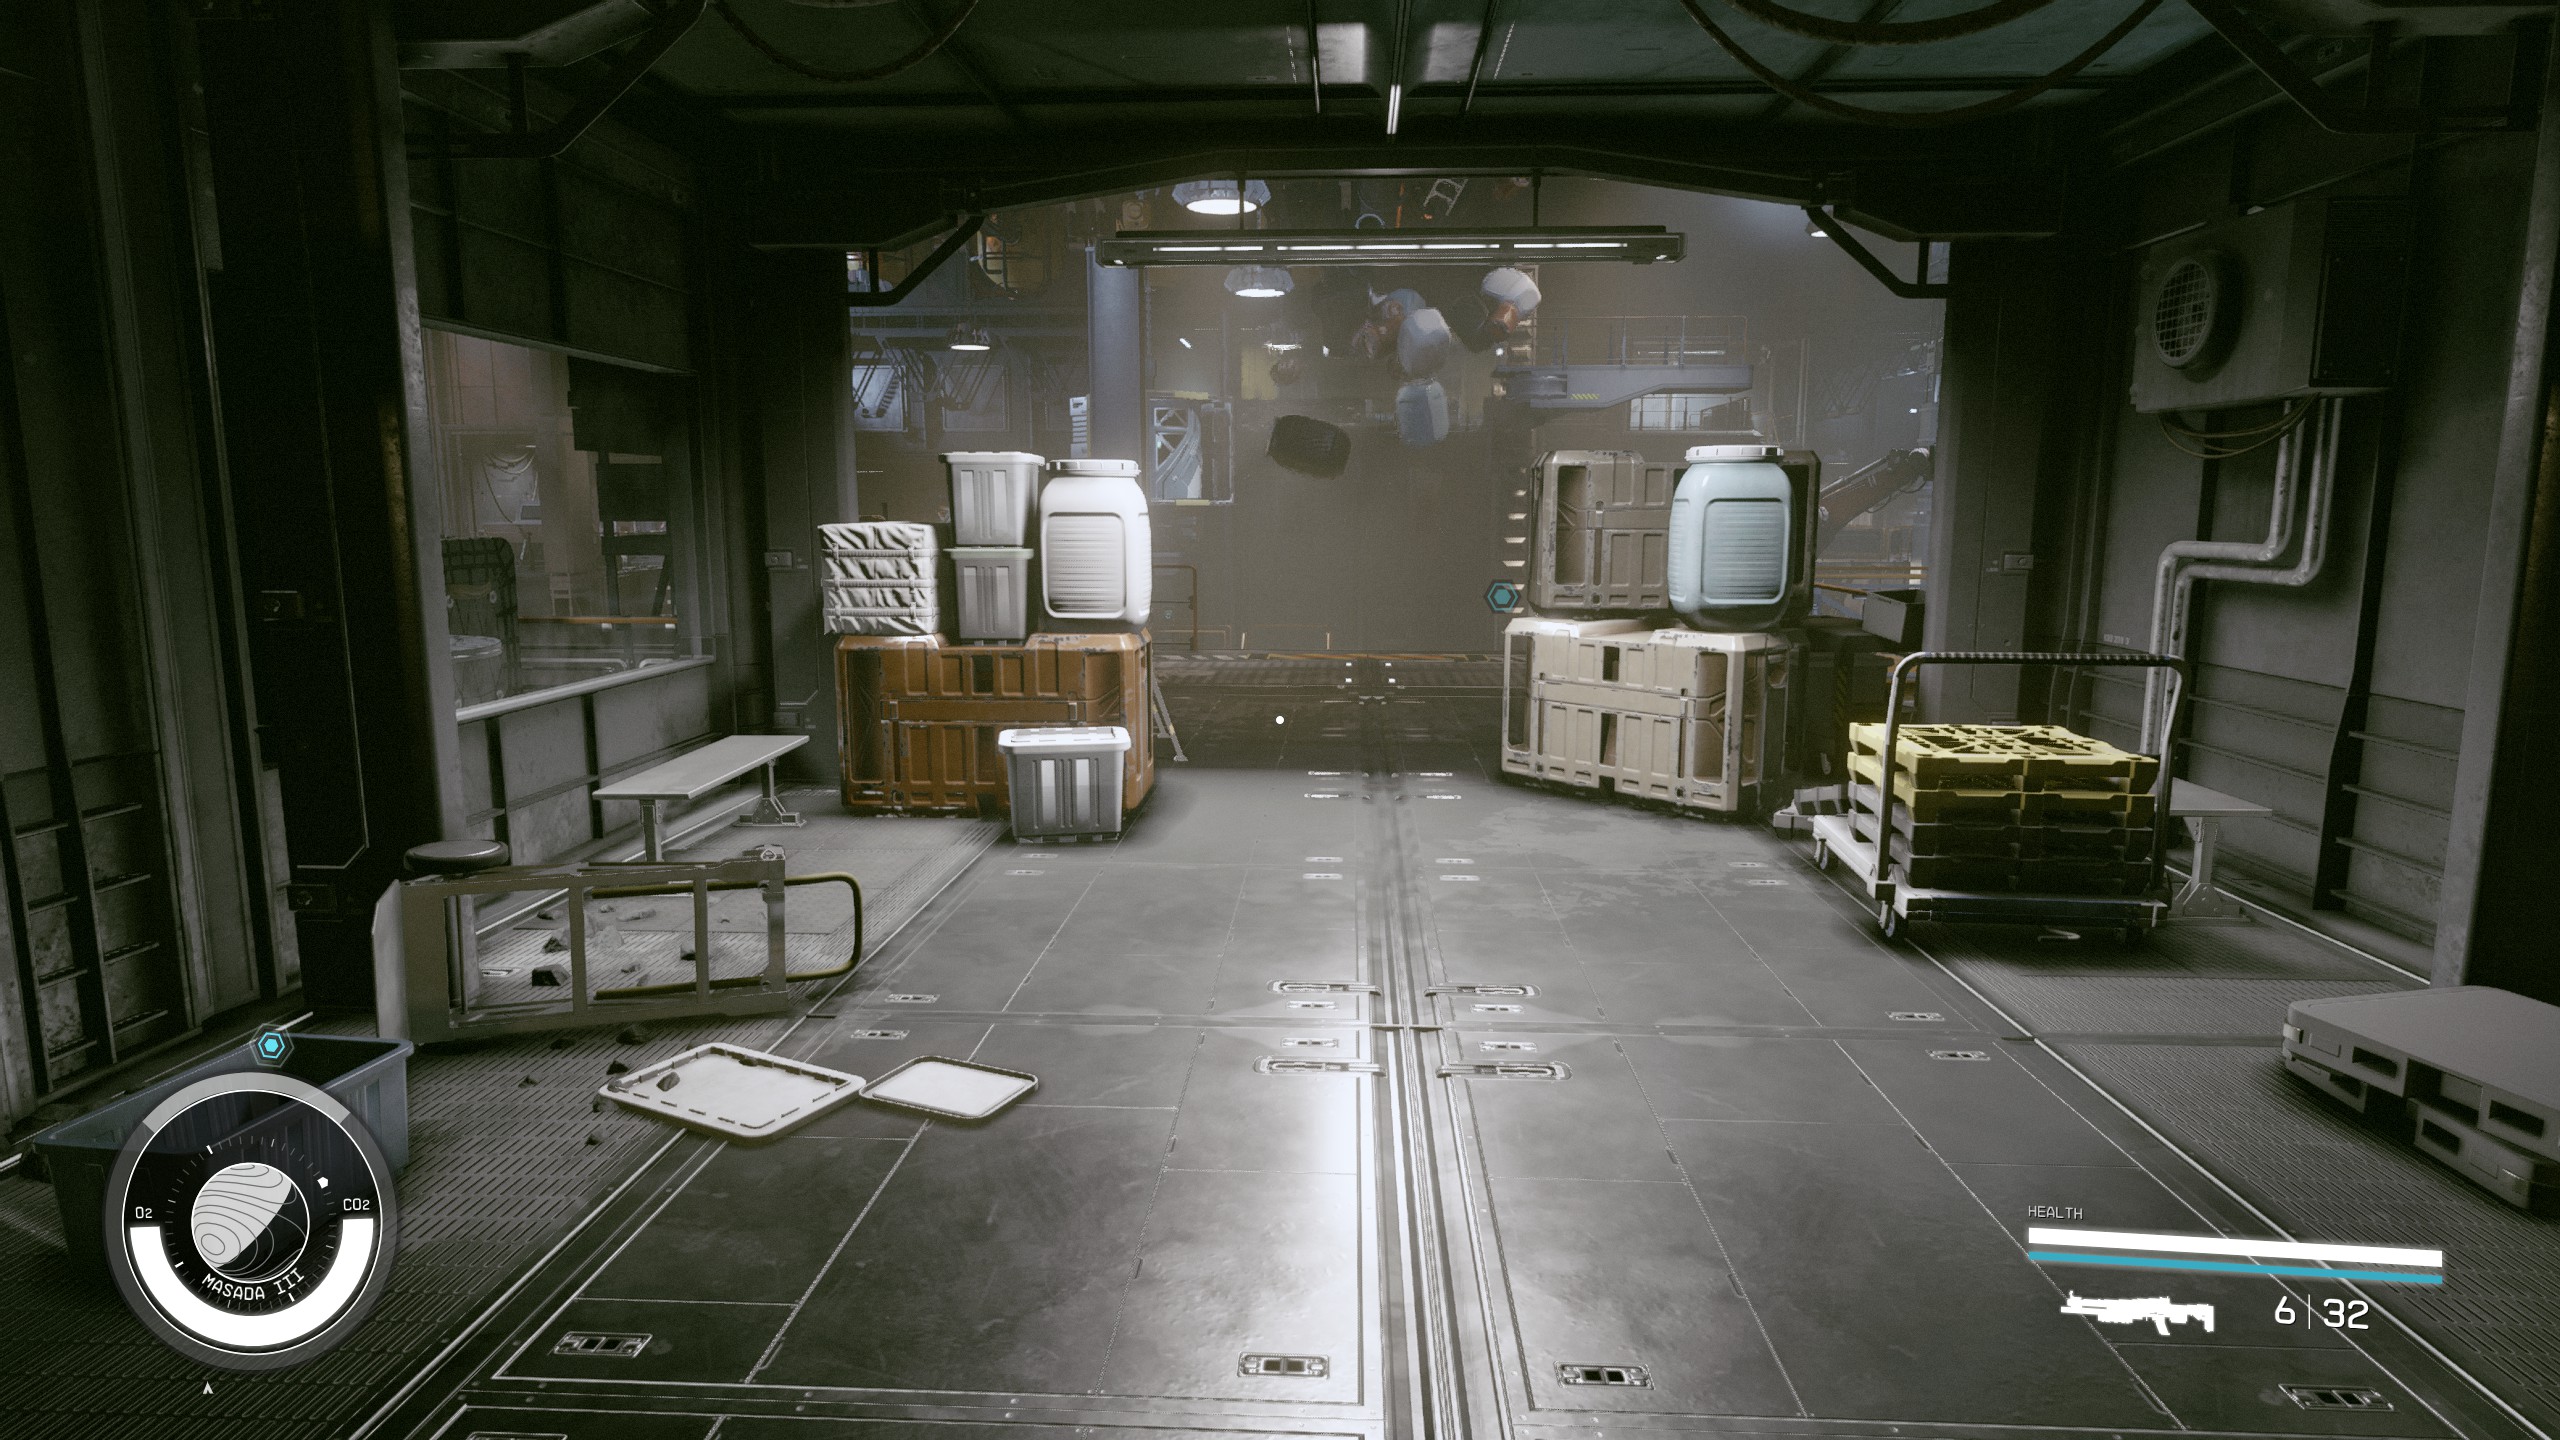
- Walk to the outpost in fron of you and collect the loot in the left hanger.
- Go right from here and through the arch that leads further into the area.
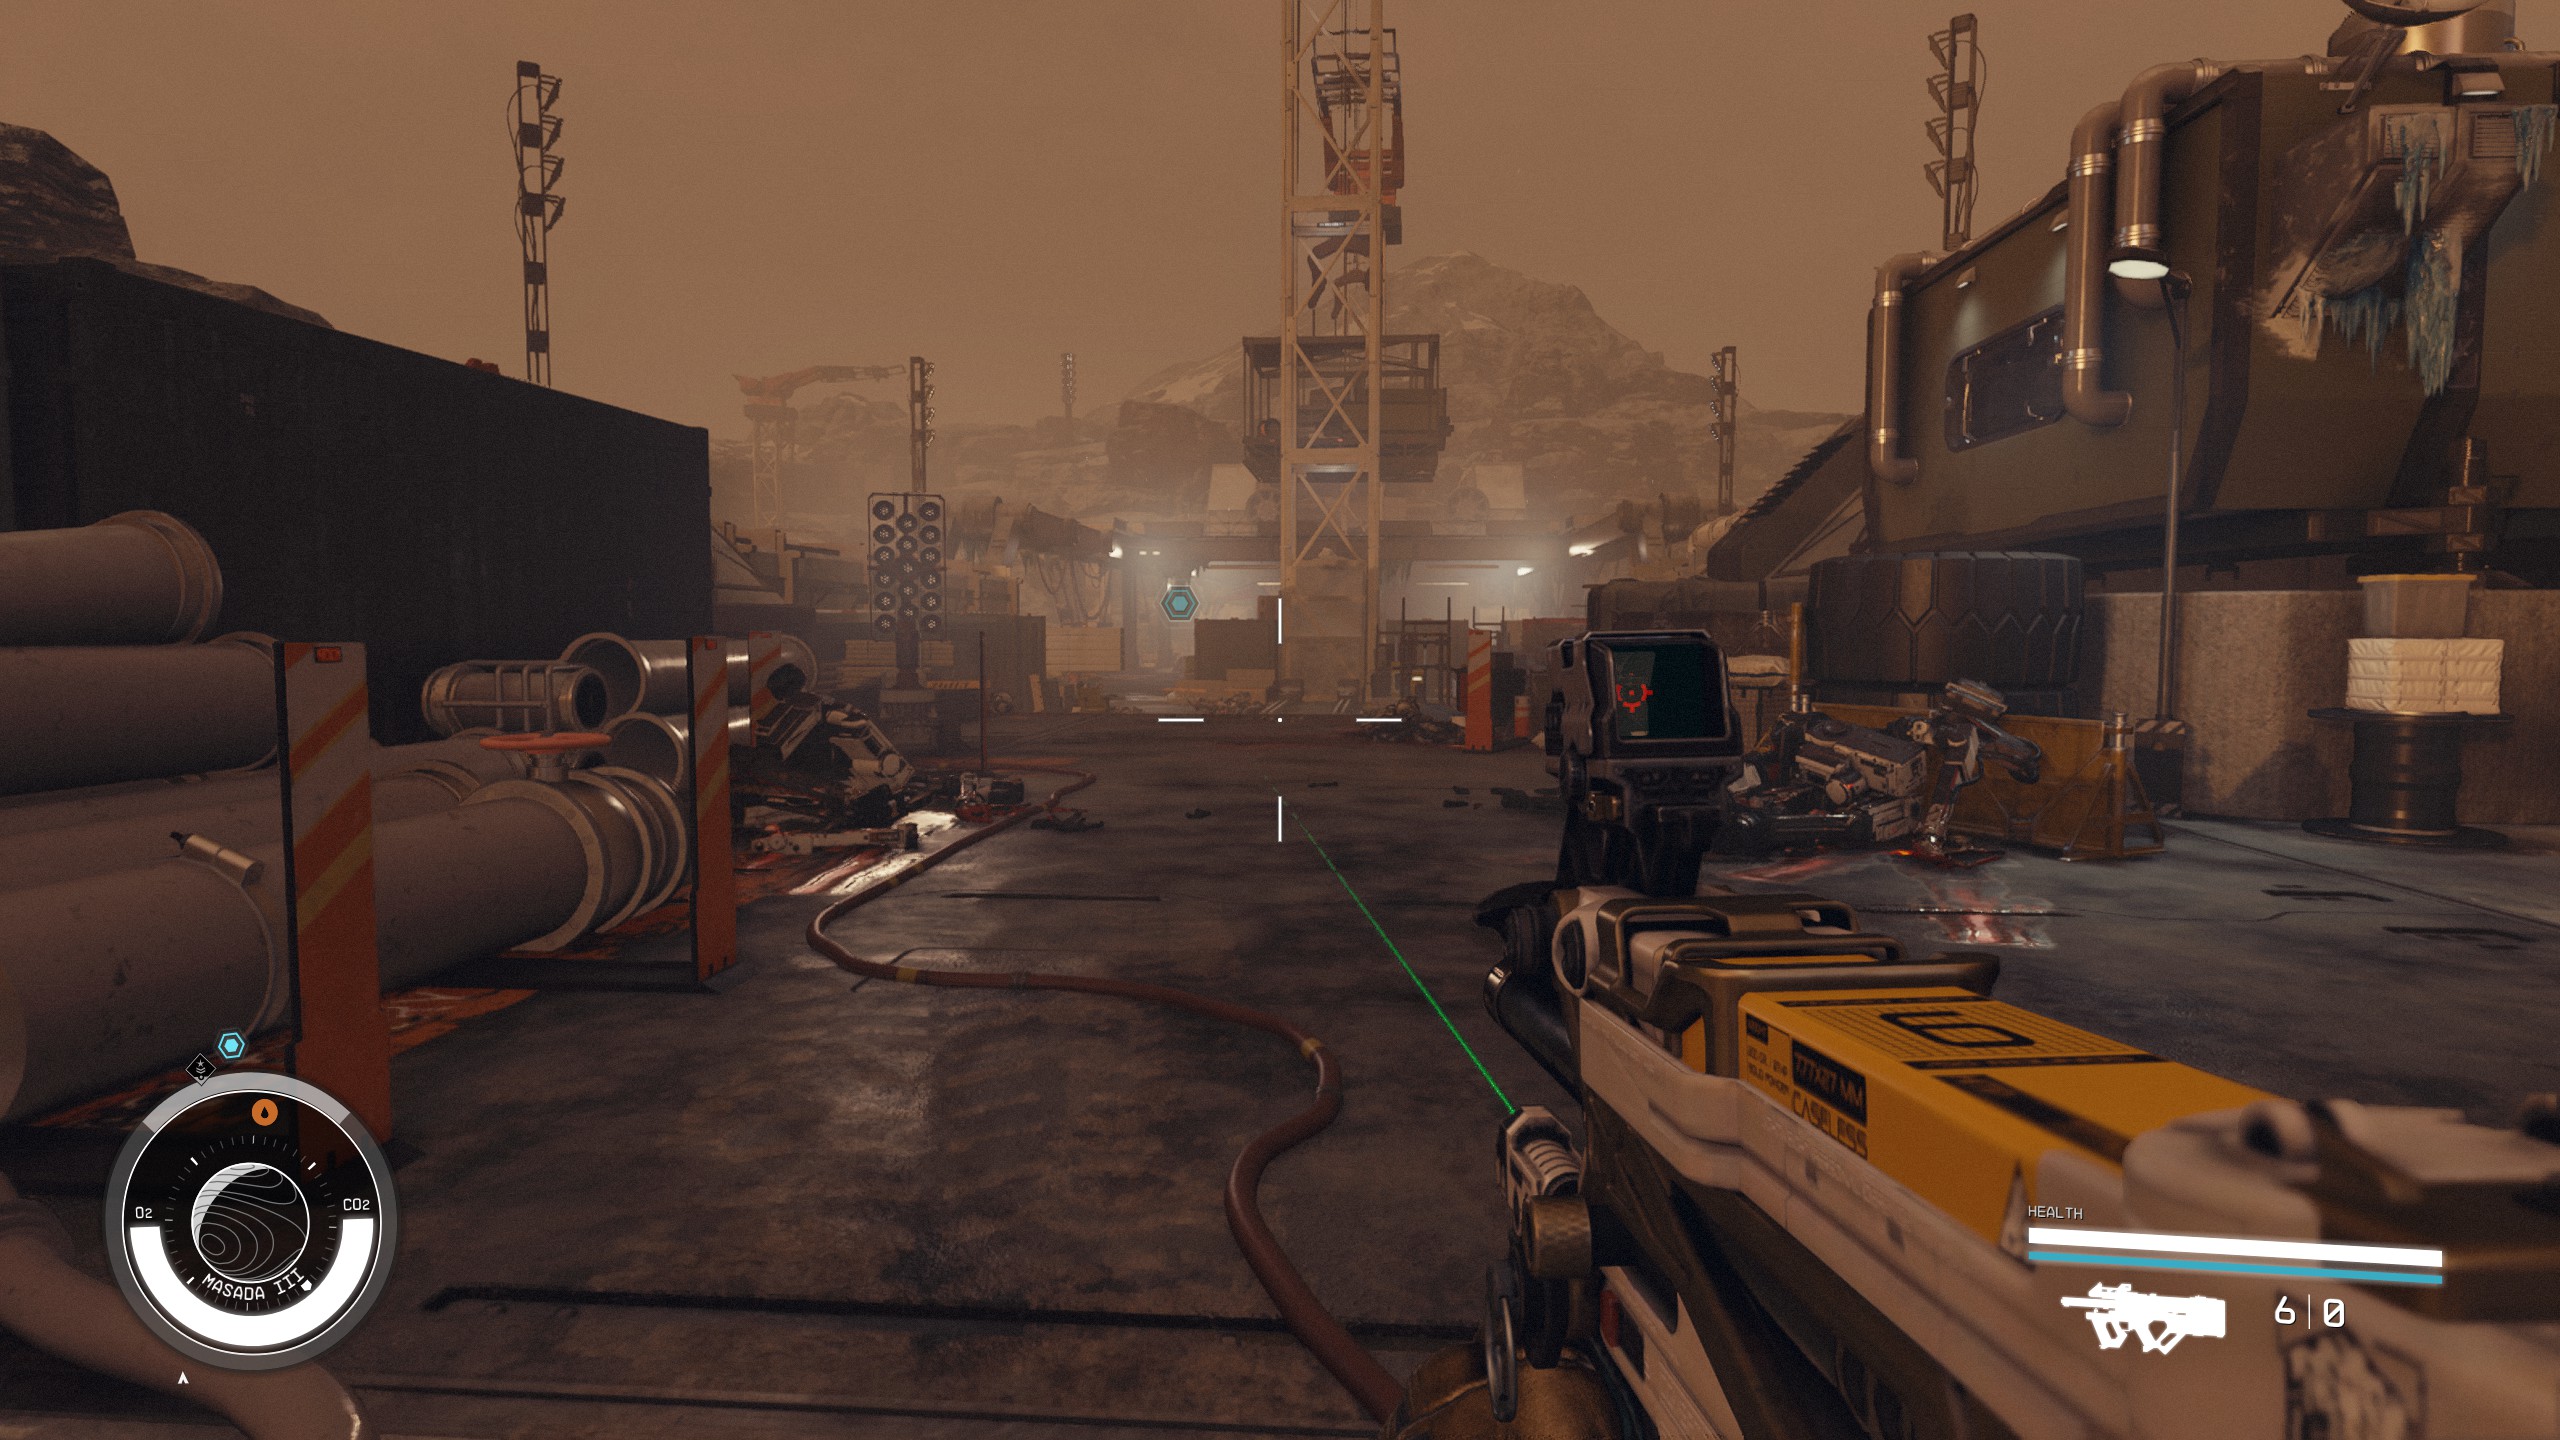
- Make sure to loot everything on your way as you walk to the giant cargo bay area.
Defeat the Starborn
- When you get to the second part of the cargo bay, The Emissary will warn you that Starborn may attack. Be prepared for a tough fight!
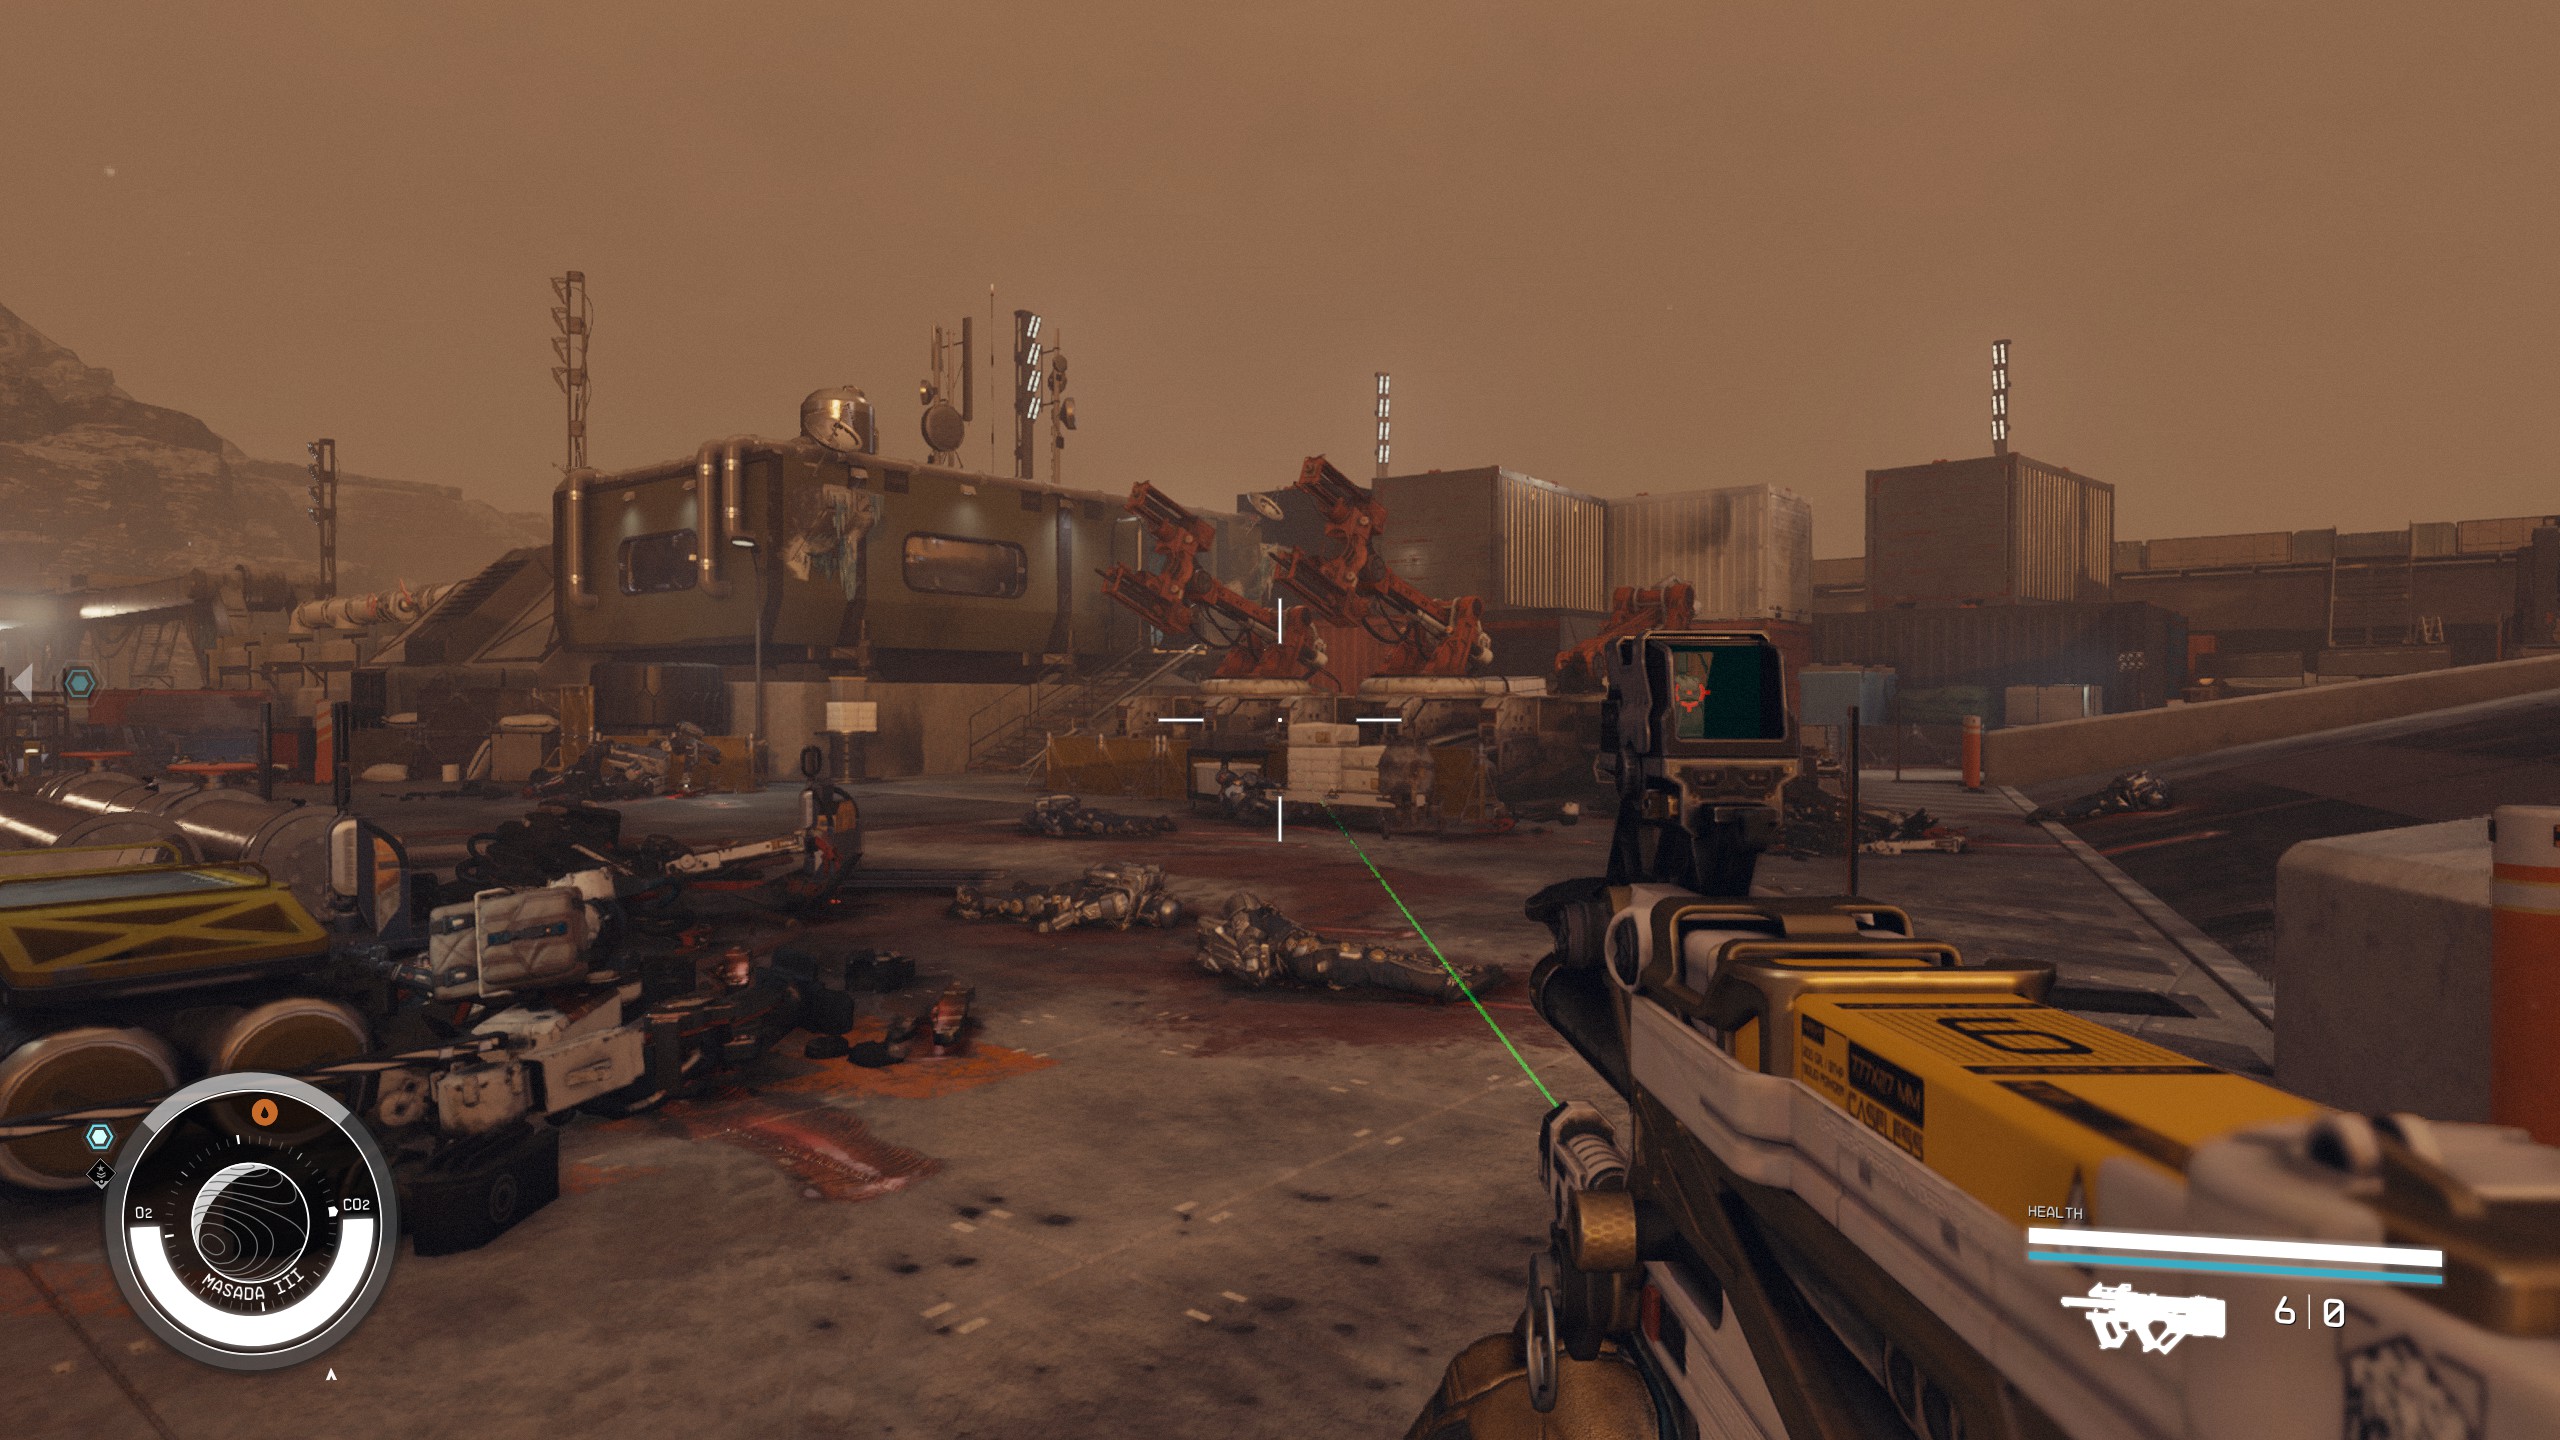
- Sure enough, you walk forward a bit more and you are attacked. Starborn will appear on the top of the structure and all around you. Fight them off with the Emissary's help.
Defeat the Starborn
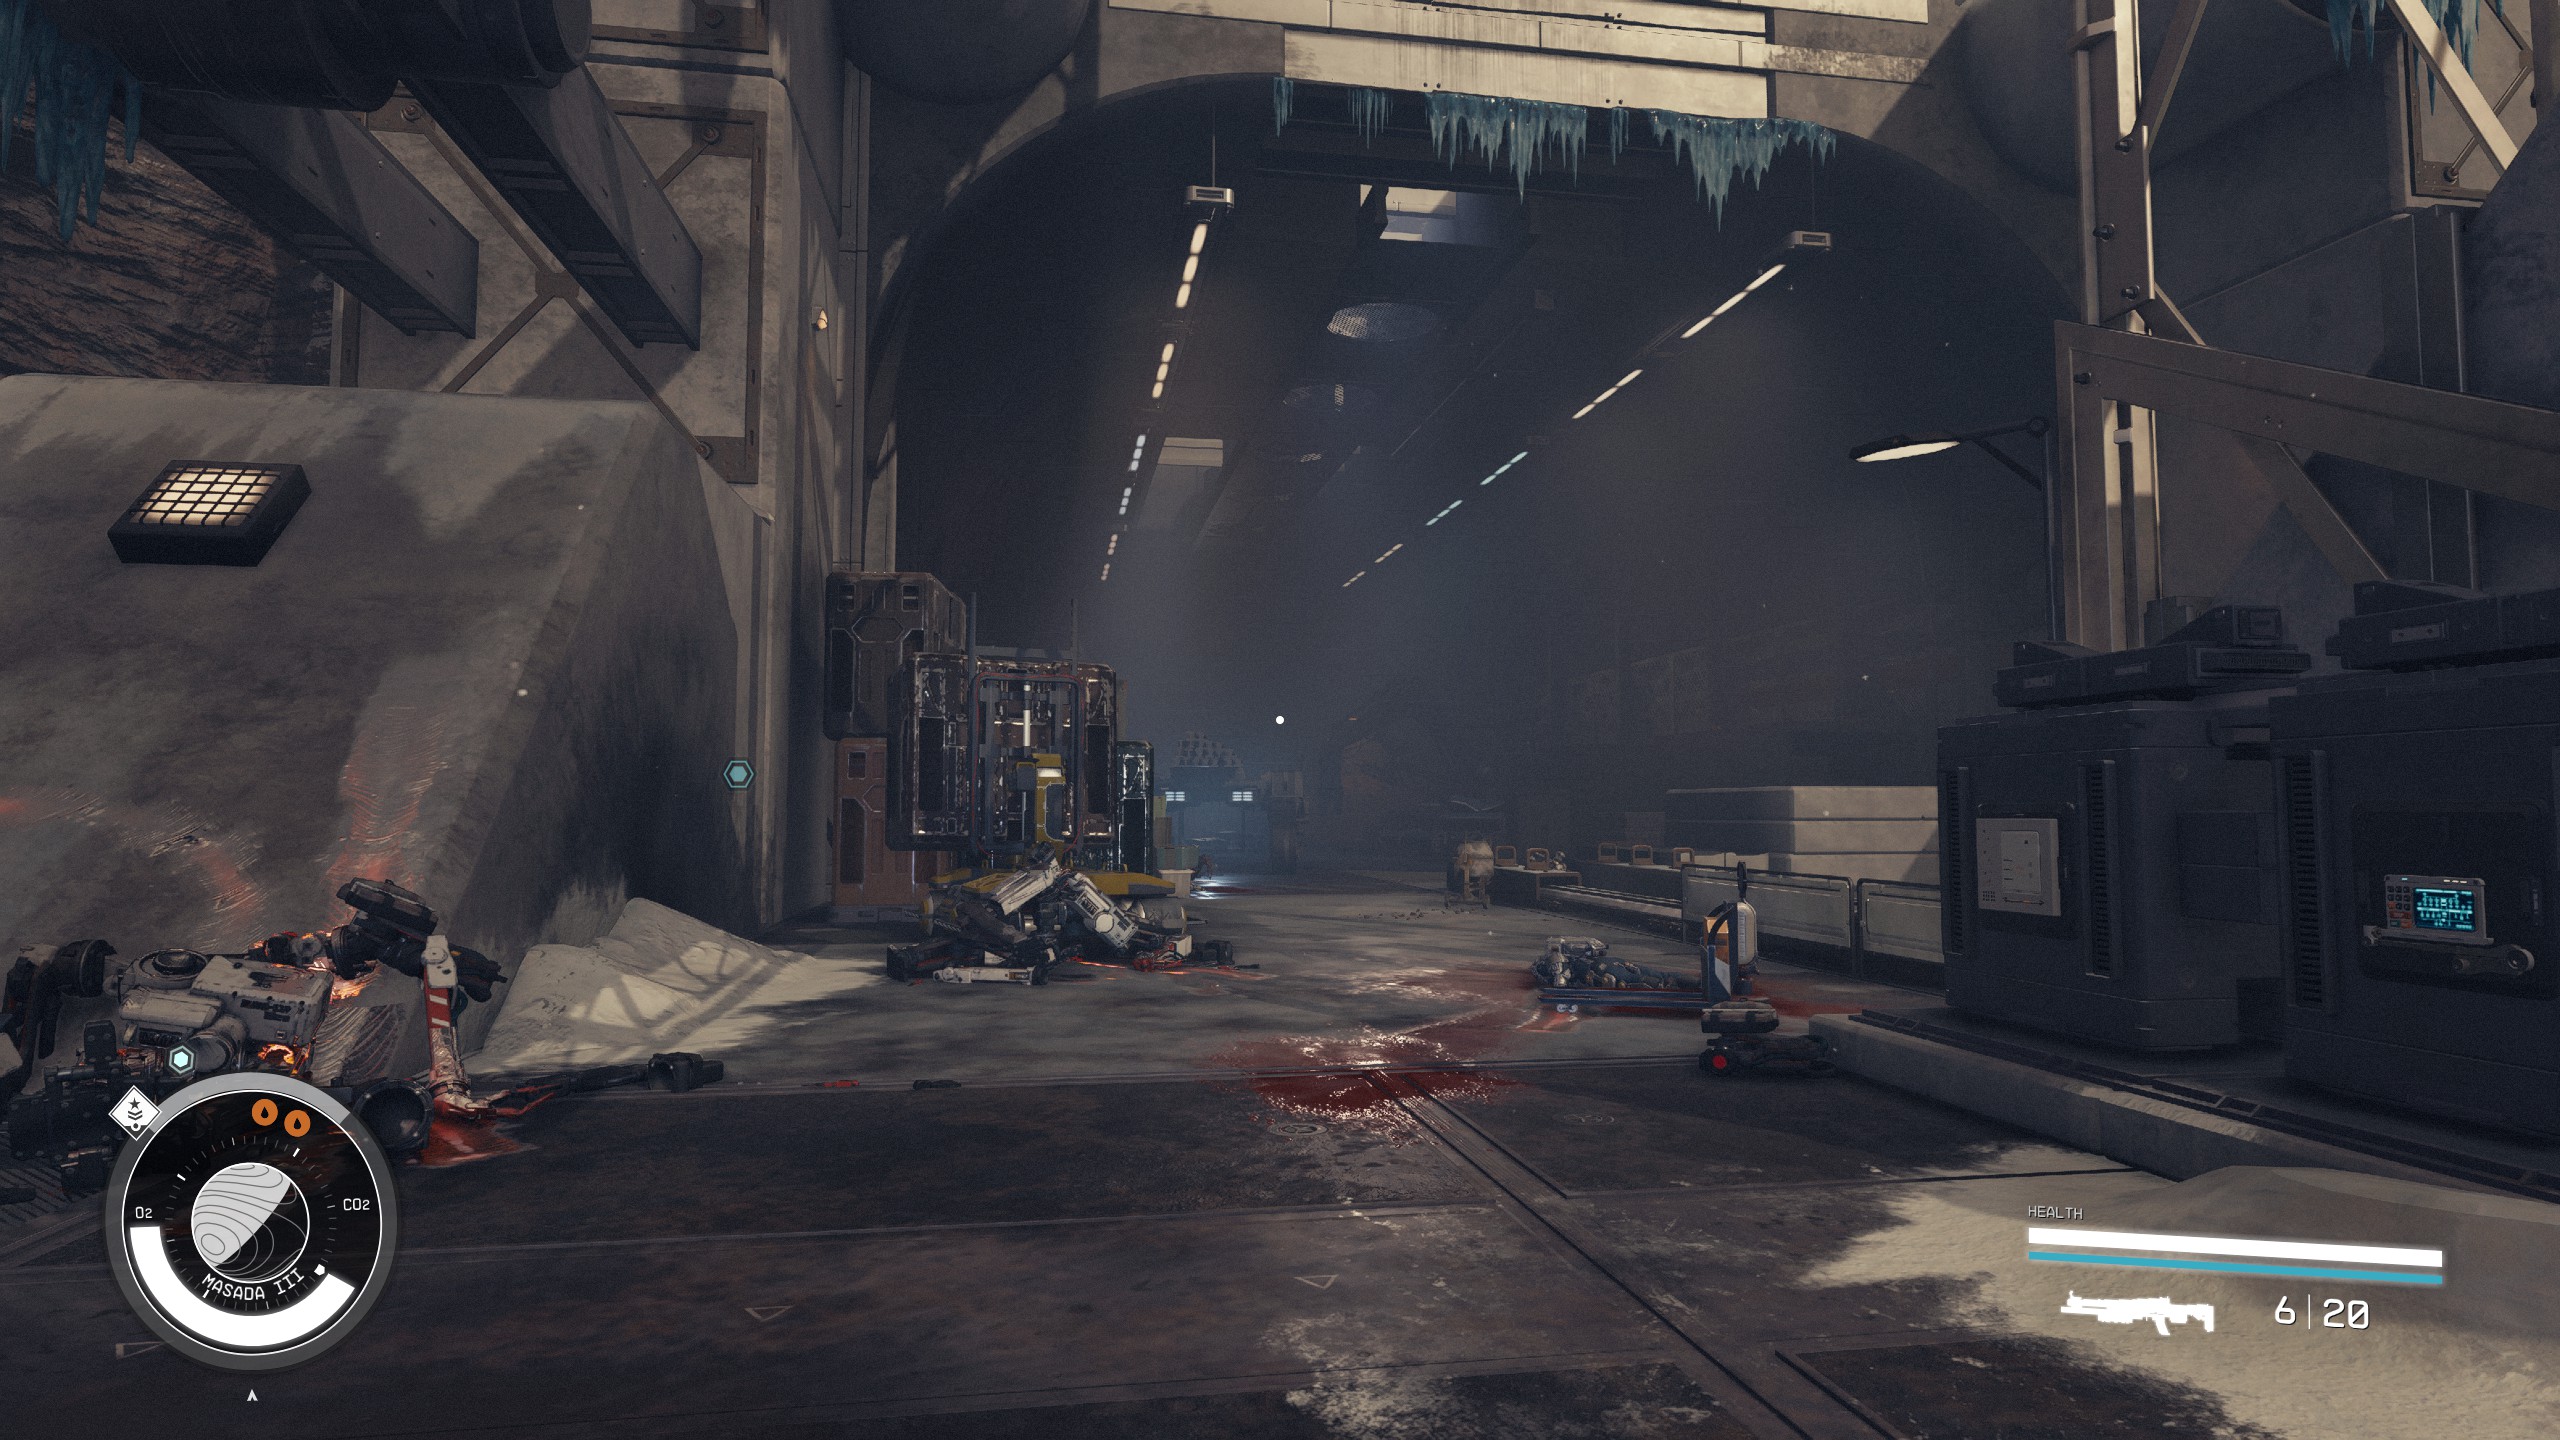
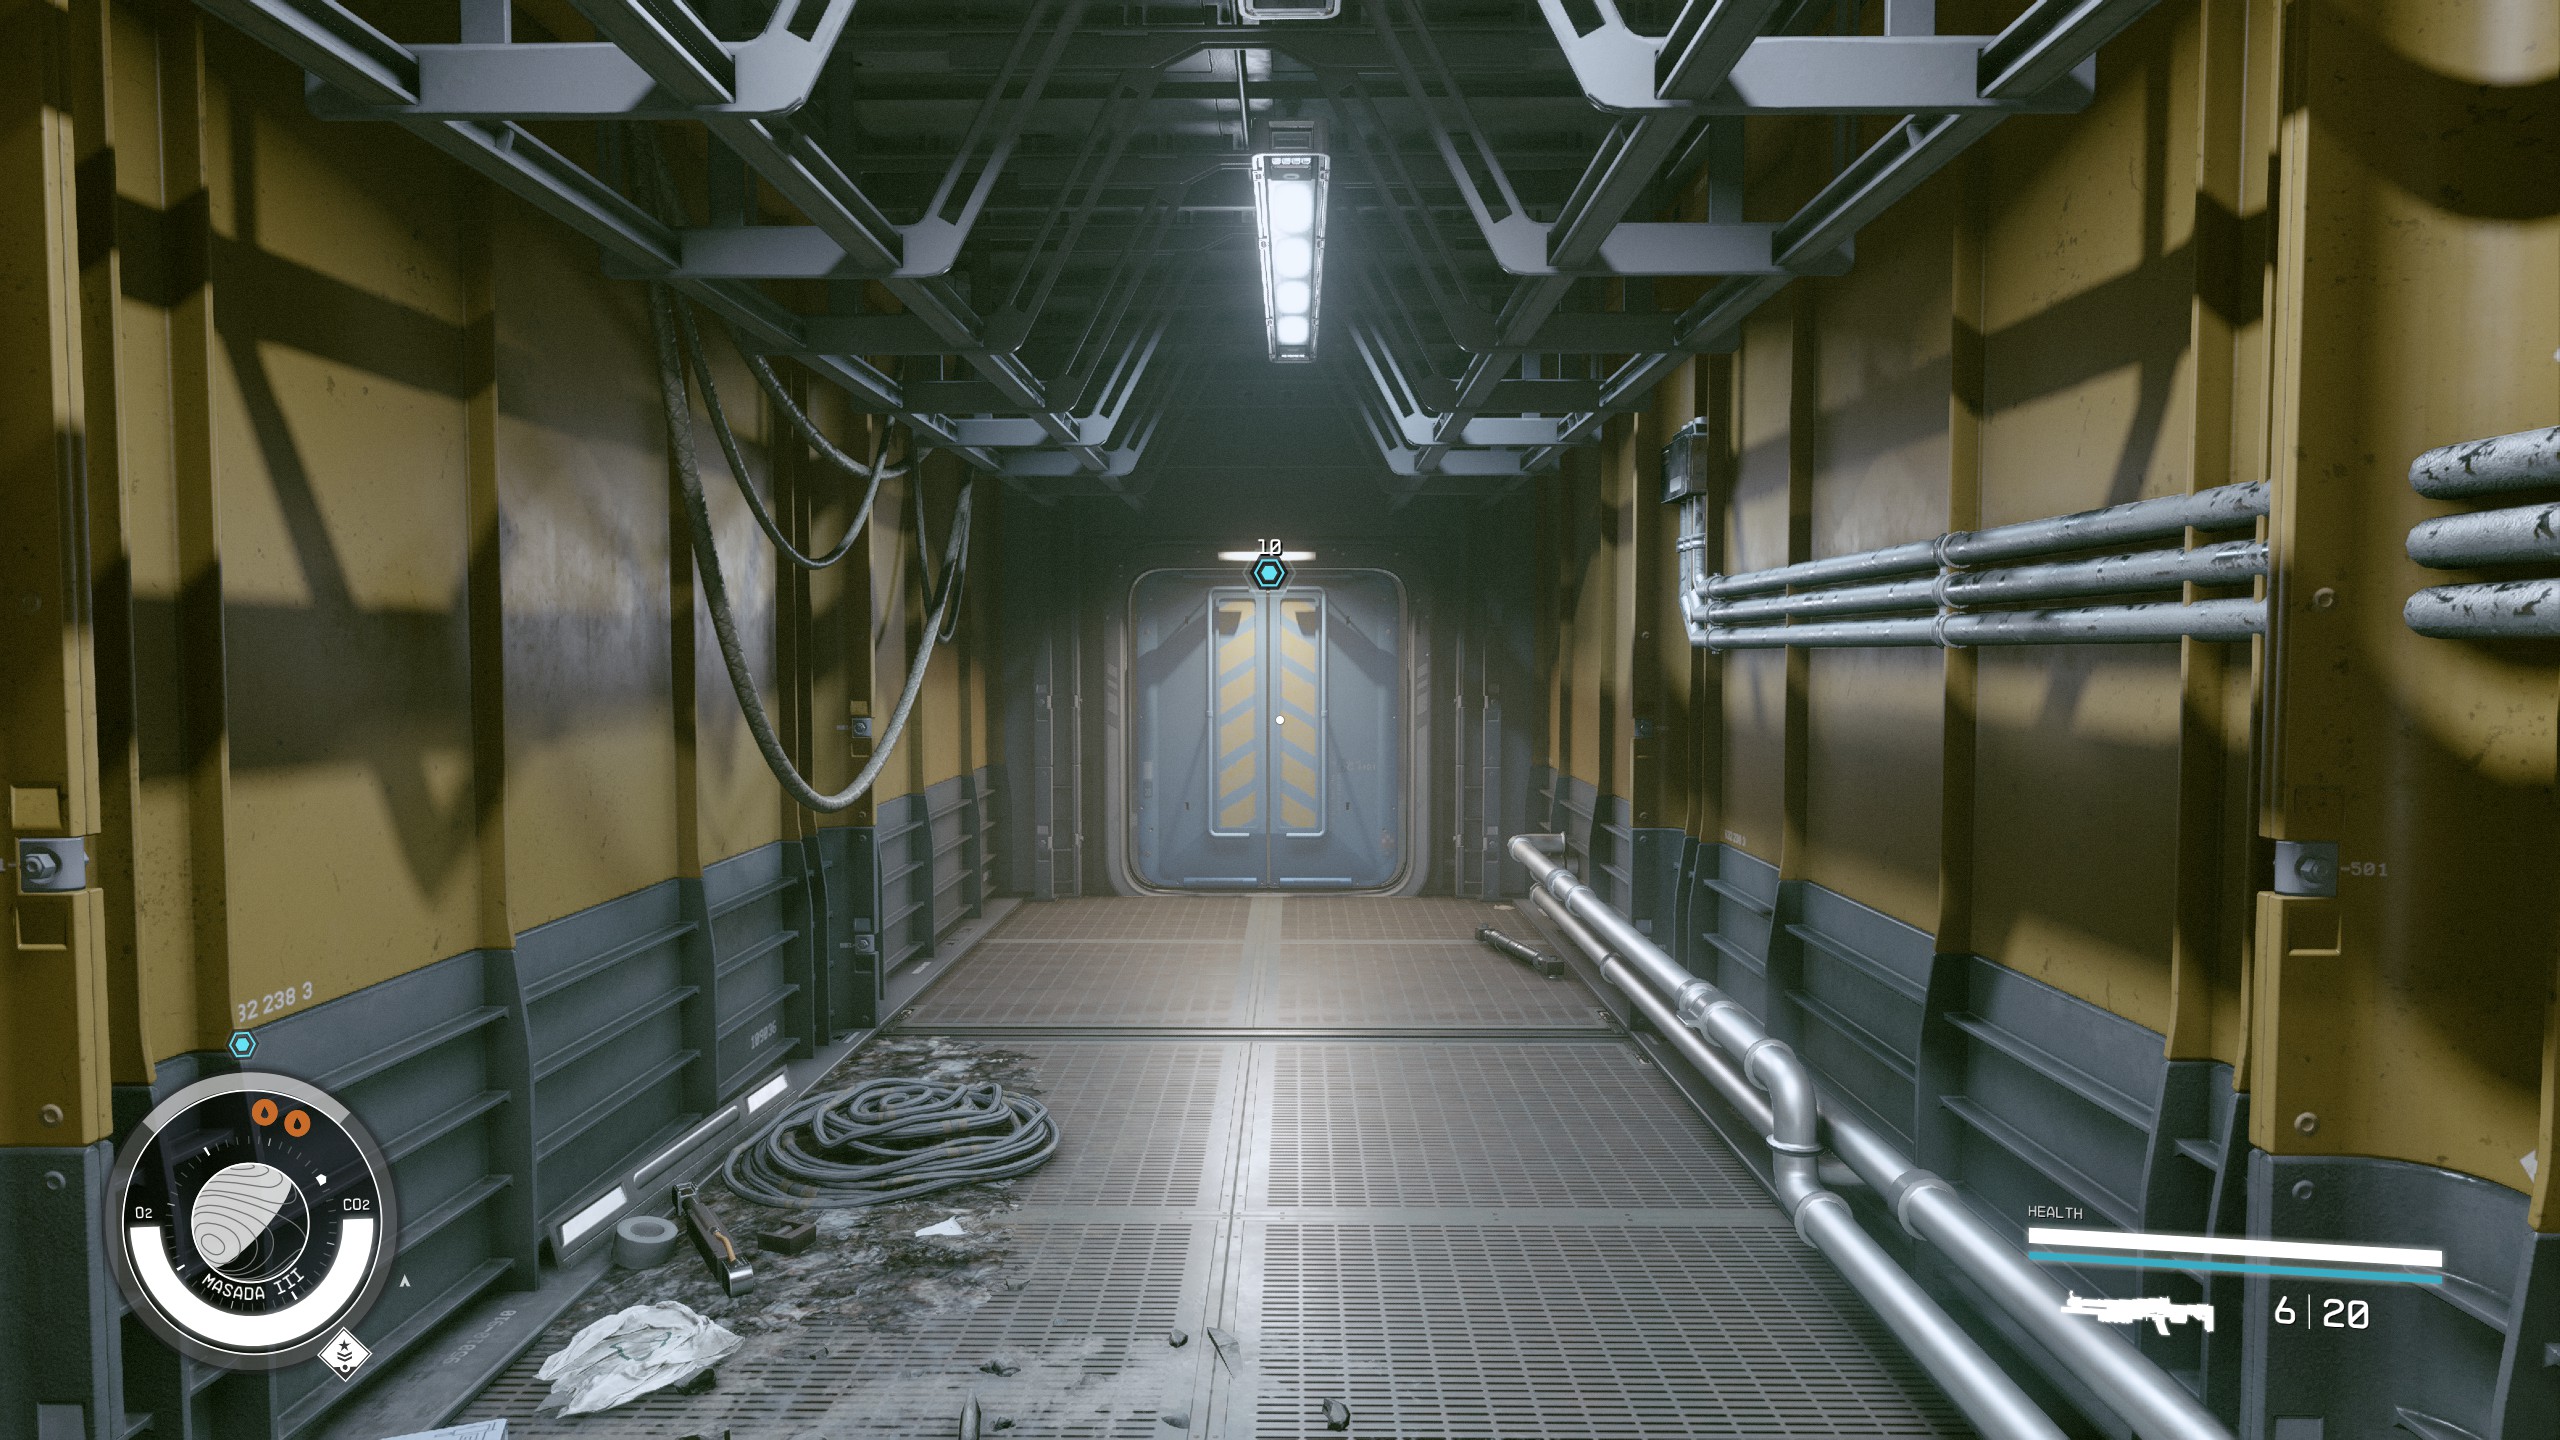
- Continue walking straight and into the tunnel.
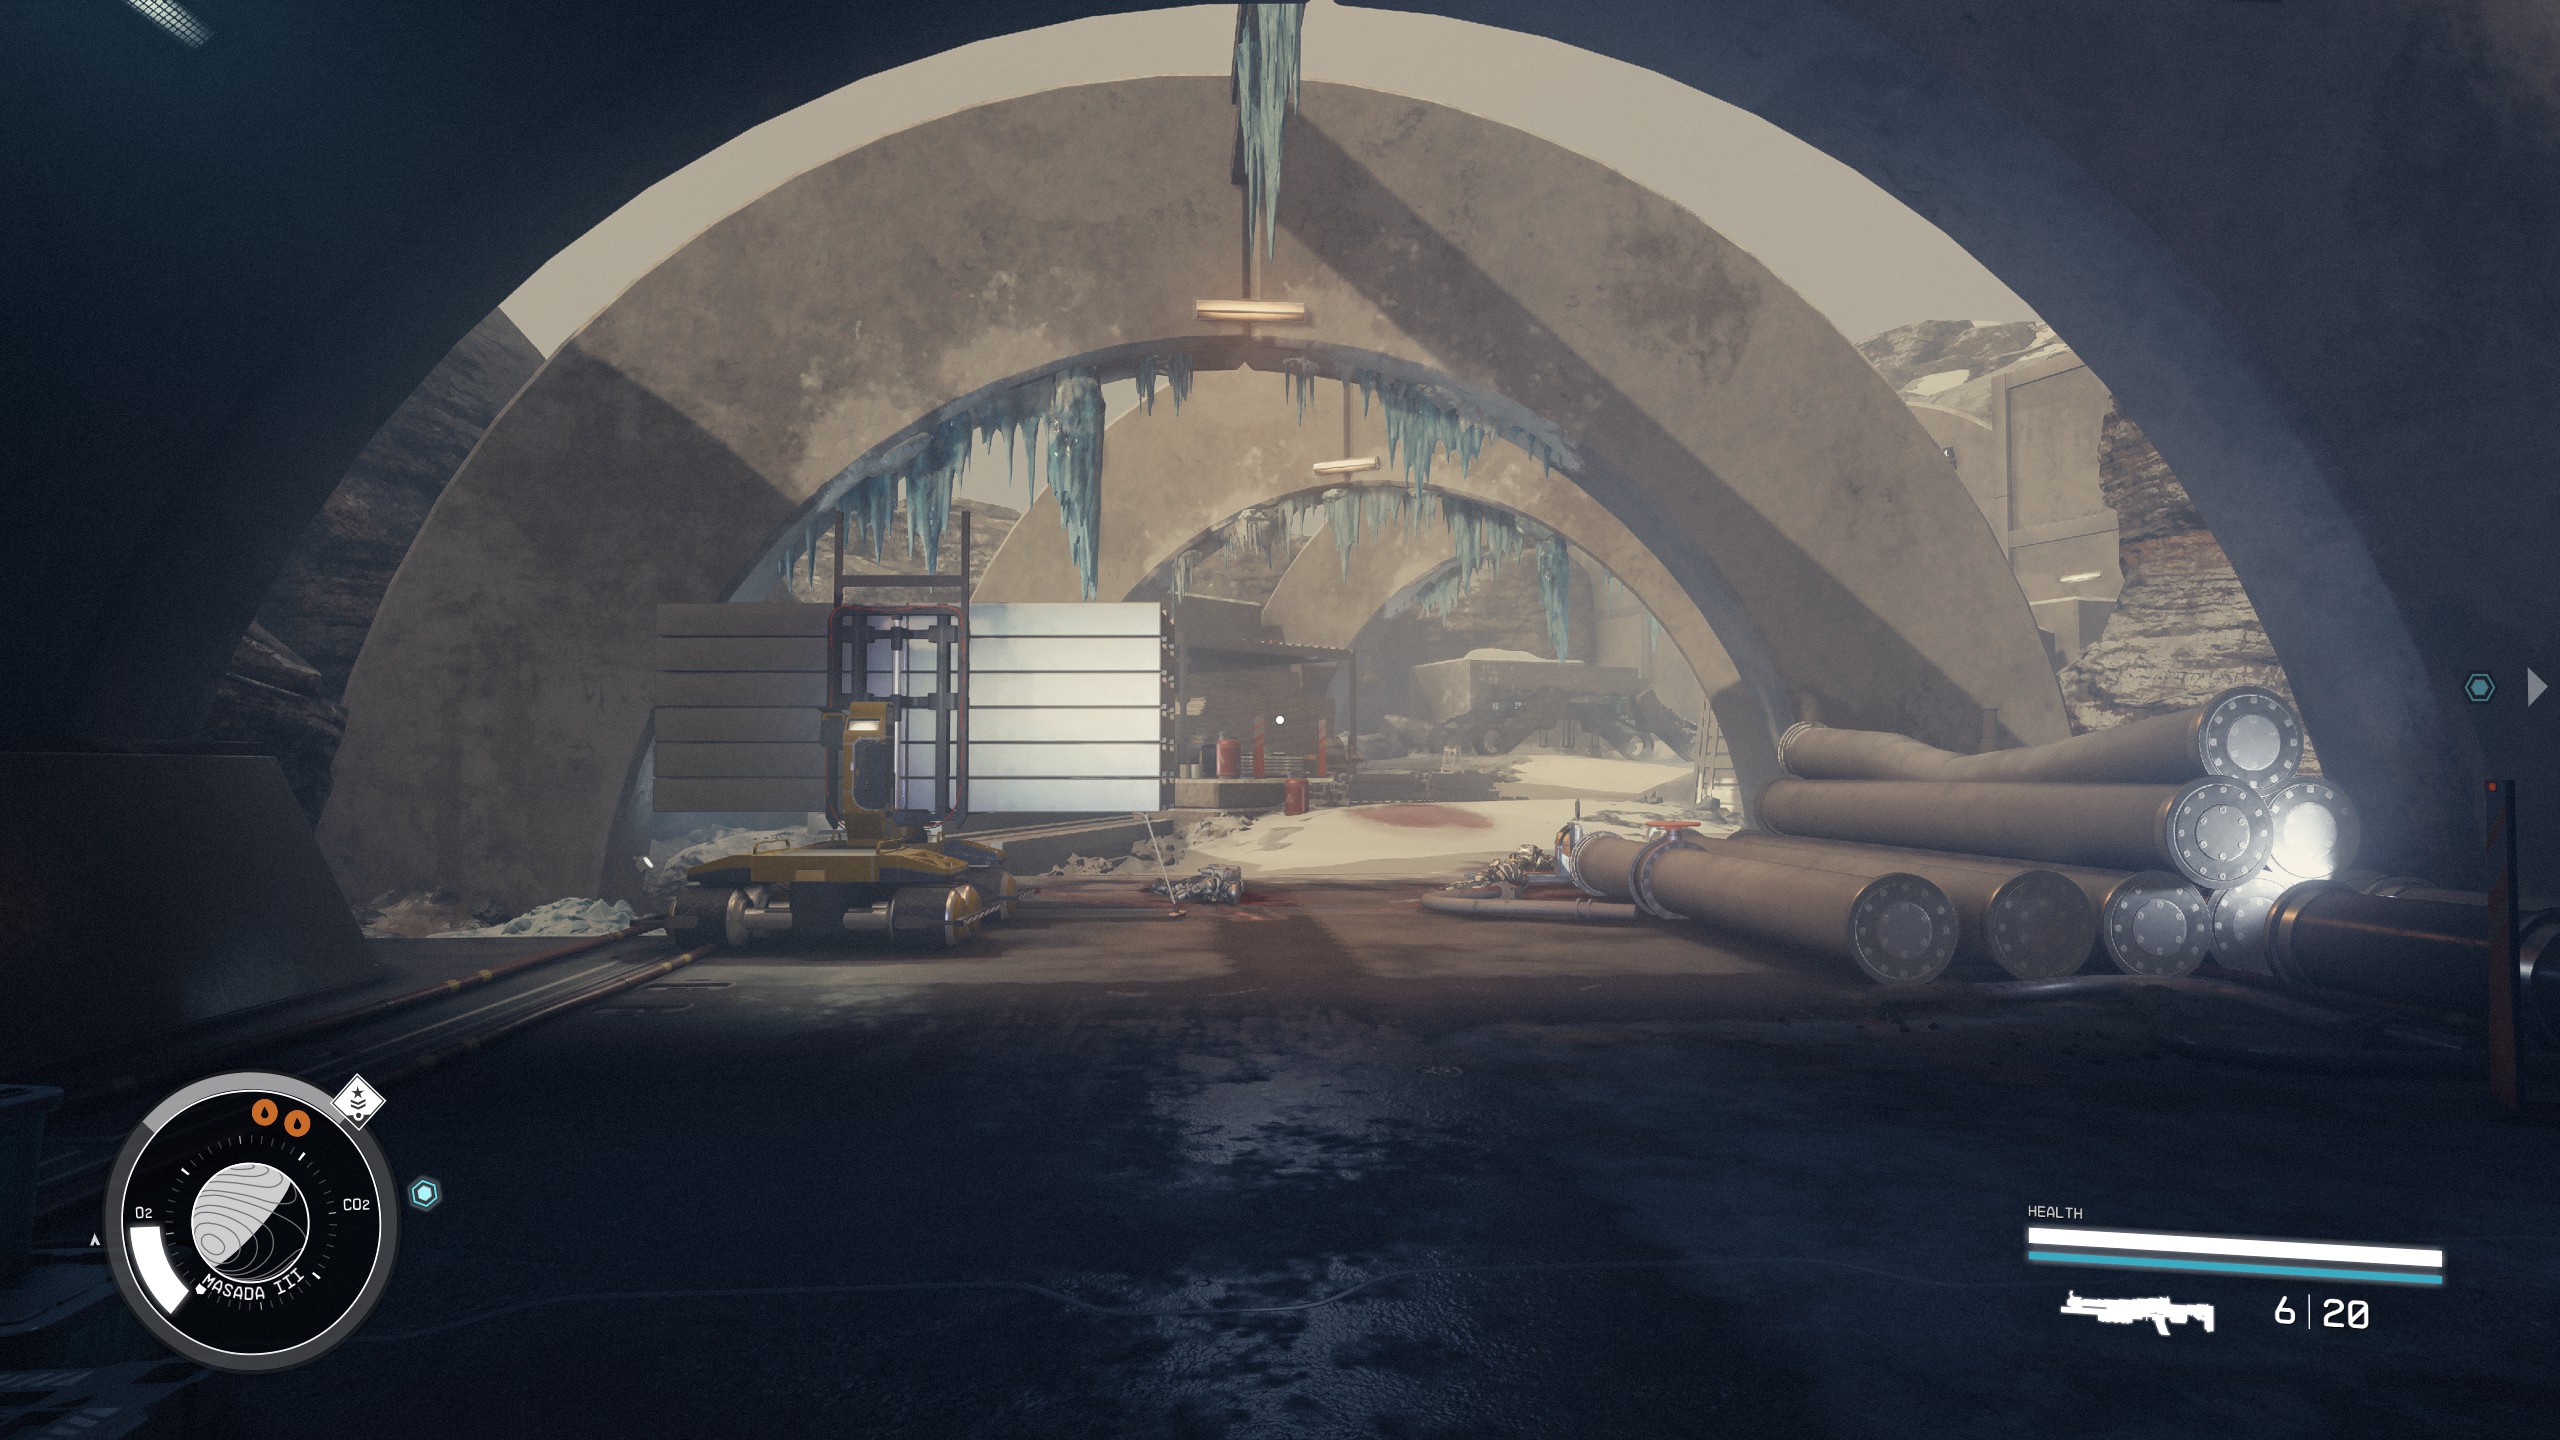
- Walk through the tunnel and you will come to some arches.
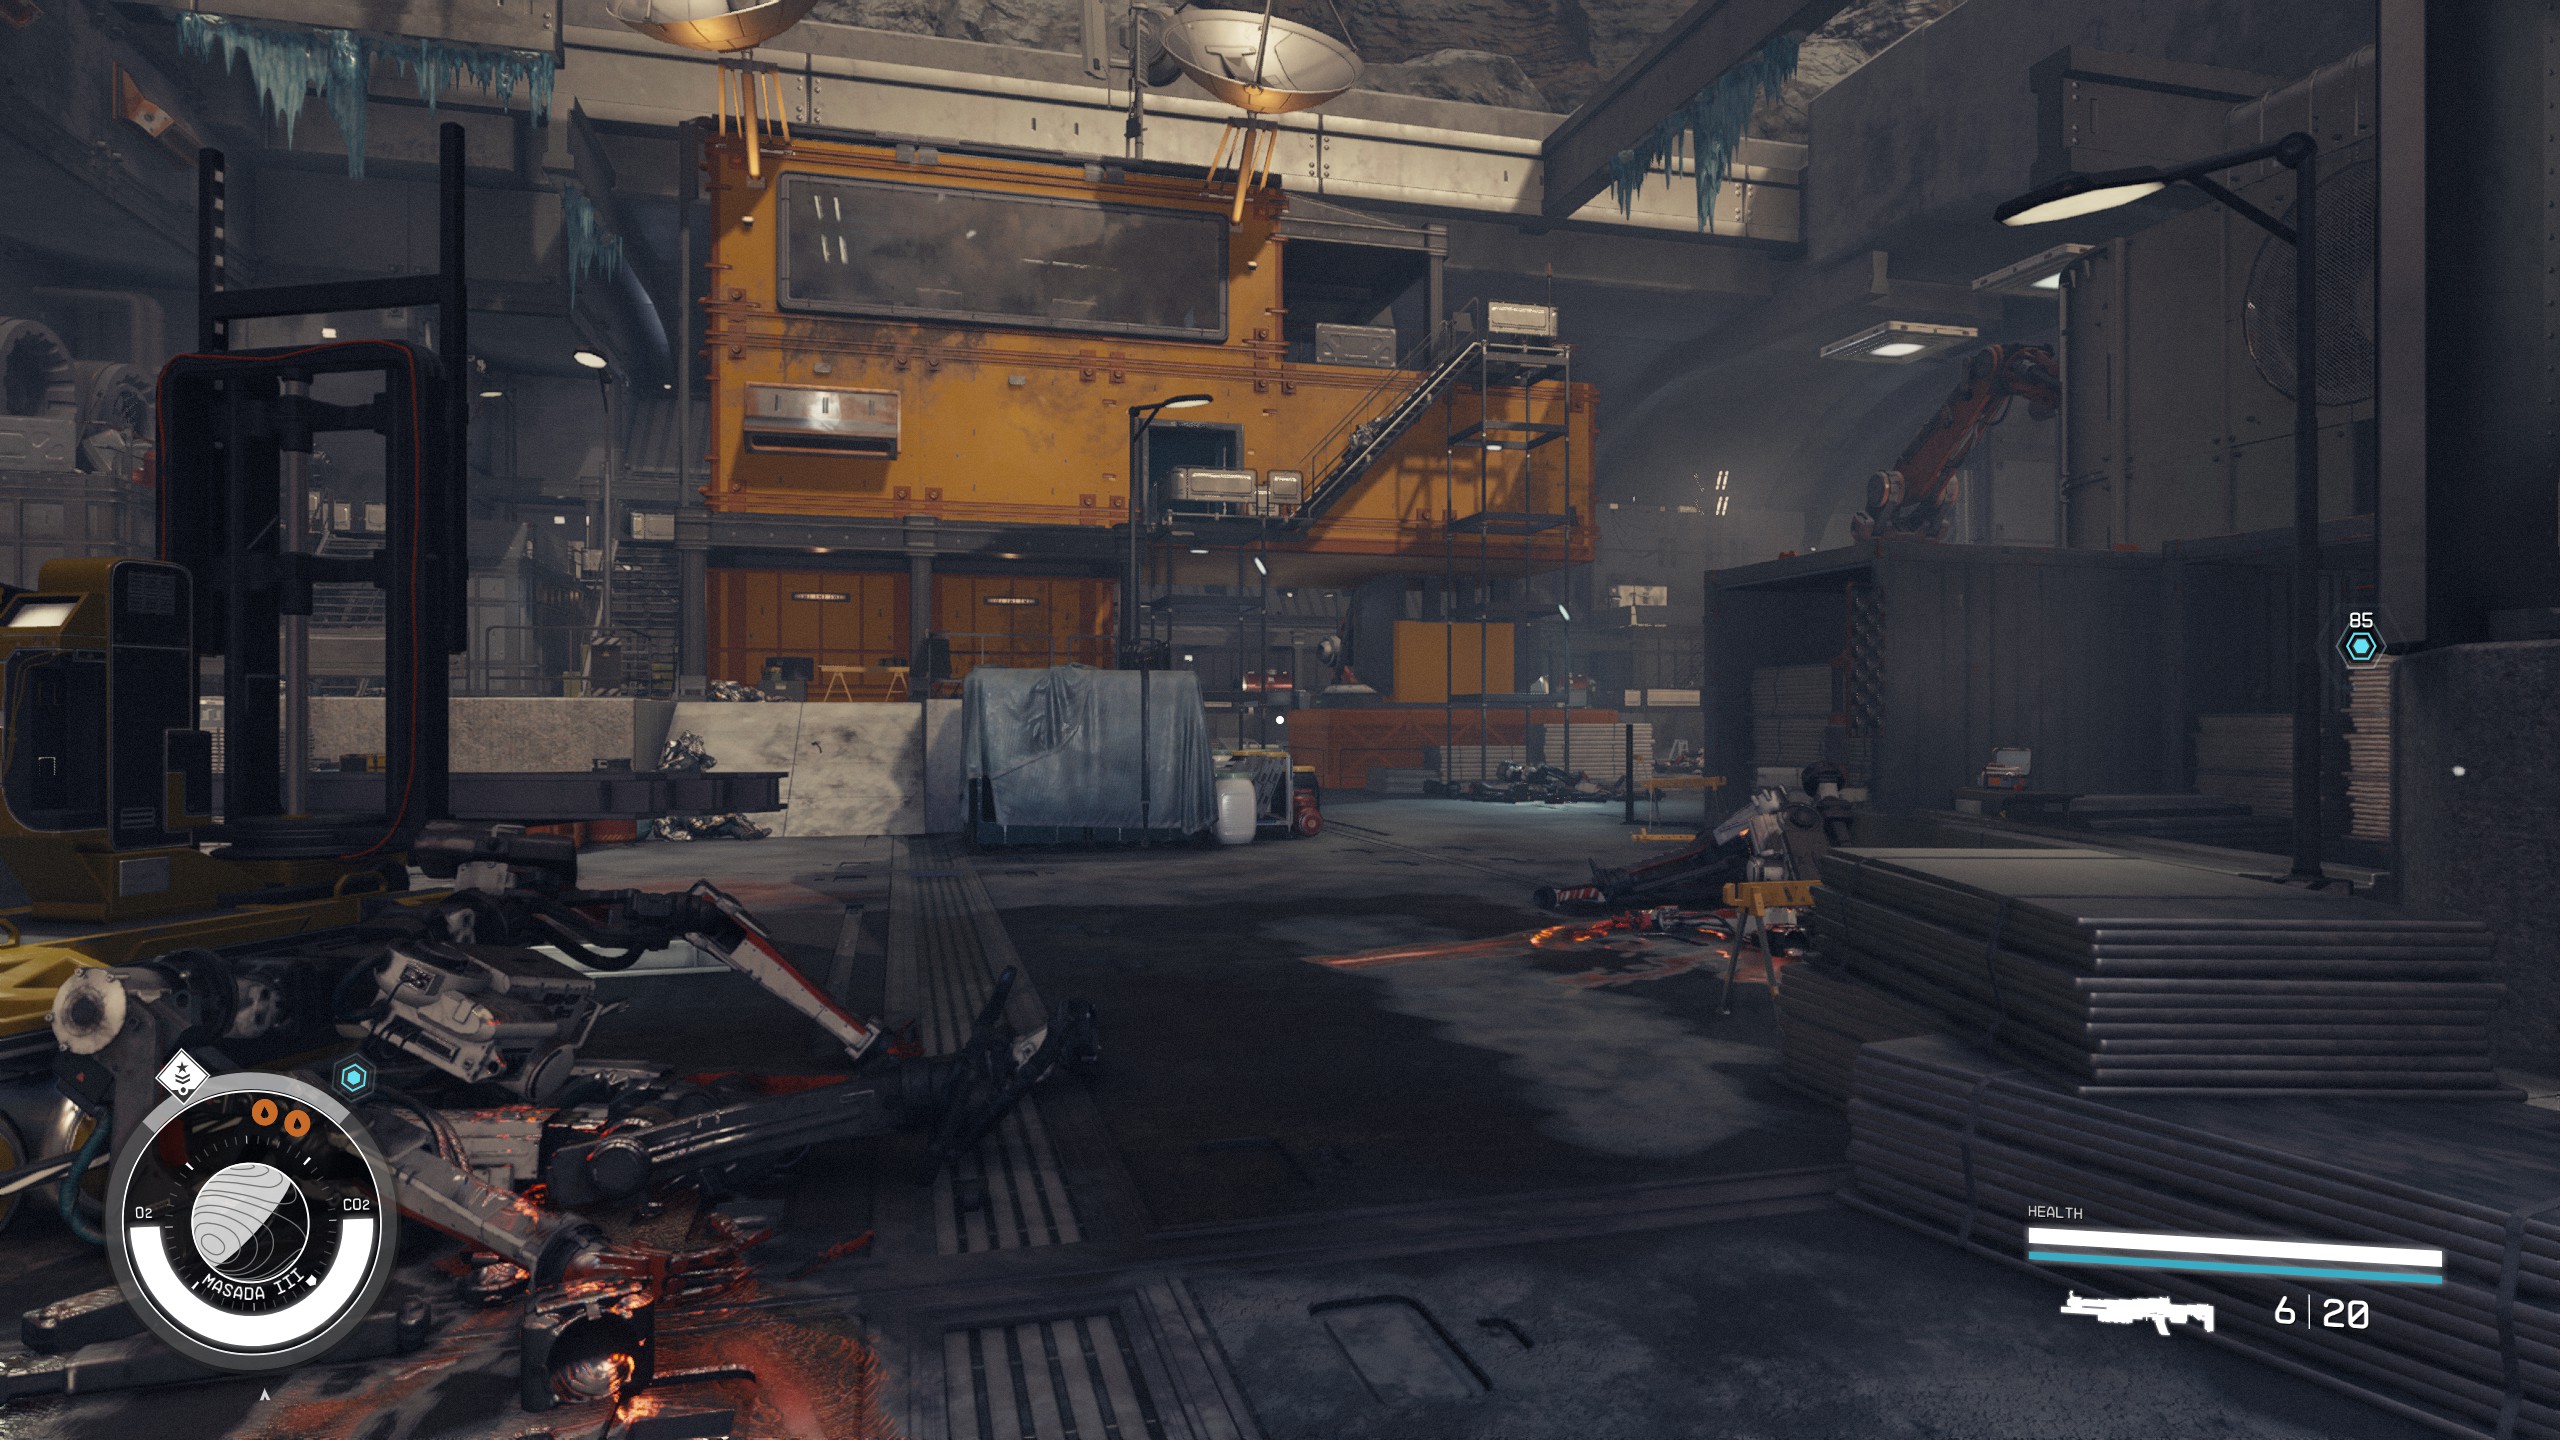
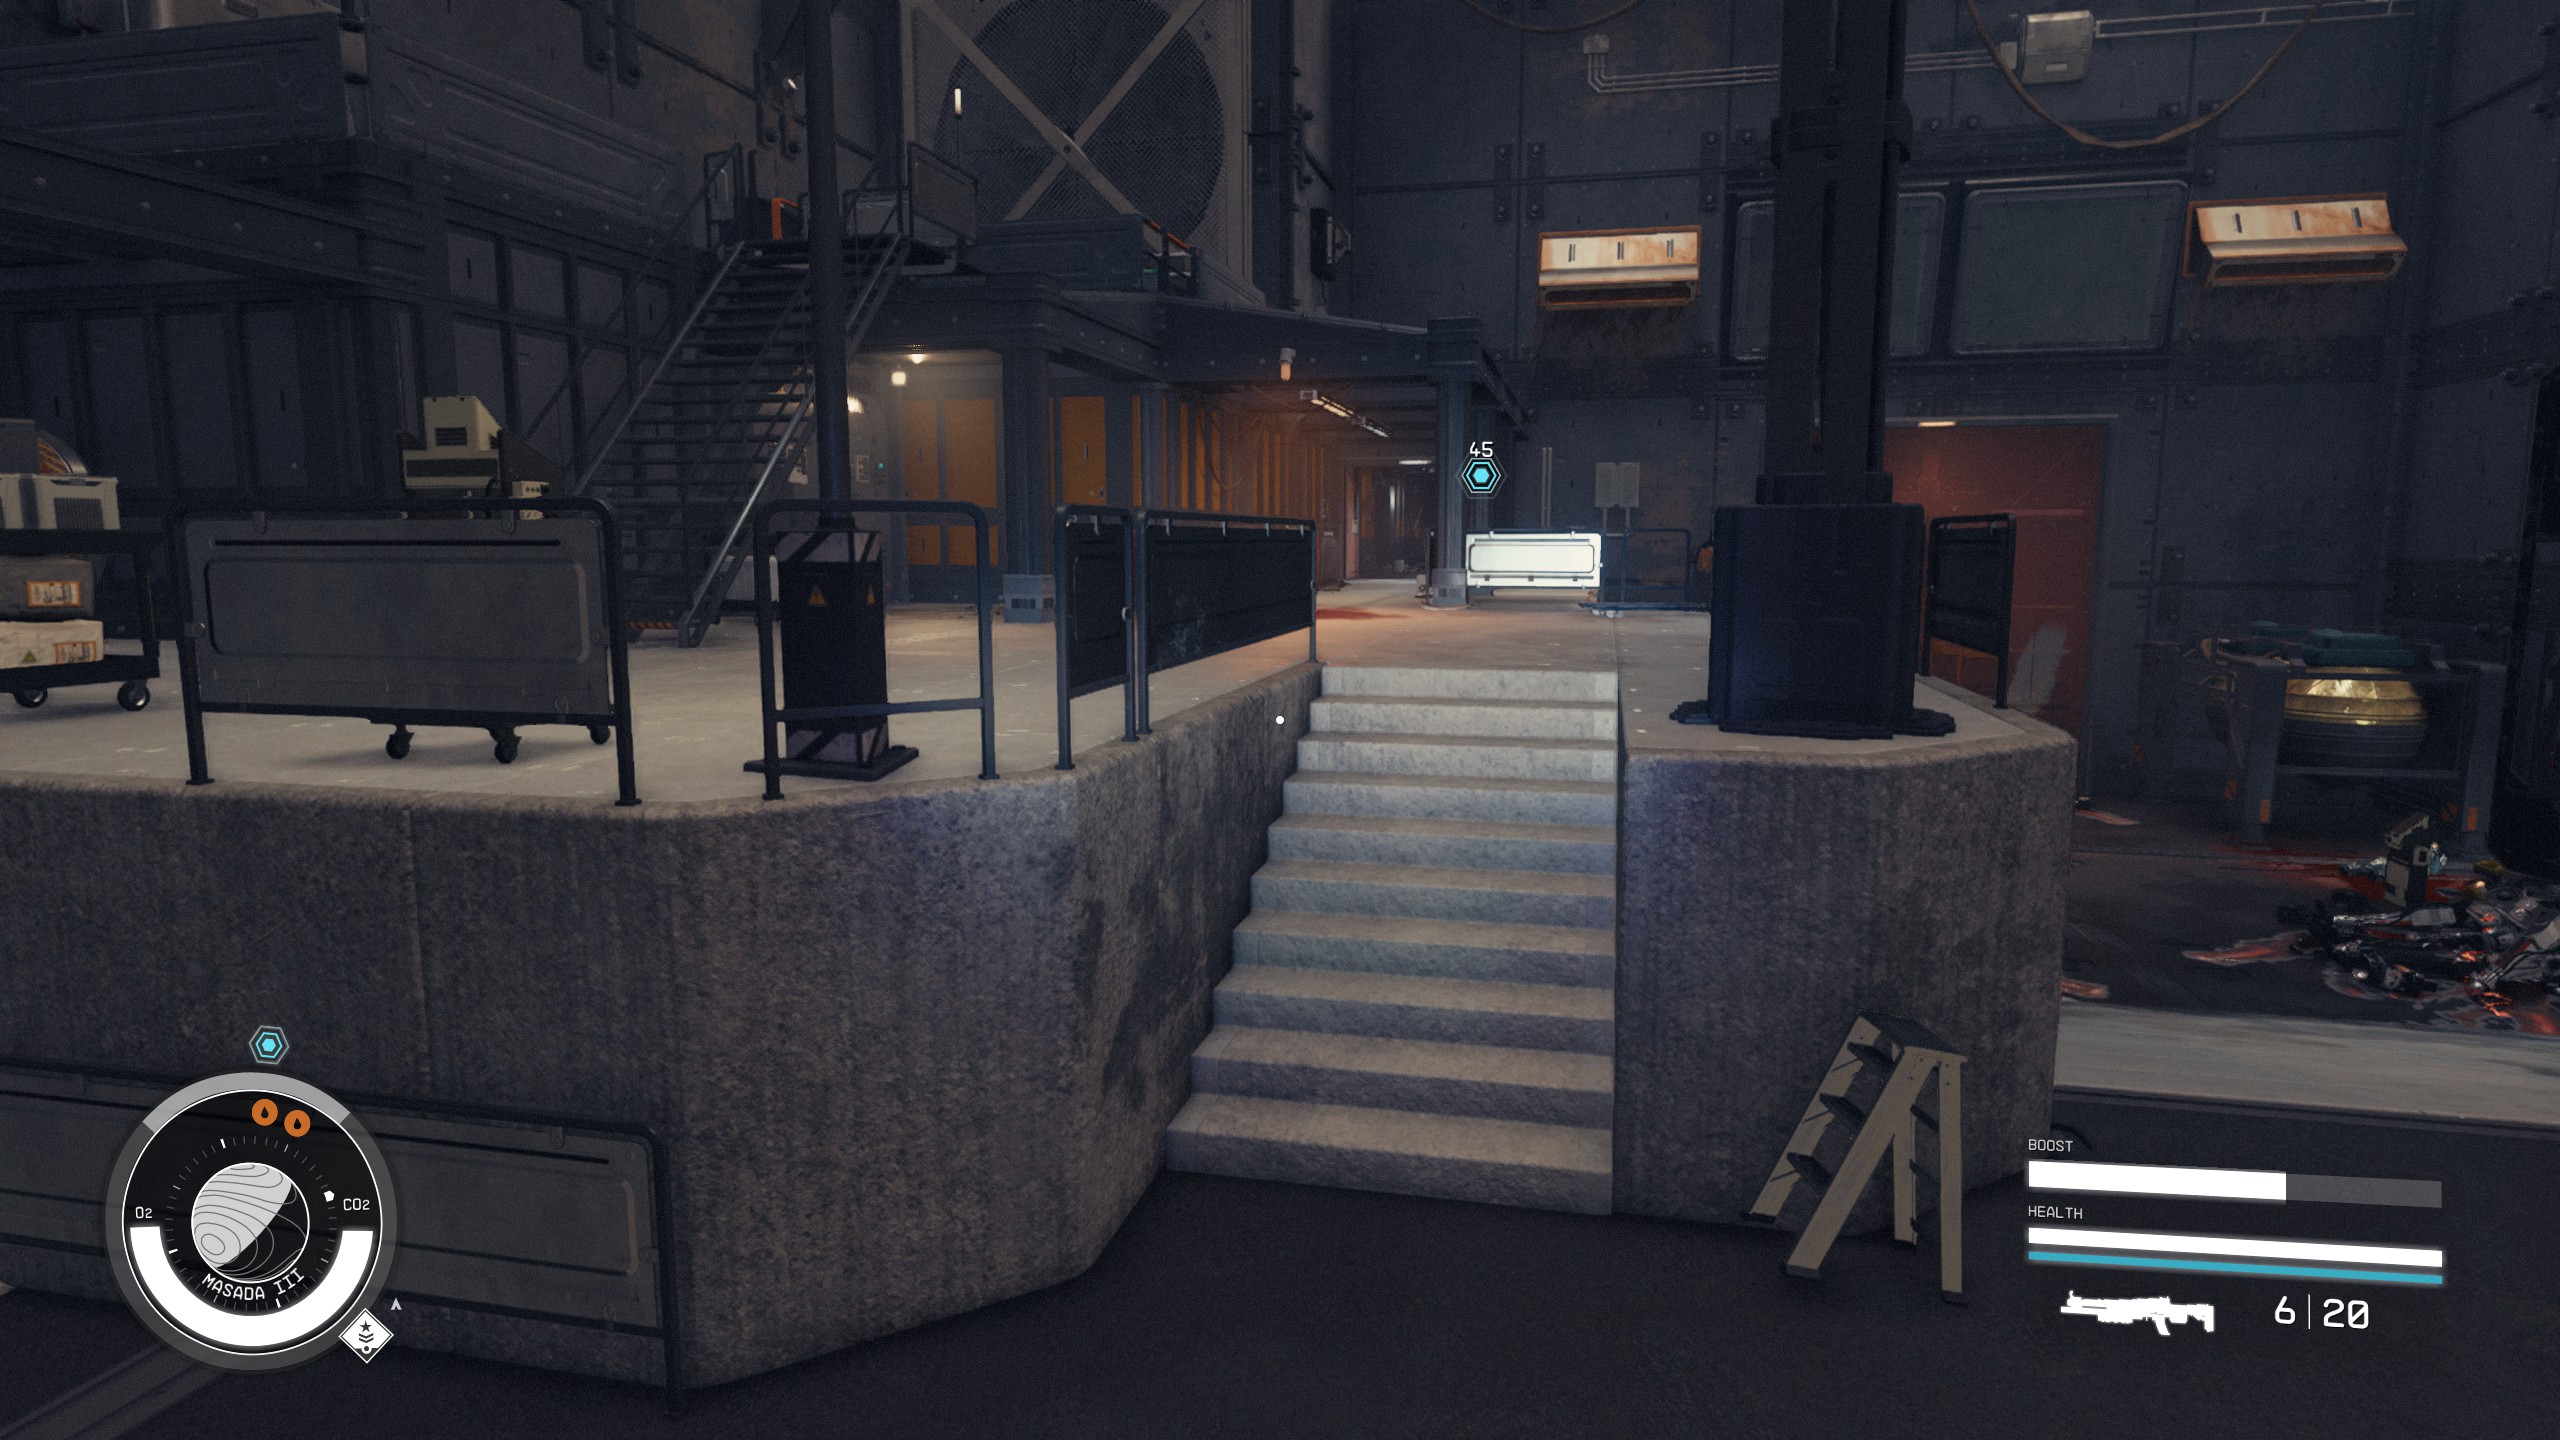
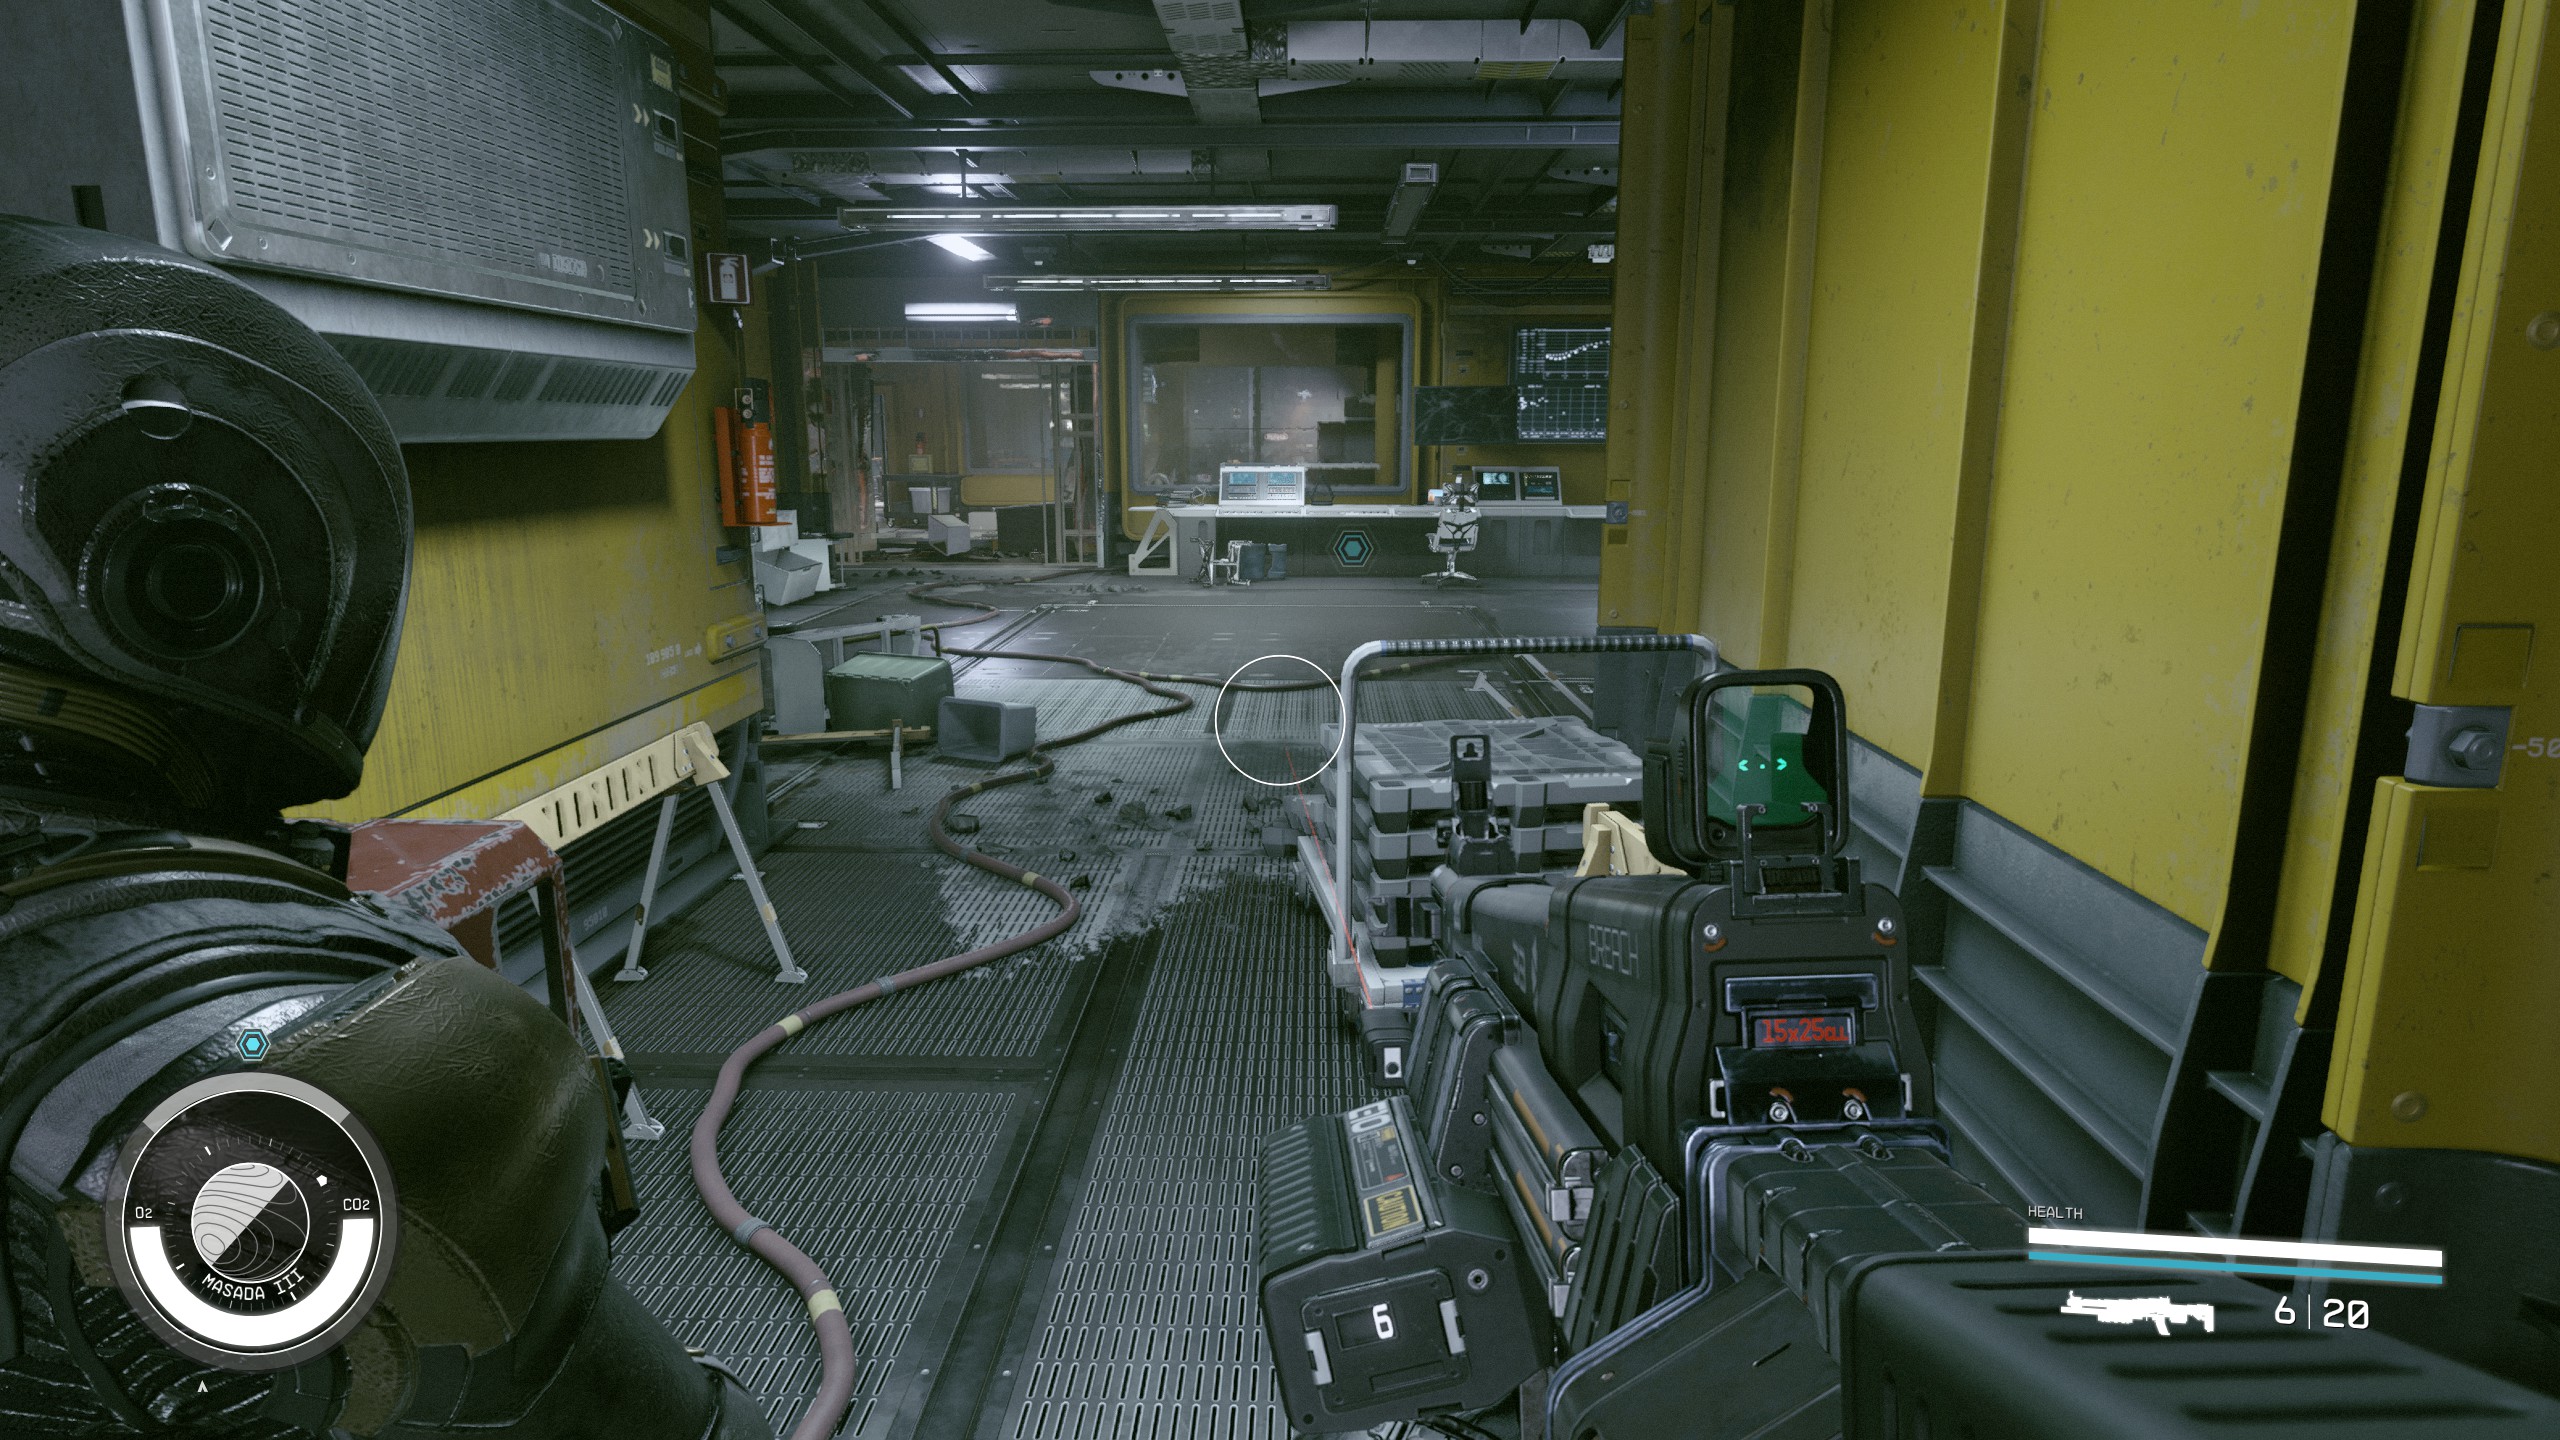
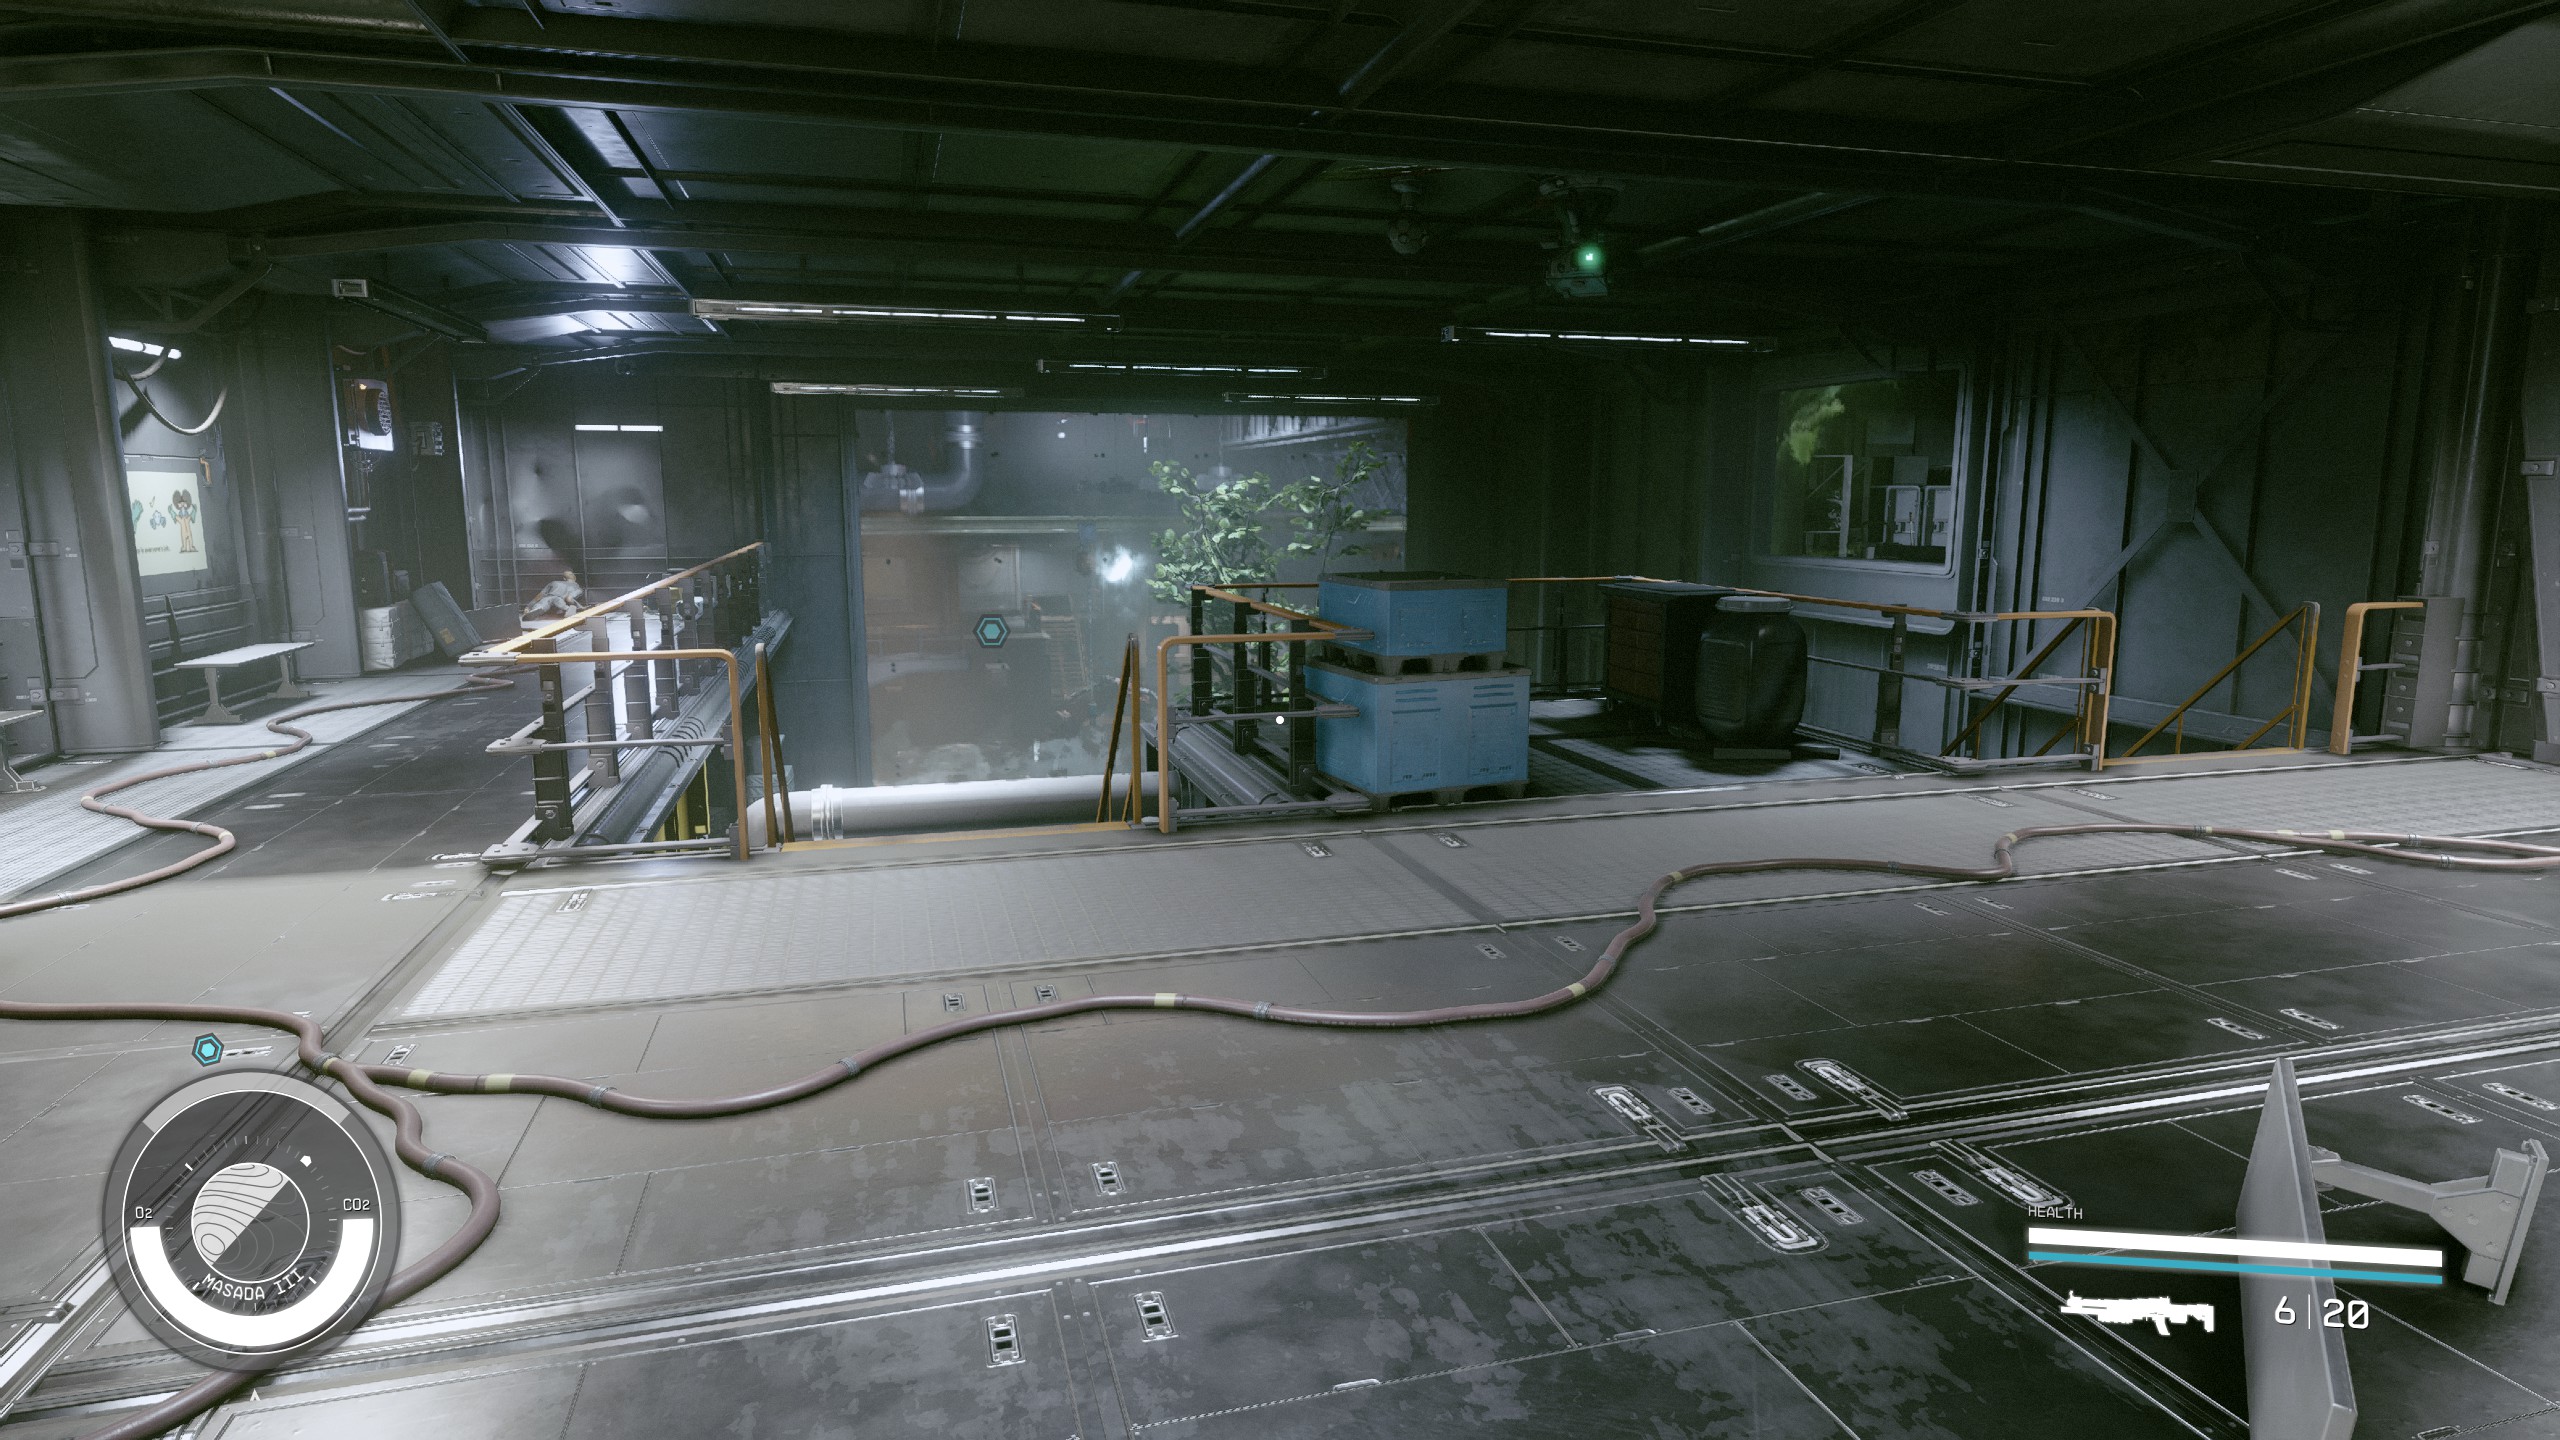
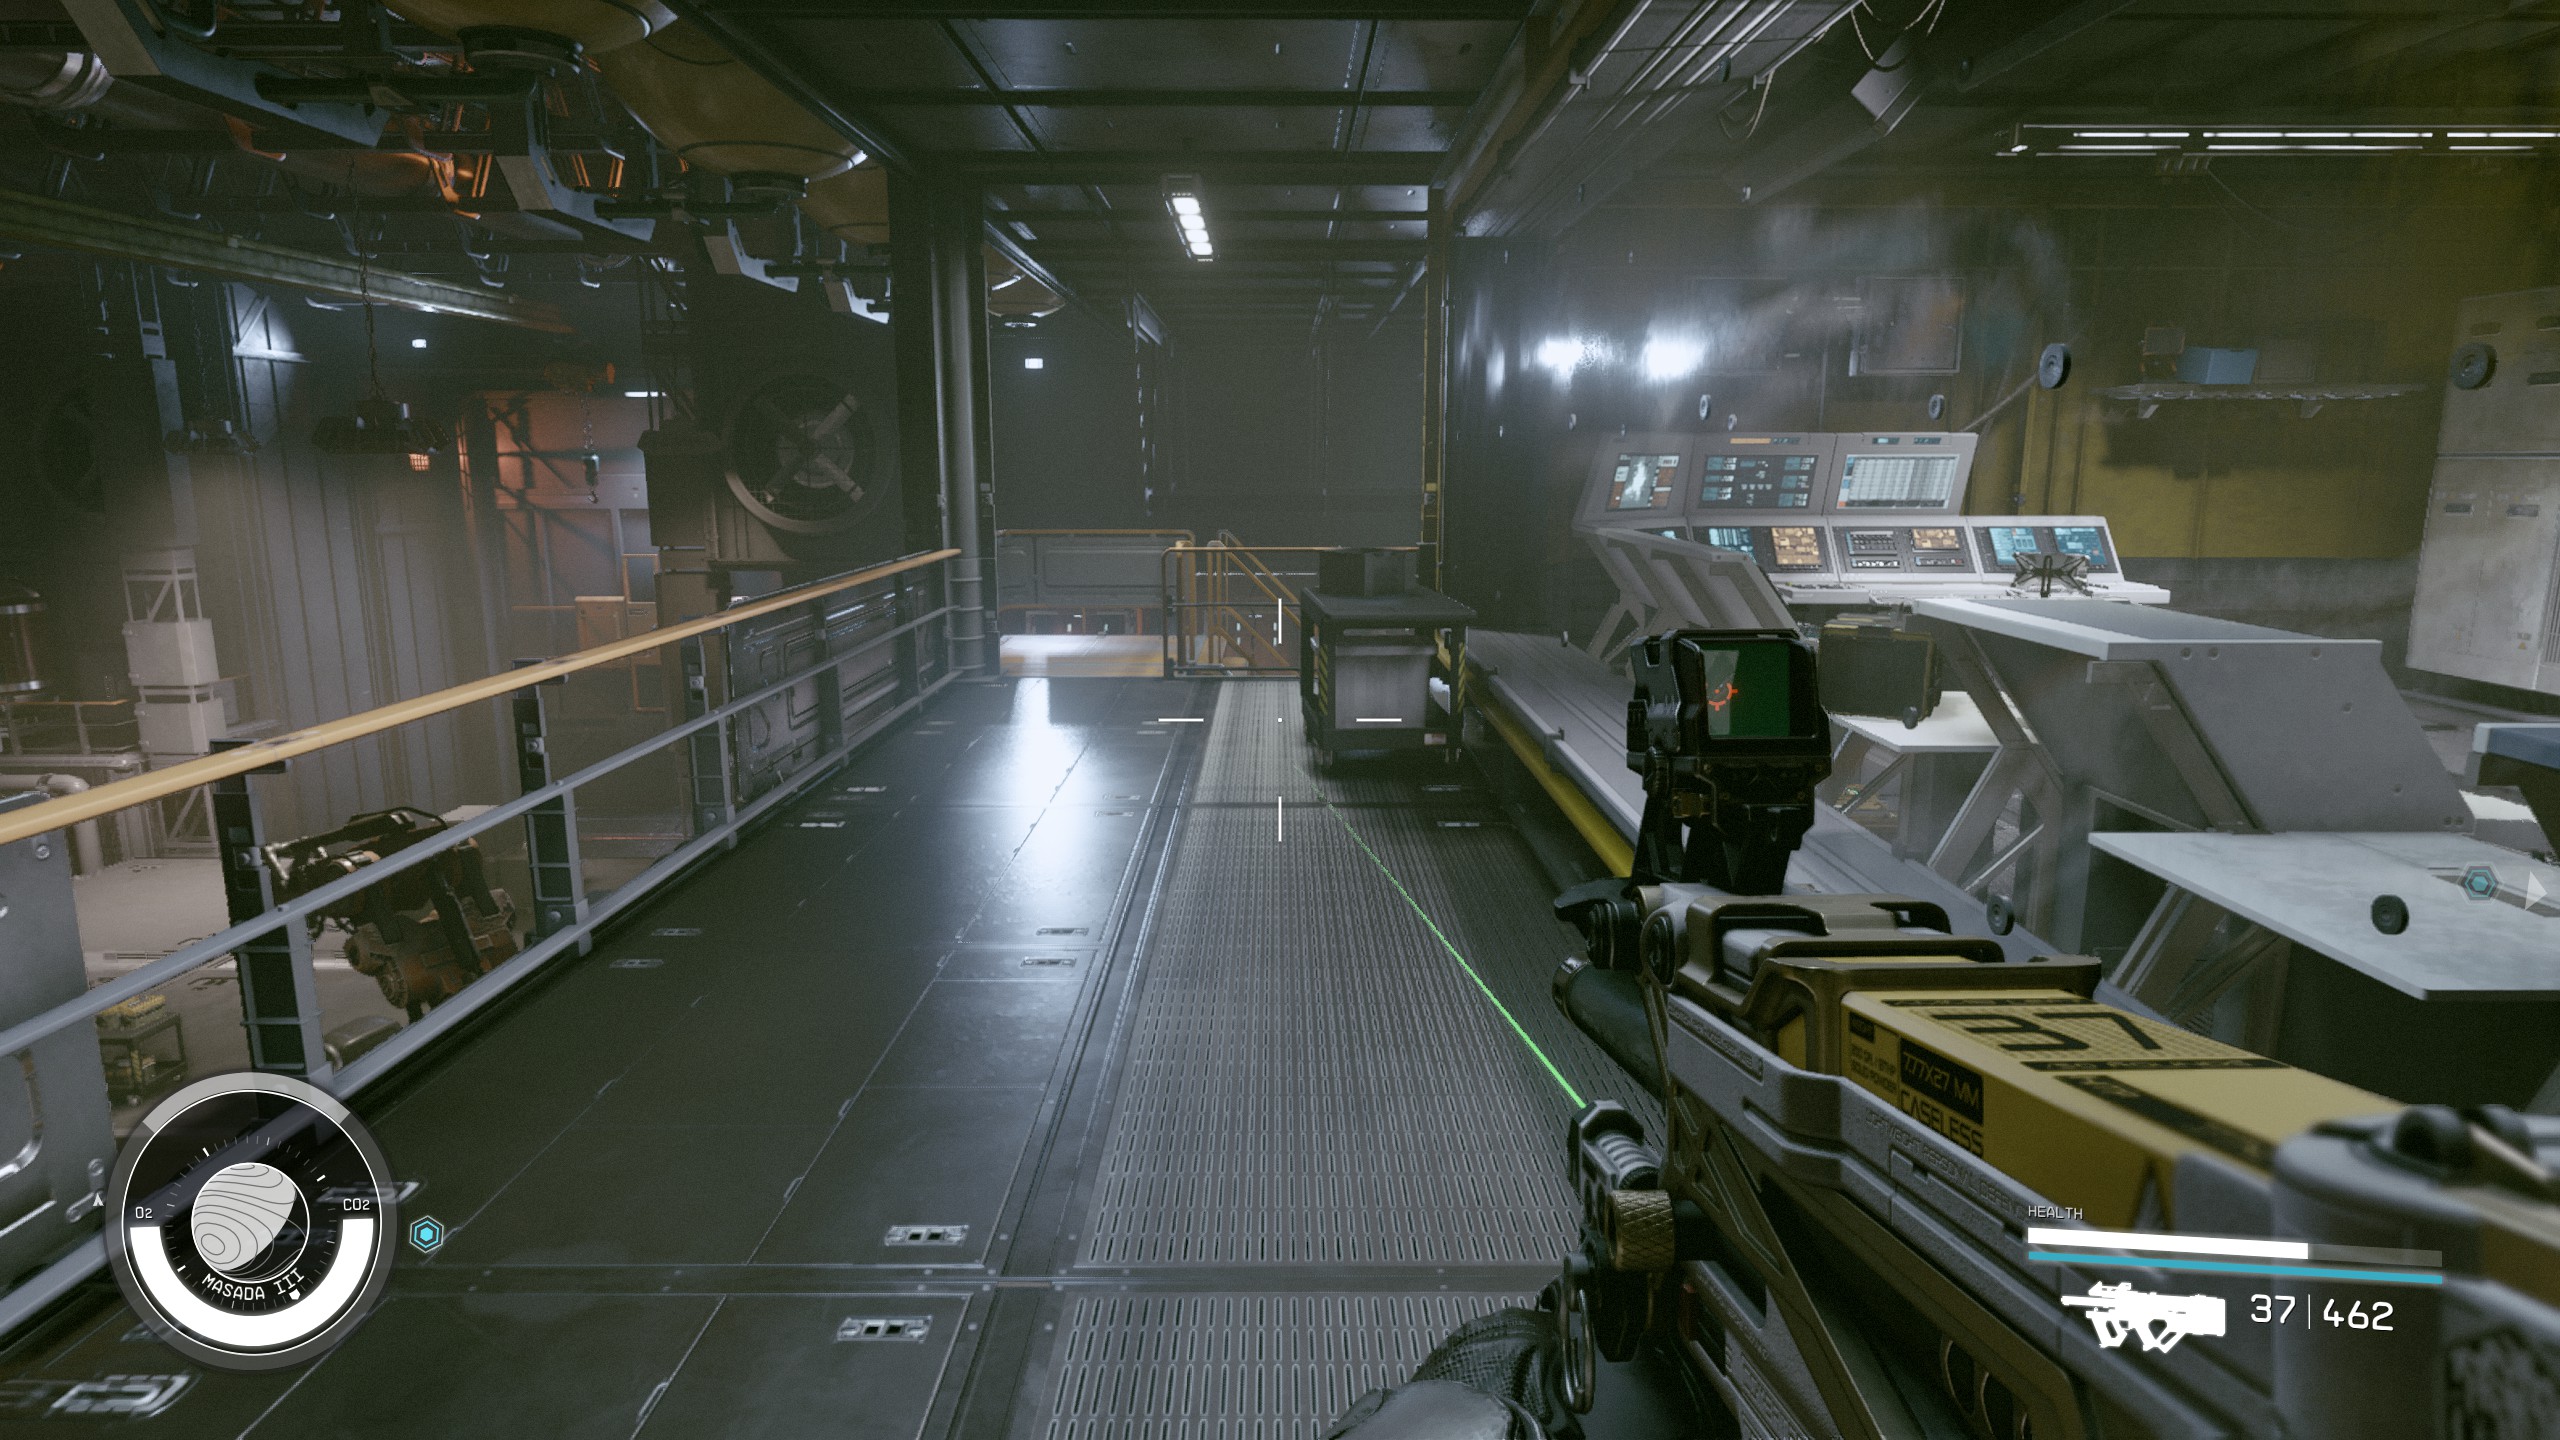
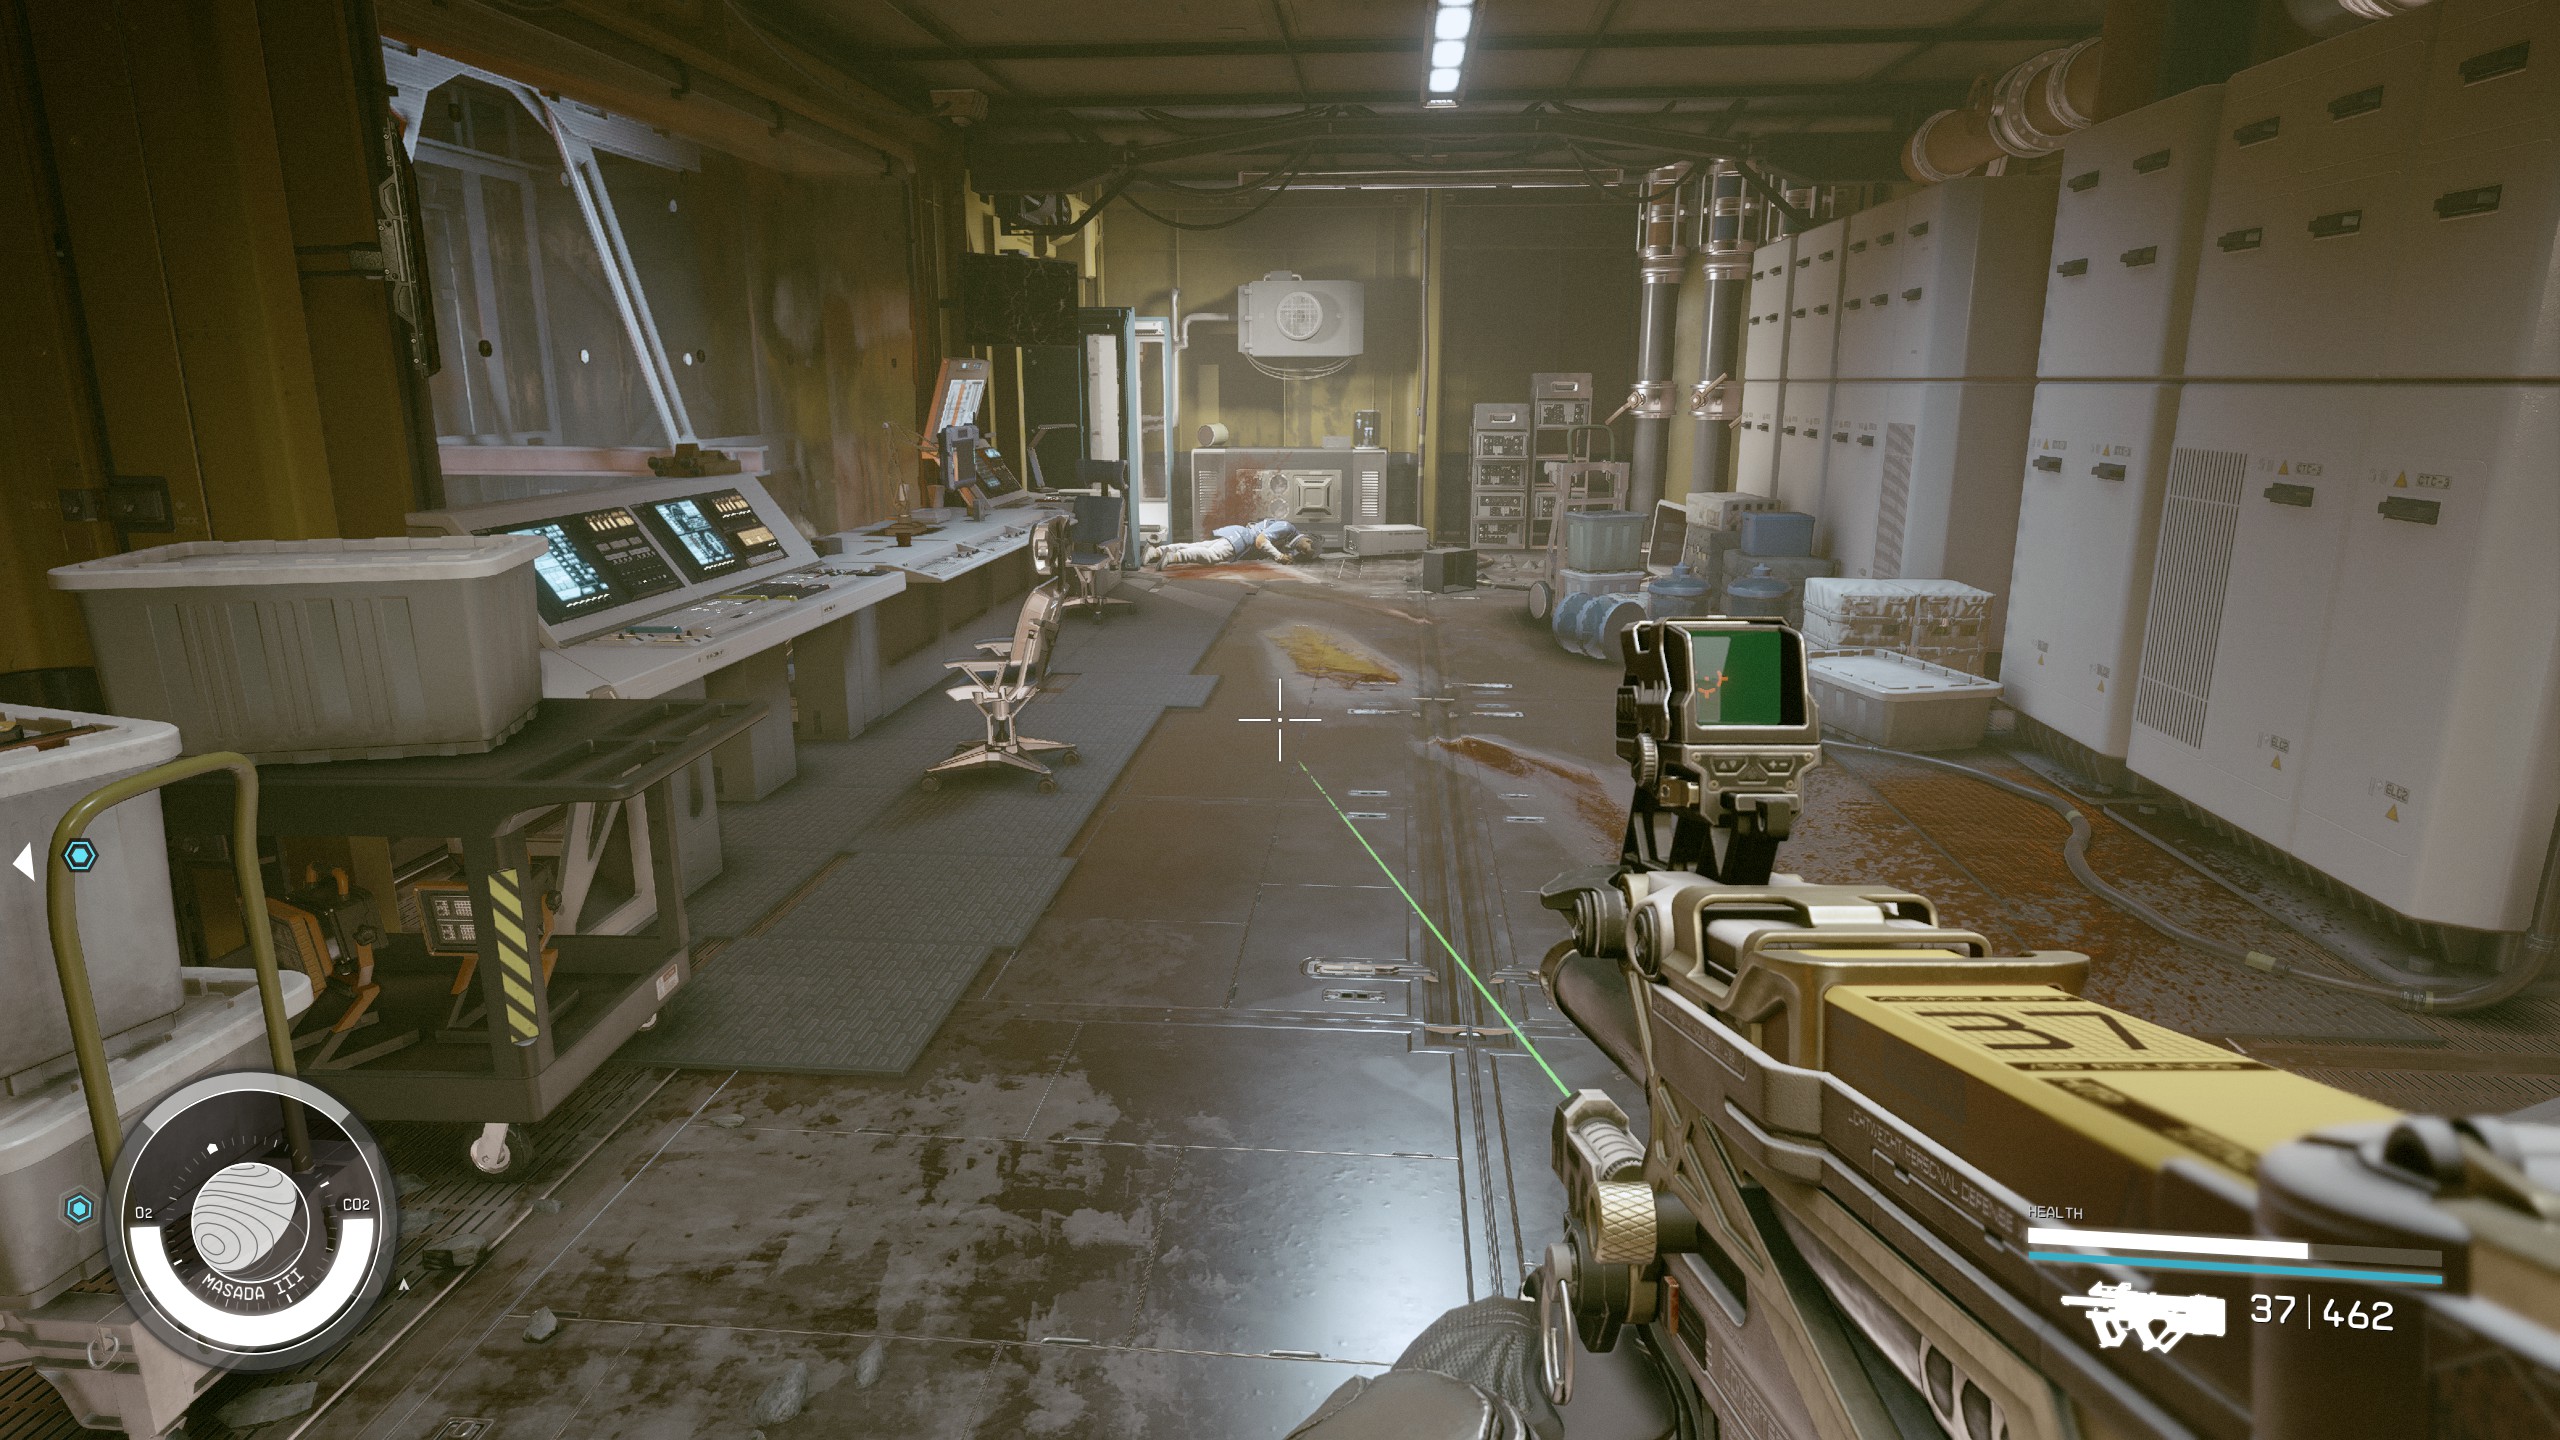
- Follow the path around to a large area with lots of equipment laying around and a control room on a riased area in the middle. You will be attacked again by Starborn and Ecliptic Mercs.
- Defeat the Starborn in the area,
Find a Way to Open the Door
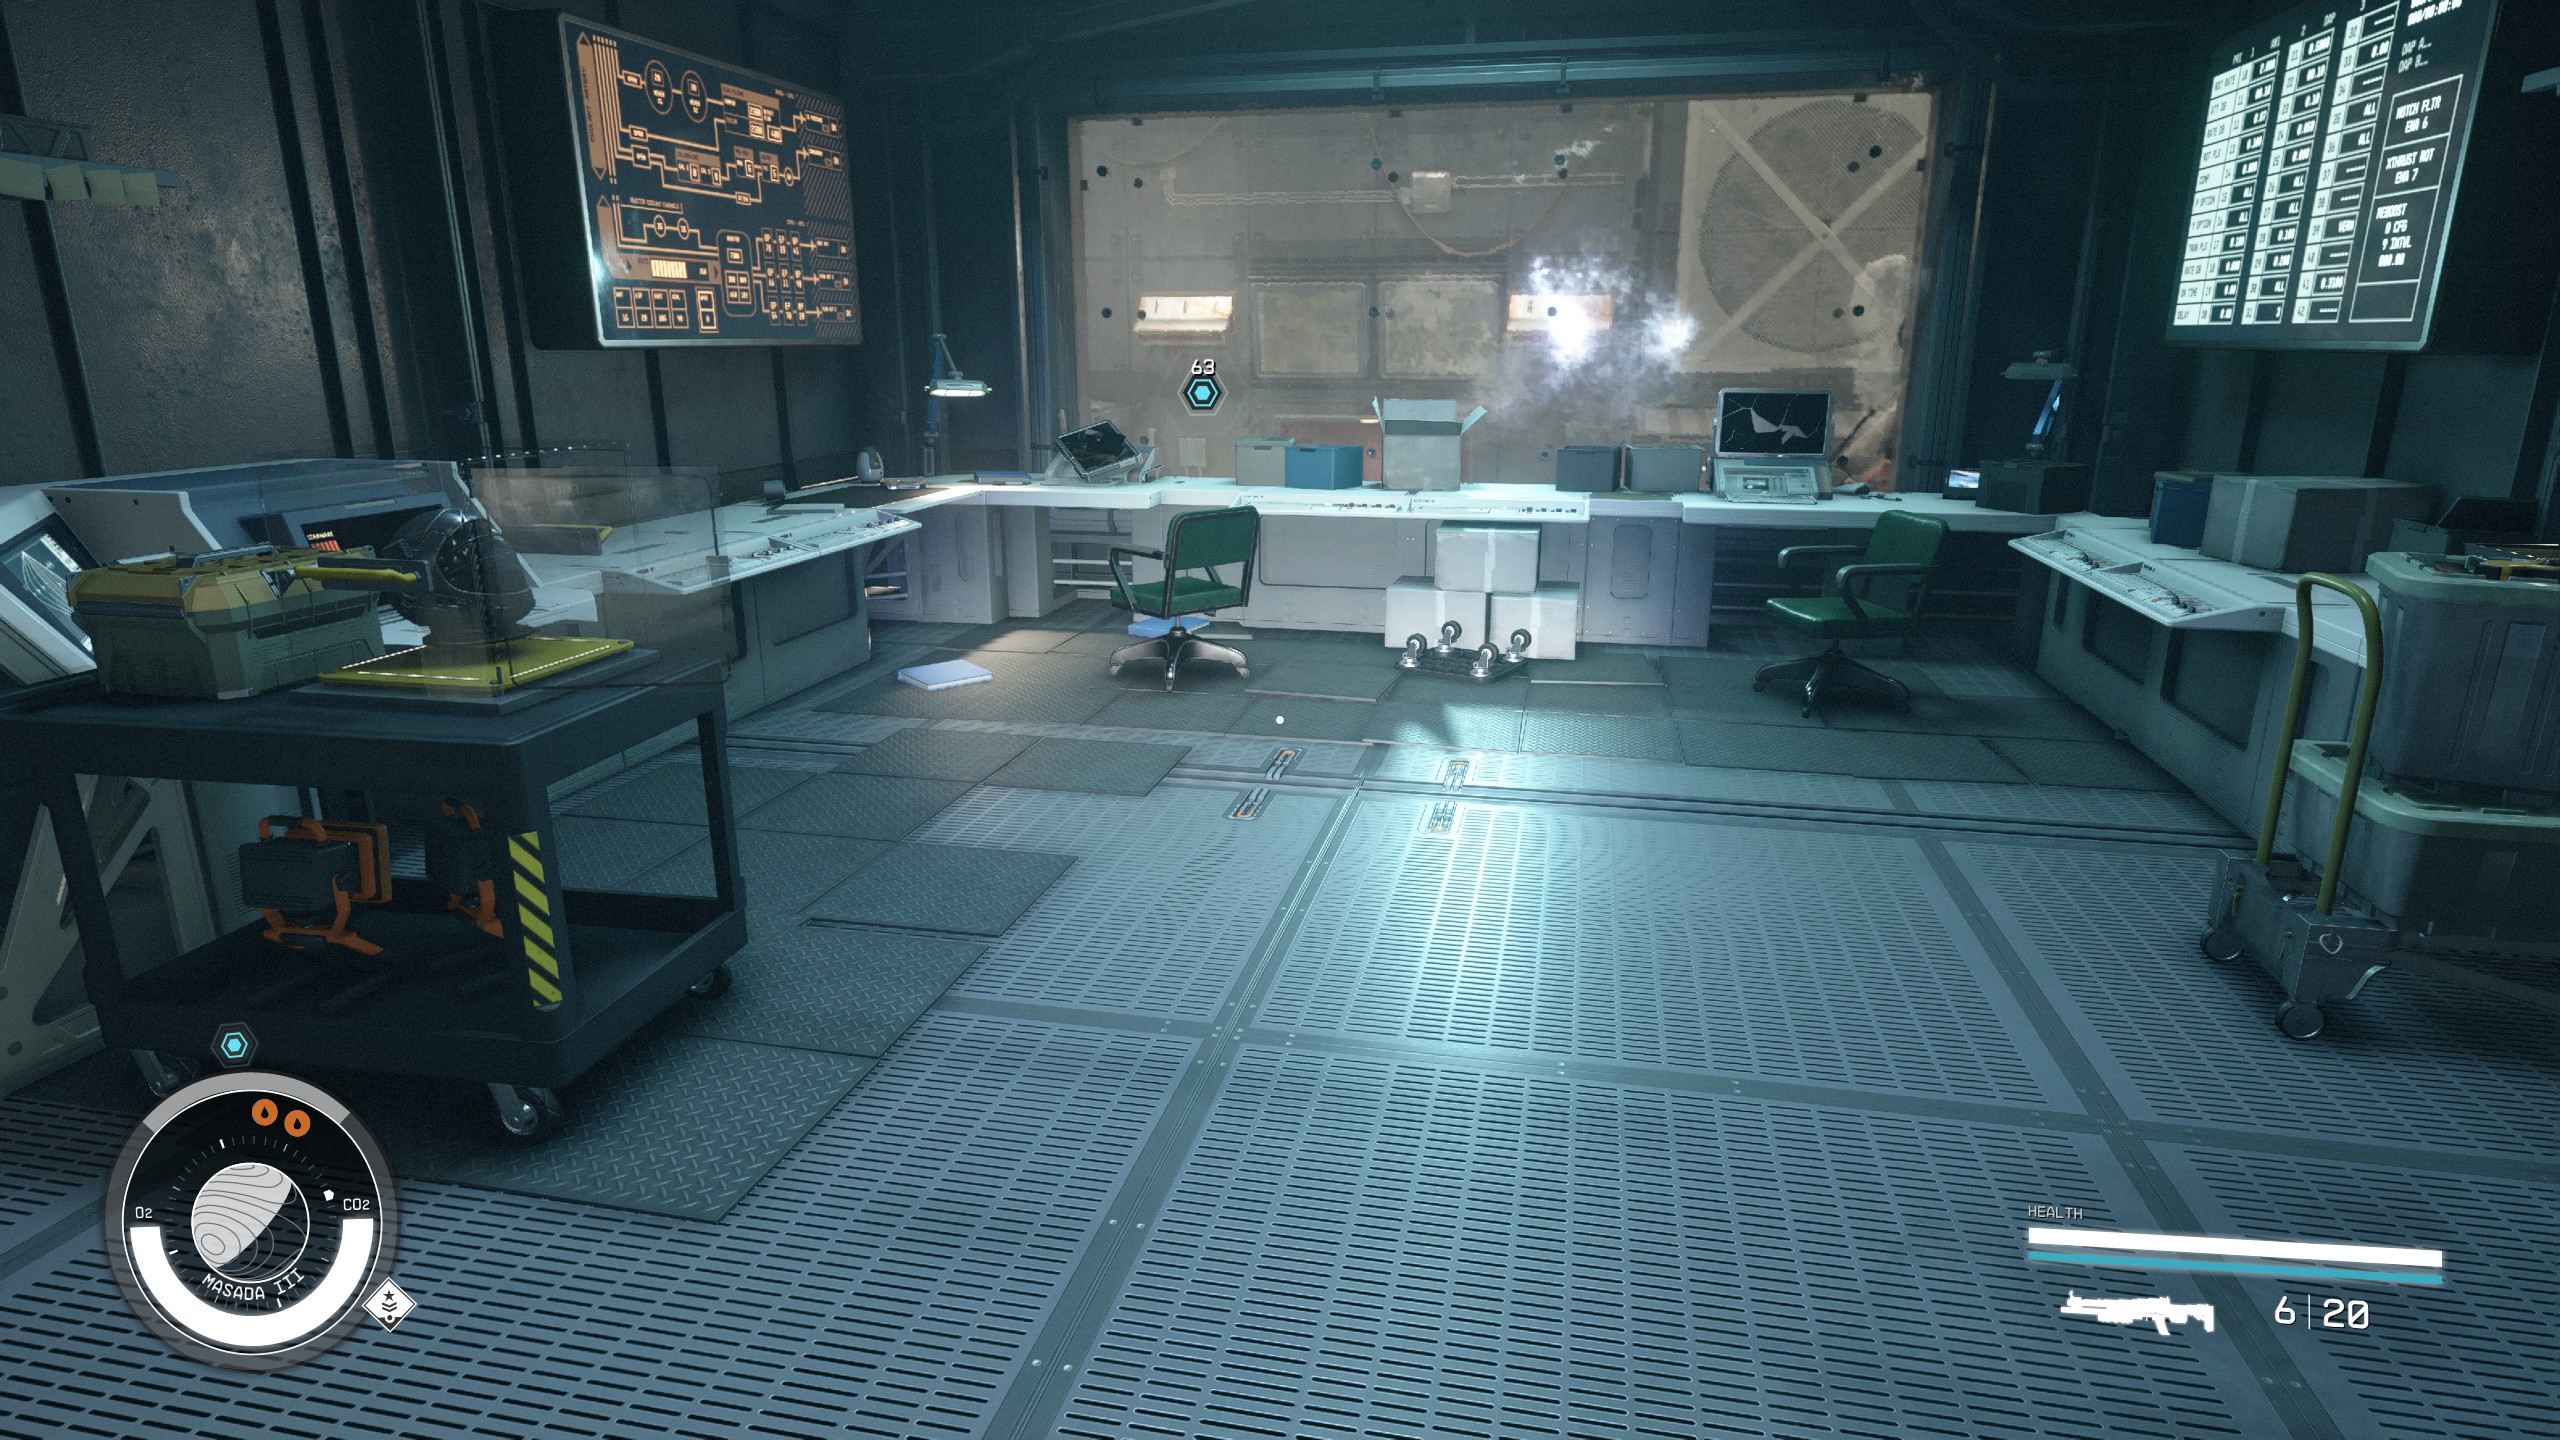
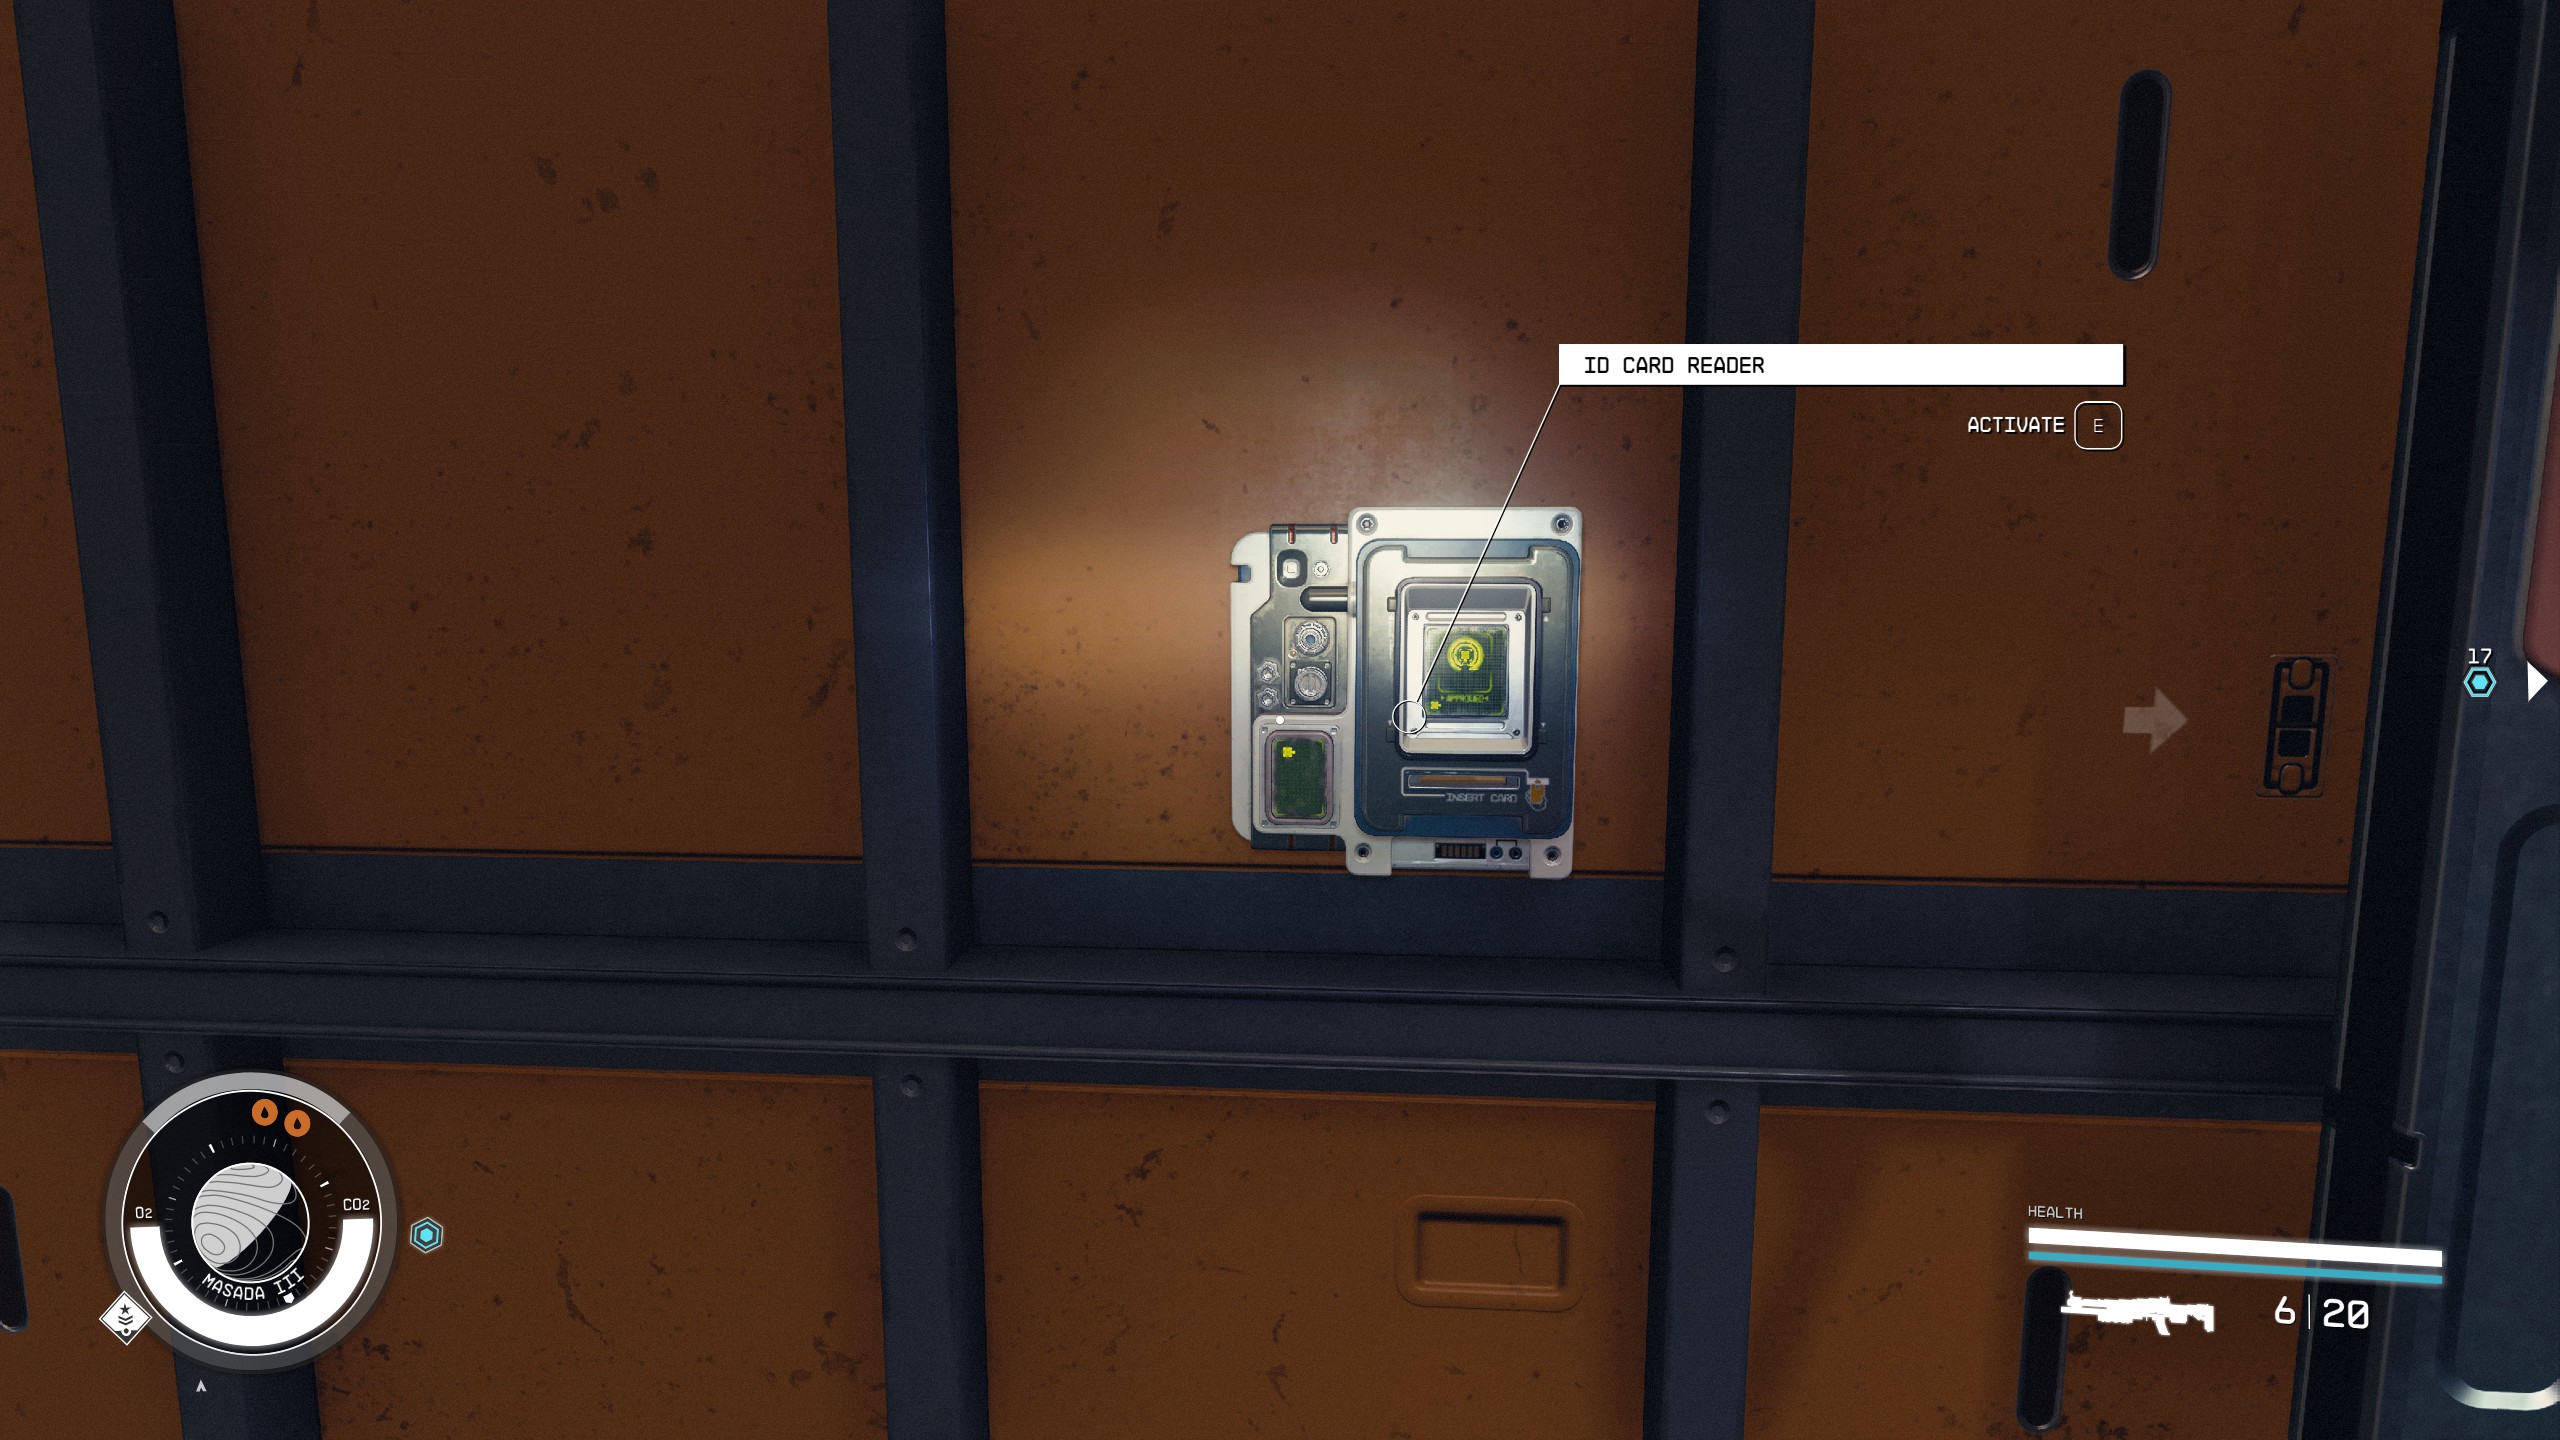
- Once the area is clear you will need to find a keycard. There is one in the control room and another is also dropped by one of the Ecliptic Merc.
- Pick up the keycard from either spot and then walk to the end of the area.
- Use the keycard on the ID Card Reader to open the red door.
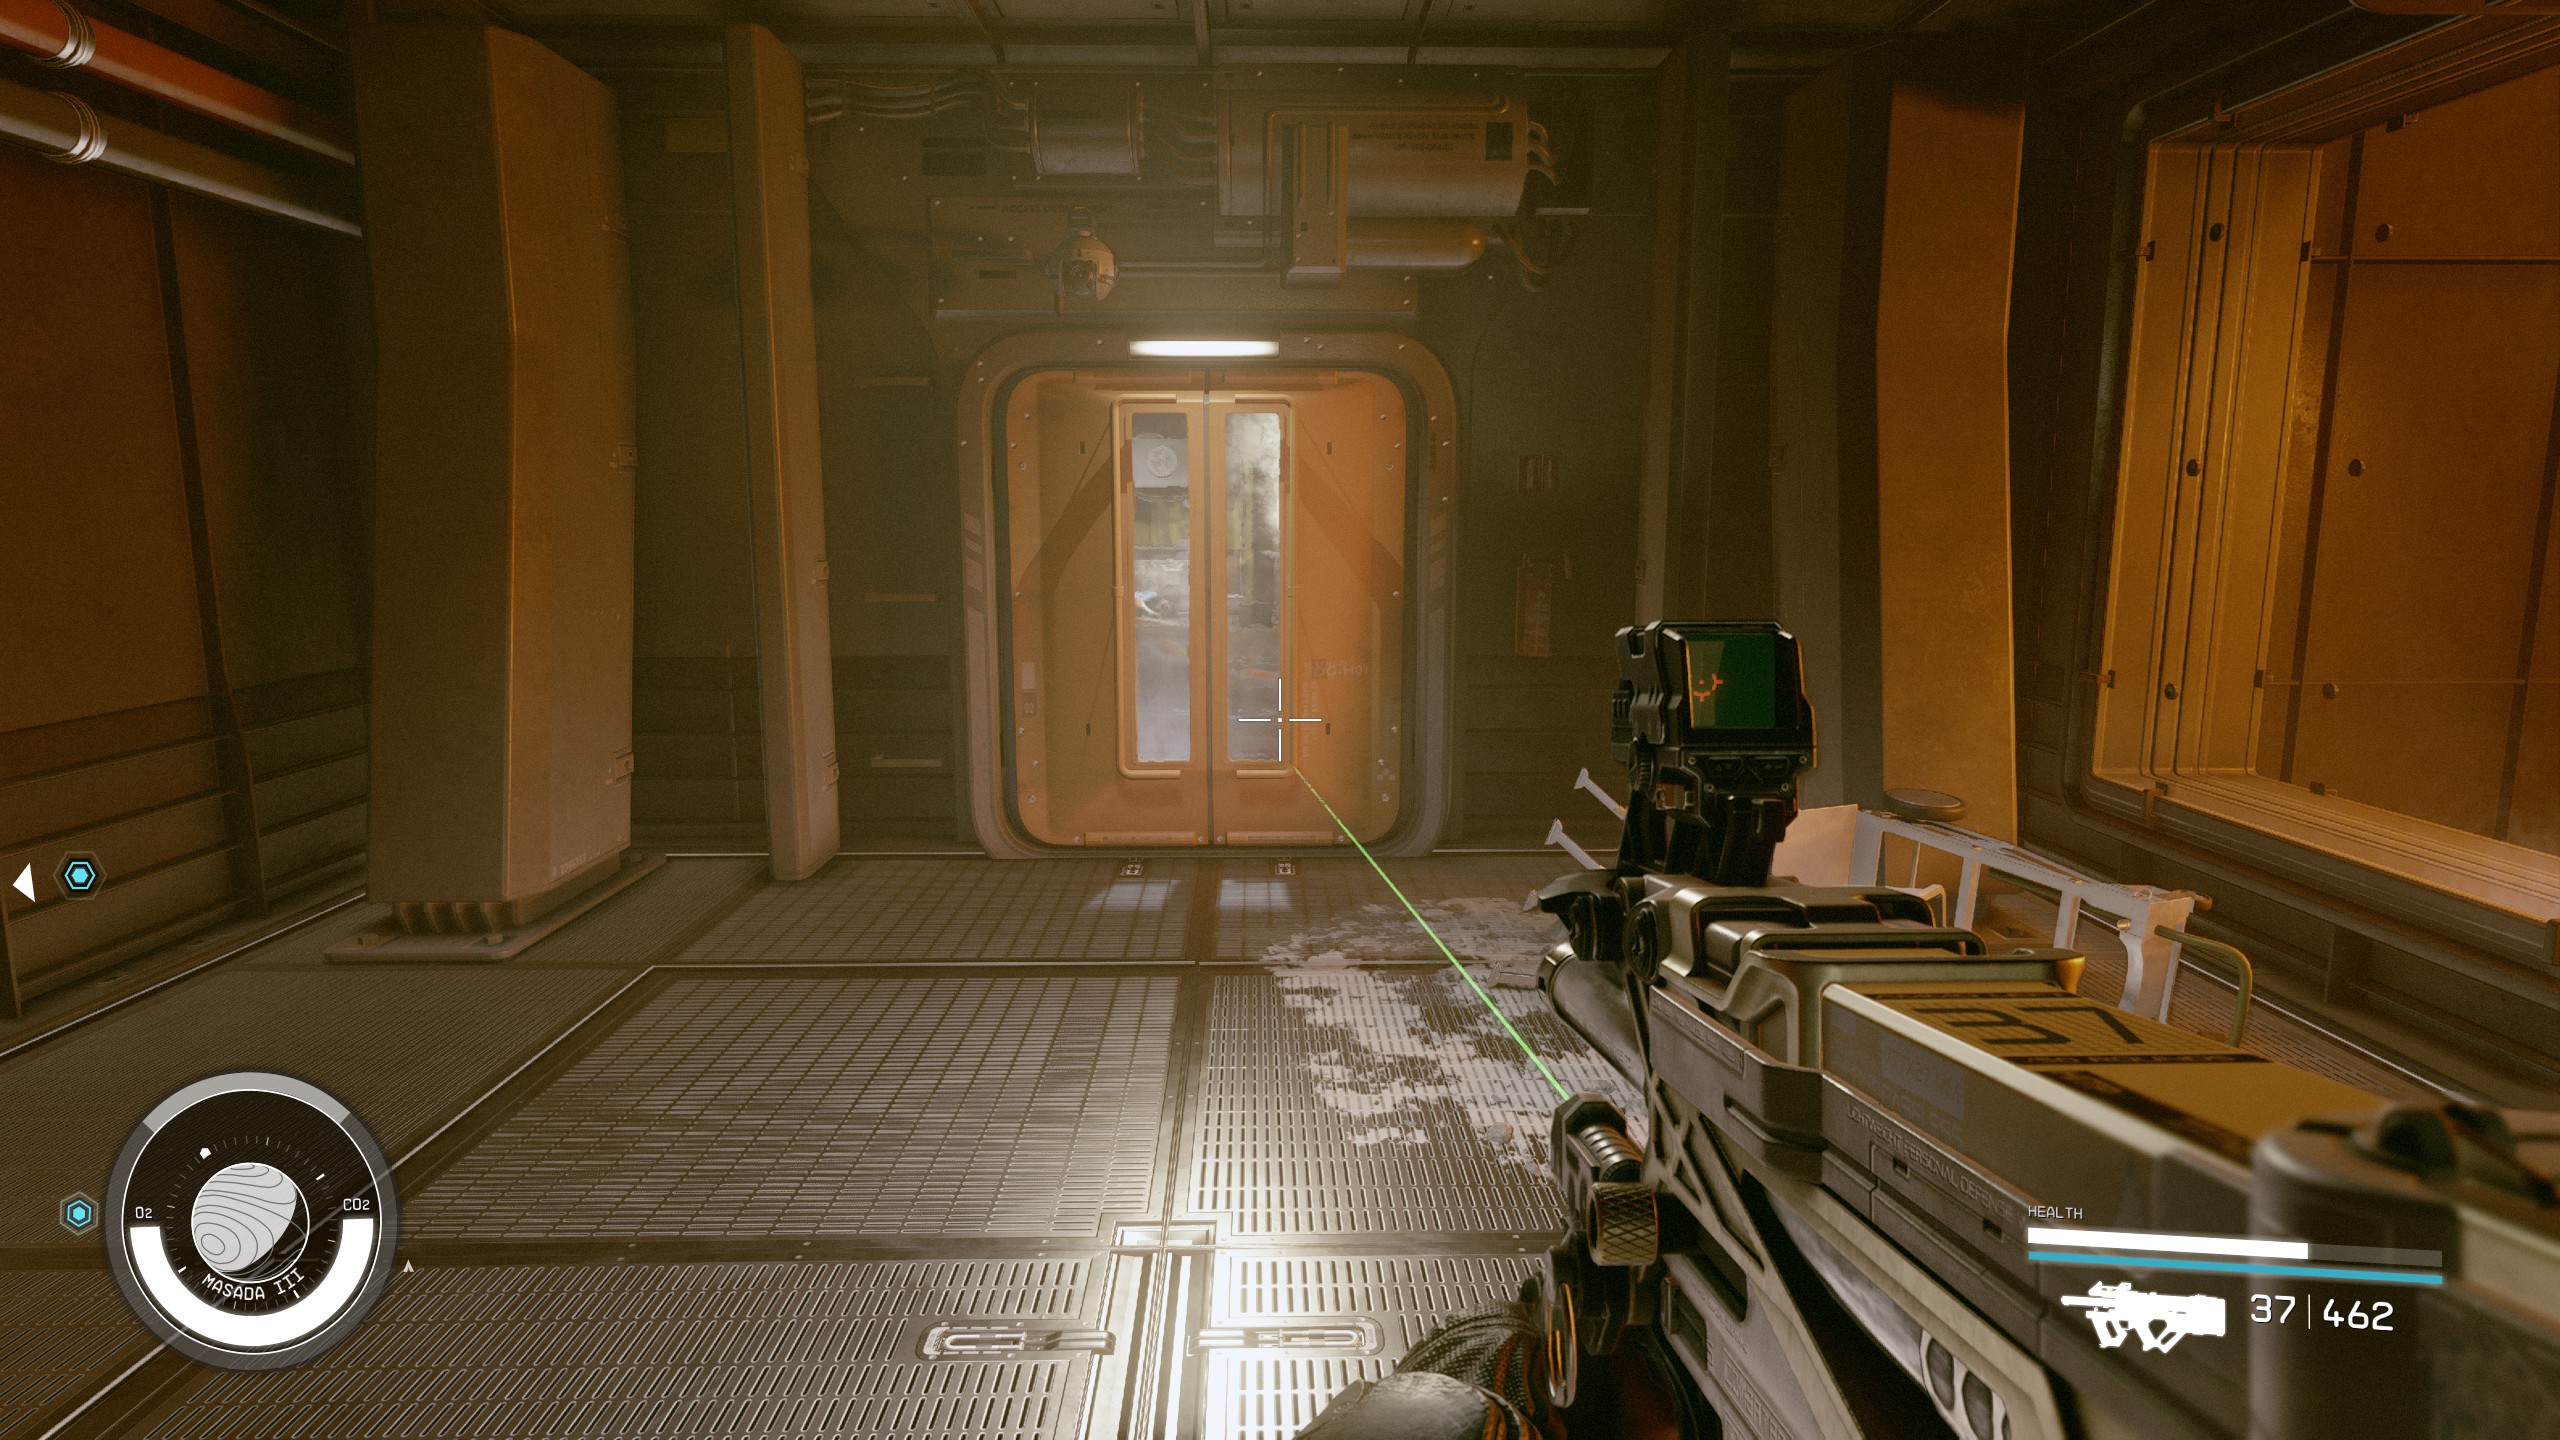
- Walk to the end and enter the Ecliptic Base.
Find the Artifact
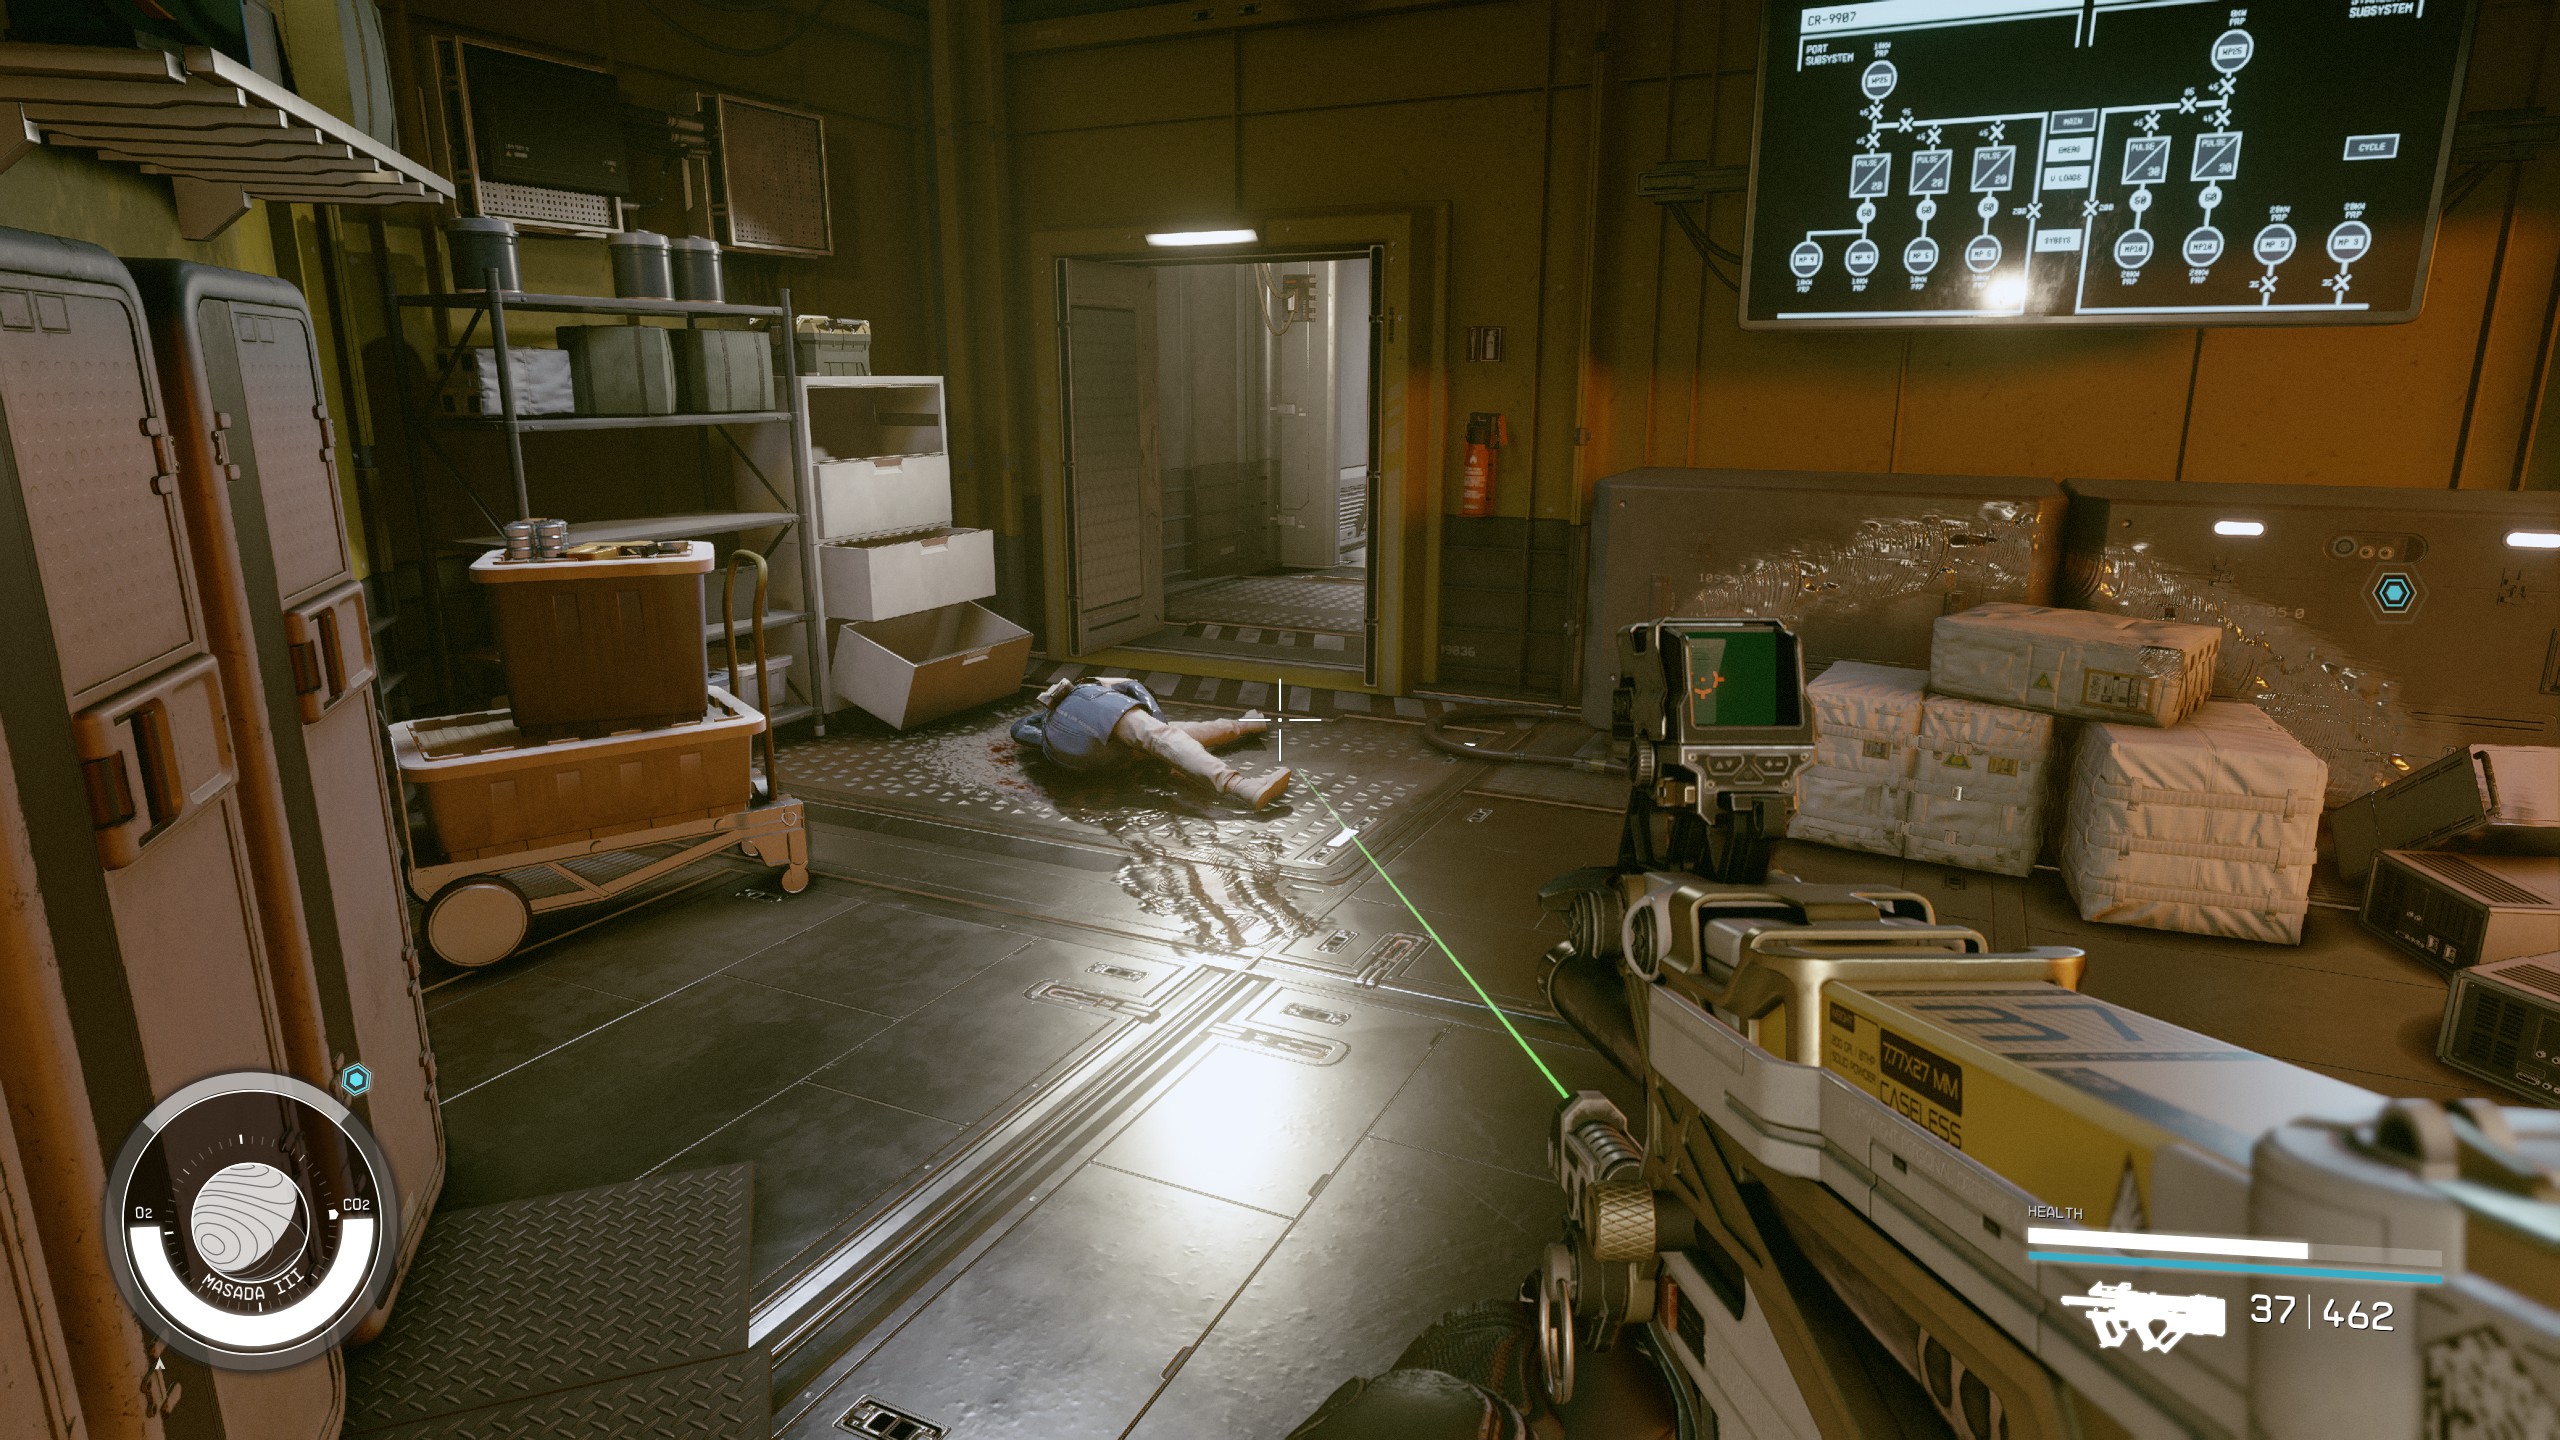
- Walk into the first room and take the door on the right. There are plenty of things to loot in this area, so make sure you check around!
- Go down the stairs in the room with the tree.
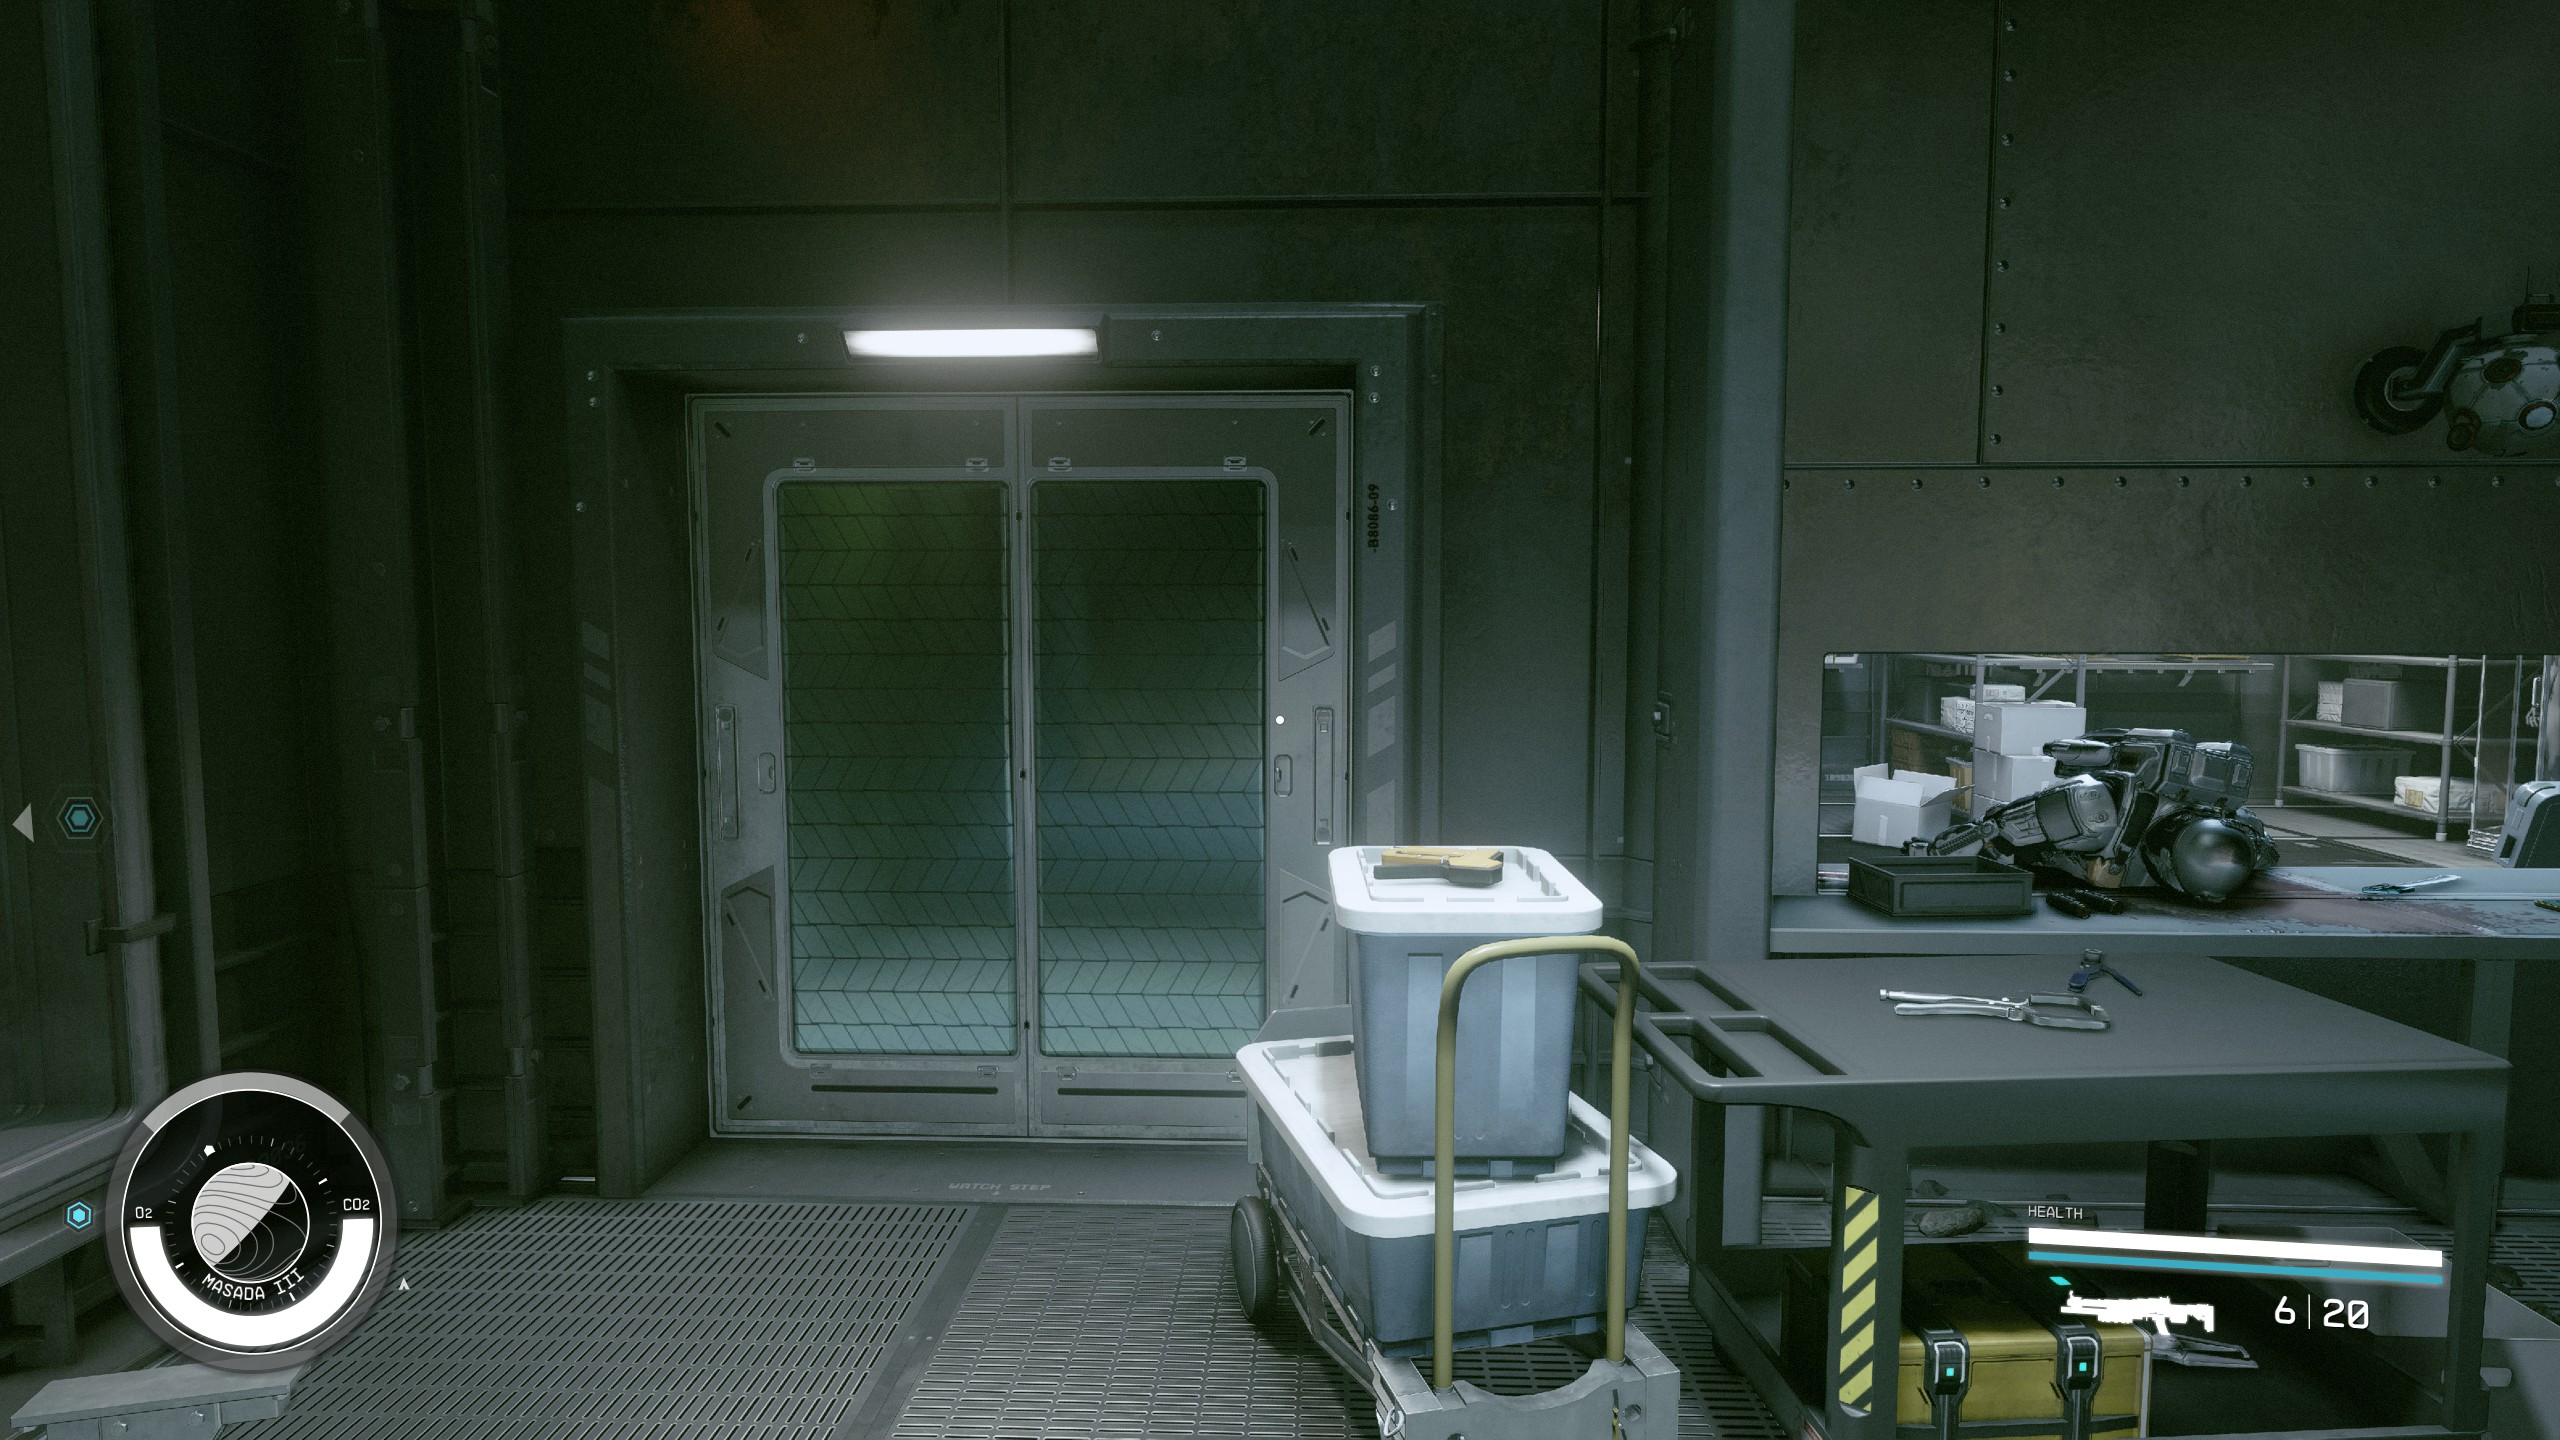
- There are two locked doors in this room. You can unlock them to obtain some more loot. You will need Advanced Security to unlock them both.
- Go through the hallway on the left and around the corner. Go down the stairs in at the end of the hallway.
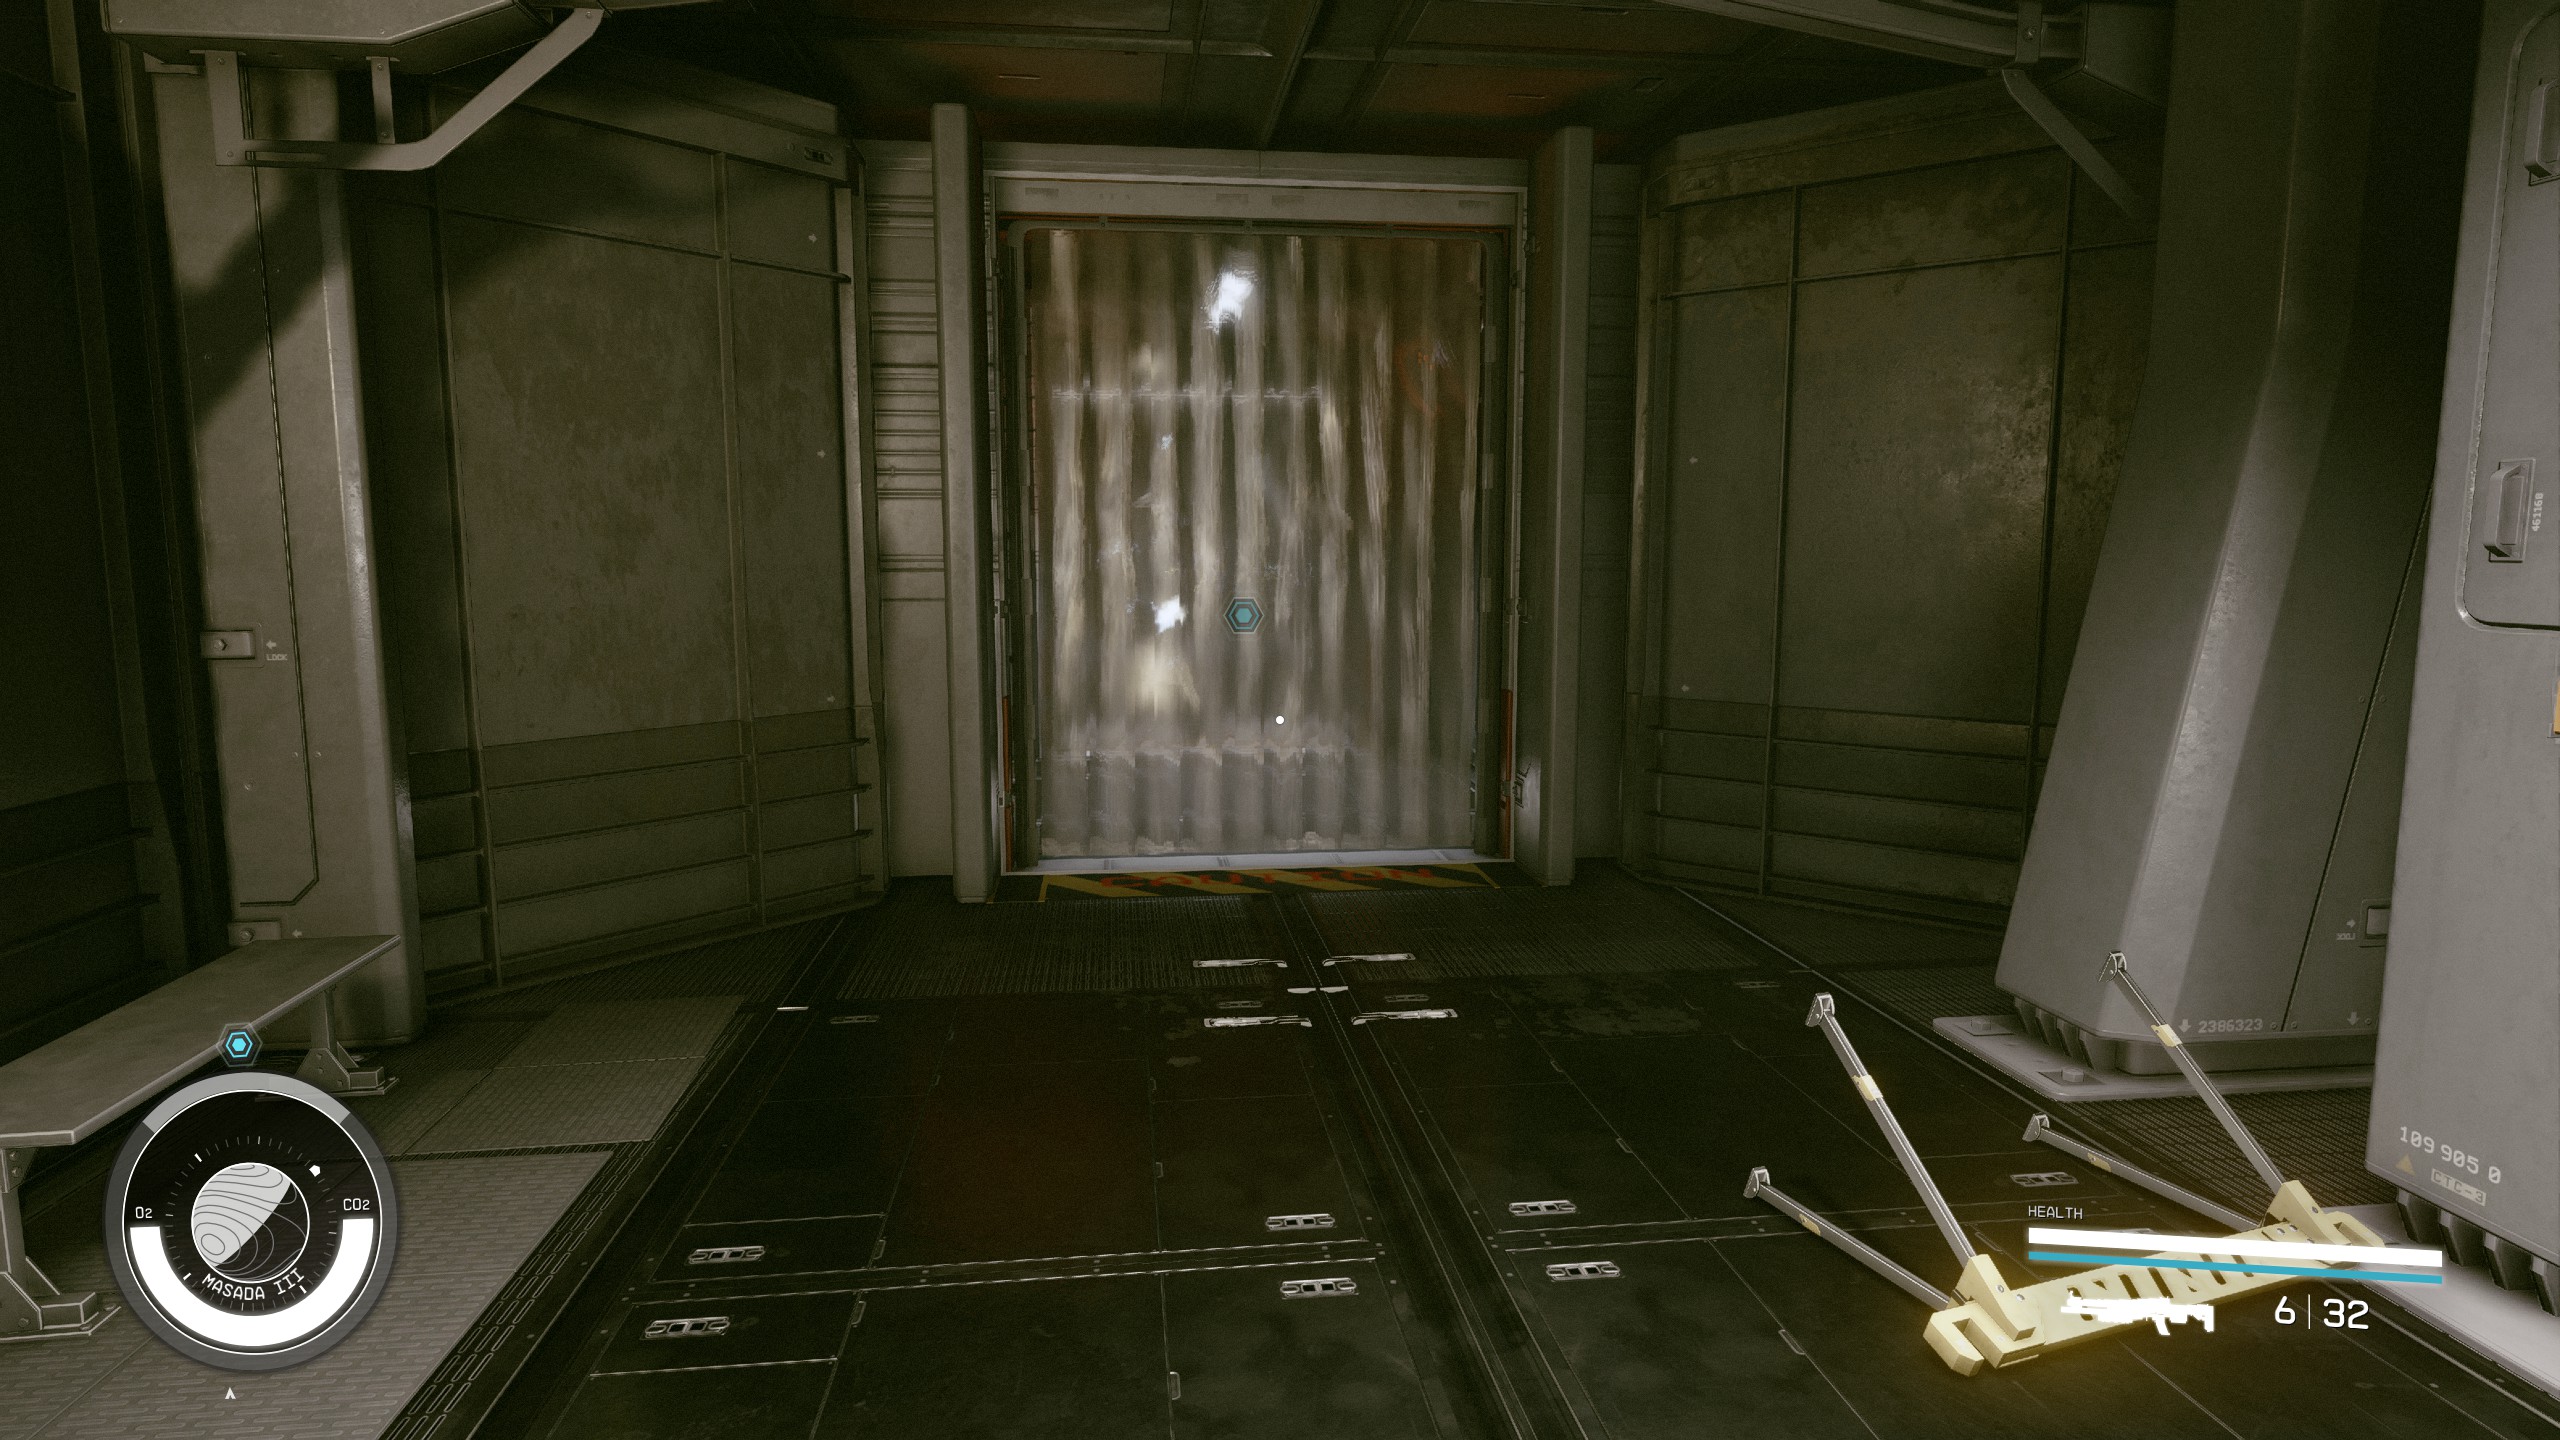
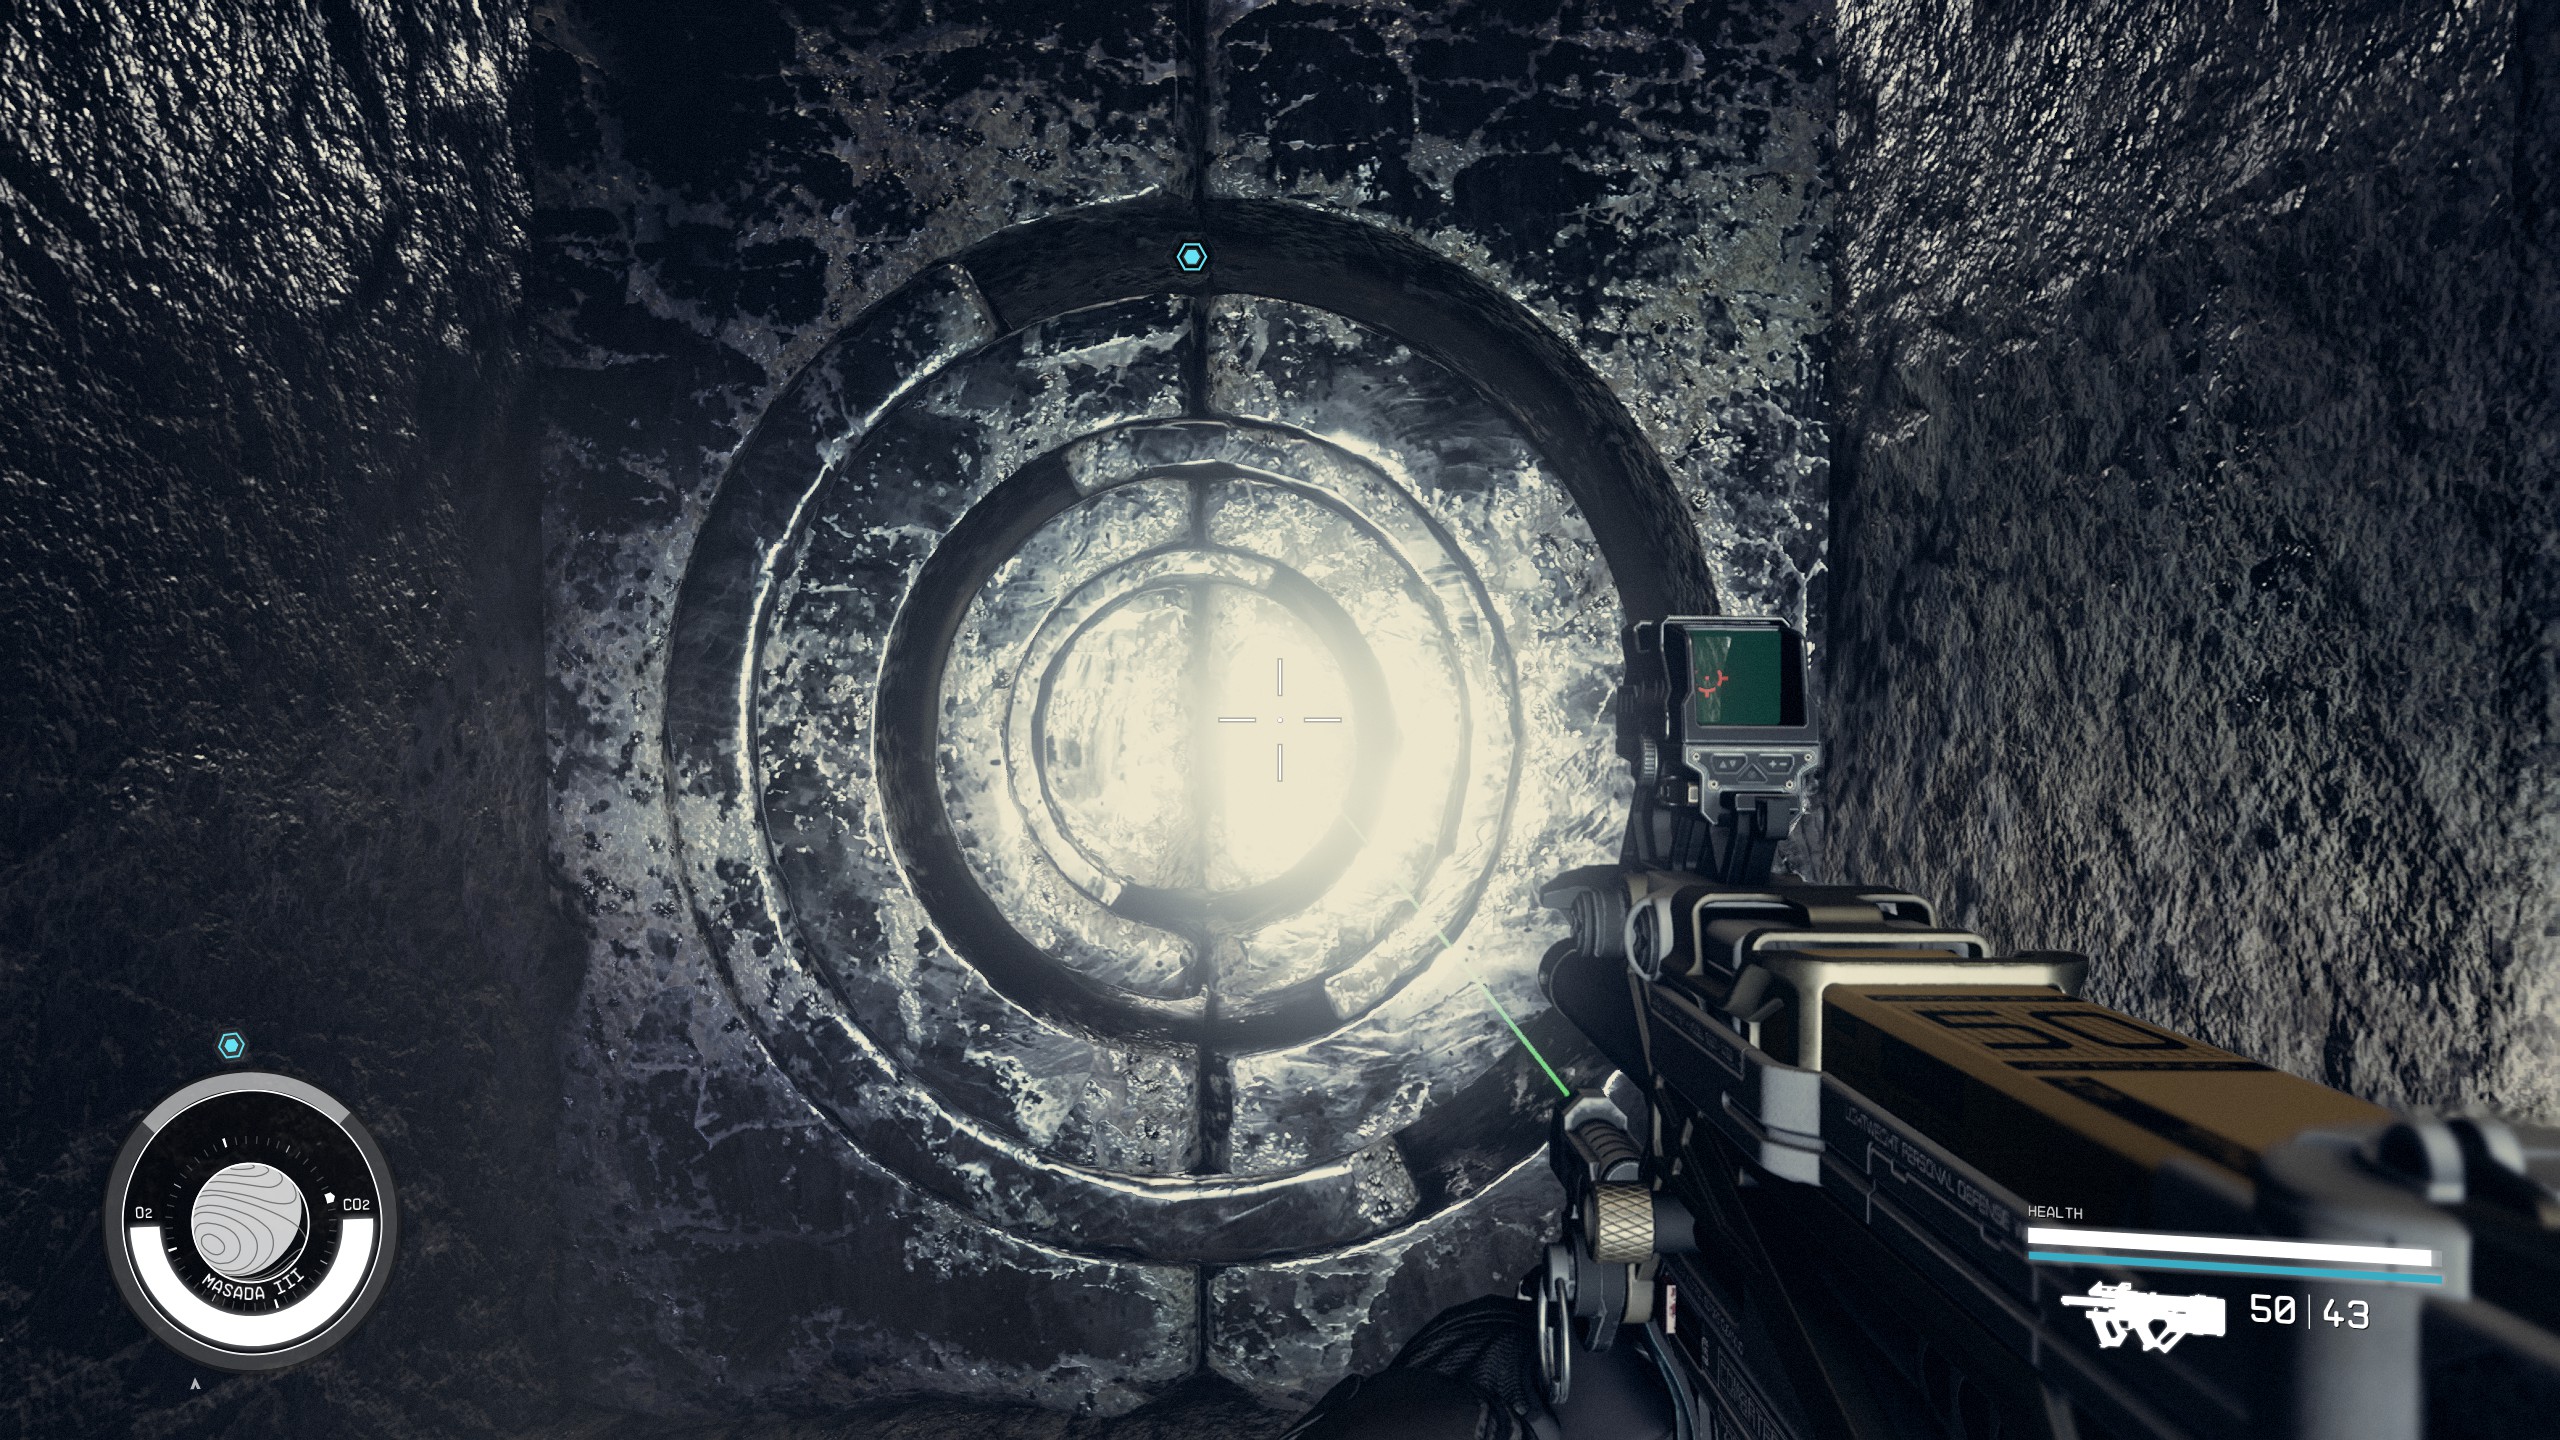
- Keep following the path around to some dust prevention doors. Walk through them and you will come to an anamoly.
Enter the Anomaly
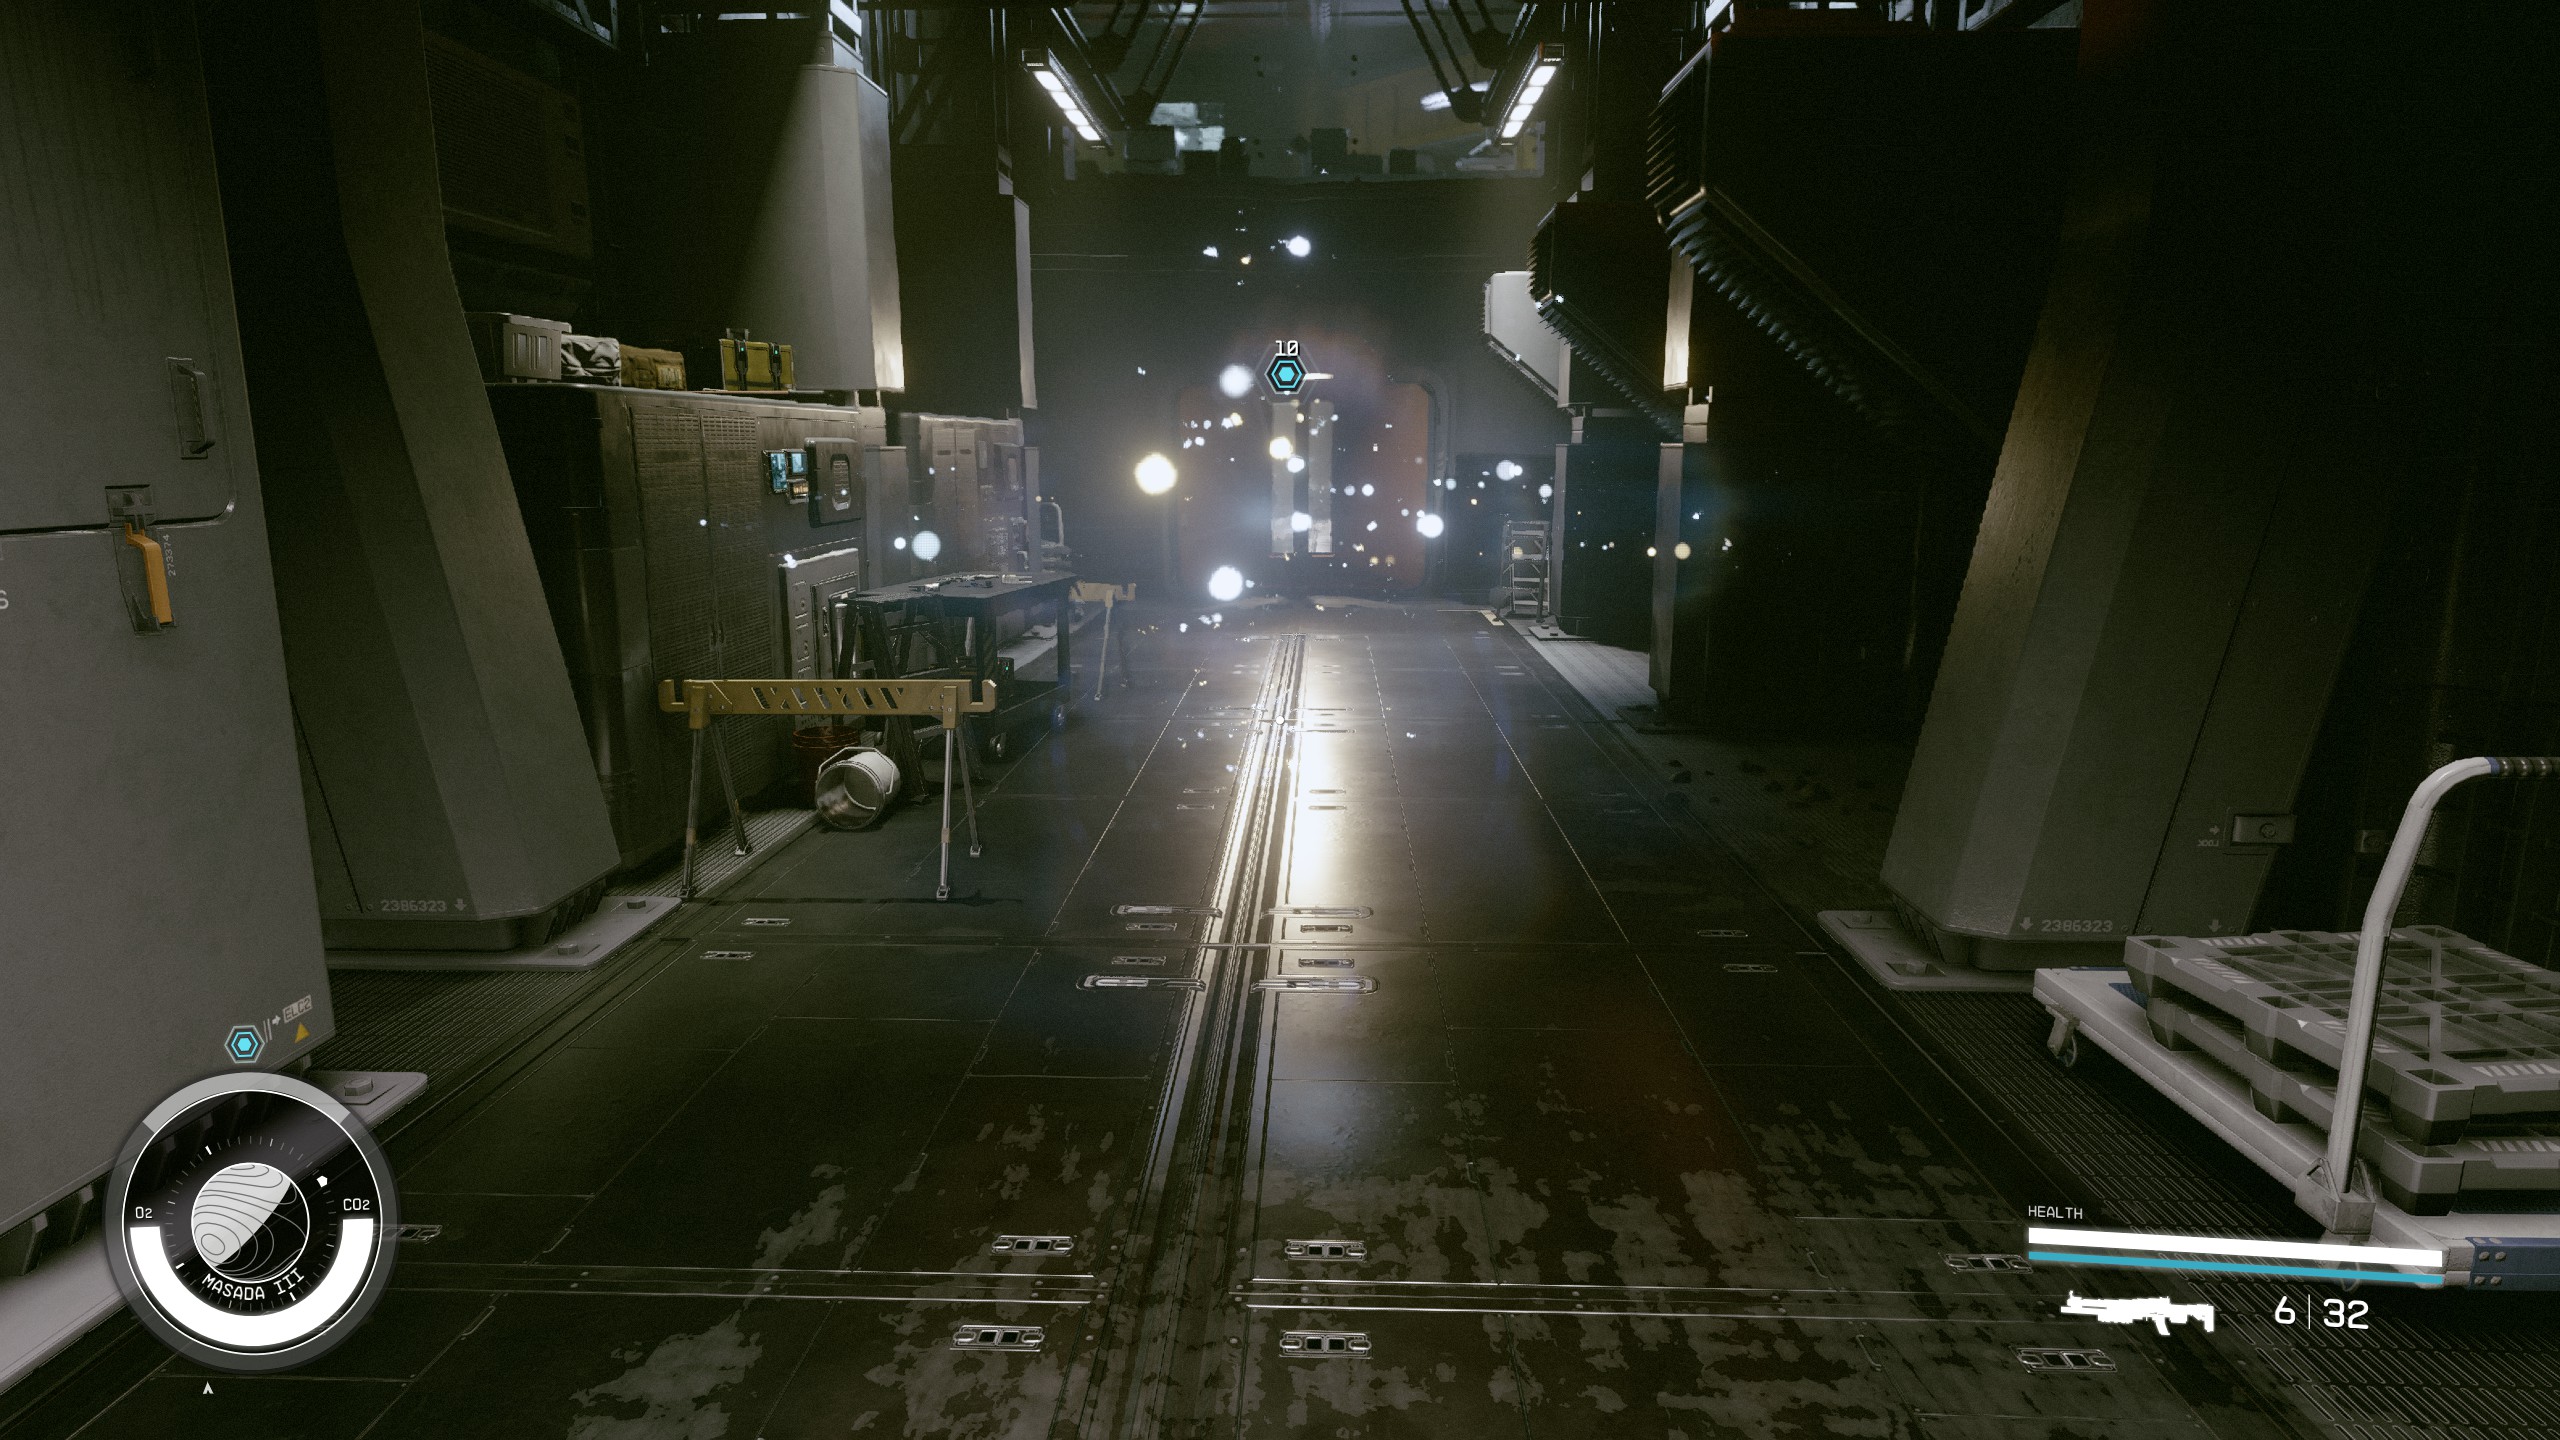
- Enter the anomaly at the instructions of the Emissary. You will be in a familiar place.
Leave the Anomaly
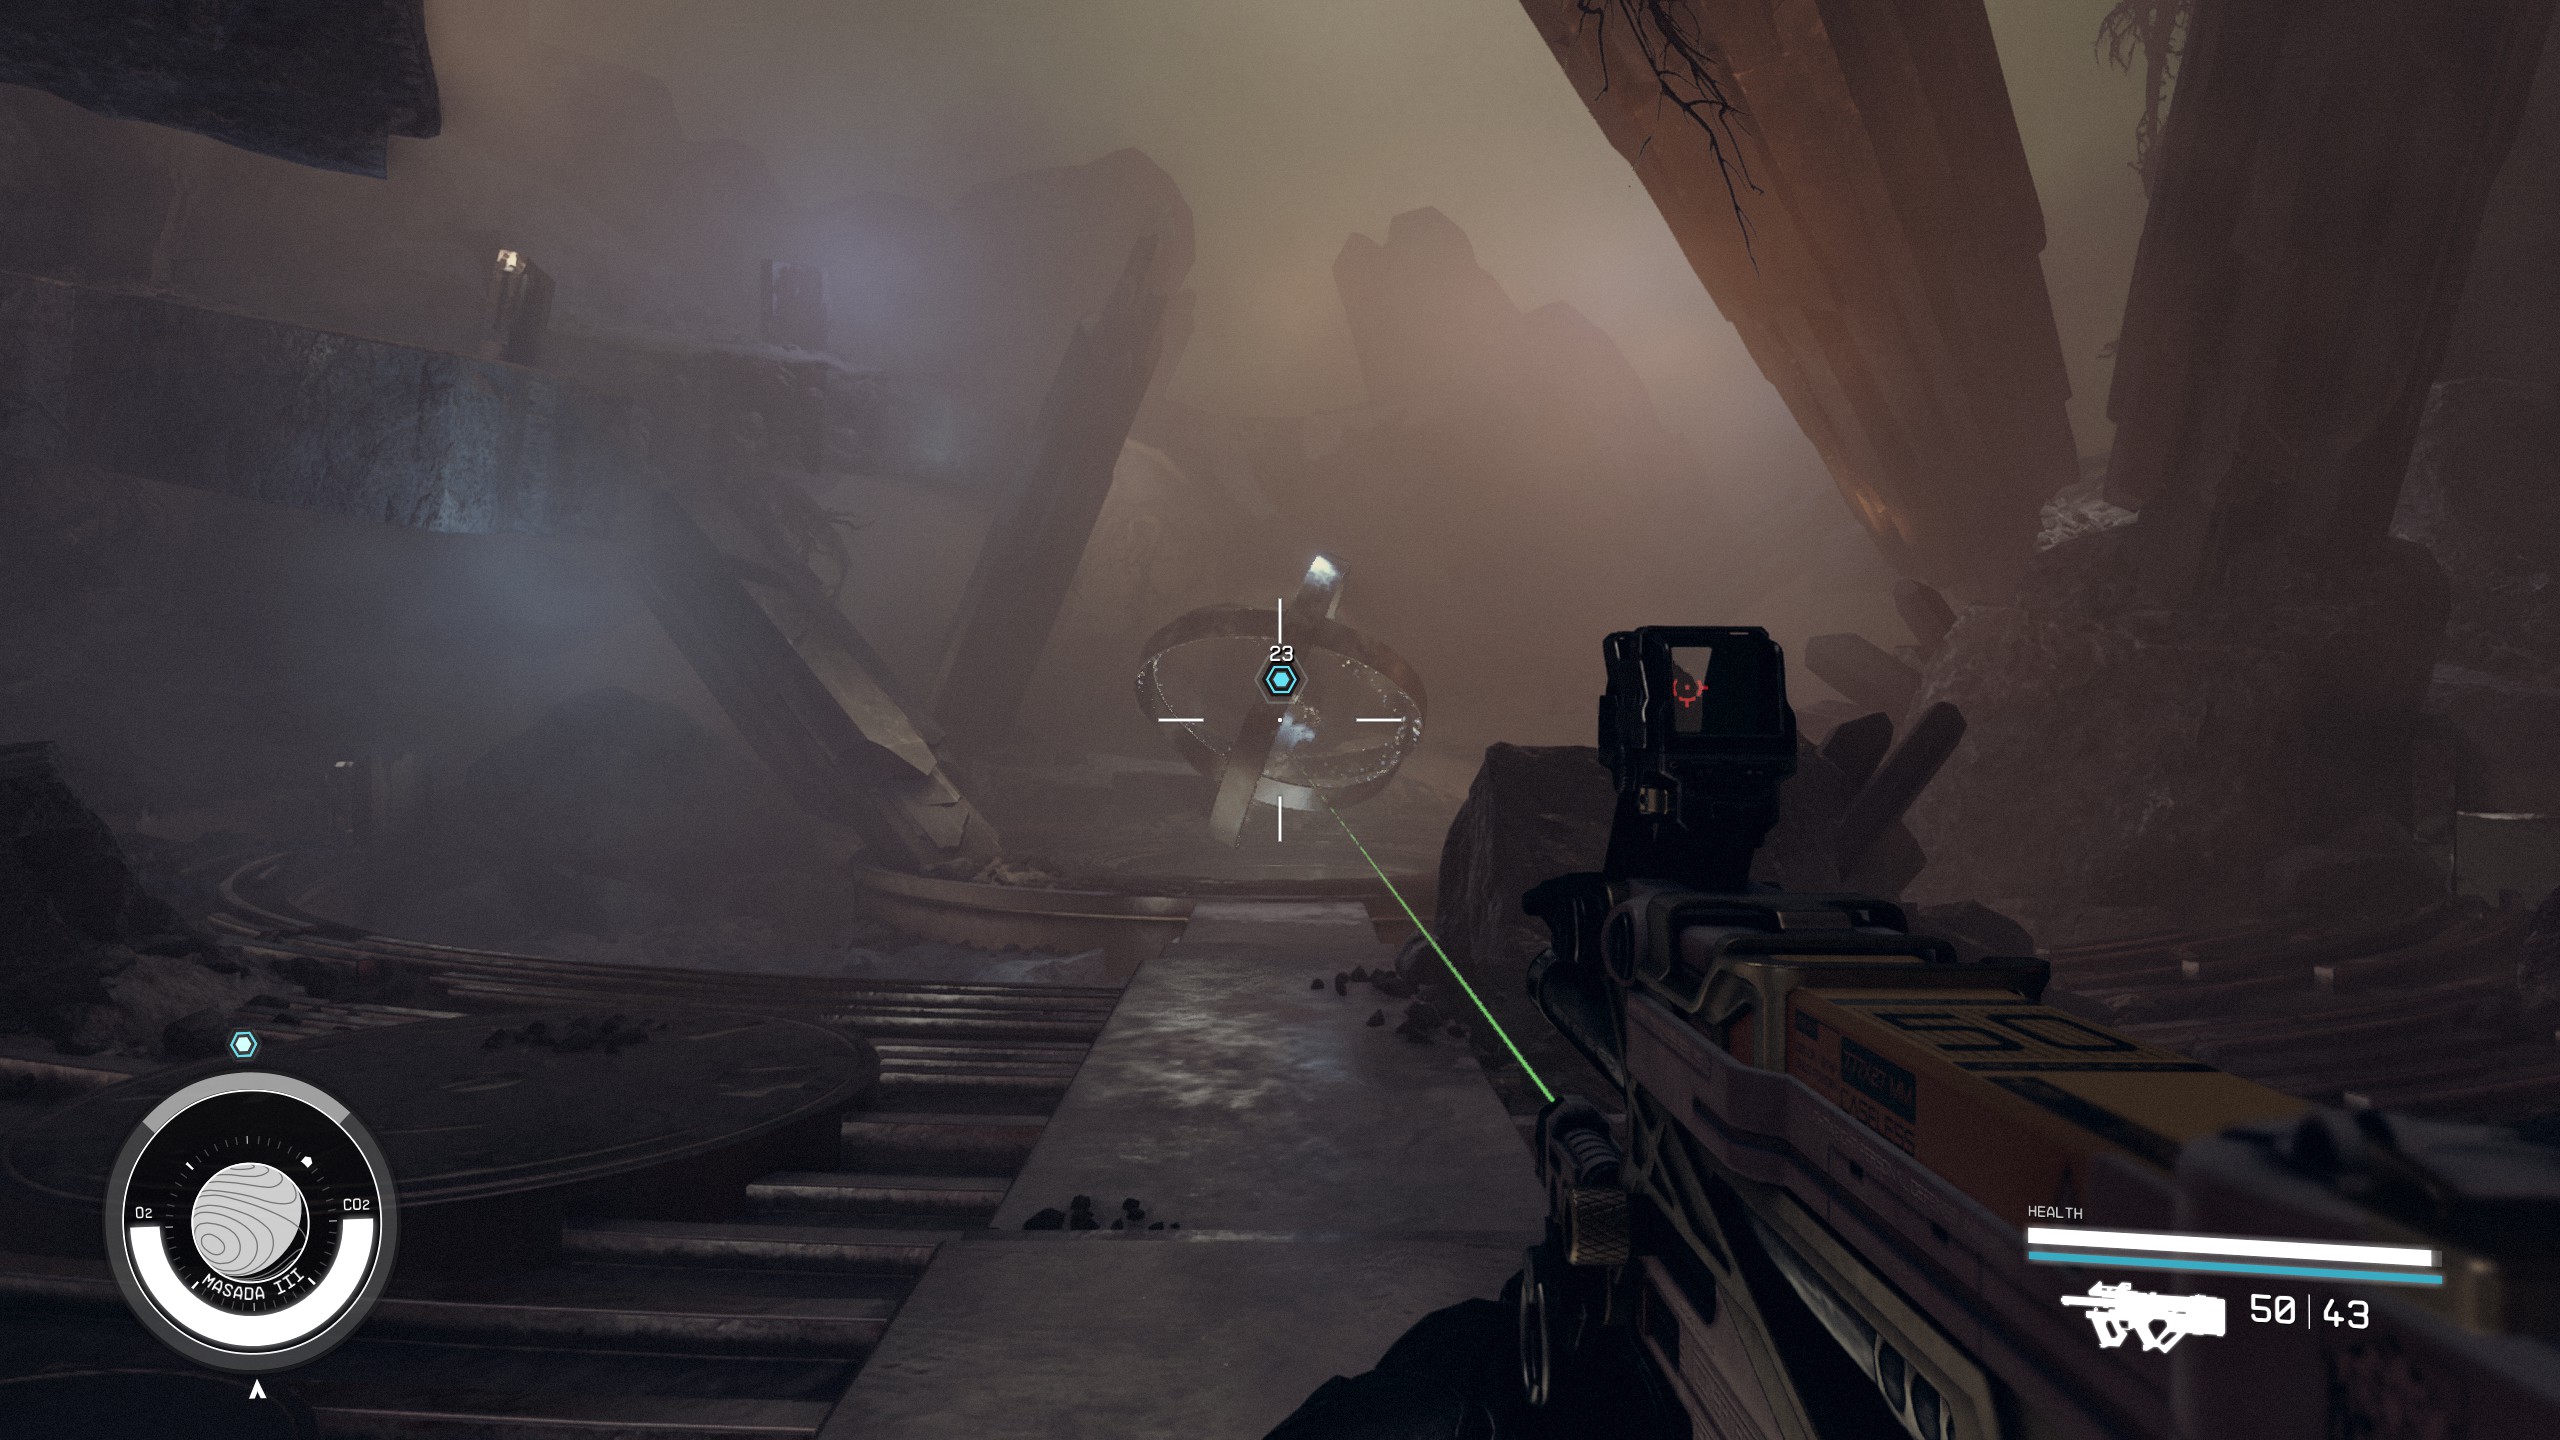
- Walk up the rock bridge and to the area where the Artifact should be.
- Take the anomaly back to the Ecliptic Base.
Defeat the Starborn
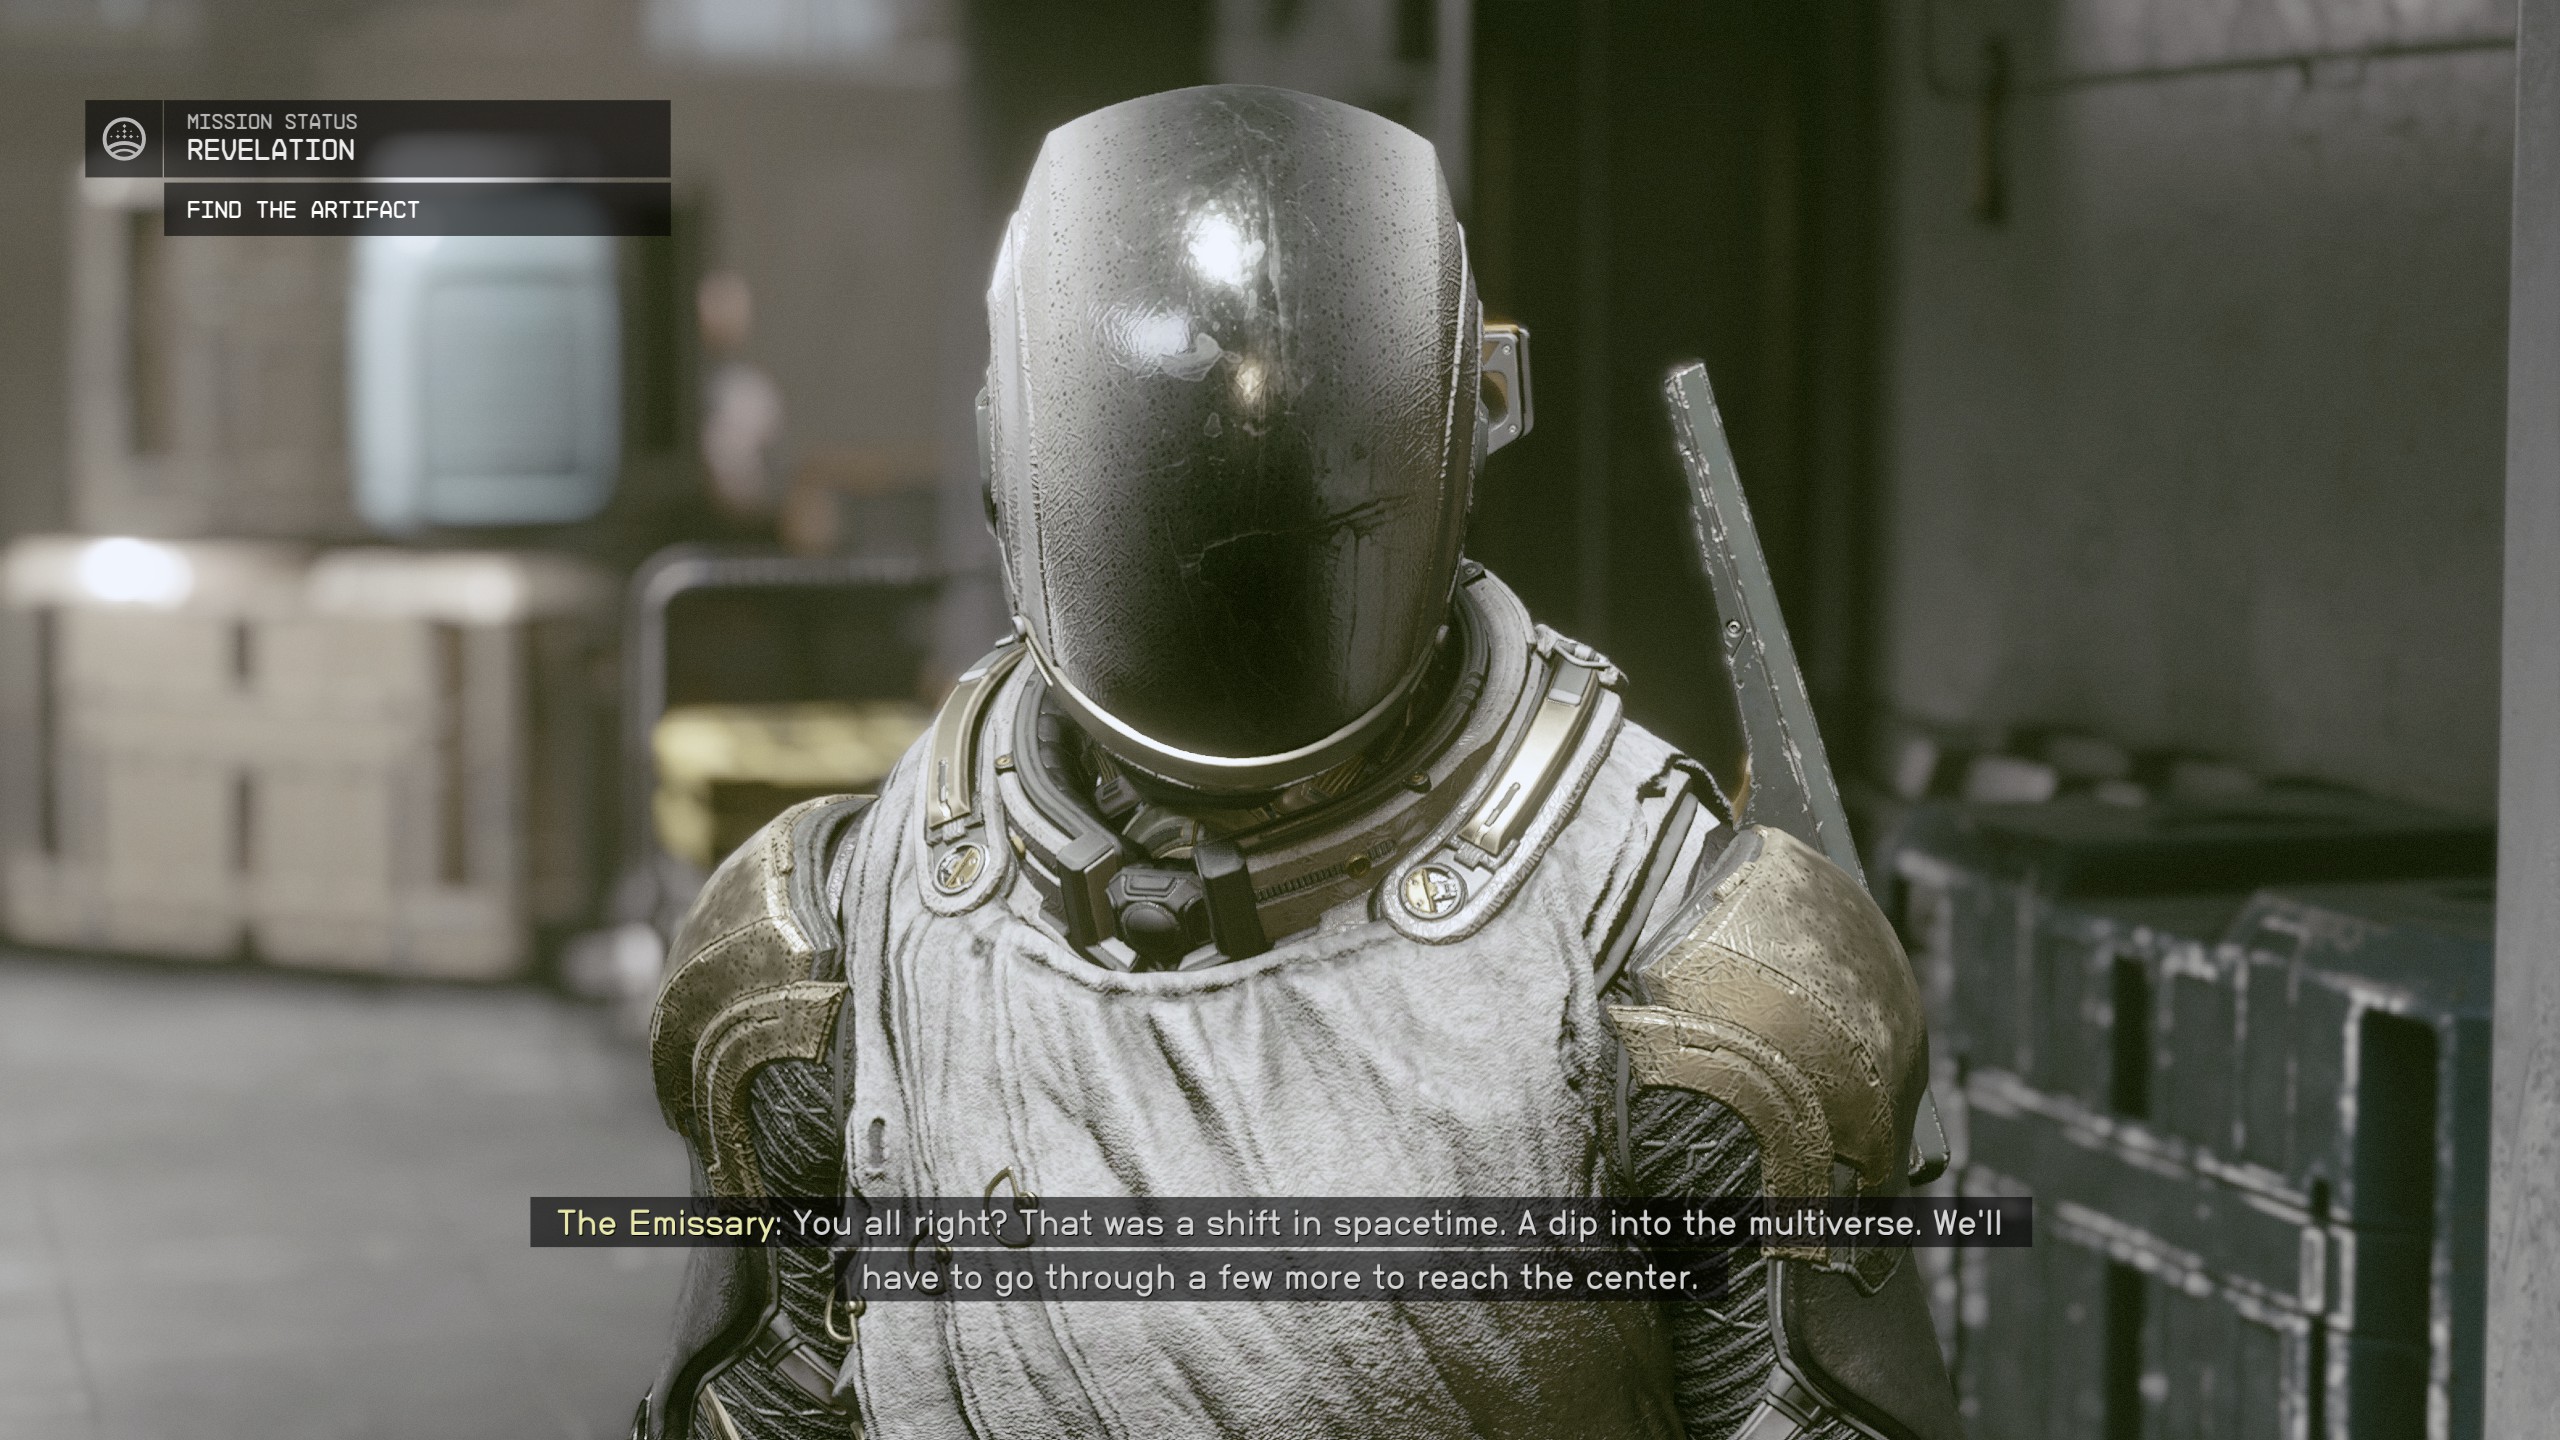
- The Emissary will stop you and let you know that this is normal and that we will need to go through several more anamolies to reach the center.
- Keep walking stright and you will come to a large room. You will be immedately attacked by more Starborn, some robots and ceiling turrets. Destroy the security and the Starborn before investigating th area.
[Optional] Disable the Defenses
- Once of the Starborn will drop a keycard. Pick this up in order to gain access to the control room above.
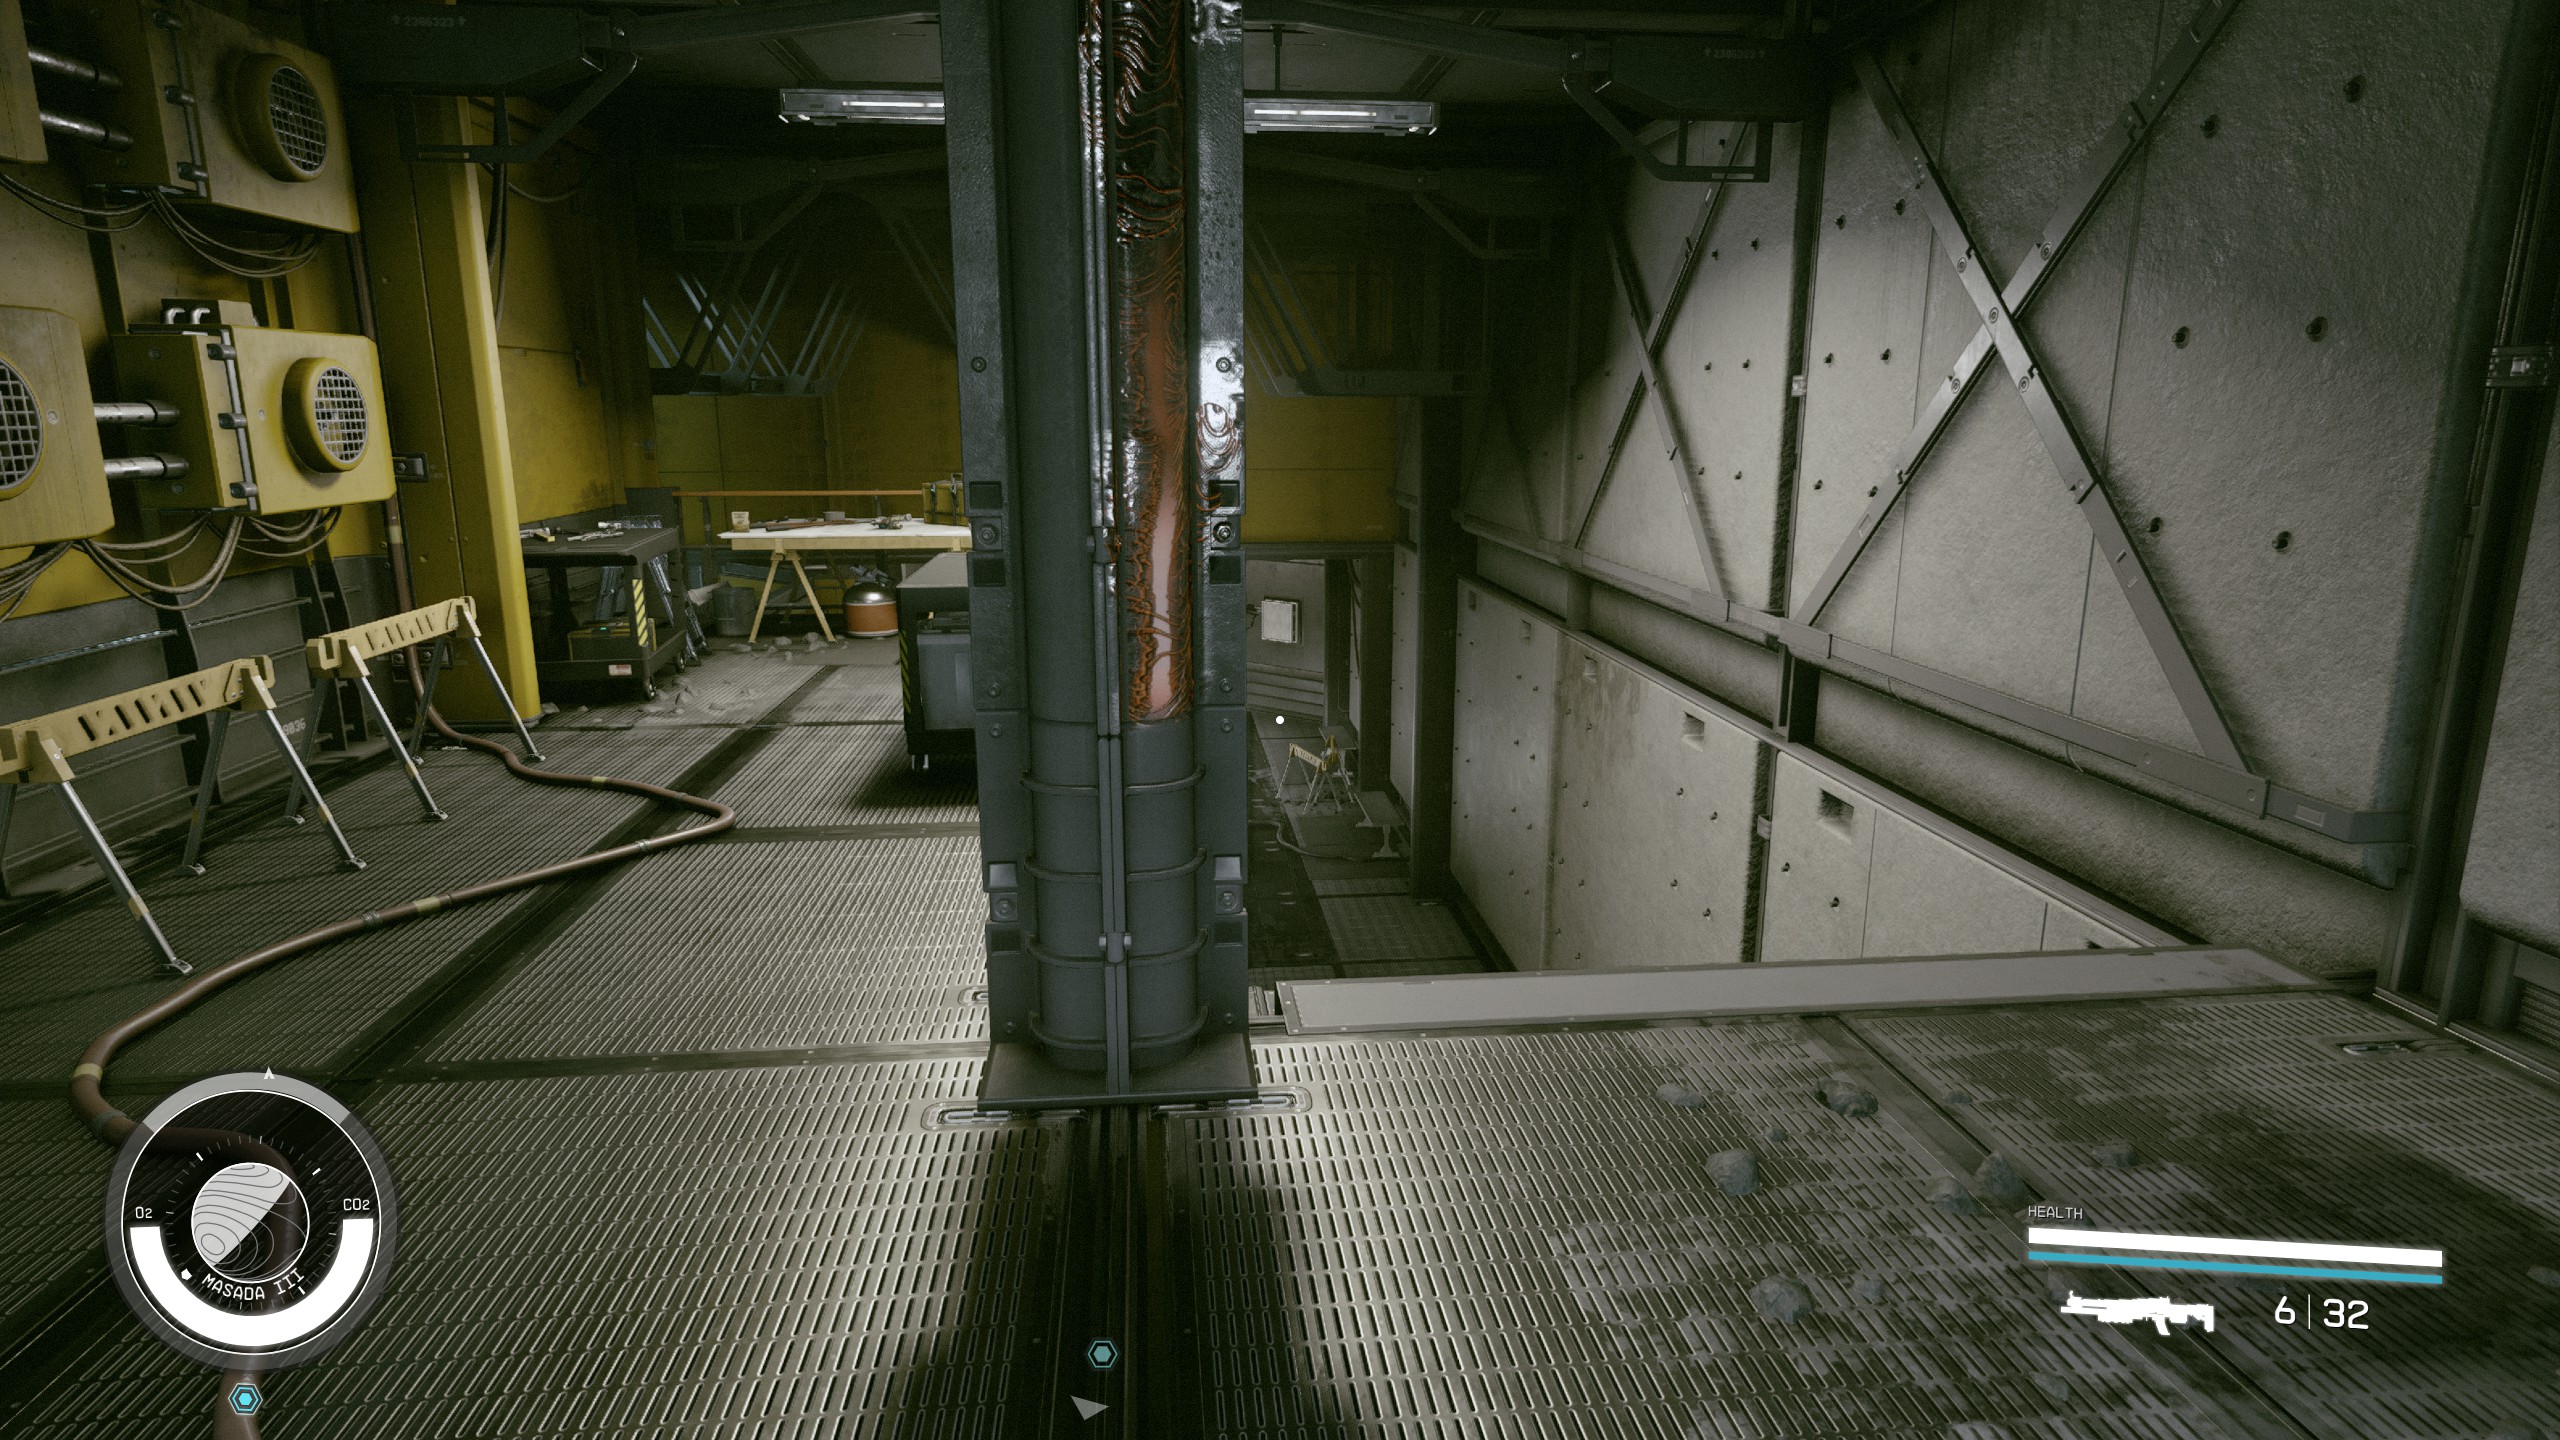
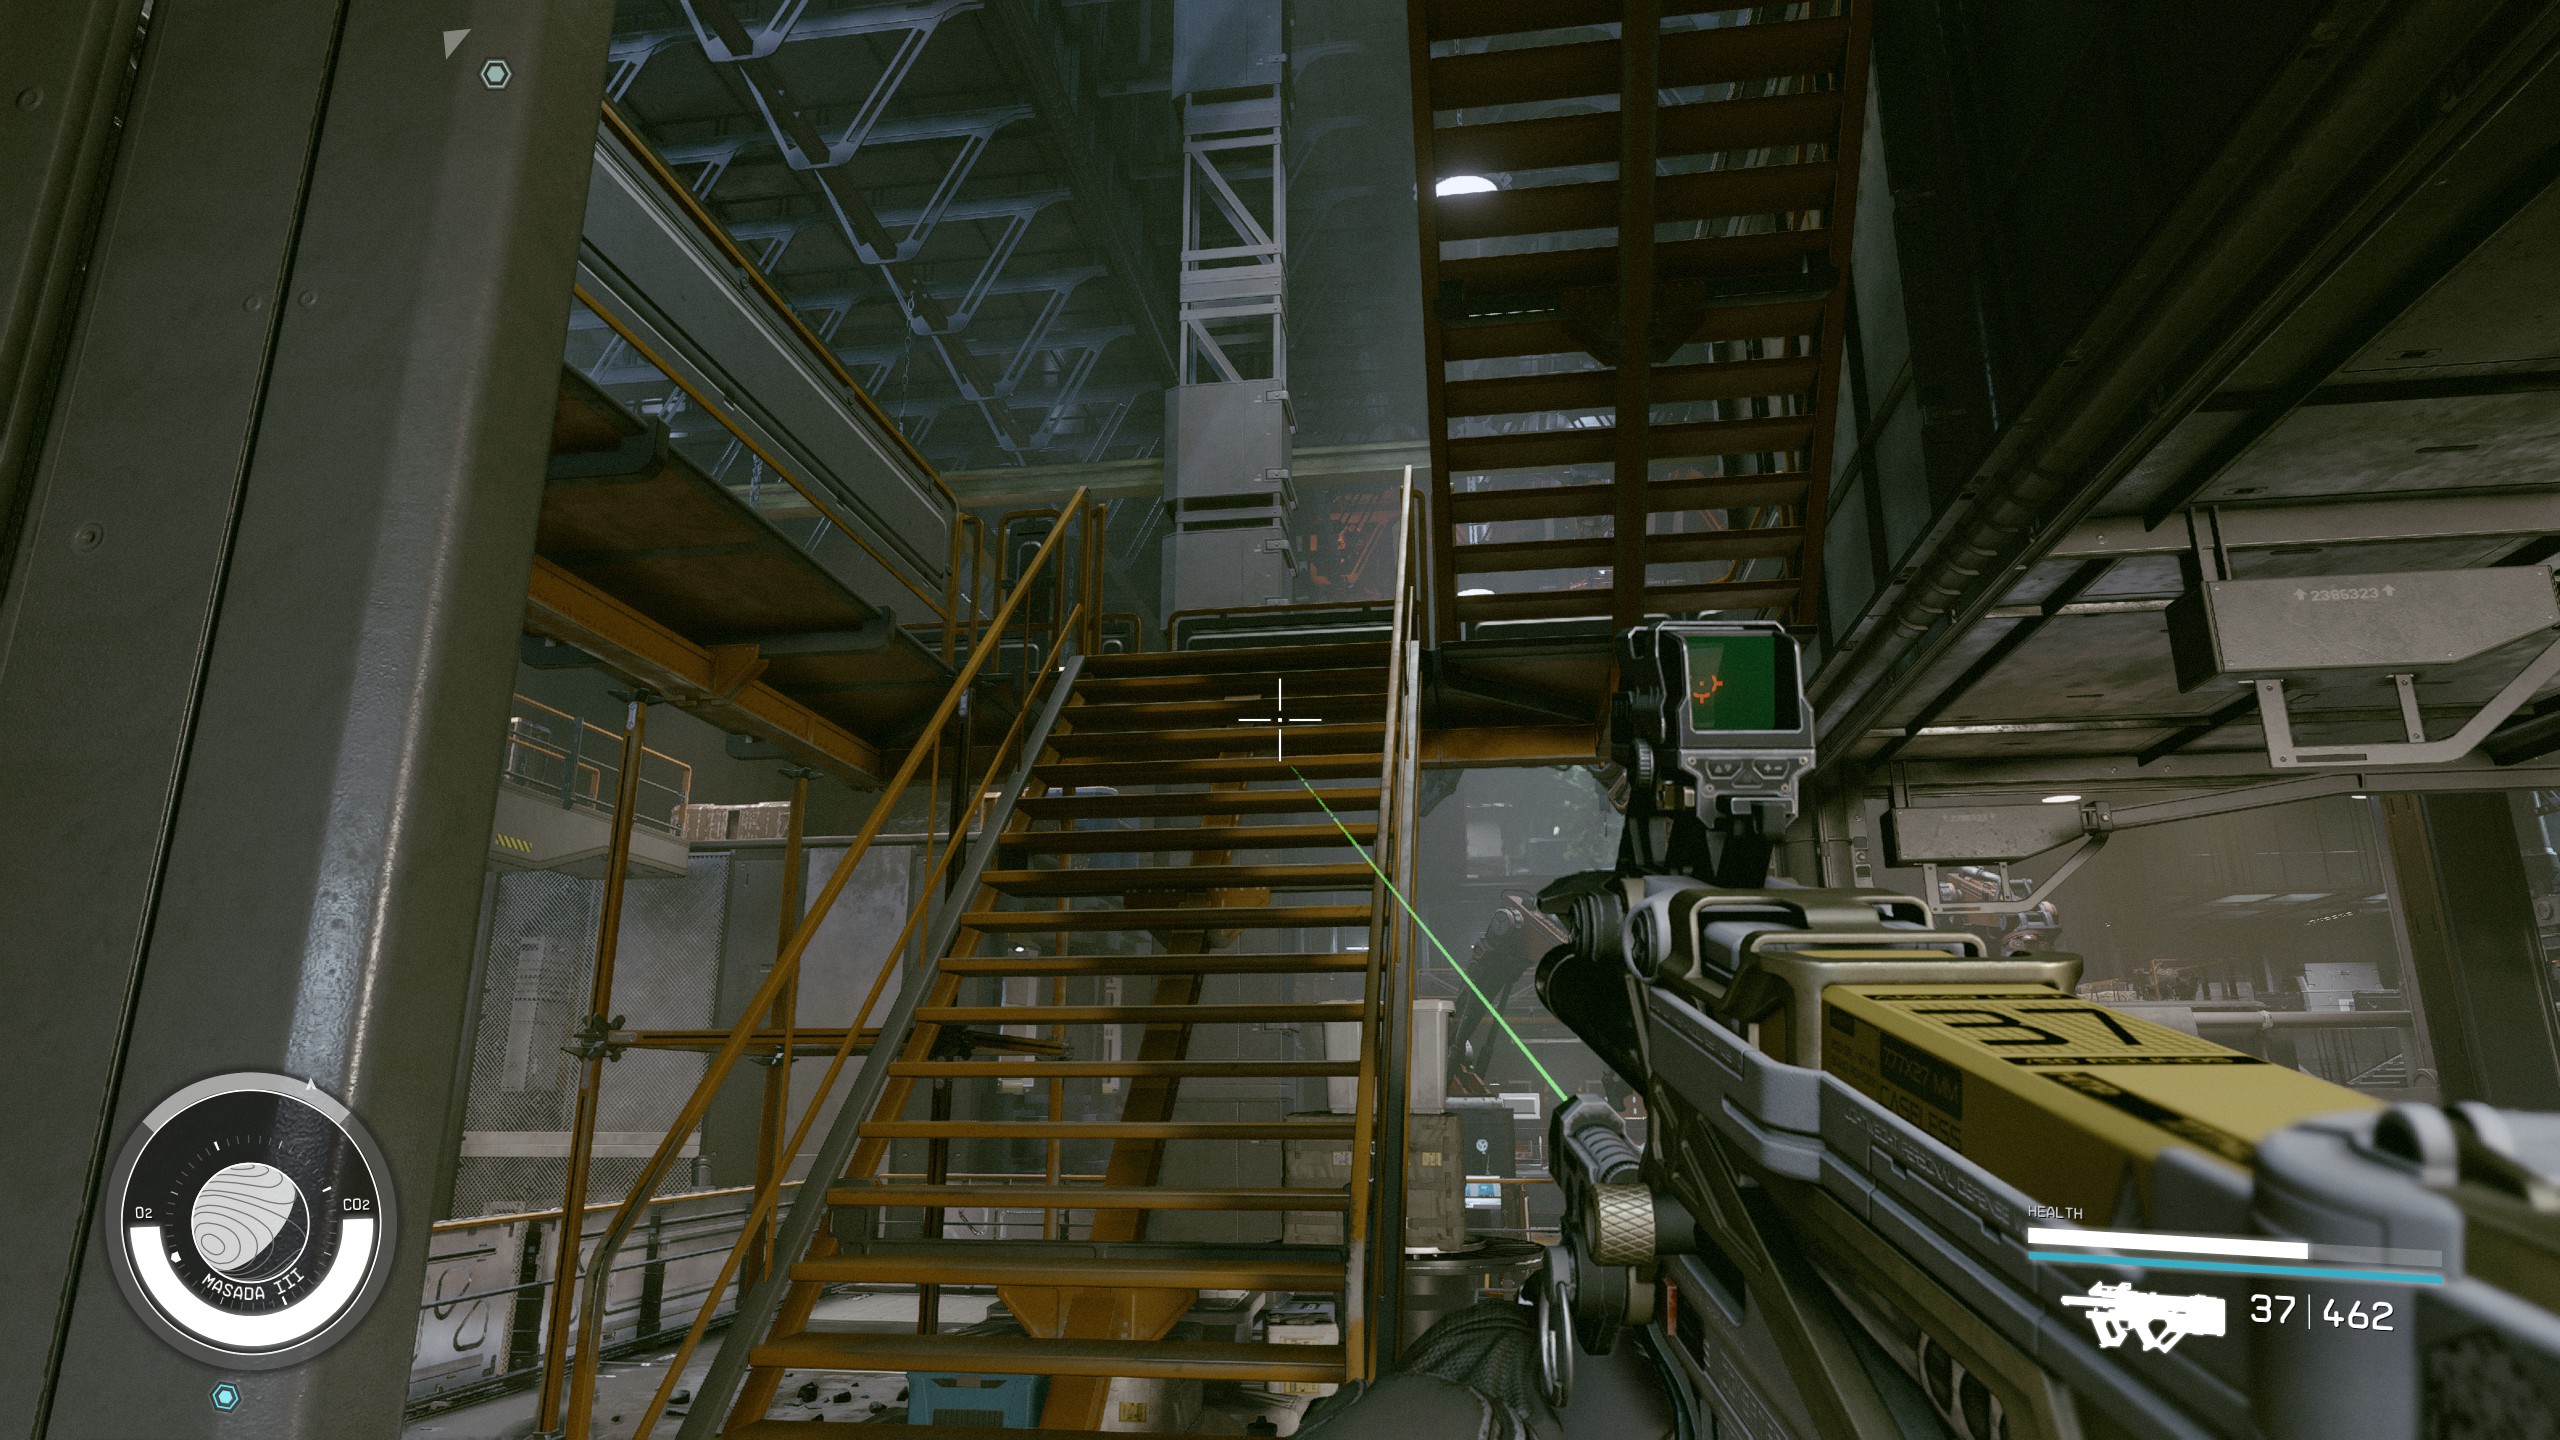
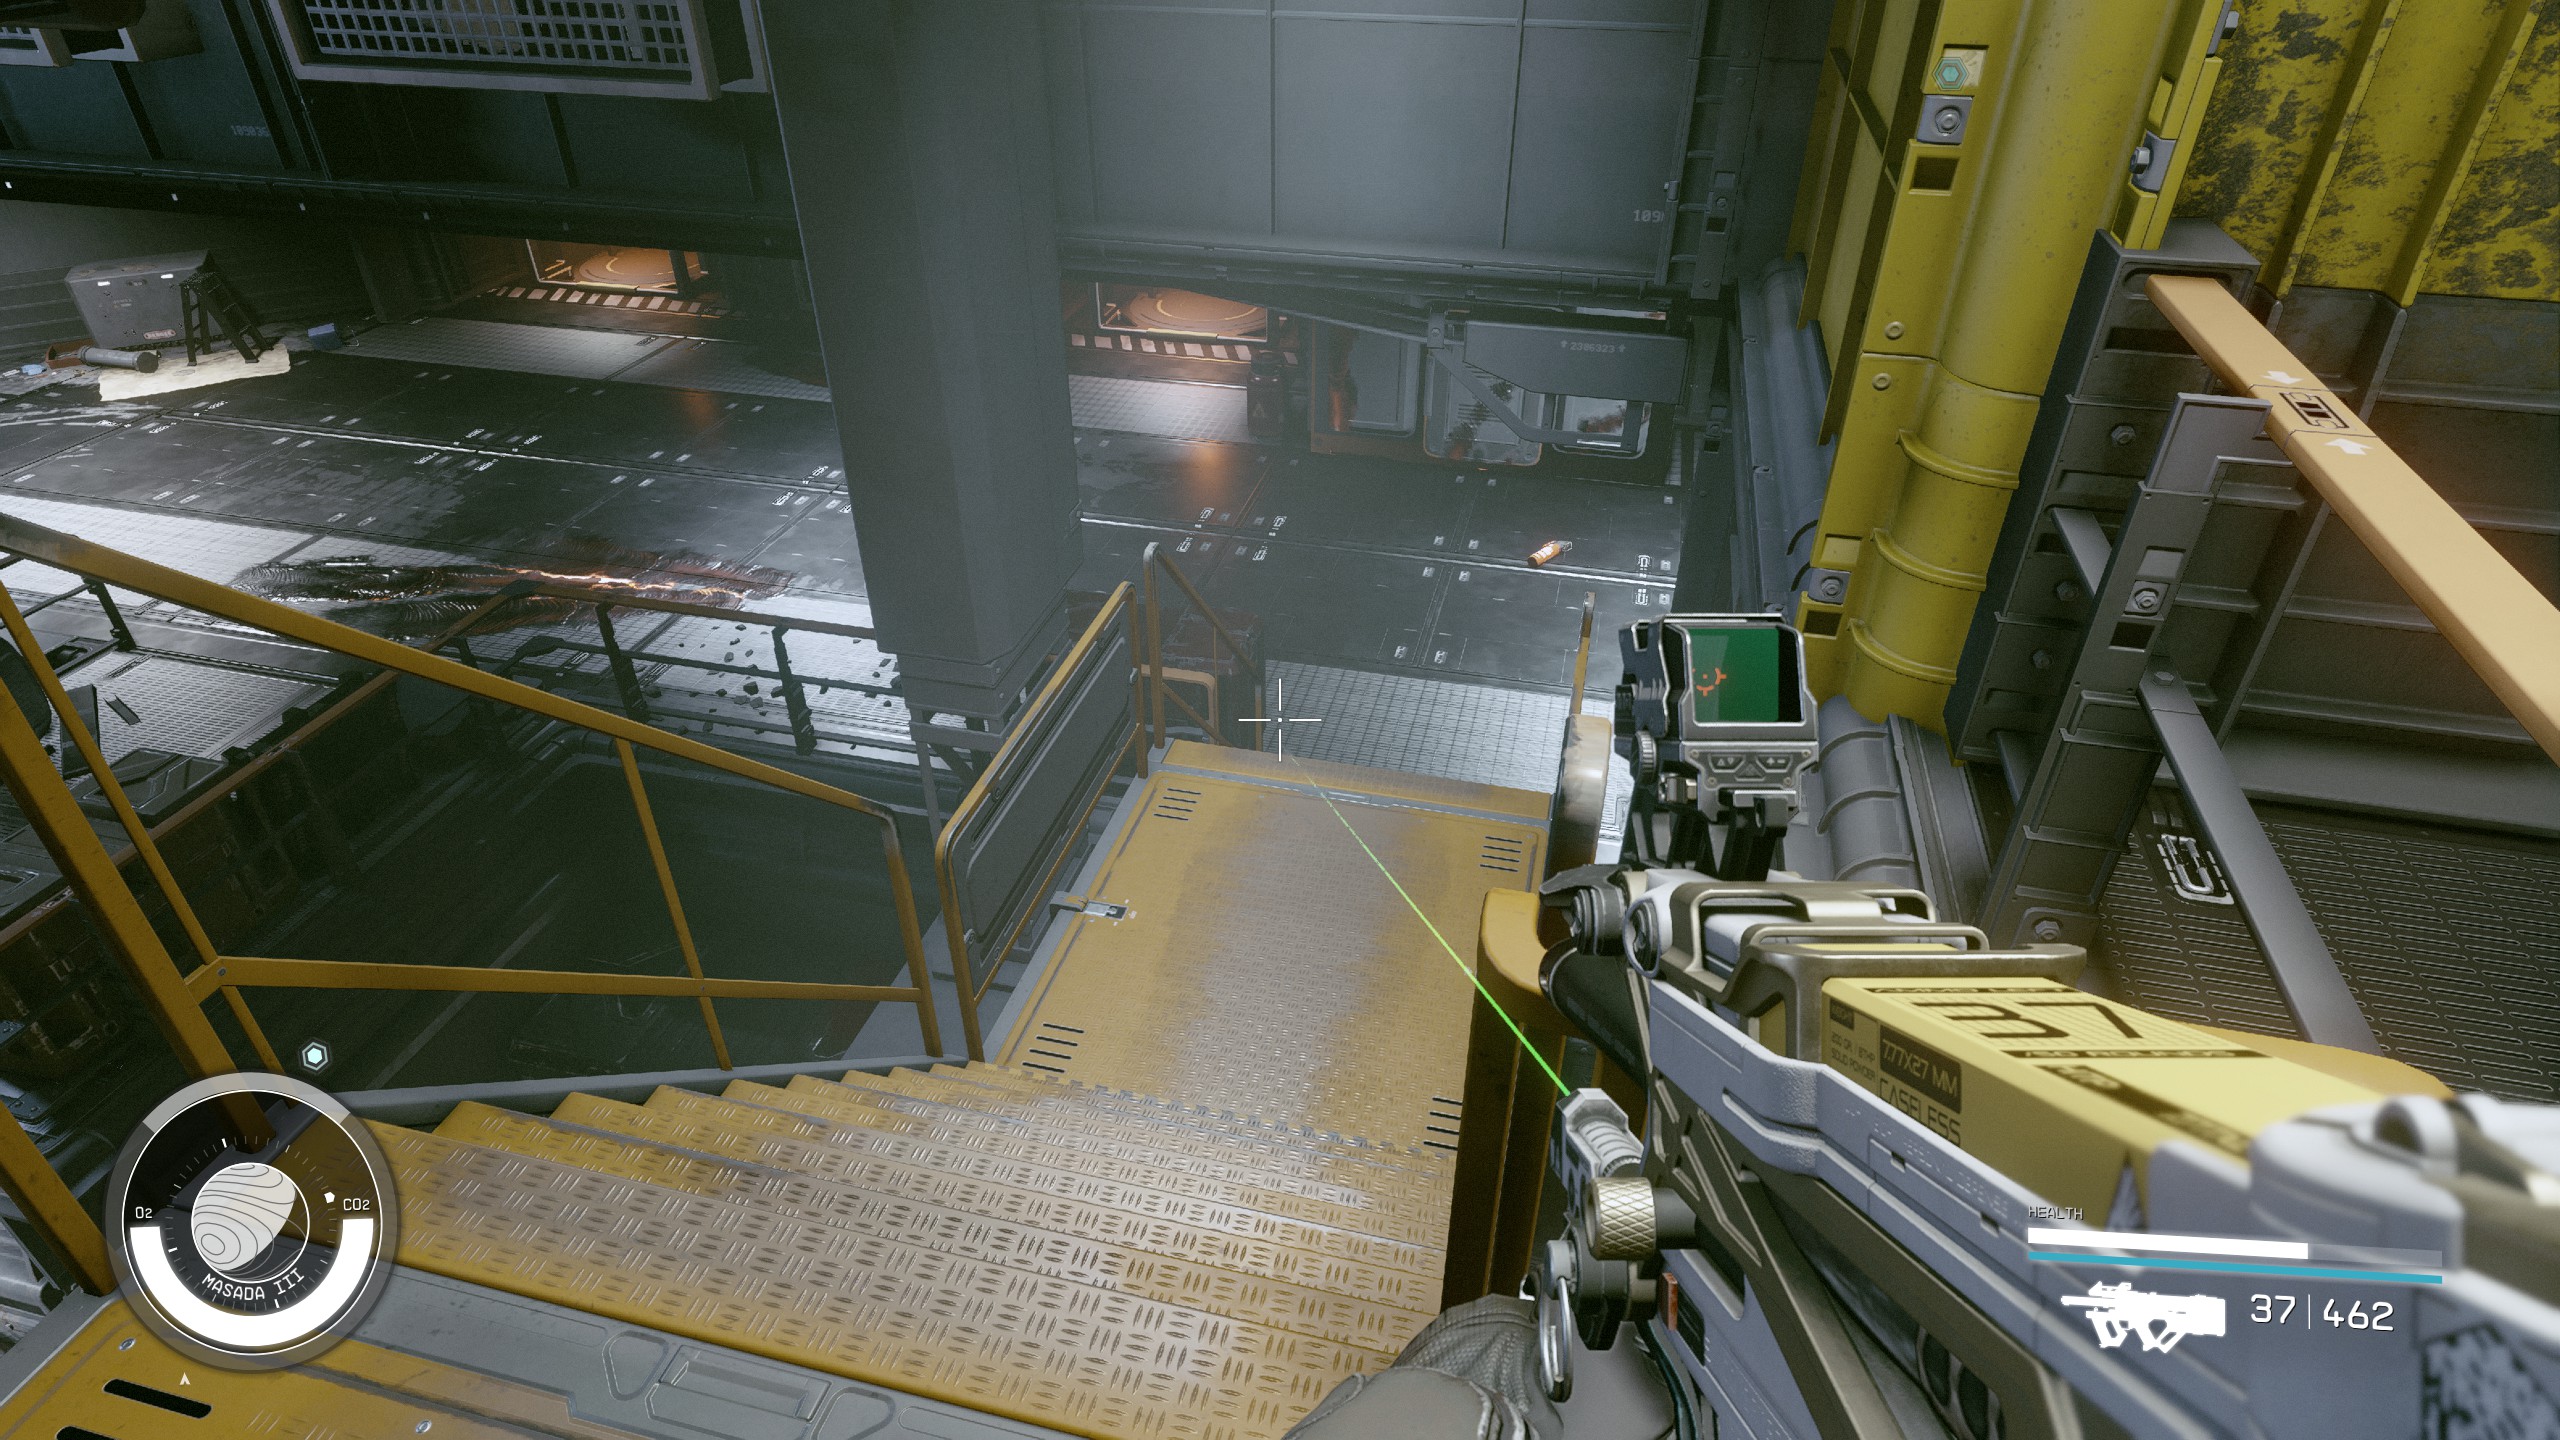
- Take the stairs in the back of the area that lead to the control room.
- Unlock the door with the keycard.
- Disable the security system using the computer.
Find a Way to Open the Door
- Spend some time collecting the loot in this area and then go to the left of the stairs that lead to the control room.
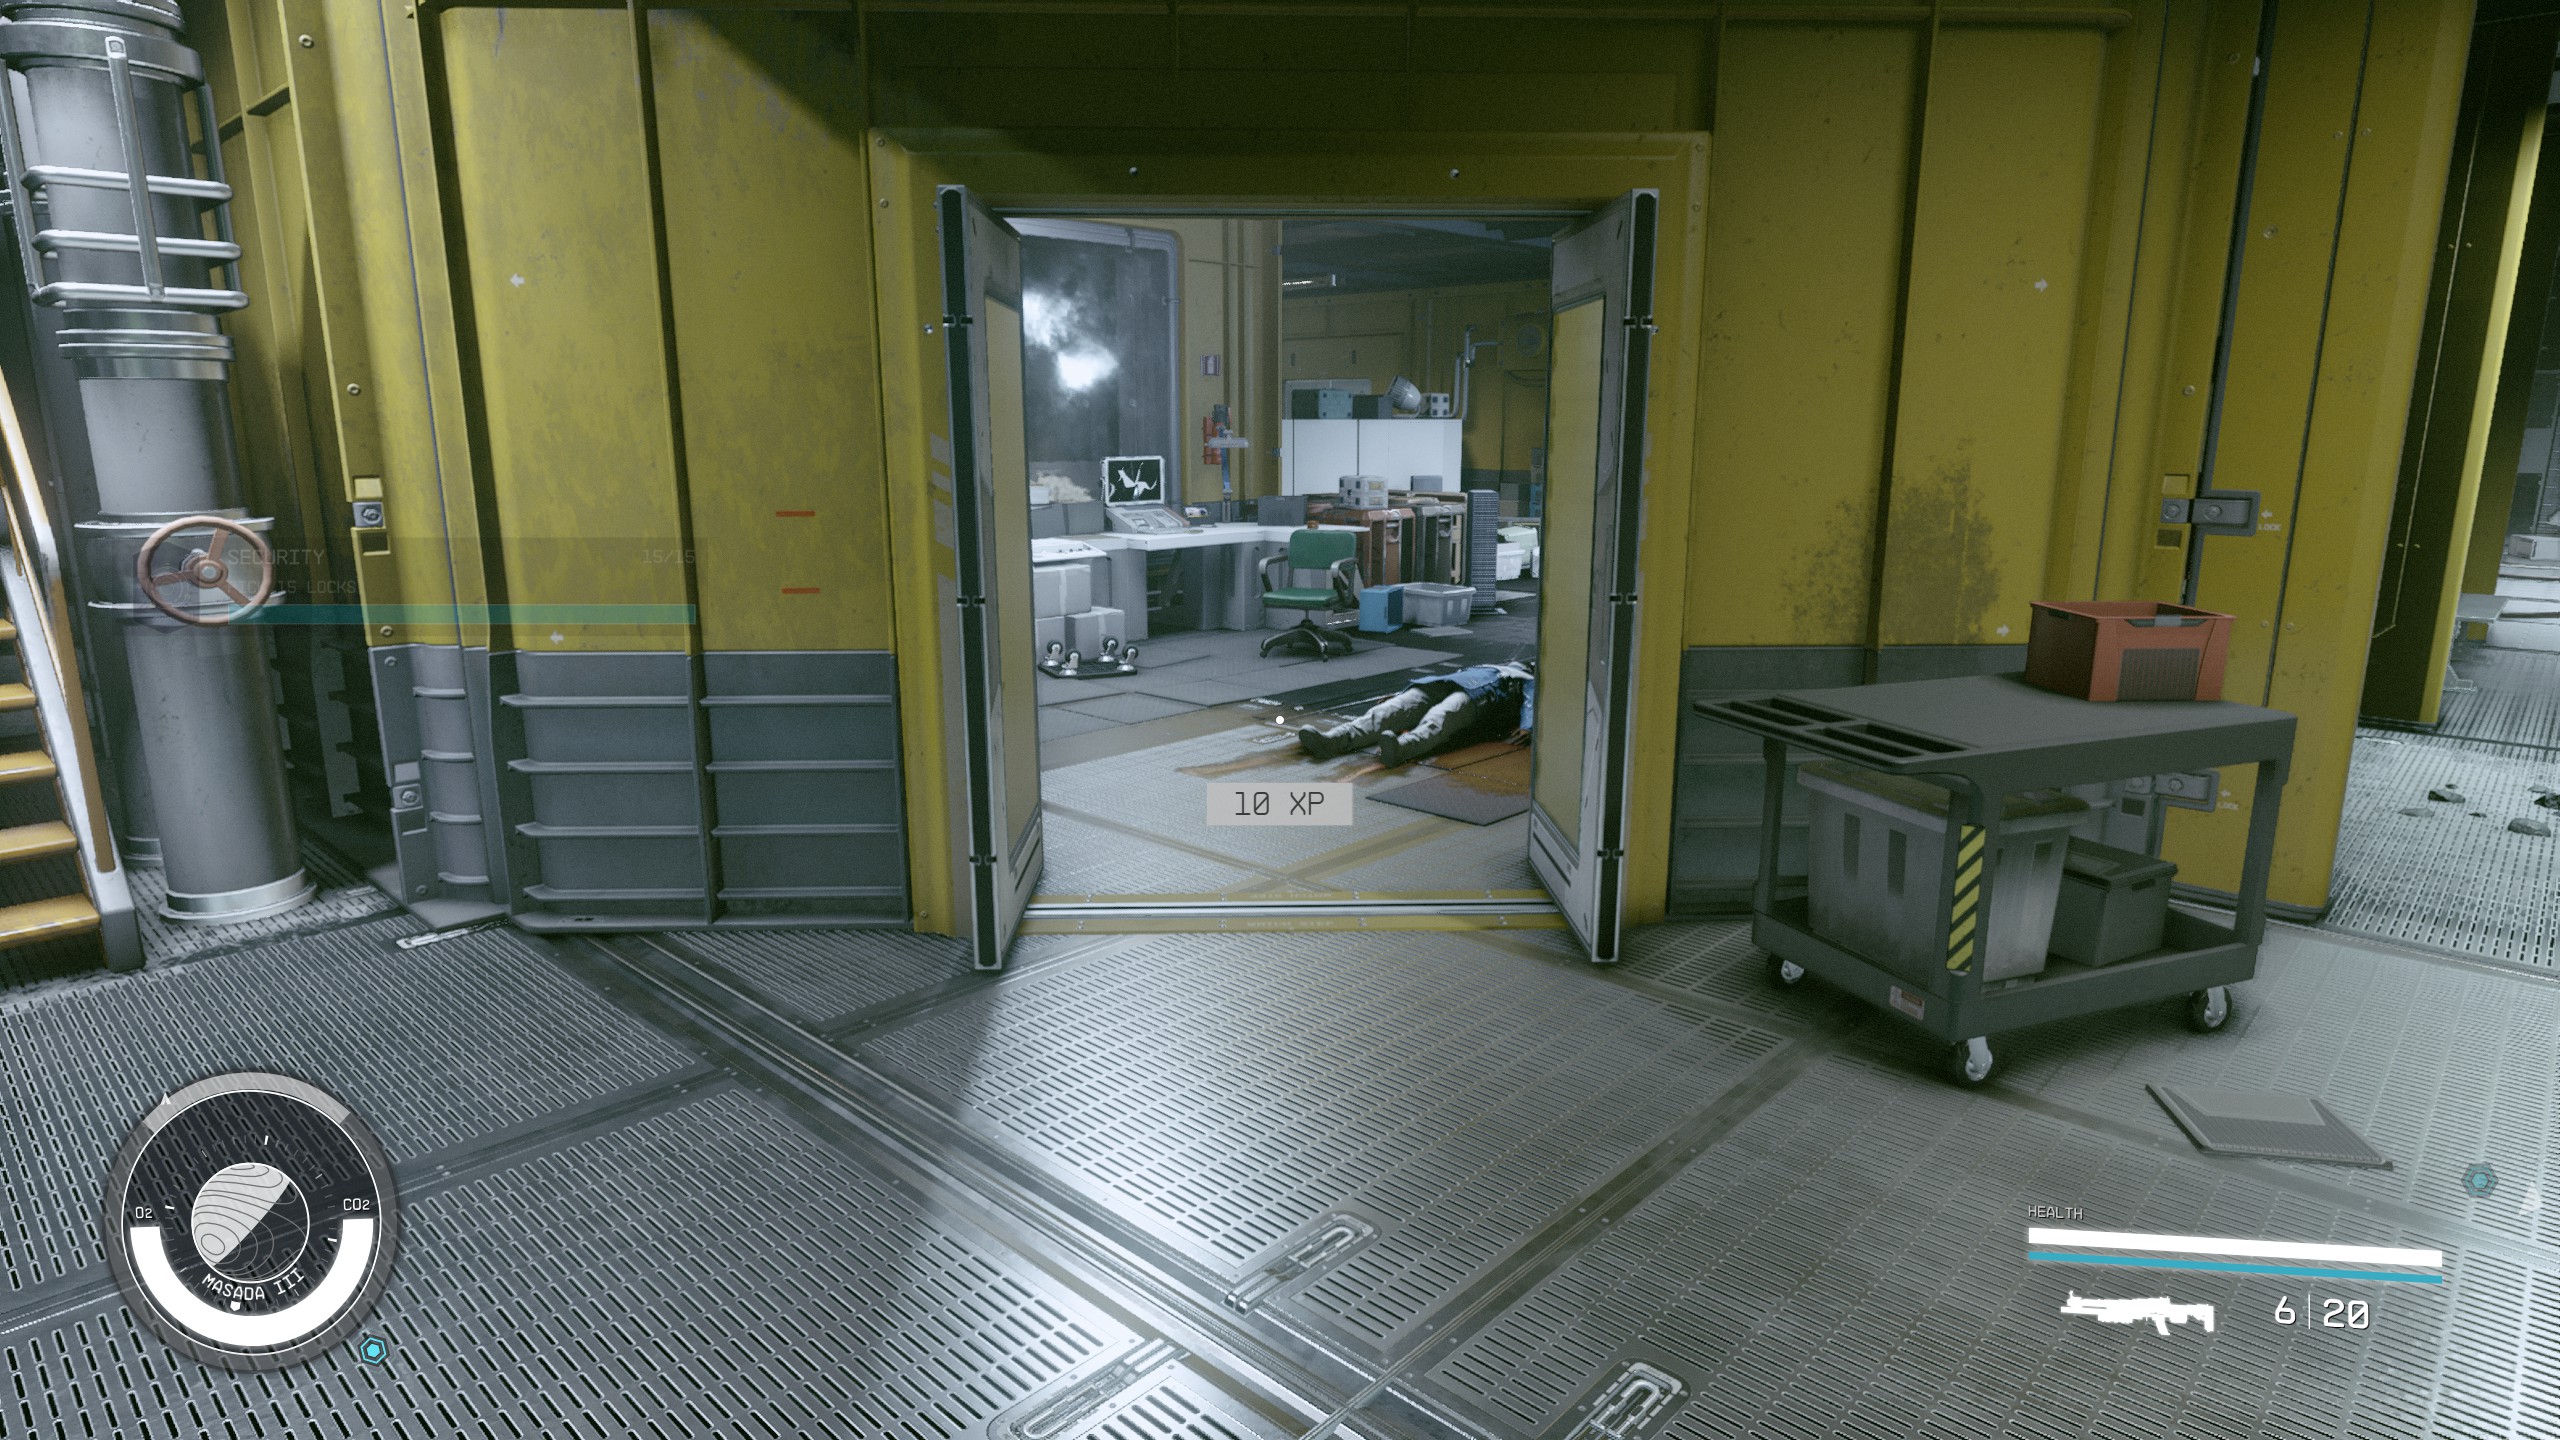
- Go around to the back and you will see a yellow door.
- Unlock the door with your Ecliptic Base Key.
Enter the Anomaly
- Go left and continue to follow the hallway.
- You will pass a room with a right stairscase down into a corner with a Medical Kit.
- Go through the yellow door and through the next room.
- Turn left and go down the stairs to another anomaly.
- Enter the anamoly and you will be on Patrov's ship again.
Leave the Anomaly
- Speak with Petrov and he will threaten you.
- Unlock the door behind his chair and then go through the anomaly.
- Go straight through the big doors in front of you.
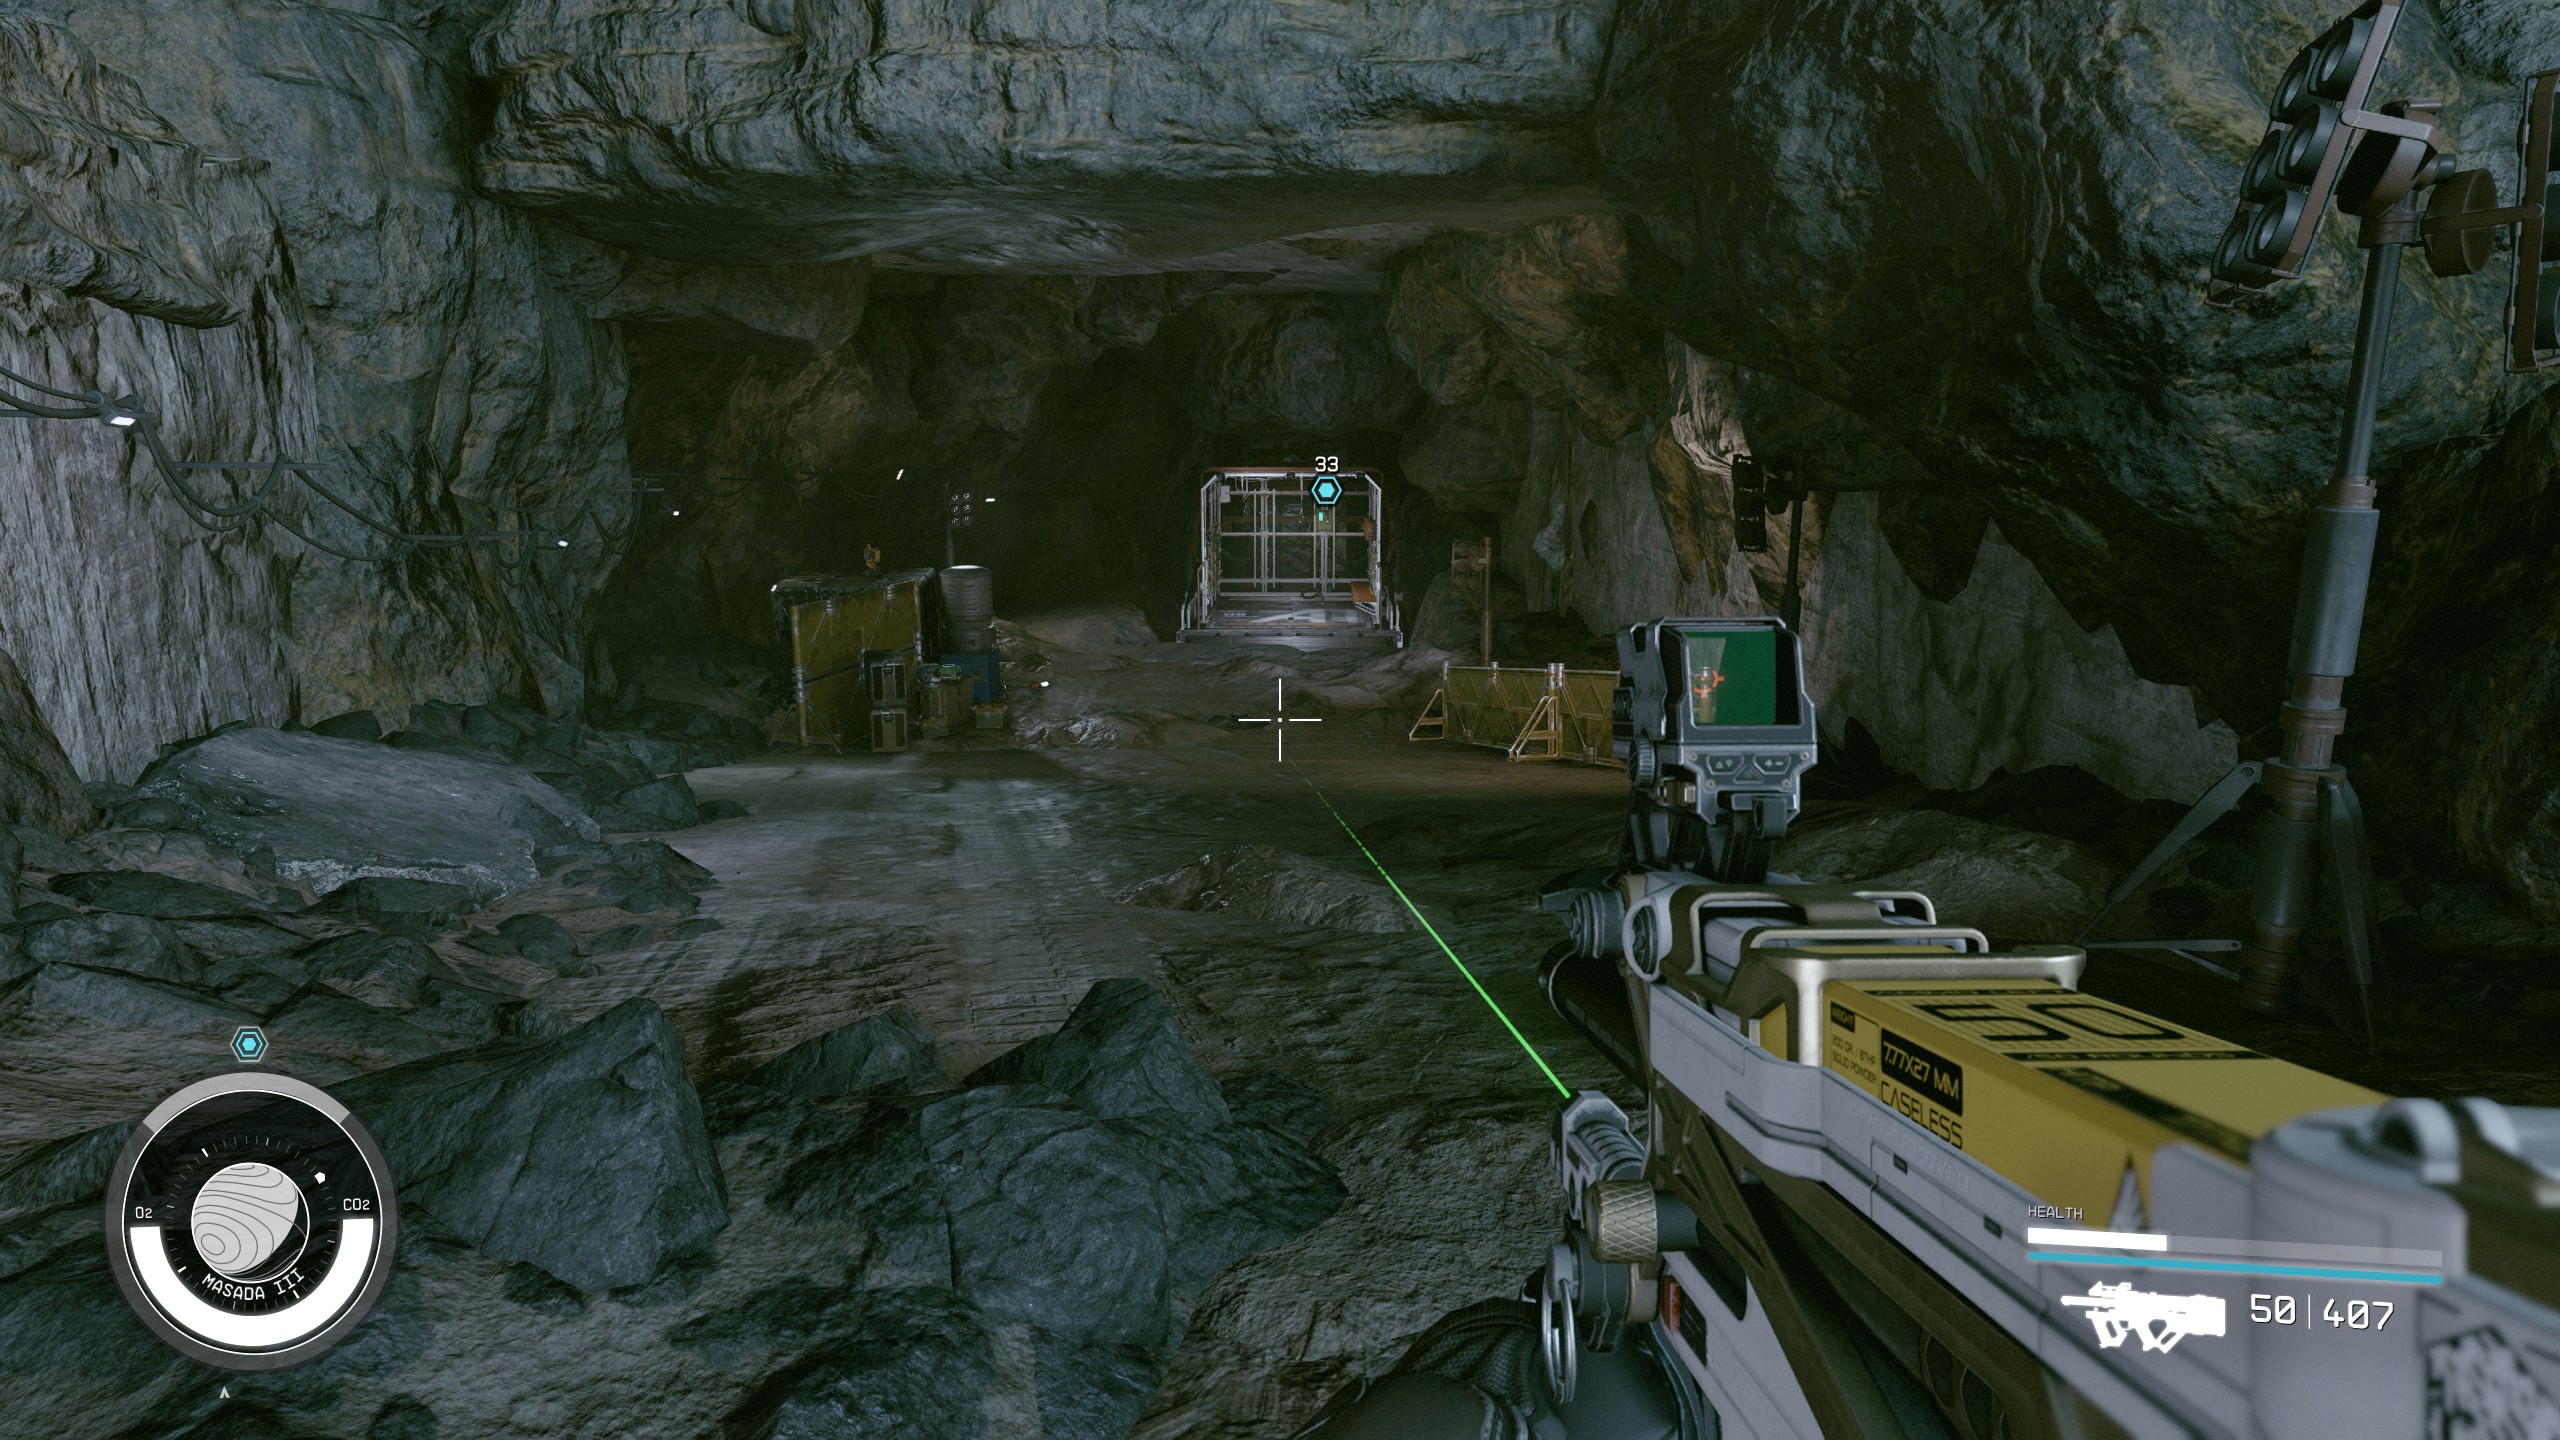
- Continue walking through through the cave to the elevator at the end.
Leave the Anomaly
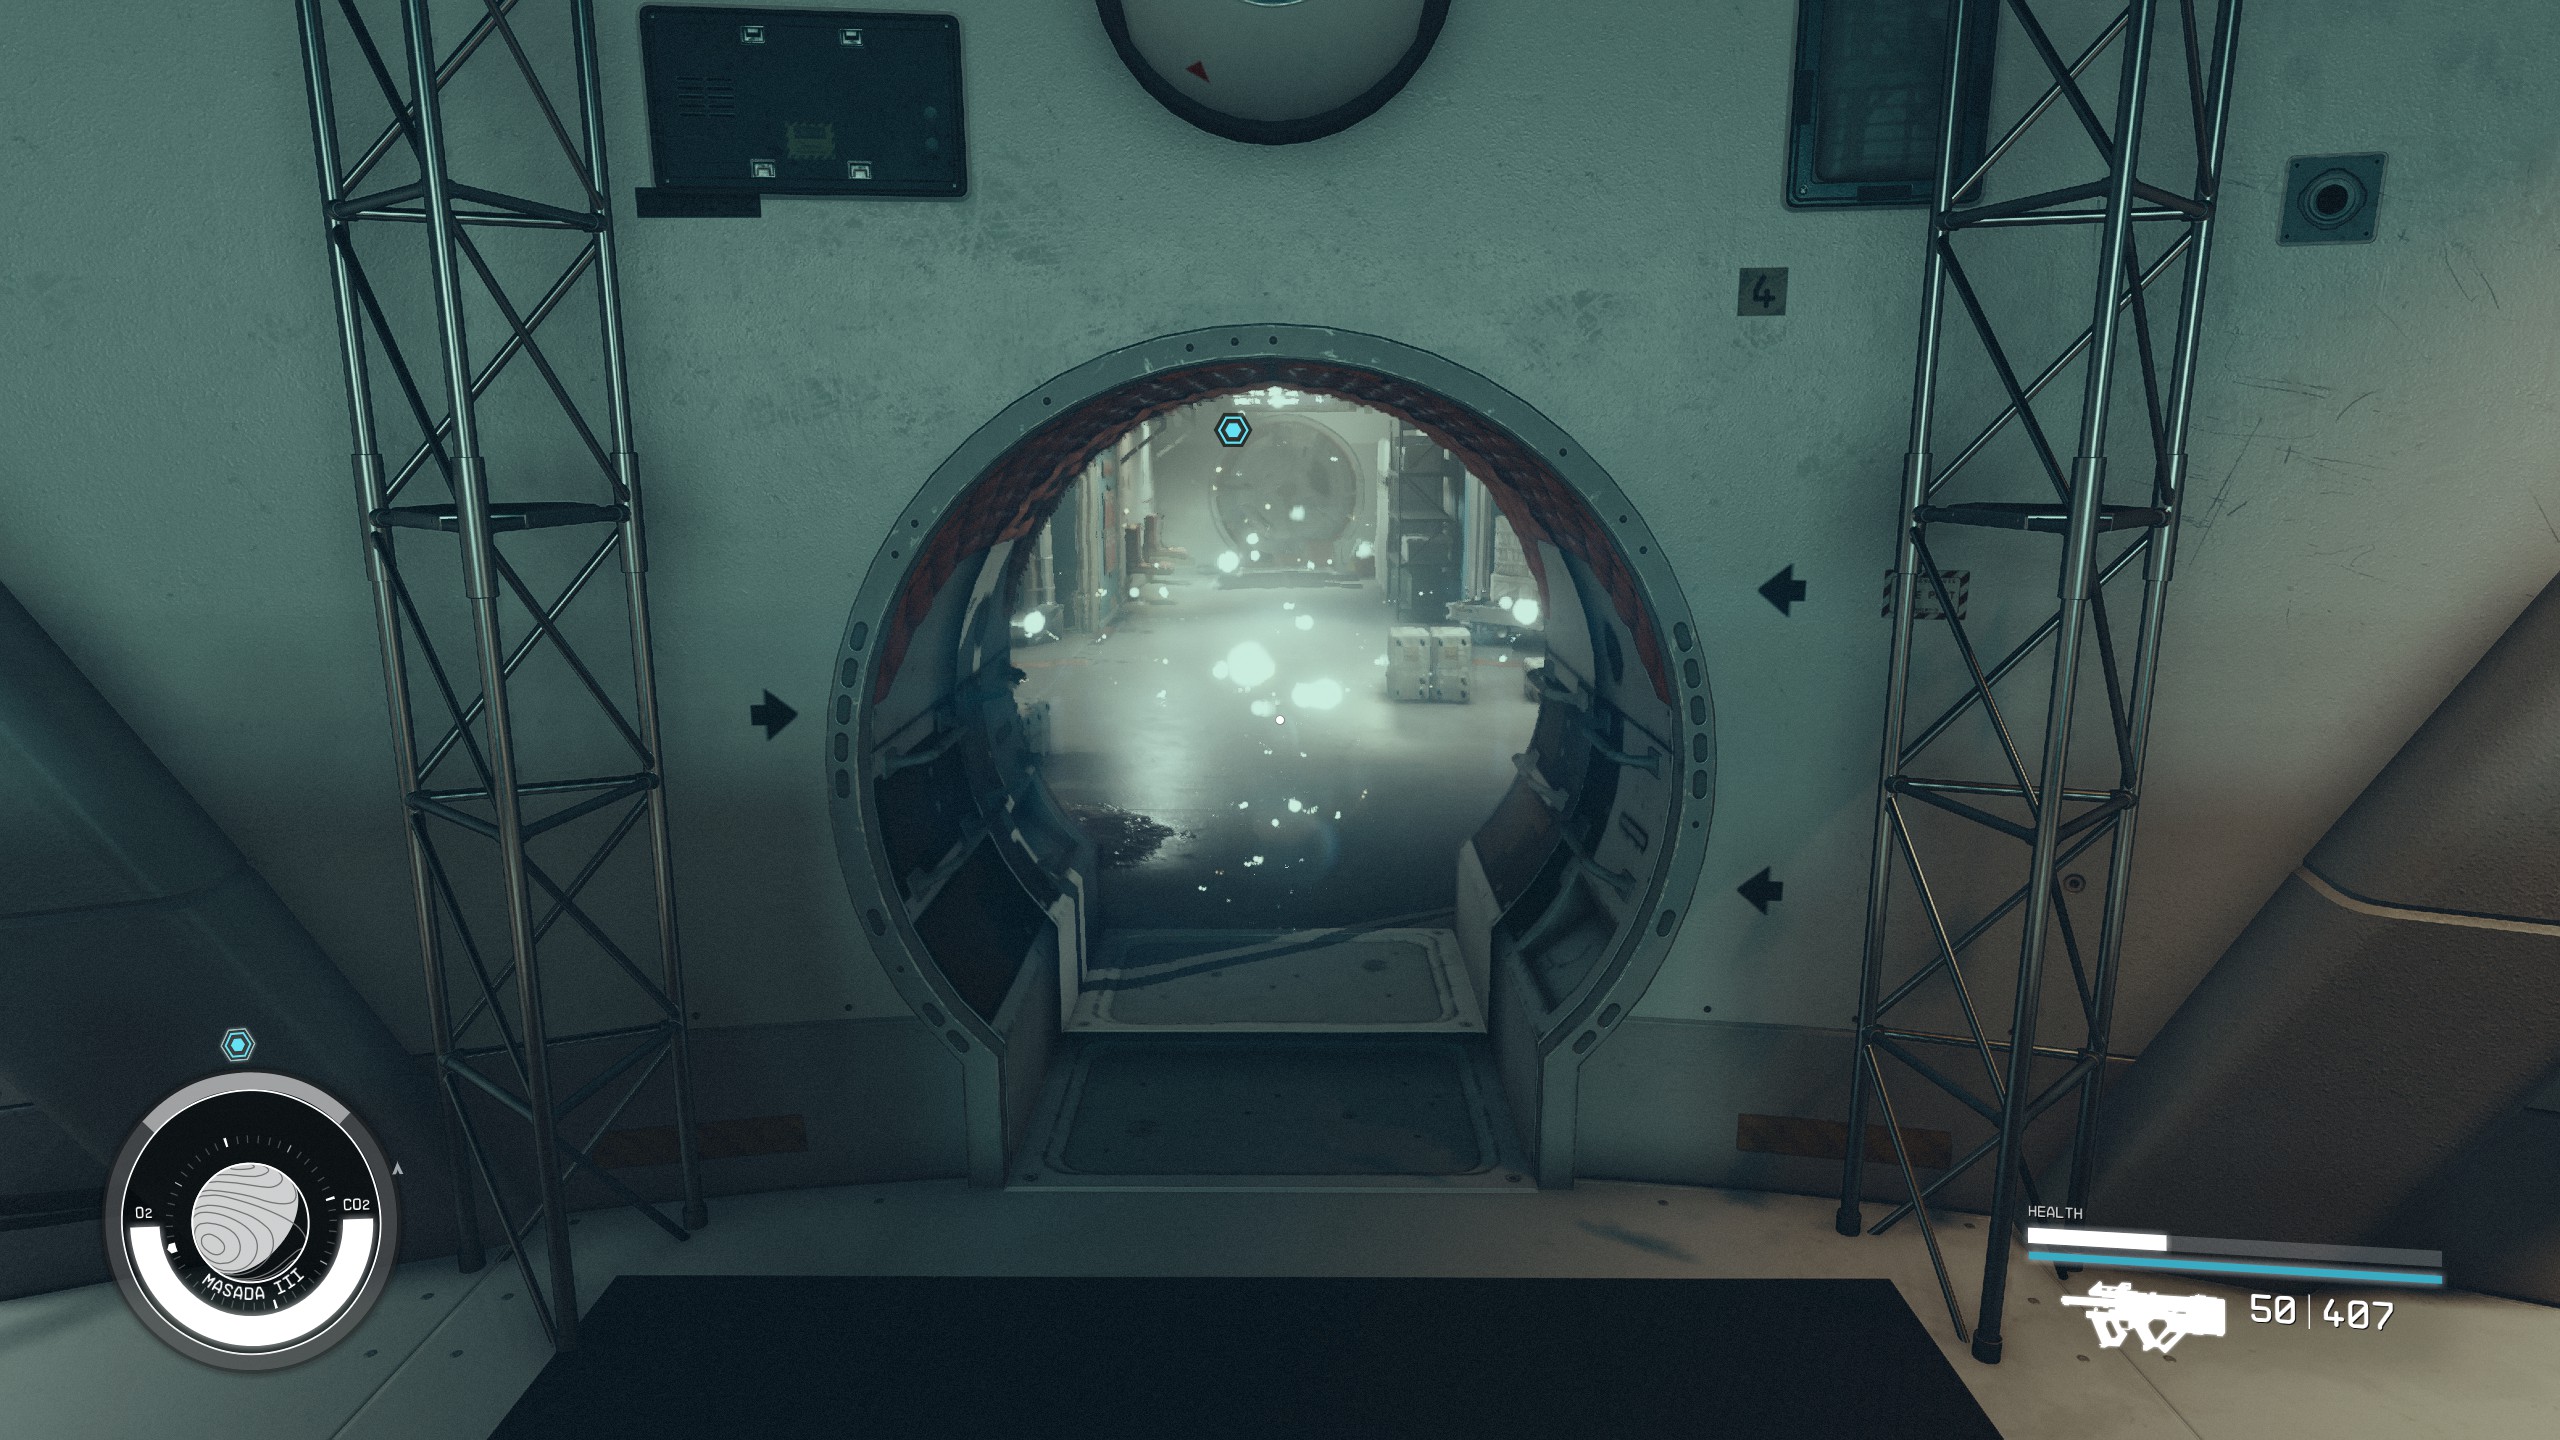
- One you way down you will go through another anomaly automatically.
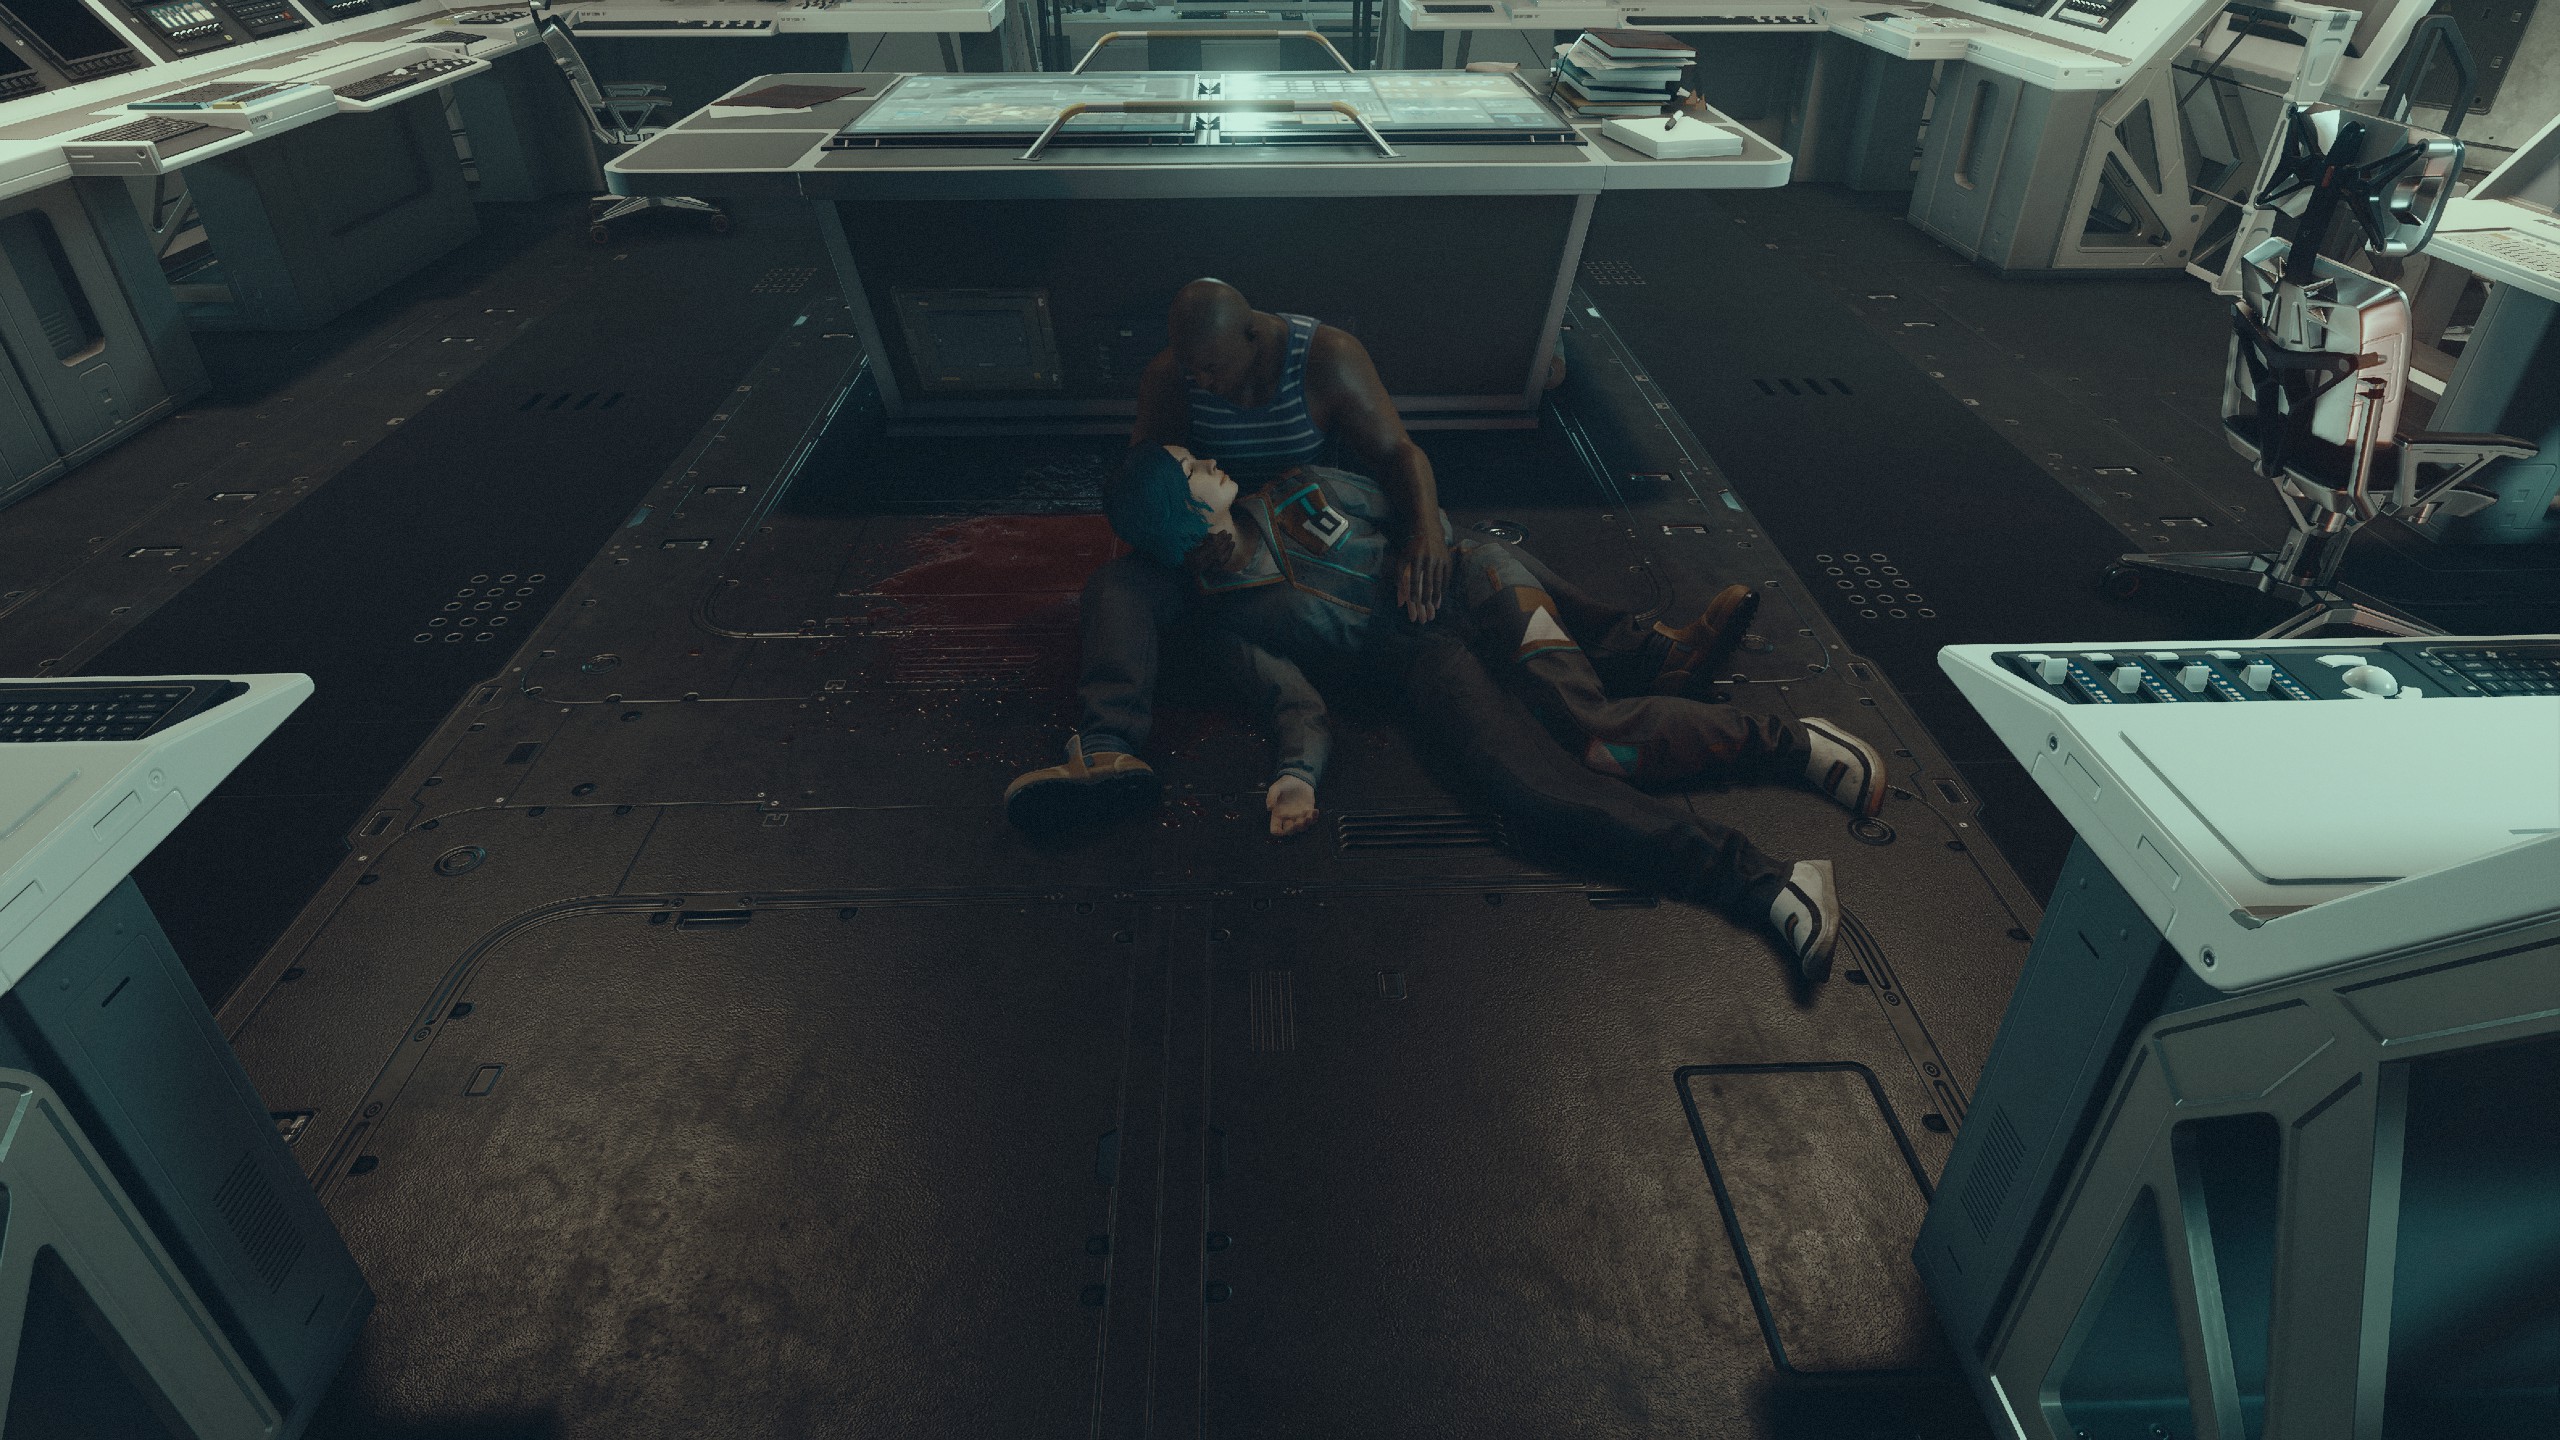
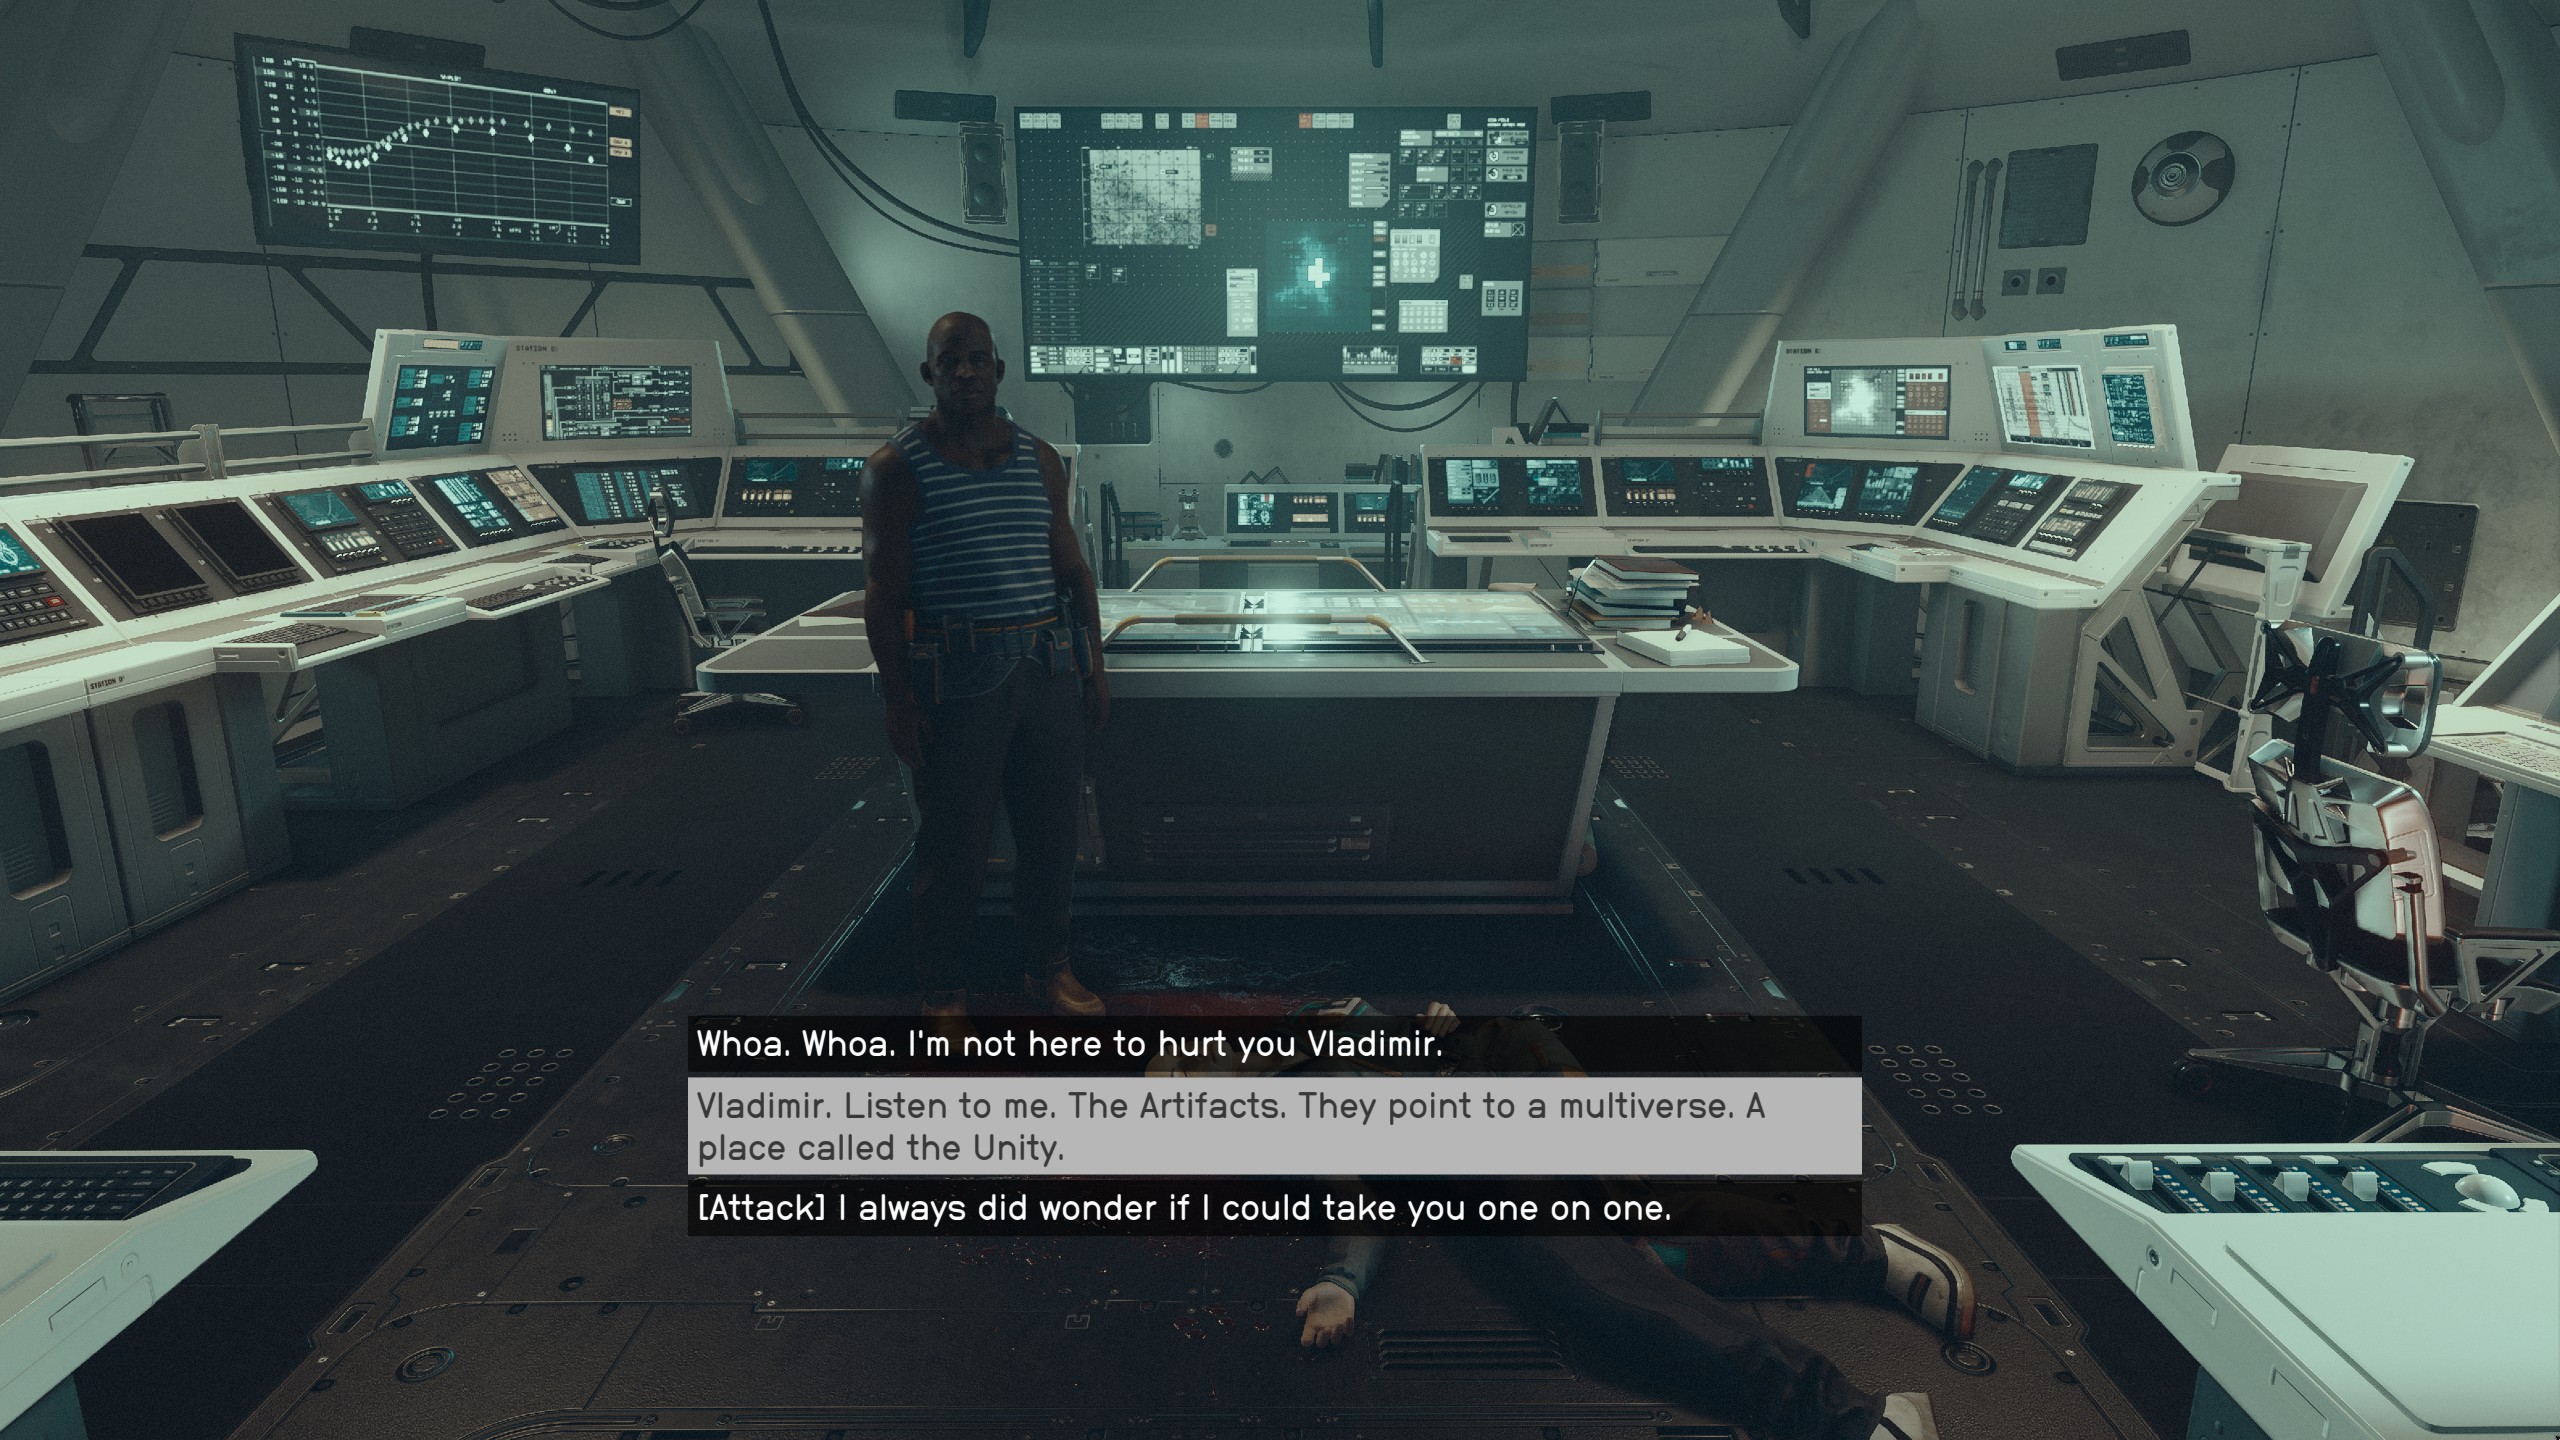
- You will appear on The Eye and you will watch your own death.
- Talk to Vladimir.
- Turn around and go through the anomaly.
Defeat the Starborn
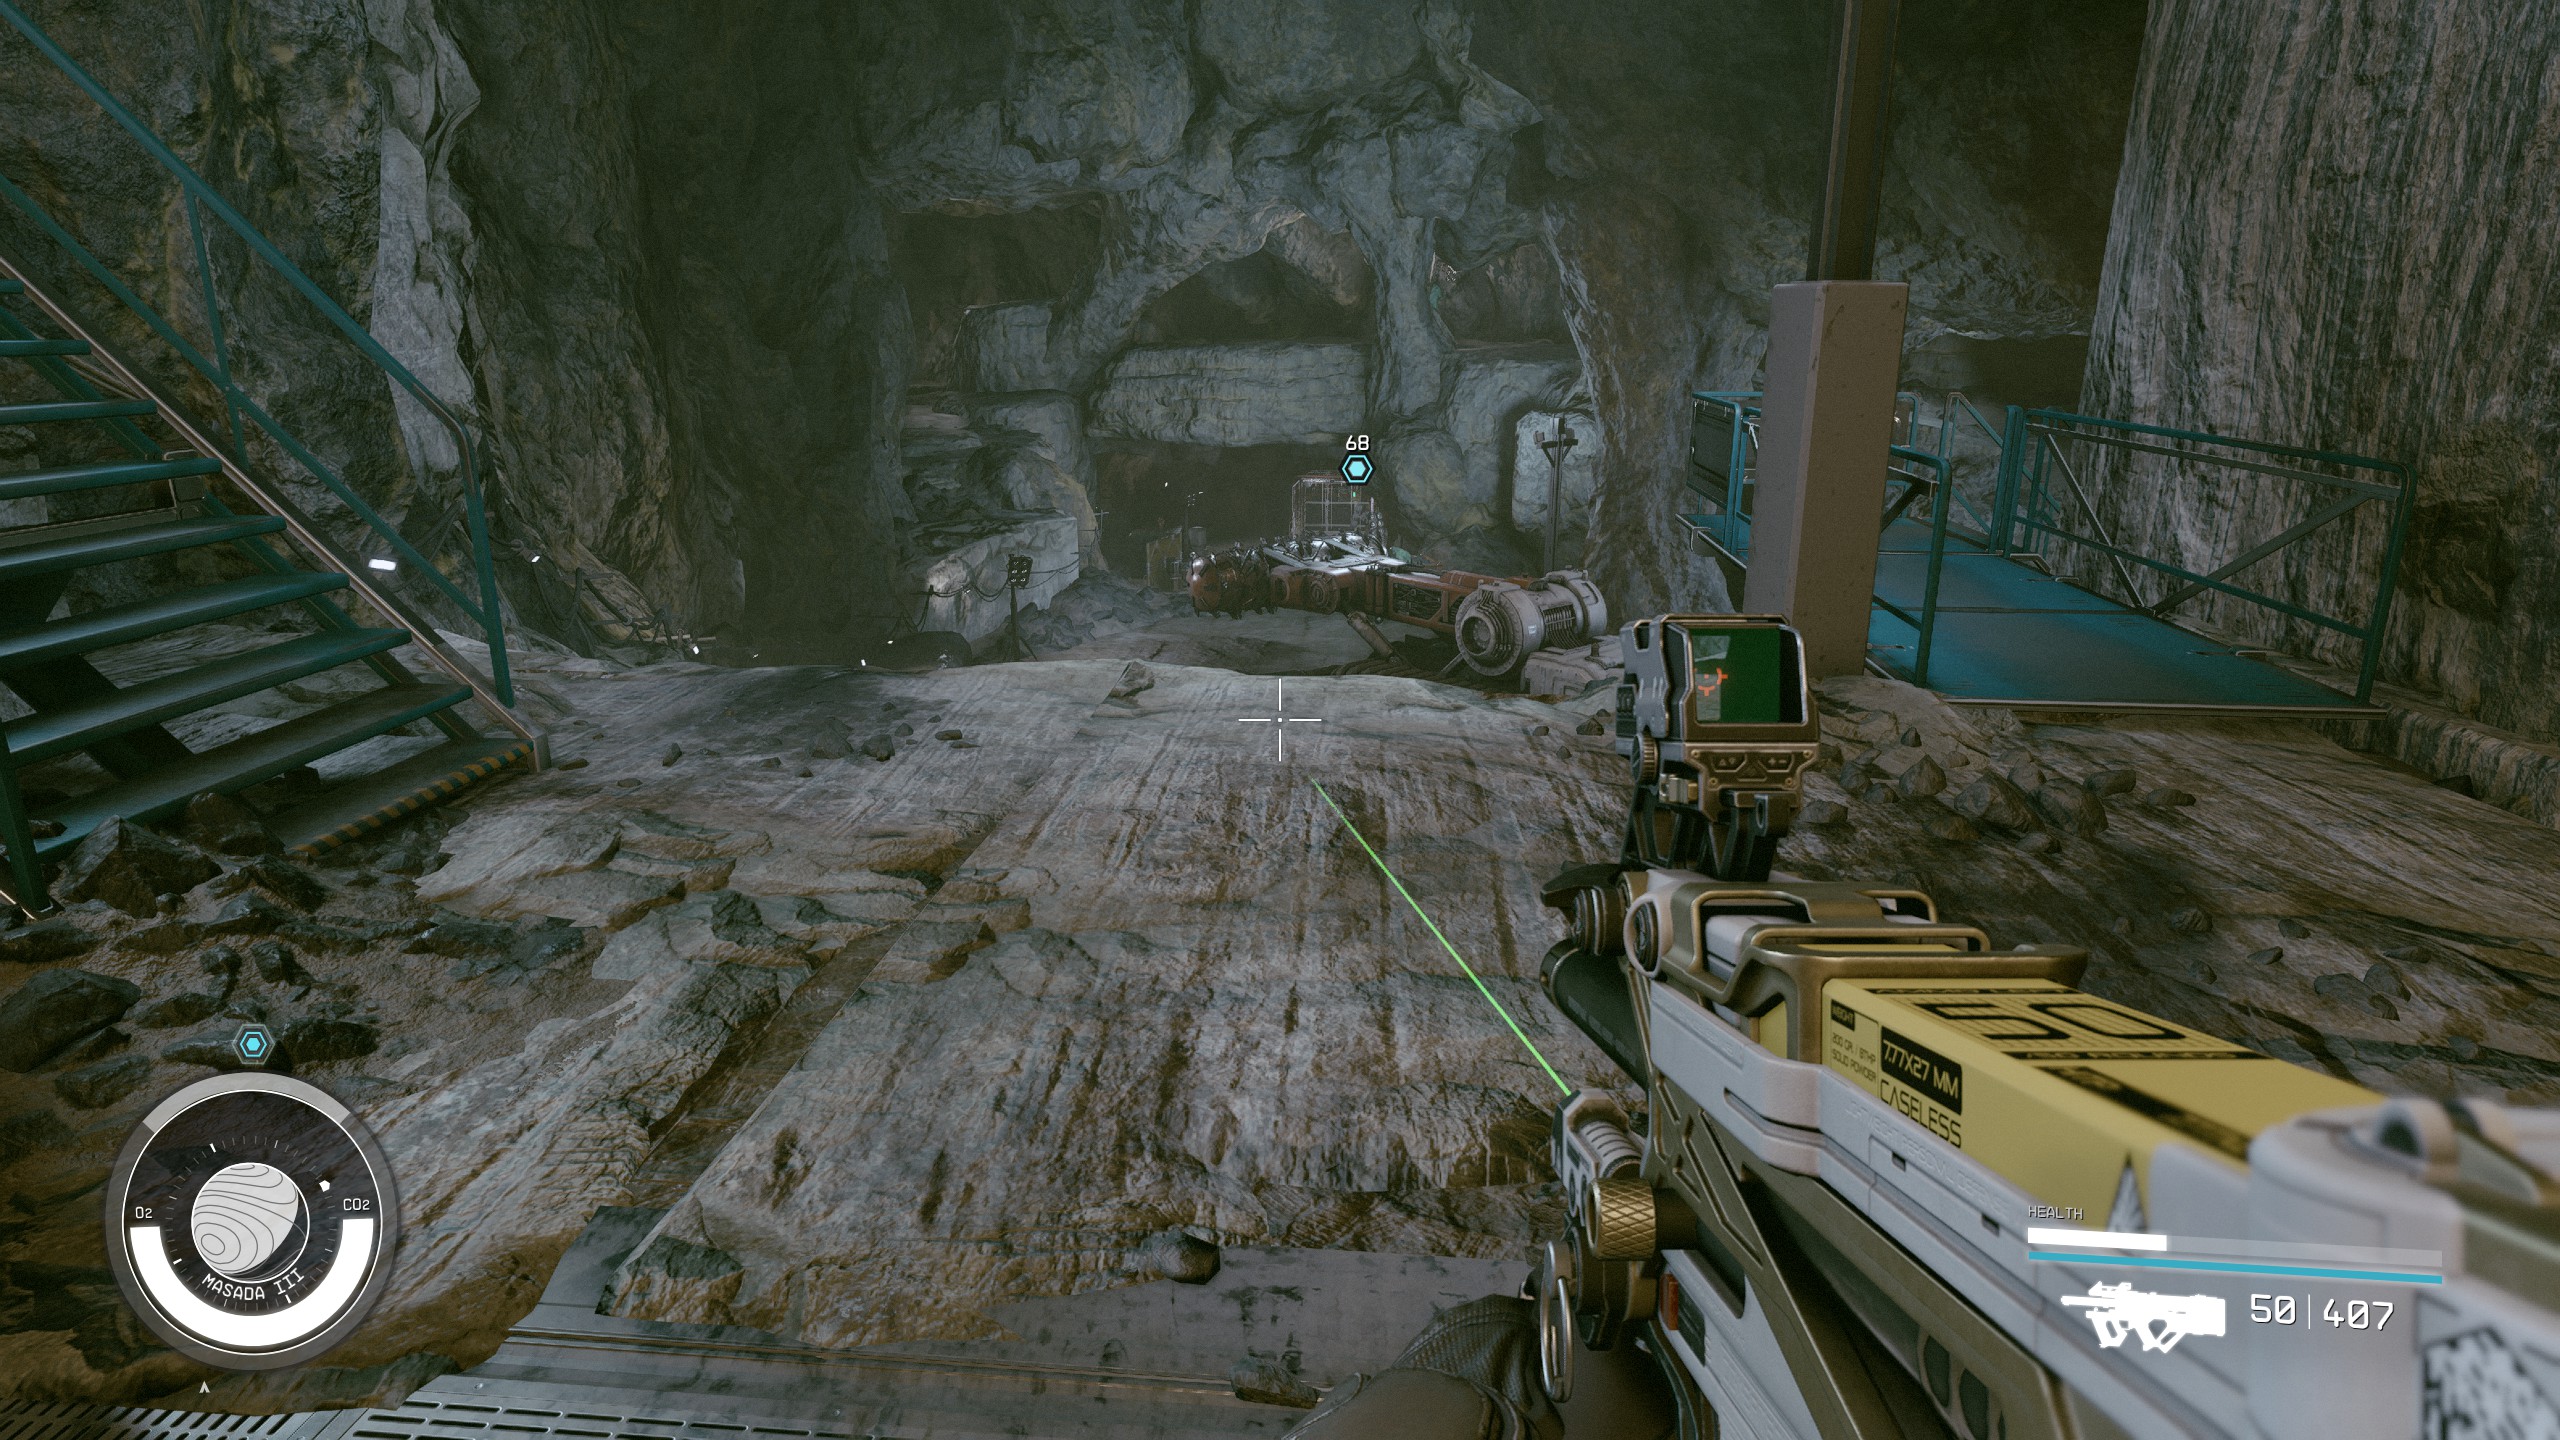
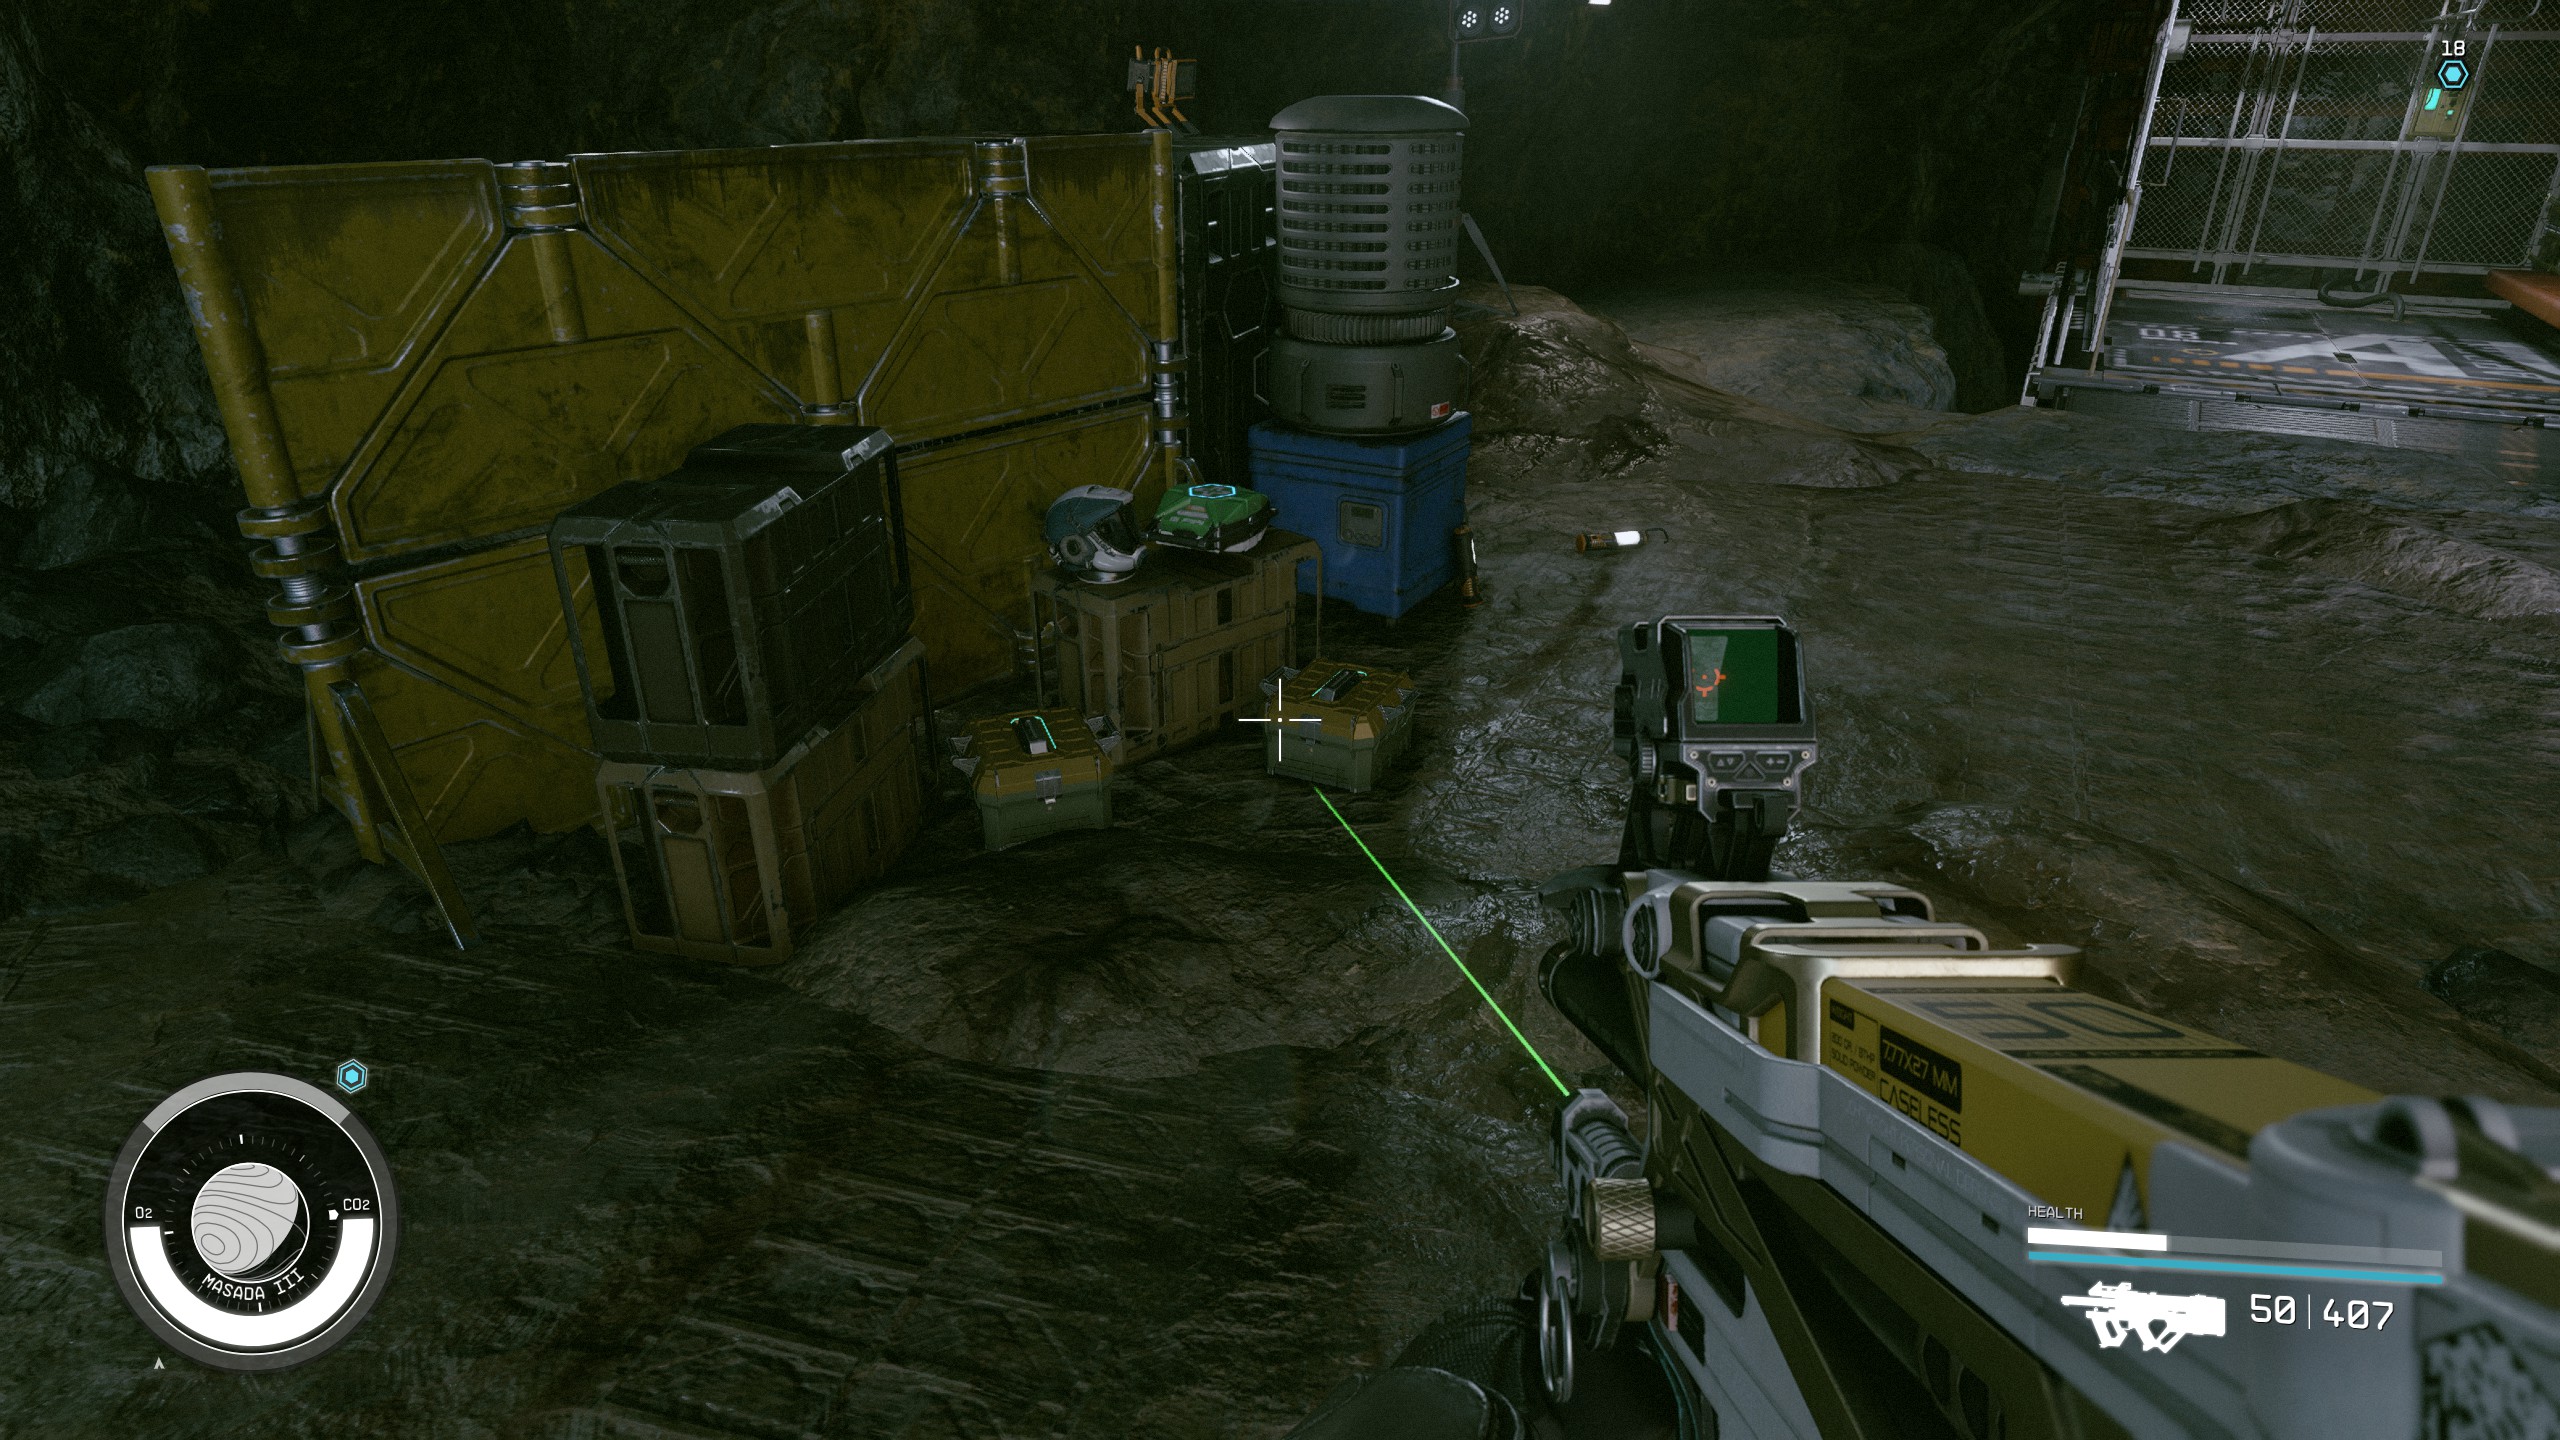
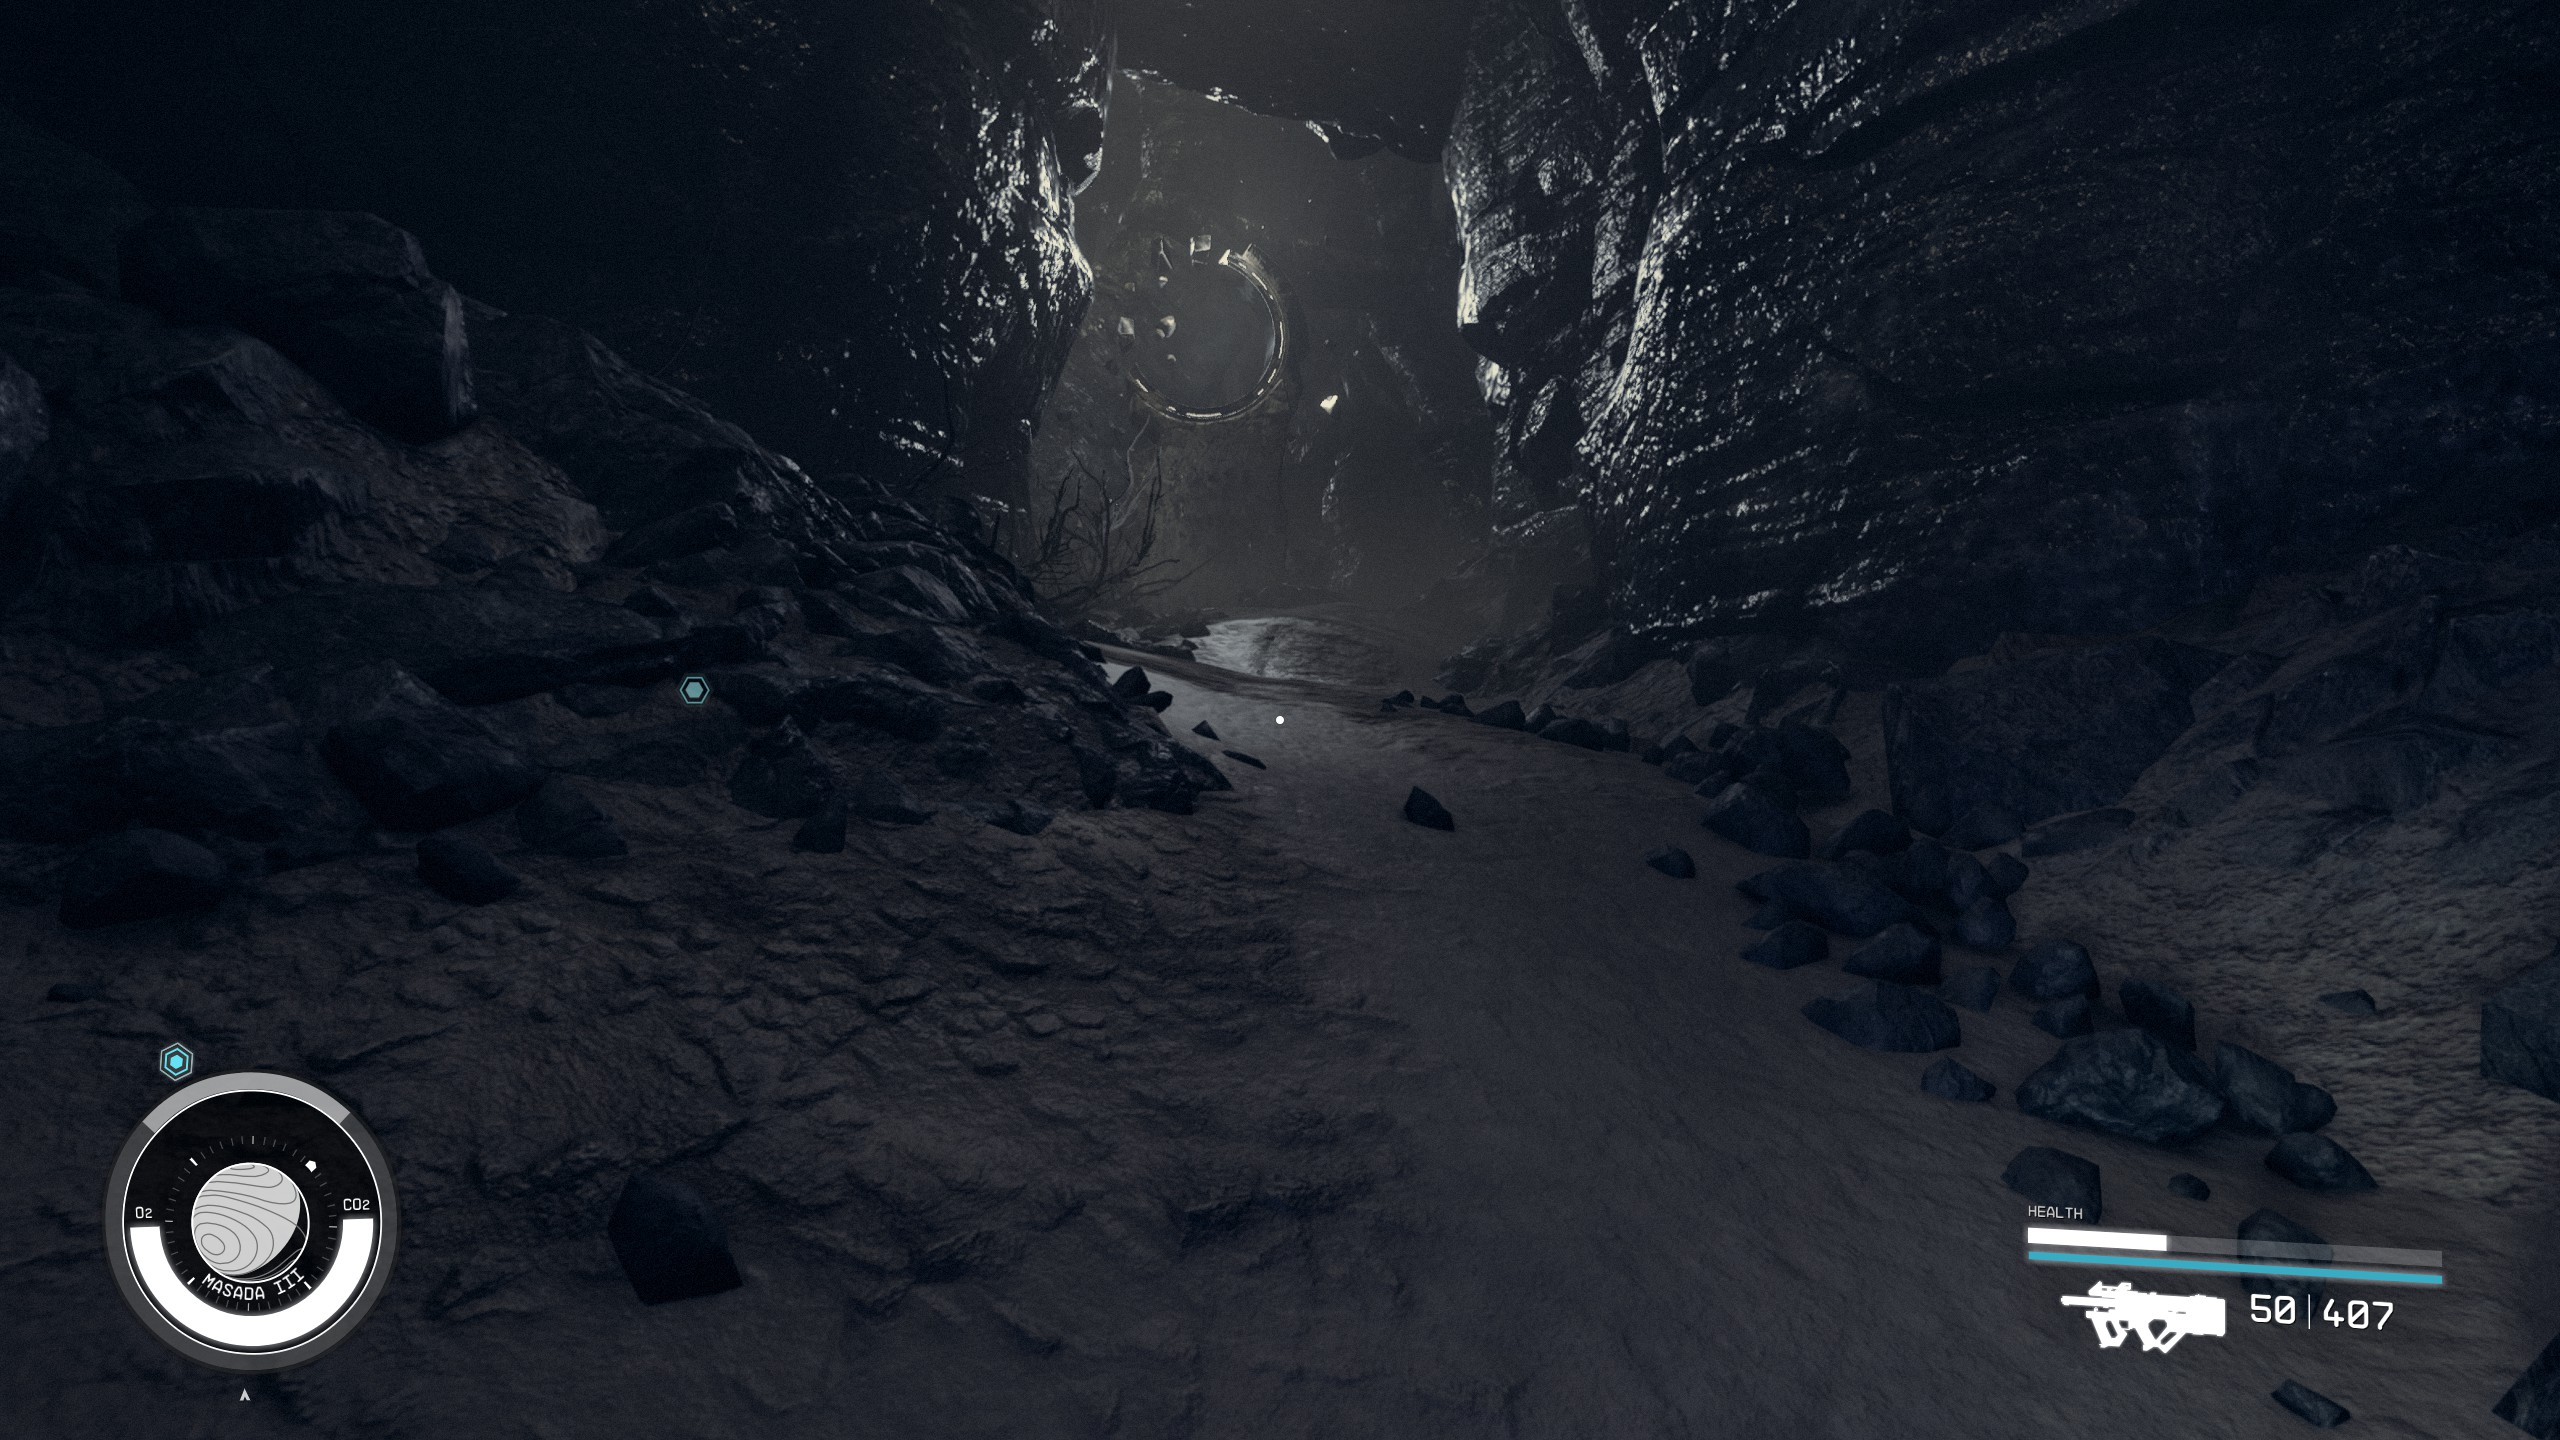
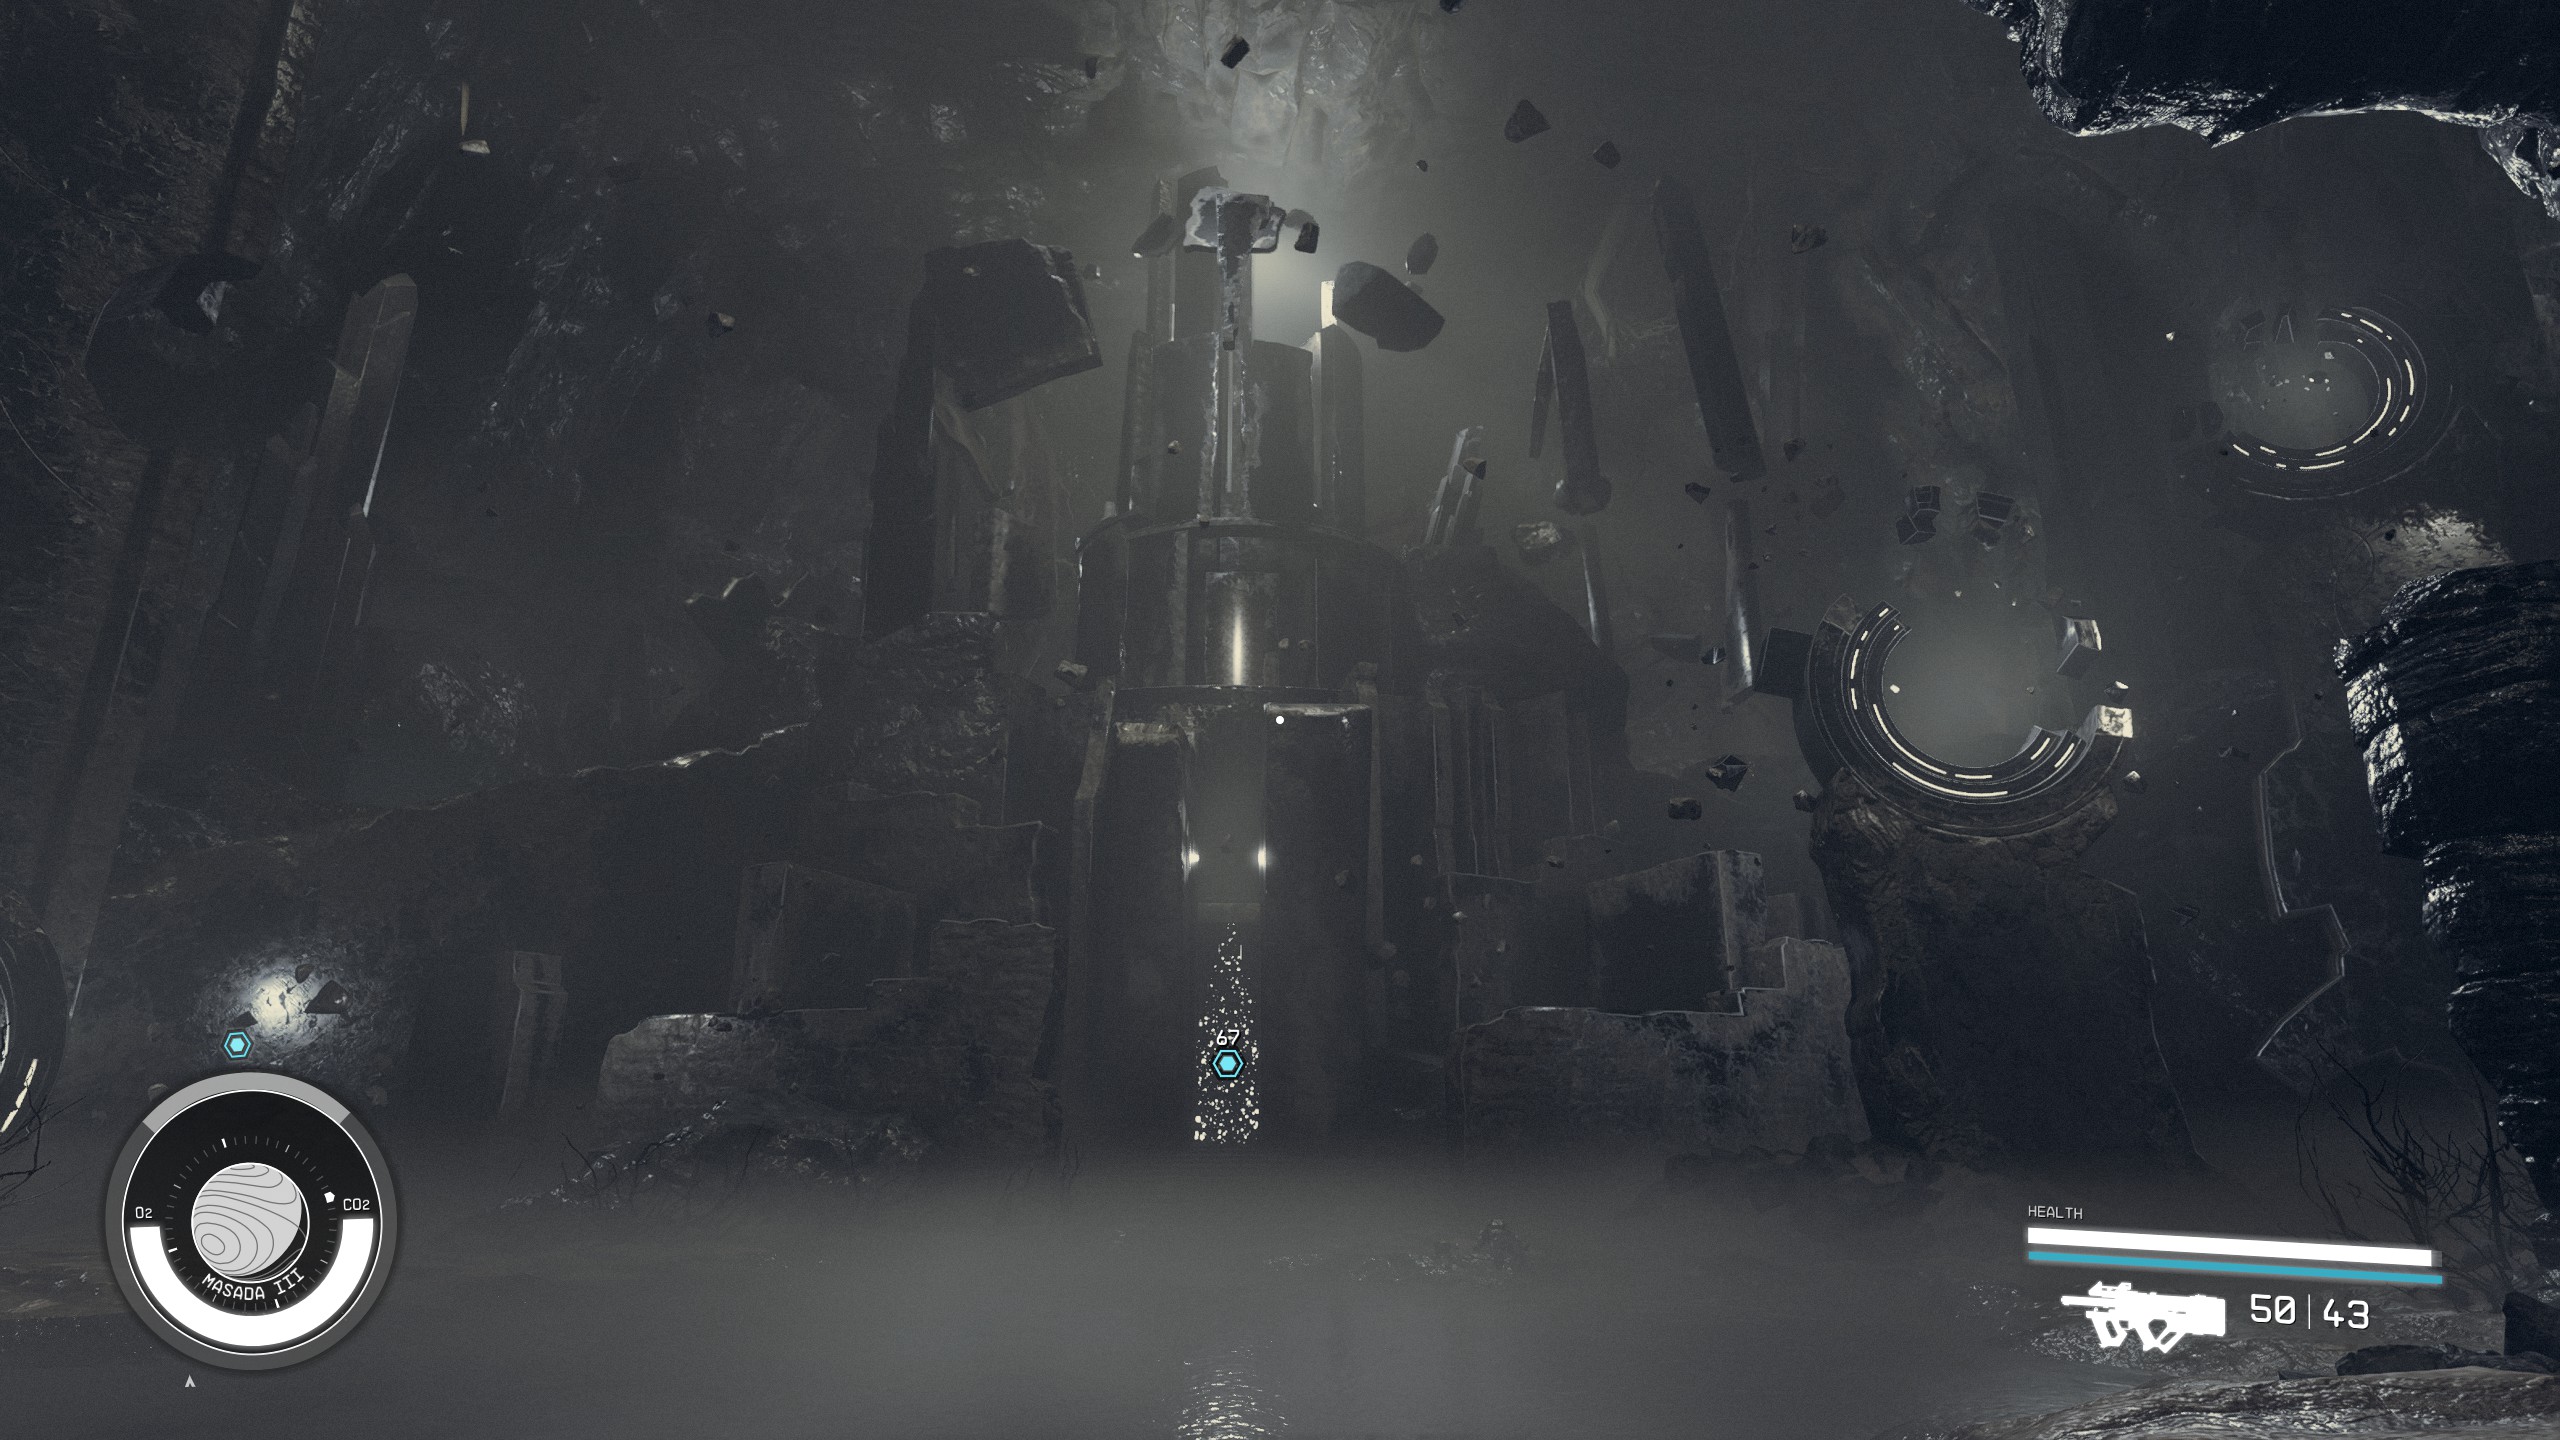
- You will come to a massive open cave. There will be a bunch of supplies sitting on the ground to the left of you. Take these items and get ready for another difficult battle.
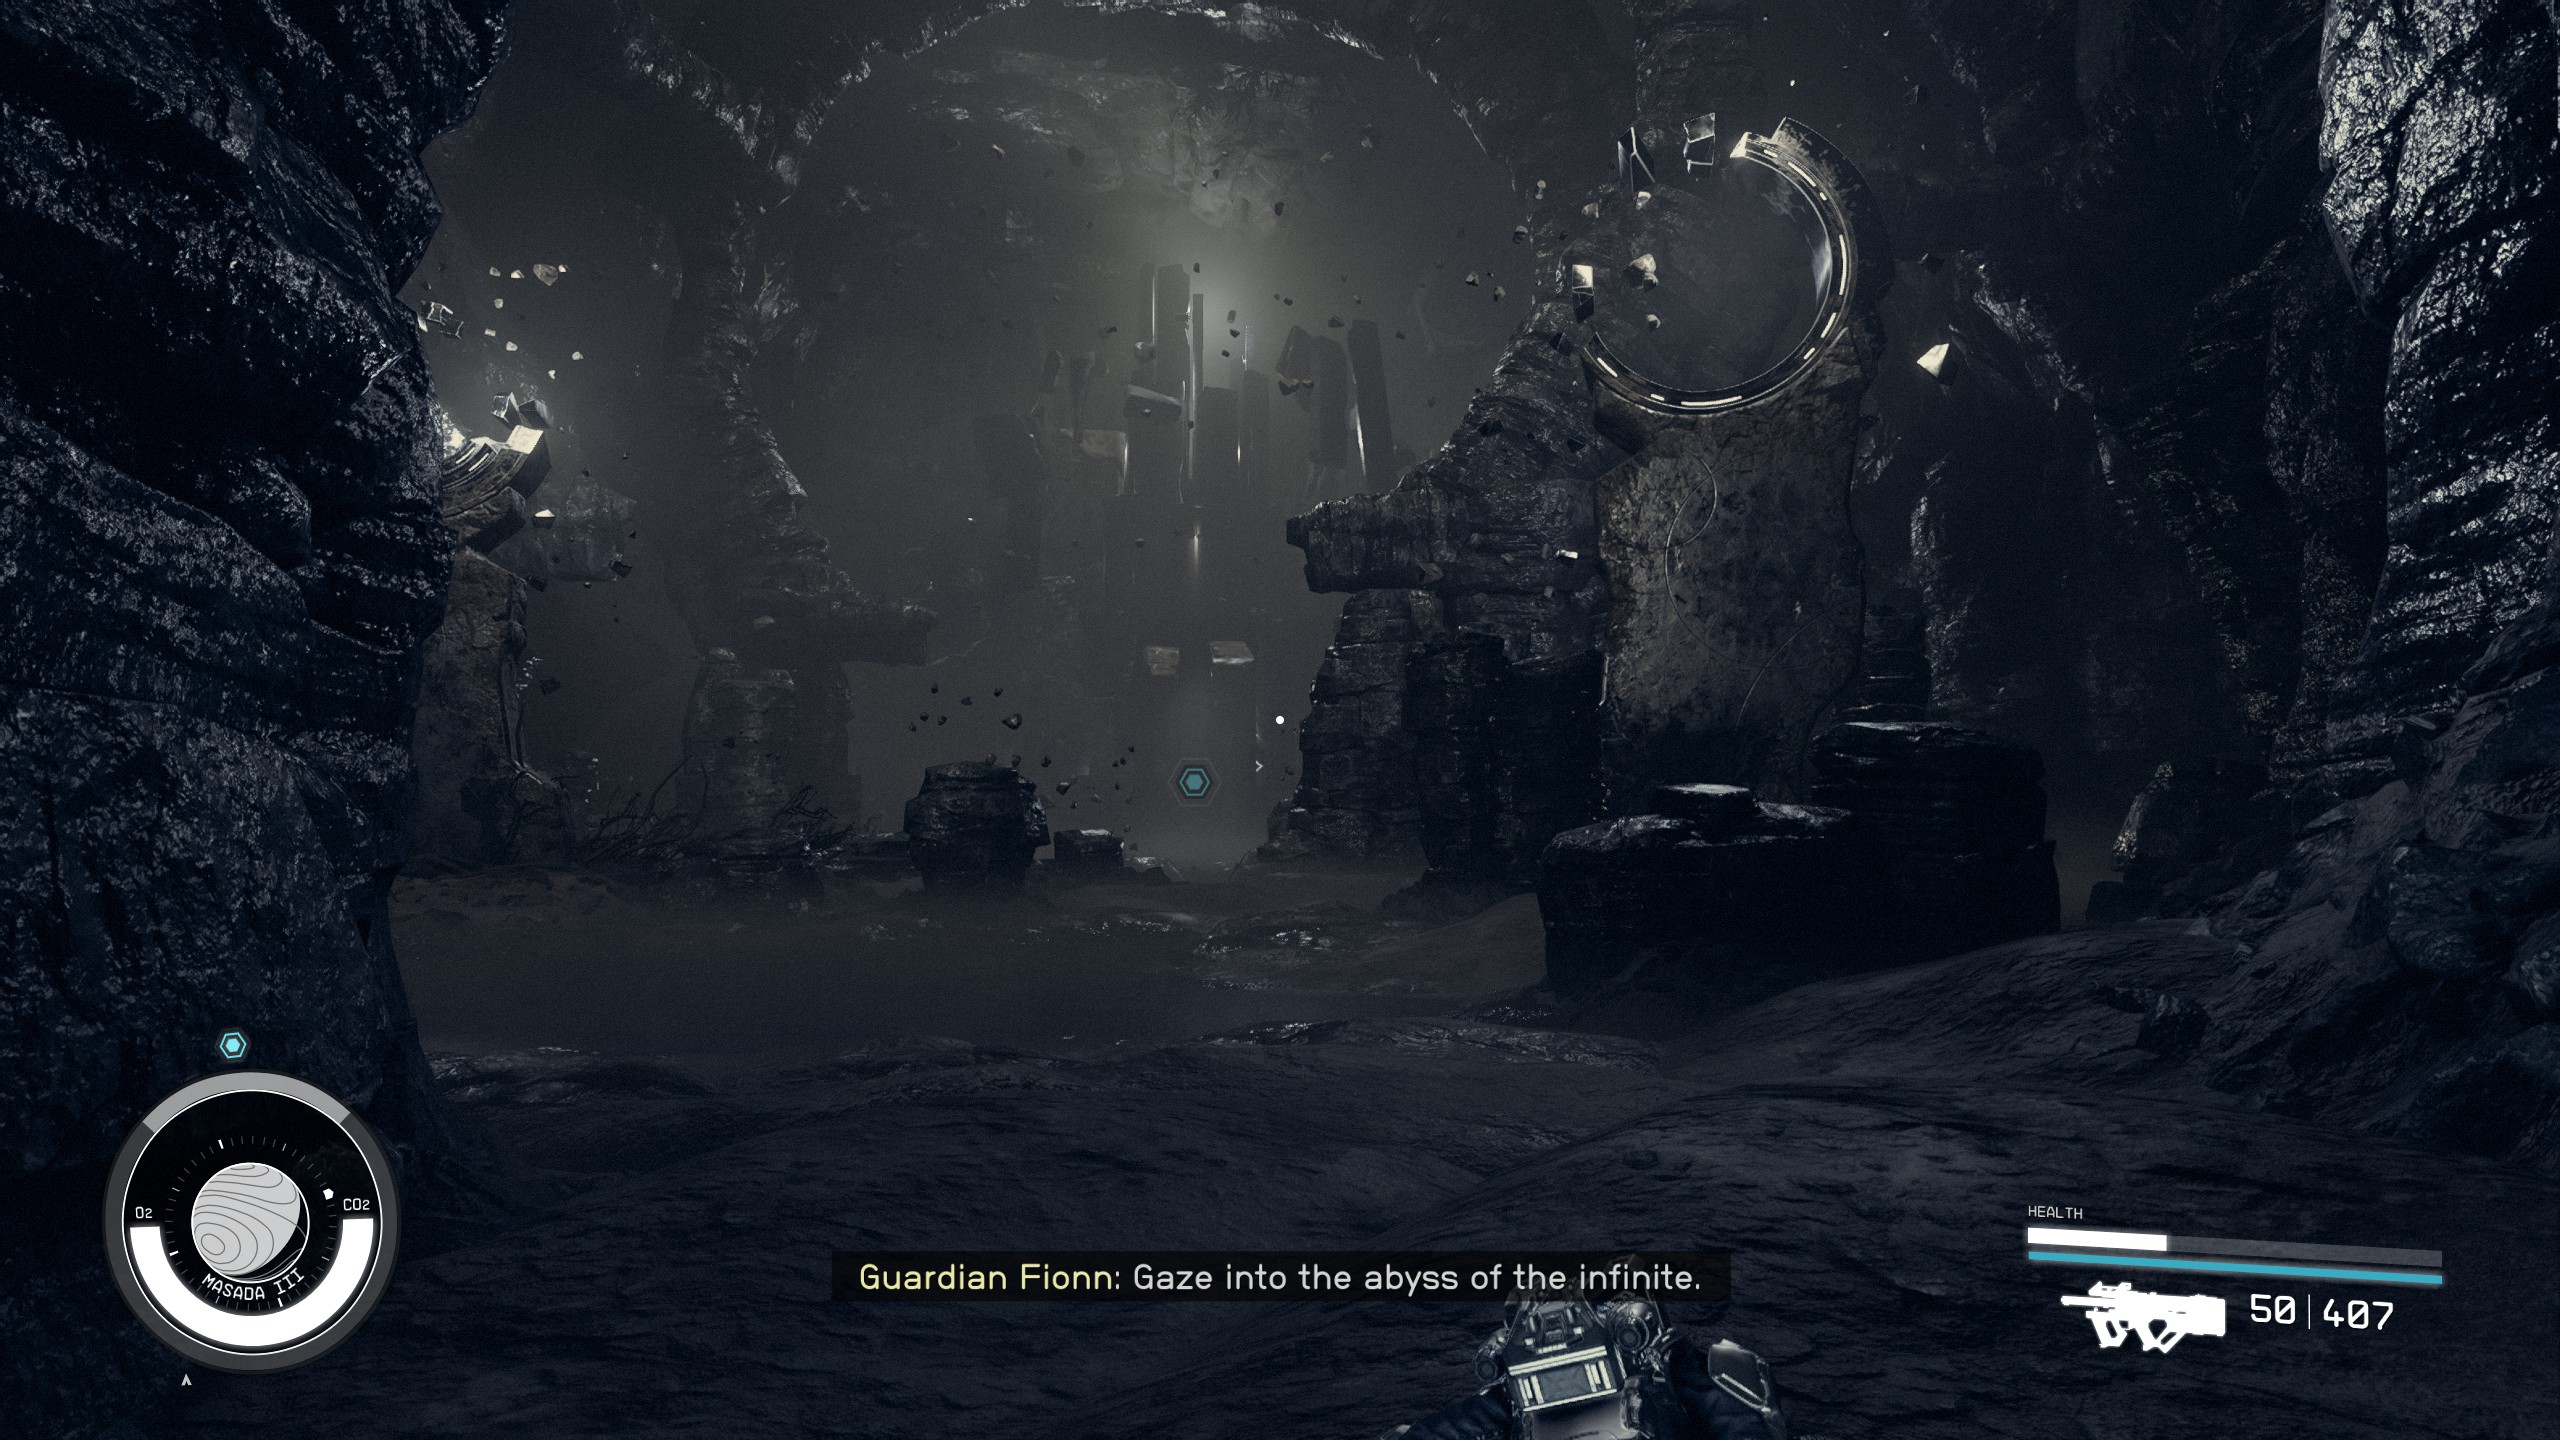
- Walk forwards towards the strutcture containing the Artifact. You will suddenly be attacked by several Starborn.
- Defeat the many Starborn and their copies around the cave.
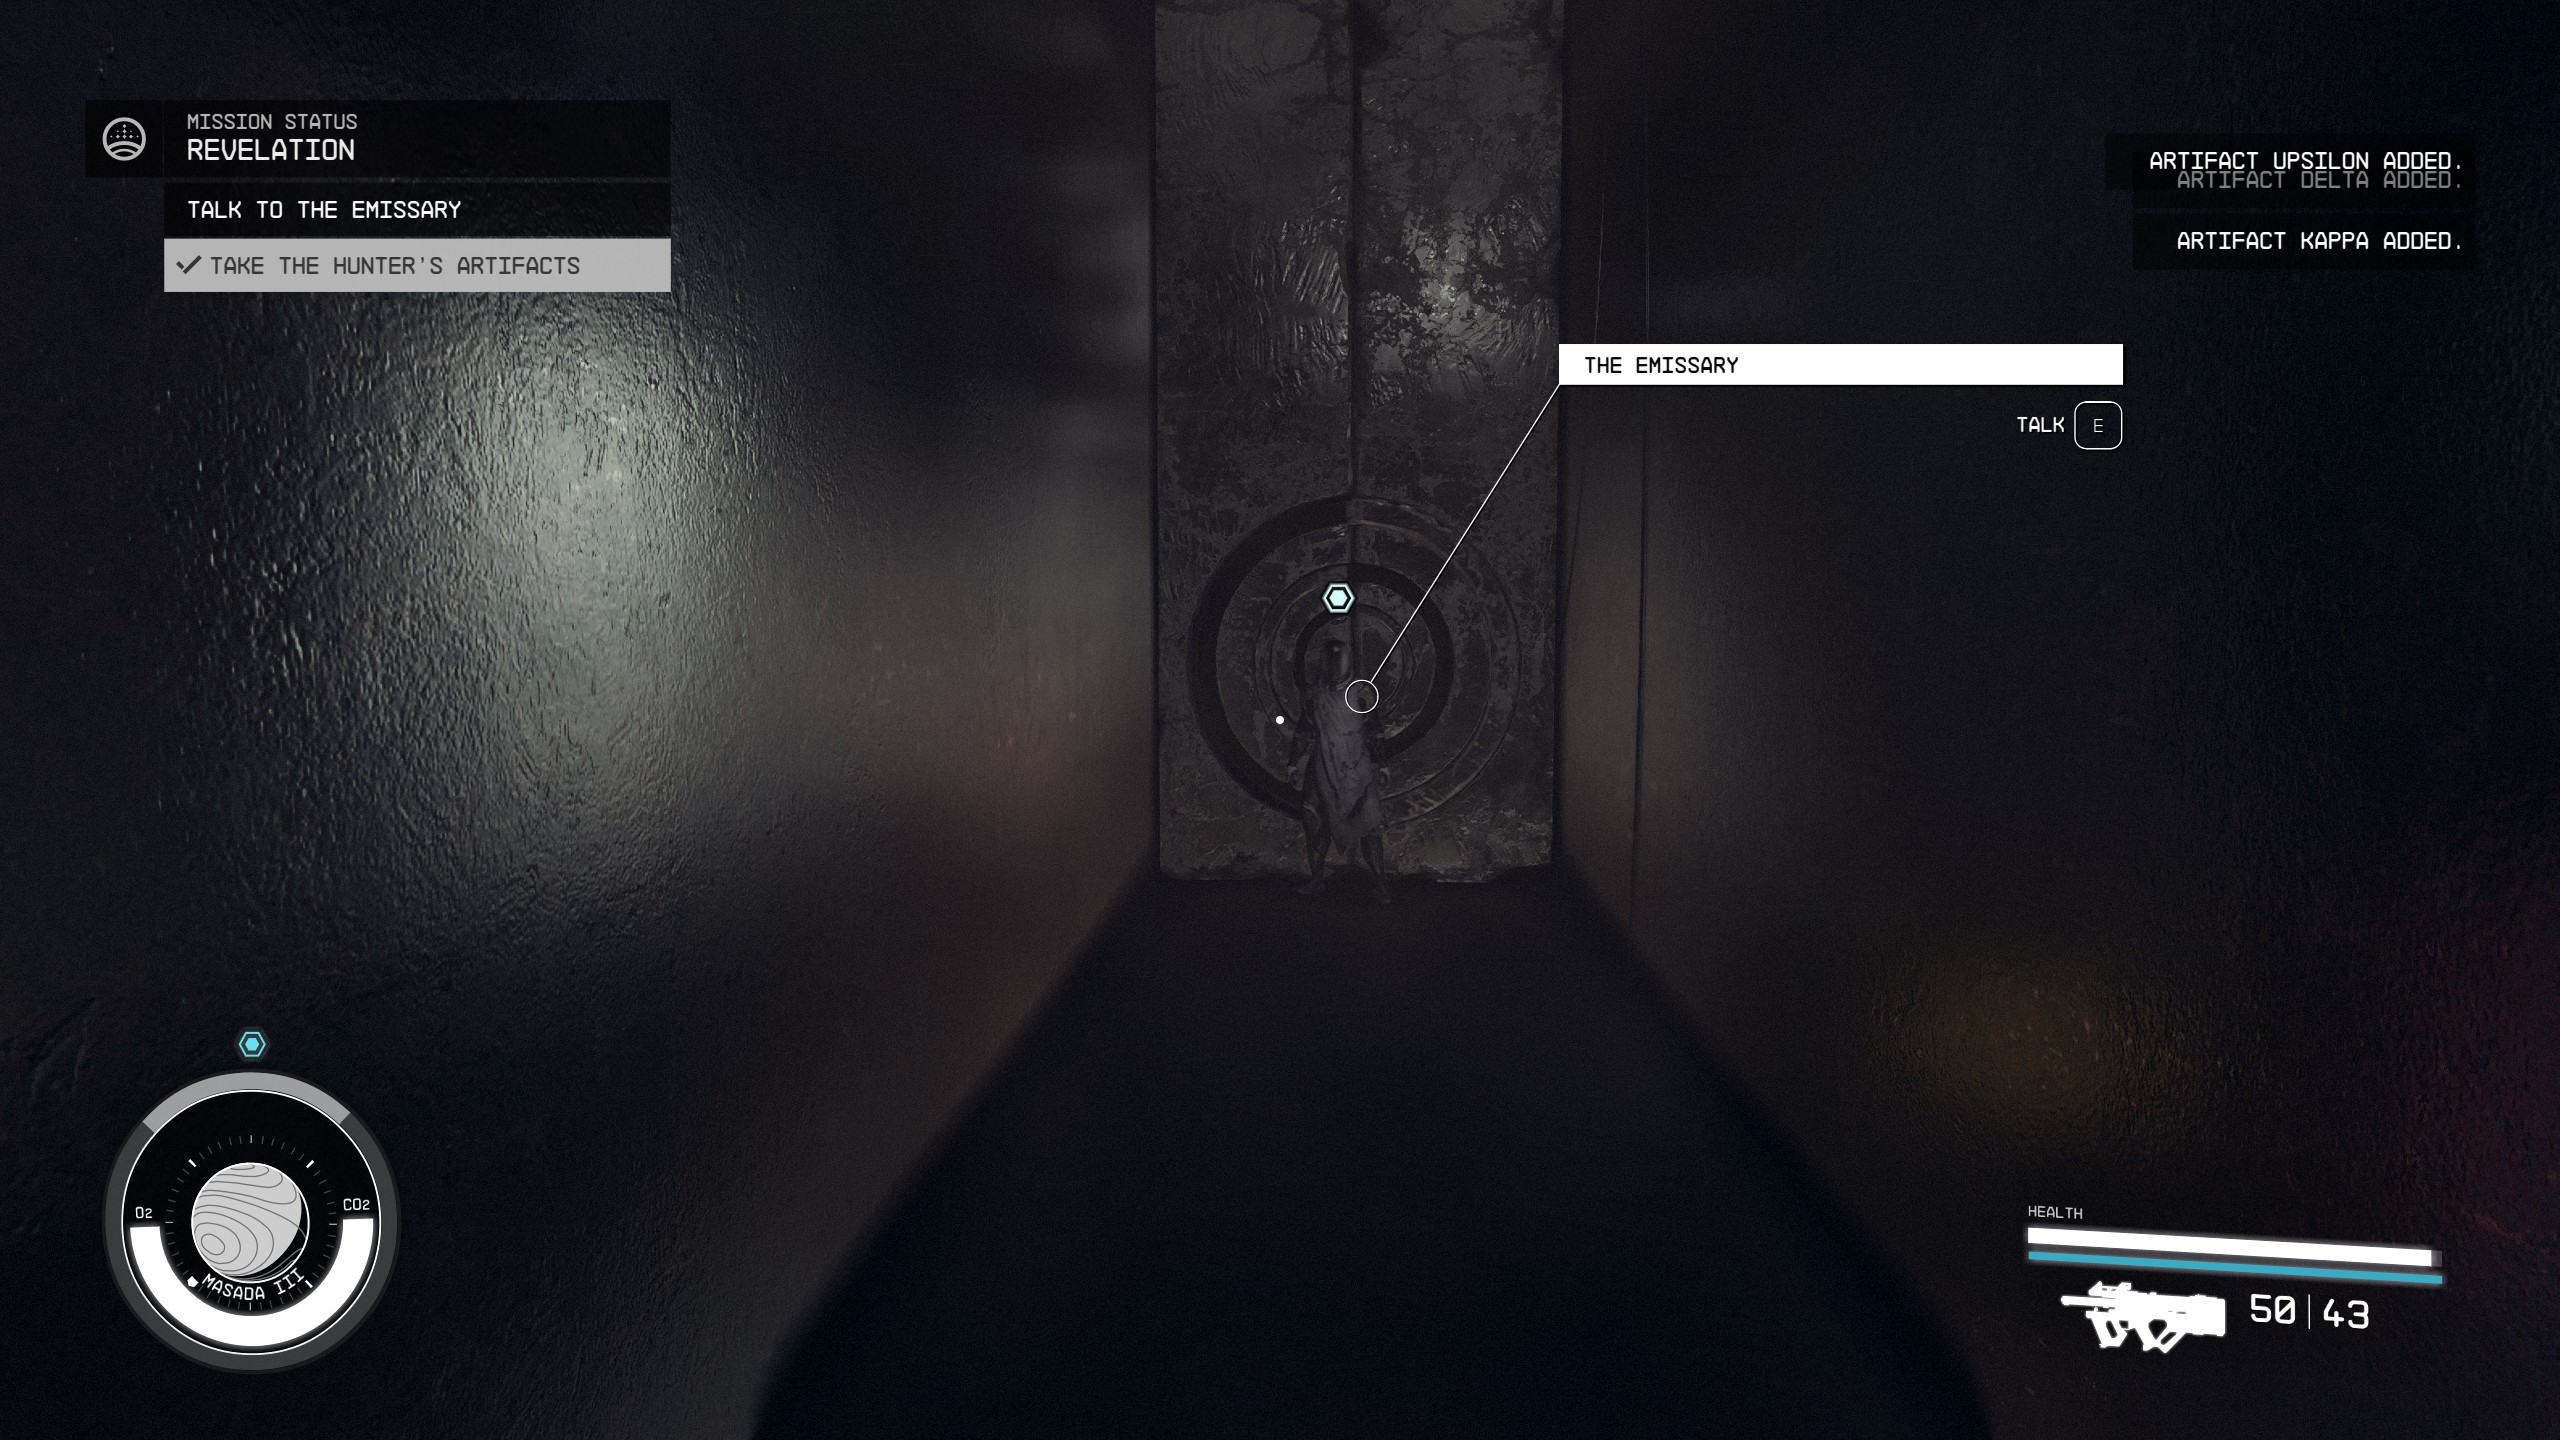
Take The Hunter and/or Emissary's Artifacts
This objective may have the Hunter, the Emissary, OR both the Hunter AND the Emissary as your opponent. Below's walkthrough is for the Hunter, but the experience will be similar.
- Keep walking straight and you will come the Buried Temple.
- Wait for the gate to open and then go inside.
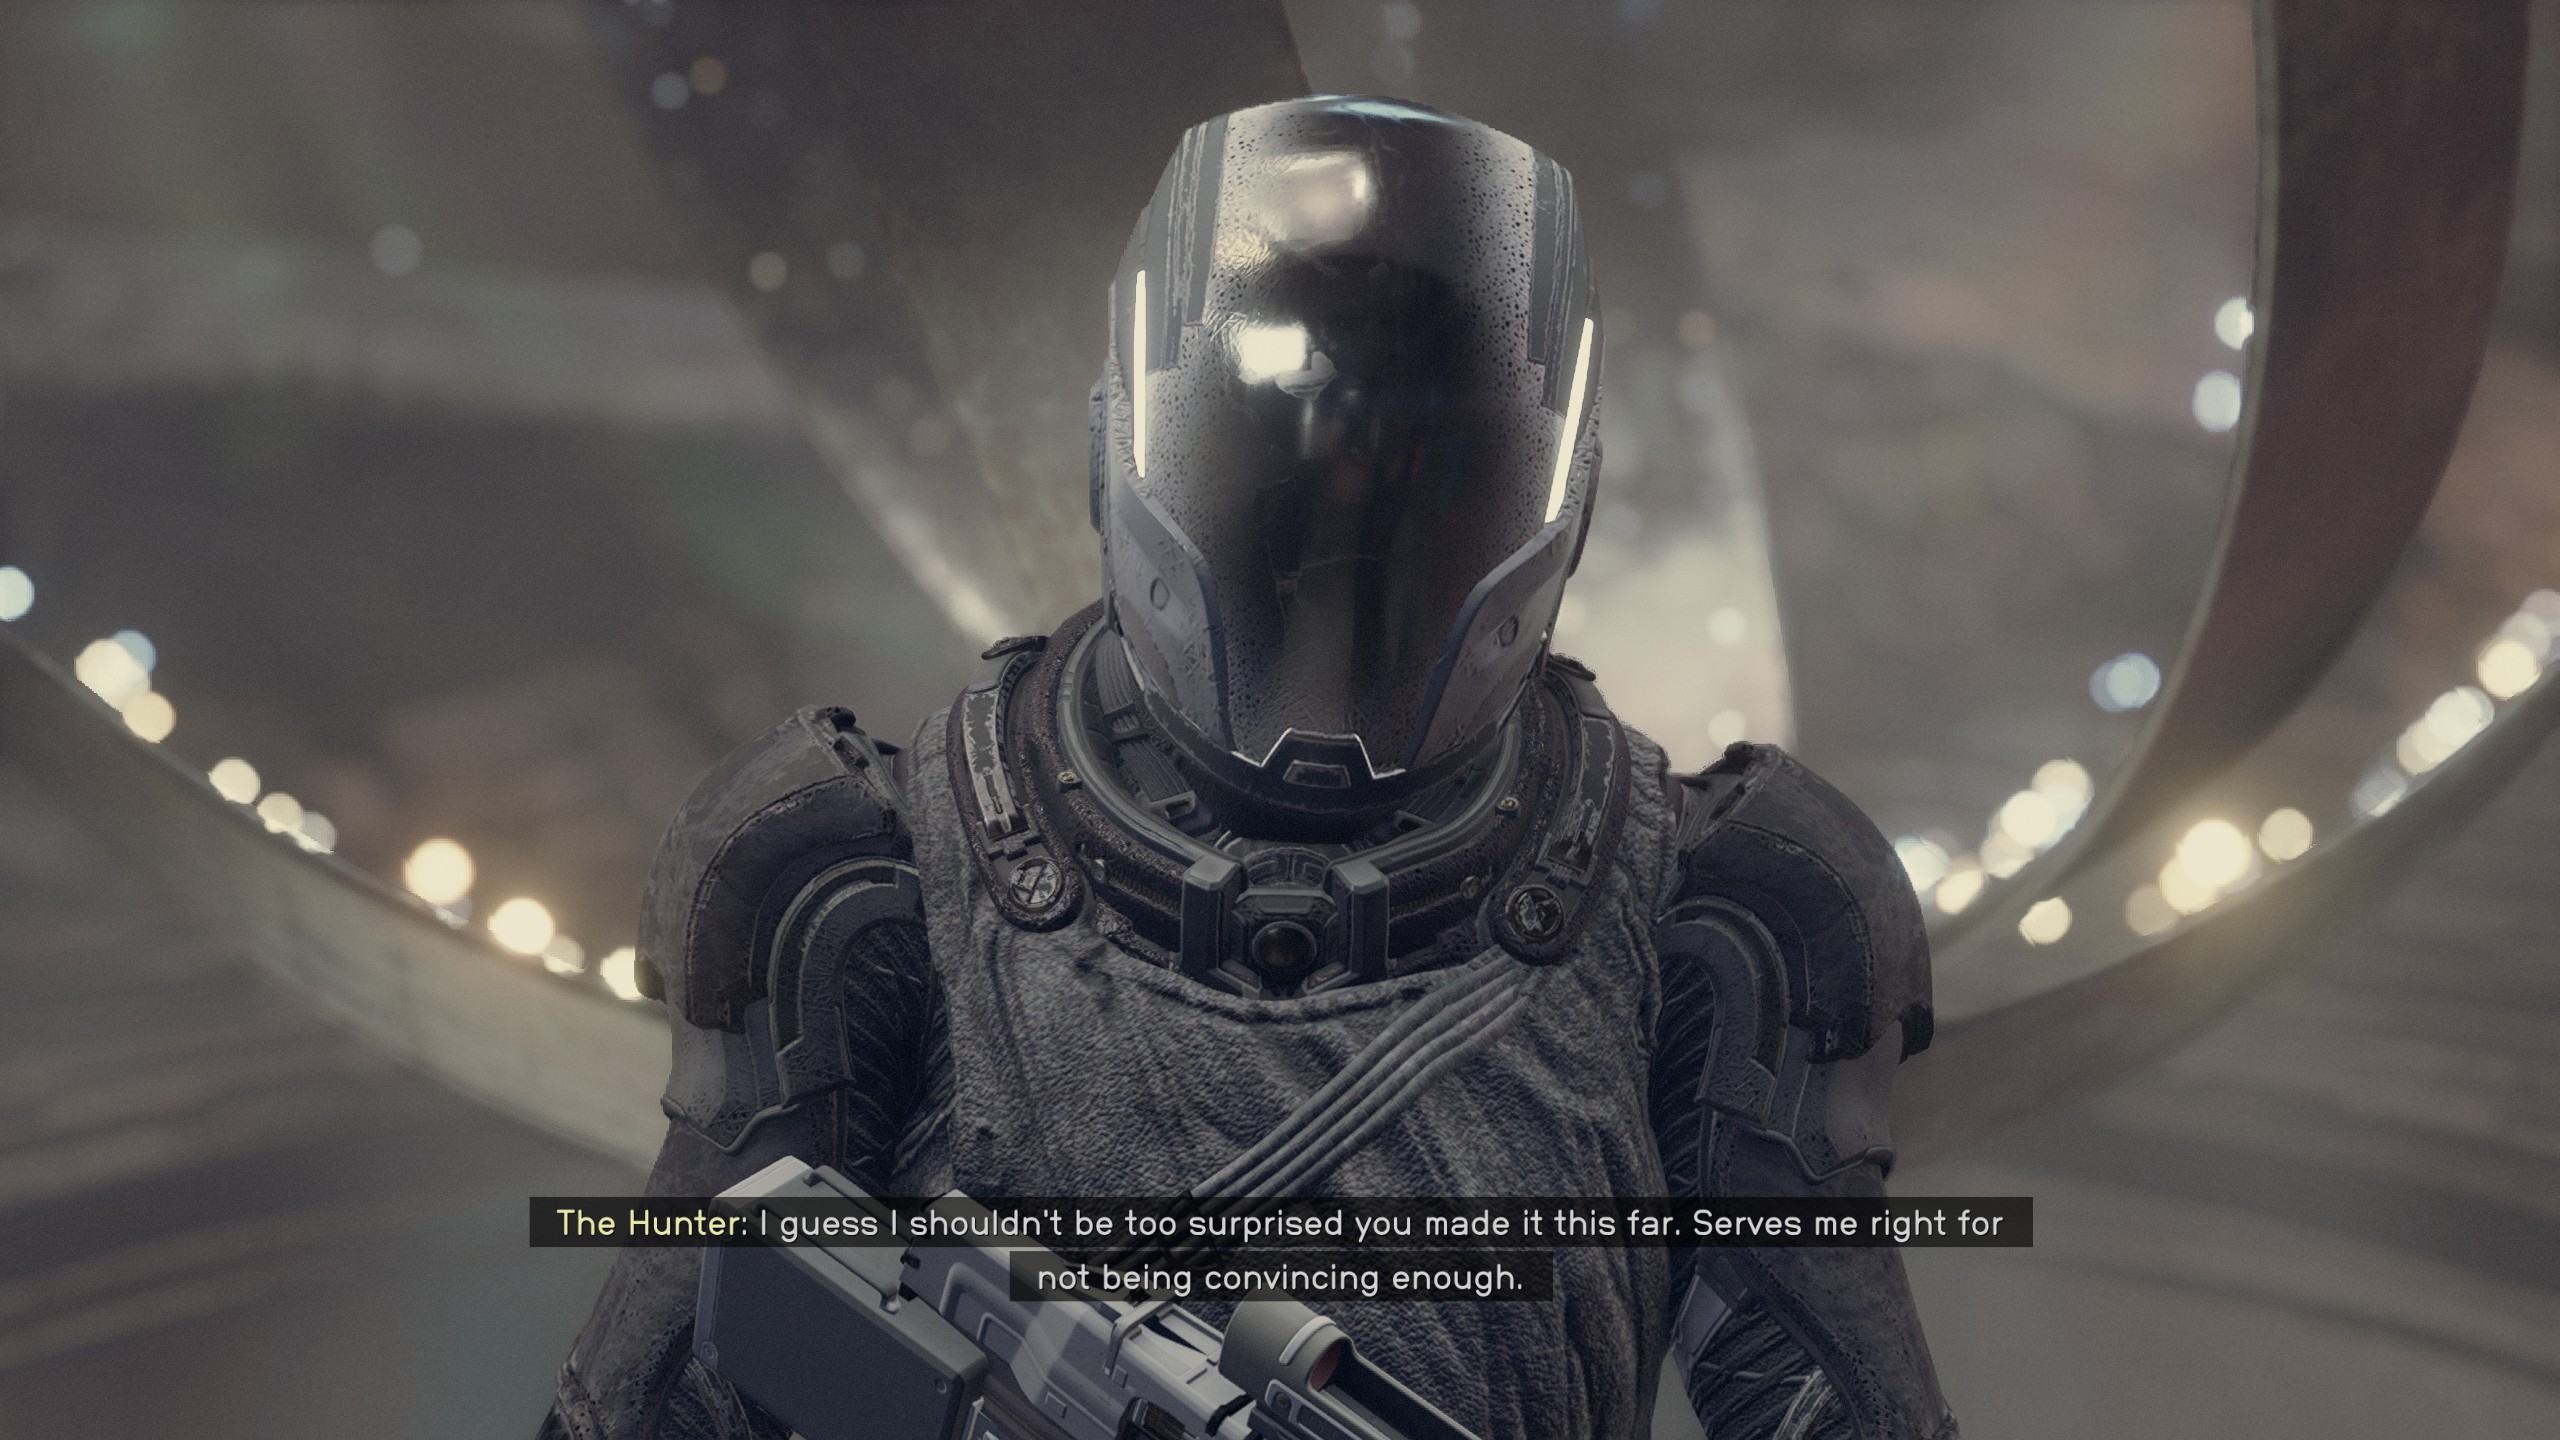
- Approach the sphere and The Hunter will appear and try to stop you.
- Choose to either battle The Hunter or persuade him to stand down. You will either need to loot the remaining Artifacts from him or he will give them to you.
Talk to The Emissary and/or The Hunter
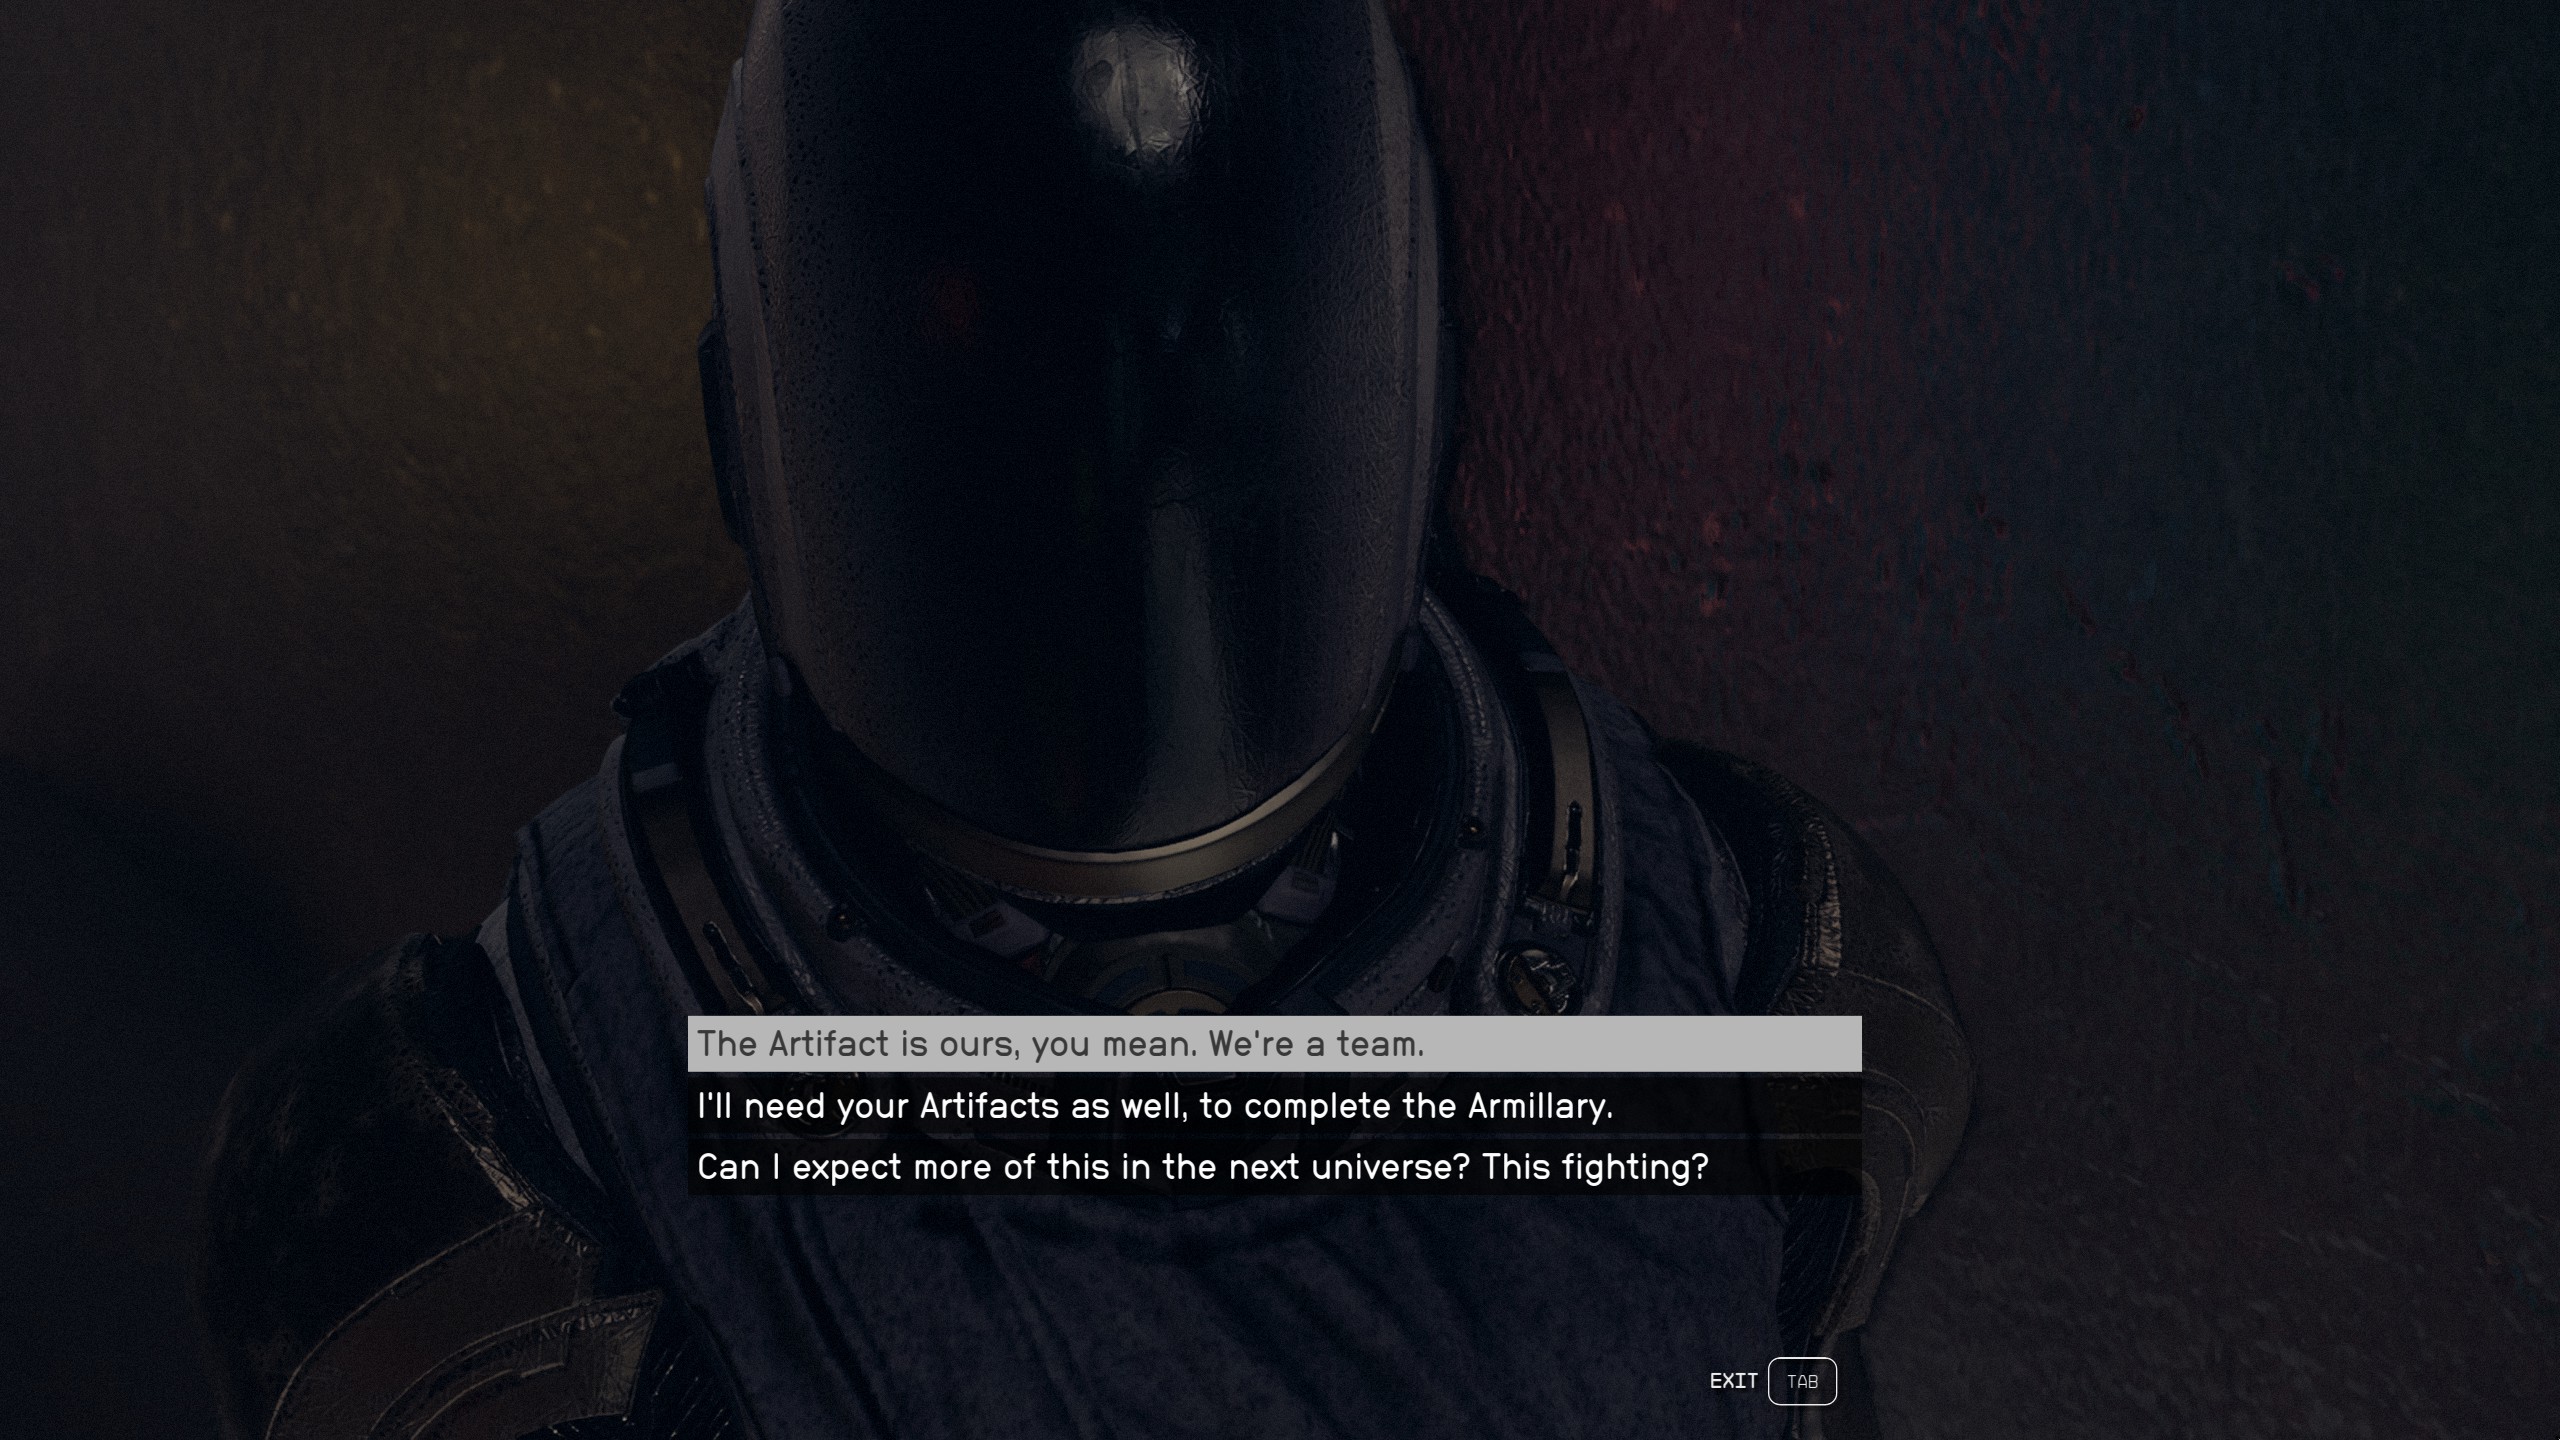
- Talk to the Emissary and he will thank you for helping him.
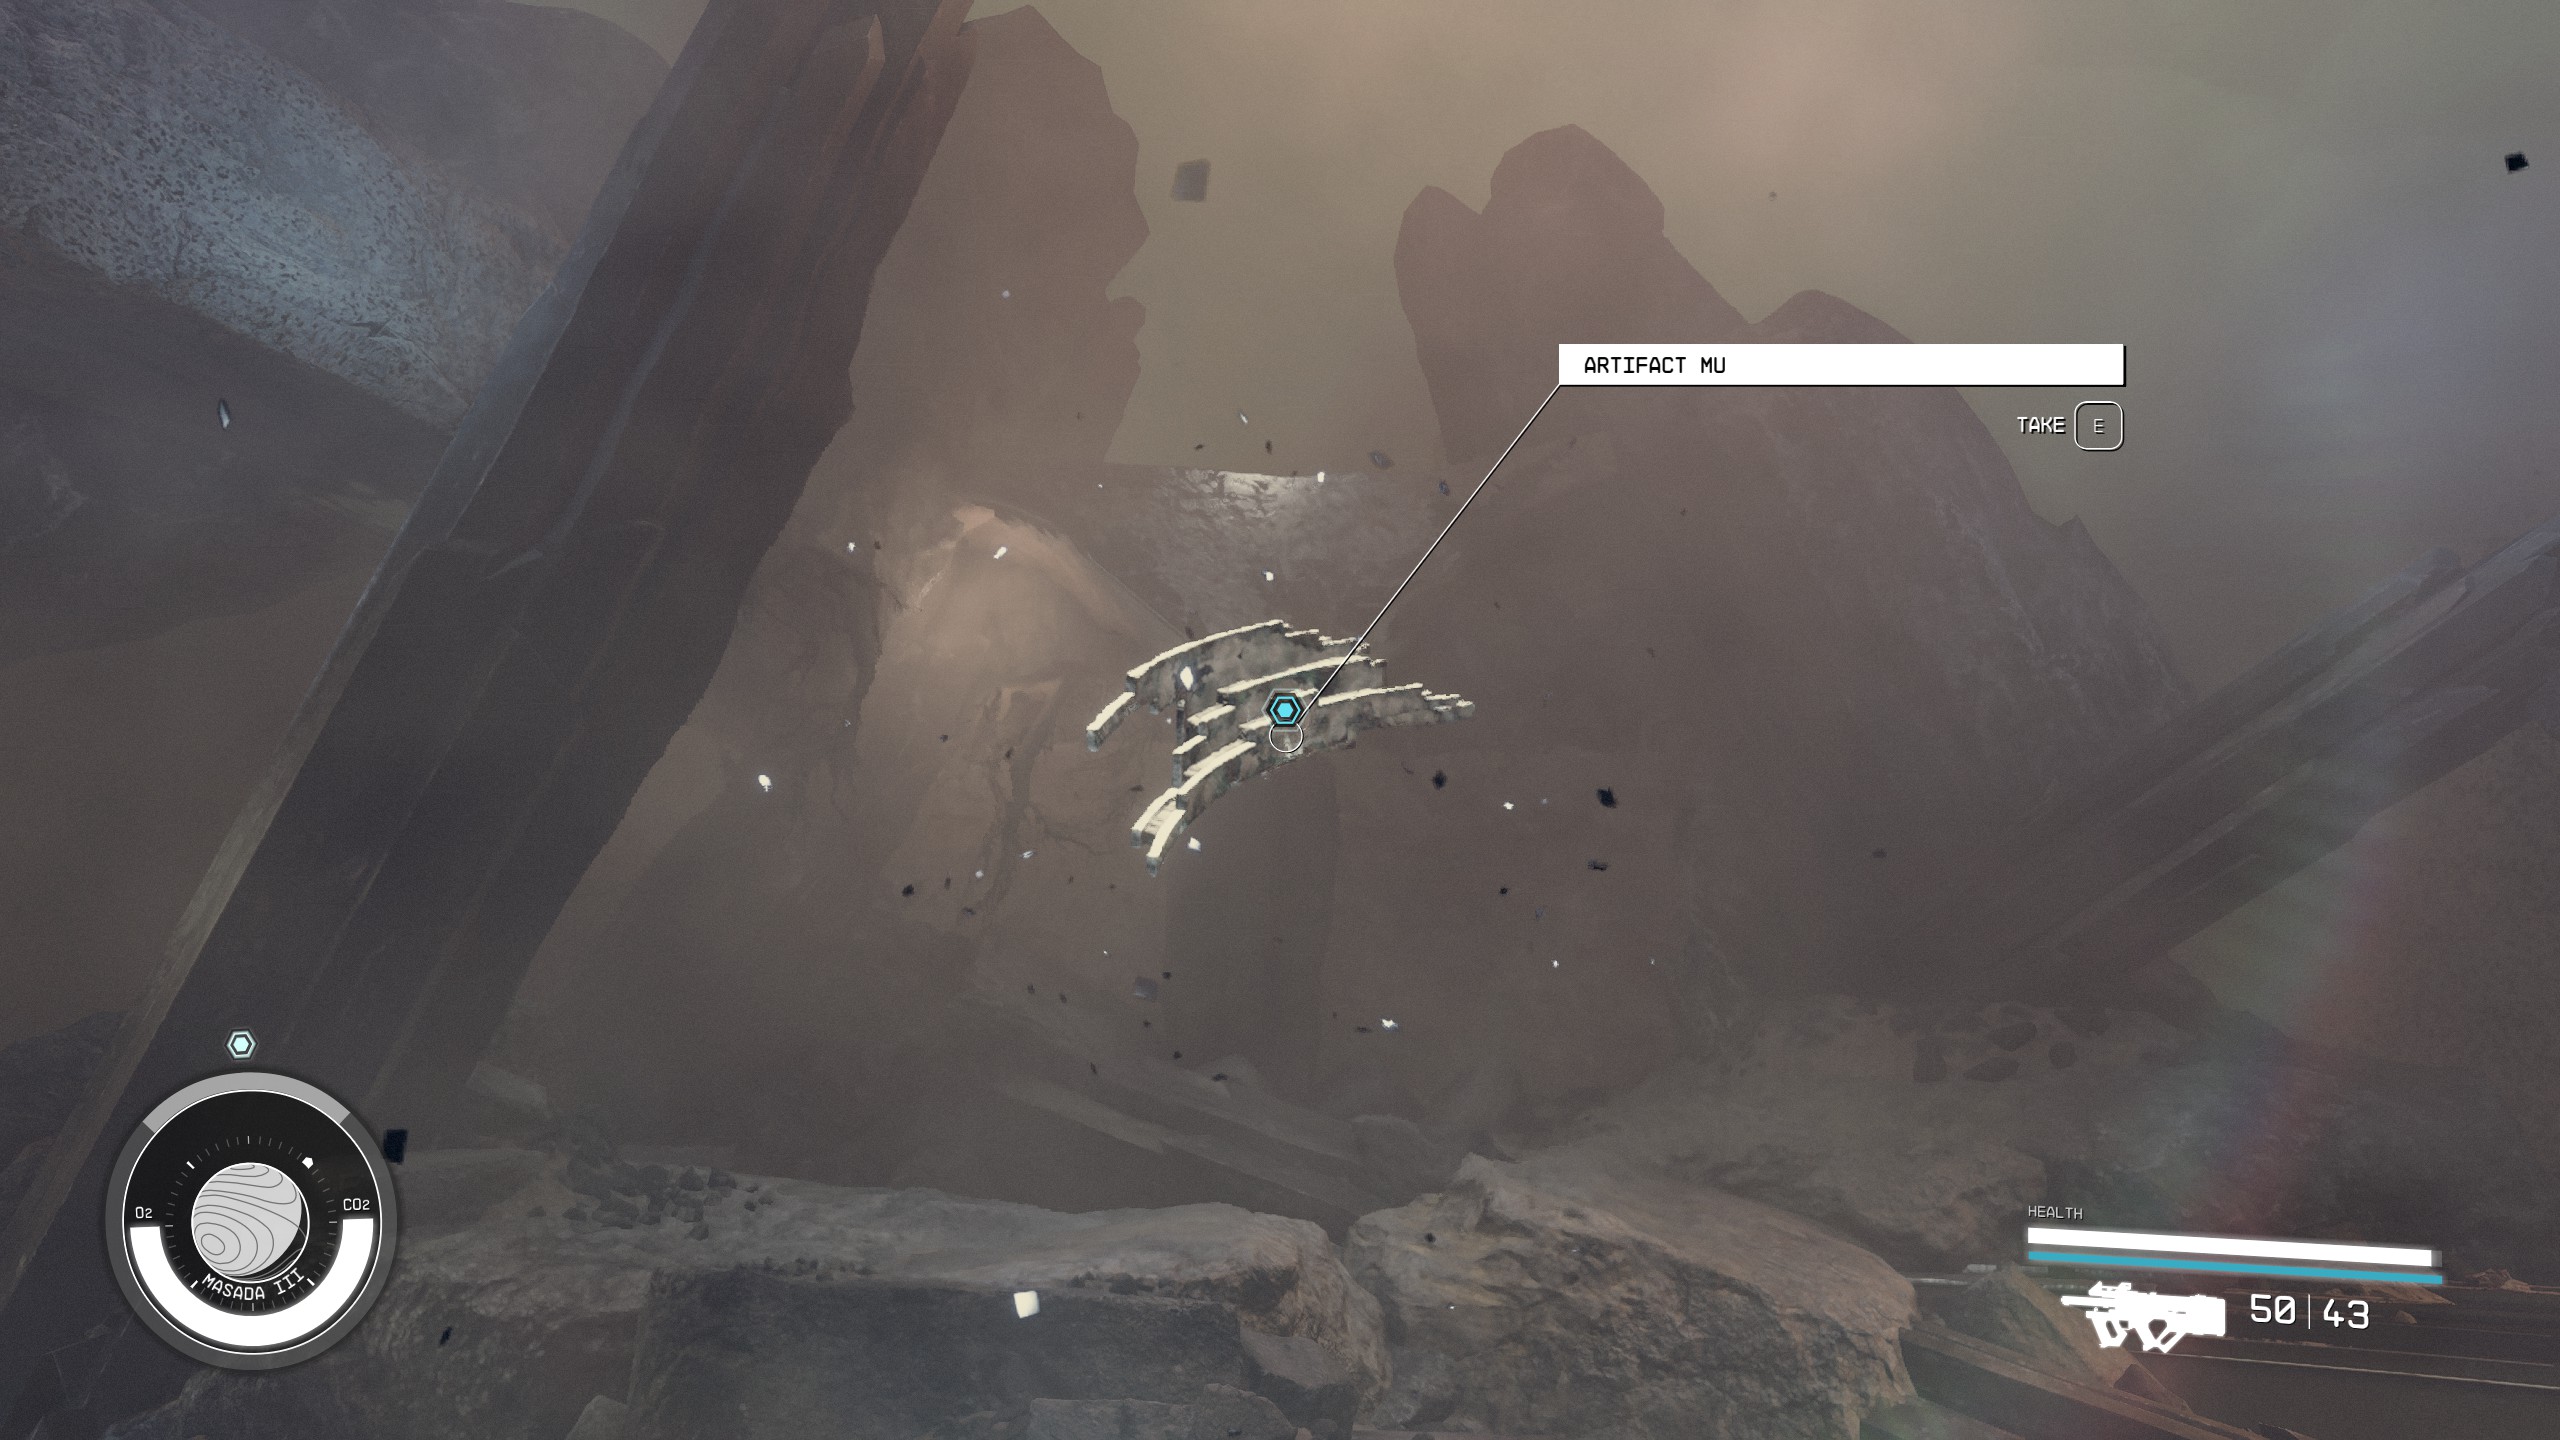
Take the Artifact
- Walk up to the Amillary Sphere and take the Artifact. You will be teleported out and will receive the mission "One Giant Leap."


