Ship Building: Difference between revisions
Sneaky pete (talk | contribs) |
Sneaky pete (talk | contribs) |
||
| Line 30: | Line 30: | ||
==Some helpful controls - Keyboard== | ==Some helpful controls - Keyboard== | ||
While your Grabbing and attaching your modules here are a few tips to help you get a better view of things | While your [[Grabbing]] and attaching your modules here are a few tips to help you get a better view of things | ||
The Camera can be rotated around a center point with the Right Stick on controller, or by holding the Right mouse button and moving the mouse. | *The Camera can be rotated around a center point with the Right Stick on controller, or by holding the Right mouse button and moving the mouse. | ||
The Camera can be panned using the Left Stick on controller, or the W, A, S, D, or the Arrow Keys on the Keyboard | *The Camera can be panned using the Left Stick on controller, or the W, A, S, D, or the Arrow Keys on the Keyboard | ||
Holding the Left Trigger on controller, or Shift on keyboard, while panning makes the camera move faster | *Holding the Left Trigger on controller, or Shift on keyboard, while panning makes the camera move faster | ||
Holding the Left Trigger, while moving the Right Stick up and down on controller, or scrolling the Mouse Wheel on keyboard Zooms in and Out. | *Holding the Left Trigger, while moving the Right Stick up and down on controller, or scrolling the Mouse Wheel on keyboard Zooms in and Out. | ||
==Everything costs something== | ==Everything costs something== | ||
Before you get your heart set on installing your 10th Missile Launcher, Note that every piece of equipment, costs Credits, and each Vendor only holds a certain amount of Credits. You can always visualize how you would like to lay your ship out using the Ship builder, but you may want to stick with the basics first before getting too fancy. | Before you get your heart set on installing your 10th Missile Launcher, Note that every piece of equipment, costs Credits, and each Vendor only holds a certain amount of Credits. You can always visualize how you would like to lay your ship out using the Ship builder, but you may want to stick with the basics first before getting too fancy. | ||
Revision as of 15:38, 8 September 2023
- See also: Ships, Ship Modules and Ship Piloting
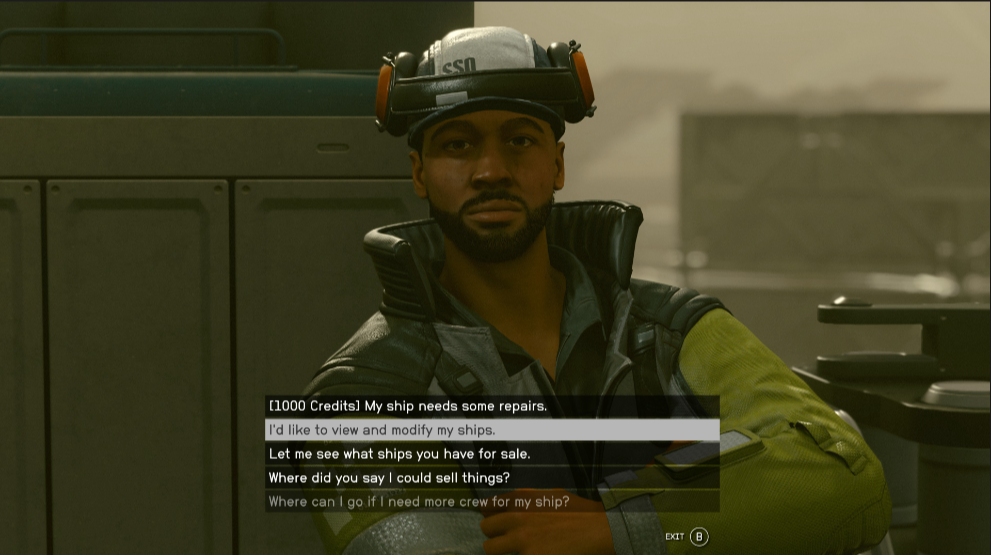
You can create a brand-new Starship directly from scratch by speaking to a Ship Vendor. One of the first Vendors you'll meet is also one of the easiest to access, you will find him in New Atlantis in the Alpha Centauri system.
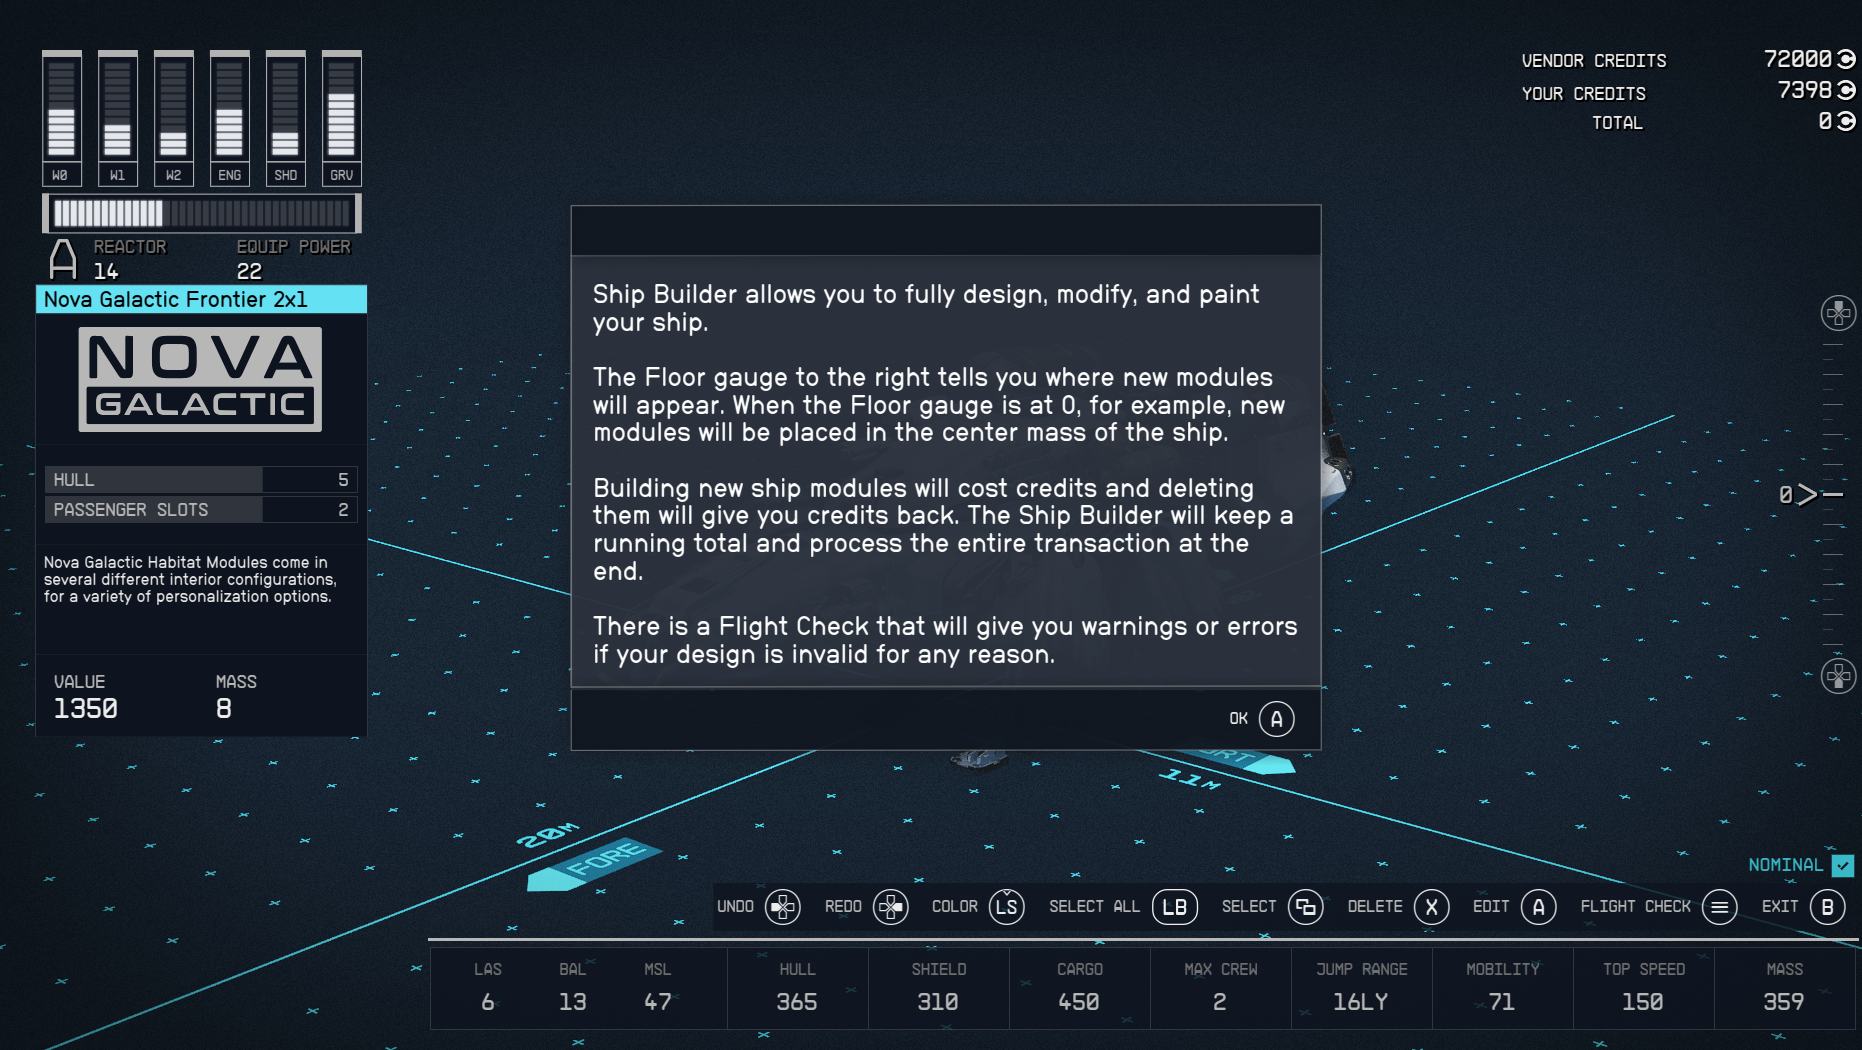
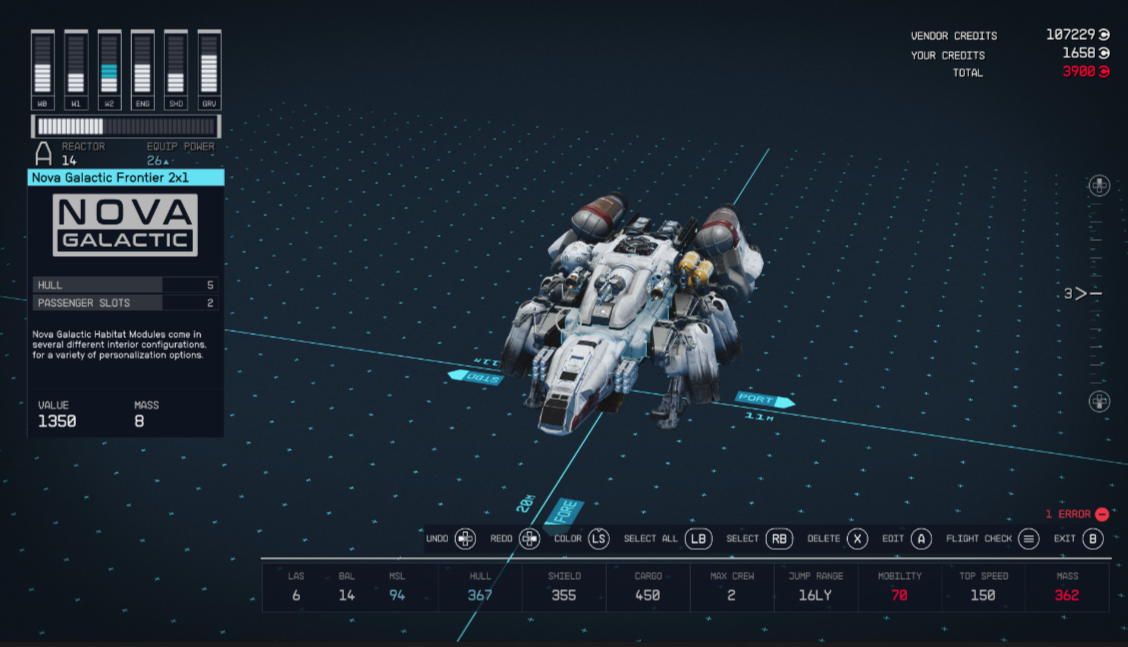
As you speak with the vendor, you can either buy a new ship, or edit a starship you currently own. Select the option to view or modify your ship, then choose the ship you would like to modify, and press X on controller (B on keyboard) to get to the Ship Builder. From here you can either delete or move things piece by piece, or you can delete everything at one time to start from scratch.
Starship License
As you fly around the universe, you will find that there are different Starship, and Starship part classes.
- Class A Ships are normally low firepower, but have high mobility.
- Class B Ships have moderate firepower and moderate mobility.
- Class C Ships have high firepower and low mobility.
Until you are able to level up your Piloting Skill, you are only able to Pilot Class A ships, and use Class A modules (ship parts). Furthermore, the class of your Reactor determines what class of modules you can use on your ship. Pay attention to what parts you purchase as you can purchase items you may not be able to place on your starship.
Before You Build
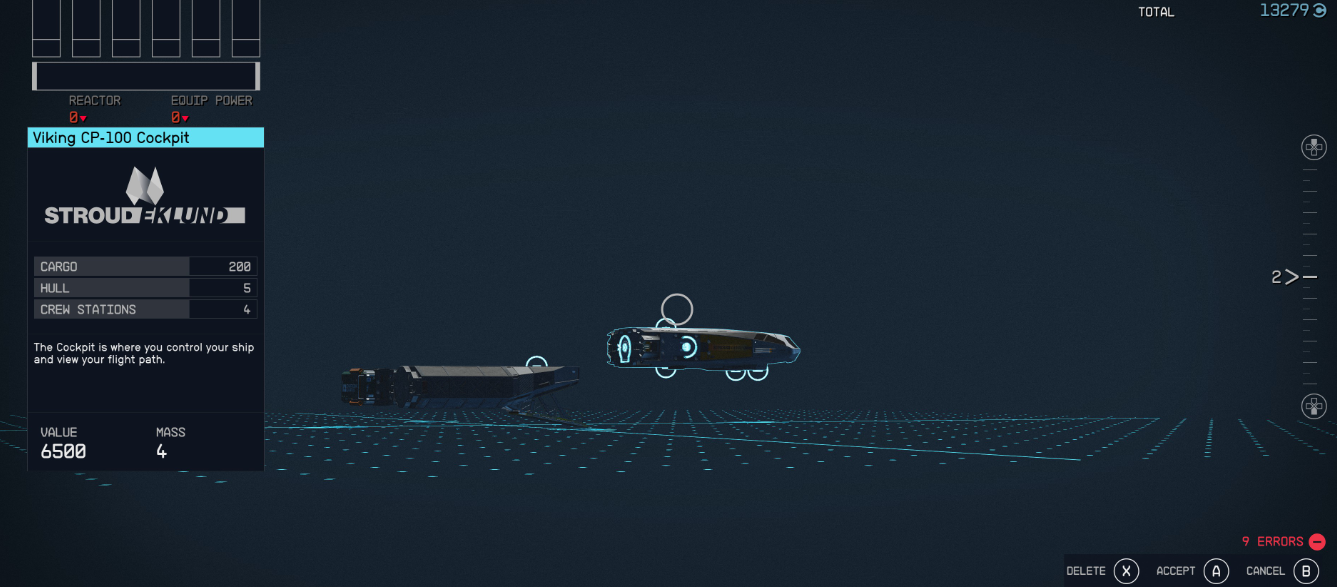
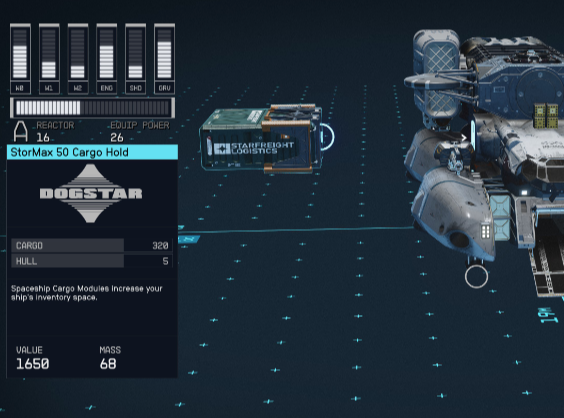
Before you get started, there is a size limit when building your ship. When in the Ship Builder screen, you are not able to build beyond 40m in length and width, and 9m in height. If you try to place any Starship modules, beyond these parameters, you will receive an error. A good thing to keep in mind as you look at ship parts is most of these pieces have stats that provide different benefits. Some pieces have specific stats, a weapon module will show what type of damage it will do, cockpits may show extra Cargo space, as well as how many crew stations there are on your ship. Engines will have the amount of thrust, and the engines health. Fuel Tanks will show how much fuel it holds, and Shield modules will show the Shields max health and Regen rate.
These stats show things such as a Mass Value, and some have a Hull value. The higher your Hull value, the higher your ships Health.
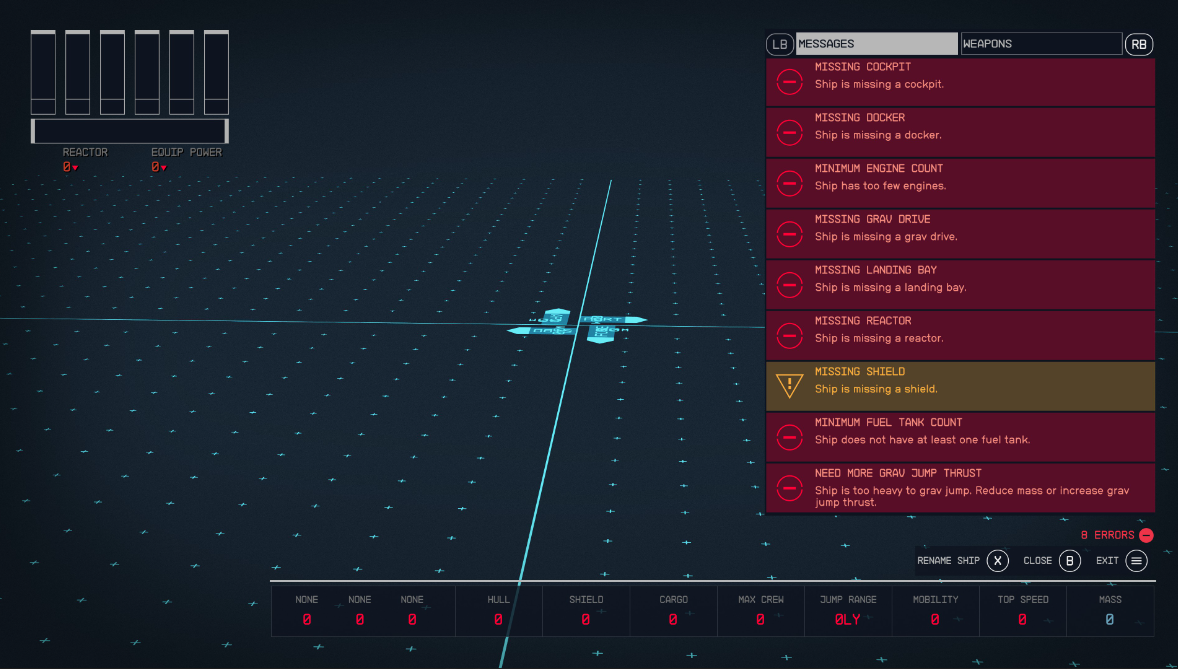
When Building your ship, know that there are some parts which have to be apart of the ship no matter what. The parts you need to have a ship that at the very least flies are as follows:
- A Cockpit - not only essential, but also sets your crew size on this ship
- A Docker - must be the outlying edge on a ship, but also connect to your cockpit
- The minimum amount of Engines - This will be dependent on how much Mass your ship has
- A Grav Drive - allows your ship to jump to other star systems. Upgrade to increase your jump range.
- A Landing Bay - this must somehow connect to your cockpit
- A Reactor - This will determine the class of modules you can use for this ship
- At least 1 Fuel Tank - Store Helium-3 which is used by the Grav Drive to perform a jump.
- Landing Gear - This must be on the same ground level as your Landing Bay, and how large your ship is, will determine how many Landing Gears you need.
As long as you have these base parts, you will be able to create at least a 1 man flying starship. And can add more or better parts as you go
Some helpful controls - Keyboard
While your Grabbing and attaching your modules here are a few tips to help you get a better view of things
- The Camera can be rotated around a center point with the Right Stick on controller, or by holding the Right mouse button and moving the mouse.
- The Camera can be panned using the Left Stick on controller, or the W, A, S, D, or the Arrow Keys on the Keyboard
- Holding the Left Trigger on controller, or Shift on keyboard, while panning makes the camera move faster
- Holding the Left Trigger, while moving the Right Stick up and down on controller, or scrolling the Mouse Wheel on keyboard Zooms in and Out.
Everything costs something
Before you get your heart set on installing your 10th Missile Launcher, Note that every piece of equipment, costs Credits, and each Vendor only holds a certain amount of Credits. You can always visualize how you would like to lay your ship out using the Ship builder, but you may want to stick with the basics first before getting too fancy.
Another cost you may not be paying attention to is the Mass, almost every module you add to your ship will add abit of Mass to the ship. The more Mass your ship has, the slower your ship will go if you dont have enough engines to boost your ship.
Check your placement
For each ship part you will see that there are Light Blue Circles that appear as you hold the Module.
These are anchor points, showing where they can be attached to other Modules with Anchor points of the same size. Please note the placement of these Anchor points, as some modules siply will not connect to another, and may require other parts like habitats or structural modules, just to make things fit correctly. Do your best to keep track of the modules if you move them, as individual pieces floating by them selves will show up on your flight error list
Please note that Pieces that would normally clip through other objects can not be attached.
The Interior and the Designing
With most of the required modules being self-explanatory, there are other Categories of modules, such as Structural, and Hab Modules.
Structural Modules are largely cosmetic, and allow you to modify your Starship and give it even more Customizable flair. These items can be anything from Weapon Mounts, to portholes and windows. While these pieces will still add Mass to your ship, but not all of the pieces will add to your Hull value.
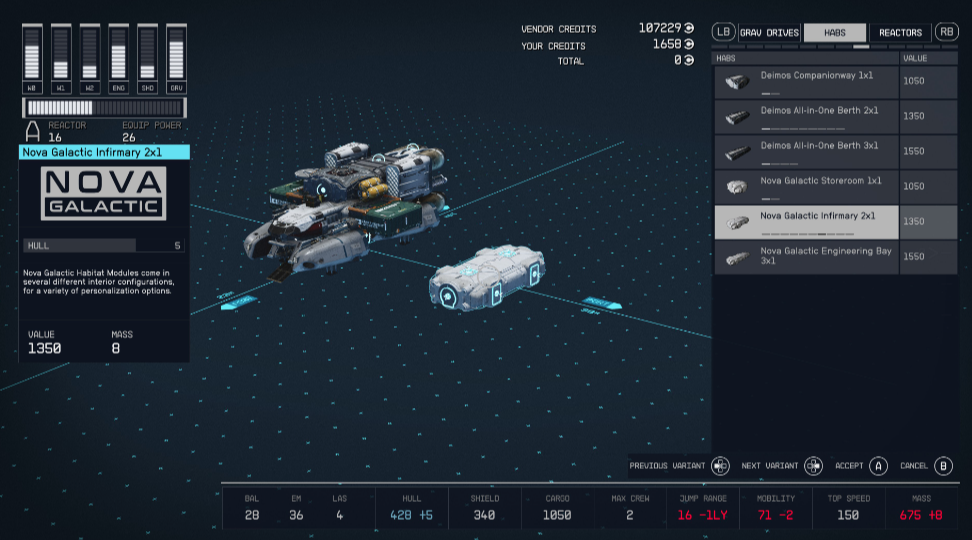
Habs are short for Habitat Modules.
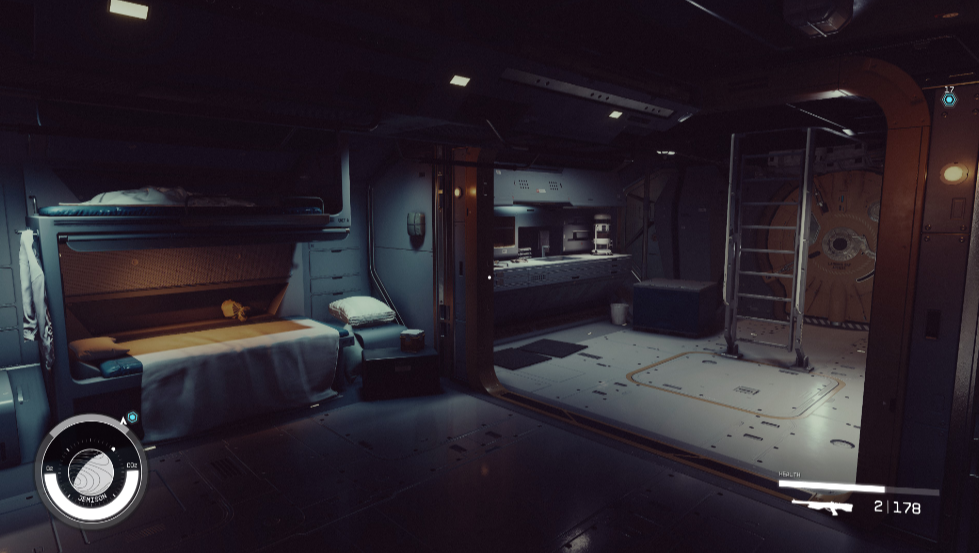
We recommend reading each of the names of these items, as these interior sections will tell you what type of compartment is being installed. These Modules can have multiple variants, which show a variety of personalization options, such as living quarters or kitchens, and can place other crafting tables inside of your ship.
If you need to connect a landing bay to a cockpit, but don't have a way to connect them naturally, you may look into using a Hab module.
Cargo Space
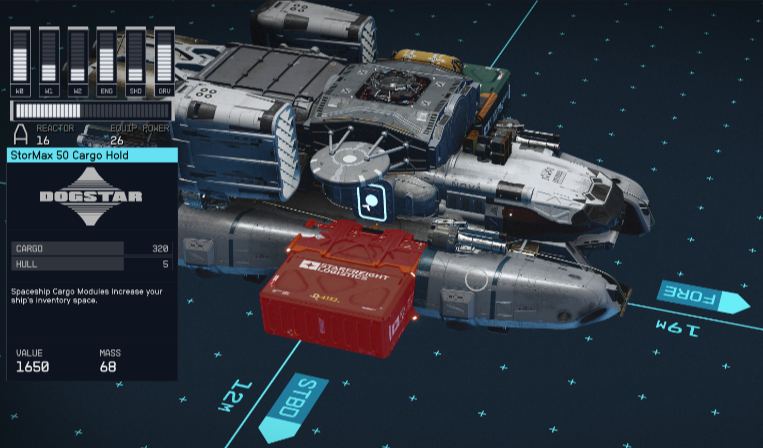
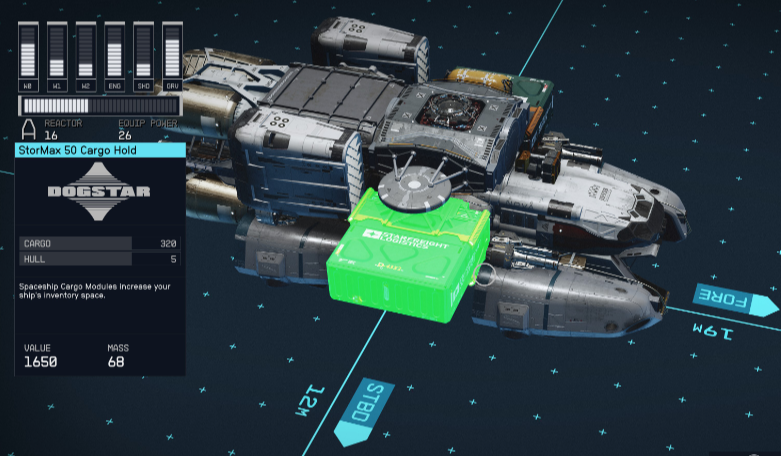
You can take just about everything with you, but you don't have to carry it in your pockets all the time. An optional but very helpful module would be adding a Cargo Hold to your ship. This module allows you to drop off items from your inventory and store them on your ship. This will help you if you need to deliver items from one planet to another, or if you have a lot items you would like to sell to vendors after going out to explore.
While this will add Mass to your ship and make it heavier, it can also help you collect treasures and resources before you need to sell or offload items. This makes your longer voyages alot easier if you don't need to backtrack and get rid of items after every trip. It has been rumored that there is a special shielding for your cargo that protects any contraband from being detected by a scan.
While there is no real limit to the amount of Cargo holds you can place on your Starship, you may want to be wary of its placement as normally the Cargo holds can attach to your ships, but normally do not have attach points for anything else. This means that they will take space on your ship, but you will have to figure out the best positioning for them.
Check your flight errors
You can press the Start button on Controller, or C on Keyboard to check your Flight errors. Any red errors that appear mean that the ship will not be able to operate until this issue is resolved, any yellow errors that appear are critical errors that are worth your attention, however your ship should be able to fly without this issue being resolved.
This handy tool will tell you every necessary part you are missing, if you need more Engines to fly your Starship, or if you need to have particular pieces placed in a certain way, such as a Docker needing to be the highest piece on top of your ship, or that your Landing Bay and Docking station both have to find a way to connect to your cockpit. This is truly an invaluable tool while creating your favorite vessel to travel the stars.
Weapons, Weapons, Weapons!
You can have up to 3 different types of weapons on your ship, but this doesn't mean that you can only have 3 weapons on a ship. If you decide to make yourself a no-nonsense Dreadnaught filled with as many Missile, Laser and Ballistic weapons as possible, you are able to do so, as long as you have the Credits, and the space. You will need to remove one of those 3 weapon types, if you want to be able to add any other weapon types (like an Electromagnetic type Weapon).
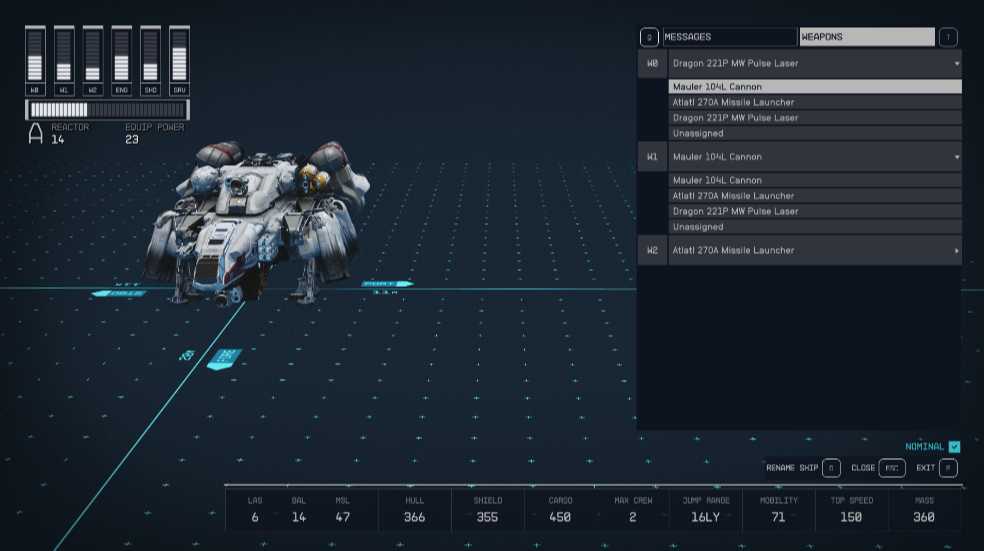
Once you have the weapons attached to your actual Starship, you'll need to assign them. While in the Editor mode, press Start on controller, or C on Keyboard, and this will bring up your flight errors, but you can also press the Left or Right Bumpers to move to the next menu to set up your Weapons. This way you can assign your weapons to one of the specific weapon buttons. If your weapon is not assigned here, they will not fire.
Advanced Starship Modules
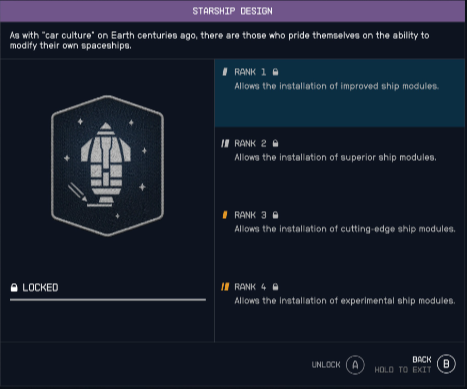
While using everything above to get the basics of ship building, as you level up, you may want to use better Ship Modules, or pilot other ships that were previously unavailable to you. As you level up, you can put skill points in certain Skills to give you more module options and improve your ship overall.
Starship Design - This skill in the Tech tree allows the installation of improved ship modules, giving you better parts to work with as you level this skill up
Piloting - as you level this skill up you will eventually unlock the ability to pilot or use class B and C Ships, and ship modules.
As you level up these skills and explore, you'll also find some other Ship Vendors off in other cities, here are a few just to give you a few places to look out for:
Stroud-Eklund Showroom in Neon City Jasmine Durand in The Key


