Unity: Difference between revisions
Sneaky pete (talk | contribs) No edit summary |
Sneaky pete (talk | contribs) |
||
| Line 34: | Line 34: | ||
The mission now shifts its focus to [[Hyla II]] in the Hyla system, where you'll need to locate the "Scorpion’s Sting" at the Ancient Ruins location. After landing, navigate through [[hostile]] fauna and reach the marked objective near a series of large statues. Here you'll find a glowing glyph puzzle. The objective is to align the beams of light in a specific pattern by interacting with the four circles surrounding the glyph. Align them so the beam moves to the bottom left of the constellation, particularly at the end of the hook. | The mission now shifts its focus to [[Hyla II]] in the Hyla system, where you'll need to locate the "Scorpion’s Sting" at the Ancient Ruins location. After landing, navigate through [[hostile]] fauna and reach the marked objective near a series of large statues. Here you'll find a glowing glyph puzzle. The objective is to align the beams of light in a specific pattern by interacting with the four circles surrounding the glyph. Align them so the beam moves to the bottom left of the constellation, particularly at the end of the hook. | ||
Once this puzzle is solved, your next destination is [[Oborum III]] in the Oborum system. This marks the final leg of the mission, which concludes as soon as you warp into the planet's orbit. | Once this puzzle is solved, your next destination is [[Oborum III]] in the [[Oborum system]]. This marks the final leg of the mission, which concludes as soon as you warp into the planet's orbit. | ||
==Tips and Tricks== | ==Tips and Tricks== | ||
Latest revision as of 00:23, 13 September 2023
| Unity | |
|---|---|
| |
| Information | |
| Type | Main Mission |
| Number | 12 |
| Location | The Lodge, New Atlantis |
| Starting NPC | Matteo |
| Description | "Matteo believes the word "Unity" may have hidden meanings to the Sanctum Universum. We should talk to Keeper Aquilus at the Sanctum." |
| Reward | 800 XP |
| Previous Mission | No Sudden Moves |
| Concurrent Mission | Missed Beyond Measure, High Price to Pay |
| Next Mission | In Their Footsteps |
| Patch | 1.0 |
Unity is the mission 12 of Main Mission.
Walkthrough
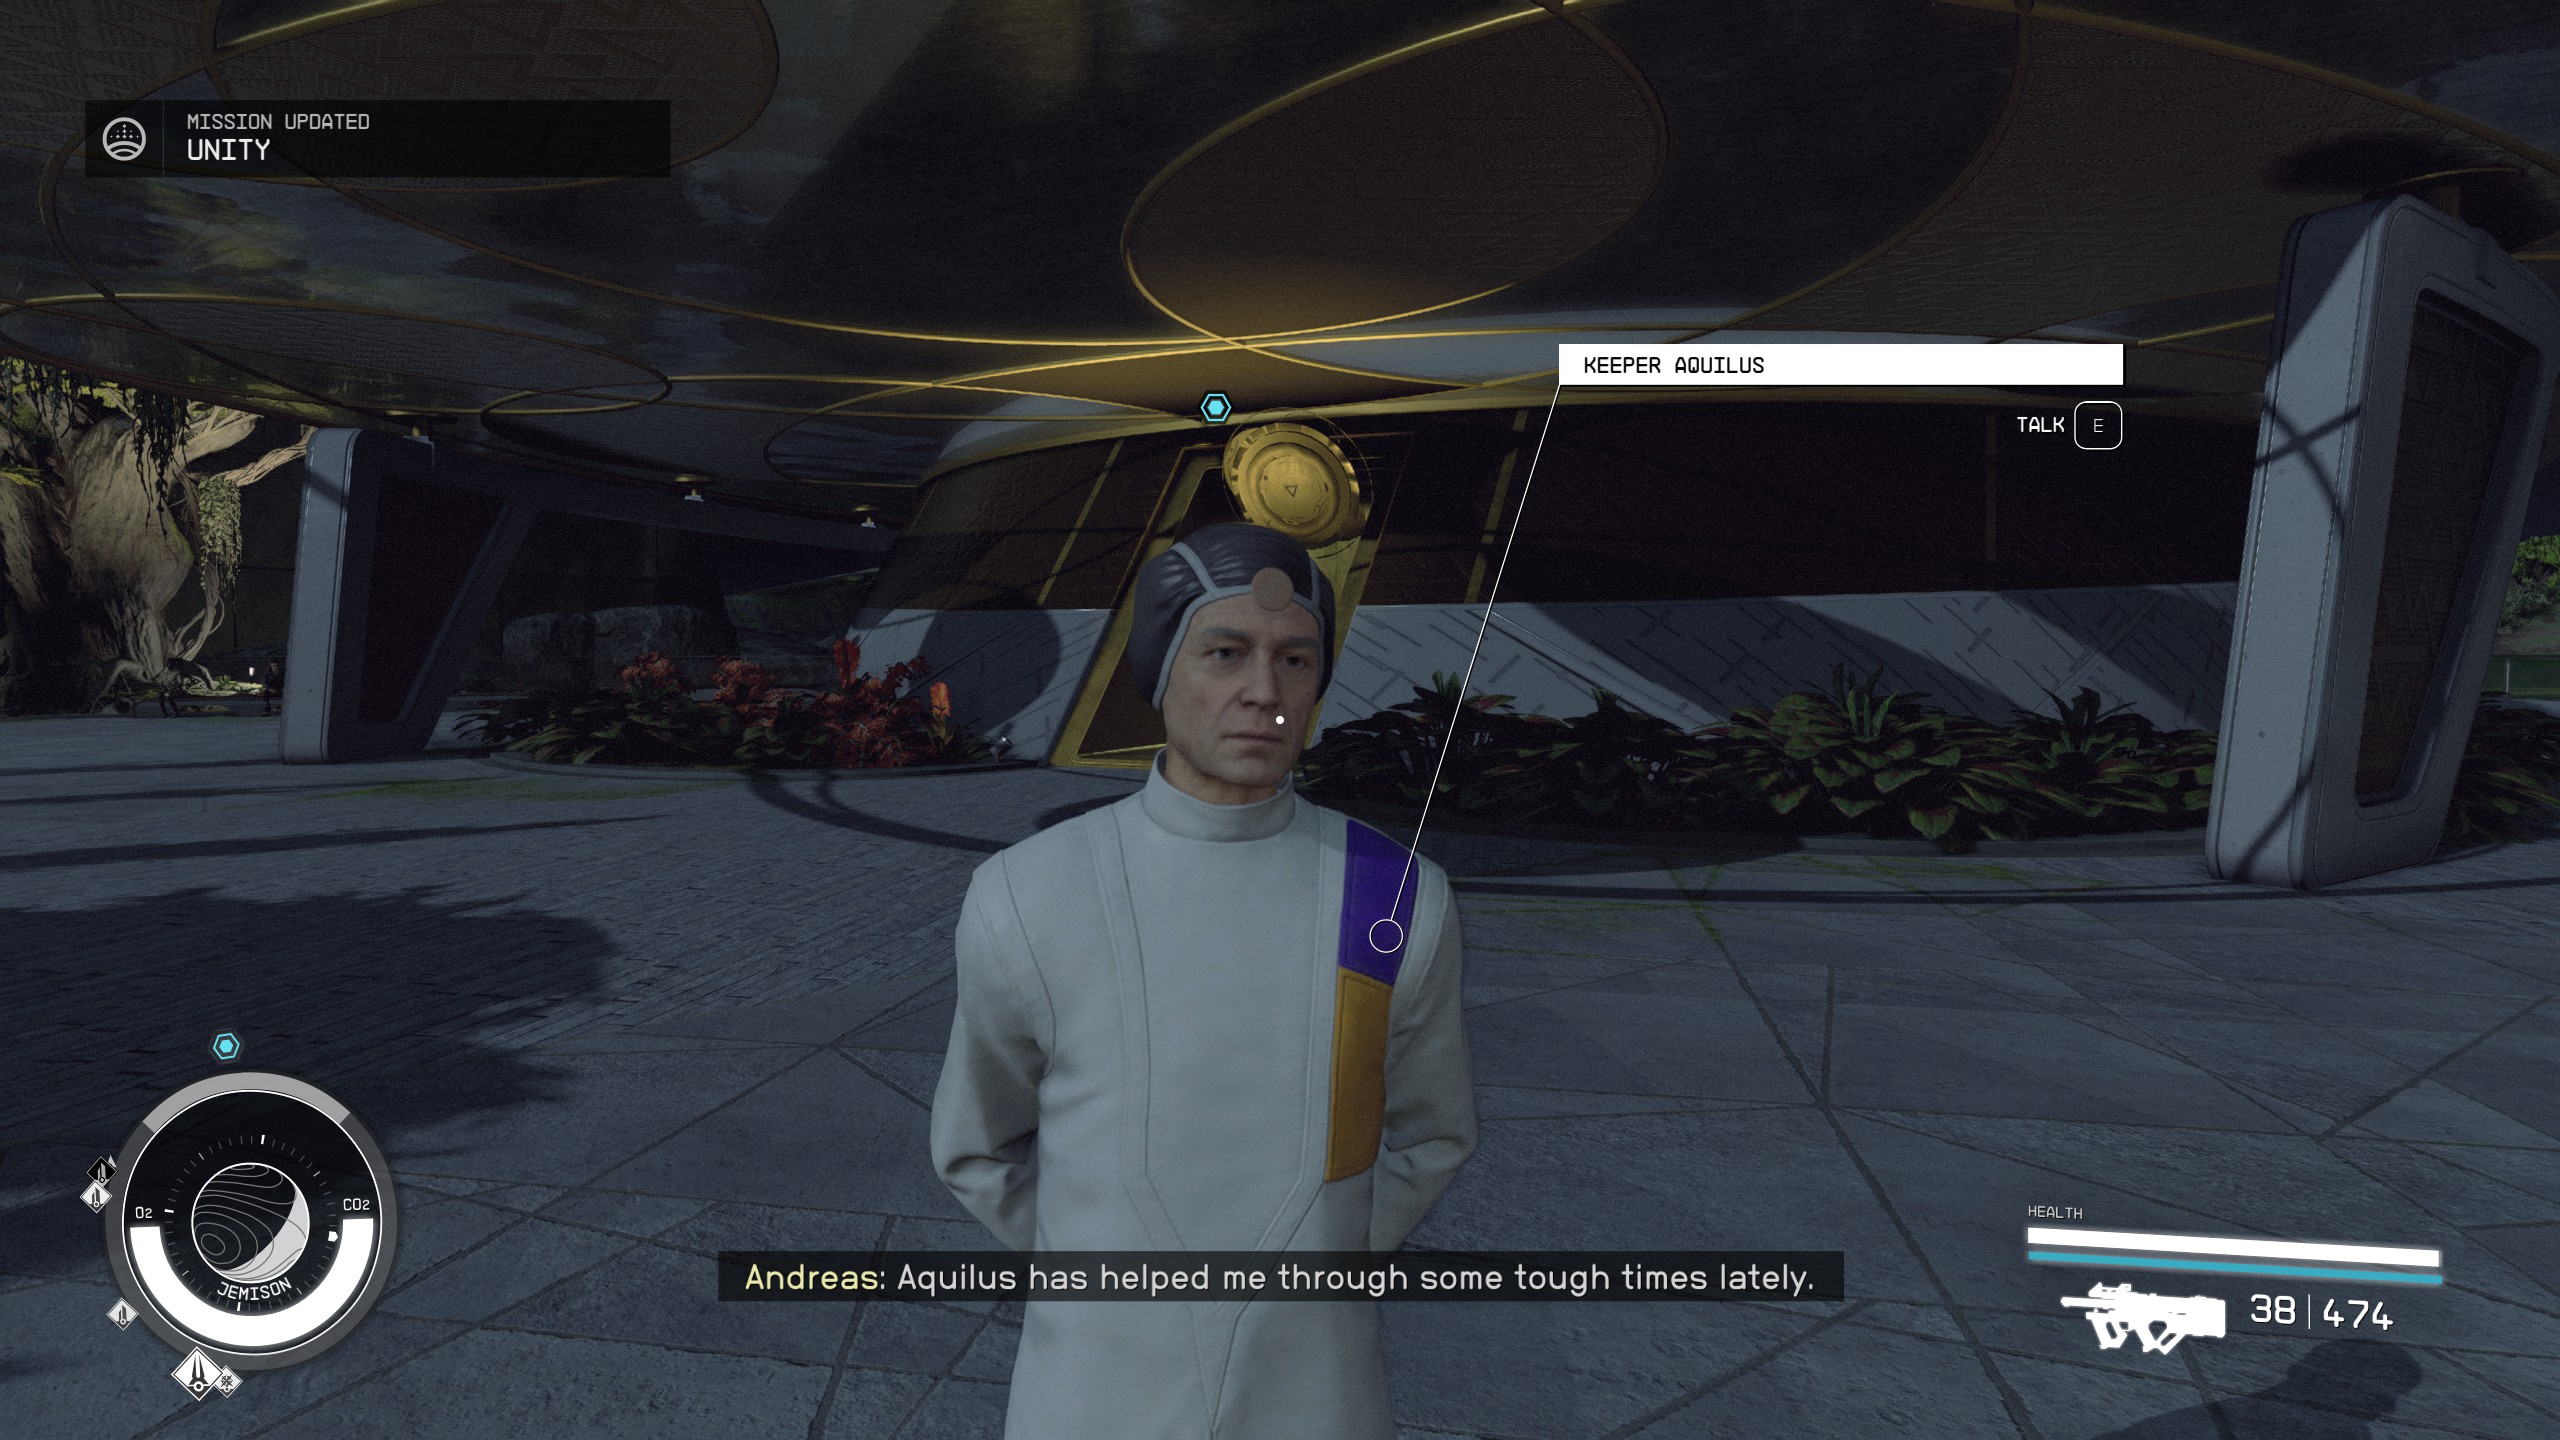
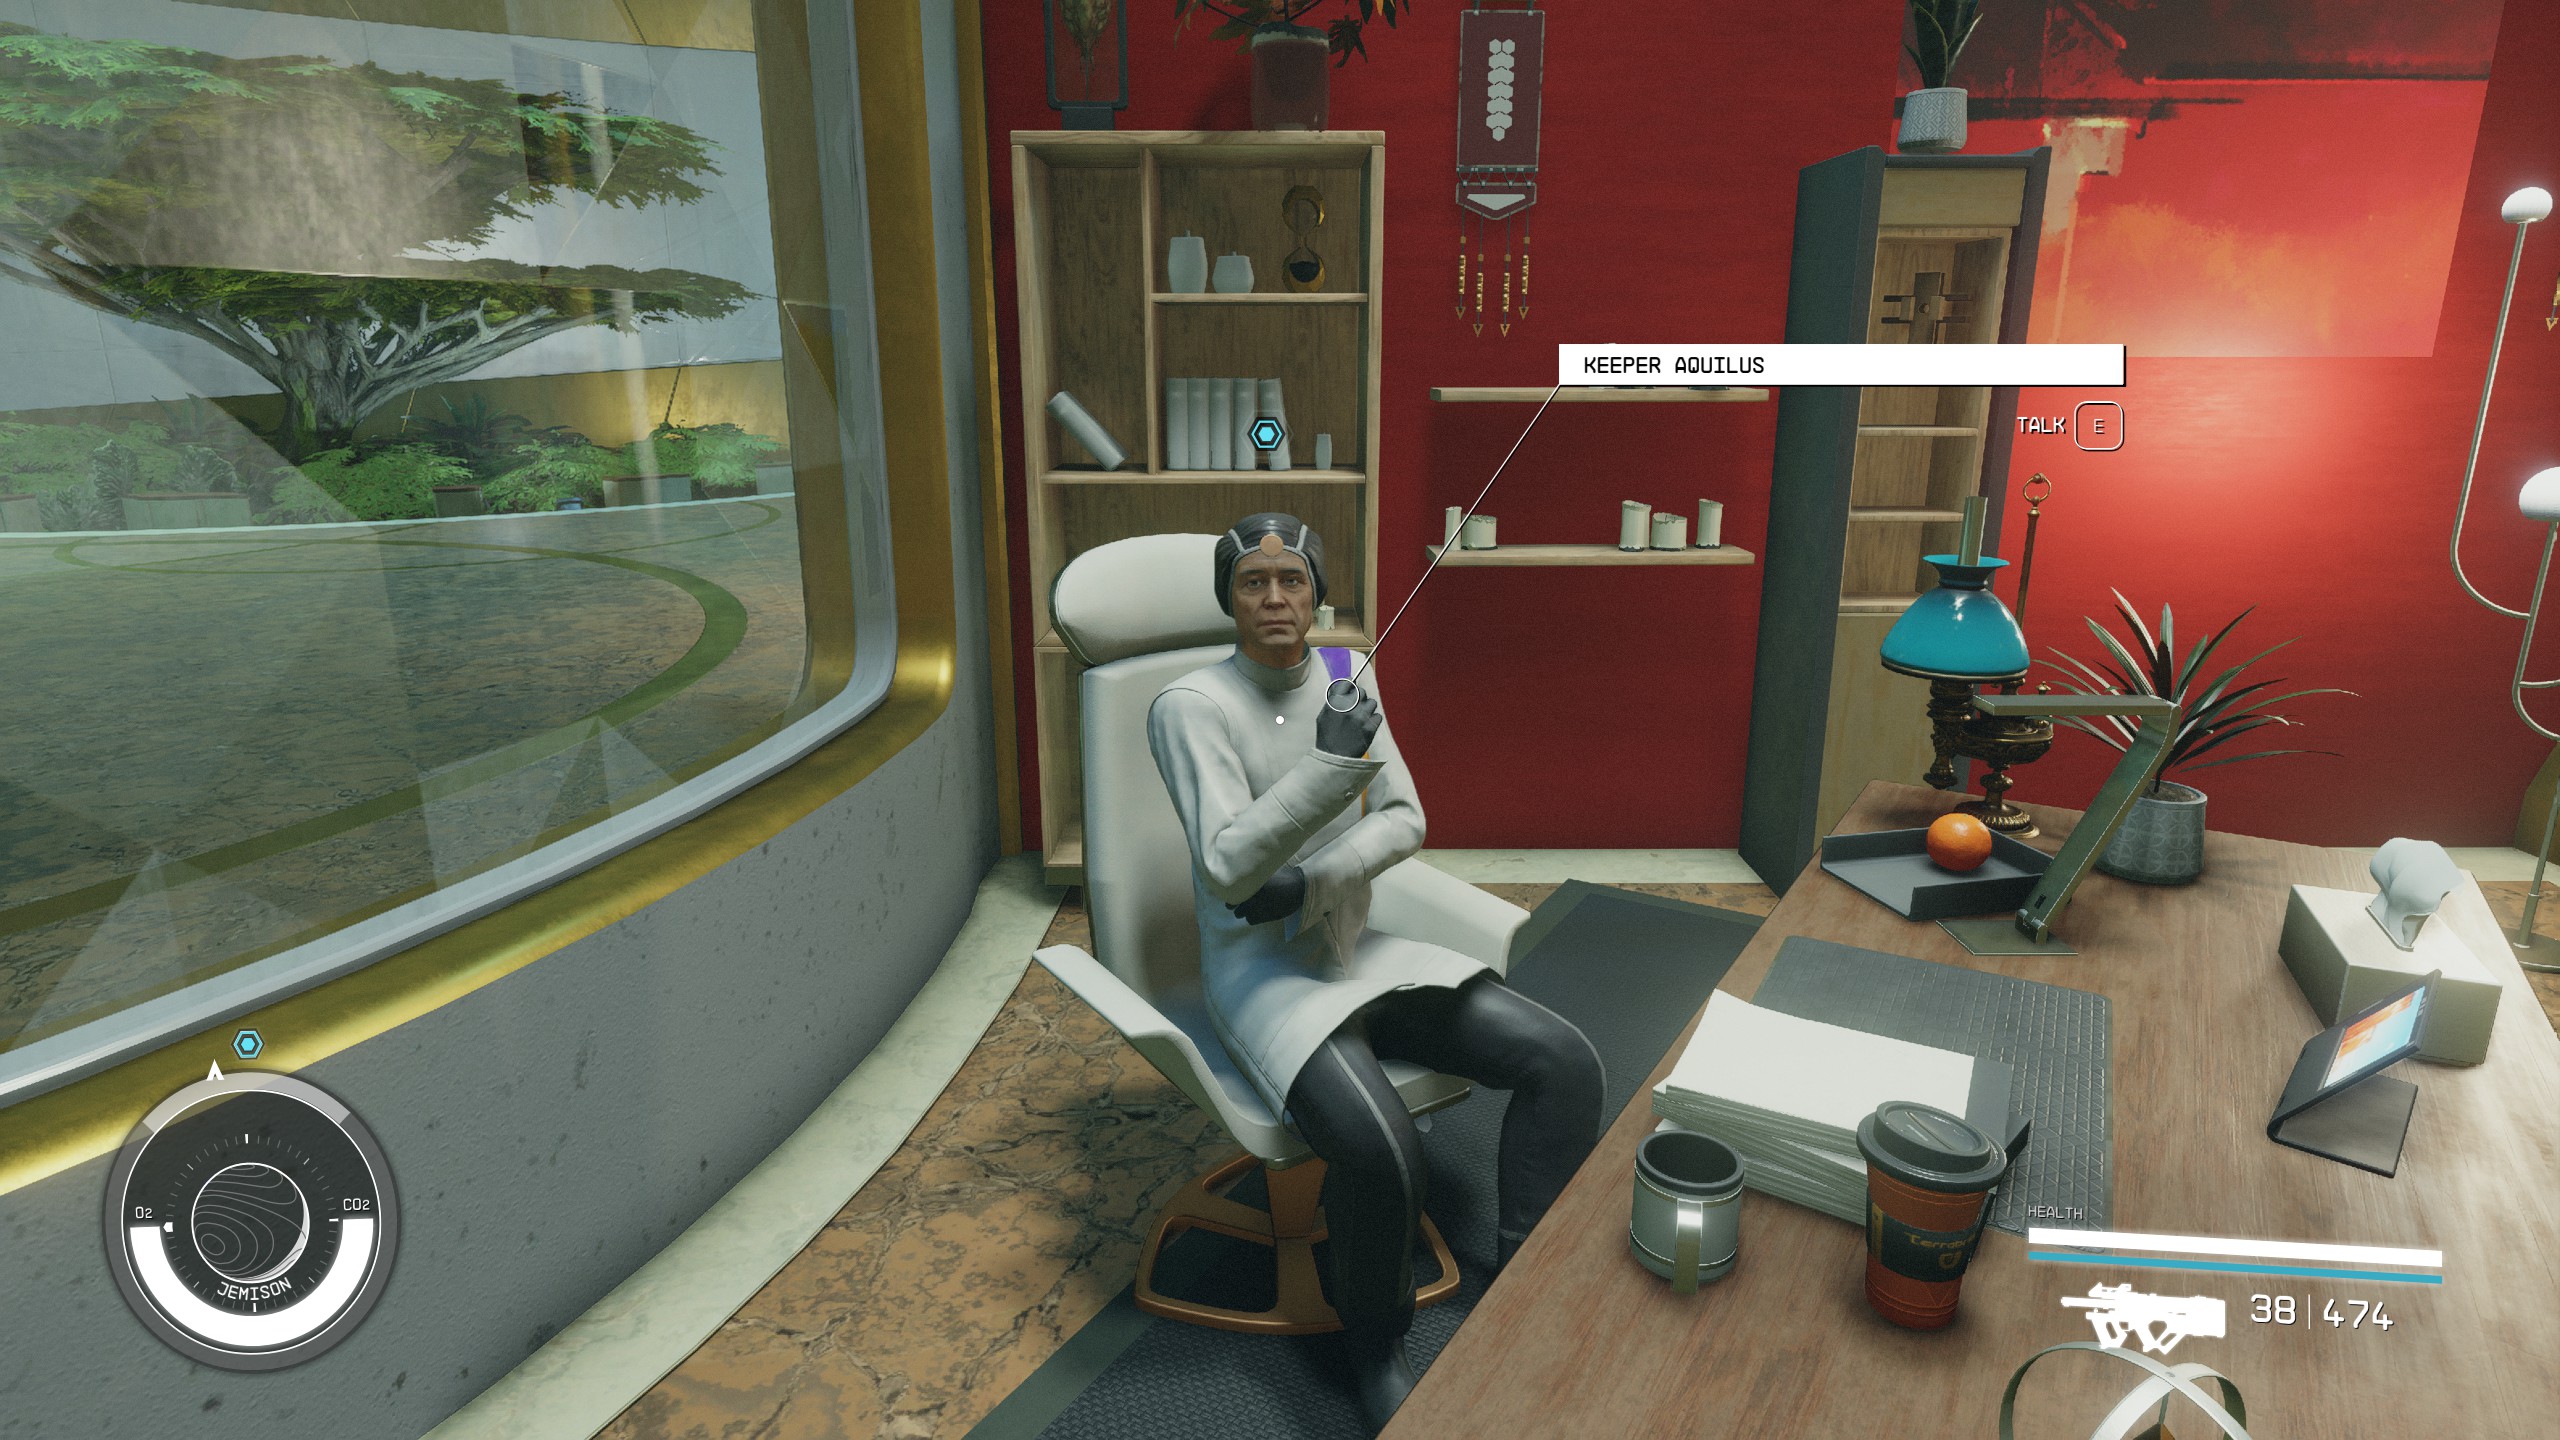
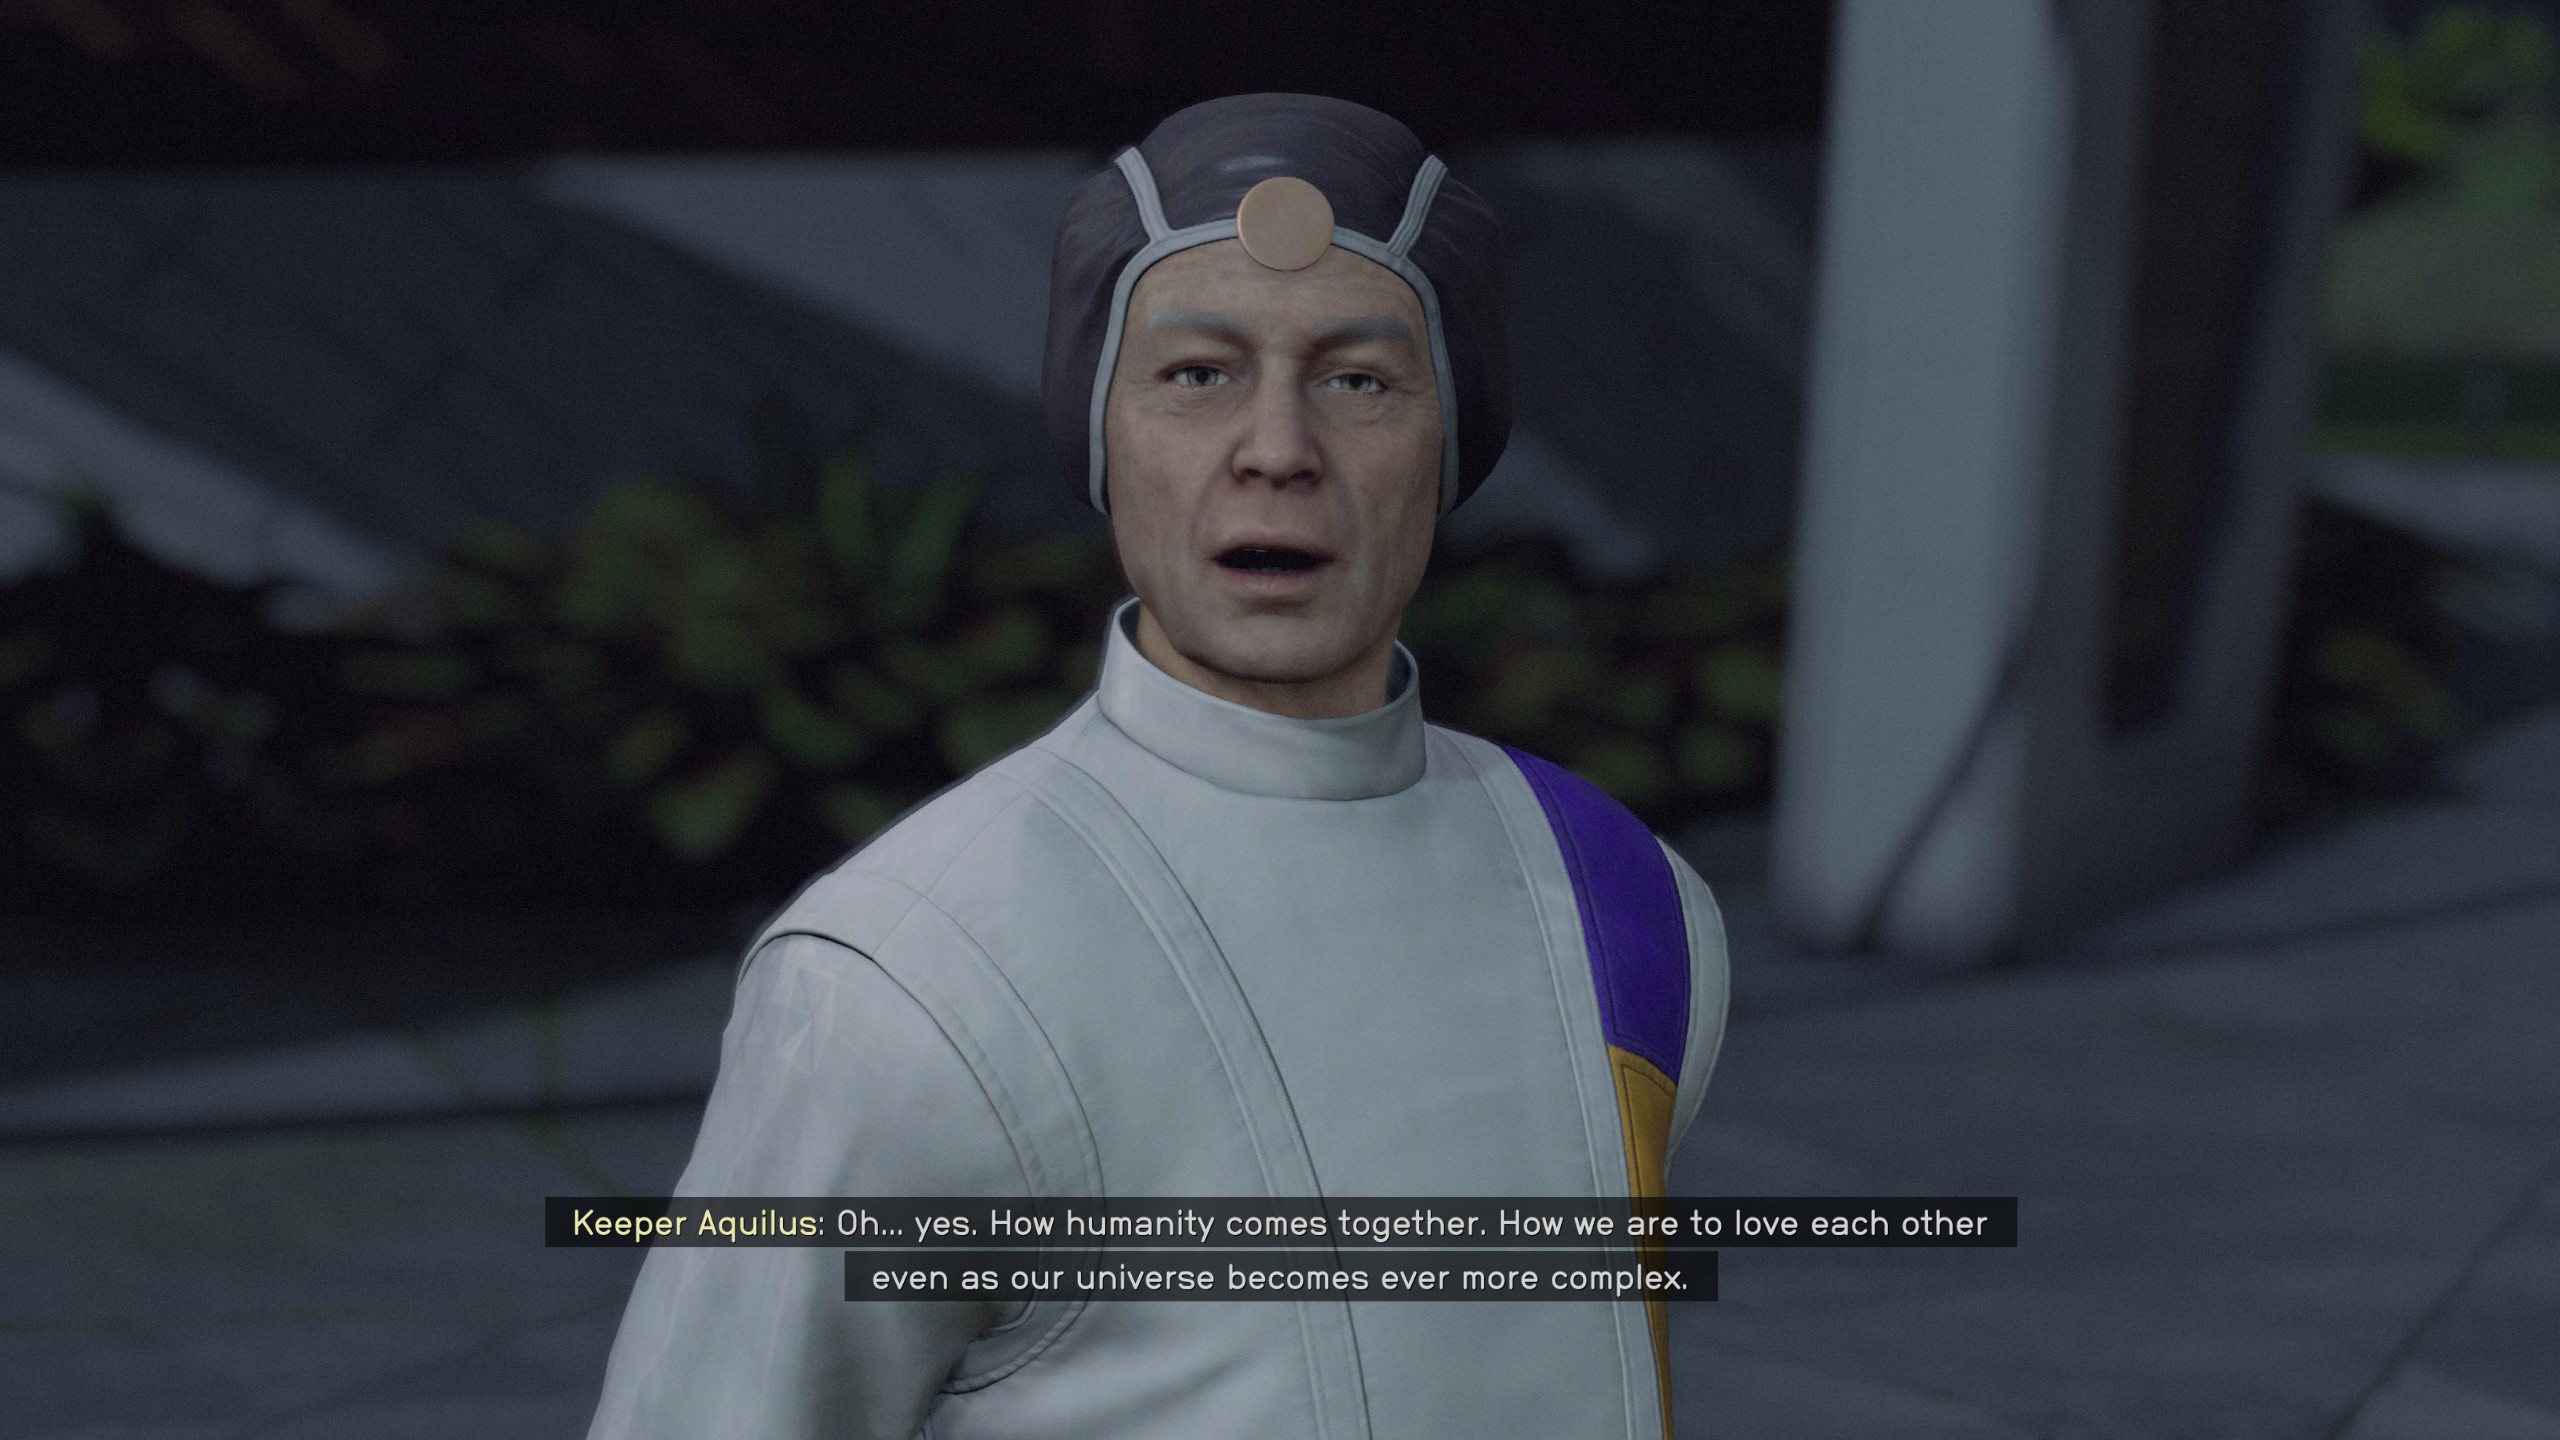
Upon completing your previous mission, you'll be informed by Matteo that Keeper Aquilus might have some insights on the concept of Unity. Keeper Aquilus can be found in the MAST District, a bustling area teeming with diverse individuals from across the galaxy. Engage him in conversation to kickstart the mission.
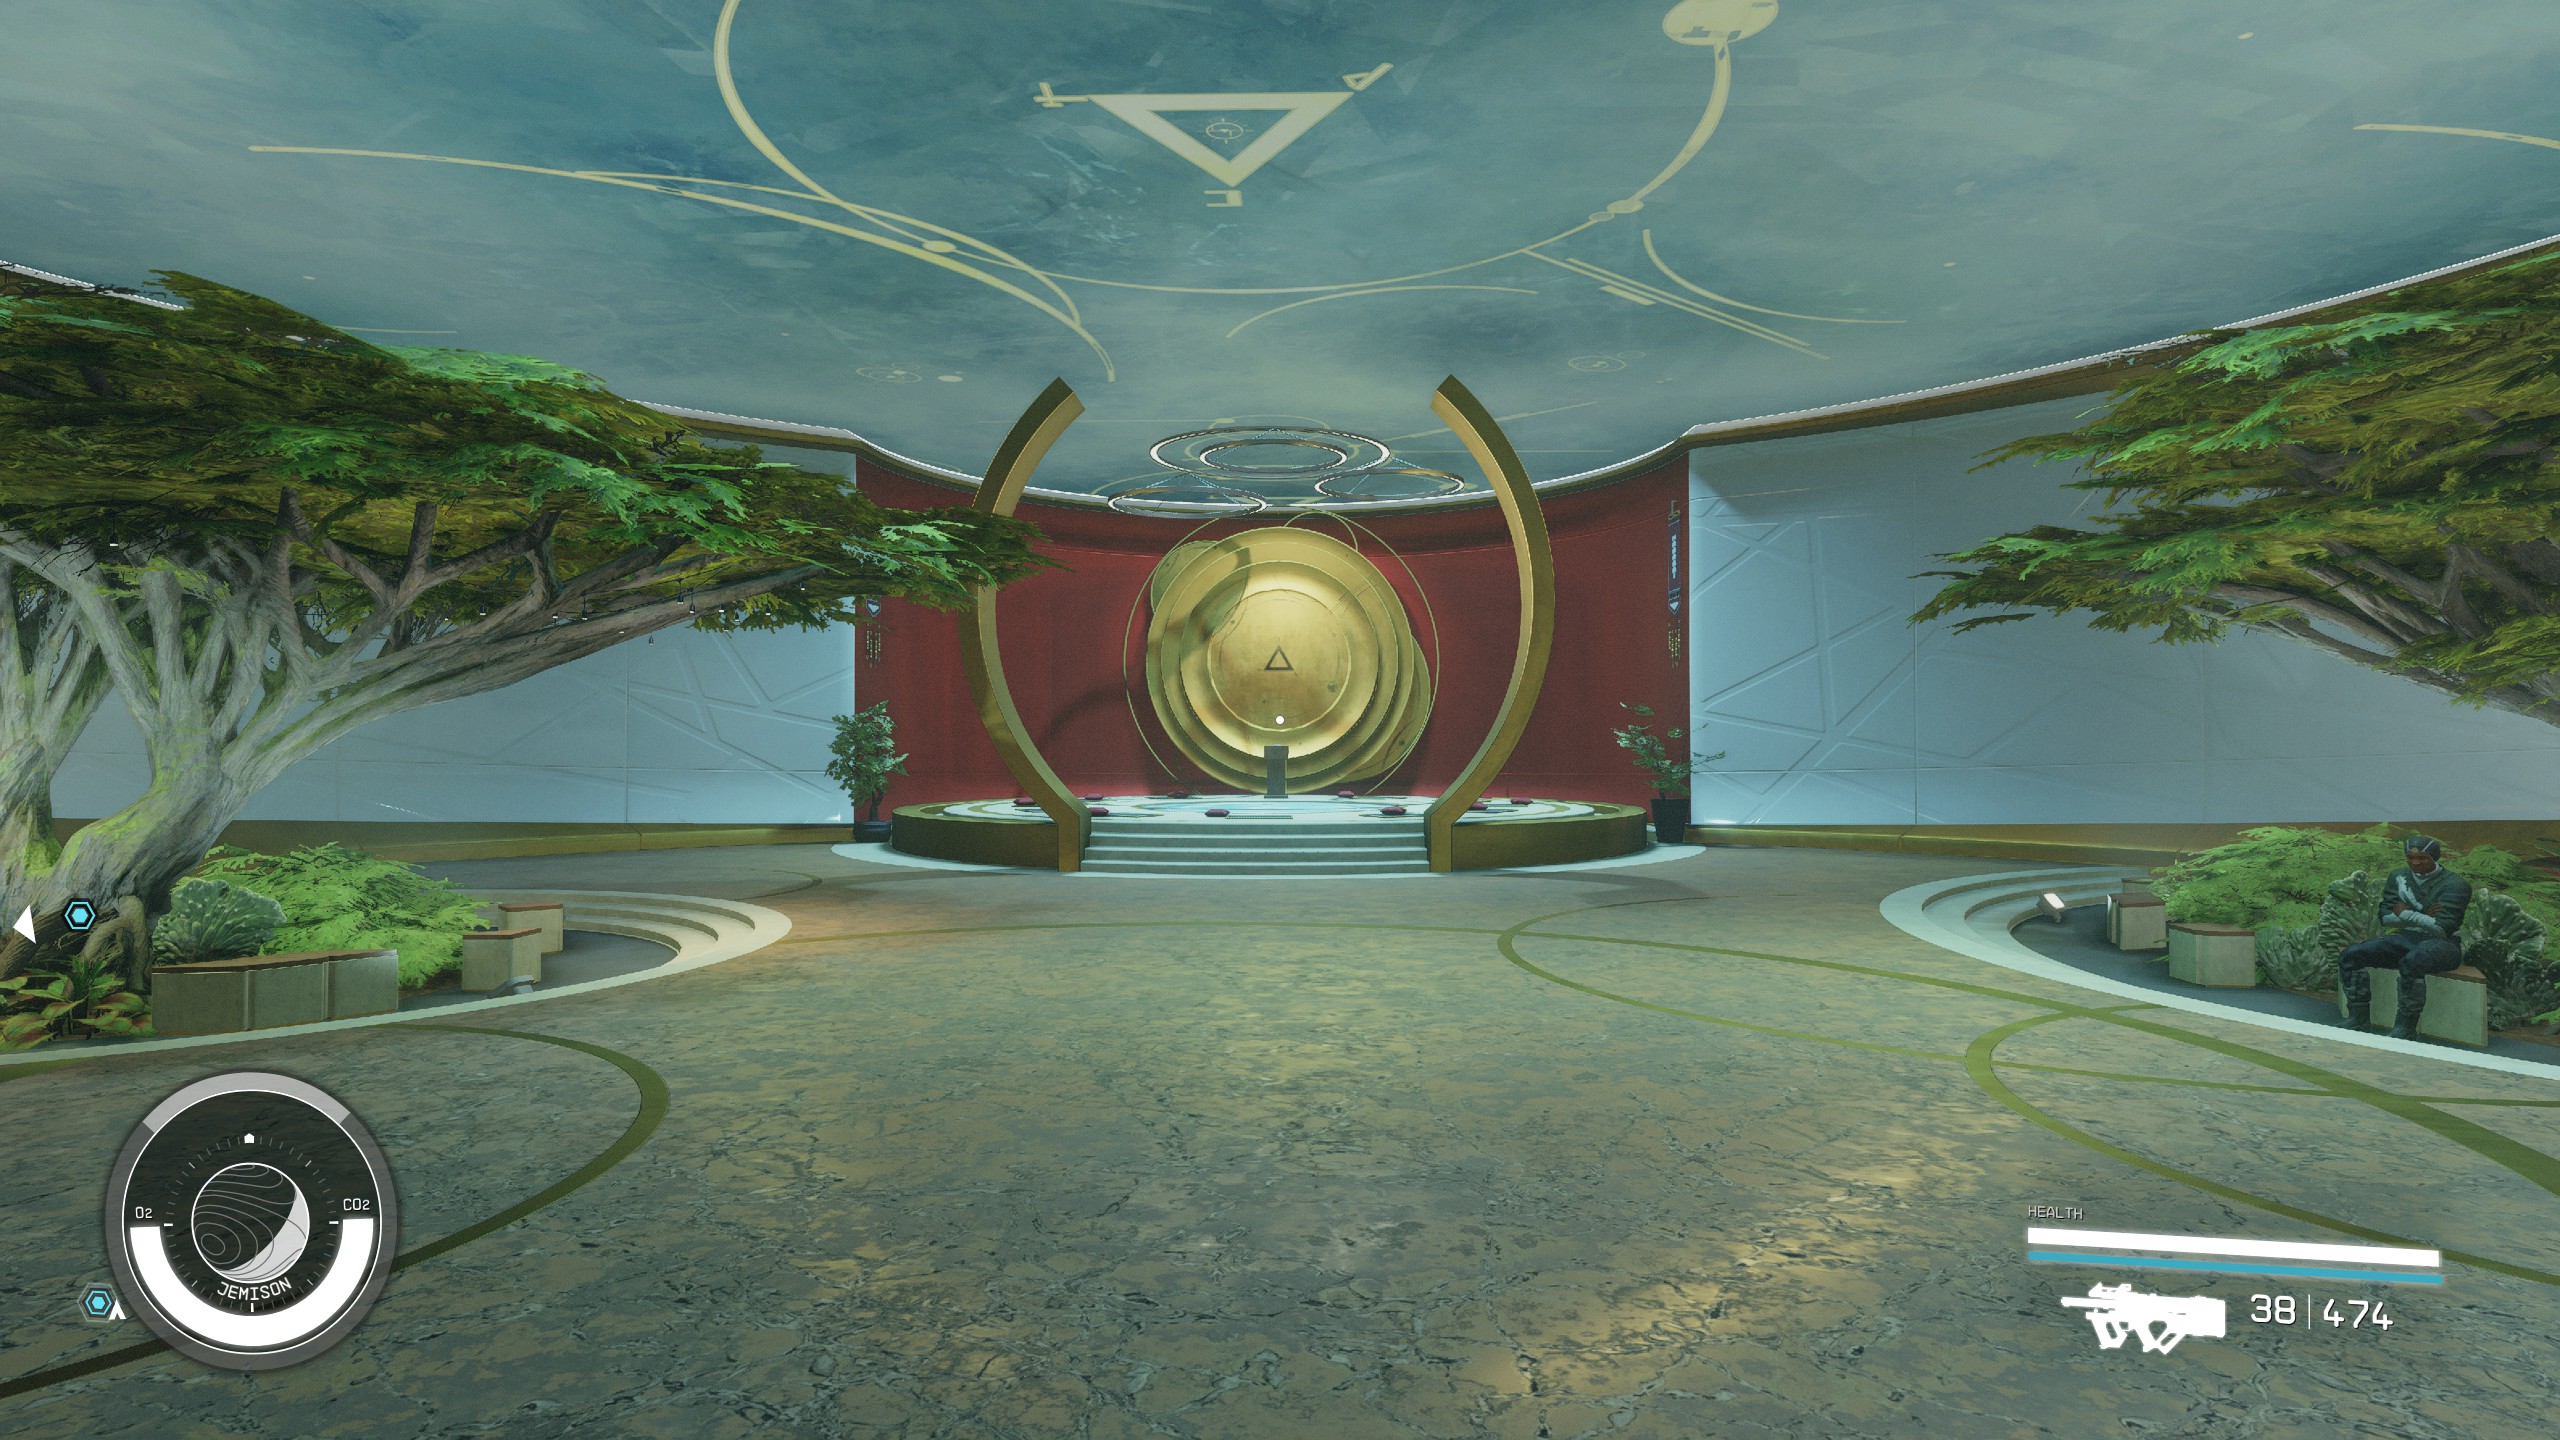
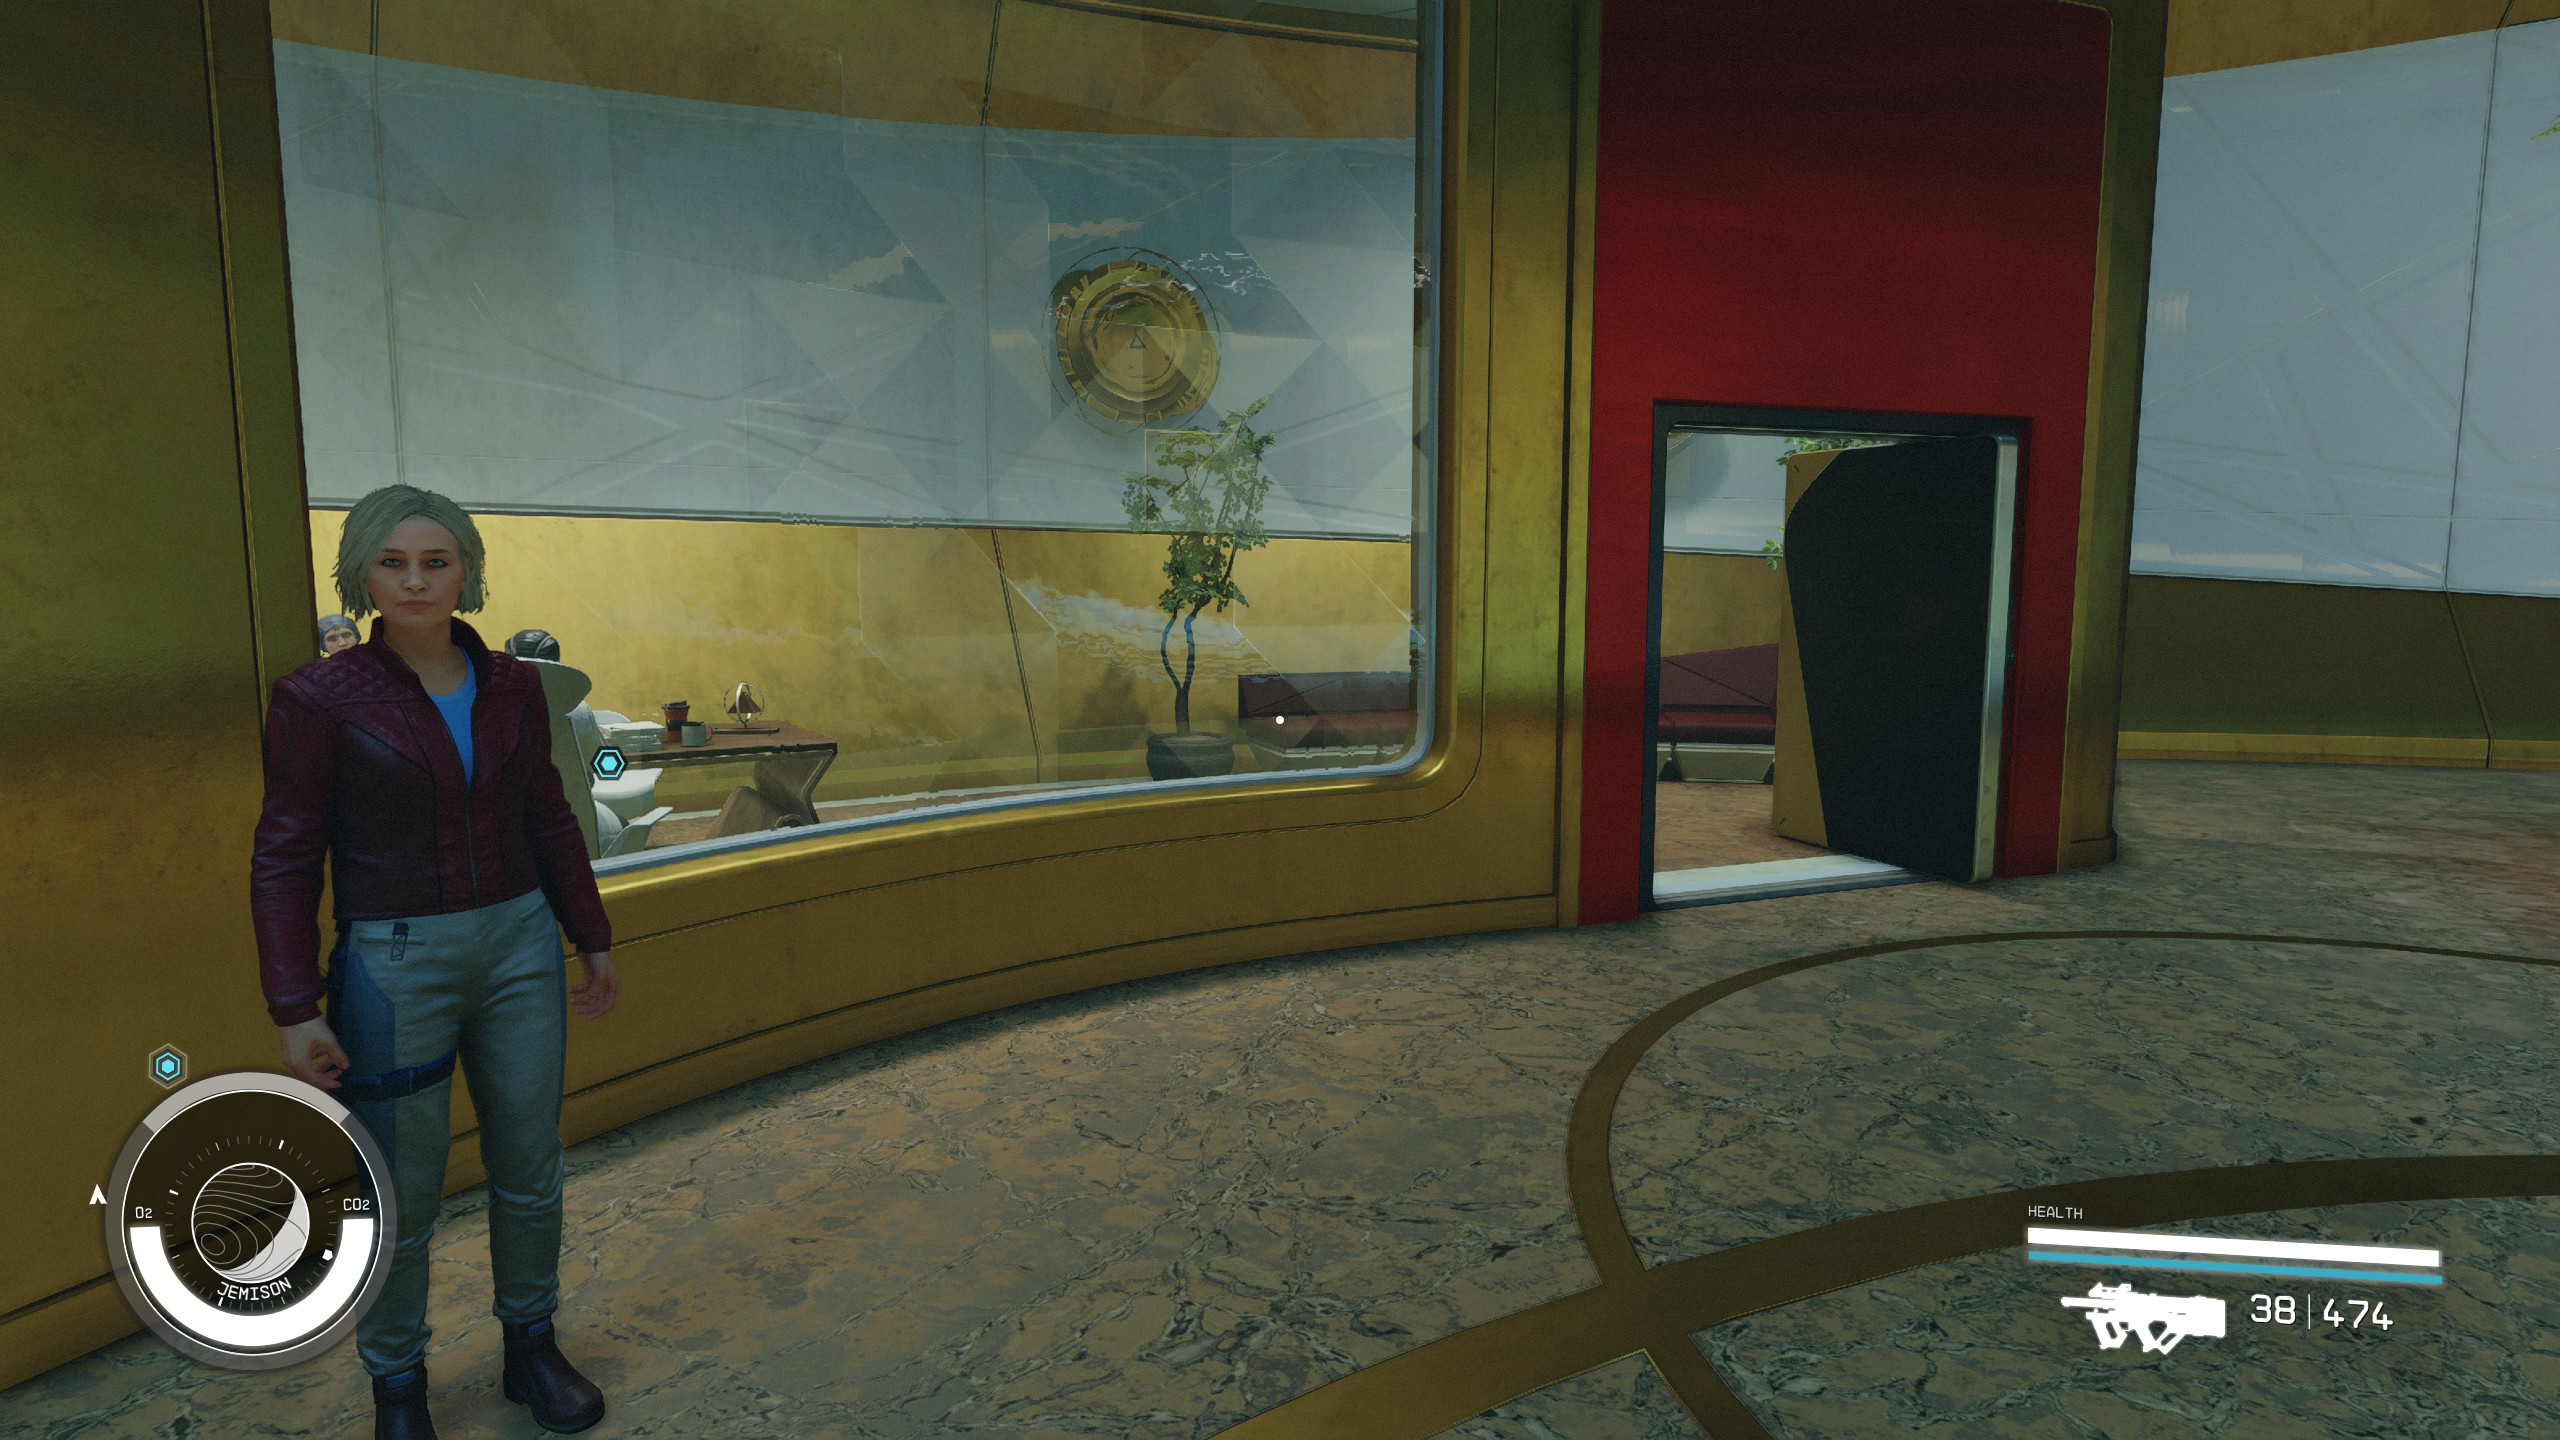
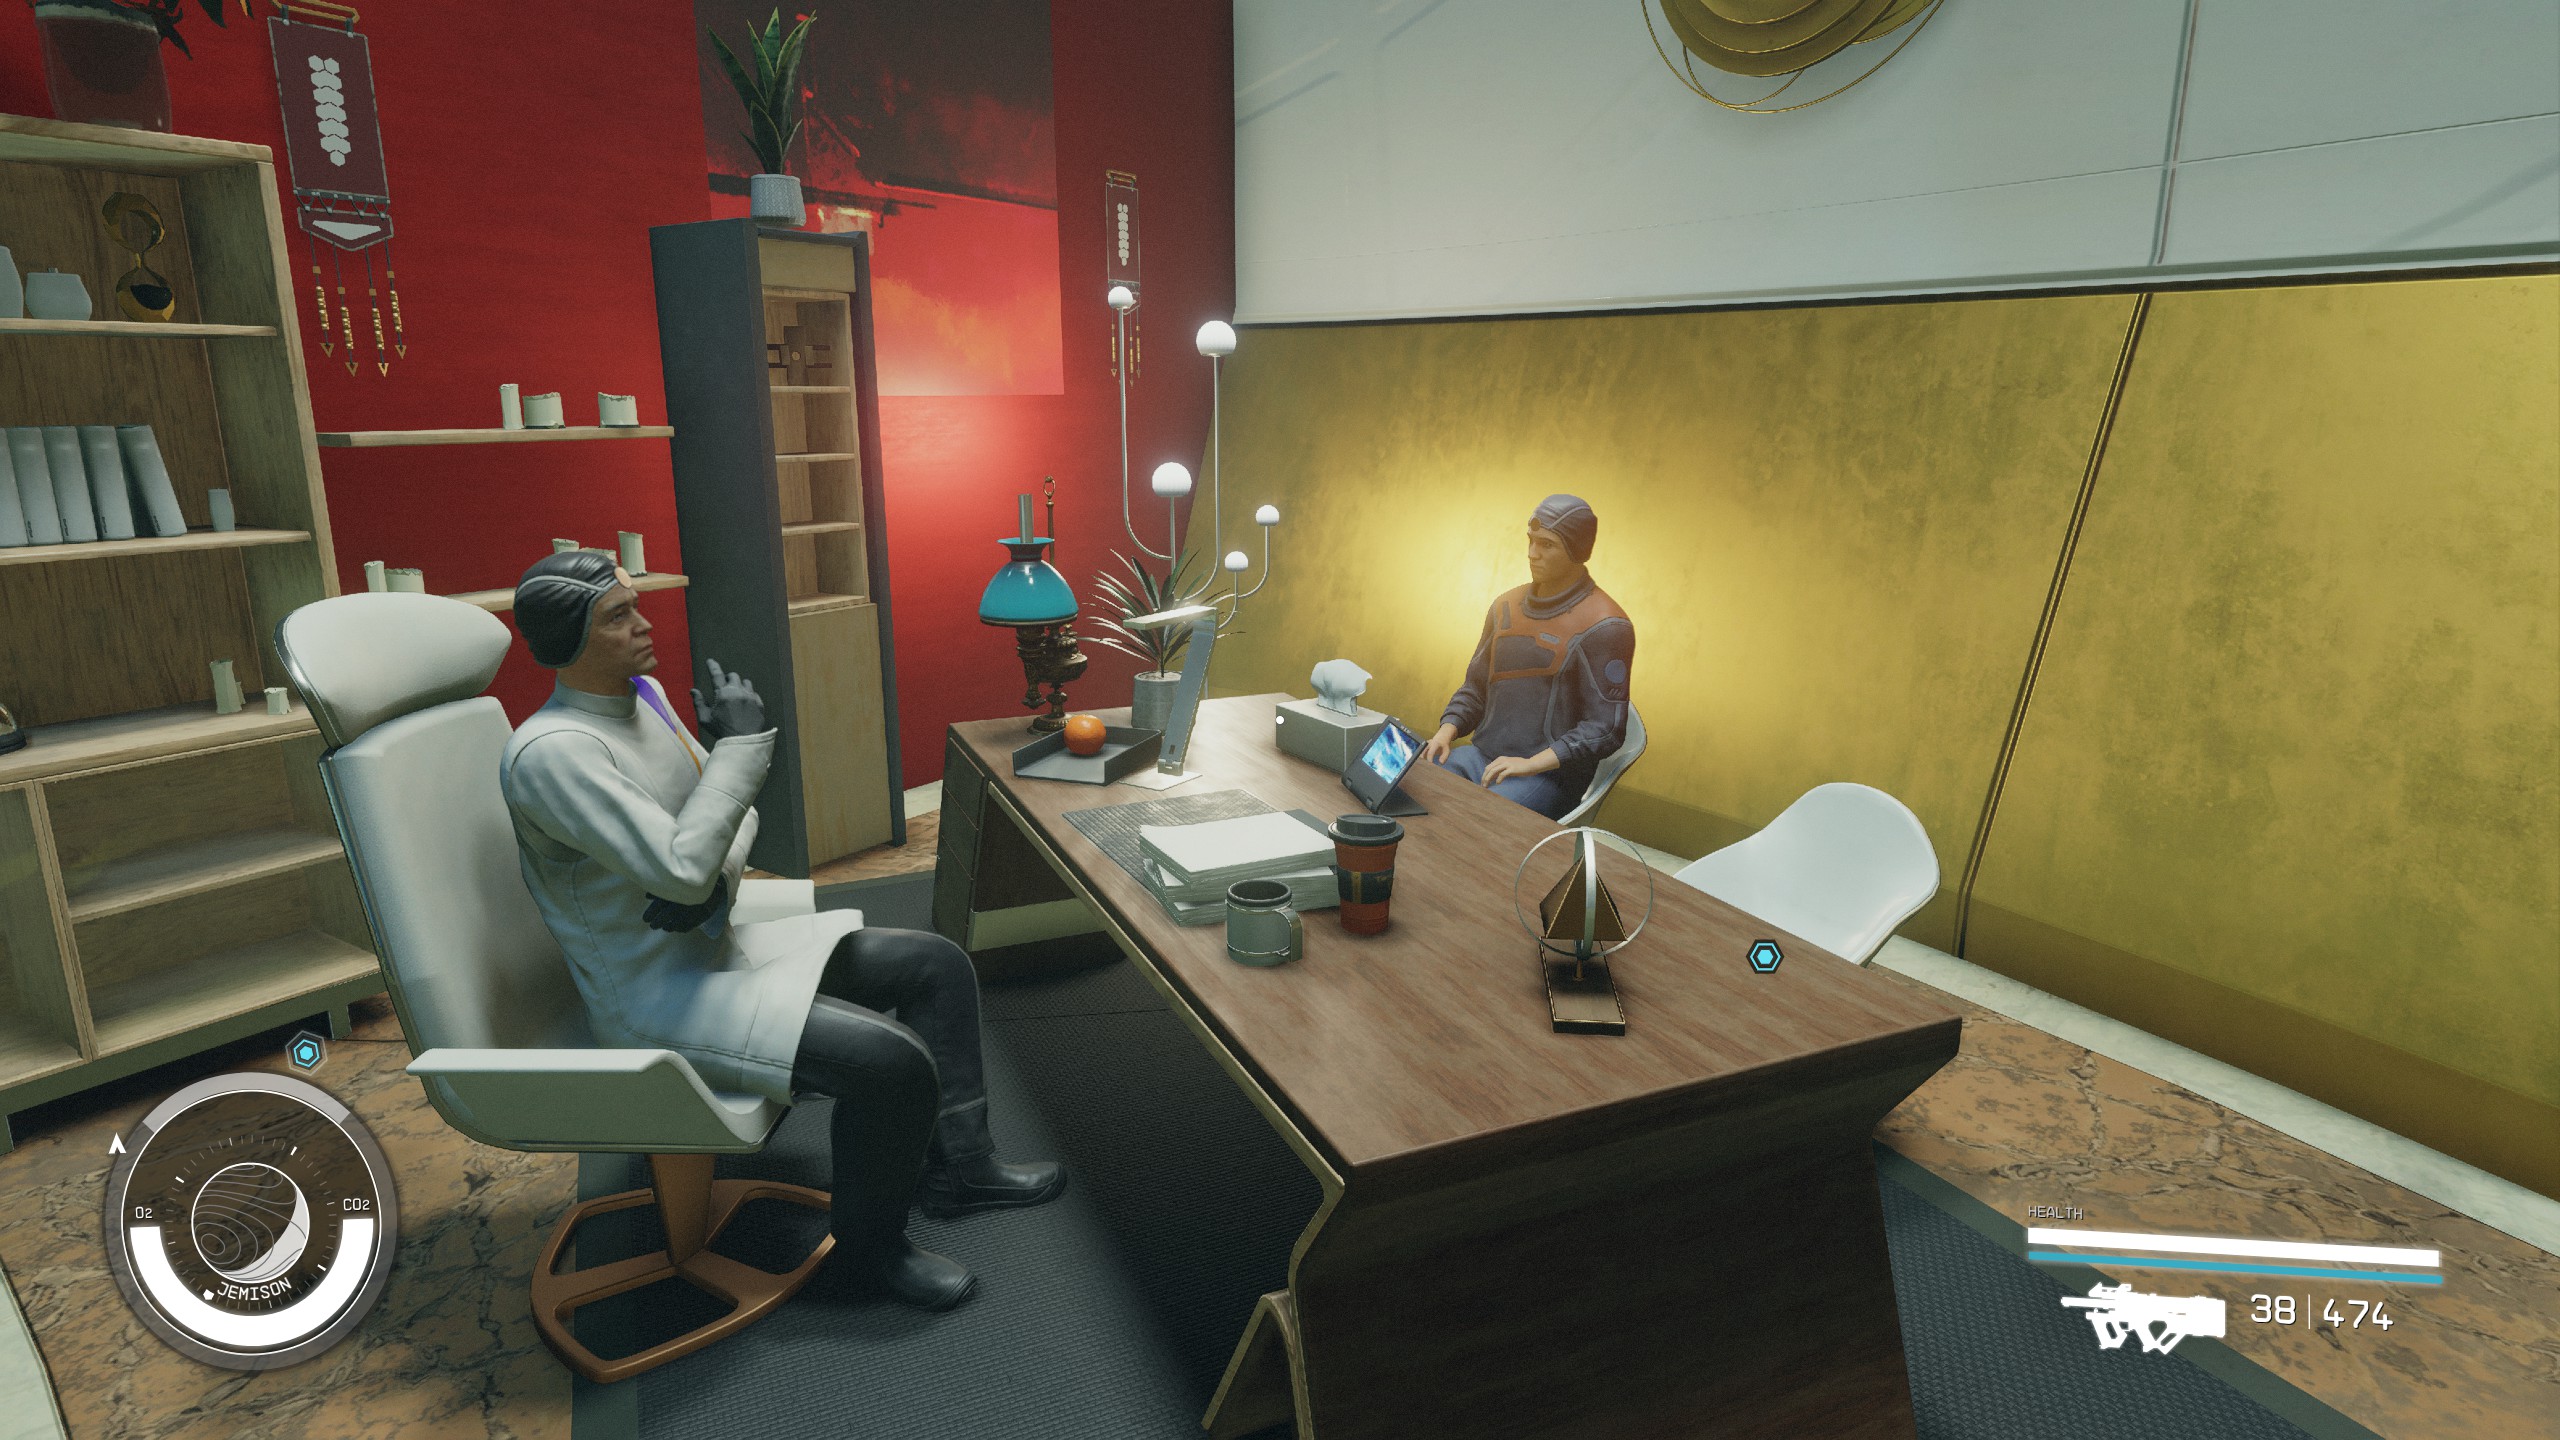
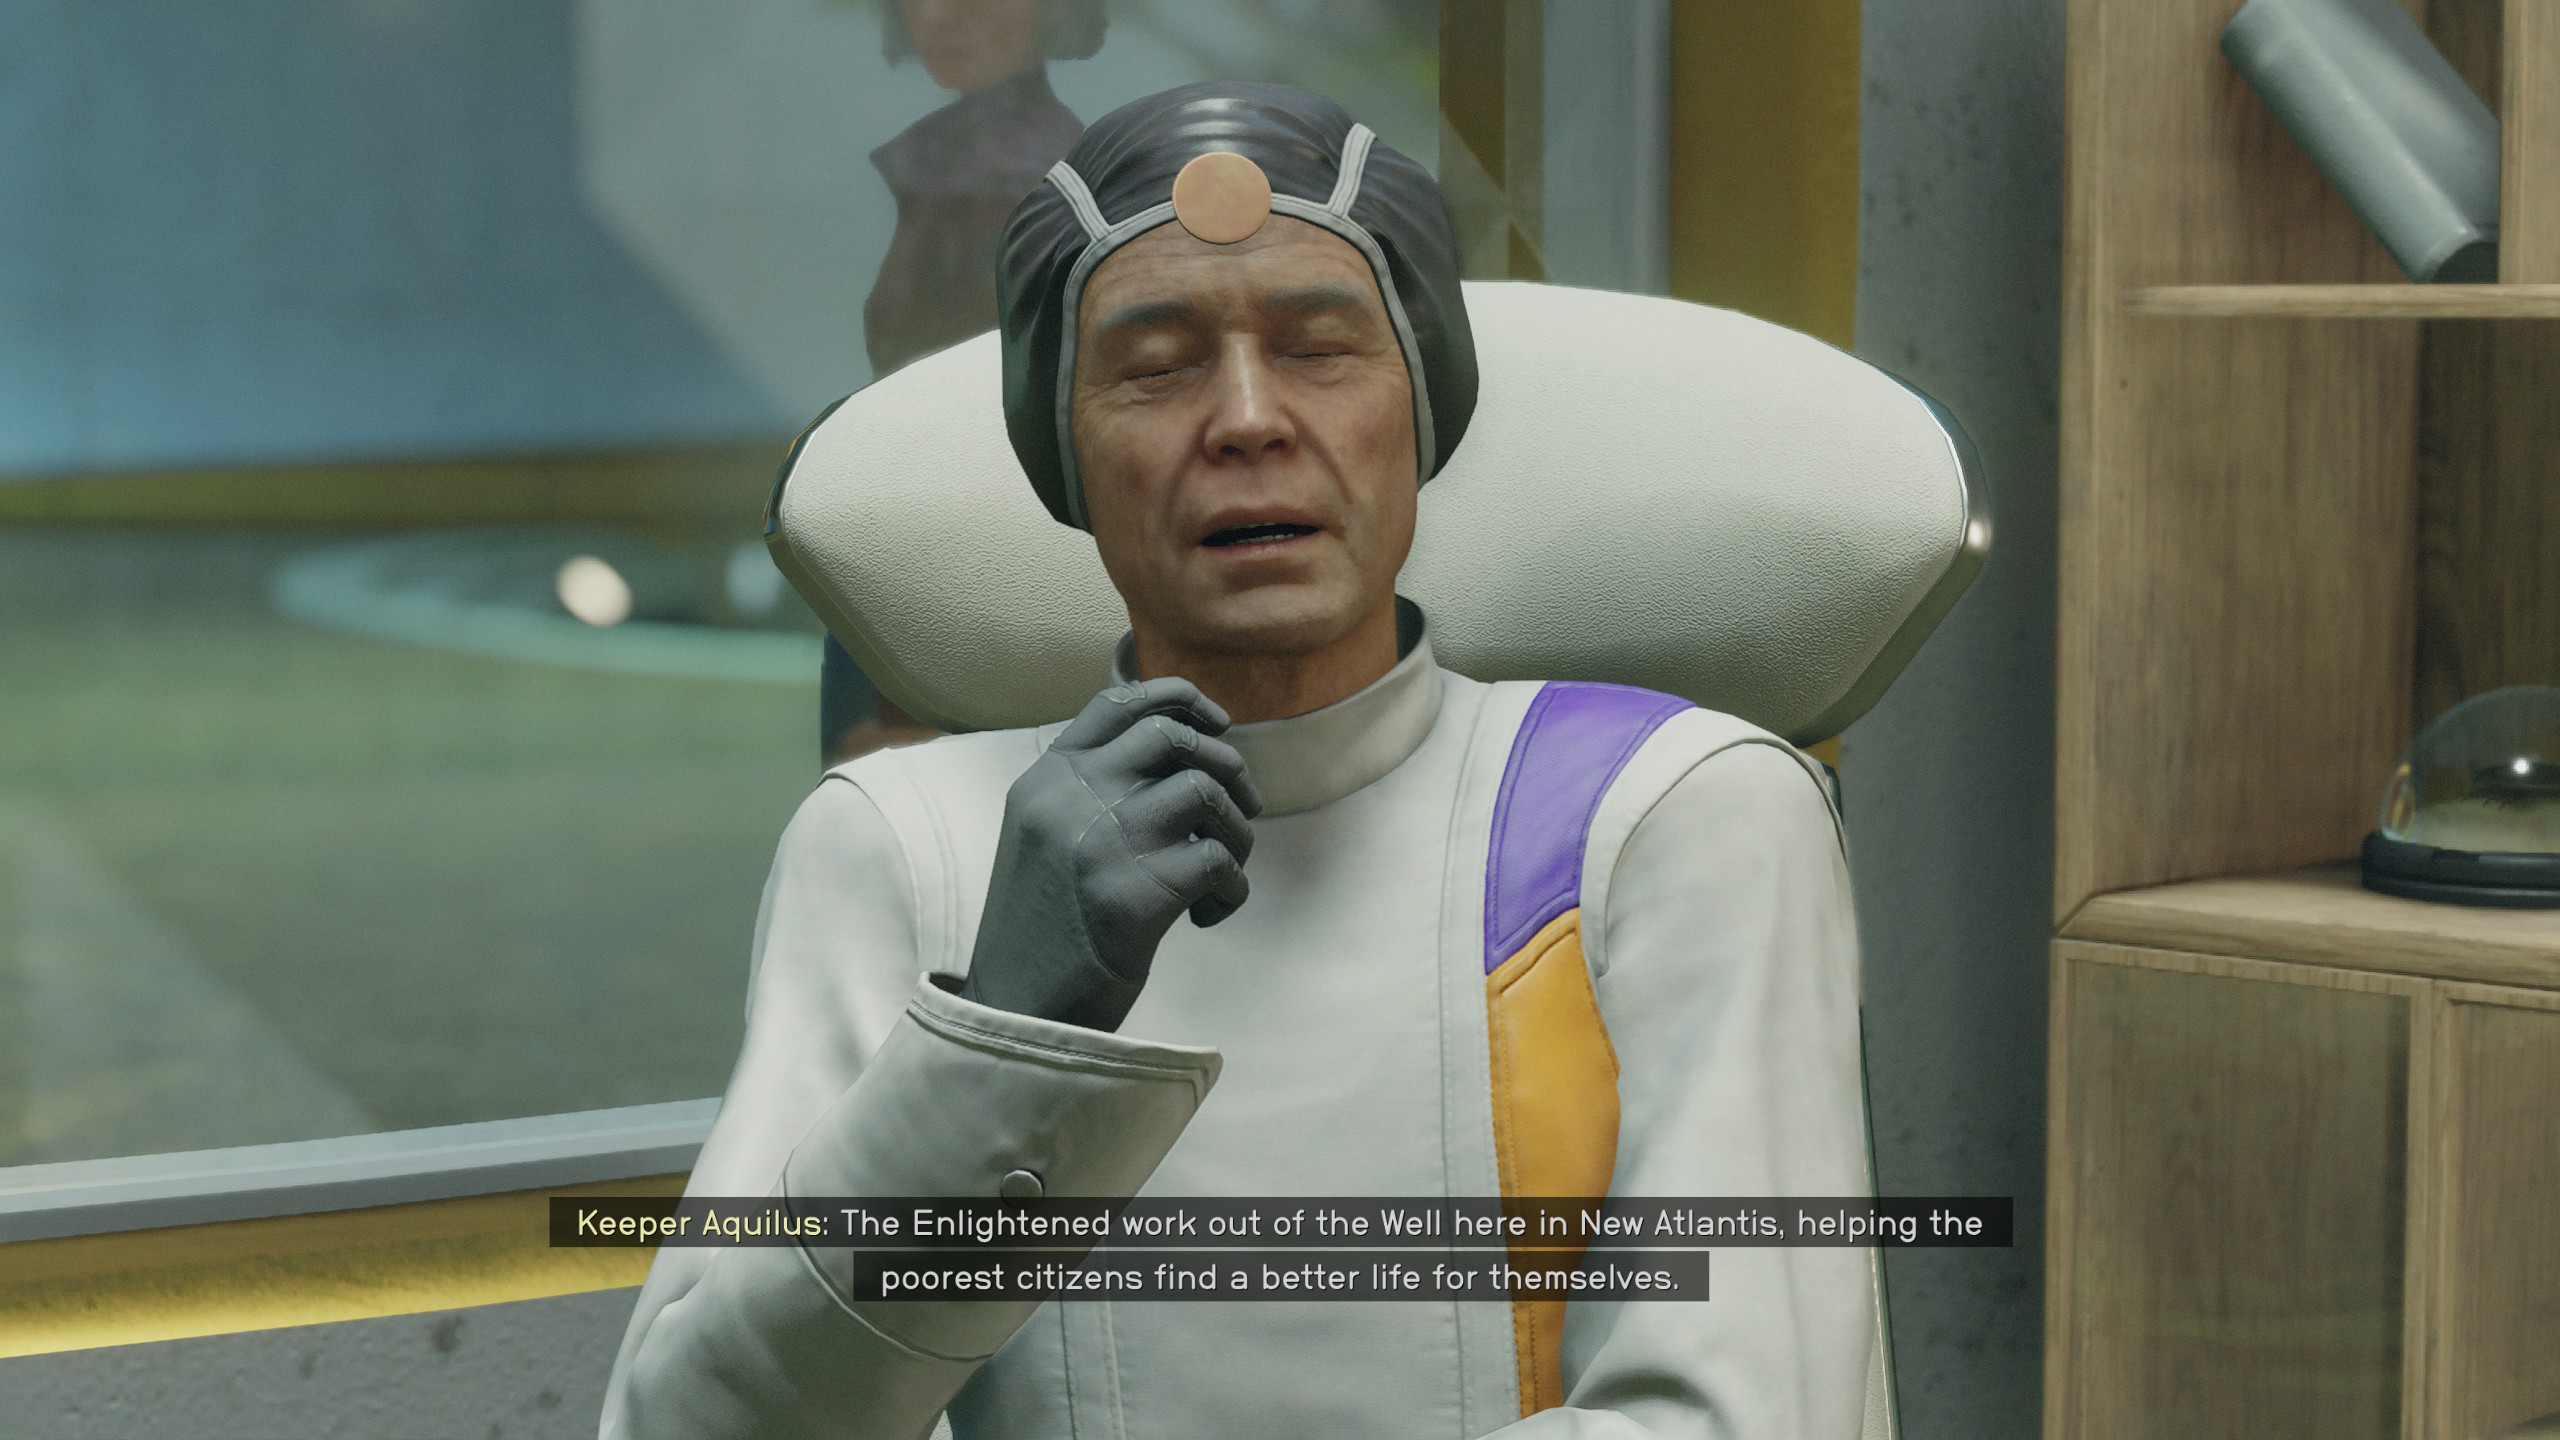
Keeper Aquilus, a character brimming with wisdom, will guide you into a building located just behind him. Follow him into the office on the left for a more private discussion. His cryptic words are crucial for your upcoming journey. Regardless of your responses, the conversation will conclude with Aquilus marking two specific locations on your map.
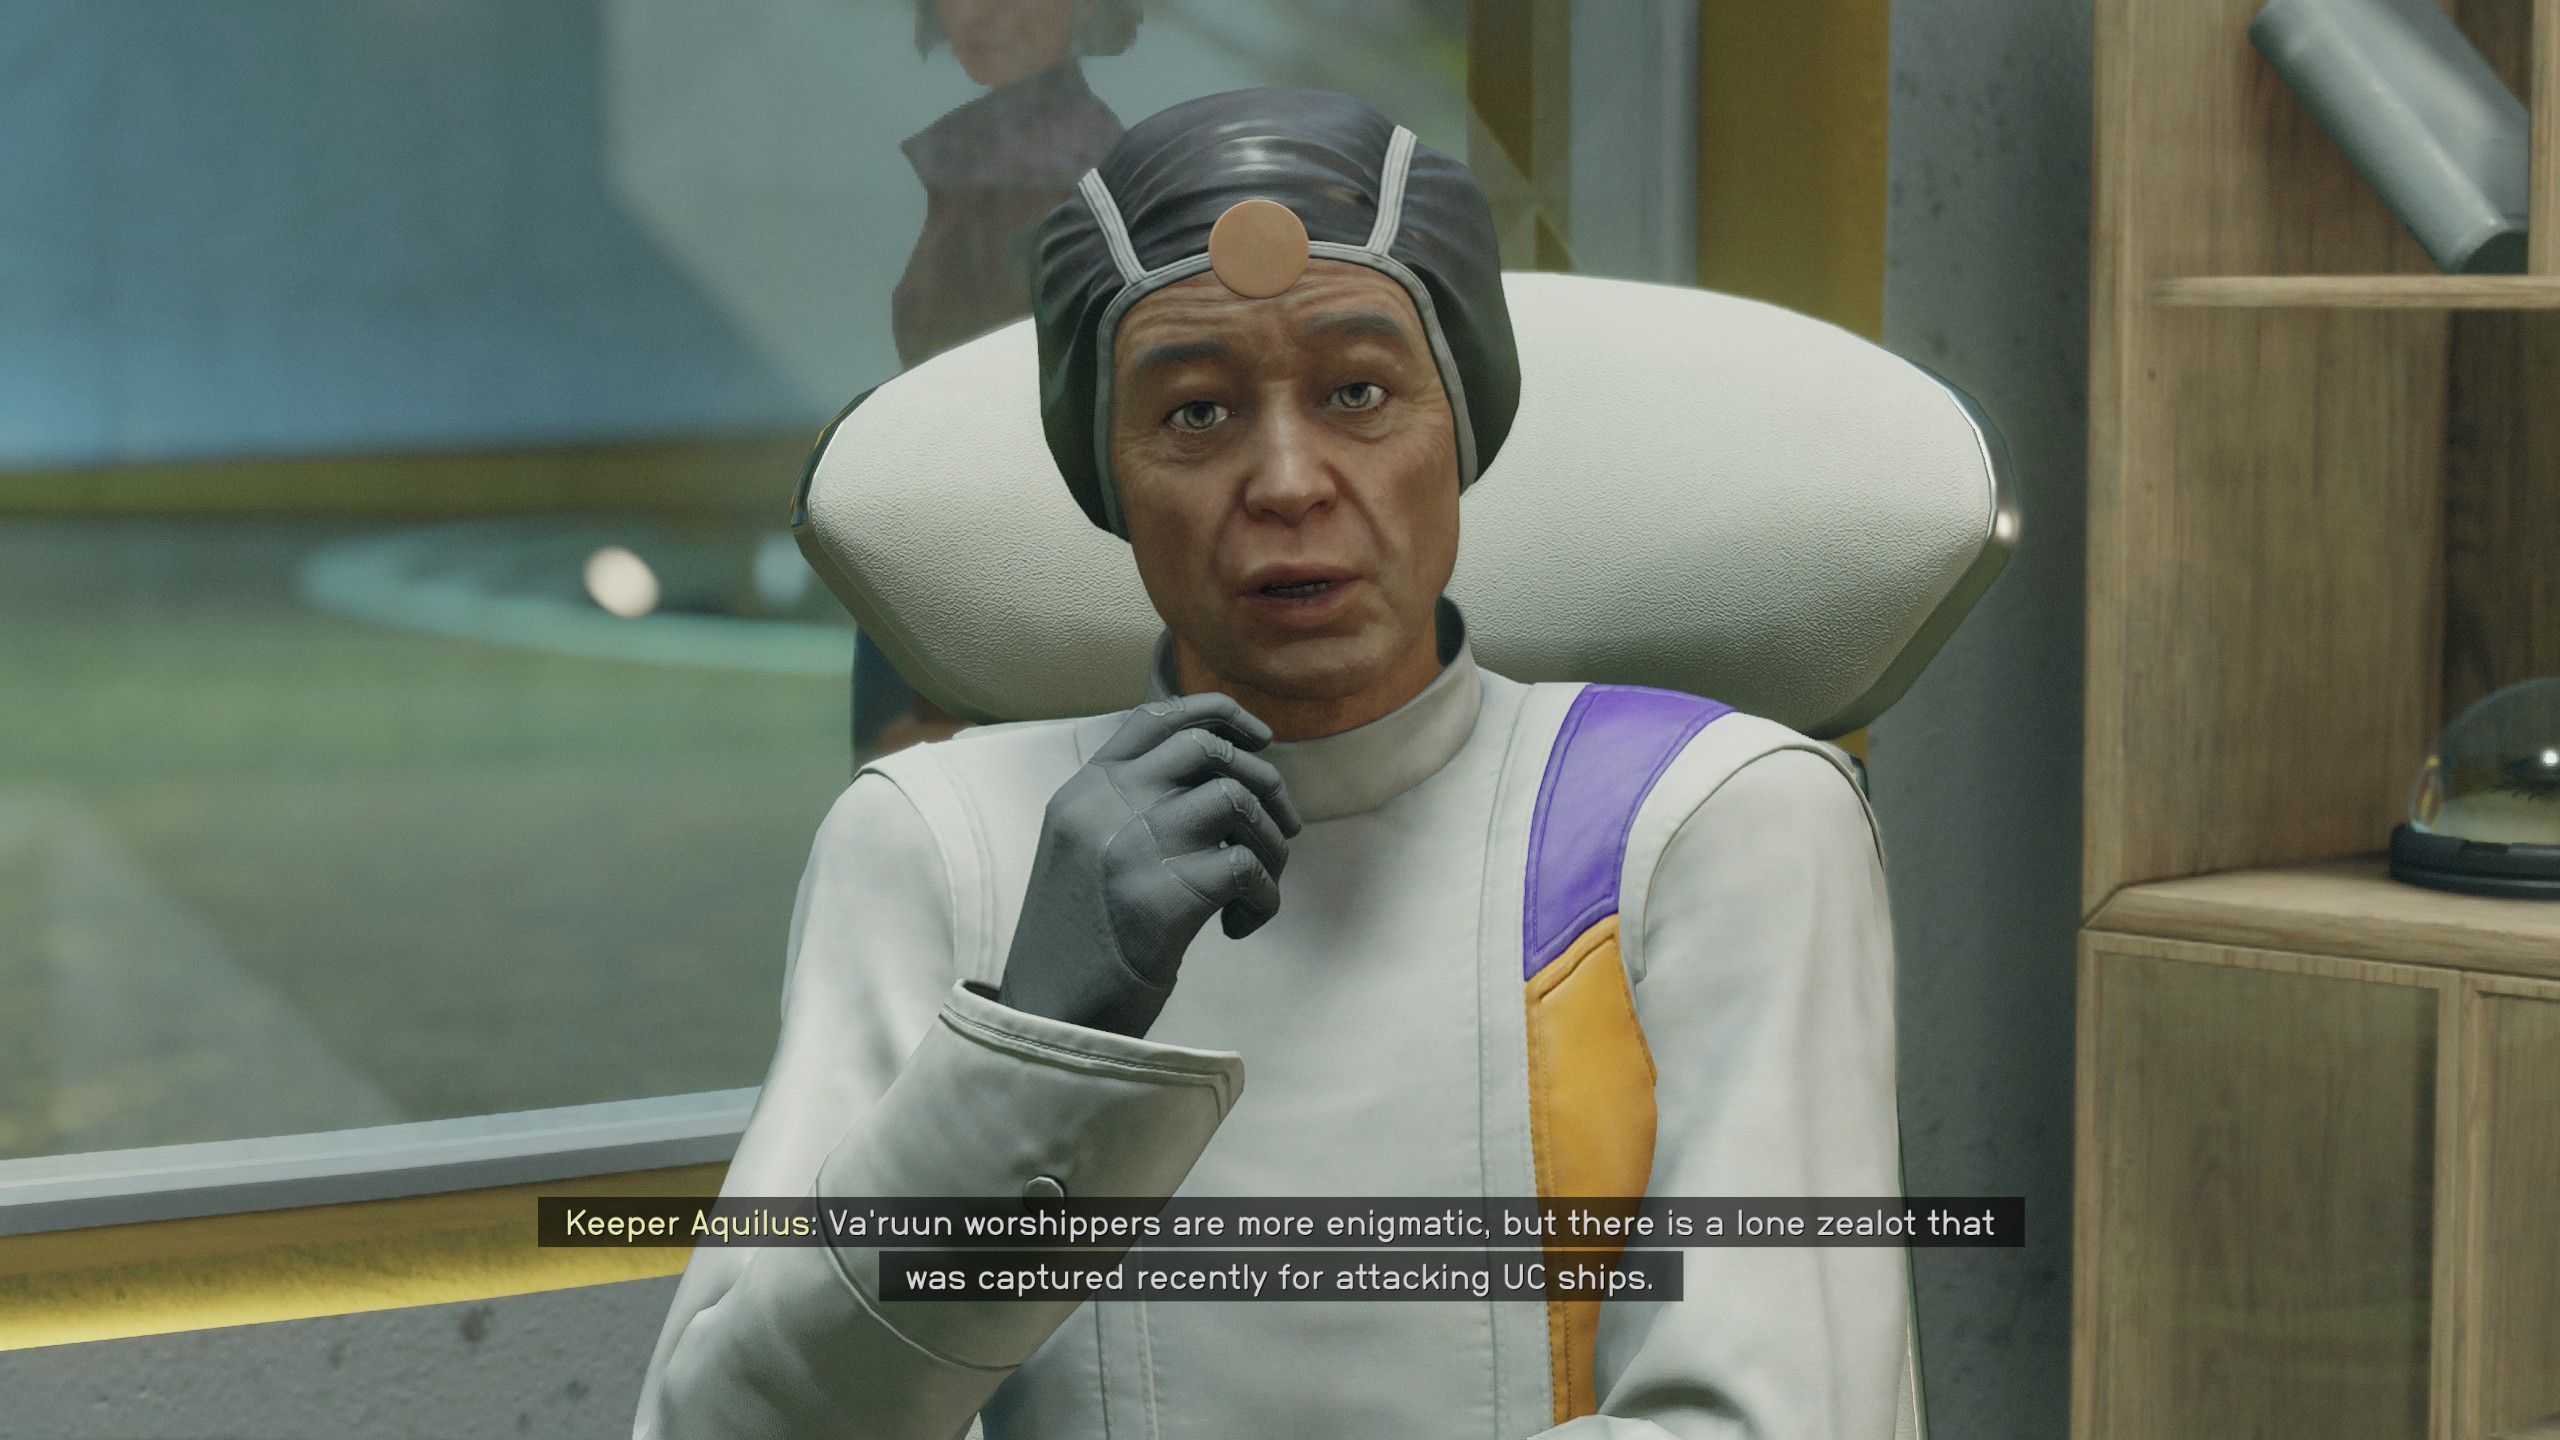
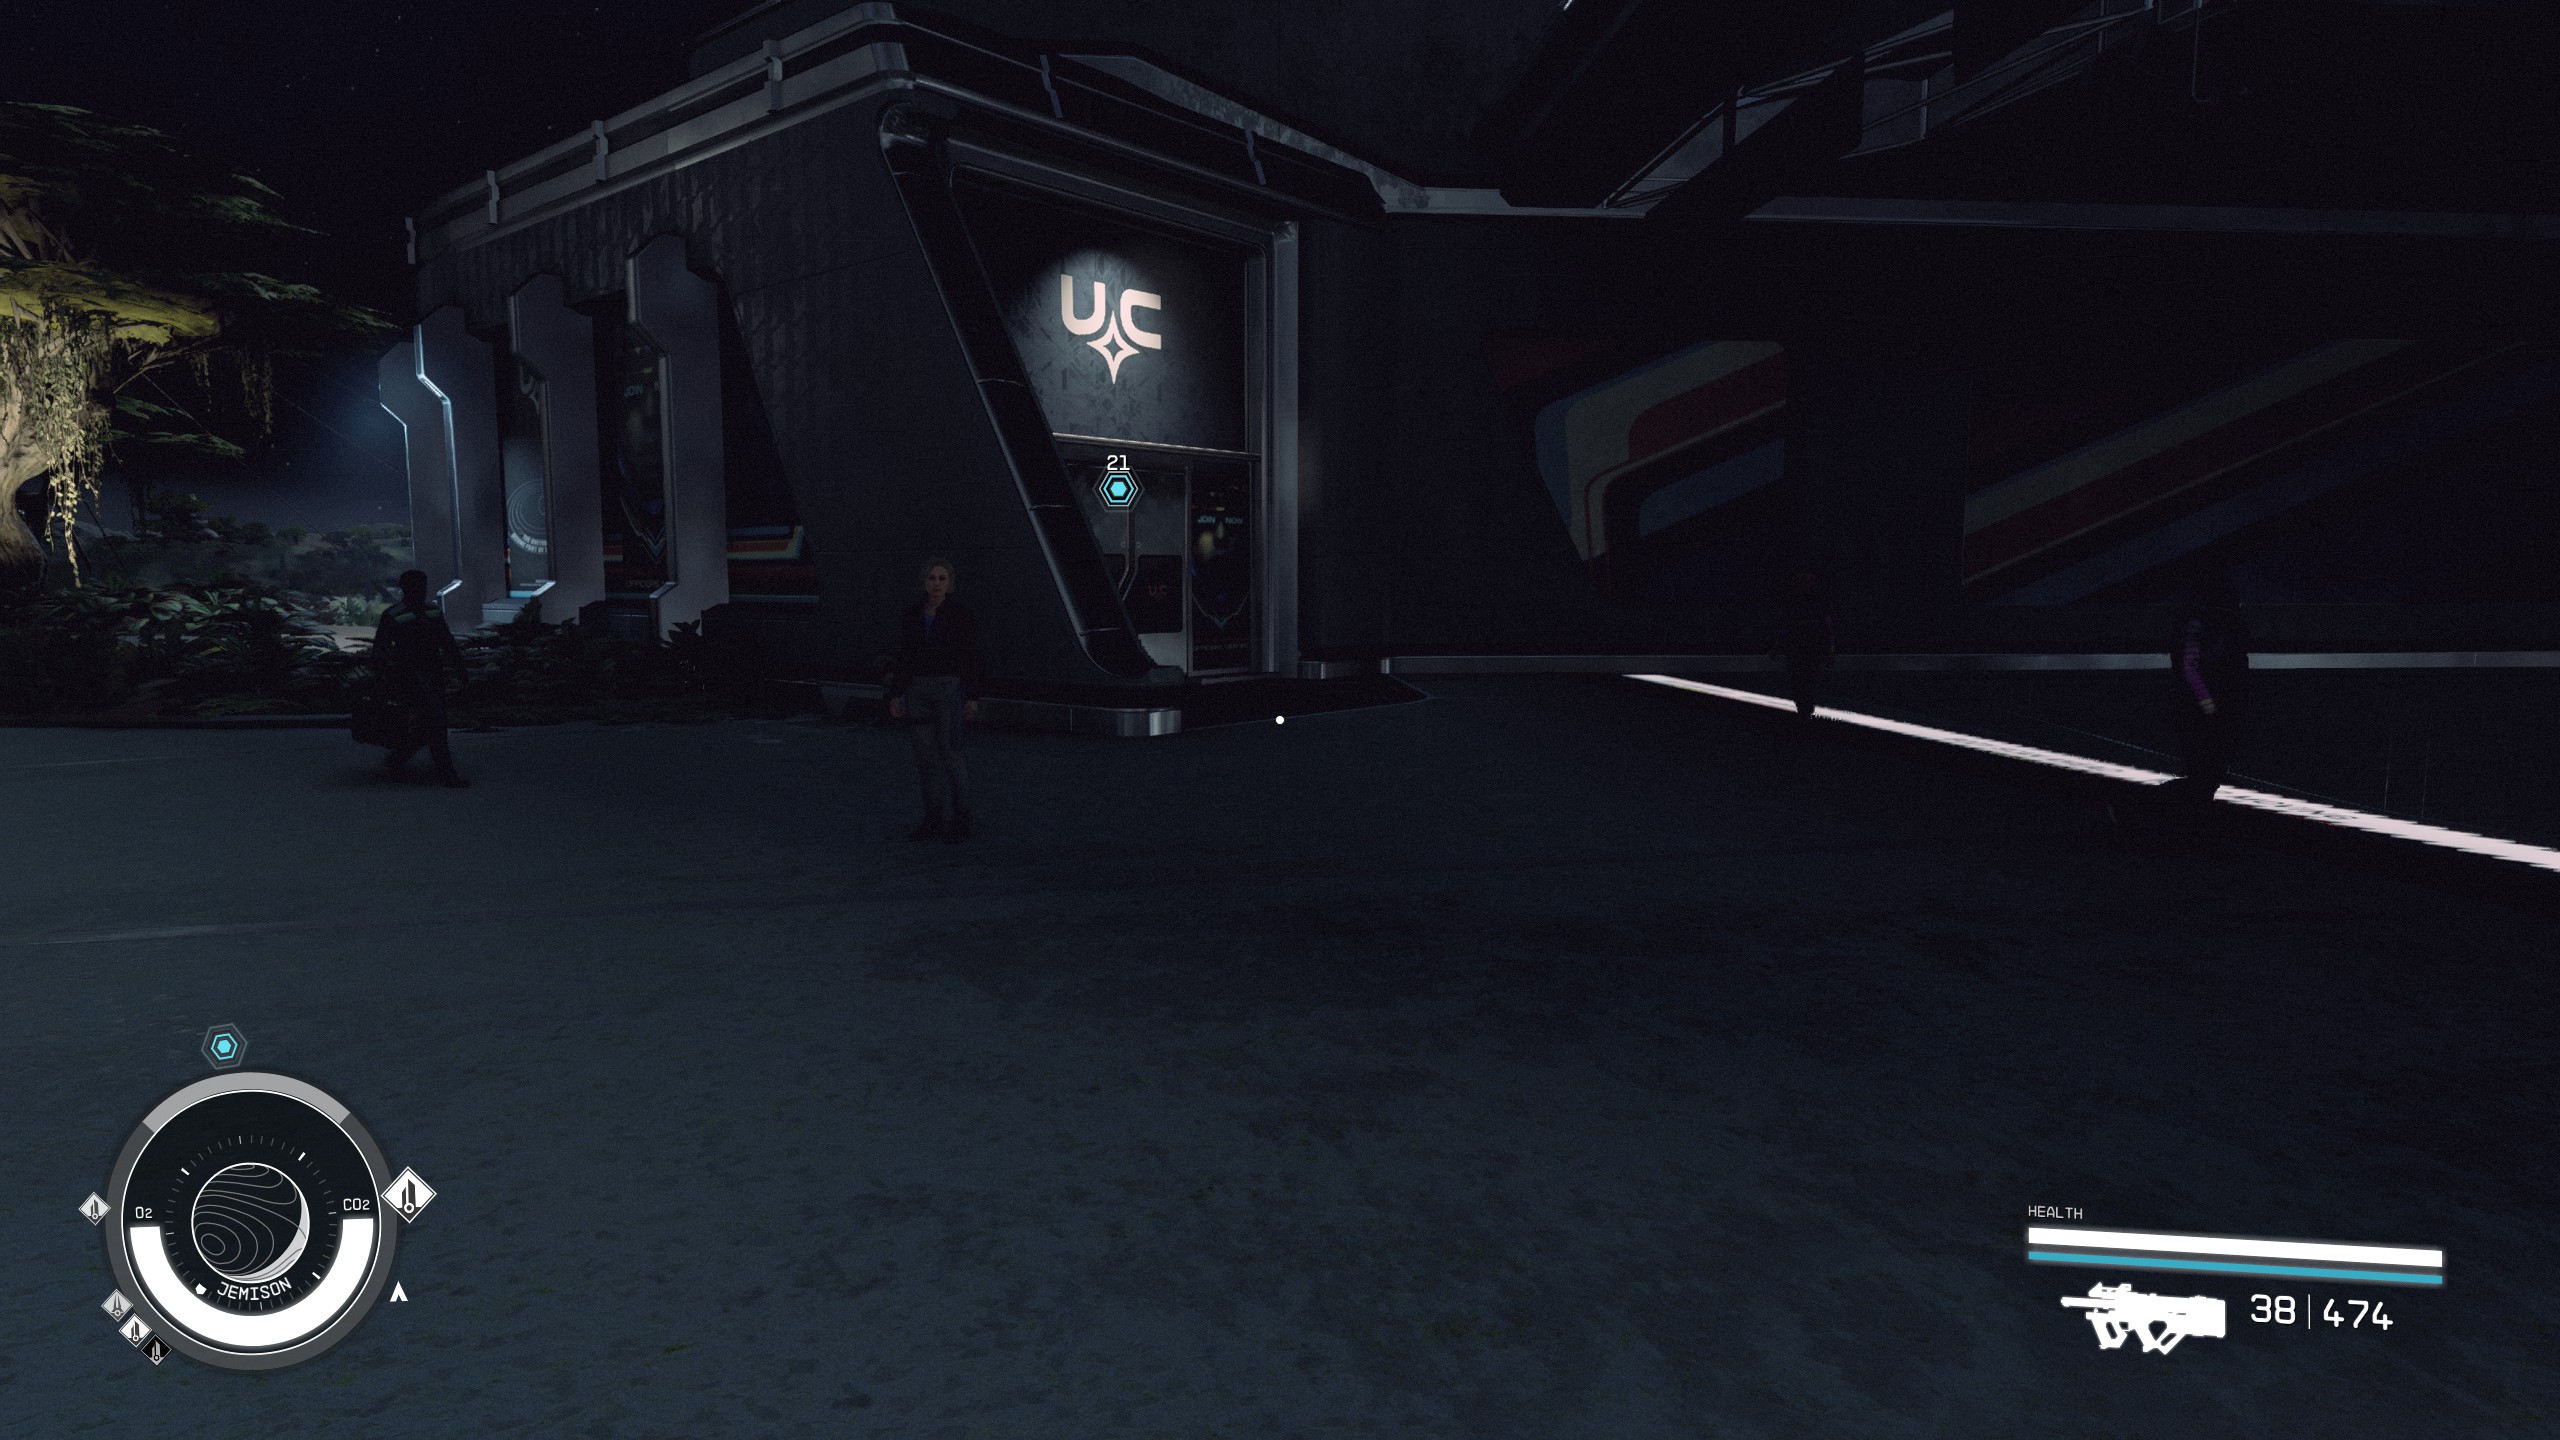
To optimize your time, begin by visiting the nearby Va'ruun prisoner, who is held within the UC Security building. Use the fast travel feature to reach New Atlantis, the closest location. You're free to converse as you wish, but the key takeaway is essential for understanding Unity from various viewpoints.
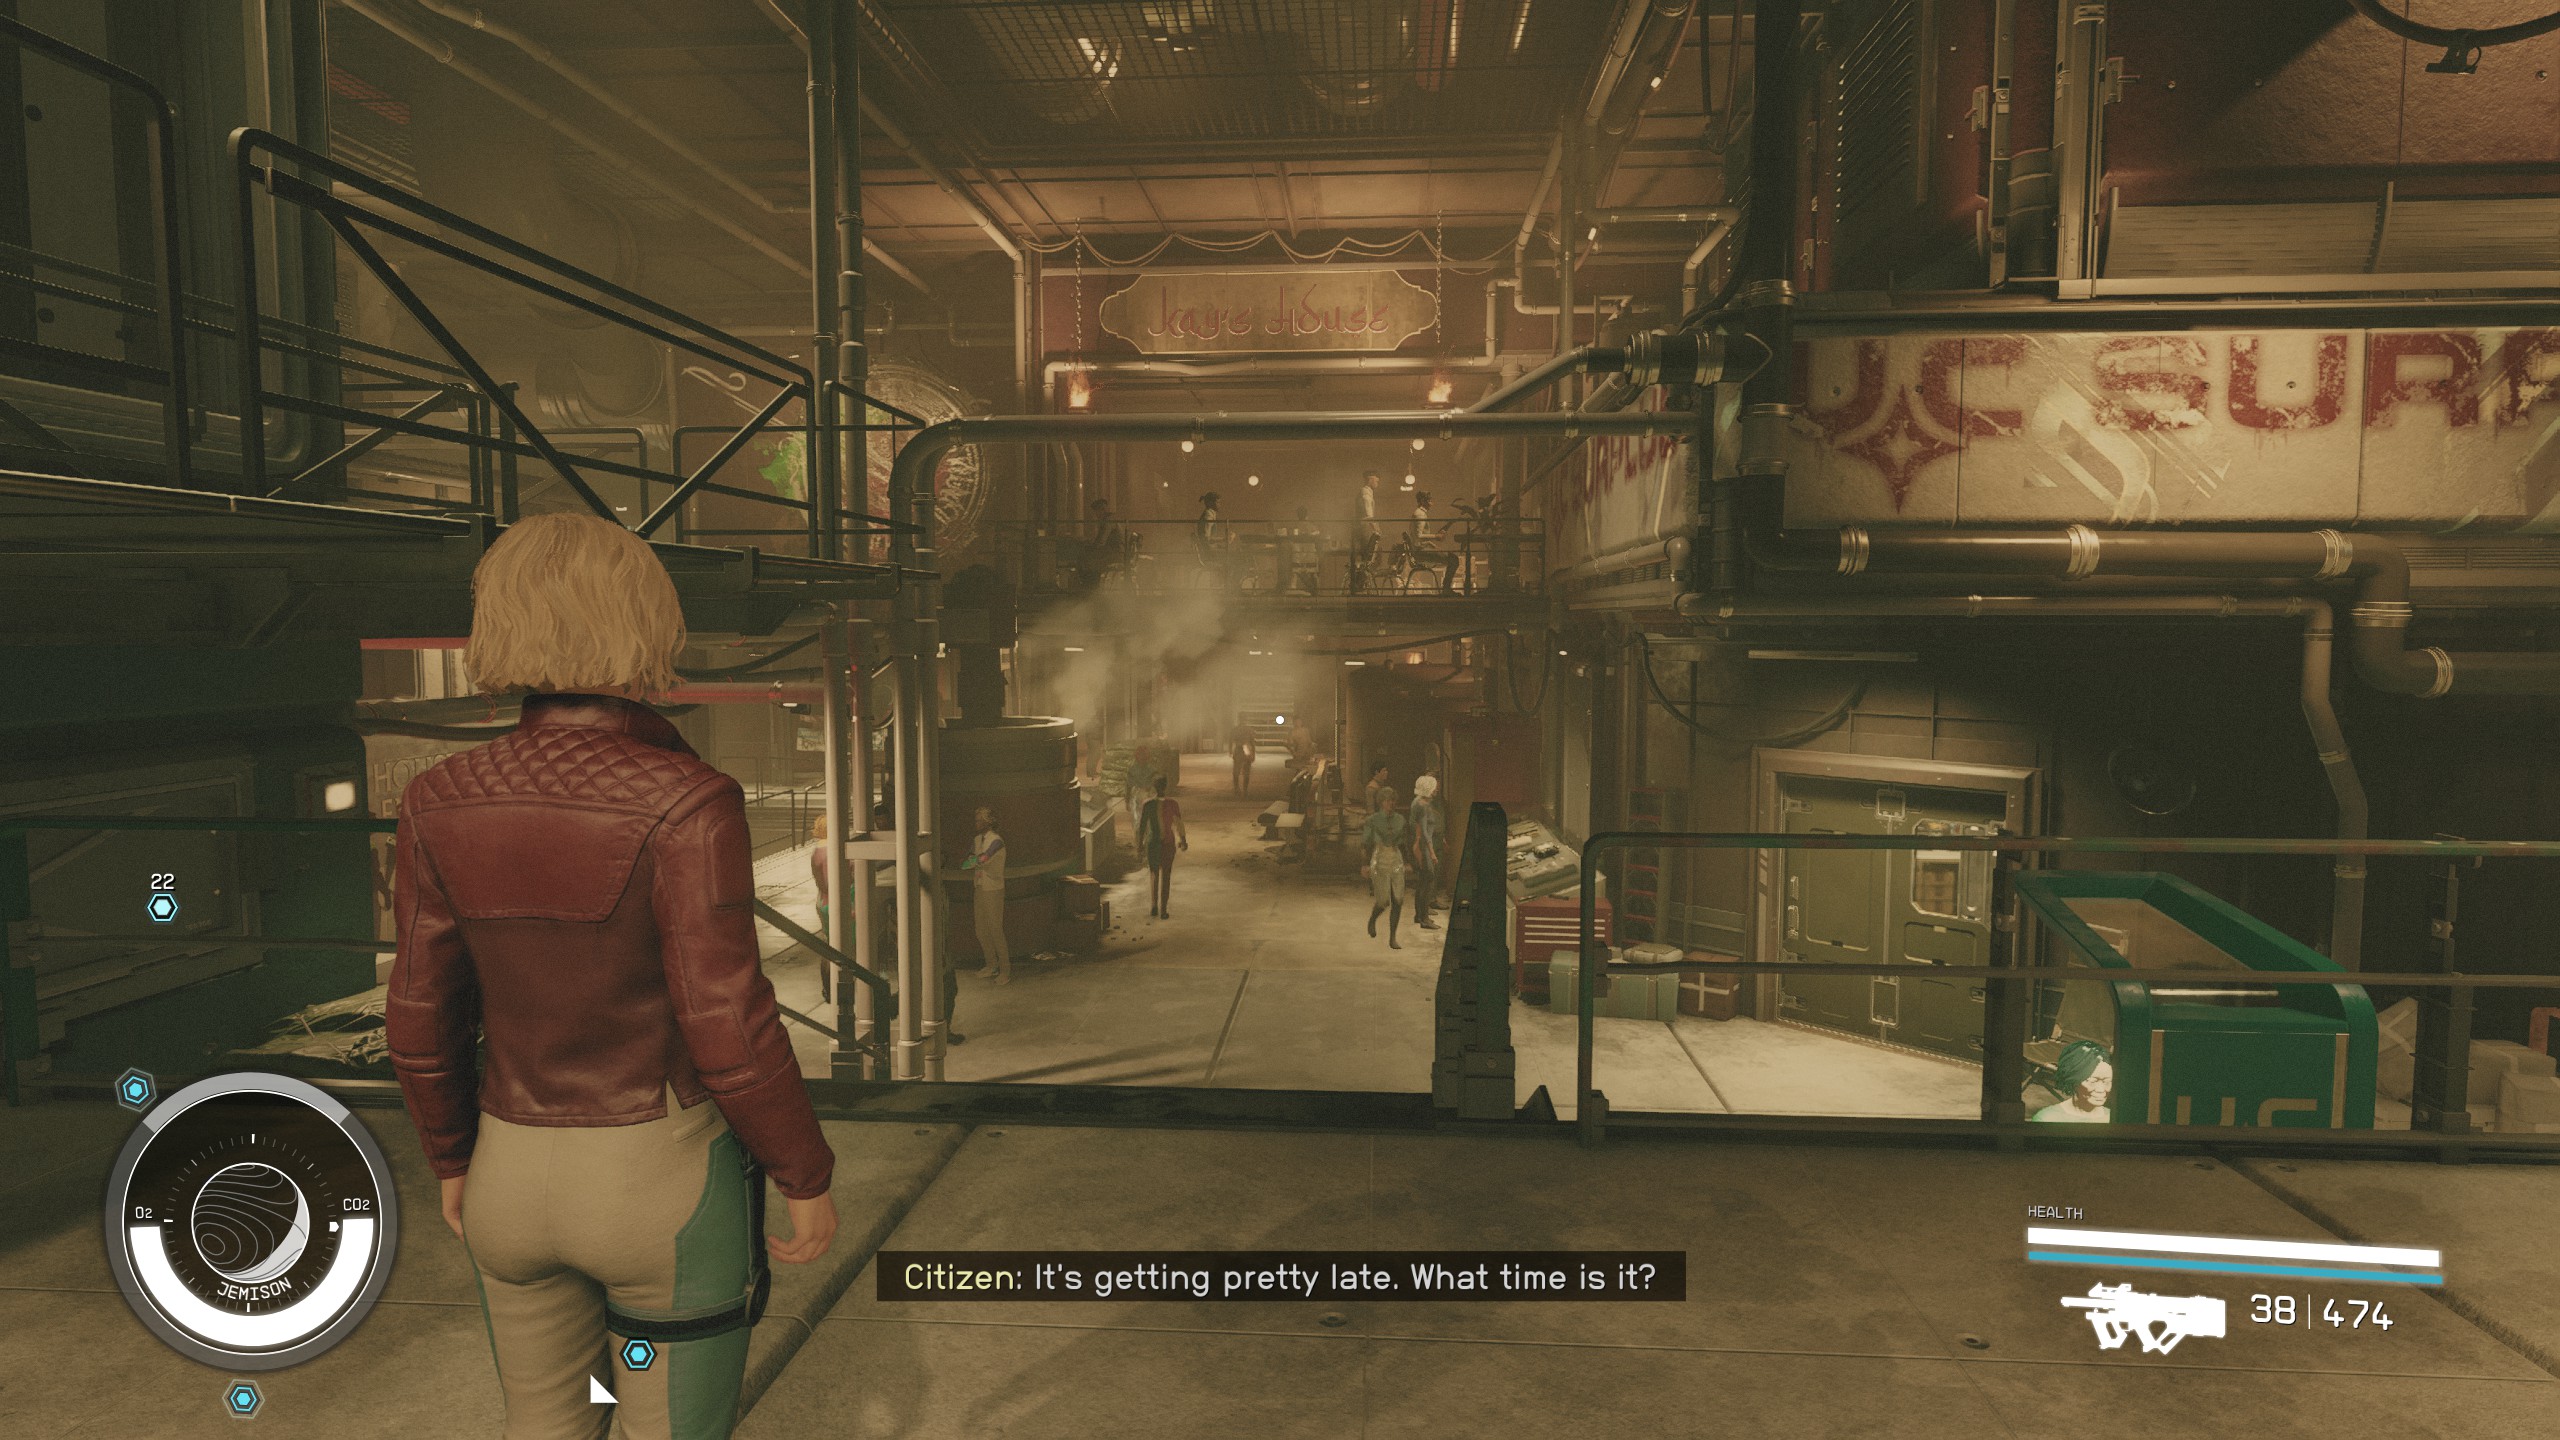
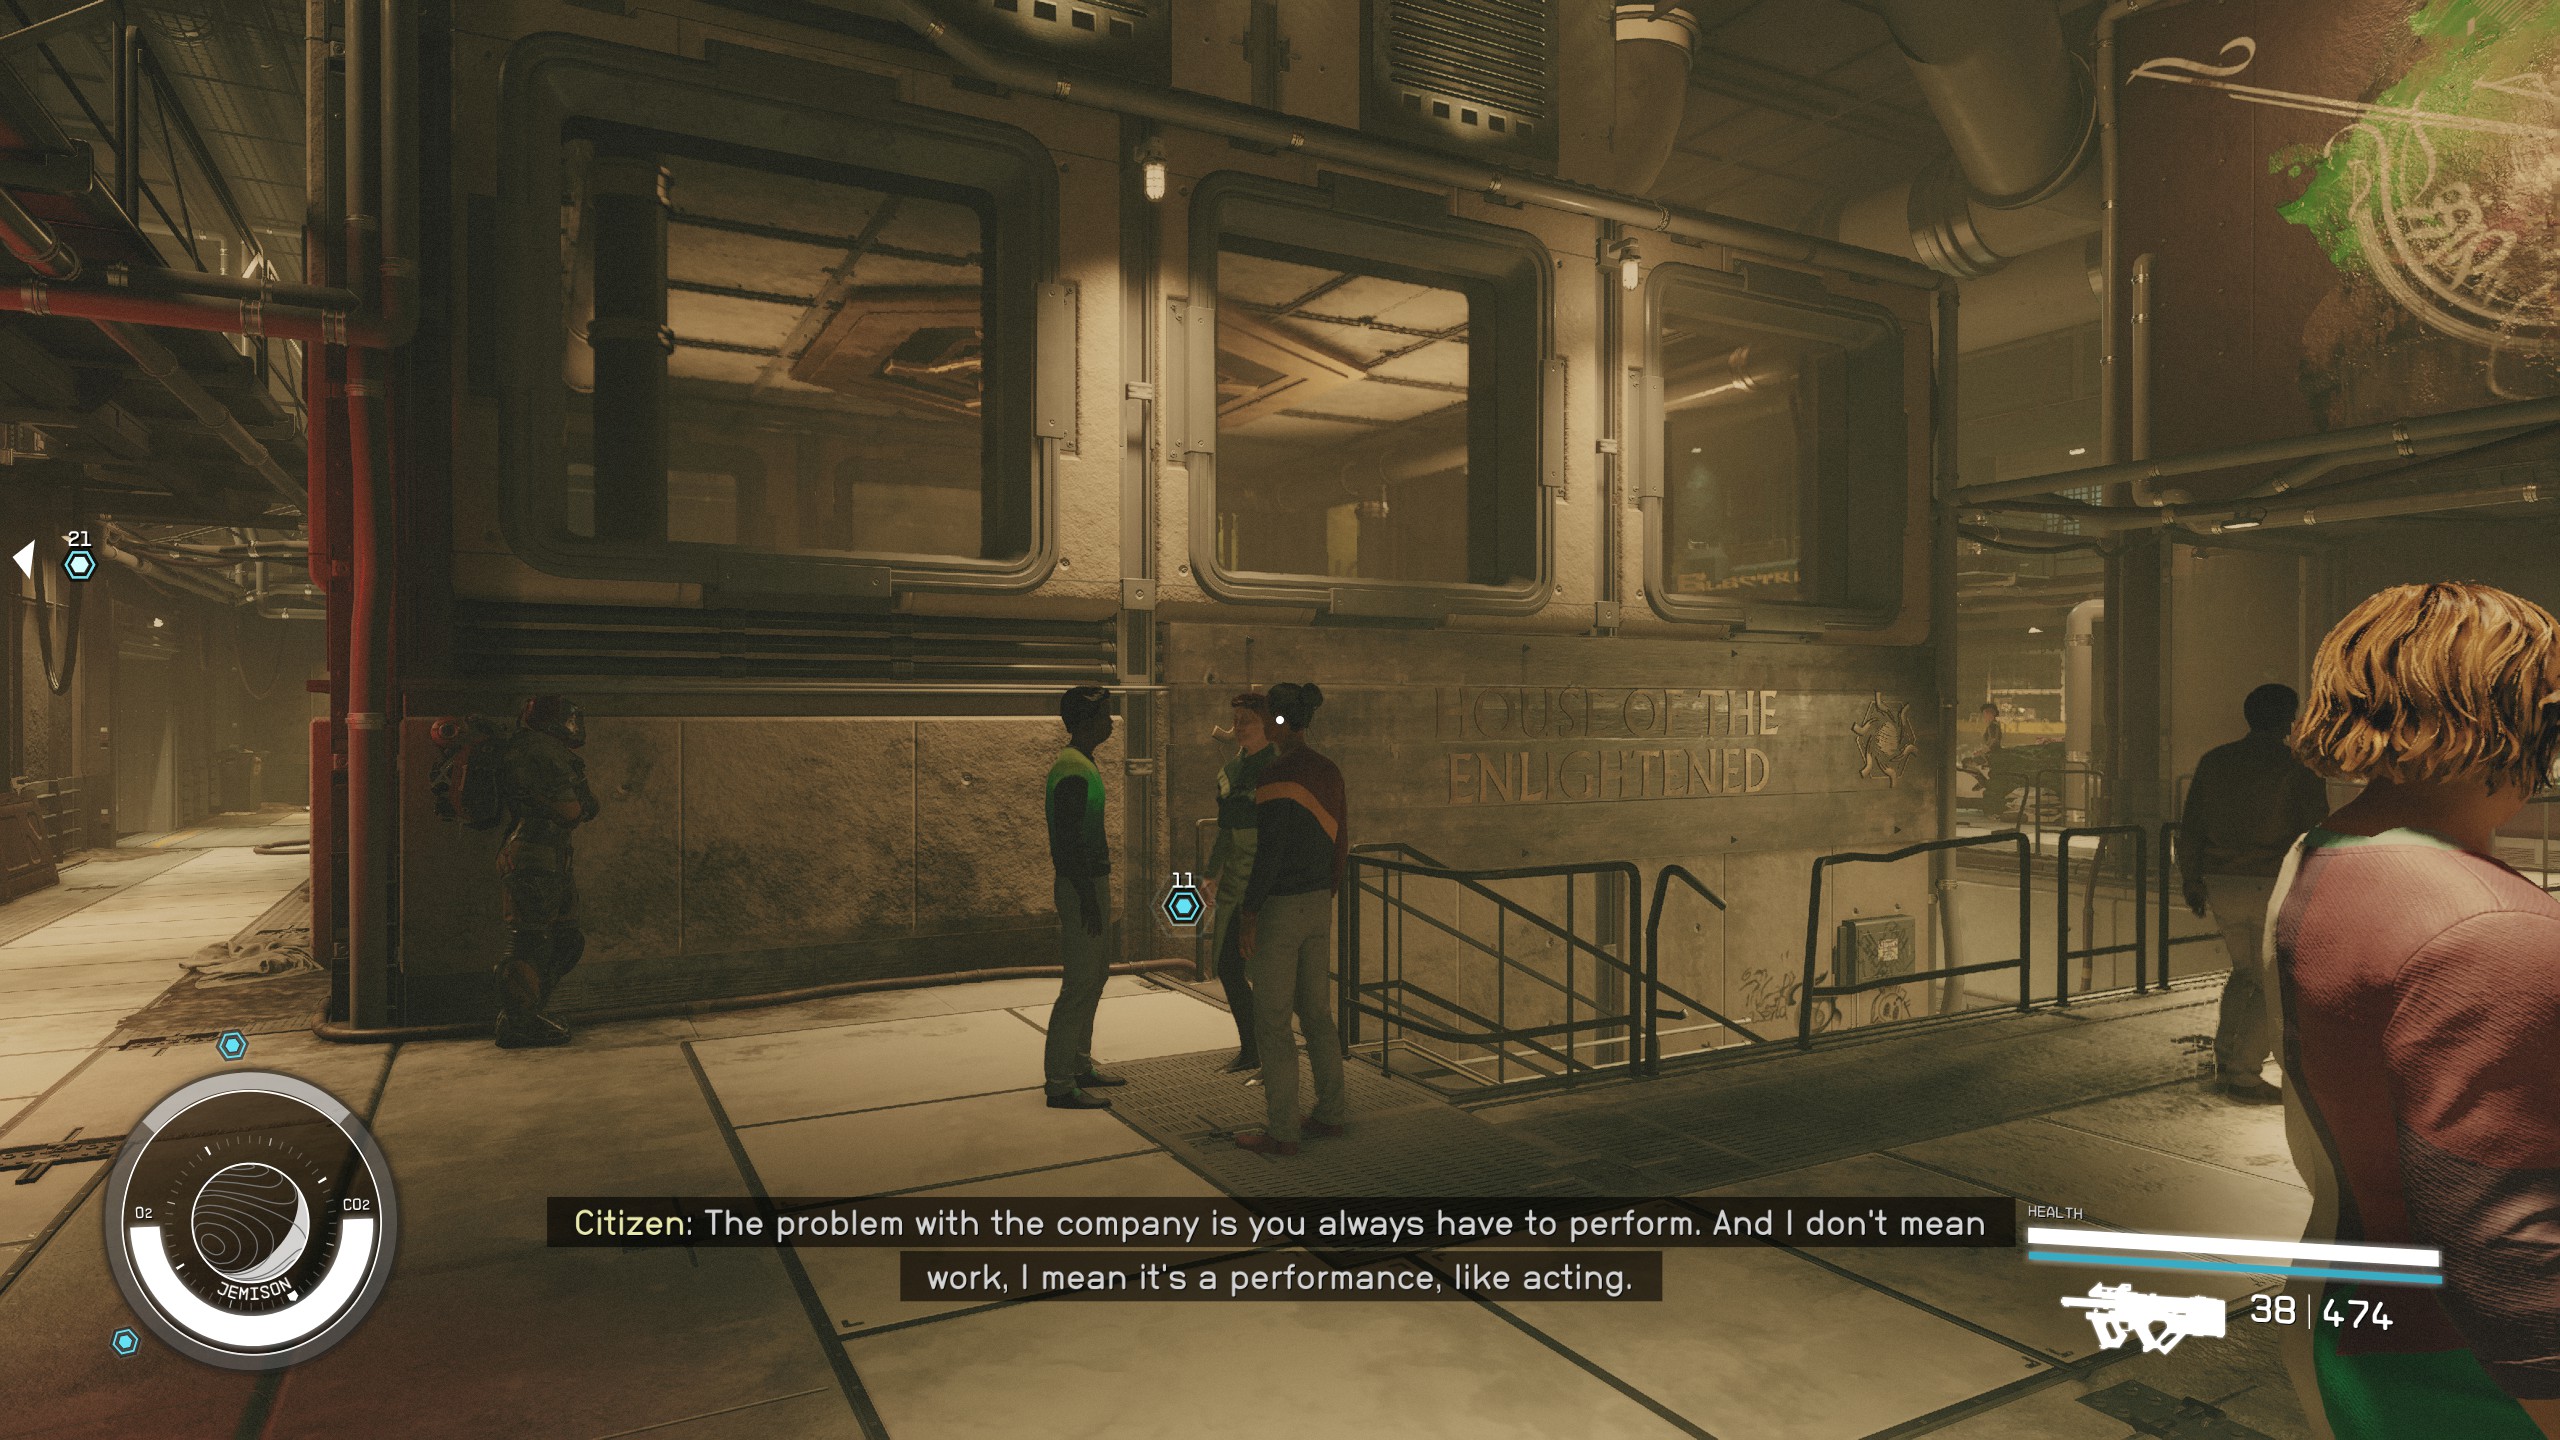
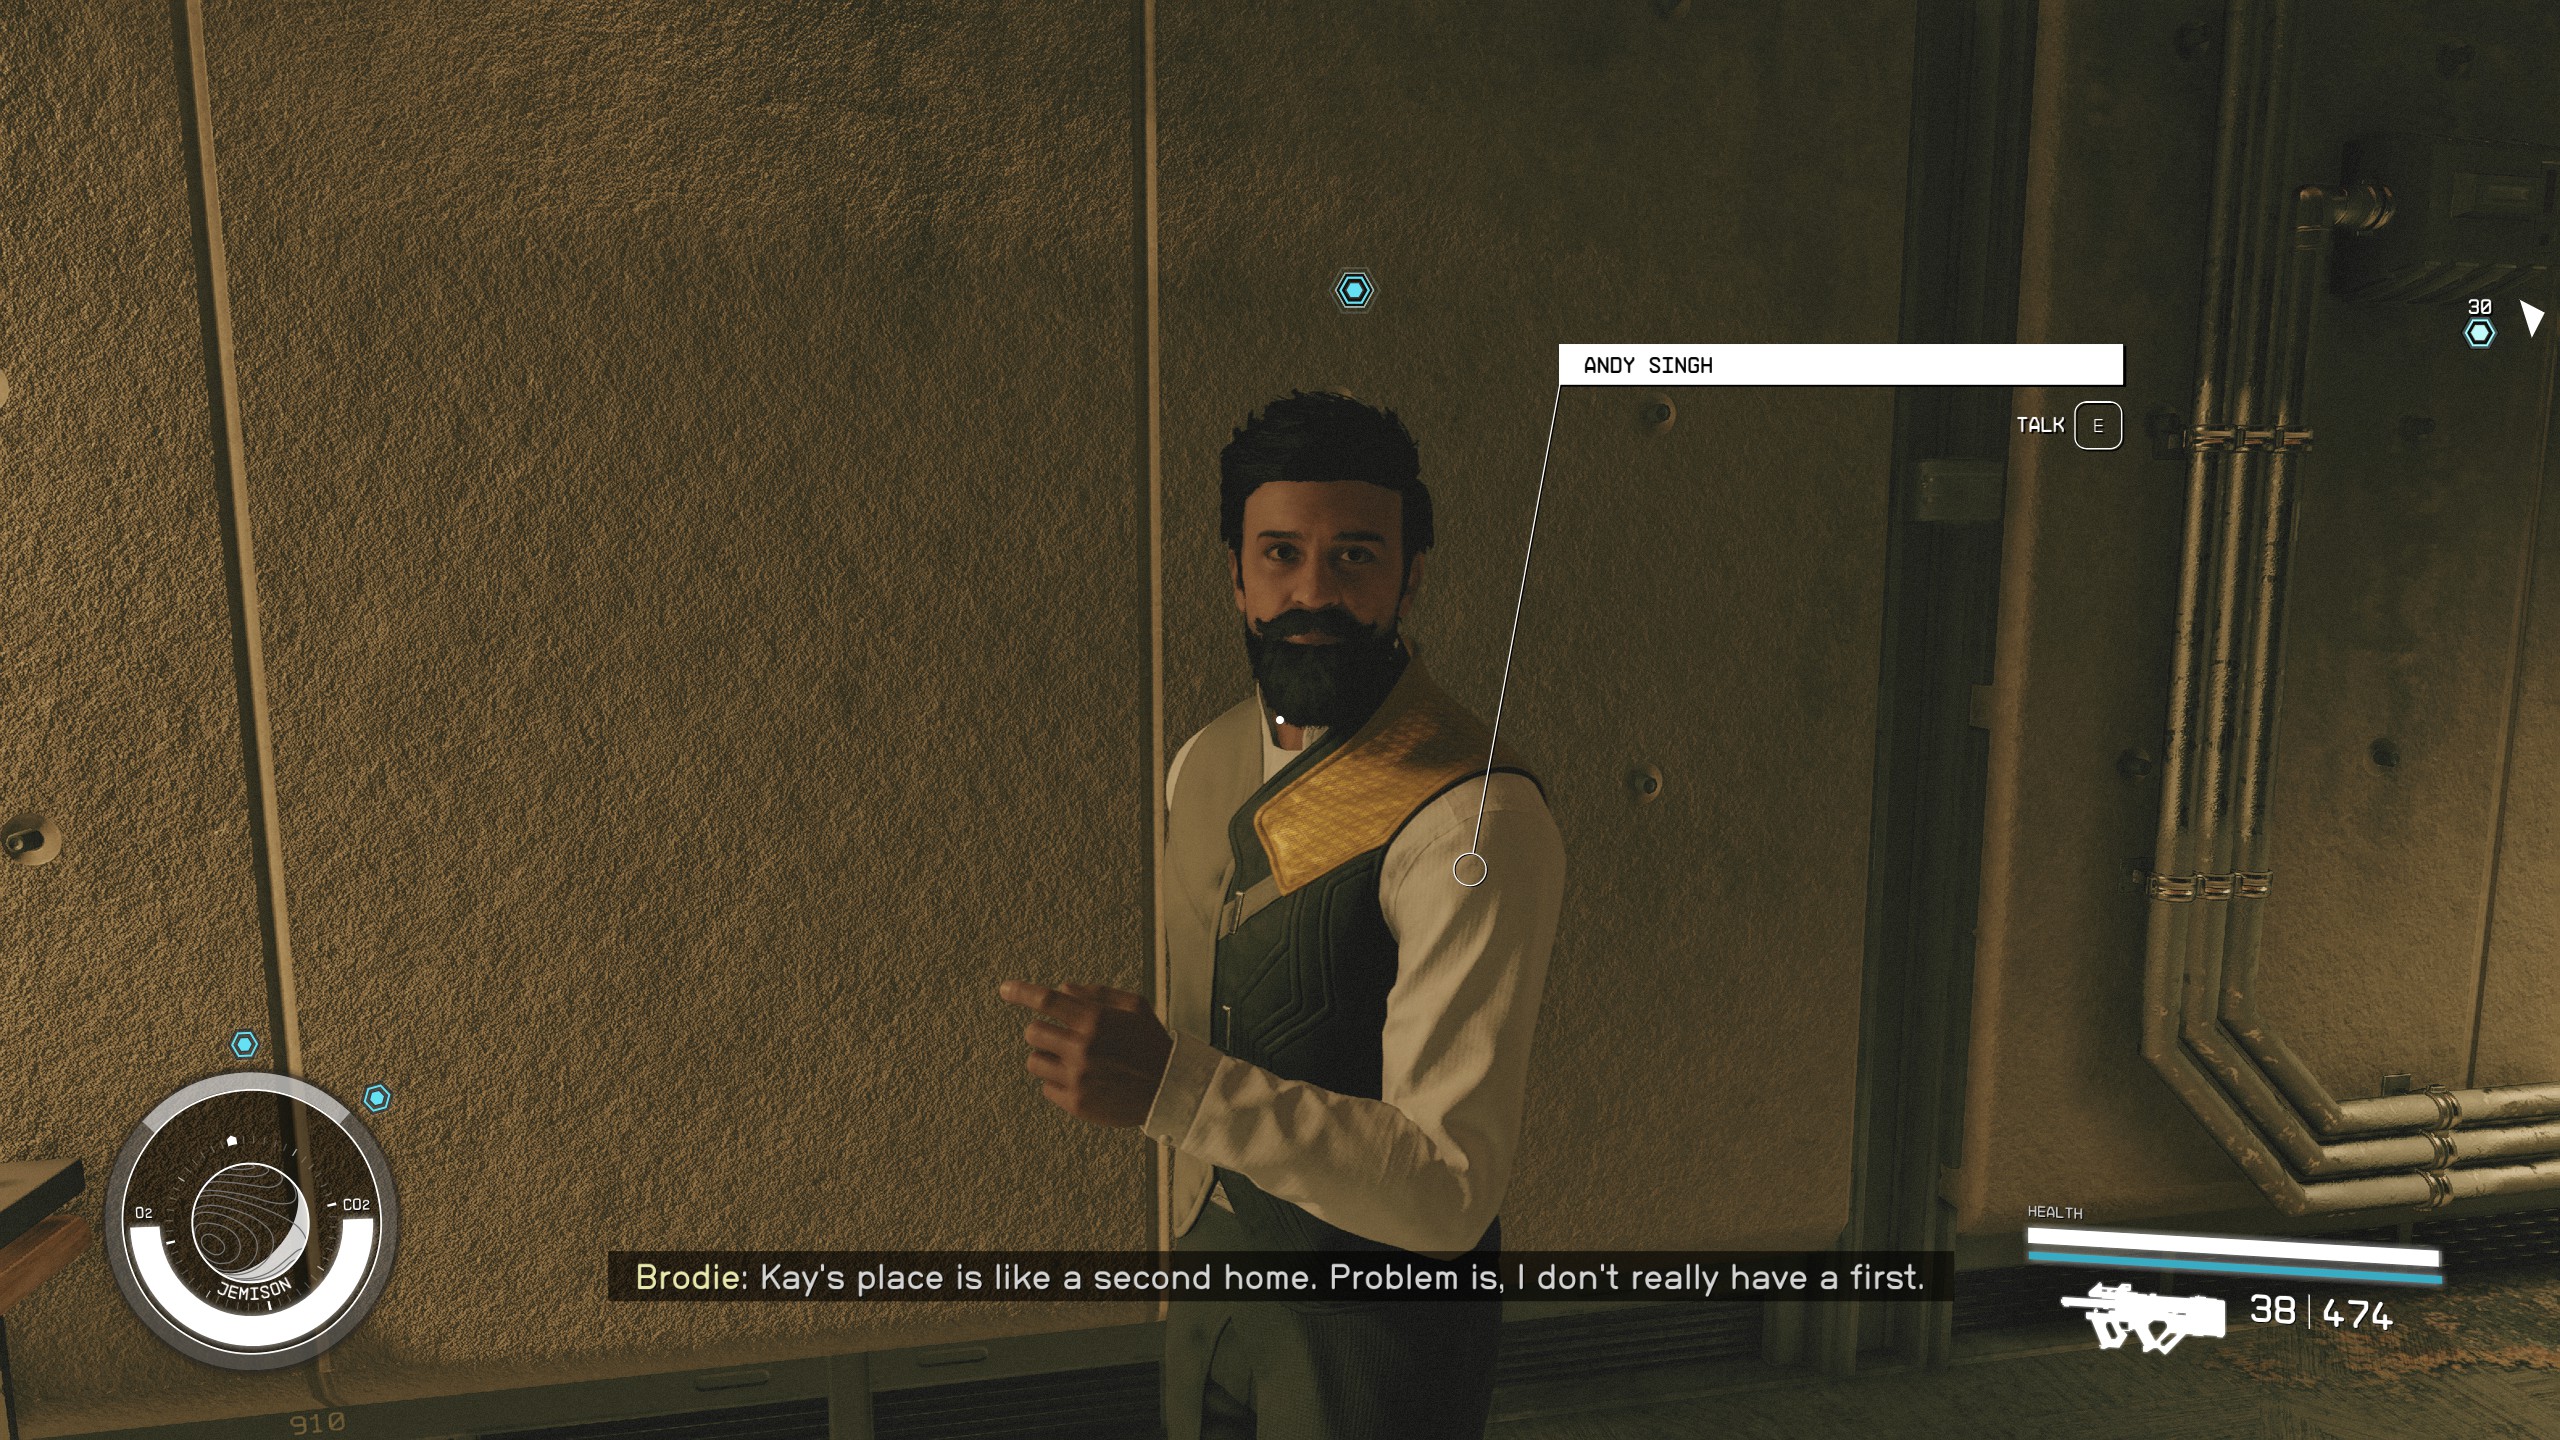
Next, descend into The Well to find the House of Enlightenment. Here, engage in conversation with Andy Singh. Similar to the prisoner, your dialogue choices won't significantly affect the mission's outcome.
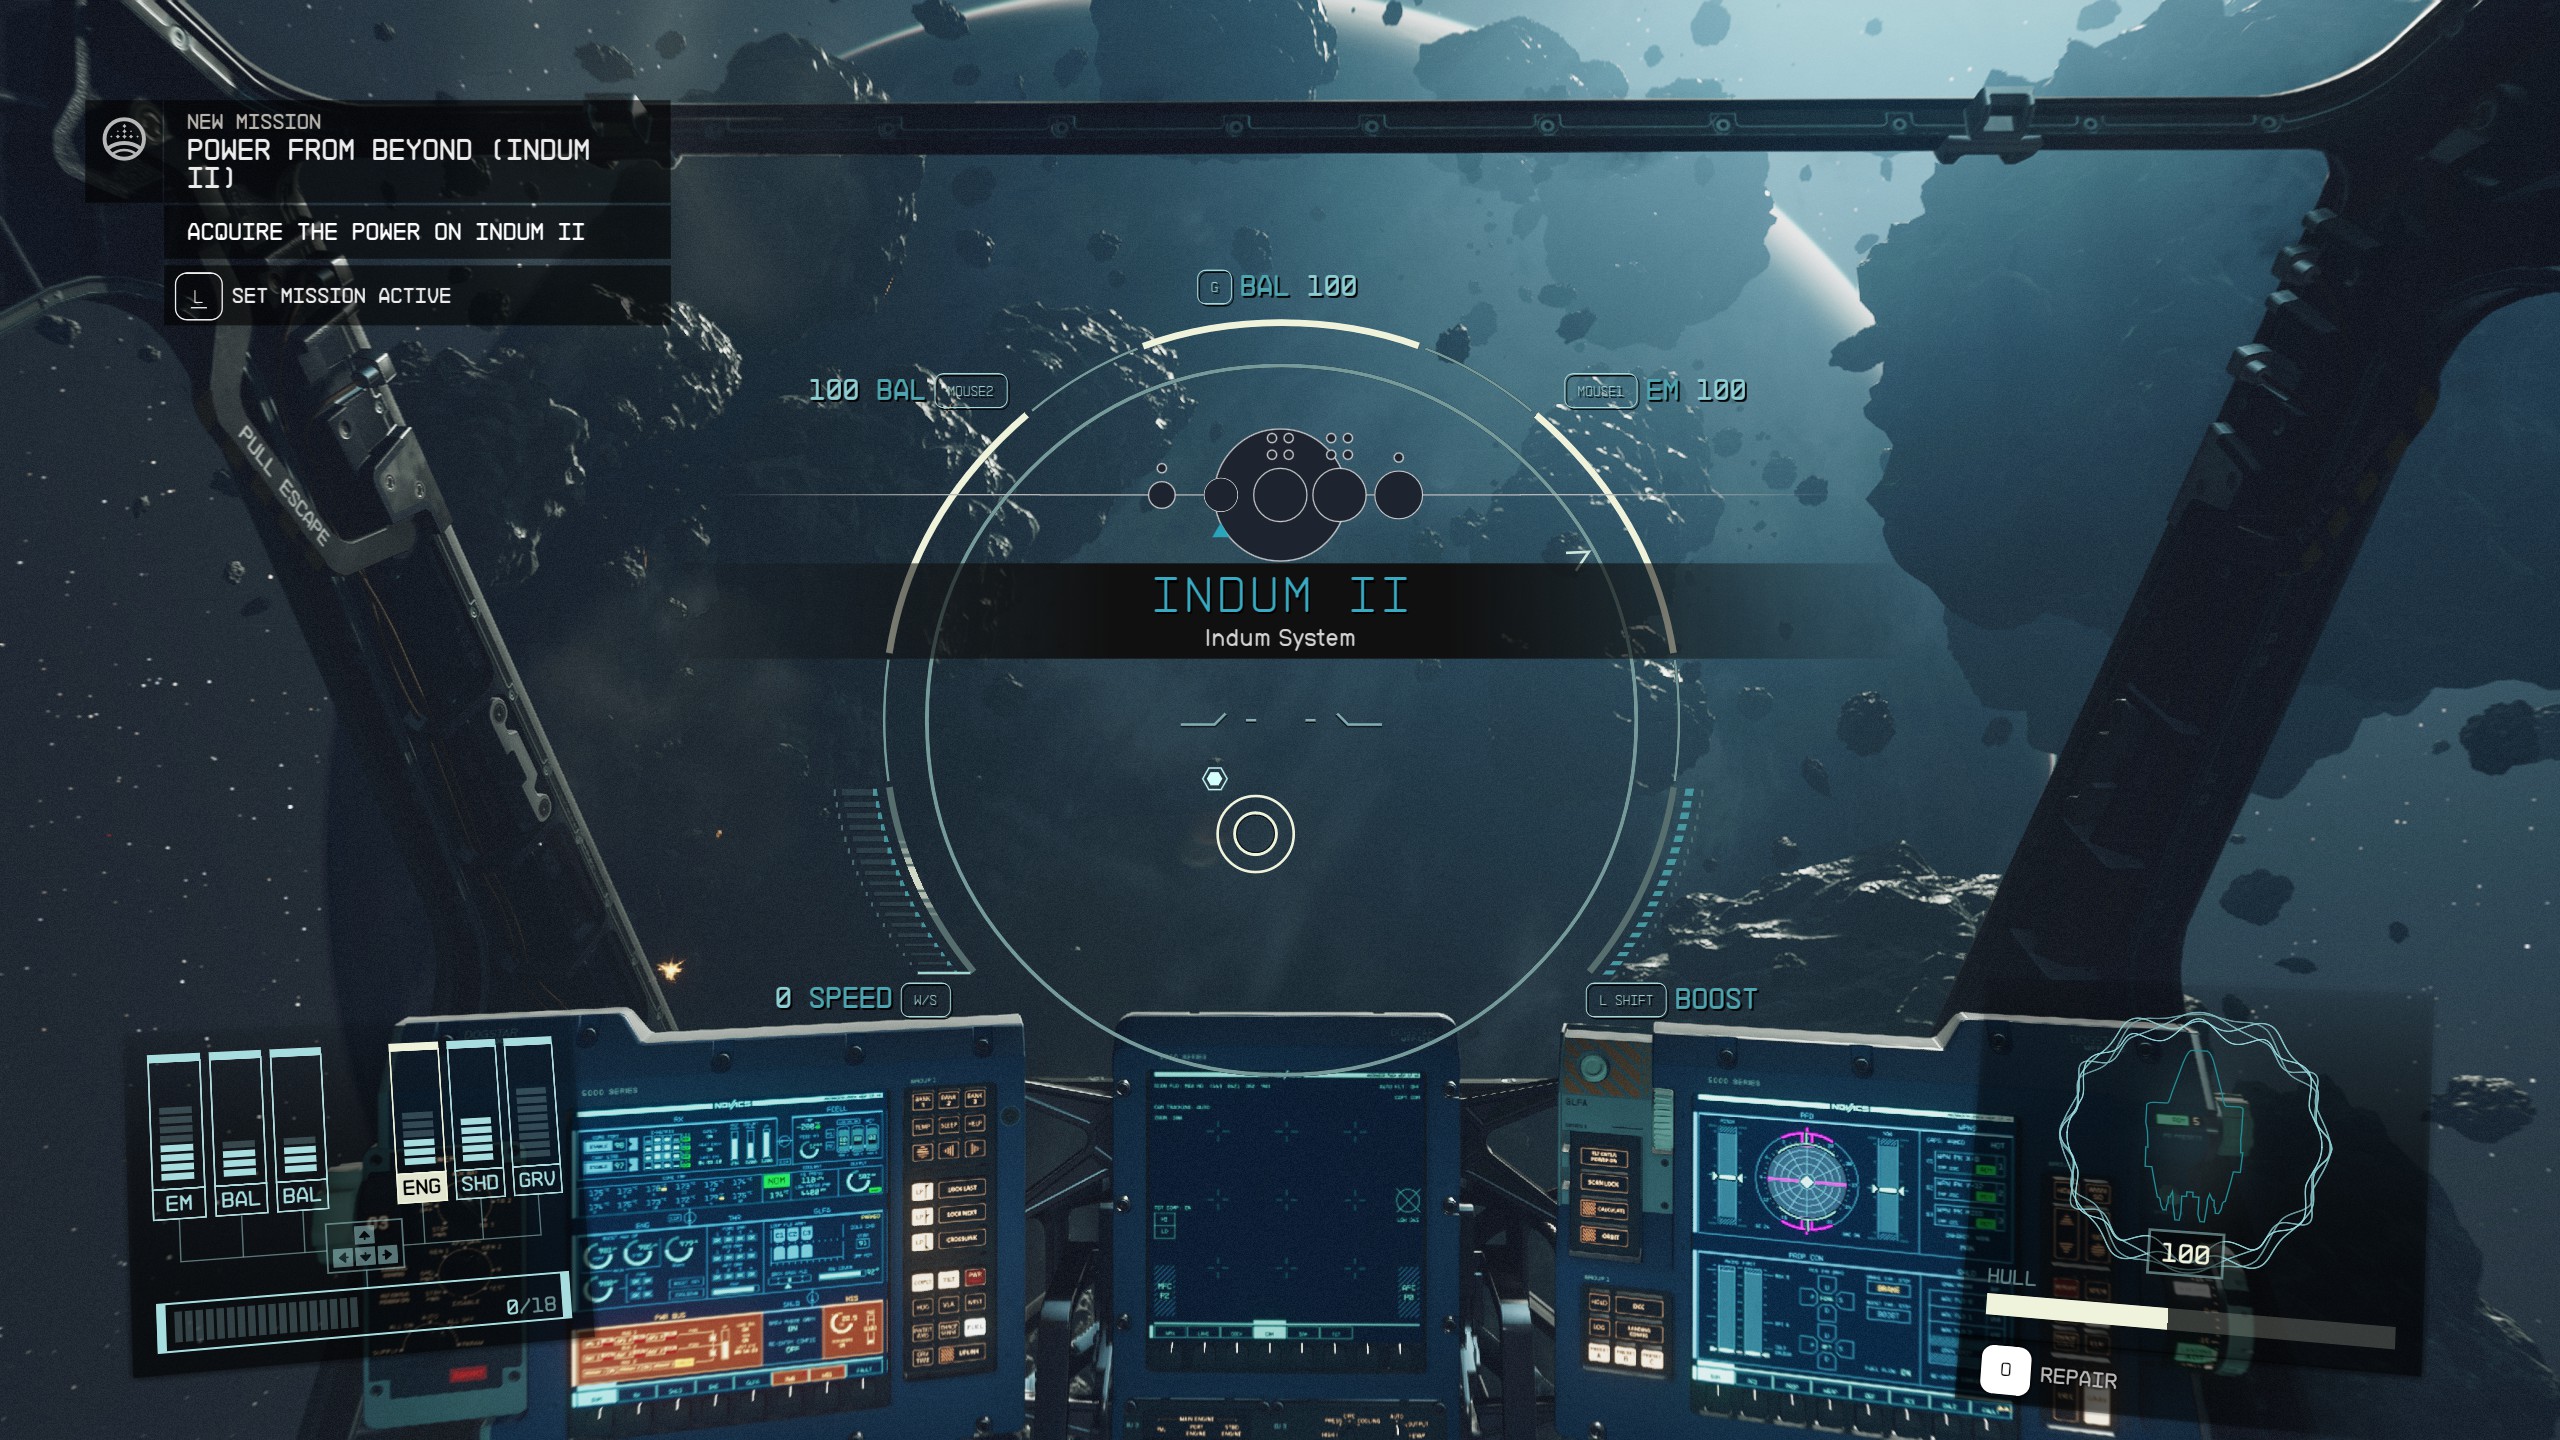
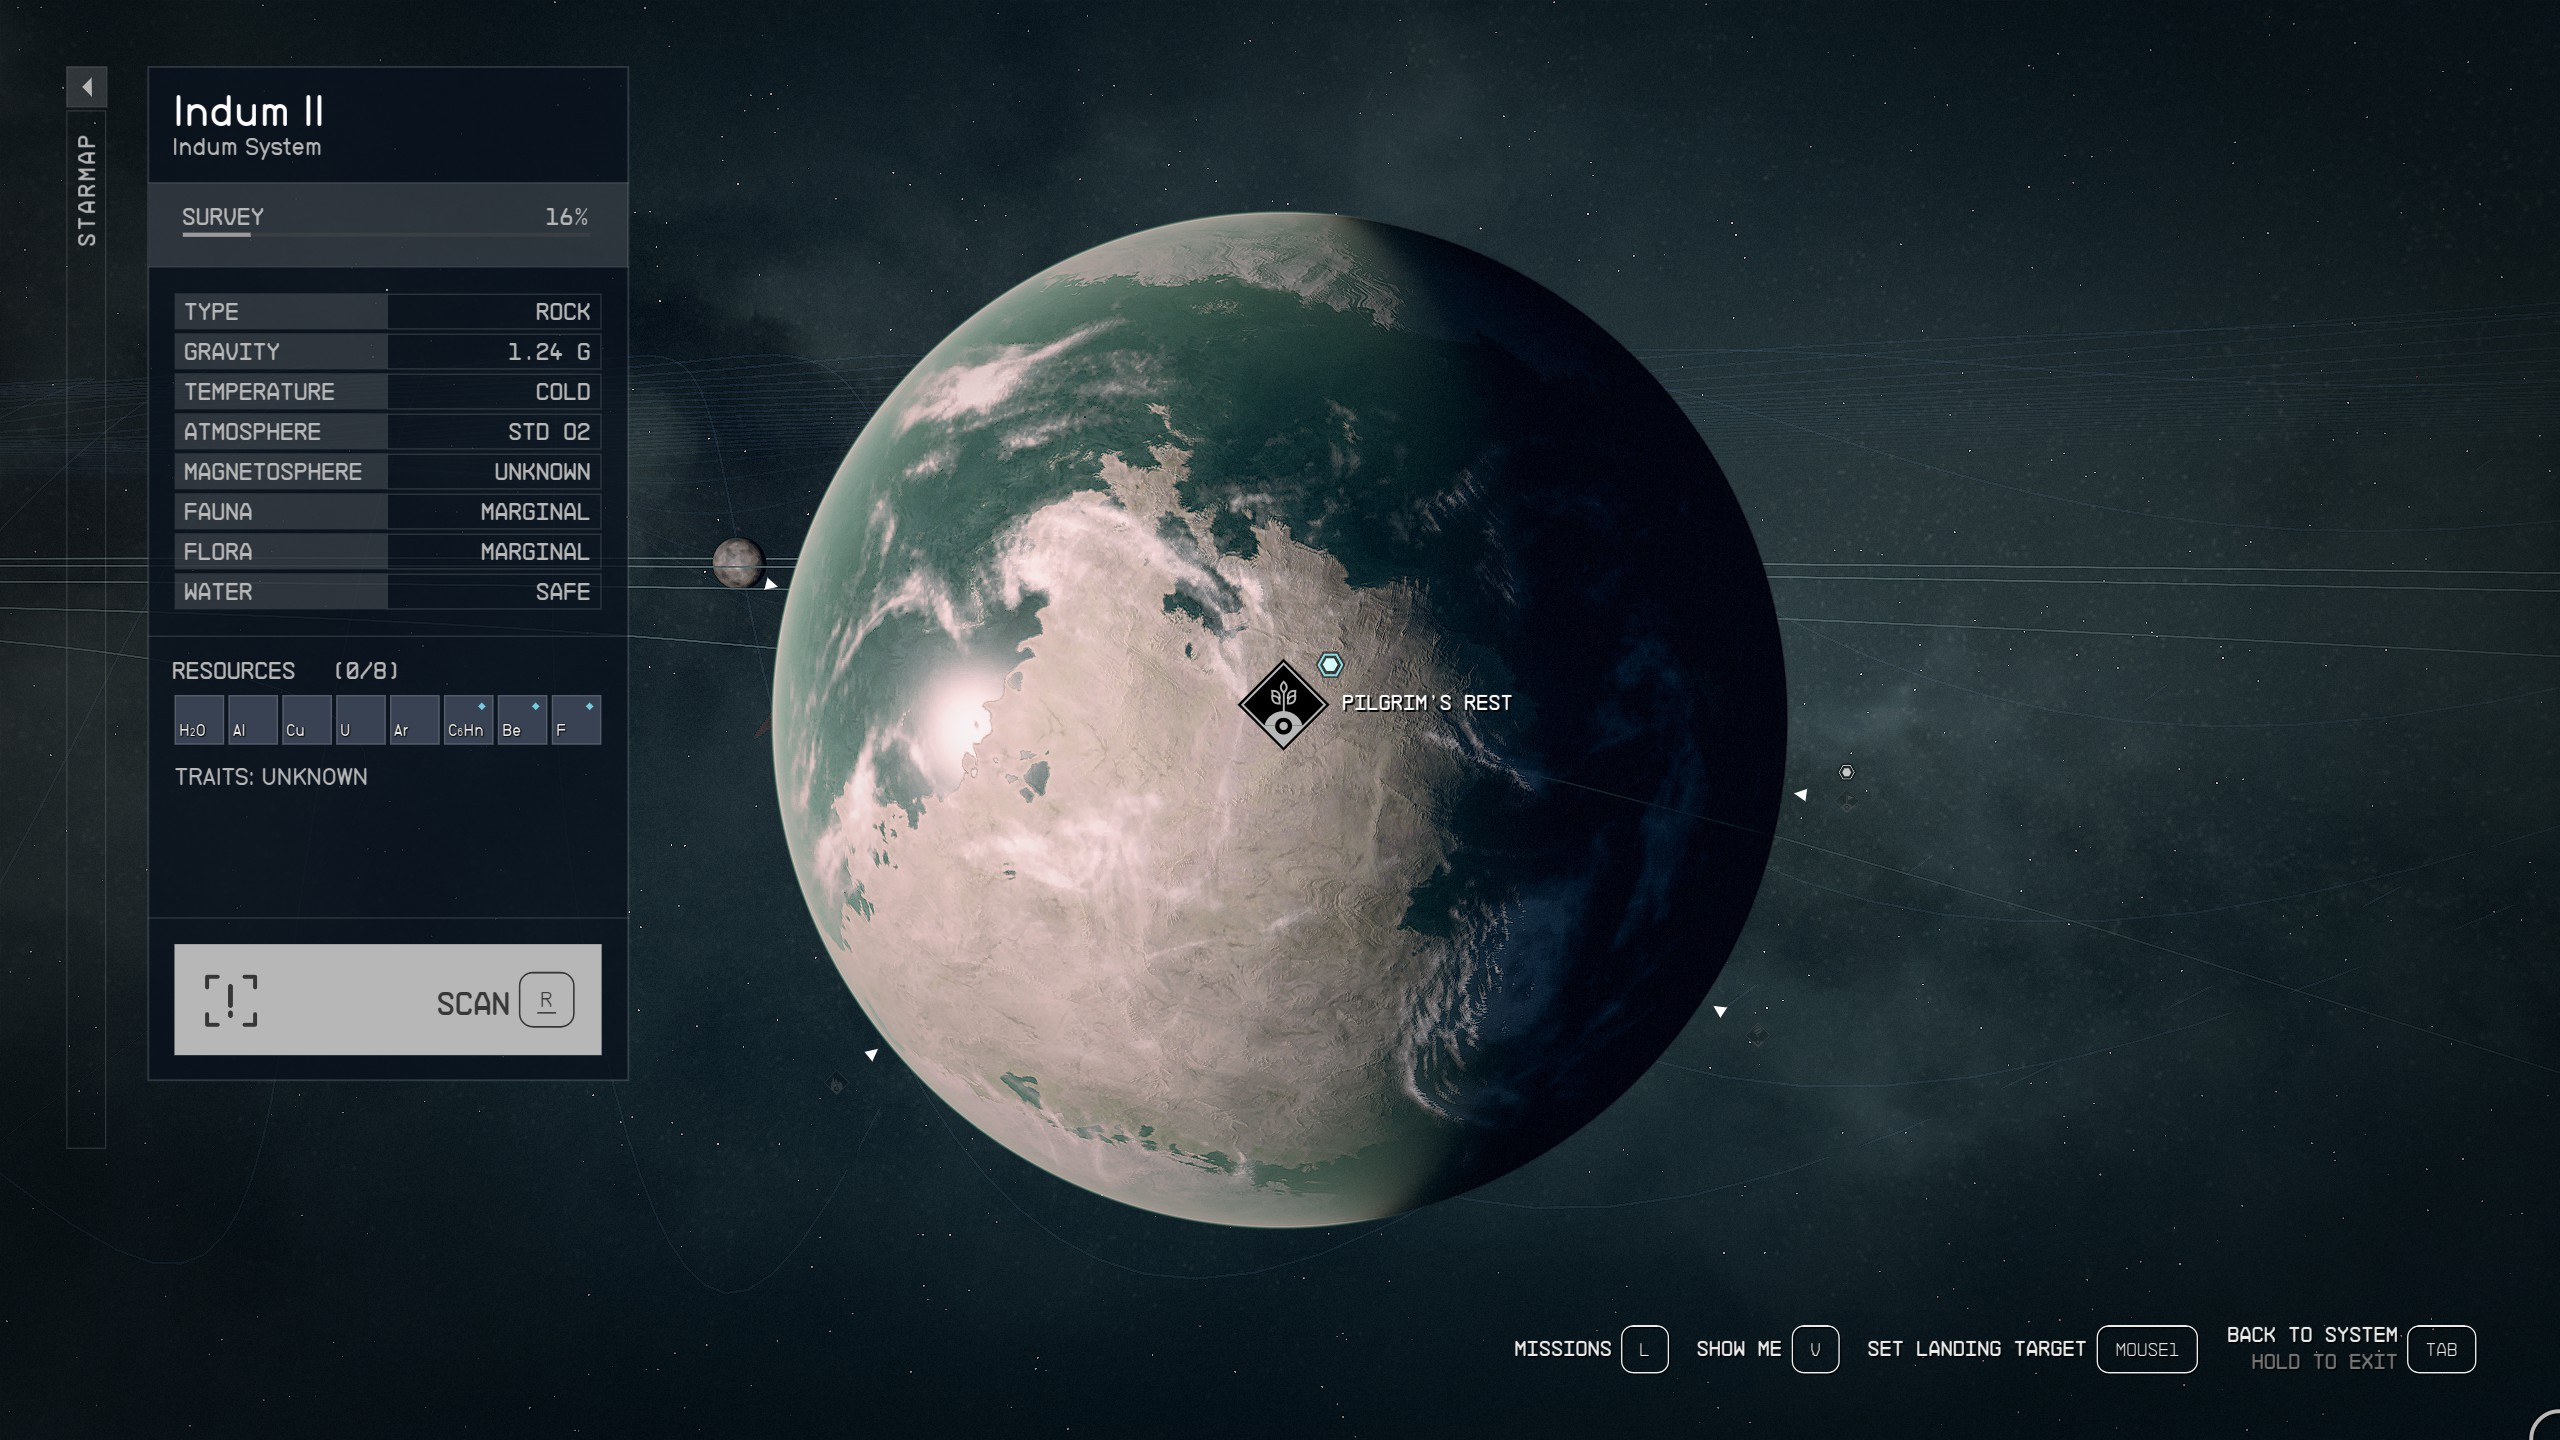
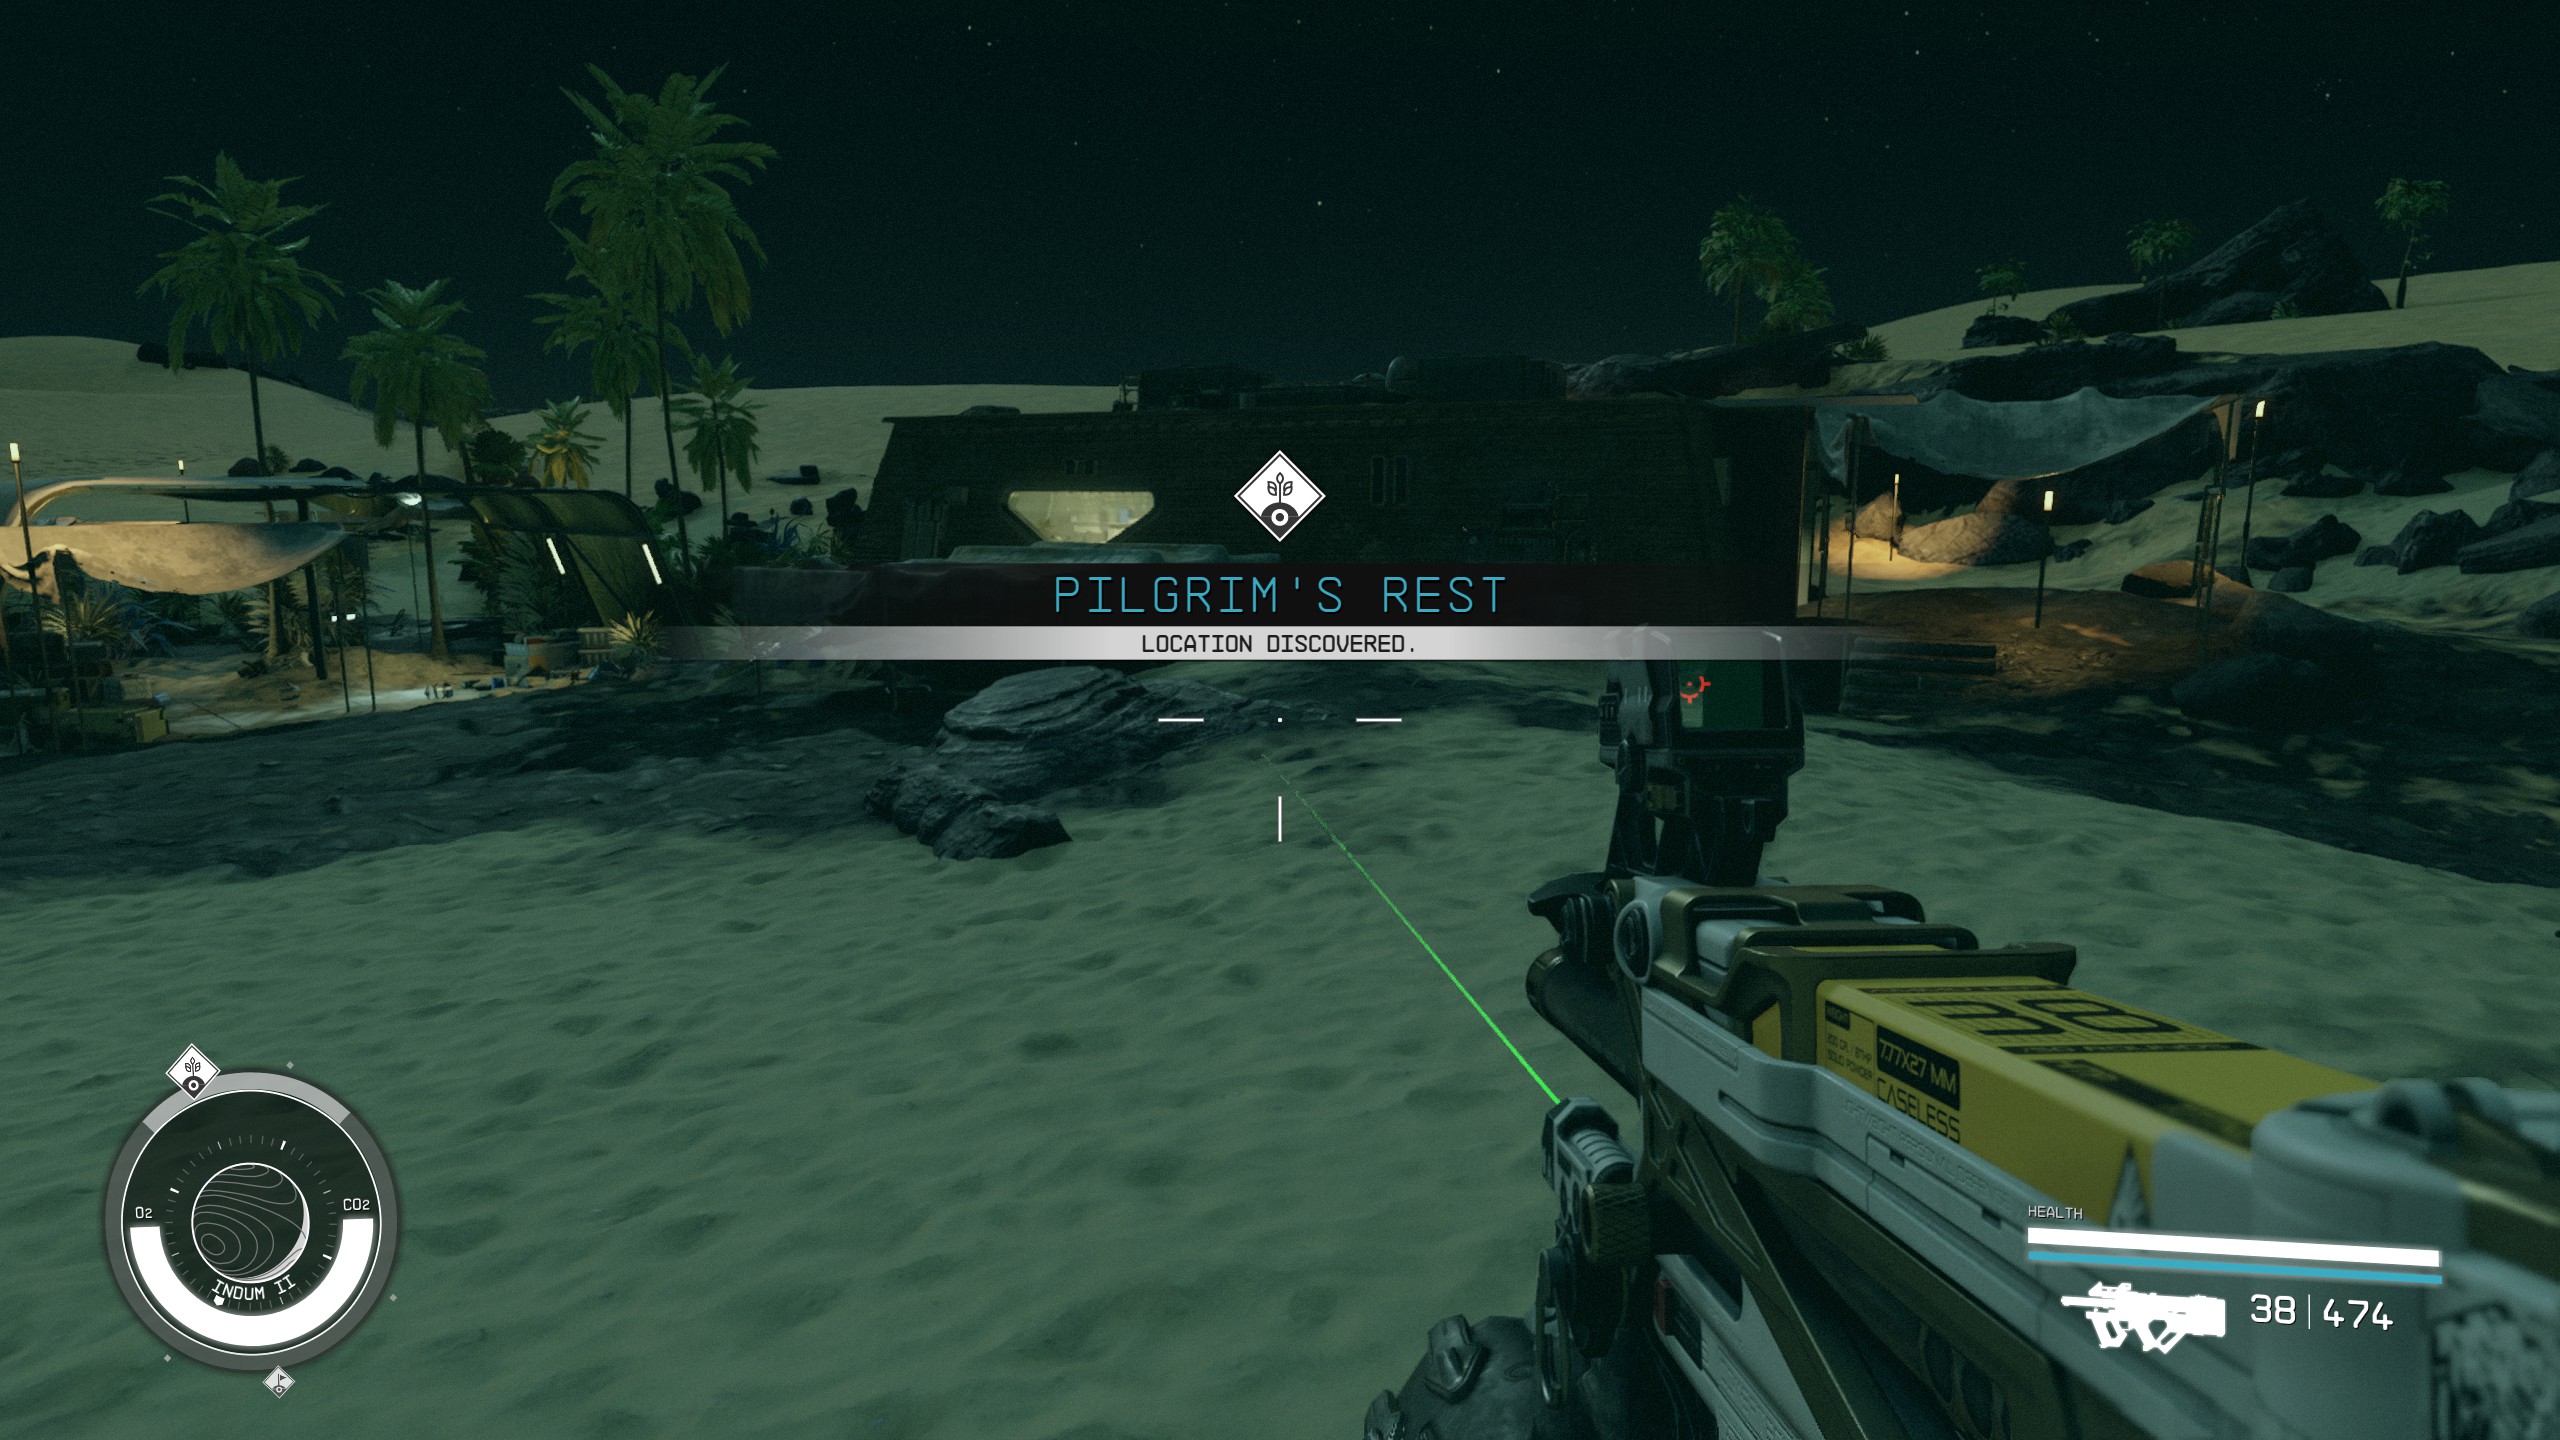
After gathering these diverse perspectives, return to Keeper Aquilus in the MAST District. Share your experiences, and he'll direct you to the planet Indum II in the Indum system. A landing zone named Pilgrim’s Rest will be marked on your map. Proceed there and disembark.
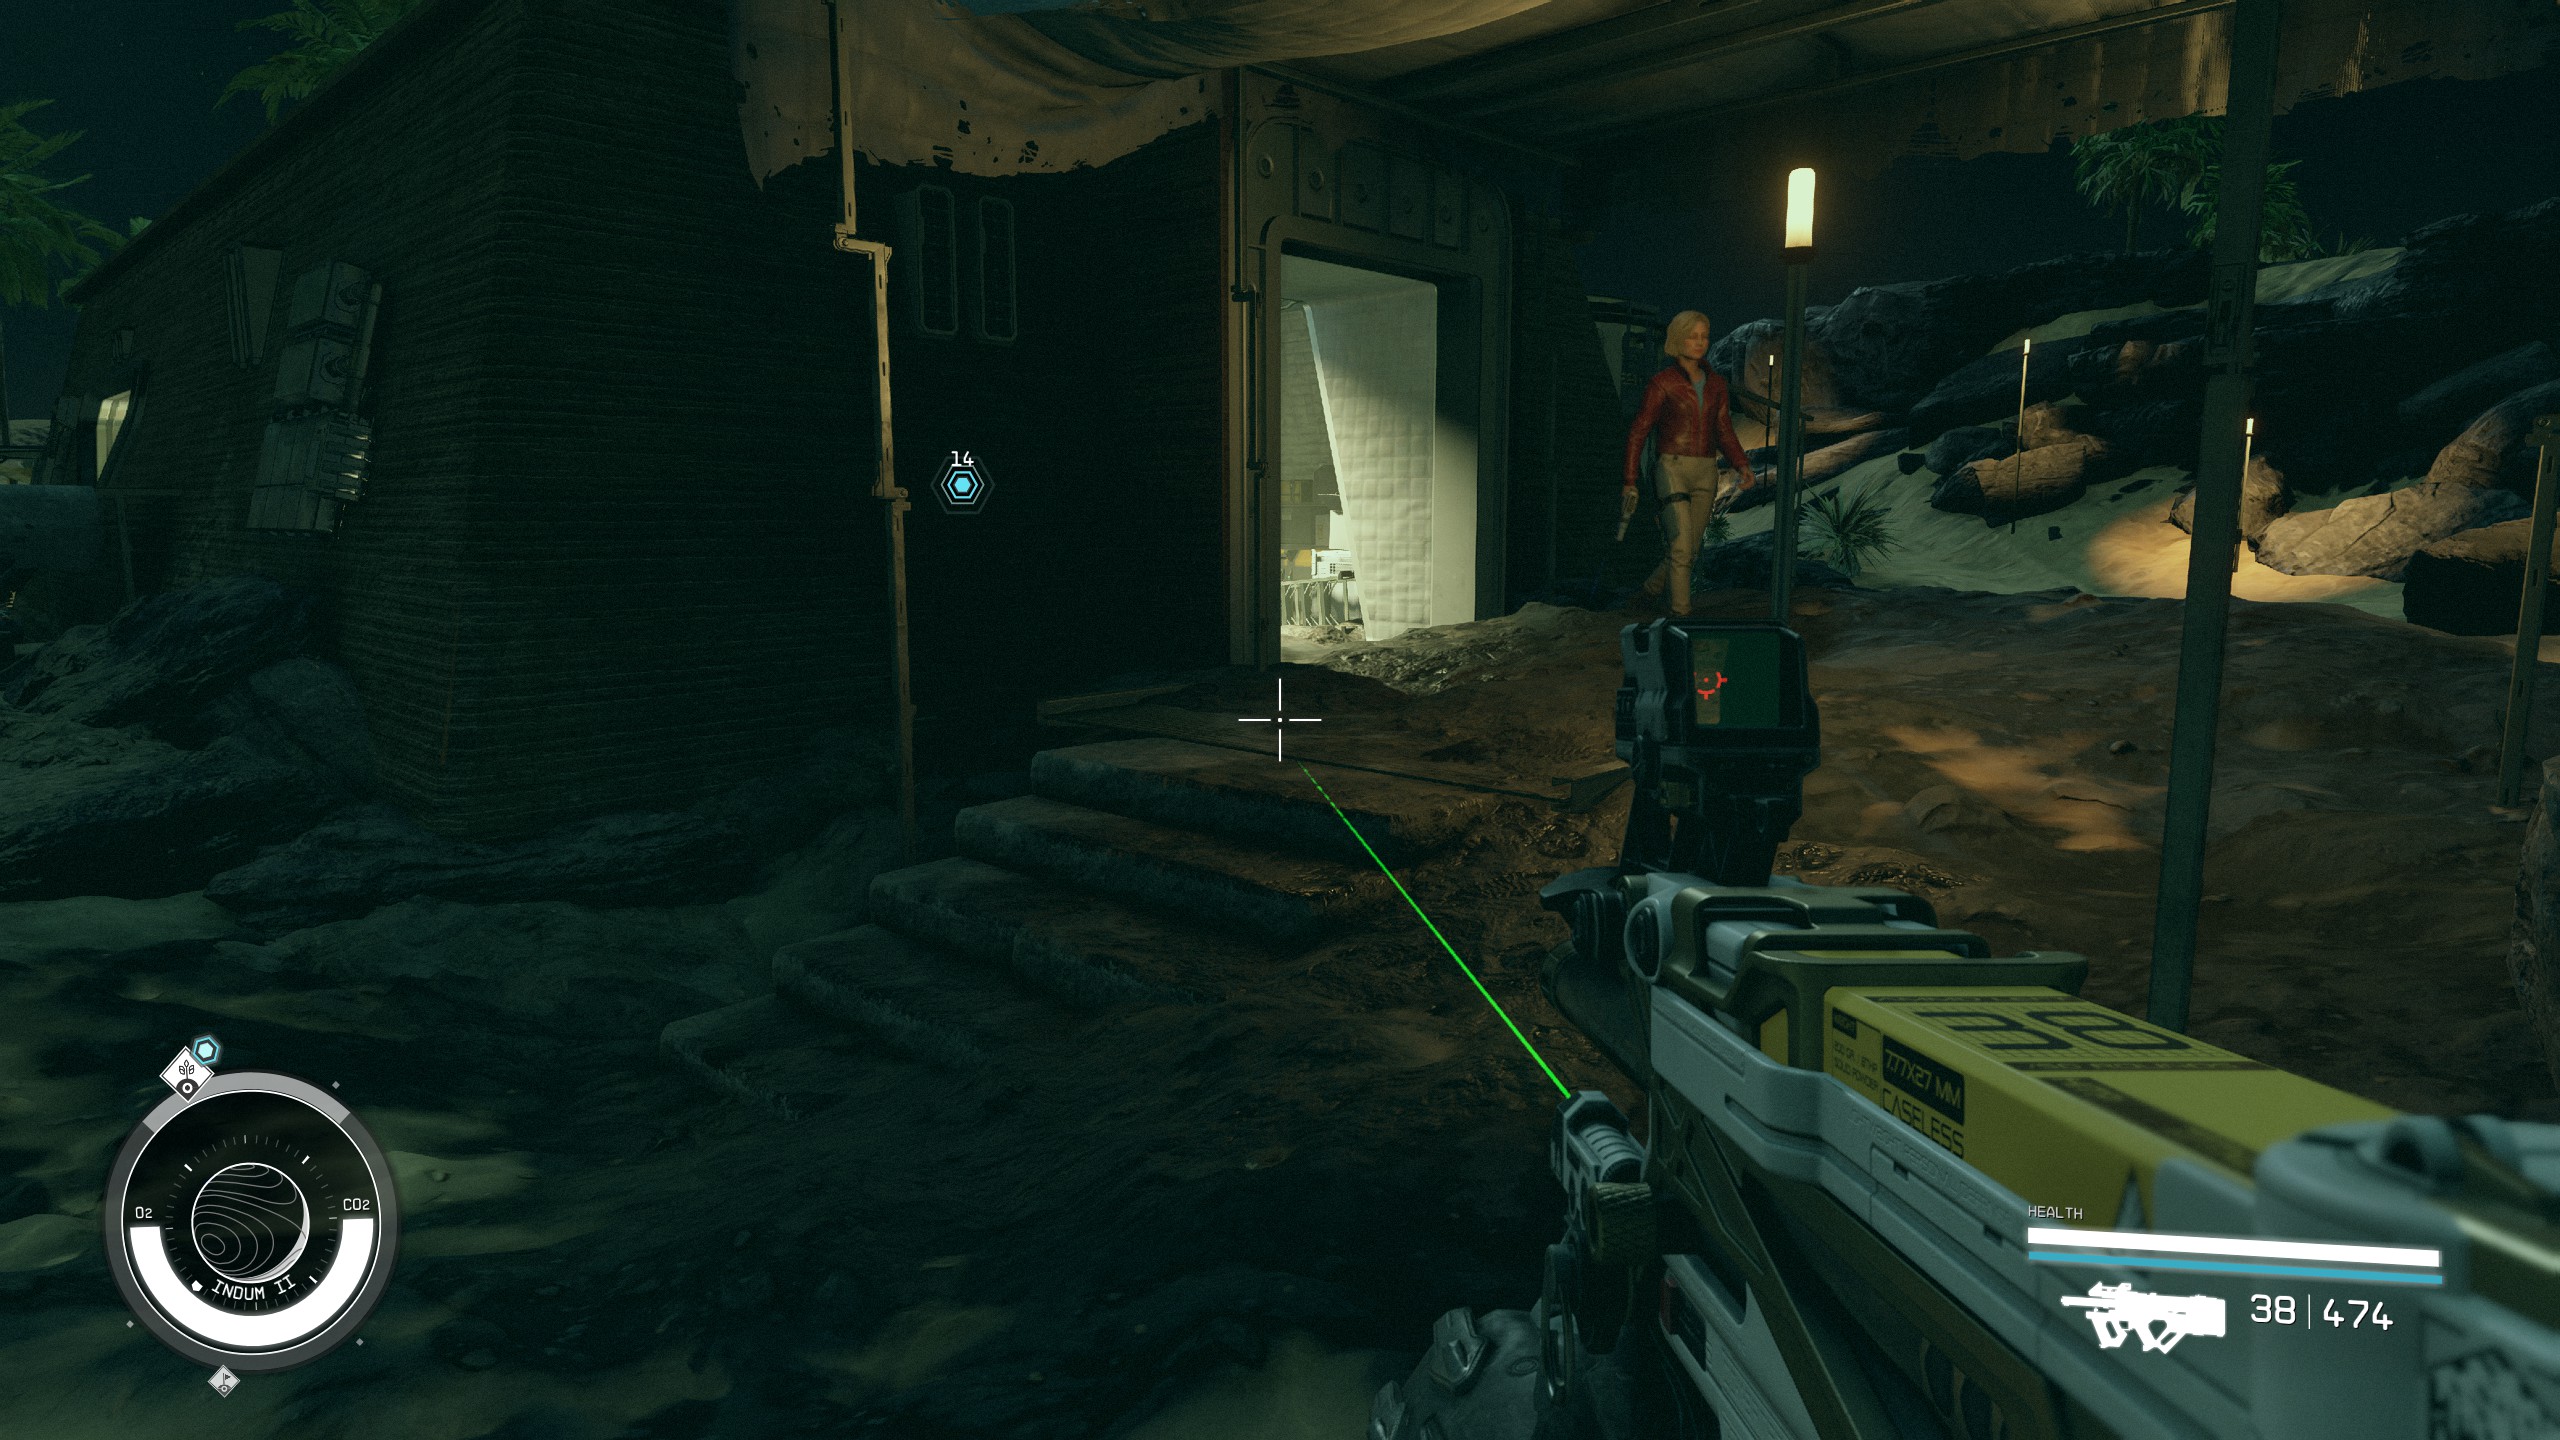
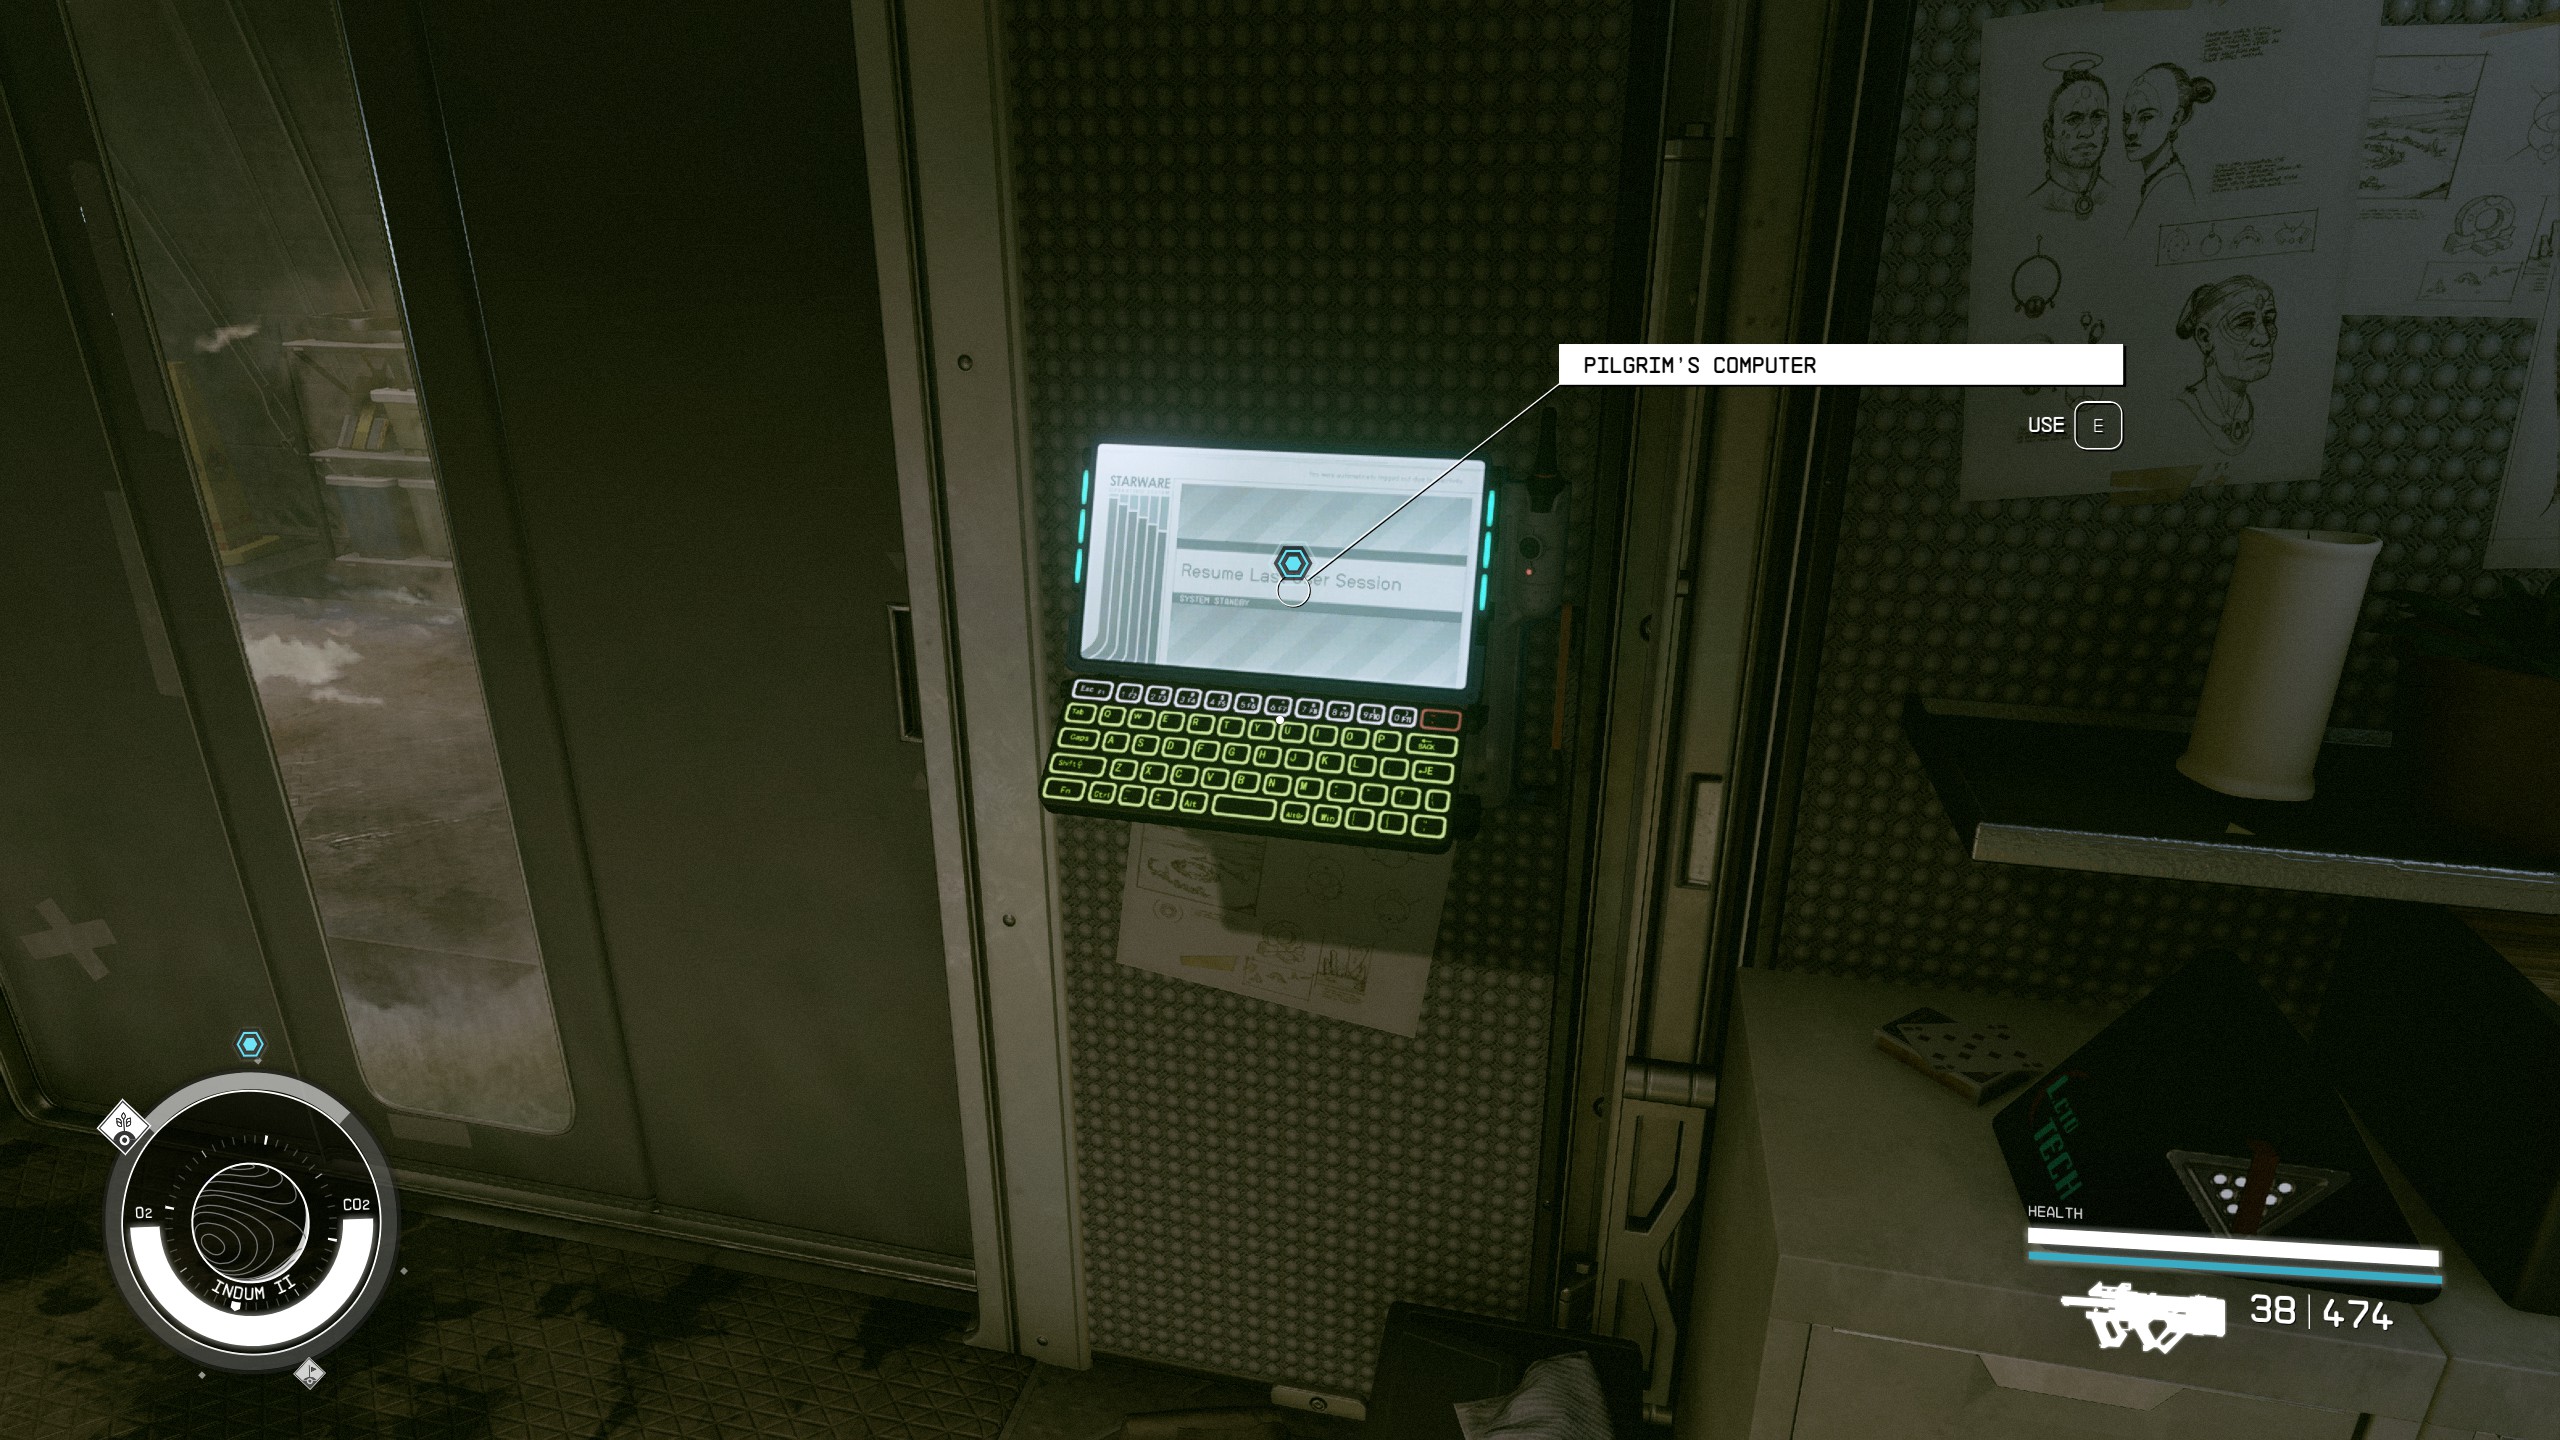
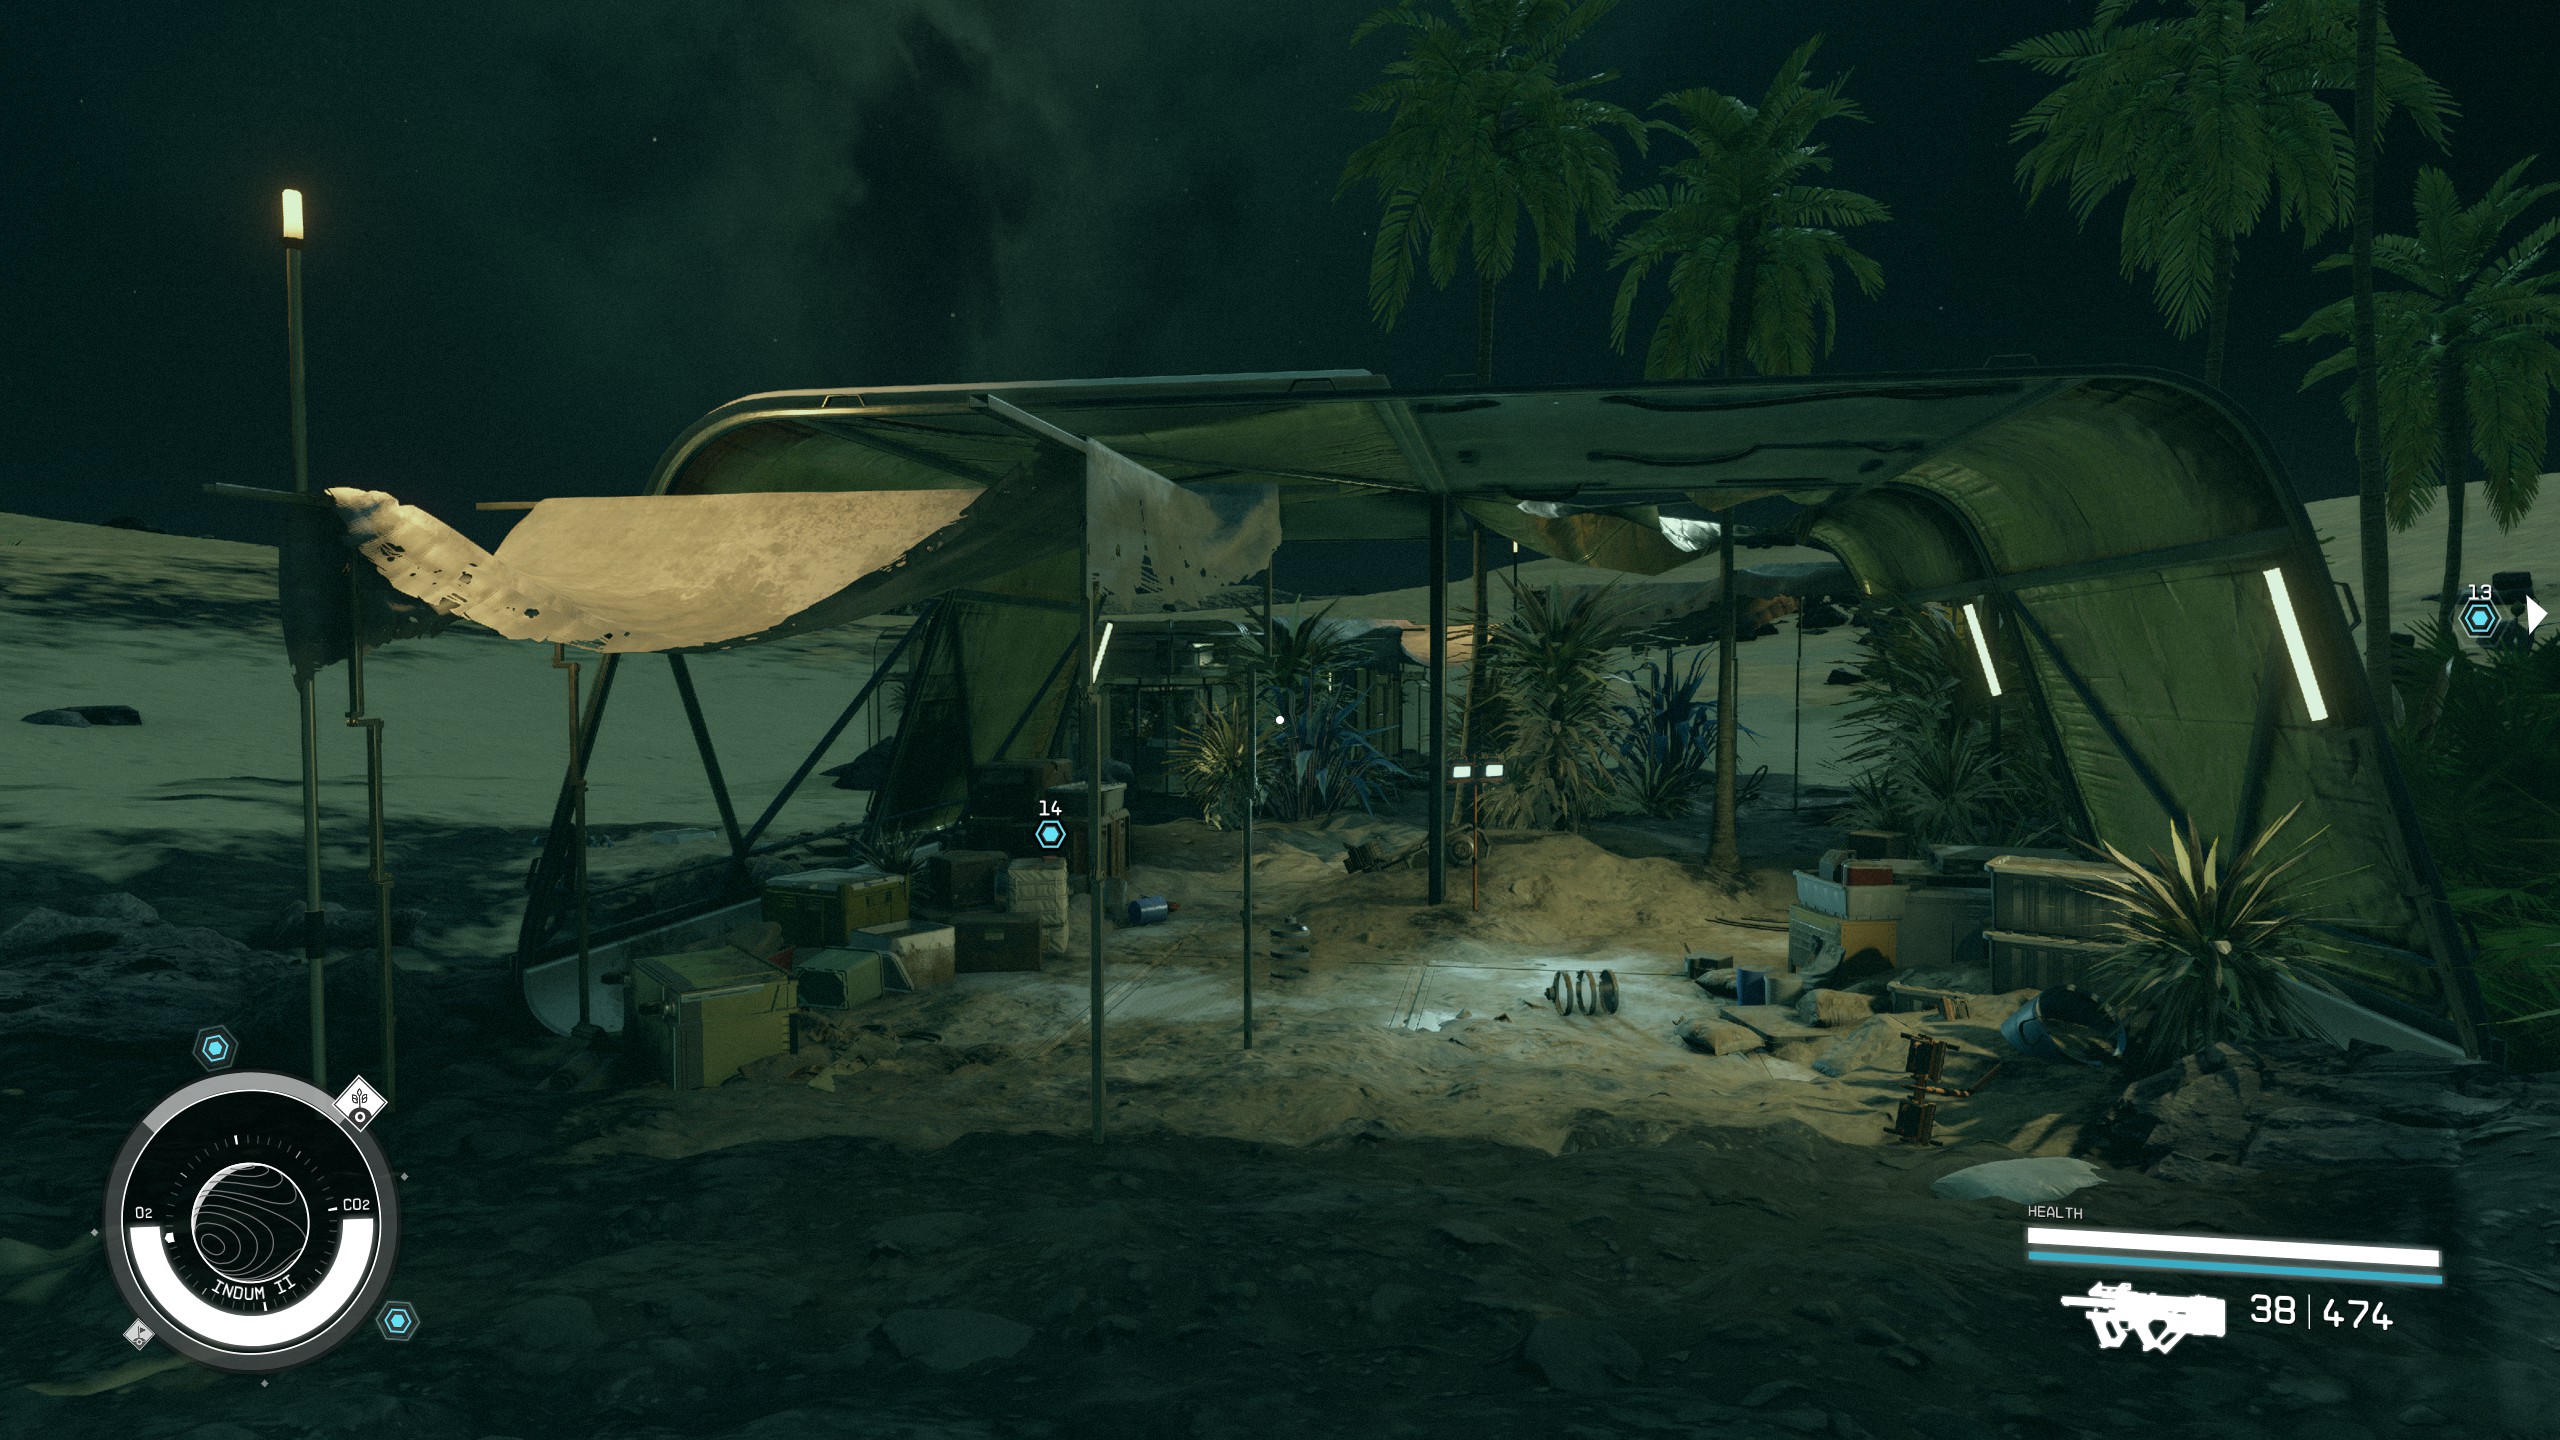
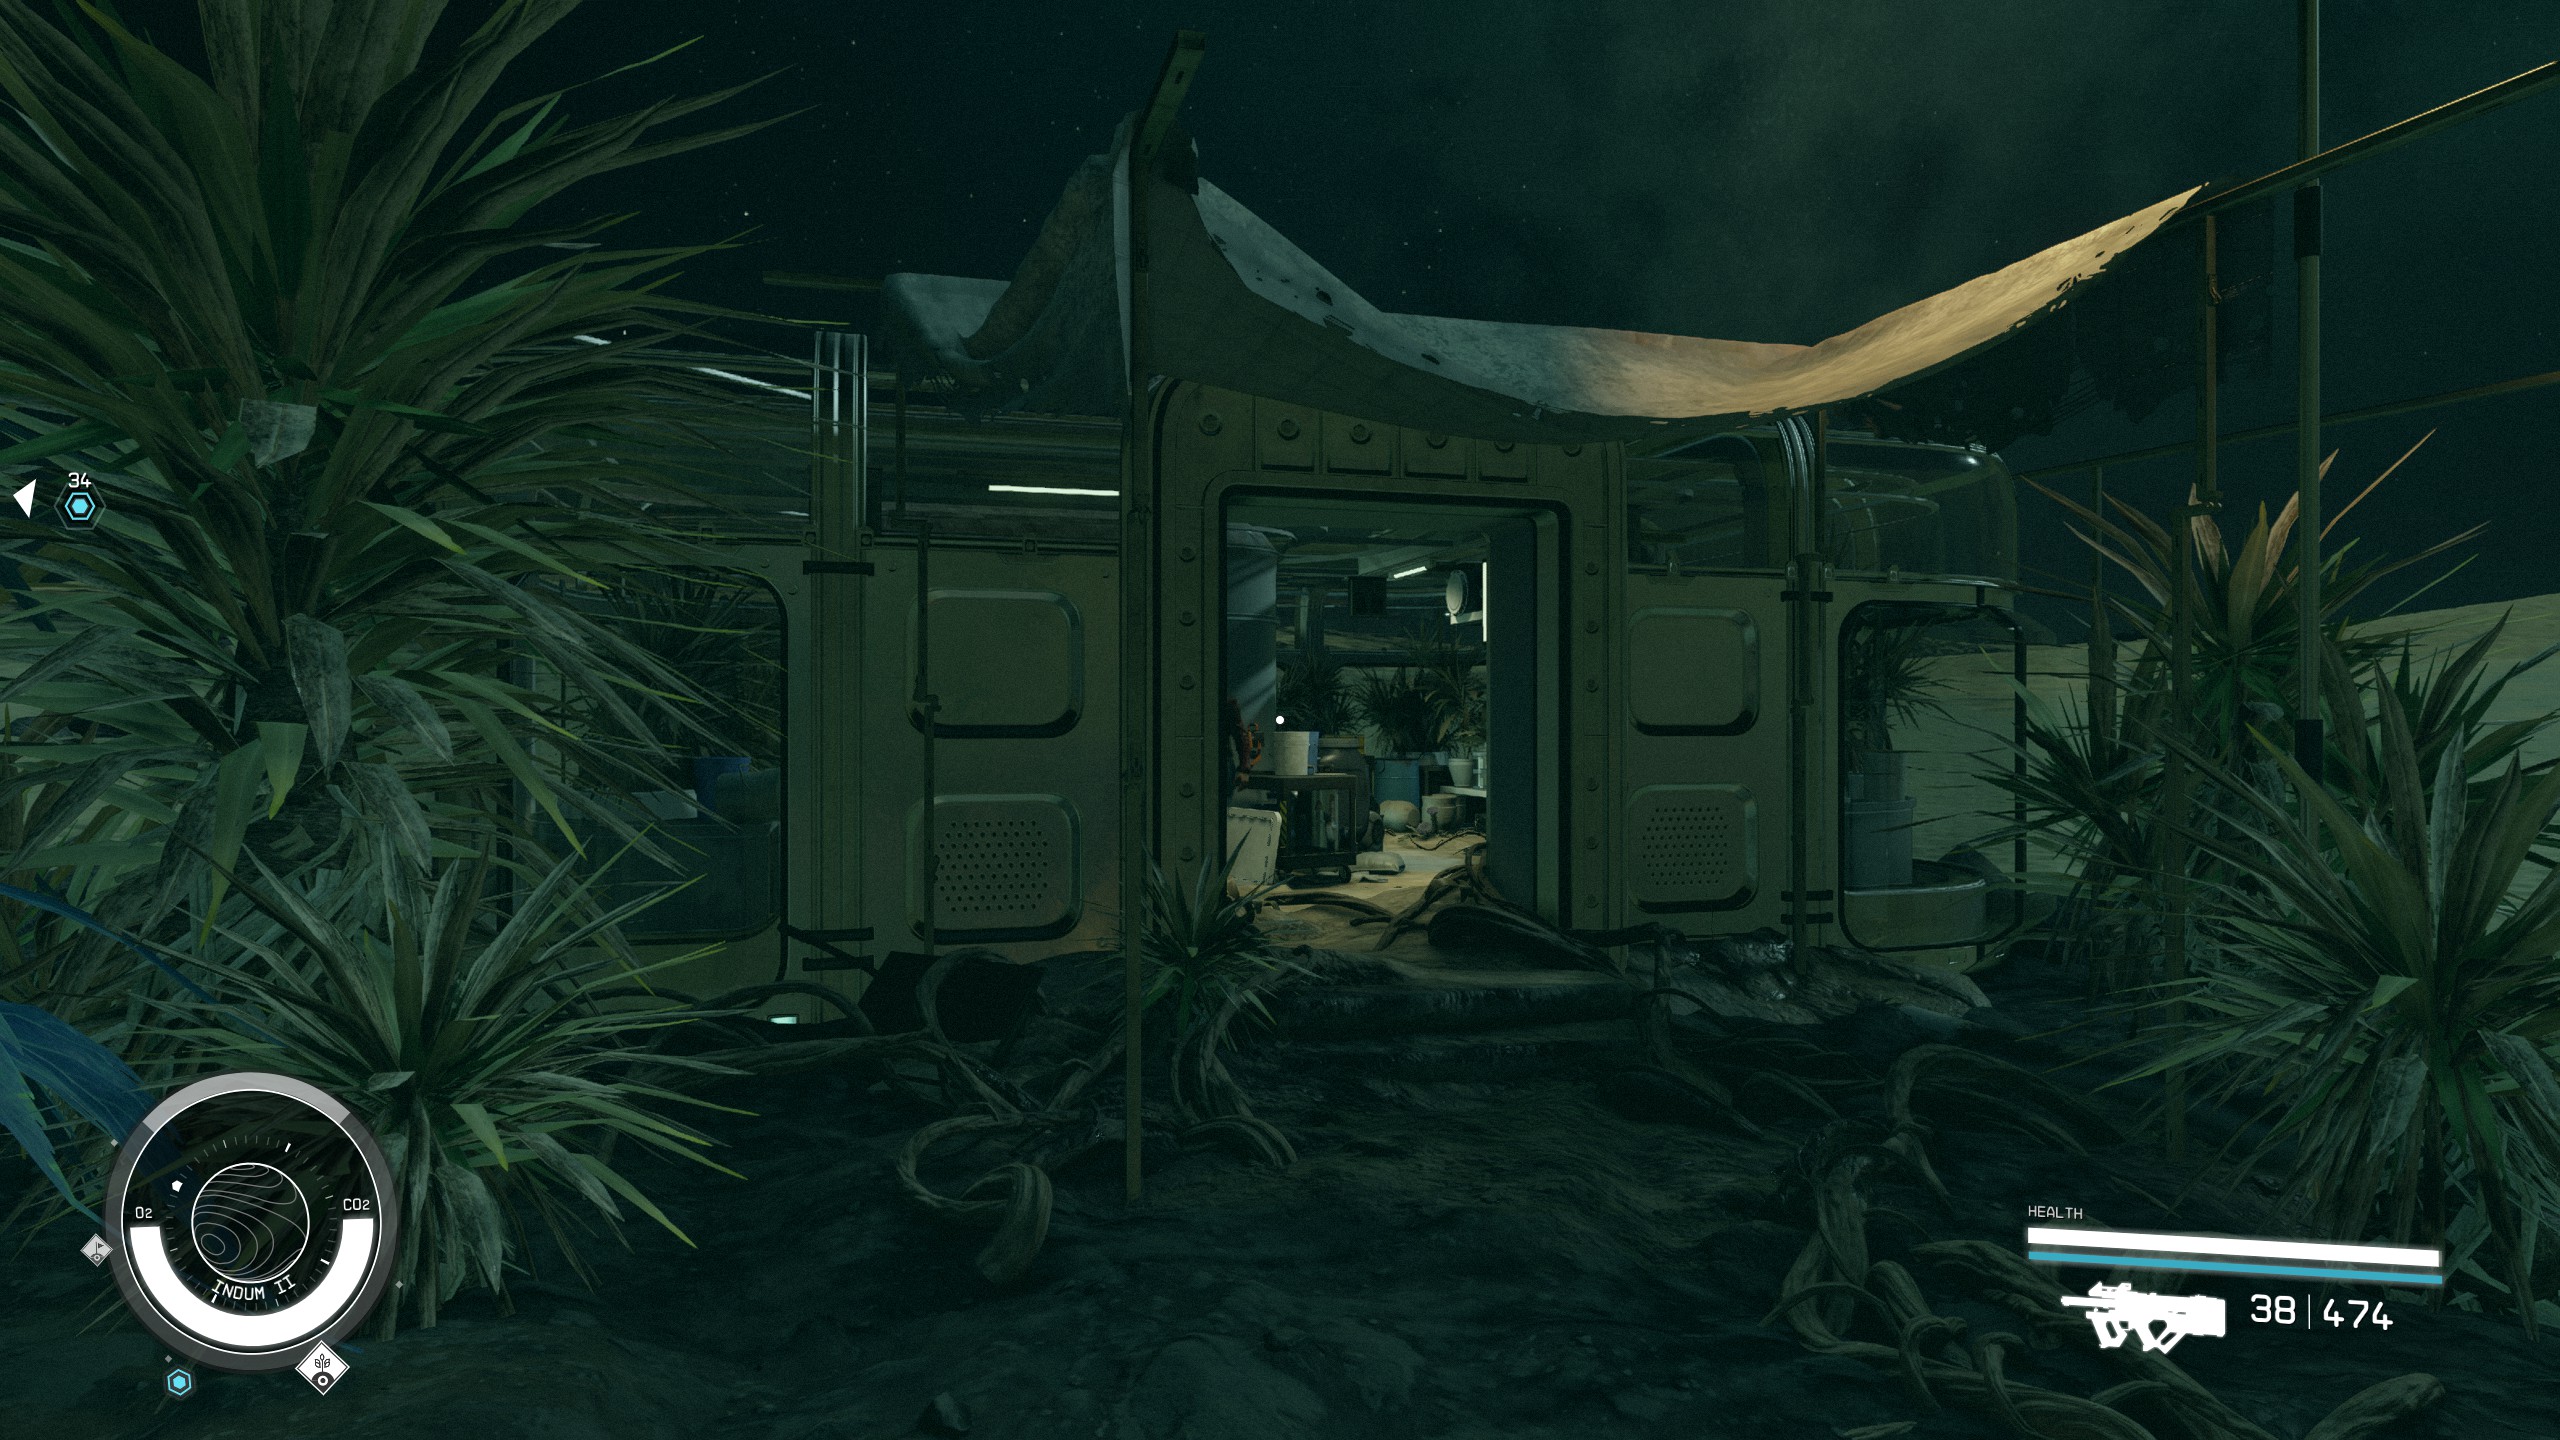
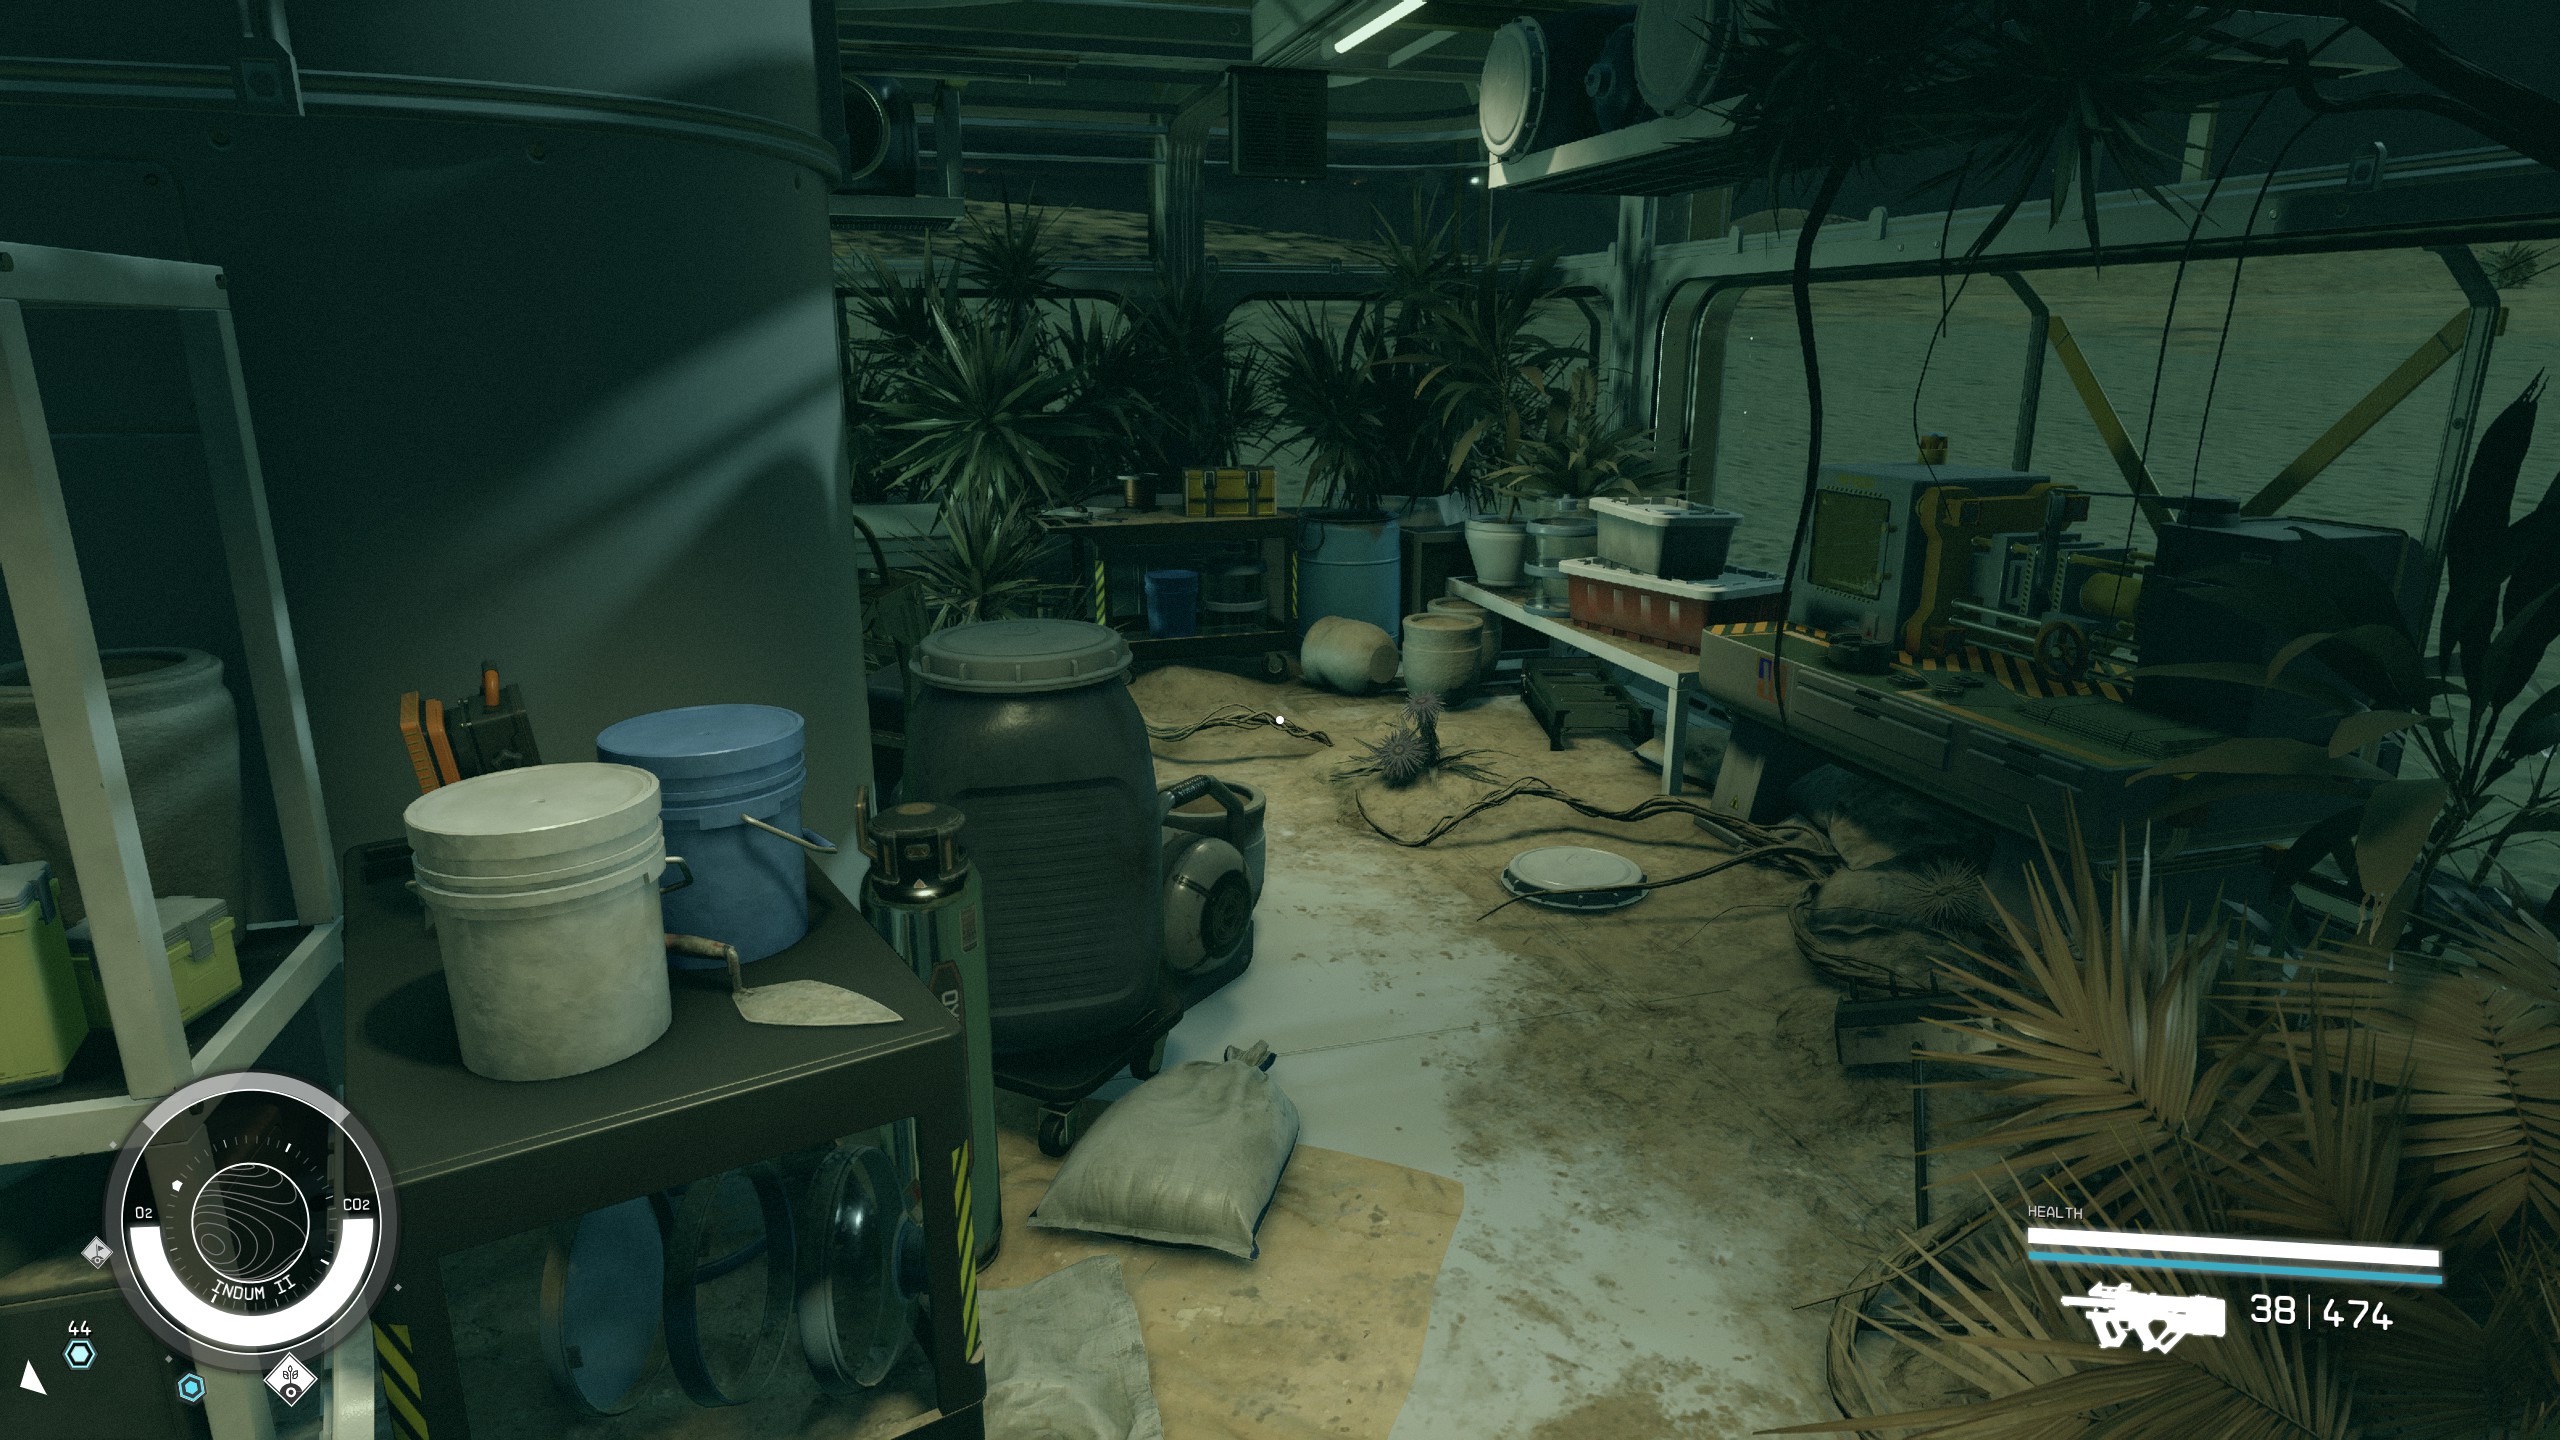
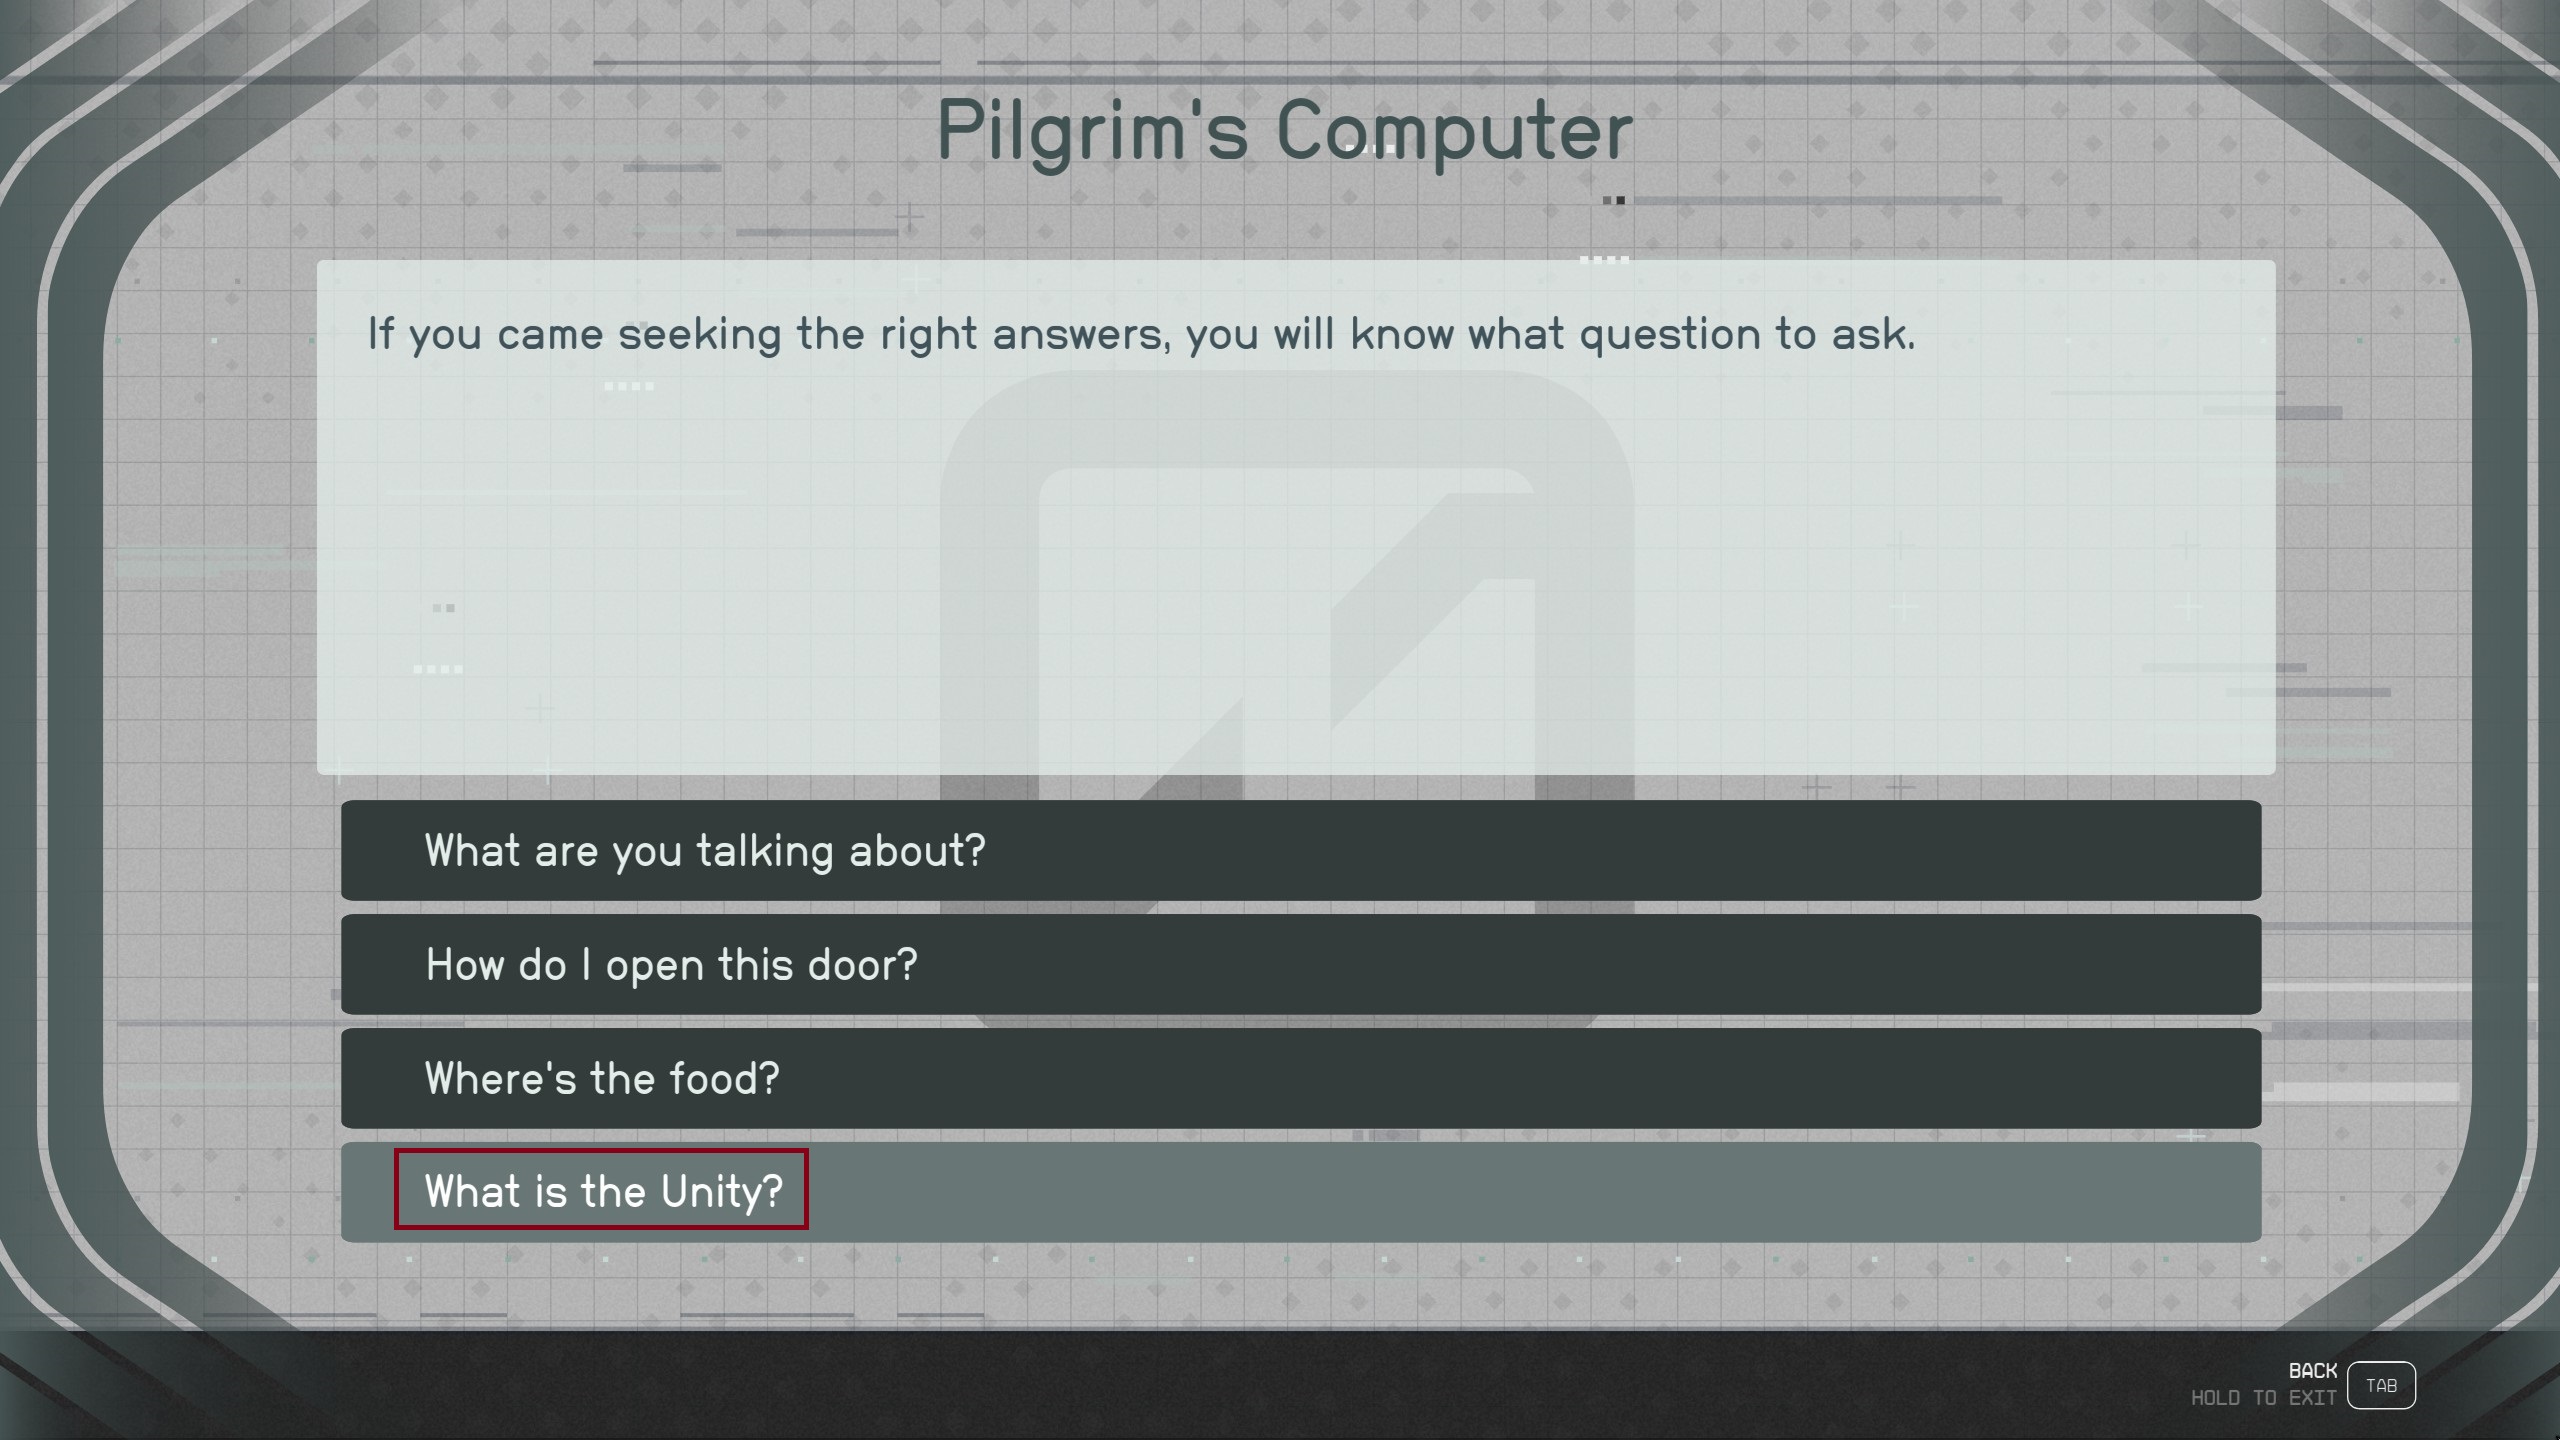
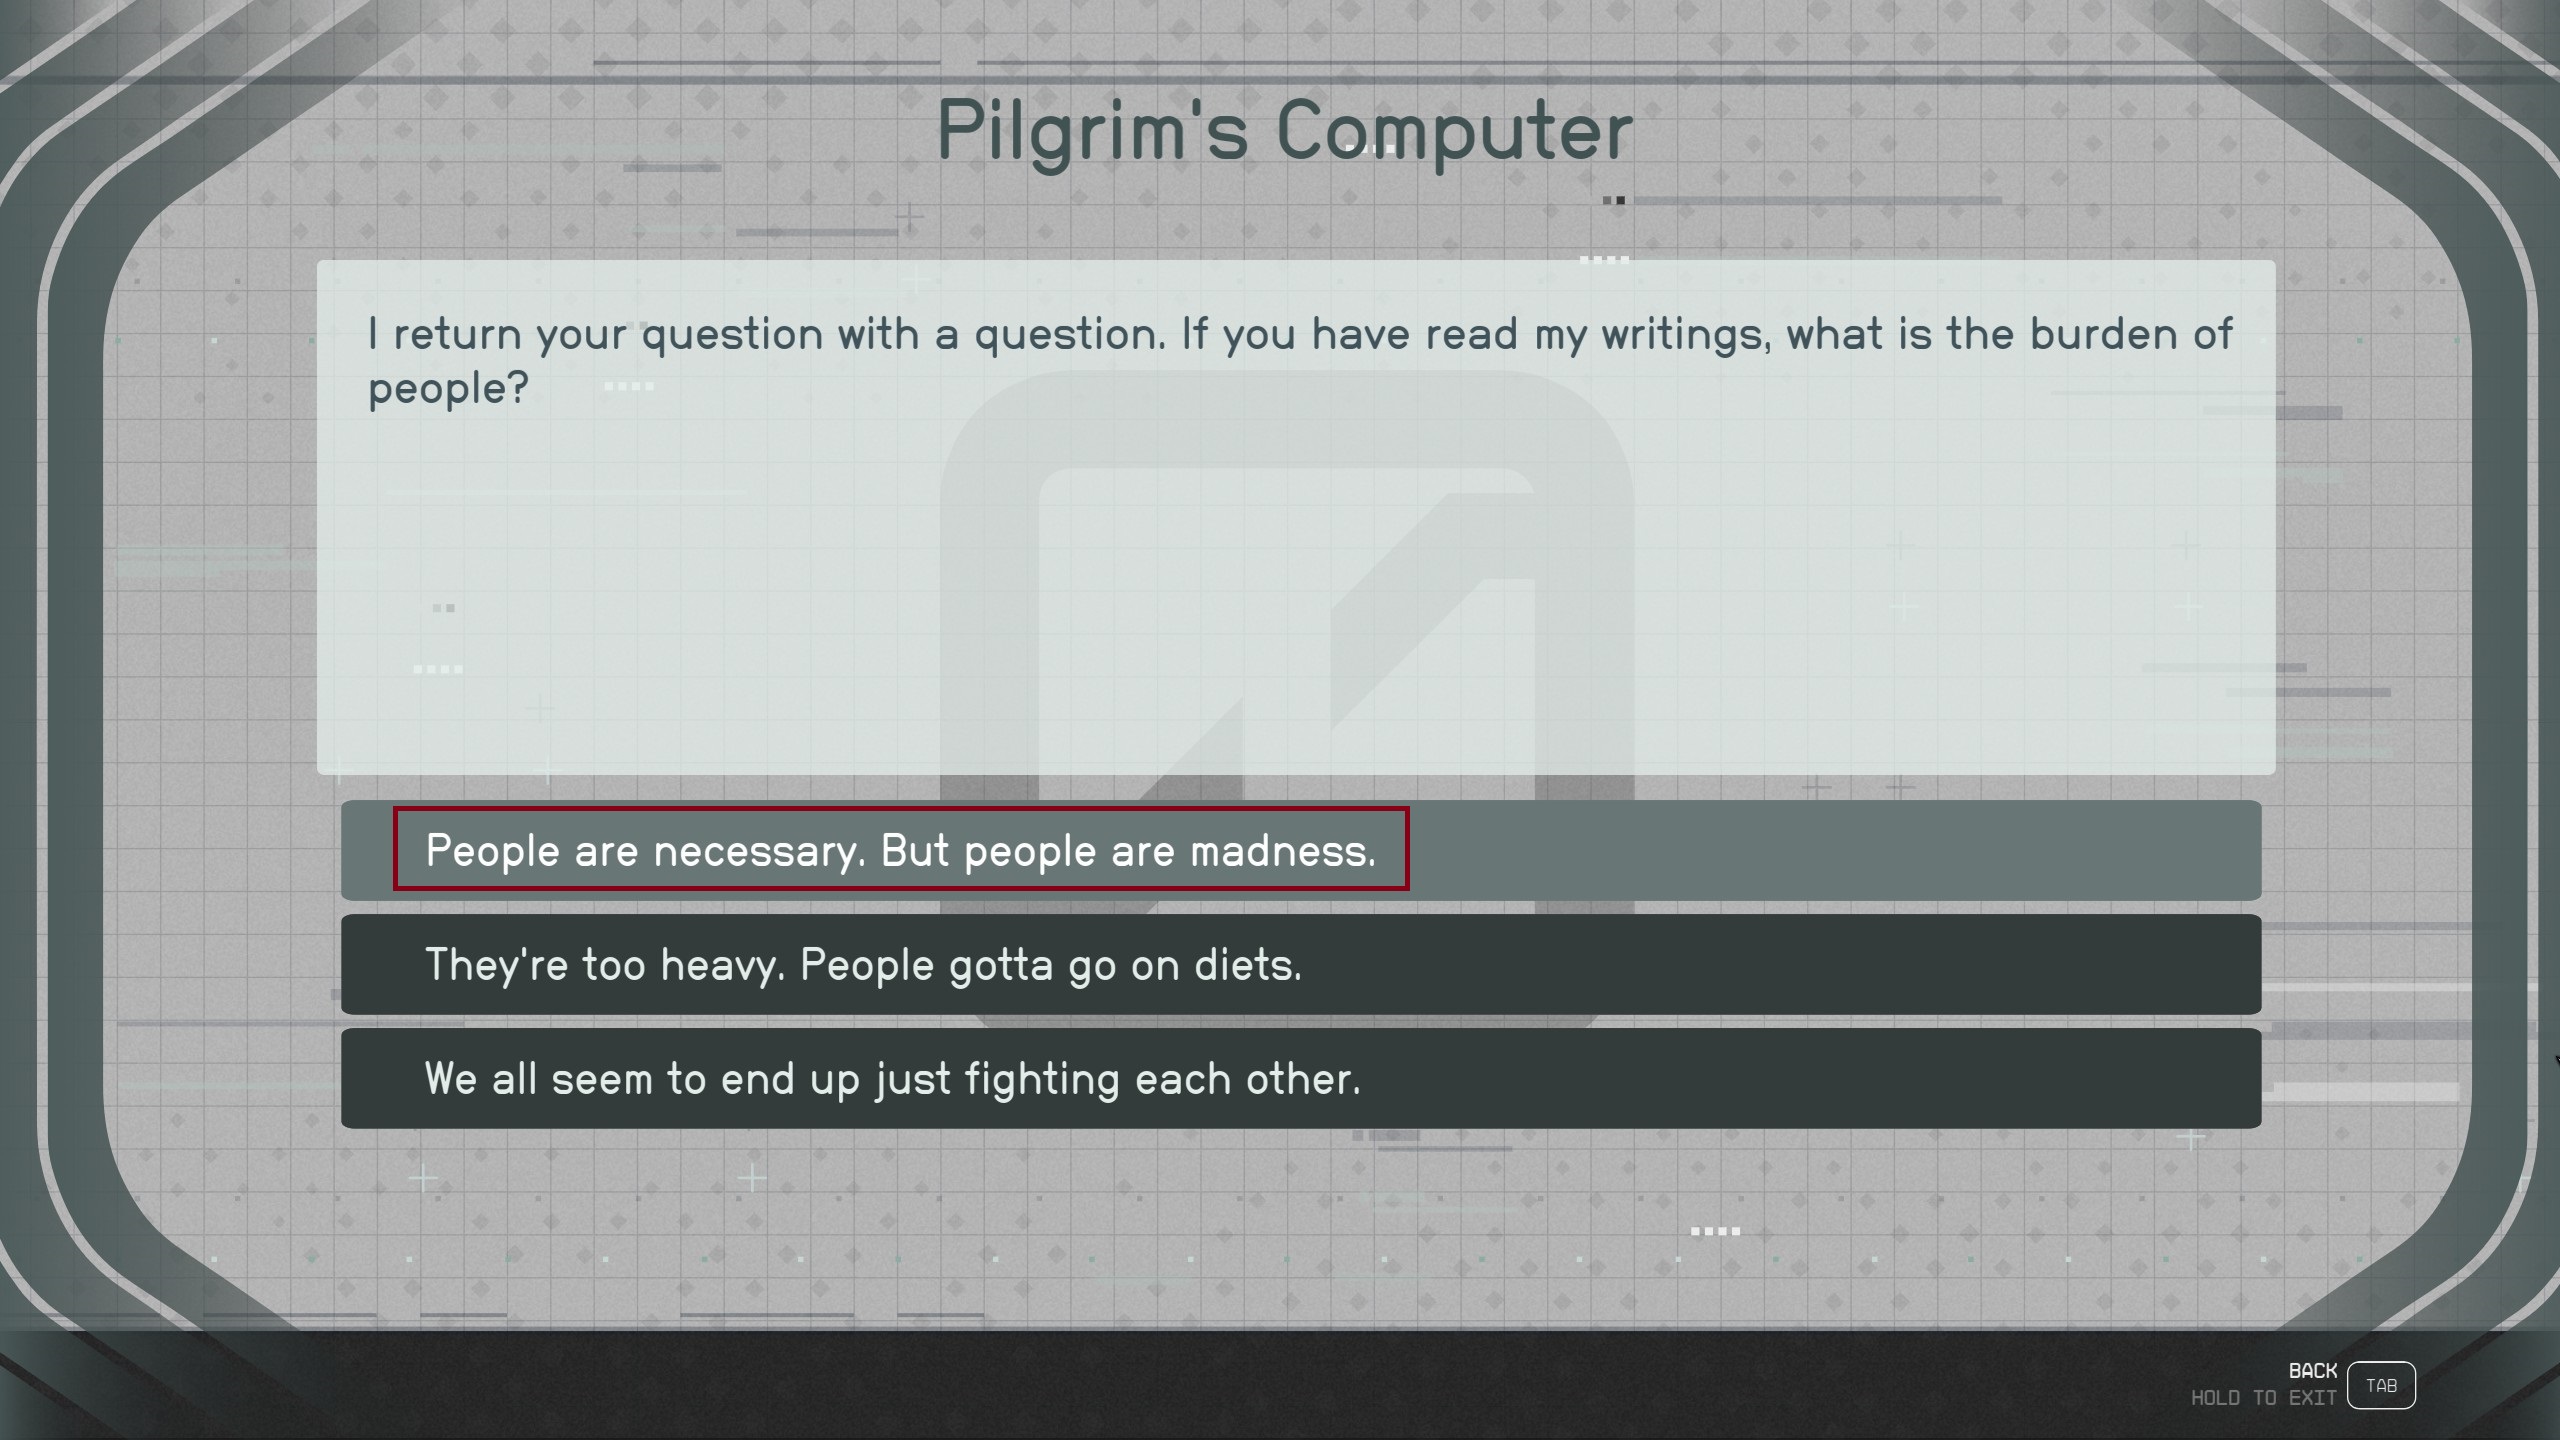
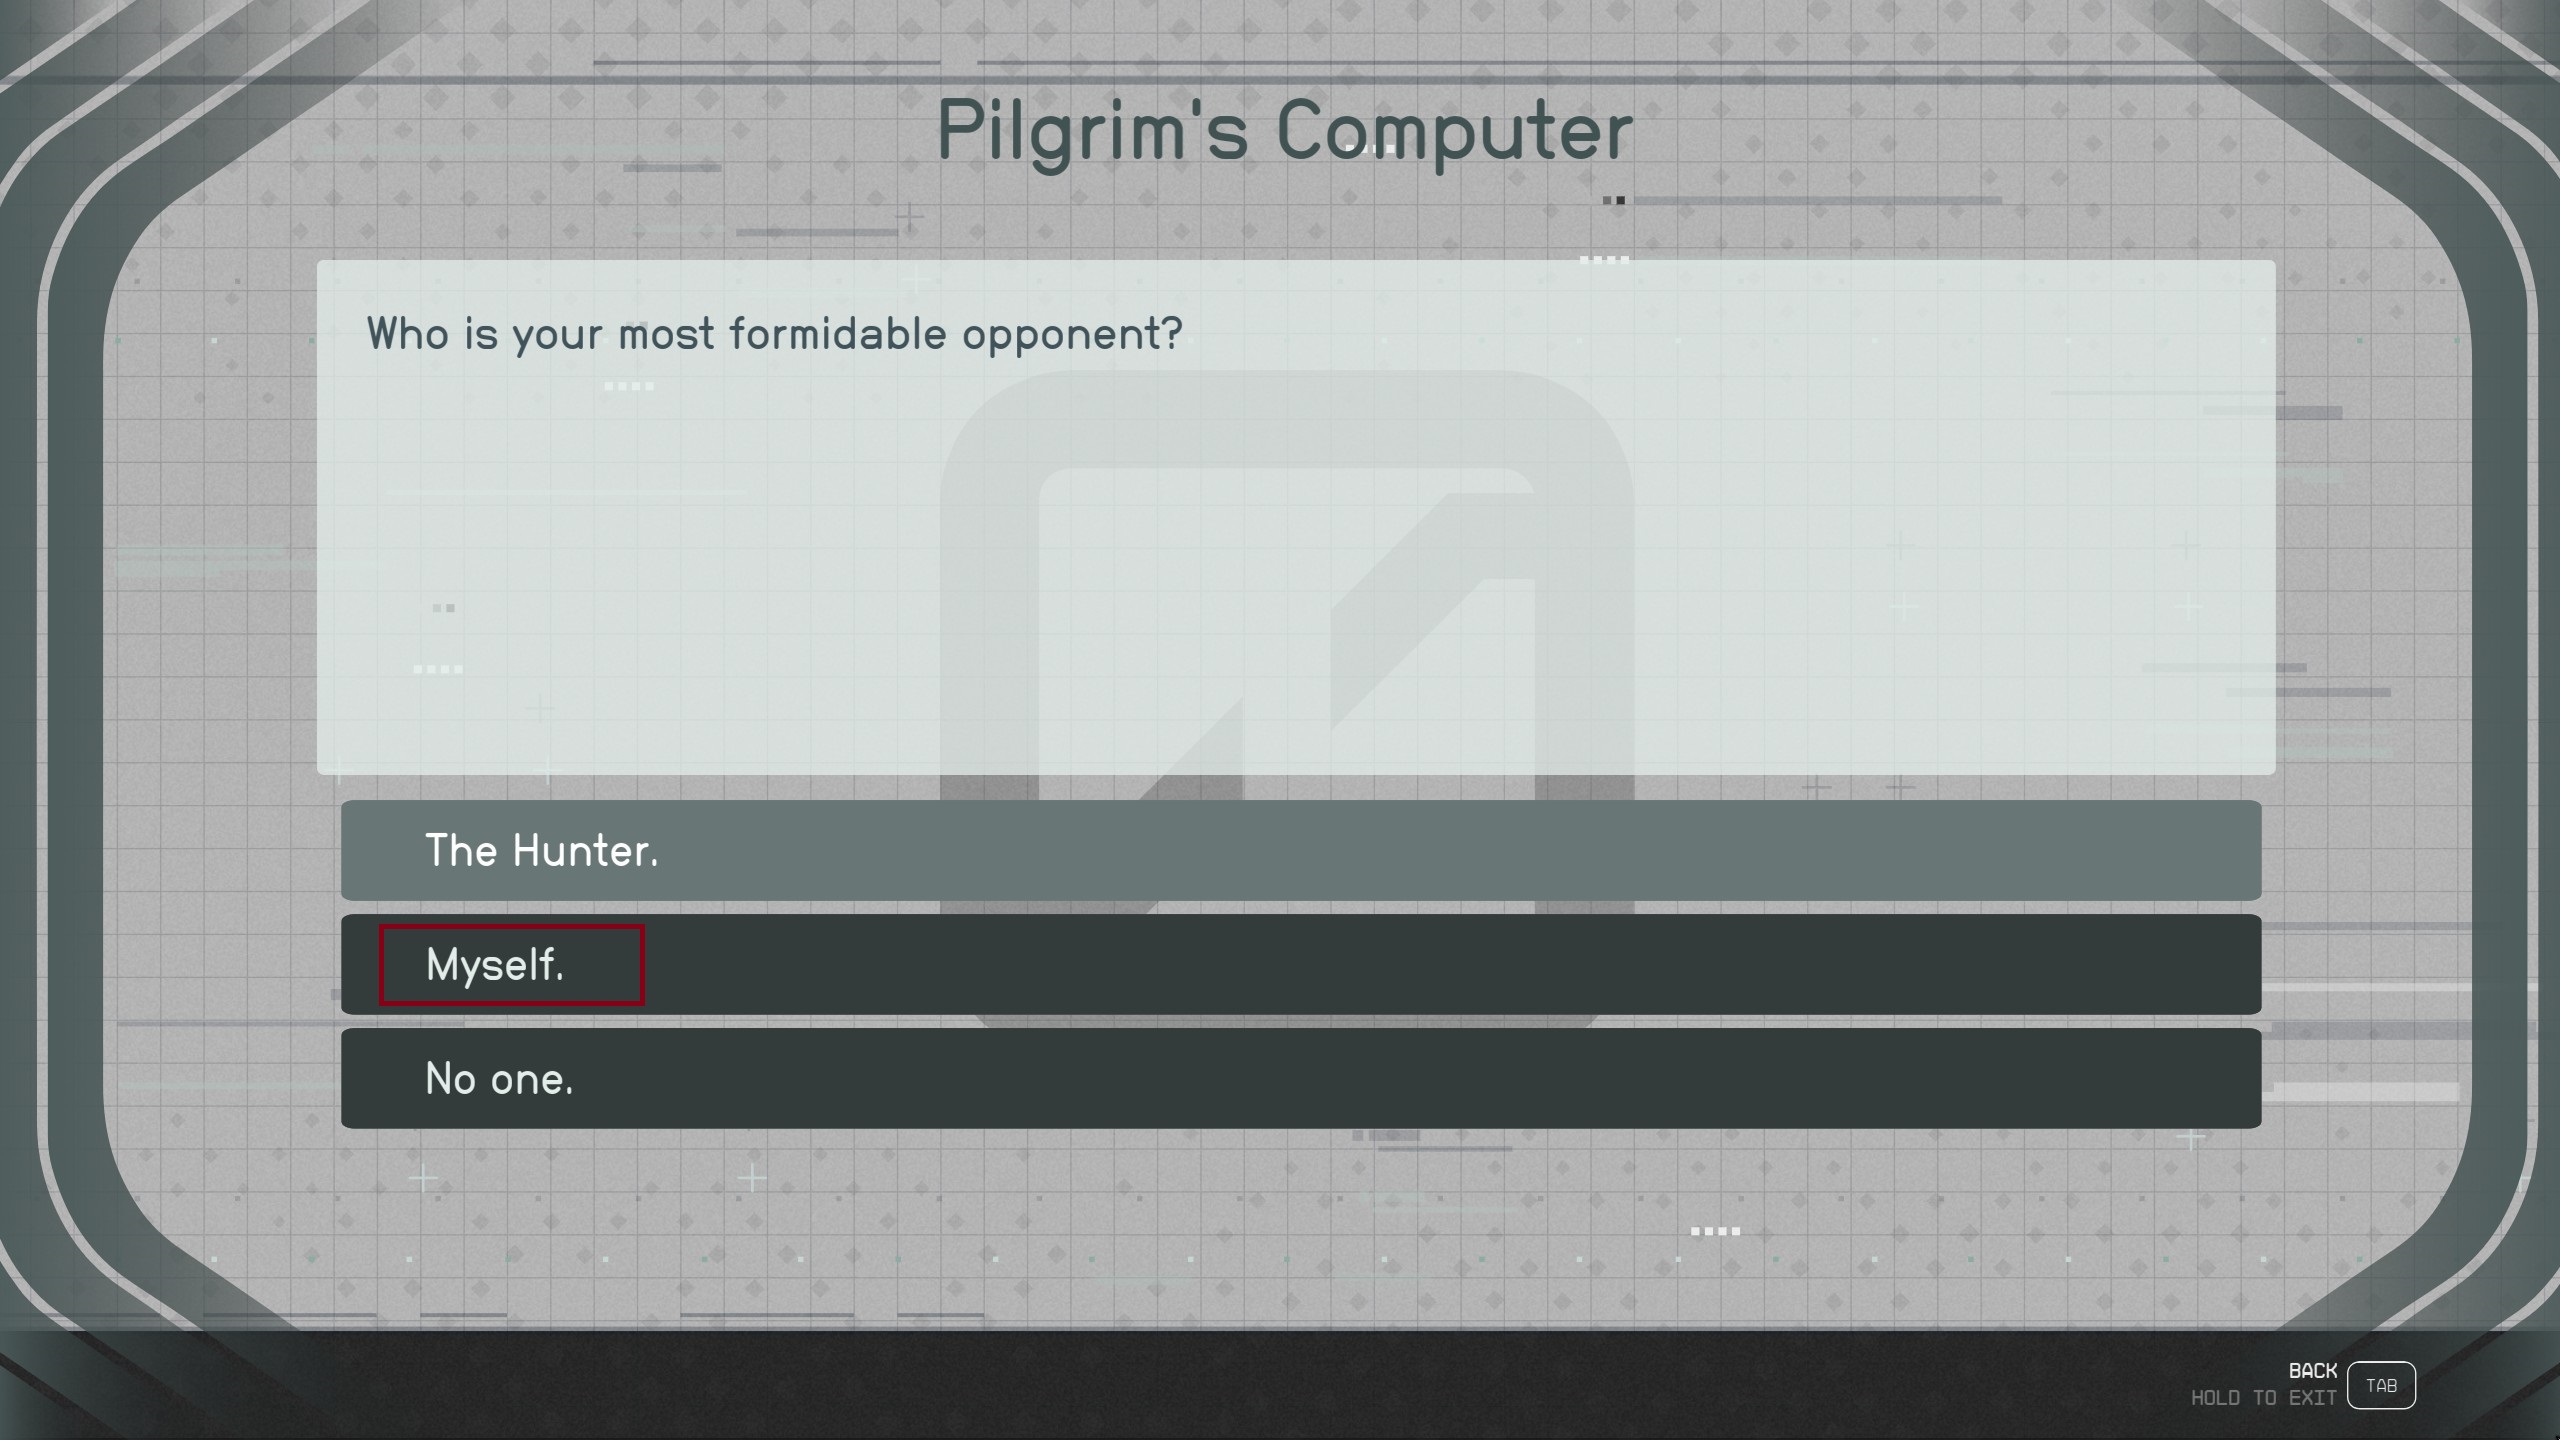
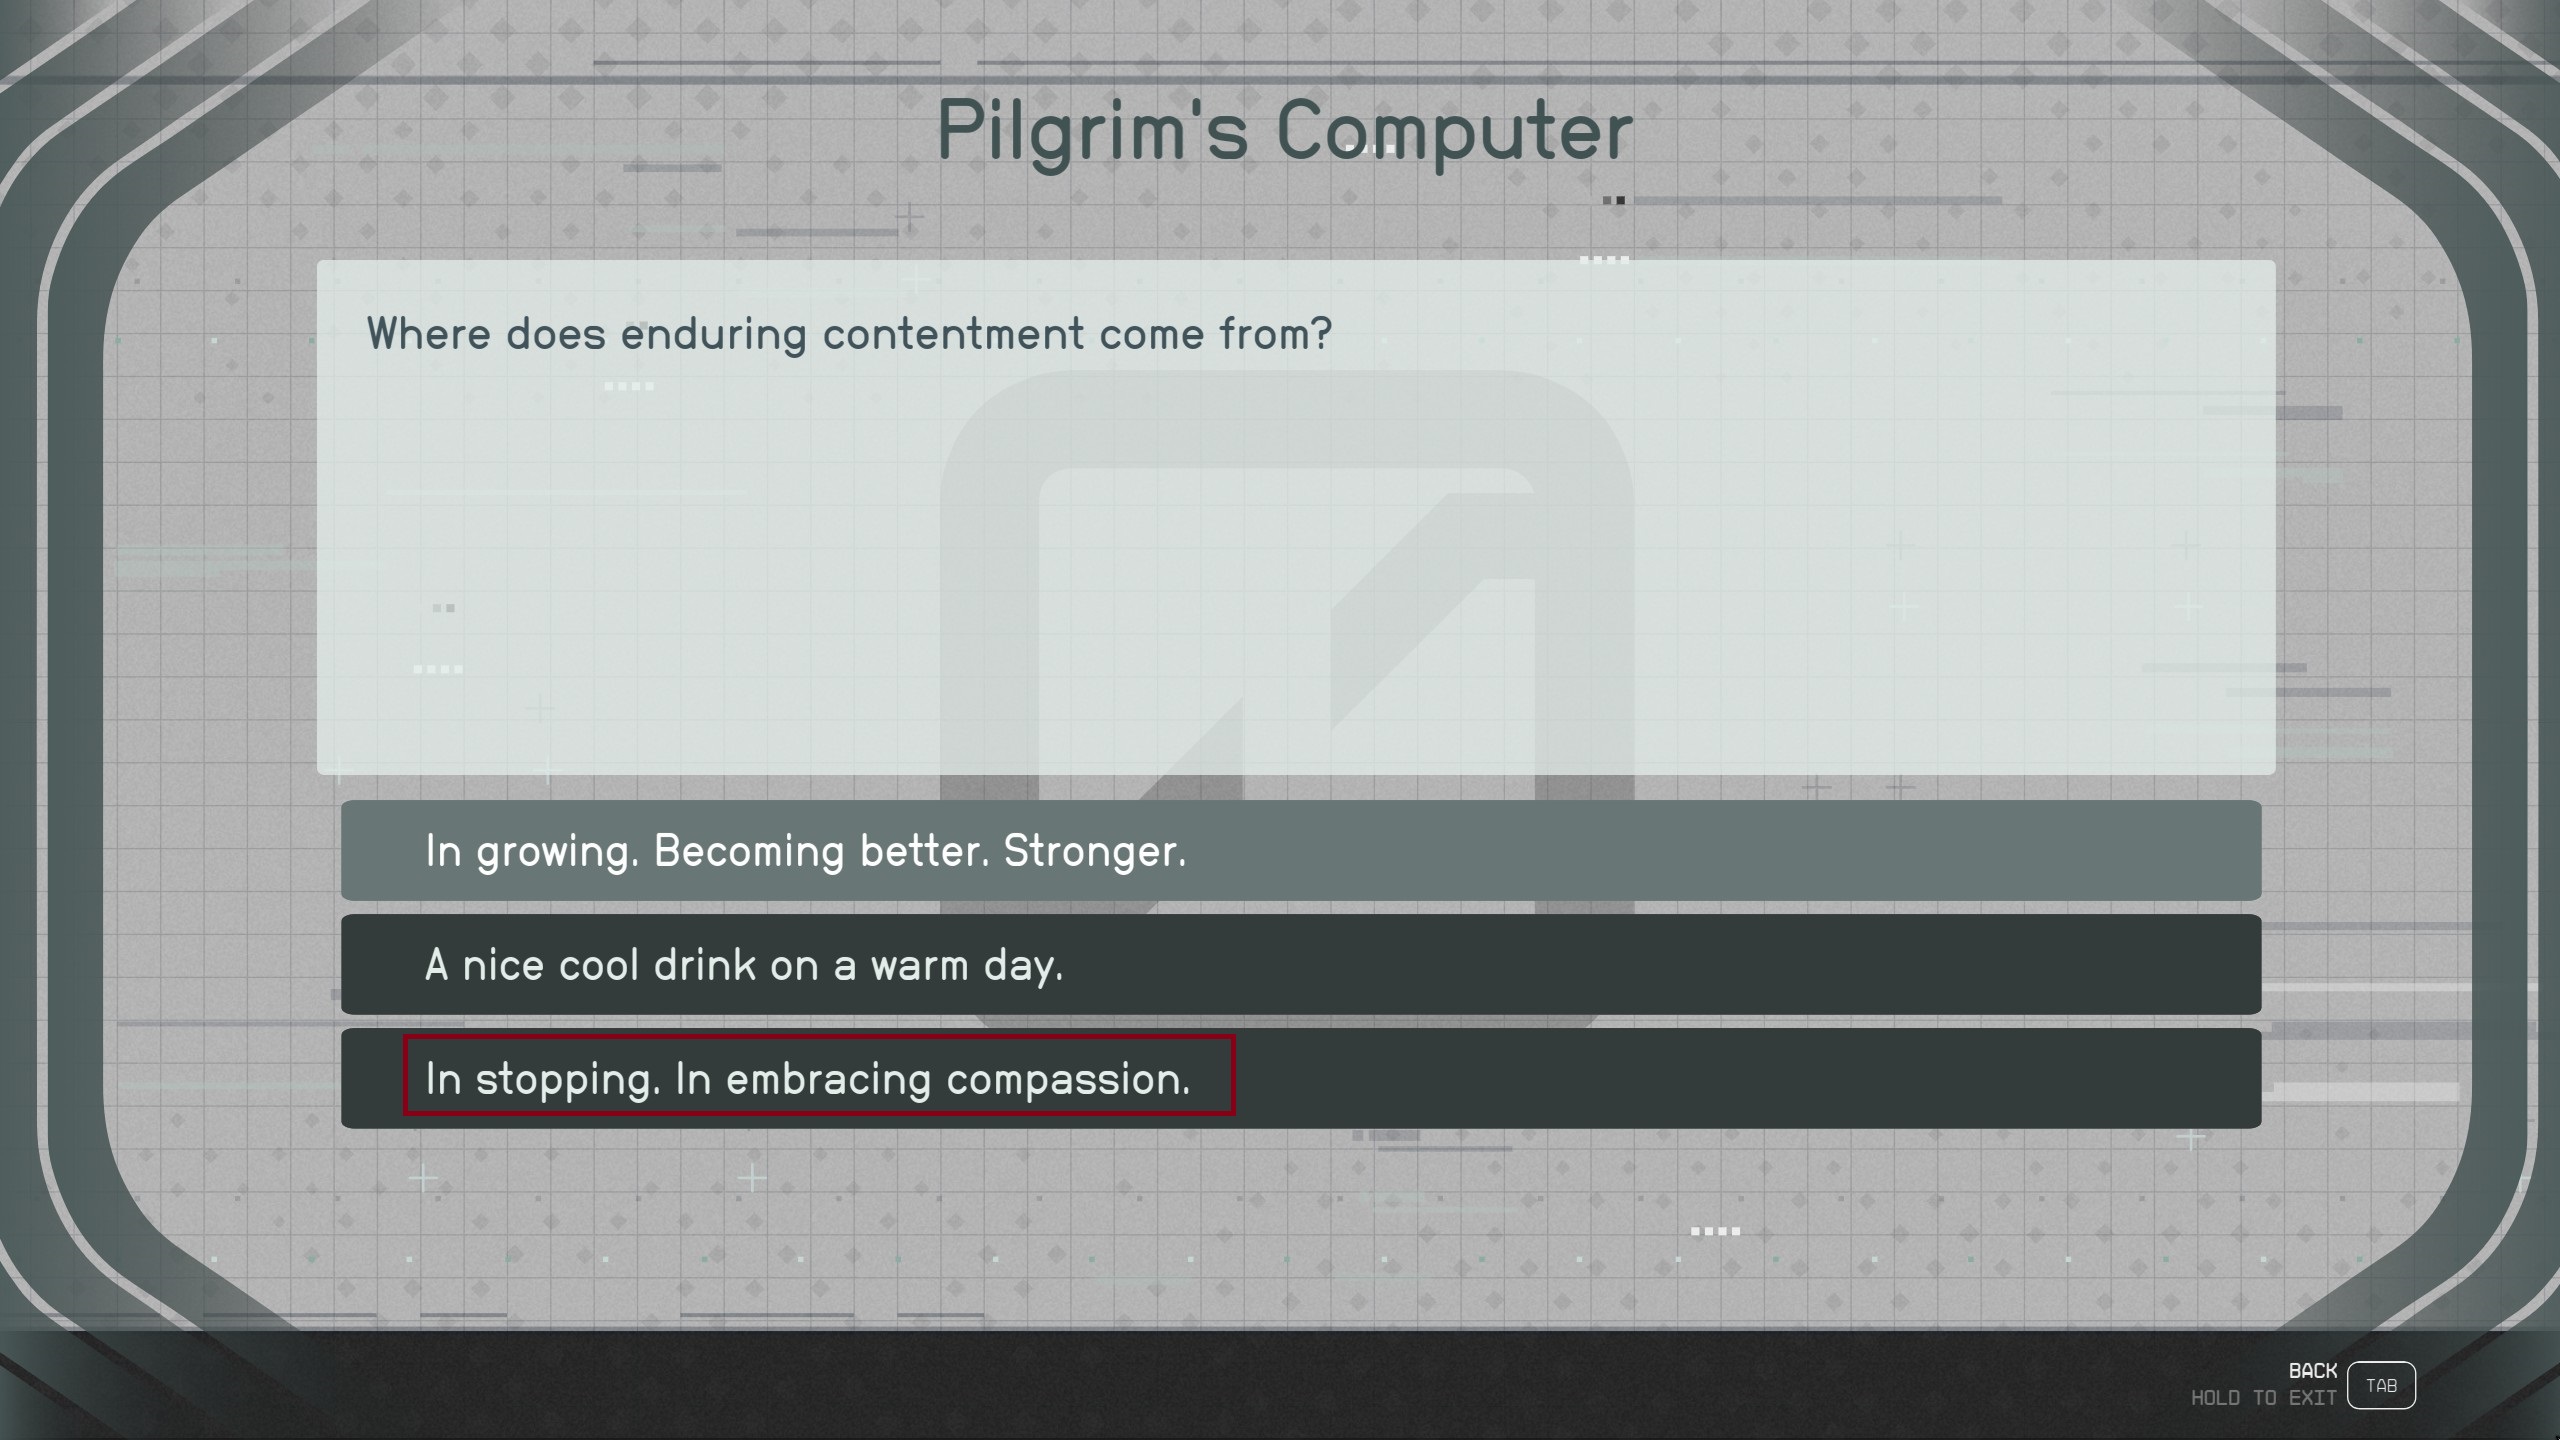
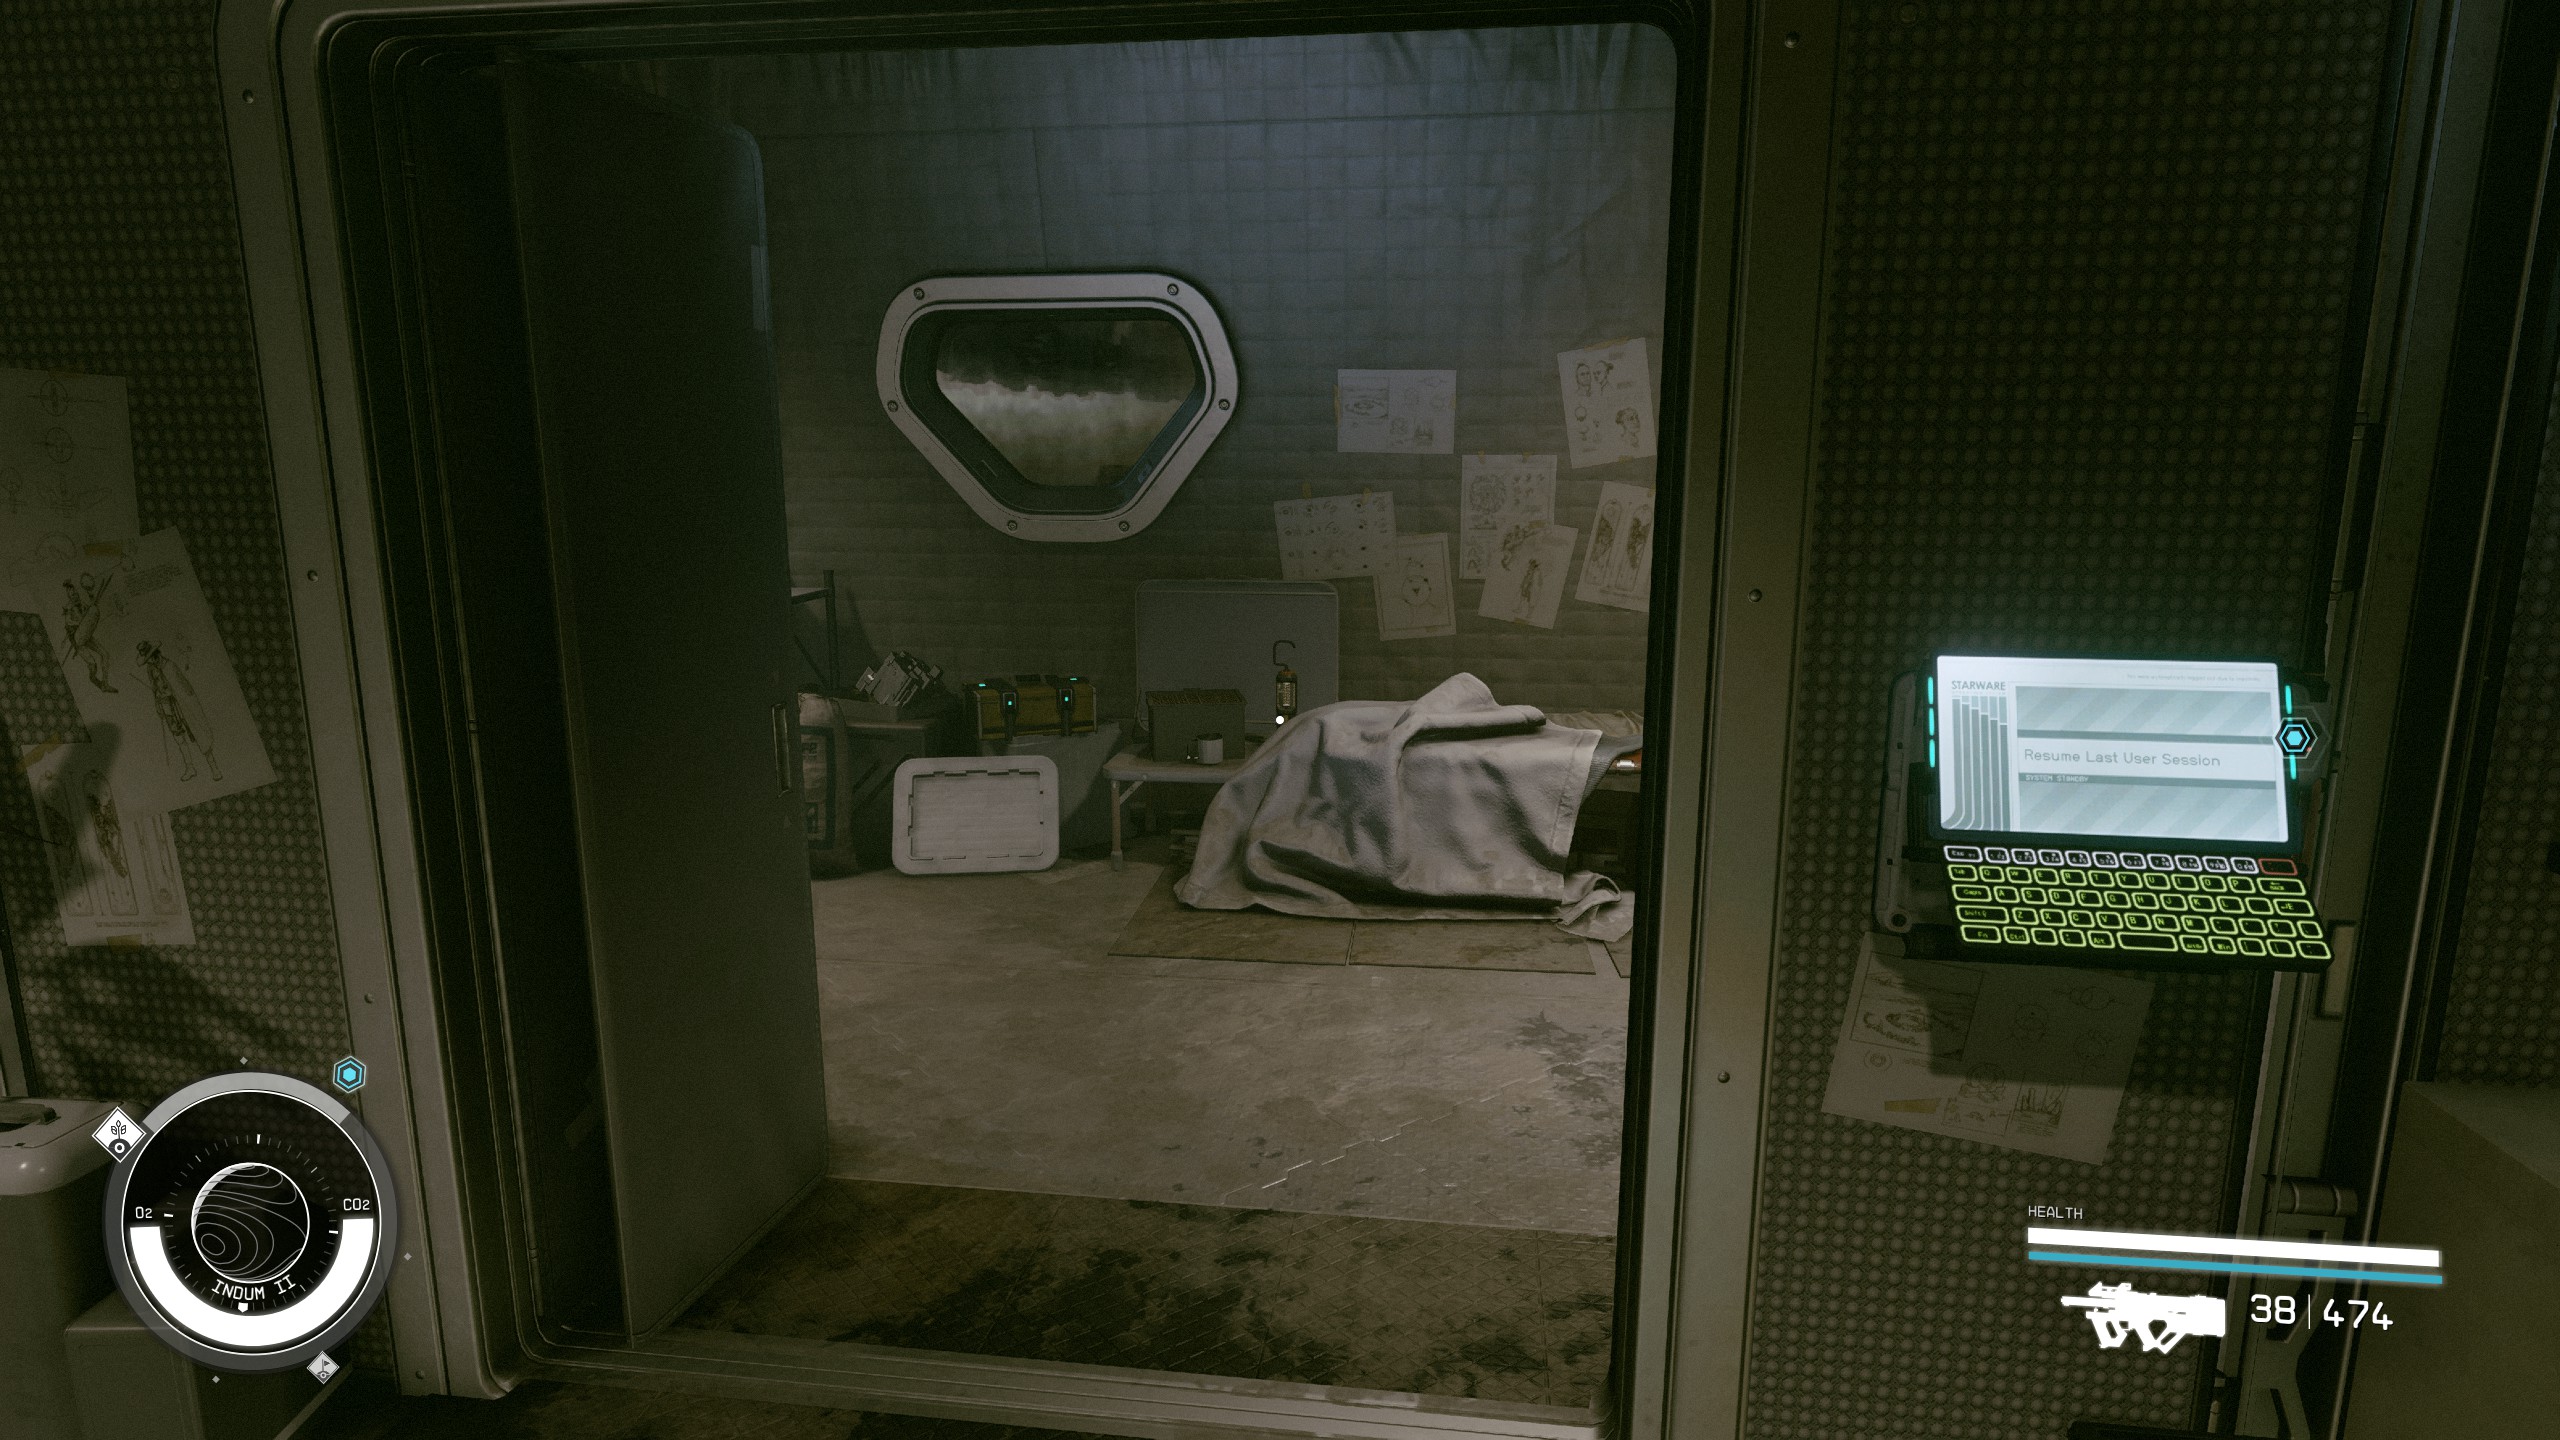
The immediate area consists of two structures: an open greenhouse and a larger residence. You'll be prompted to find Pilgrim’s Writing books, which you can choose to do or skip. Regardless, proceed to a locked room within the larger building. To unlock it, interact with the computer next to the door and answer its questions. If you're not interested in solving riddles, use the pre-determined options provided in the mission guide to swiftly unlock the door.
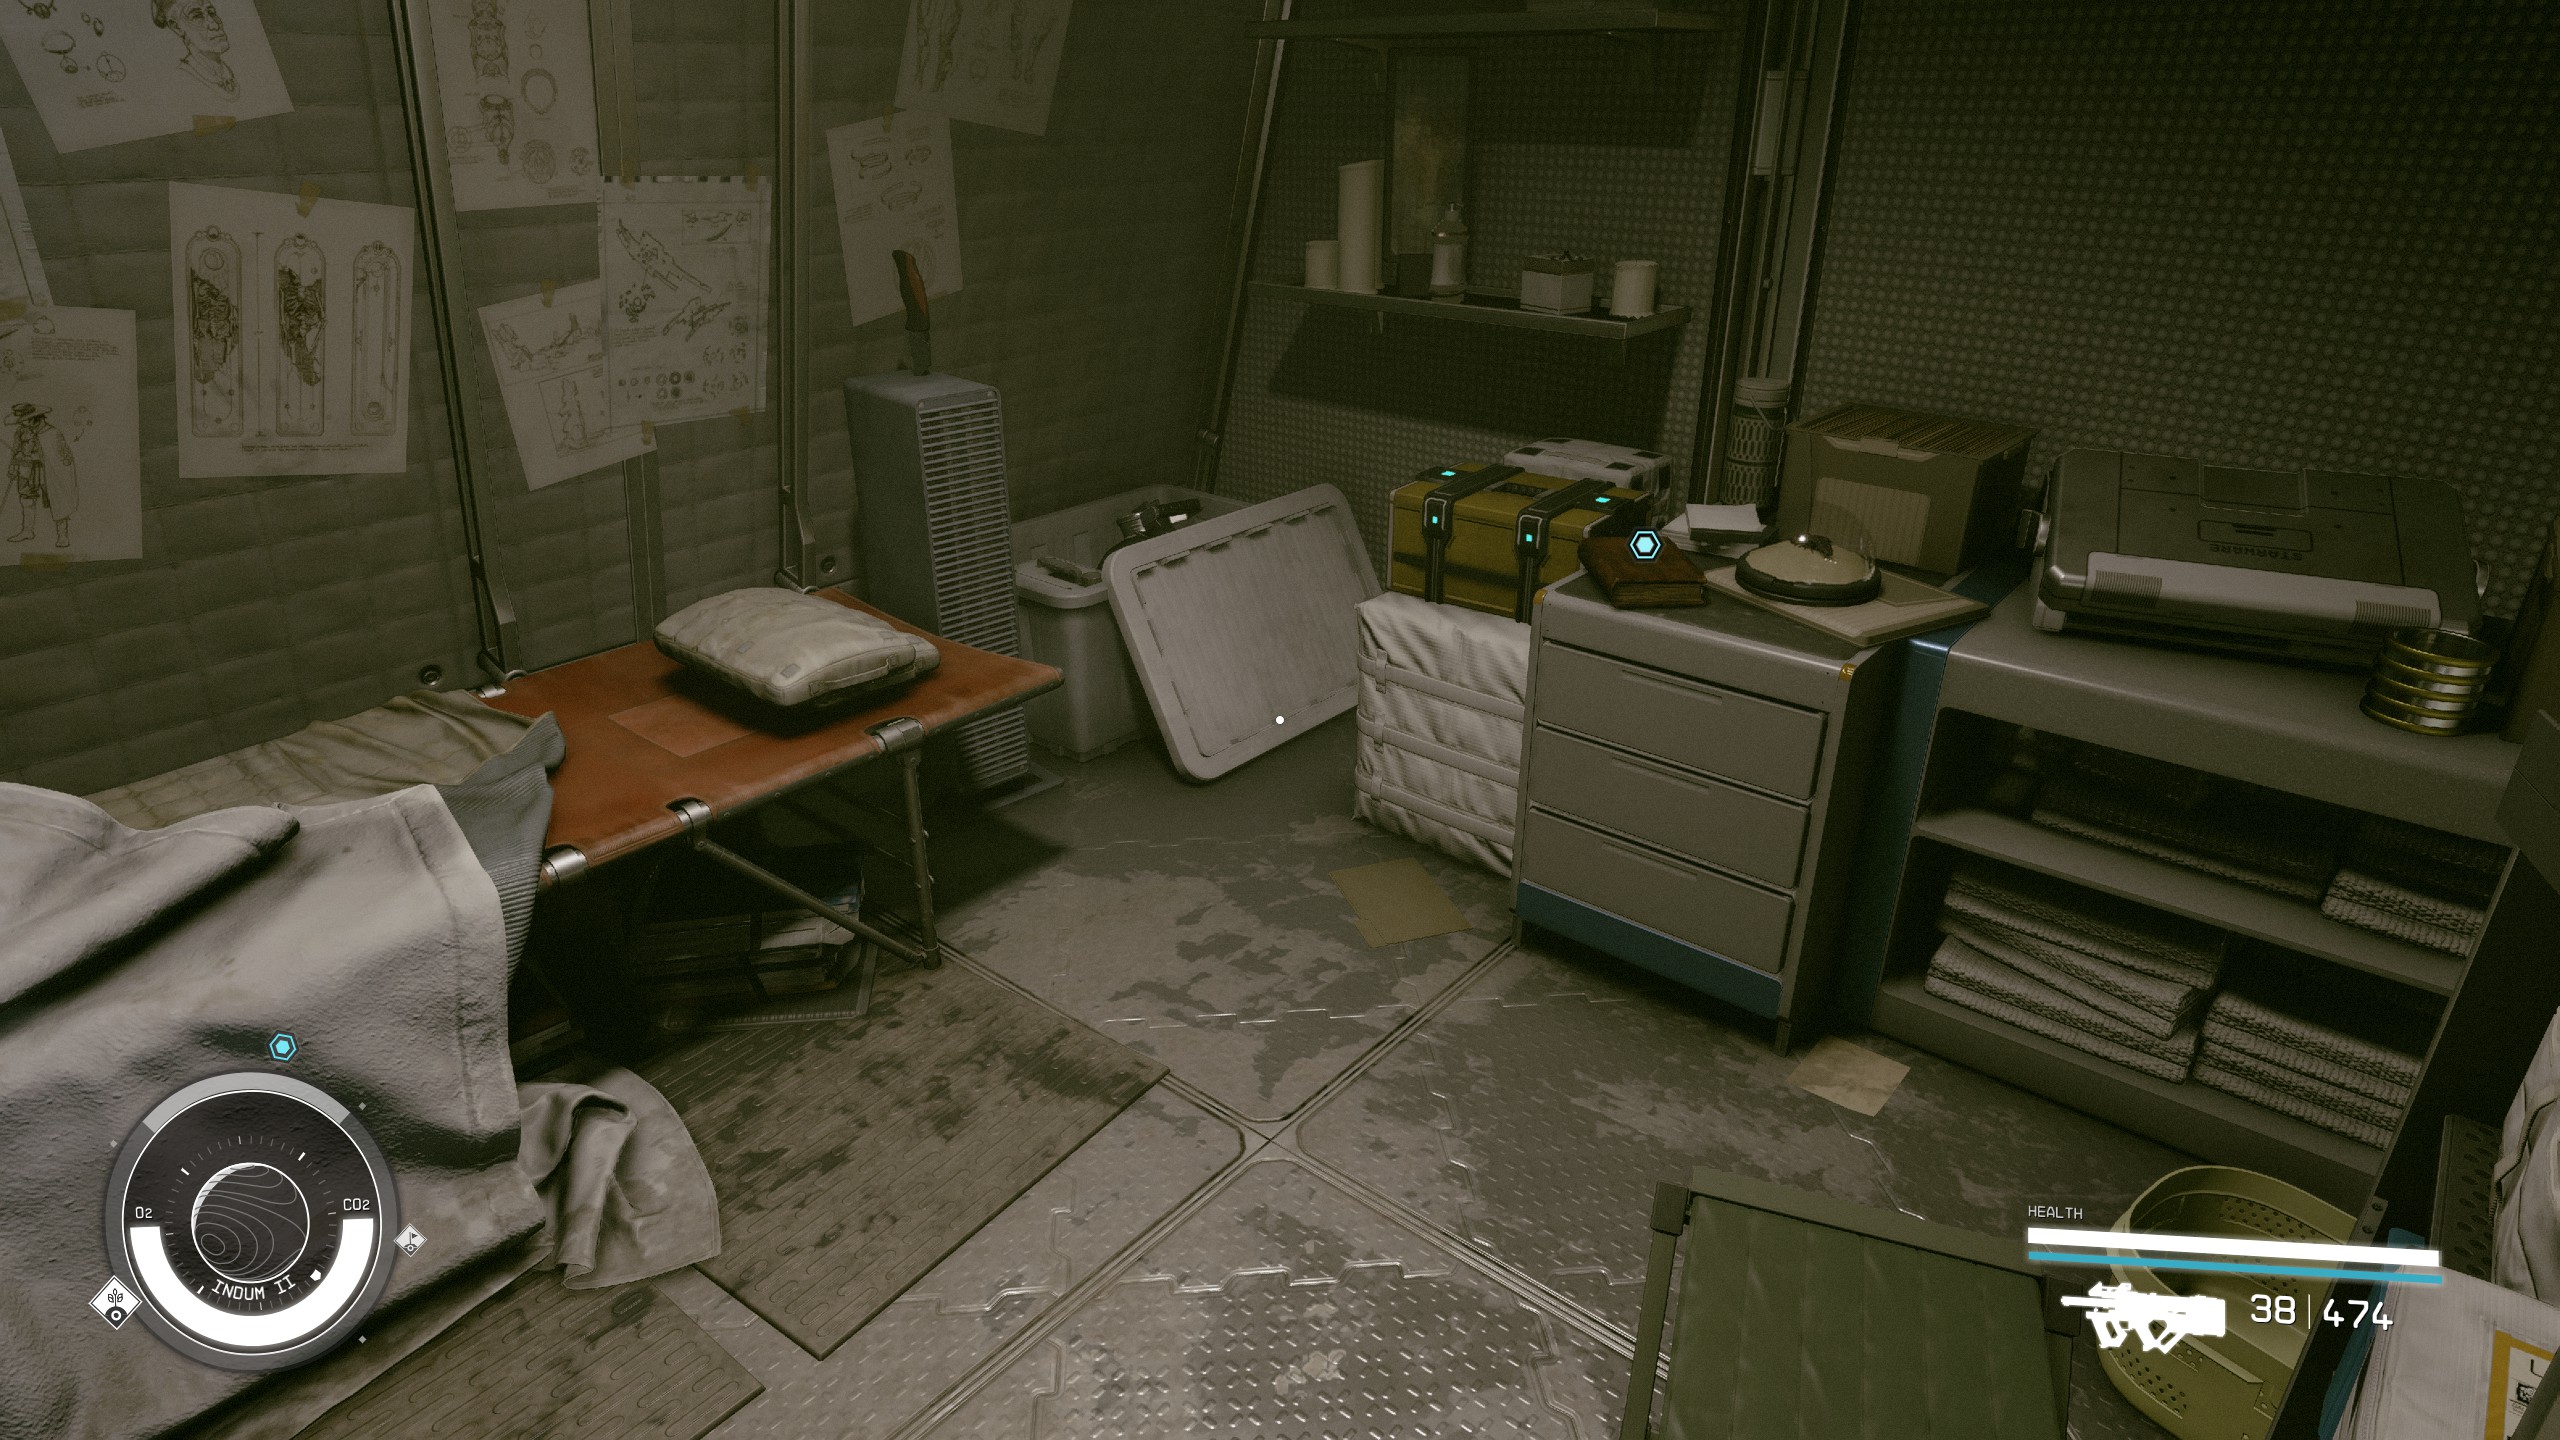
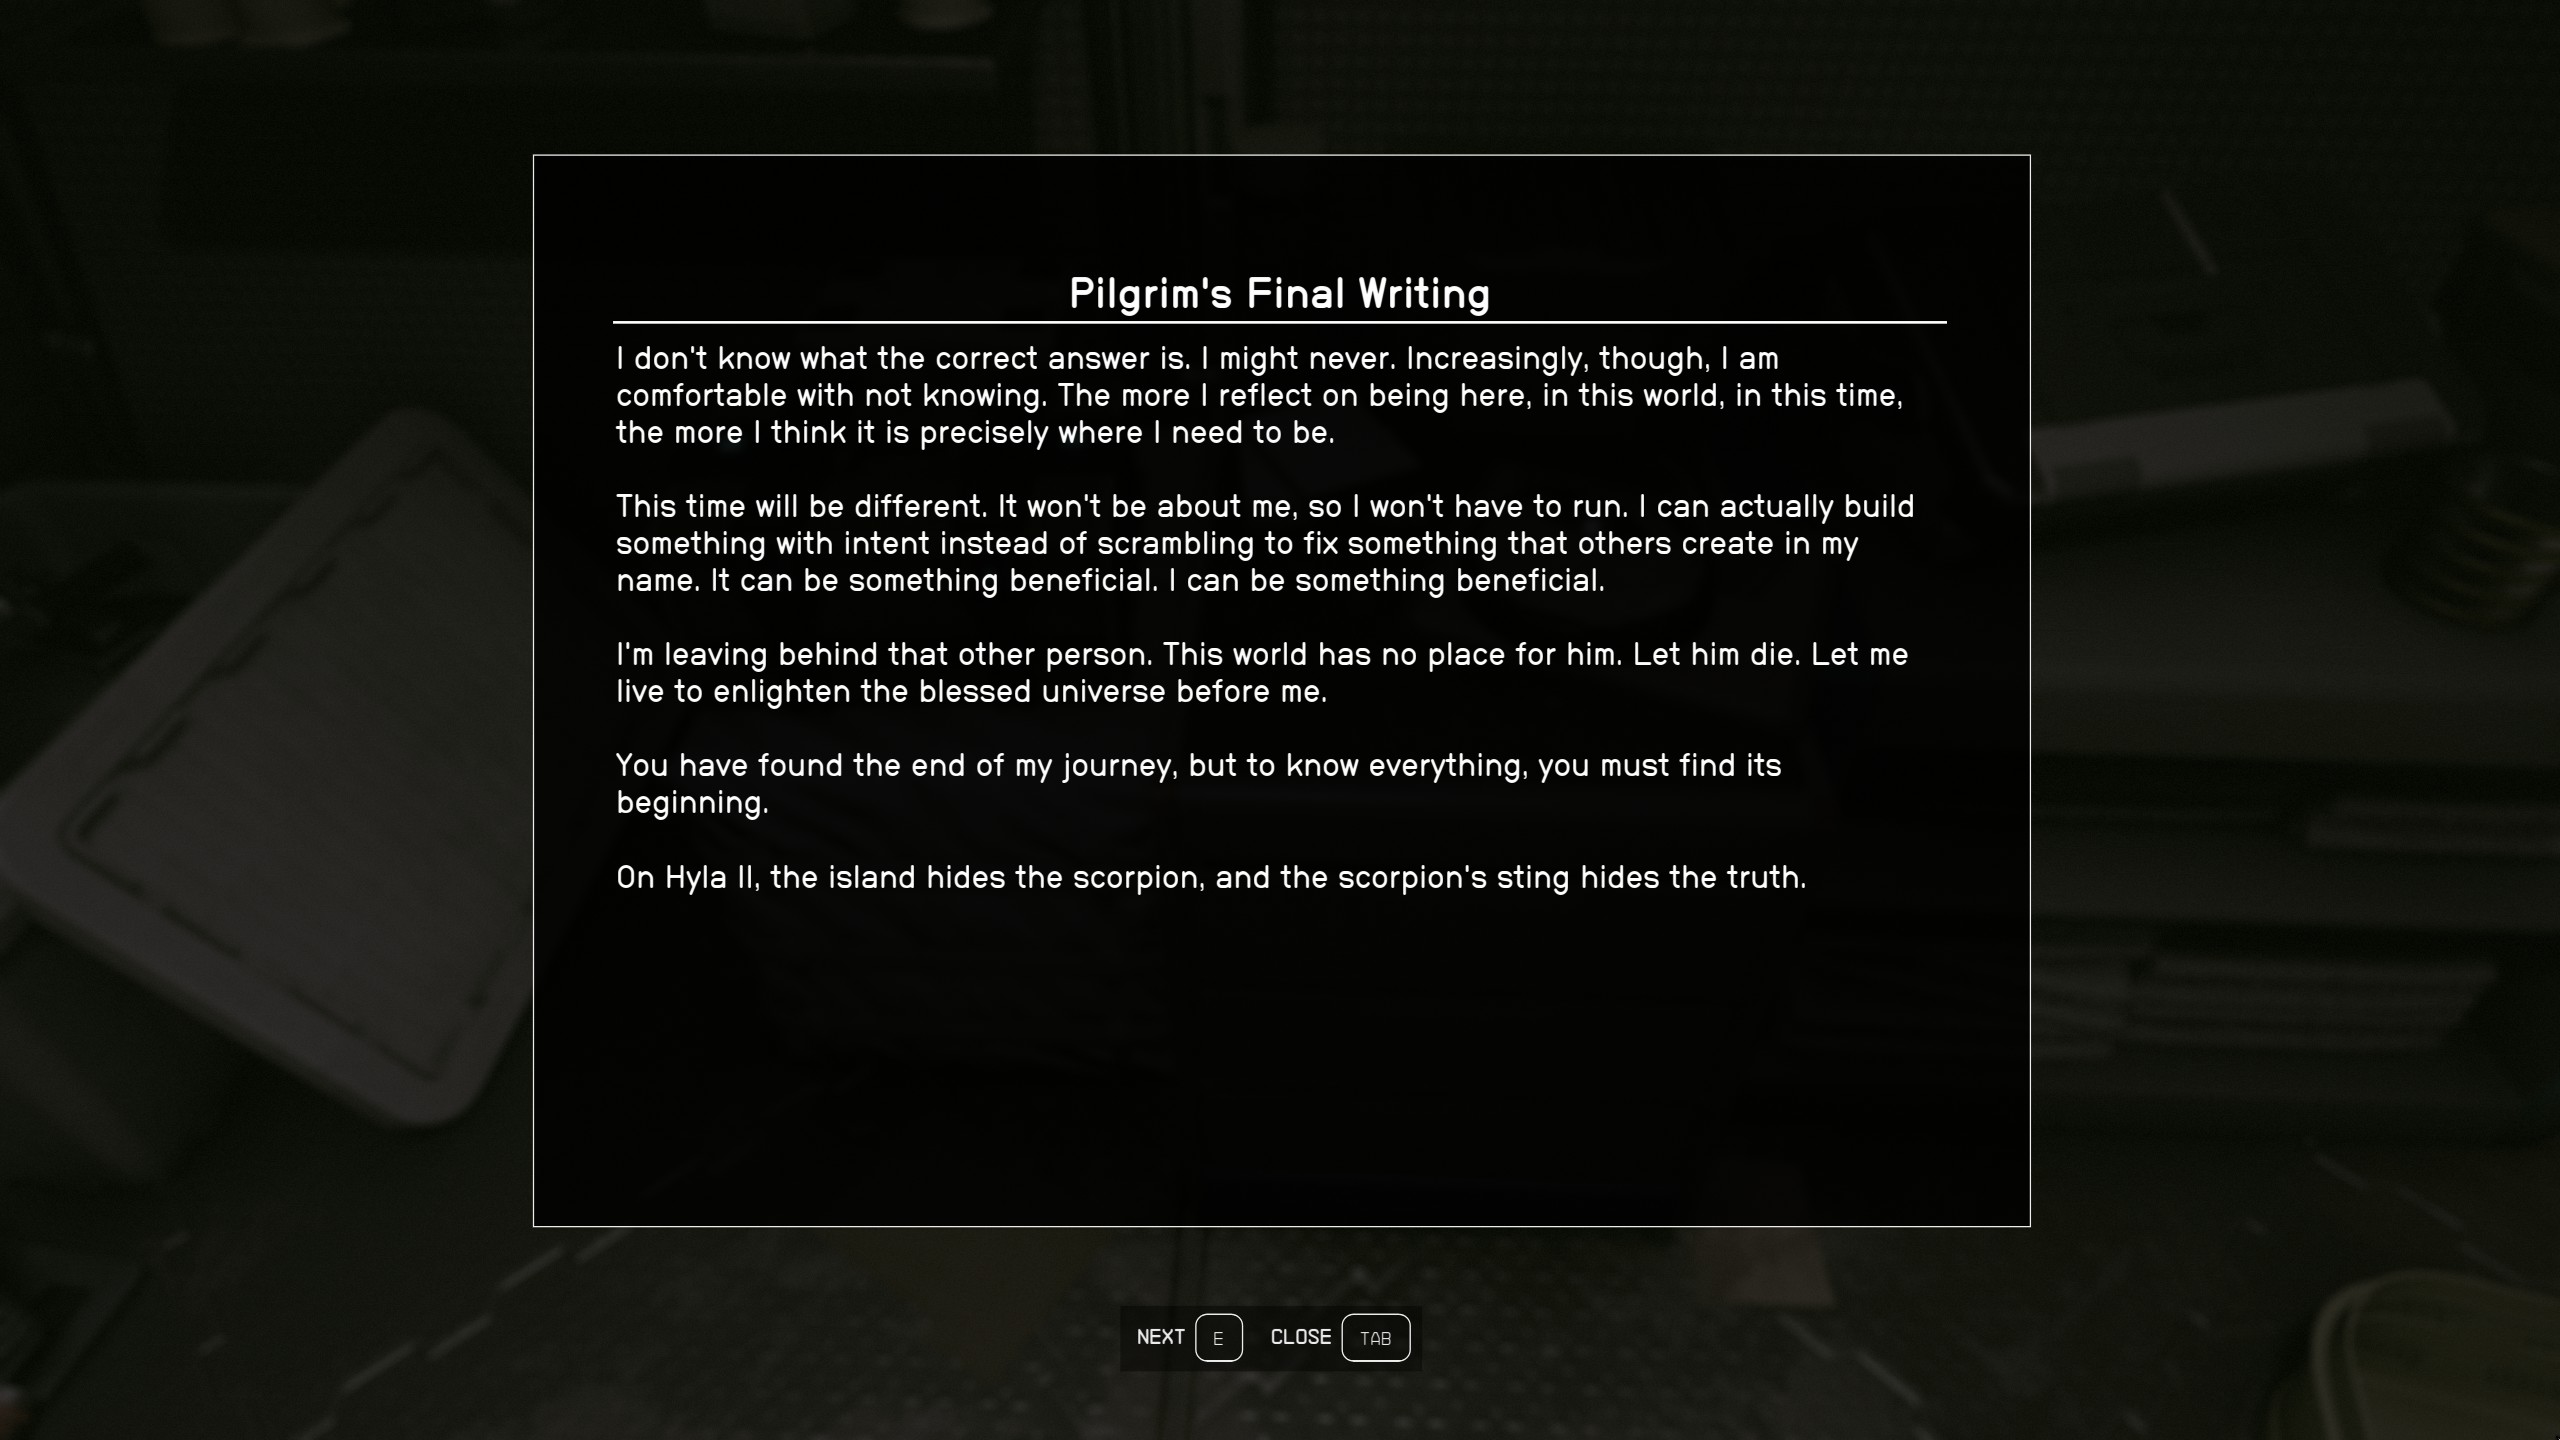
Once inside, immediately look to your left. You'll find the Magazine Trackers Primer 02 sitting there, ready to be collected. Then, turn your attention to the right of the room, where the book "Pilgrim’s Final Writing" can be found. Picking this up triggers an automatic reading of the text, further deepening your understanding of Unity.
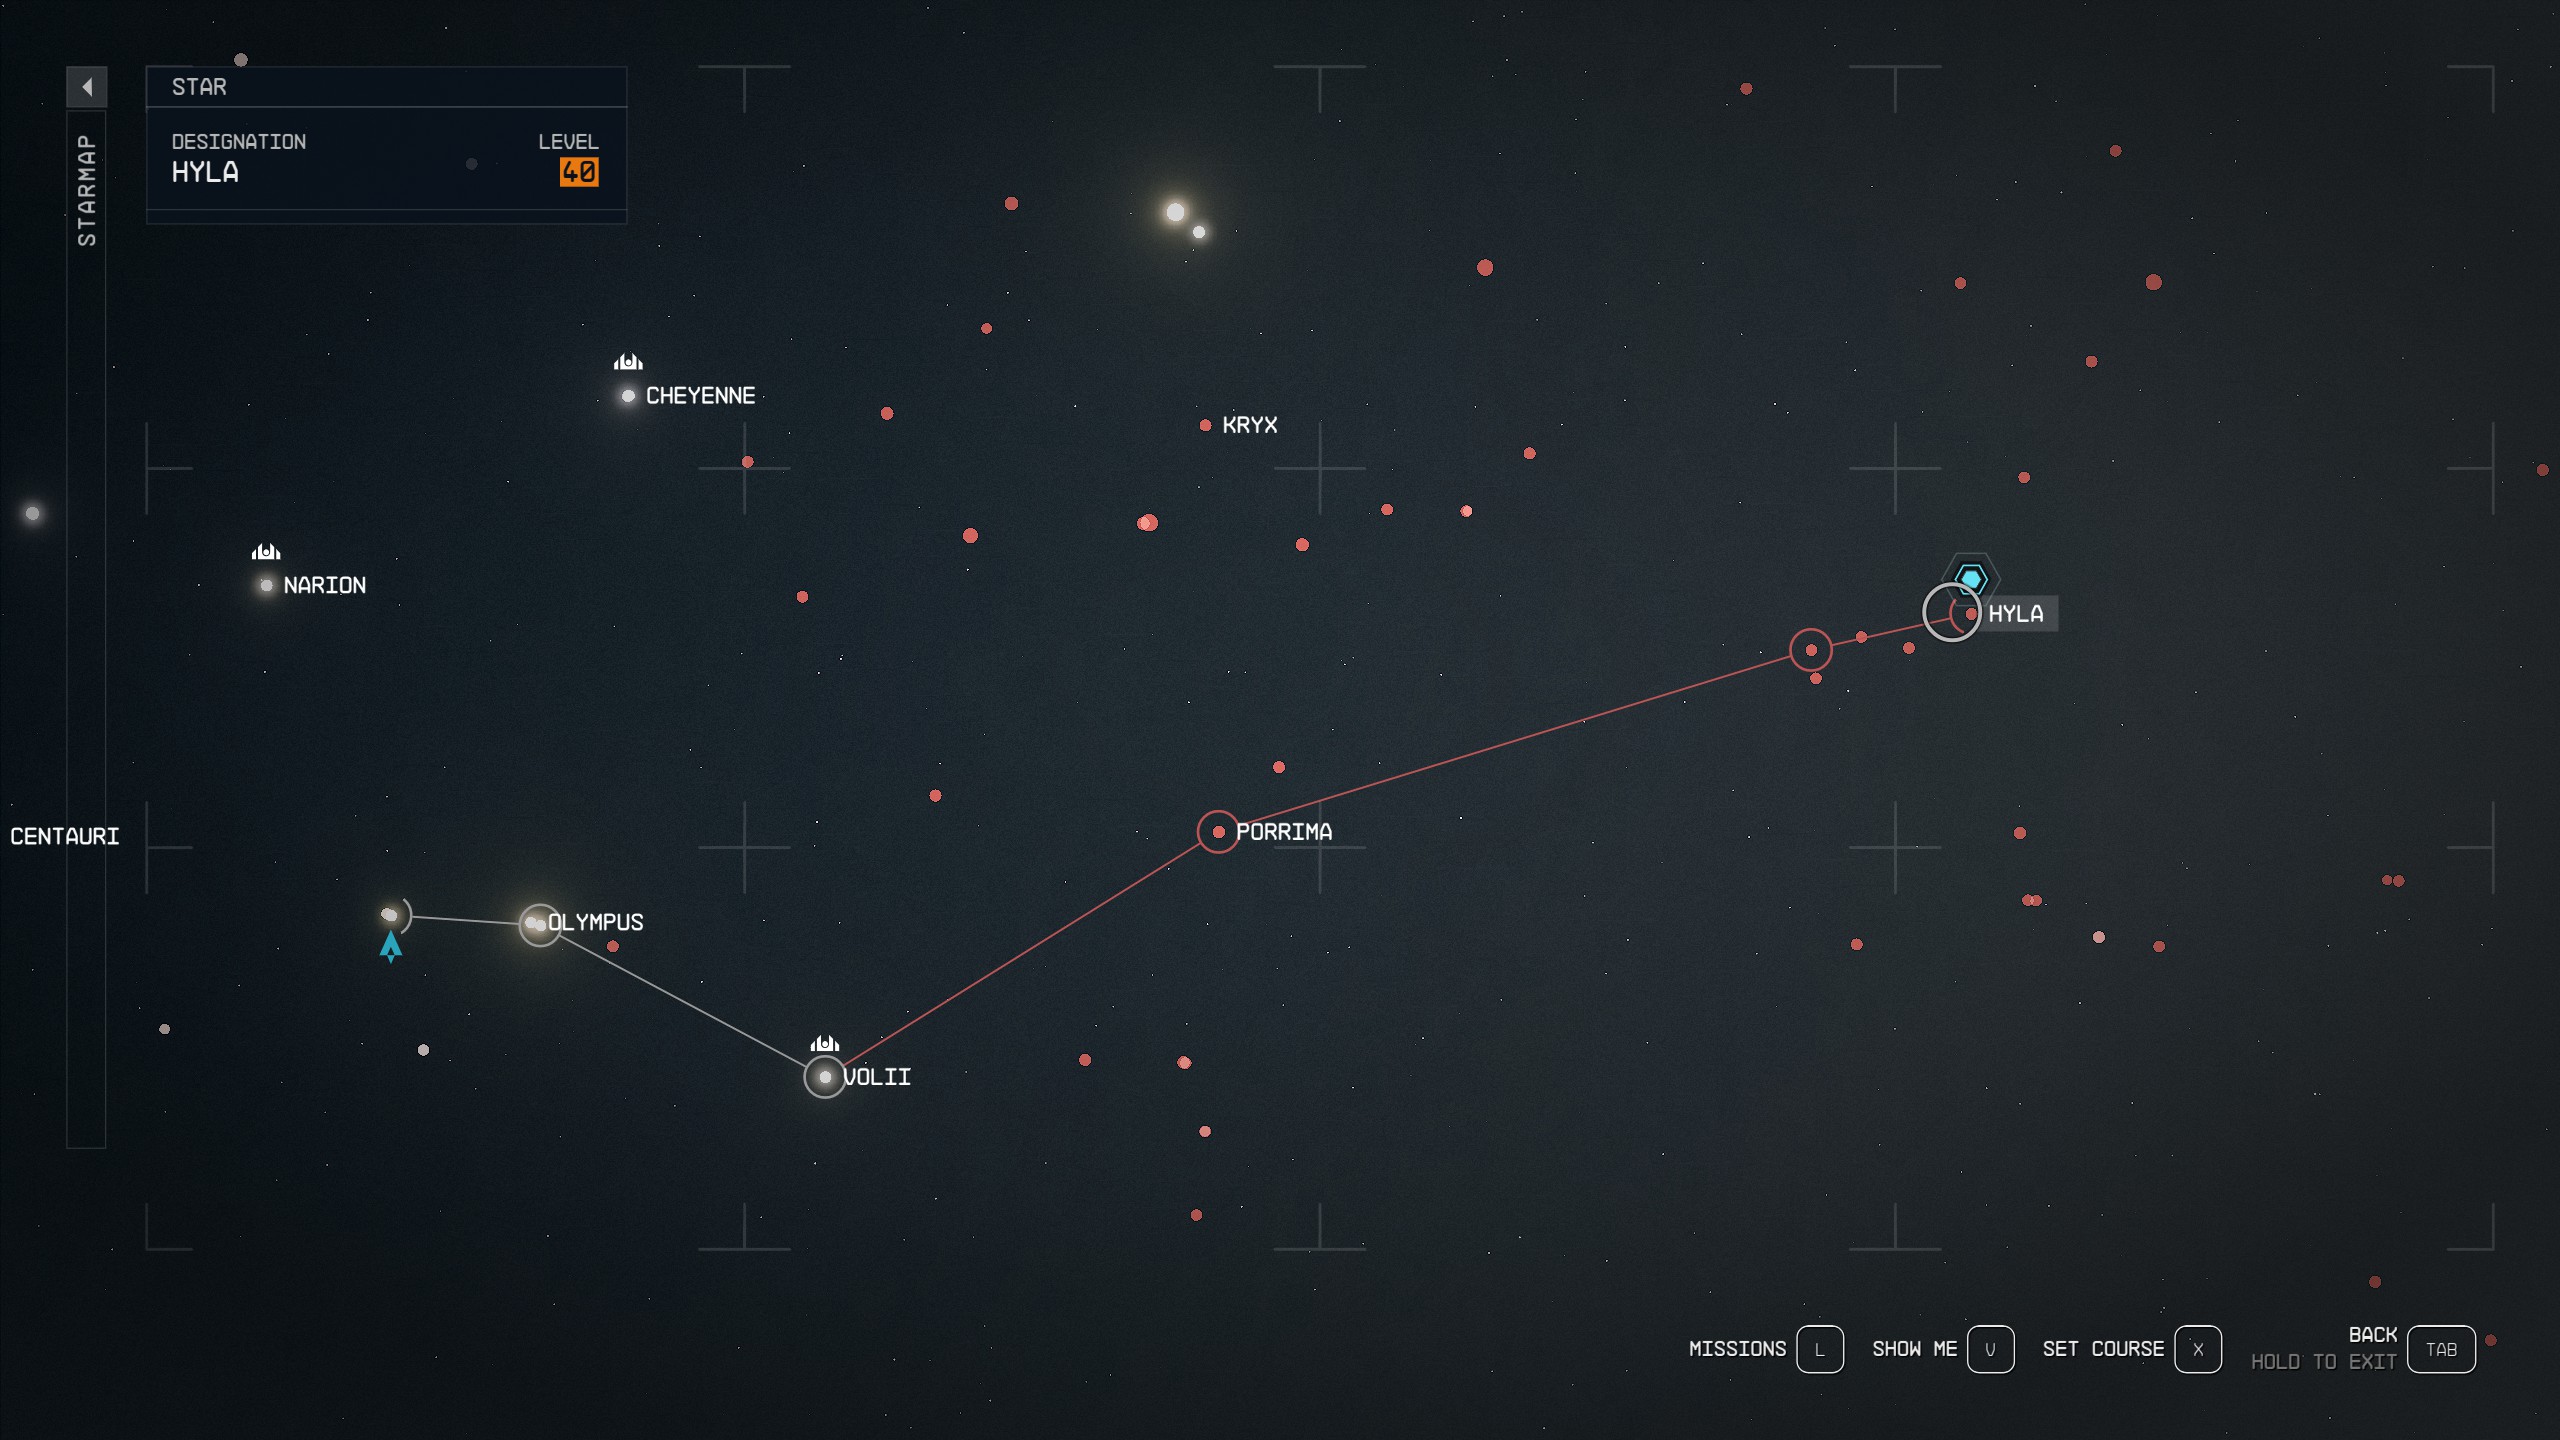
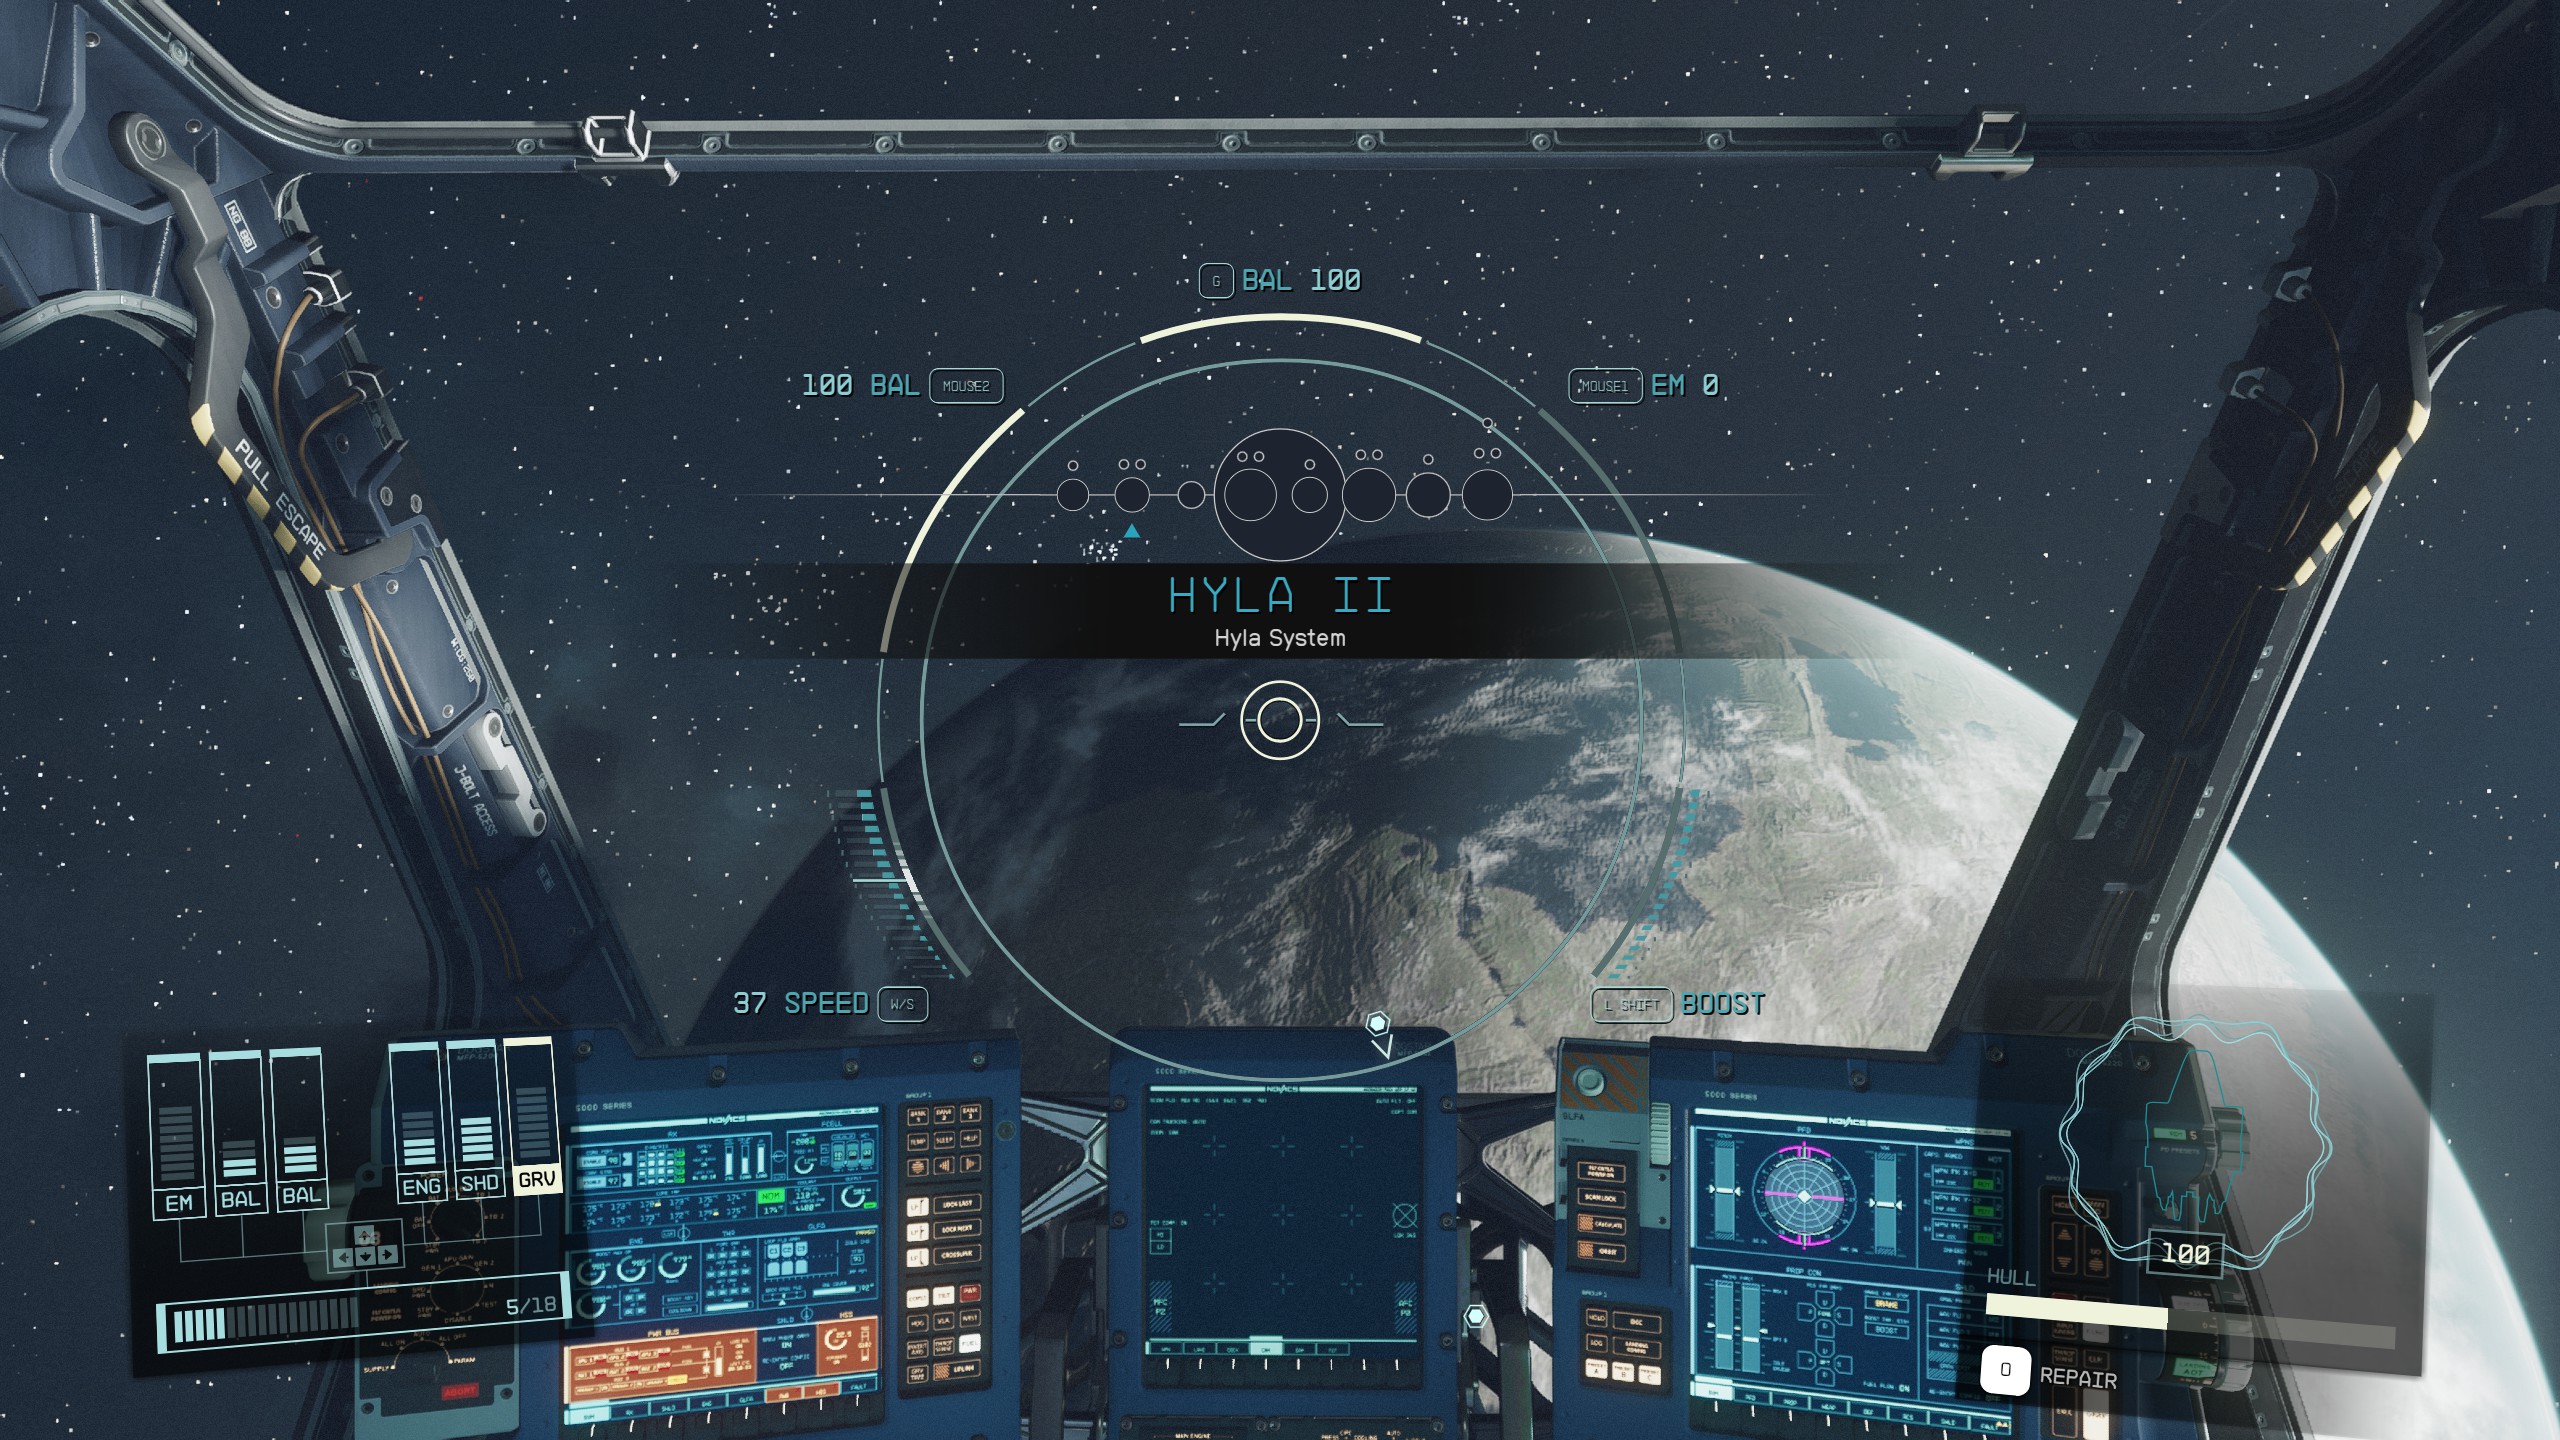
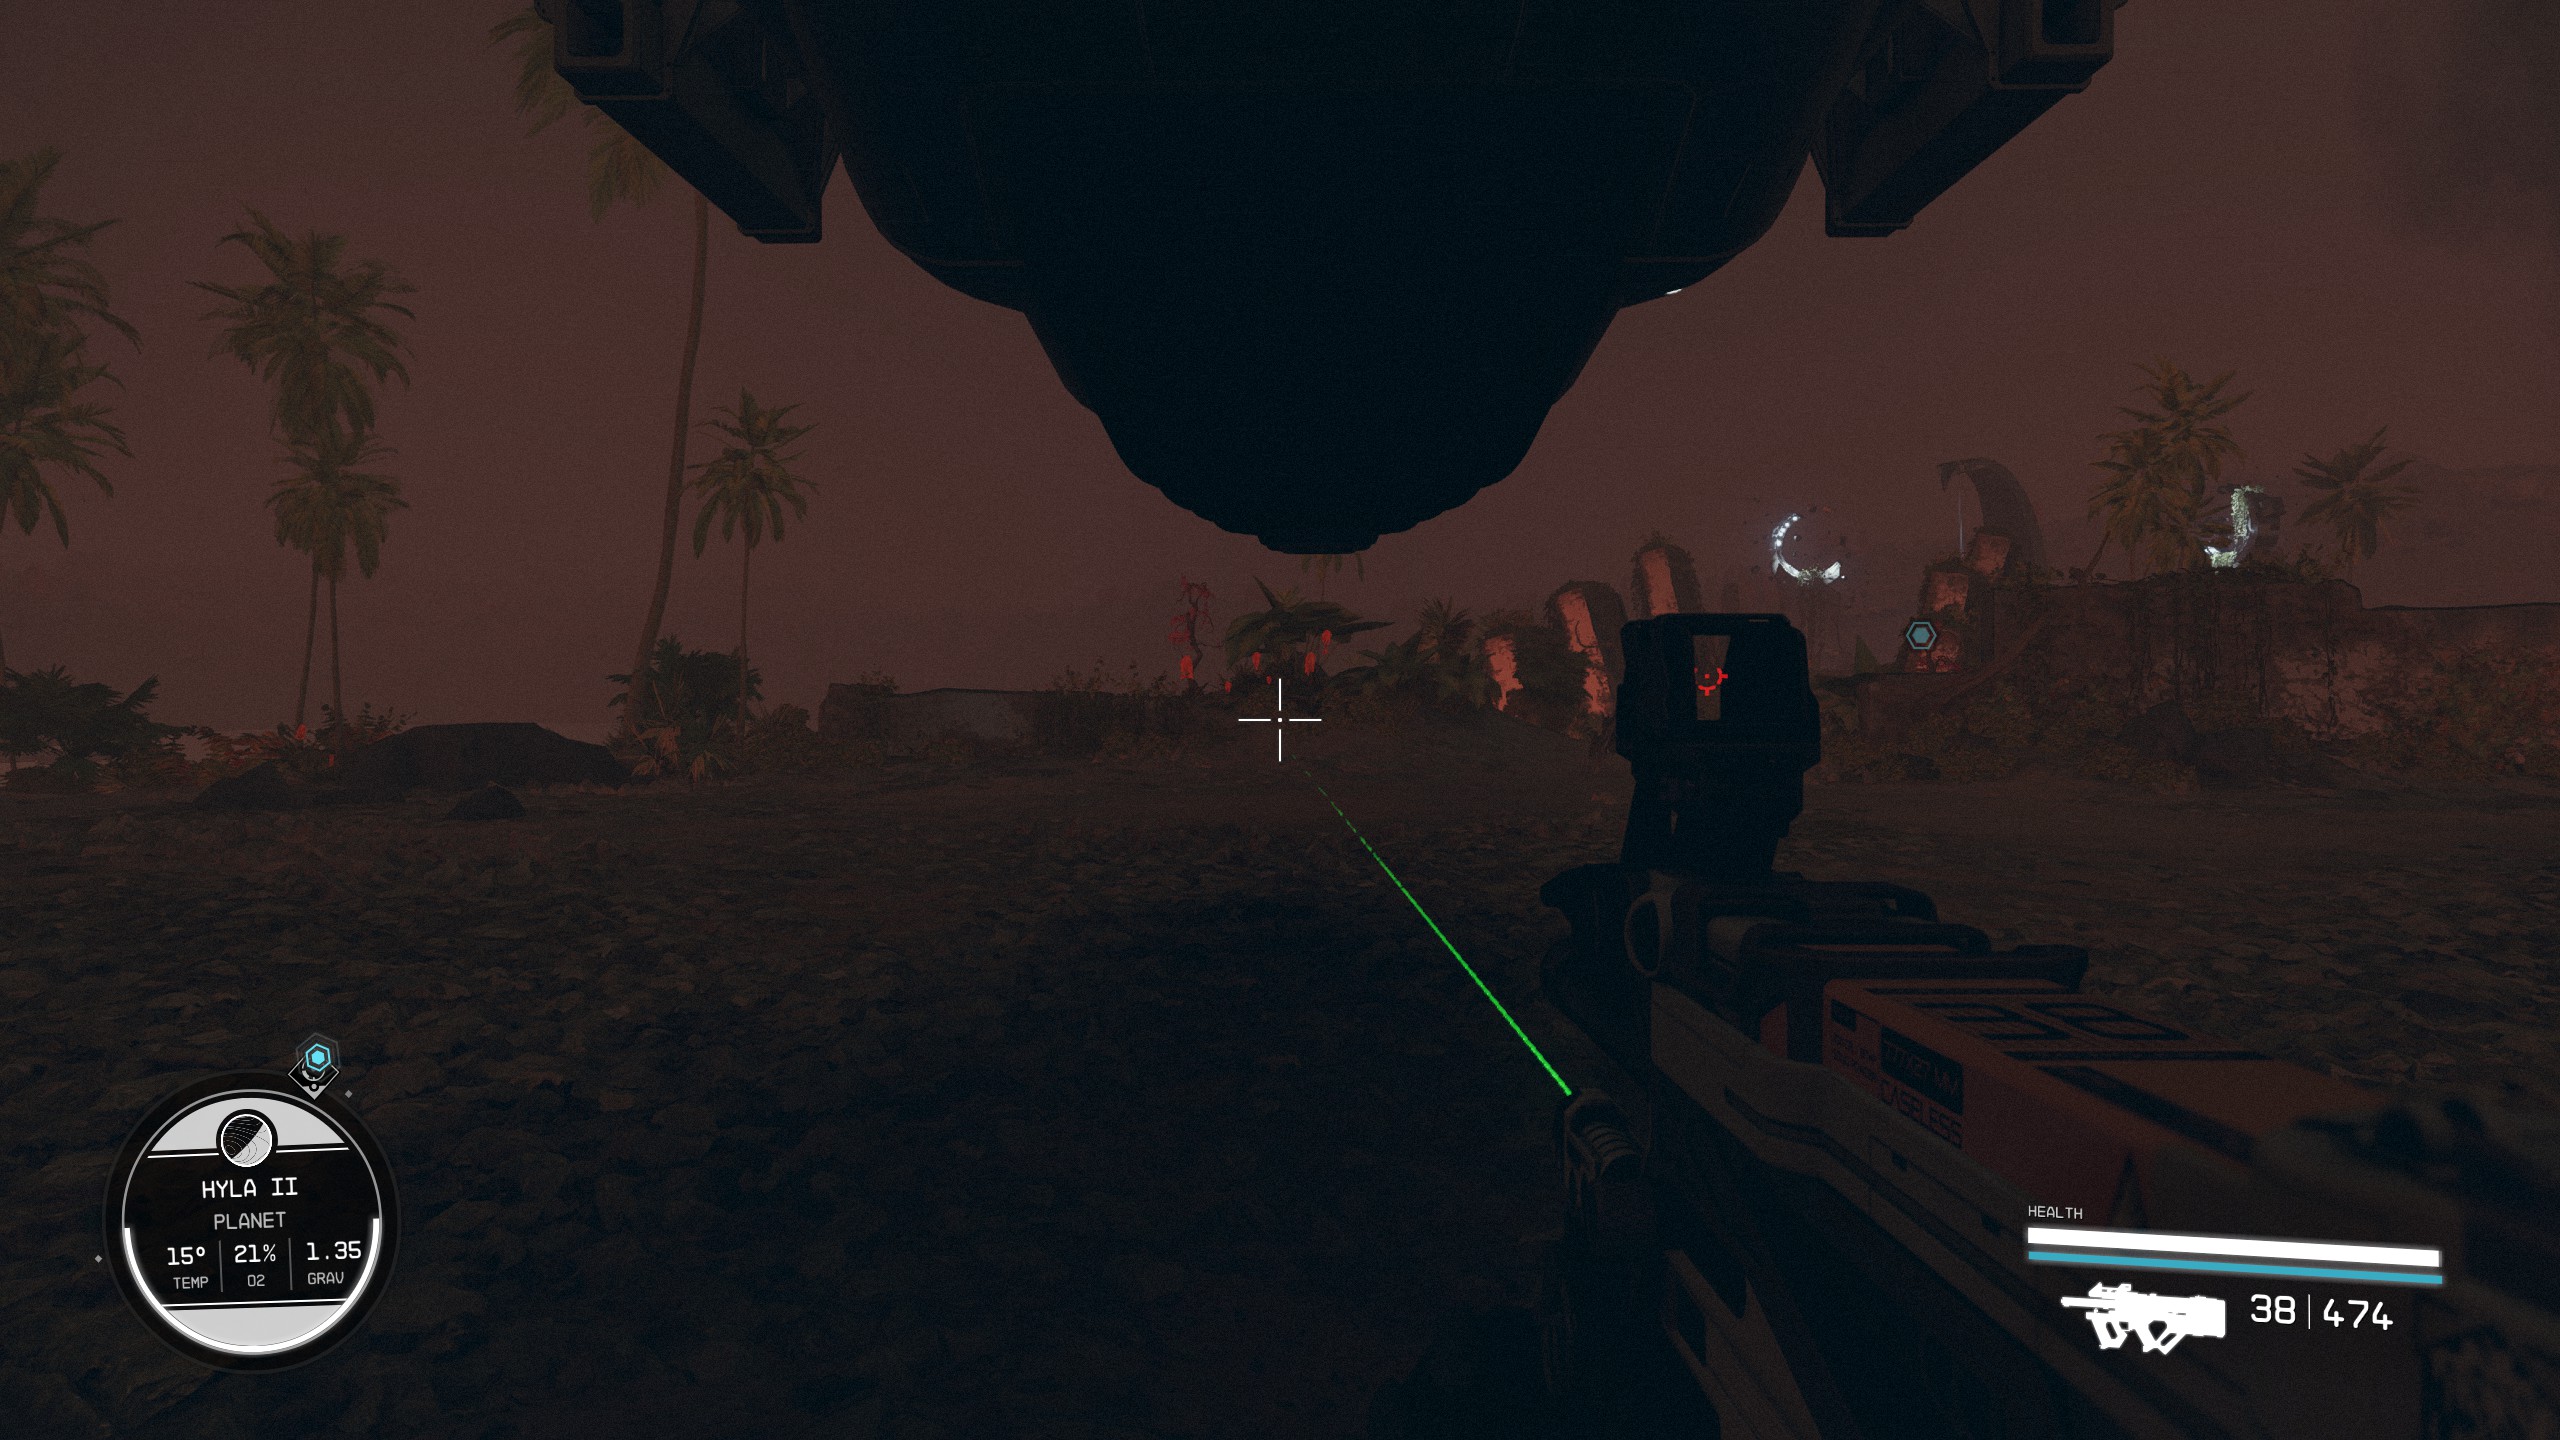
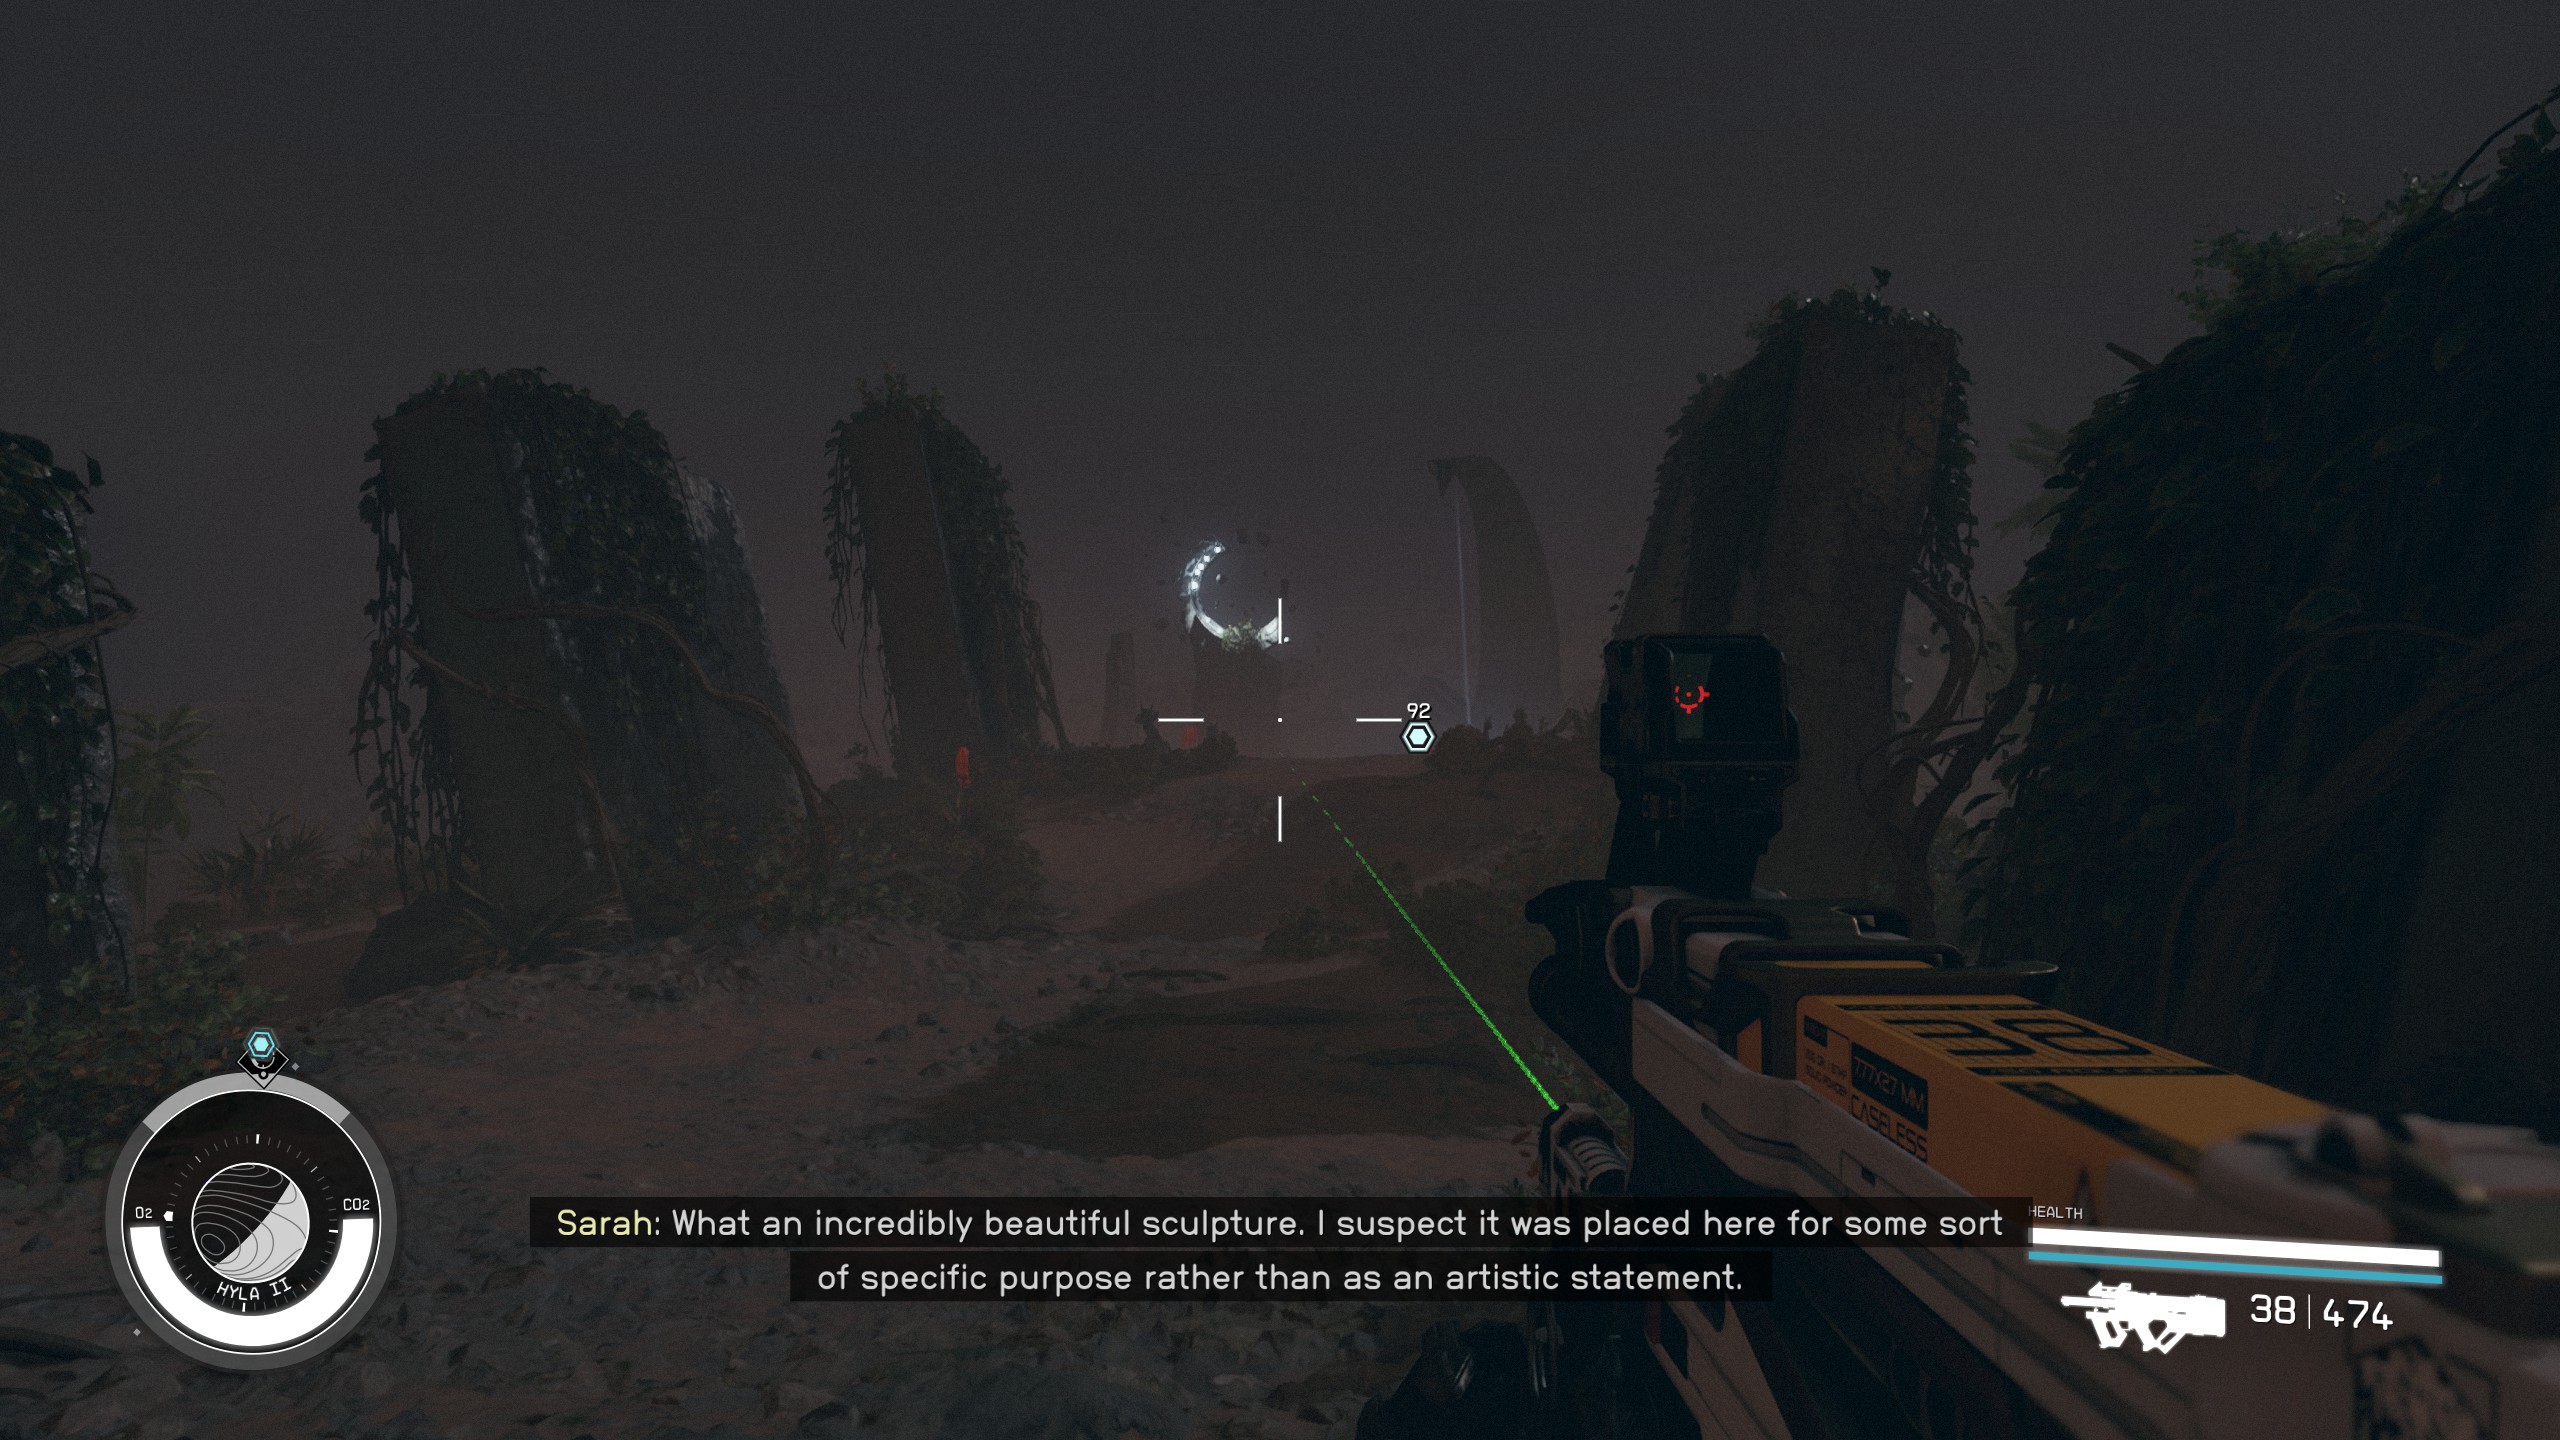
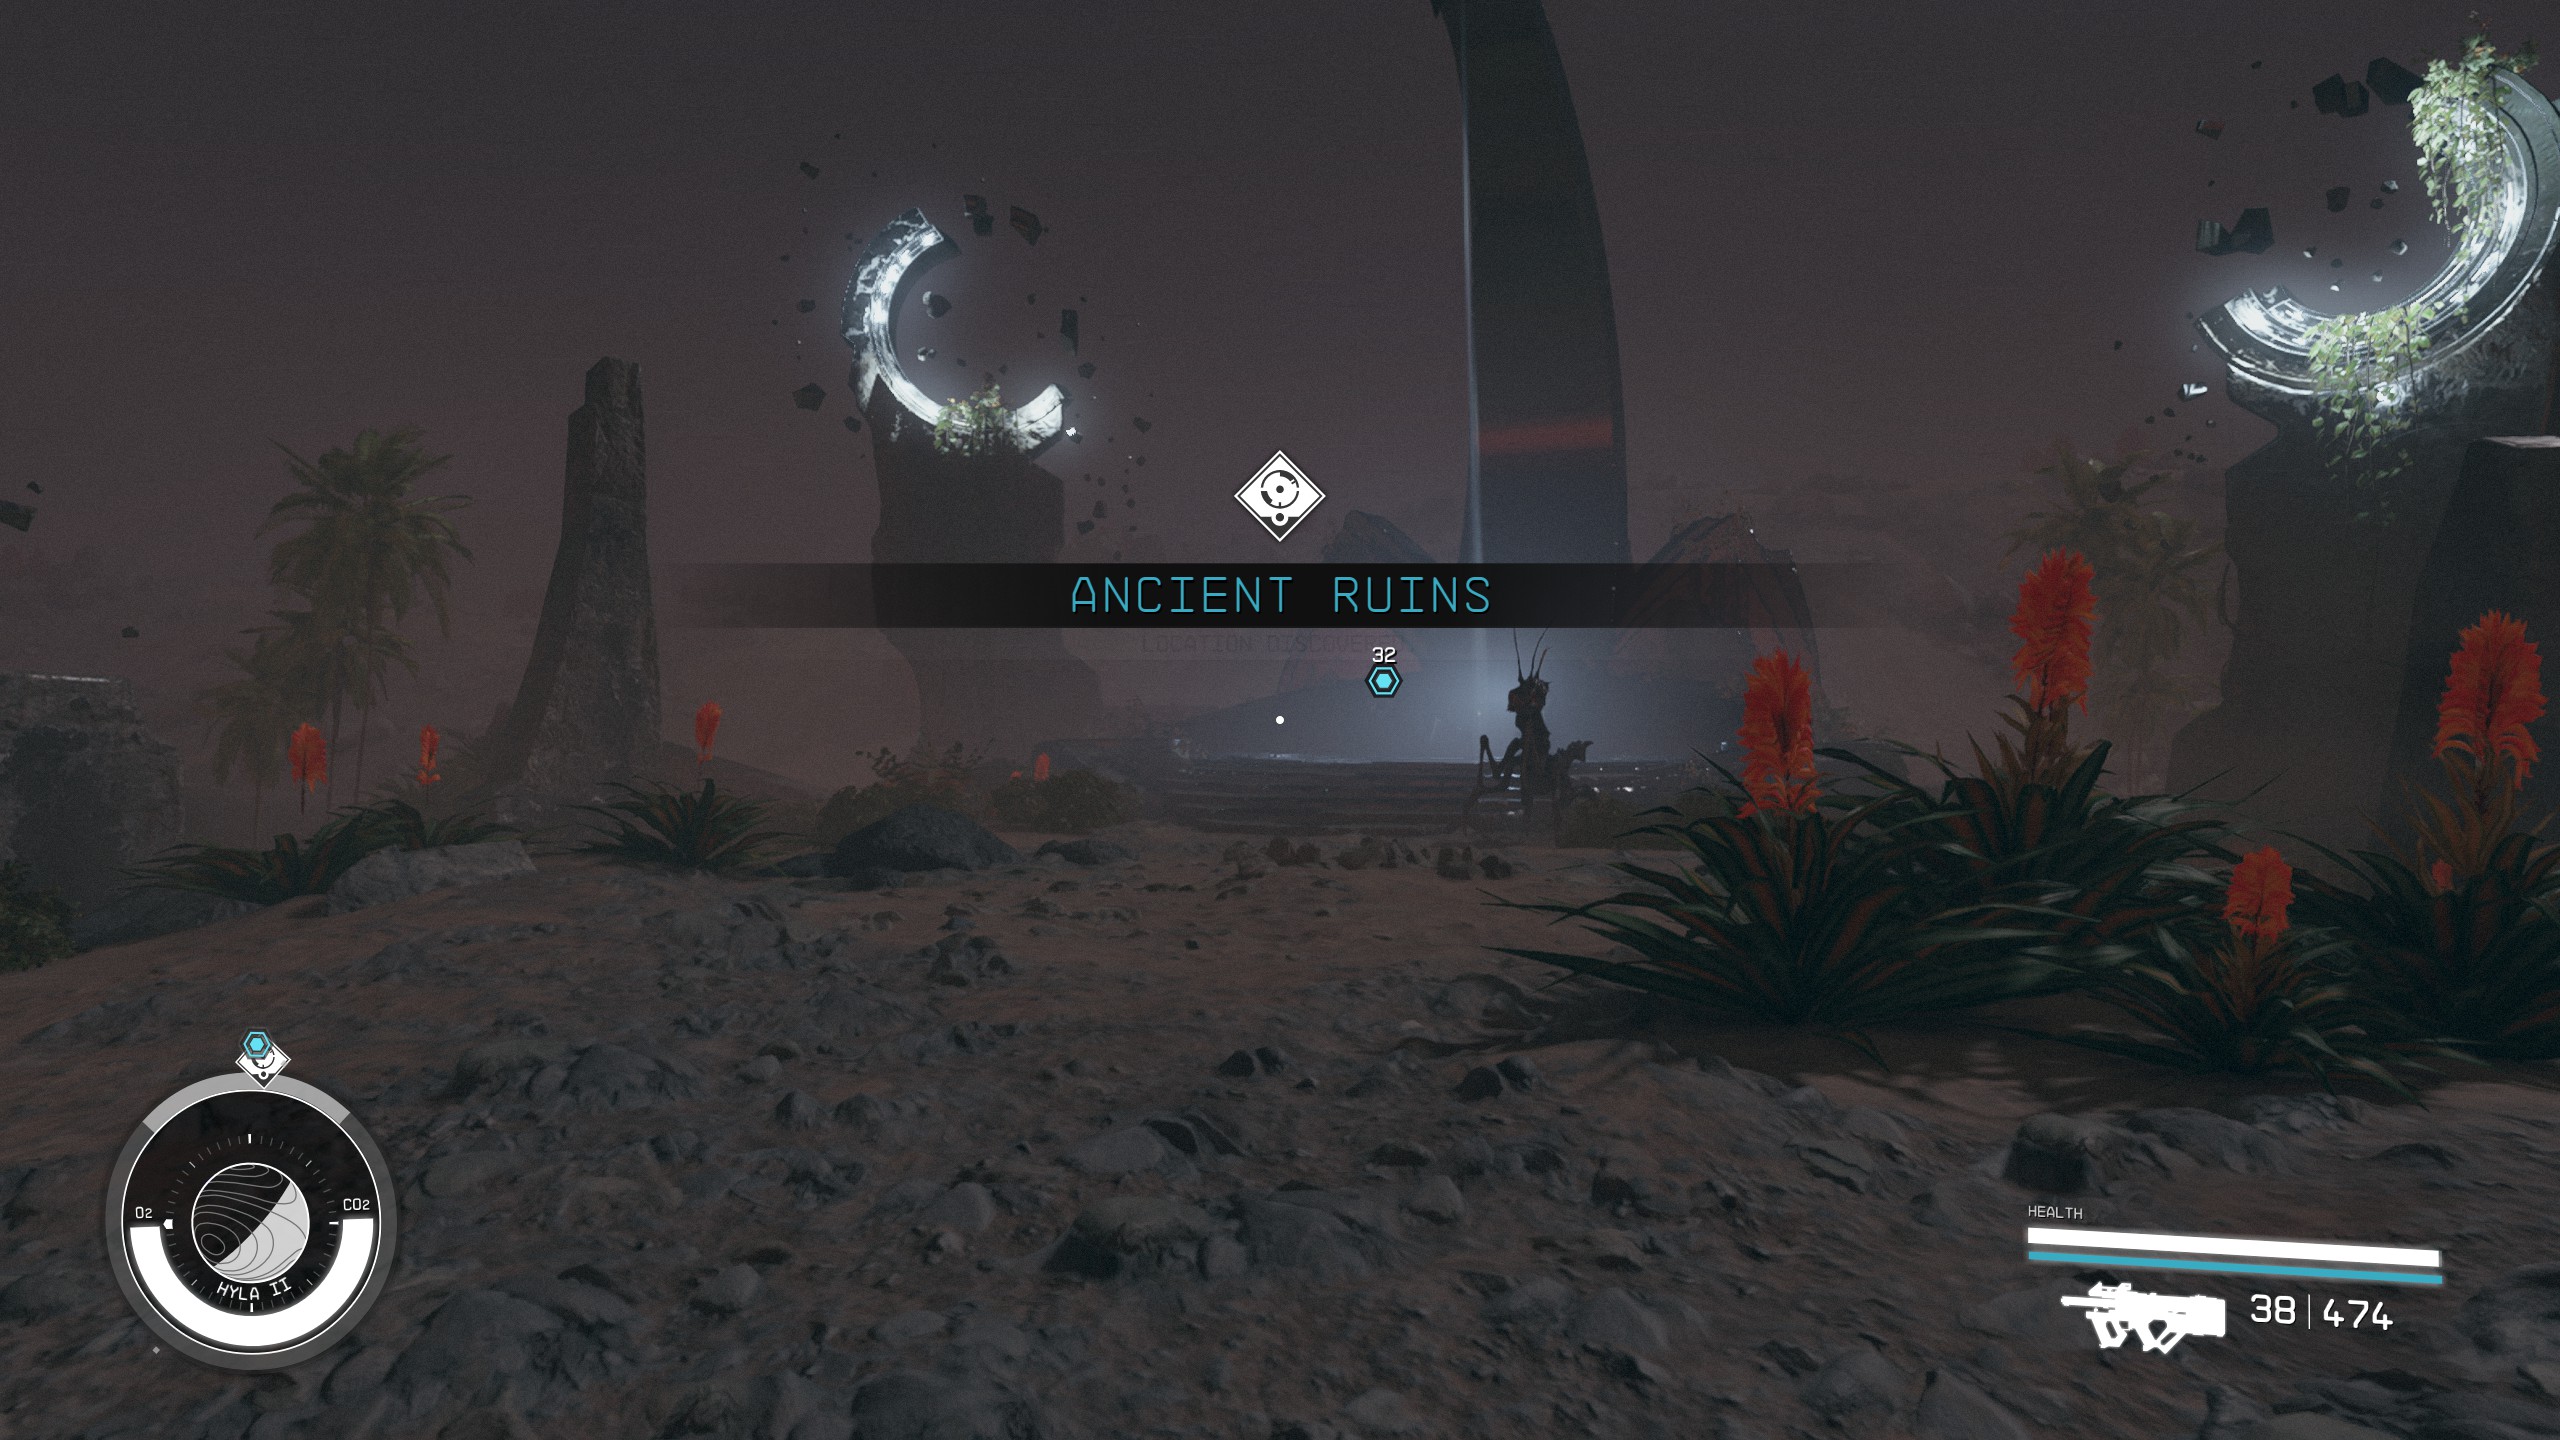
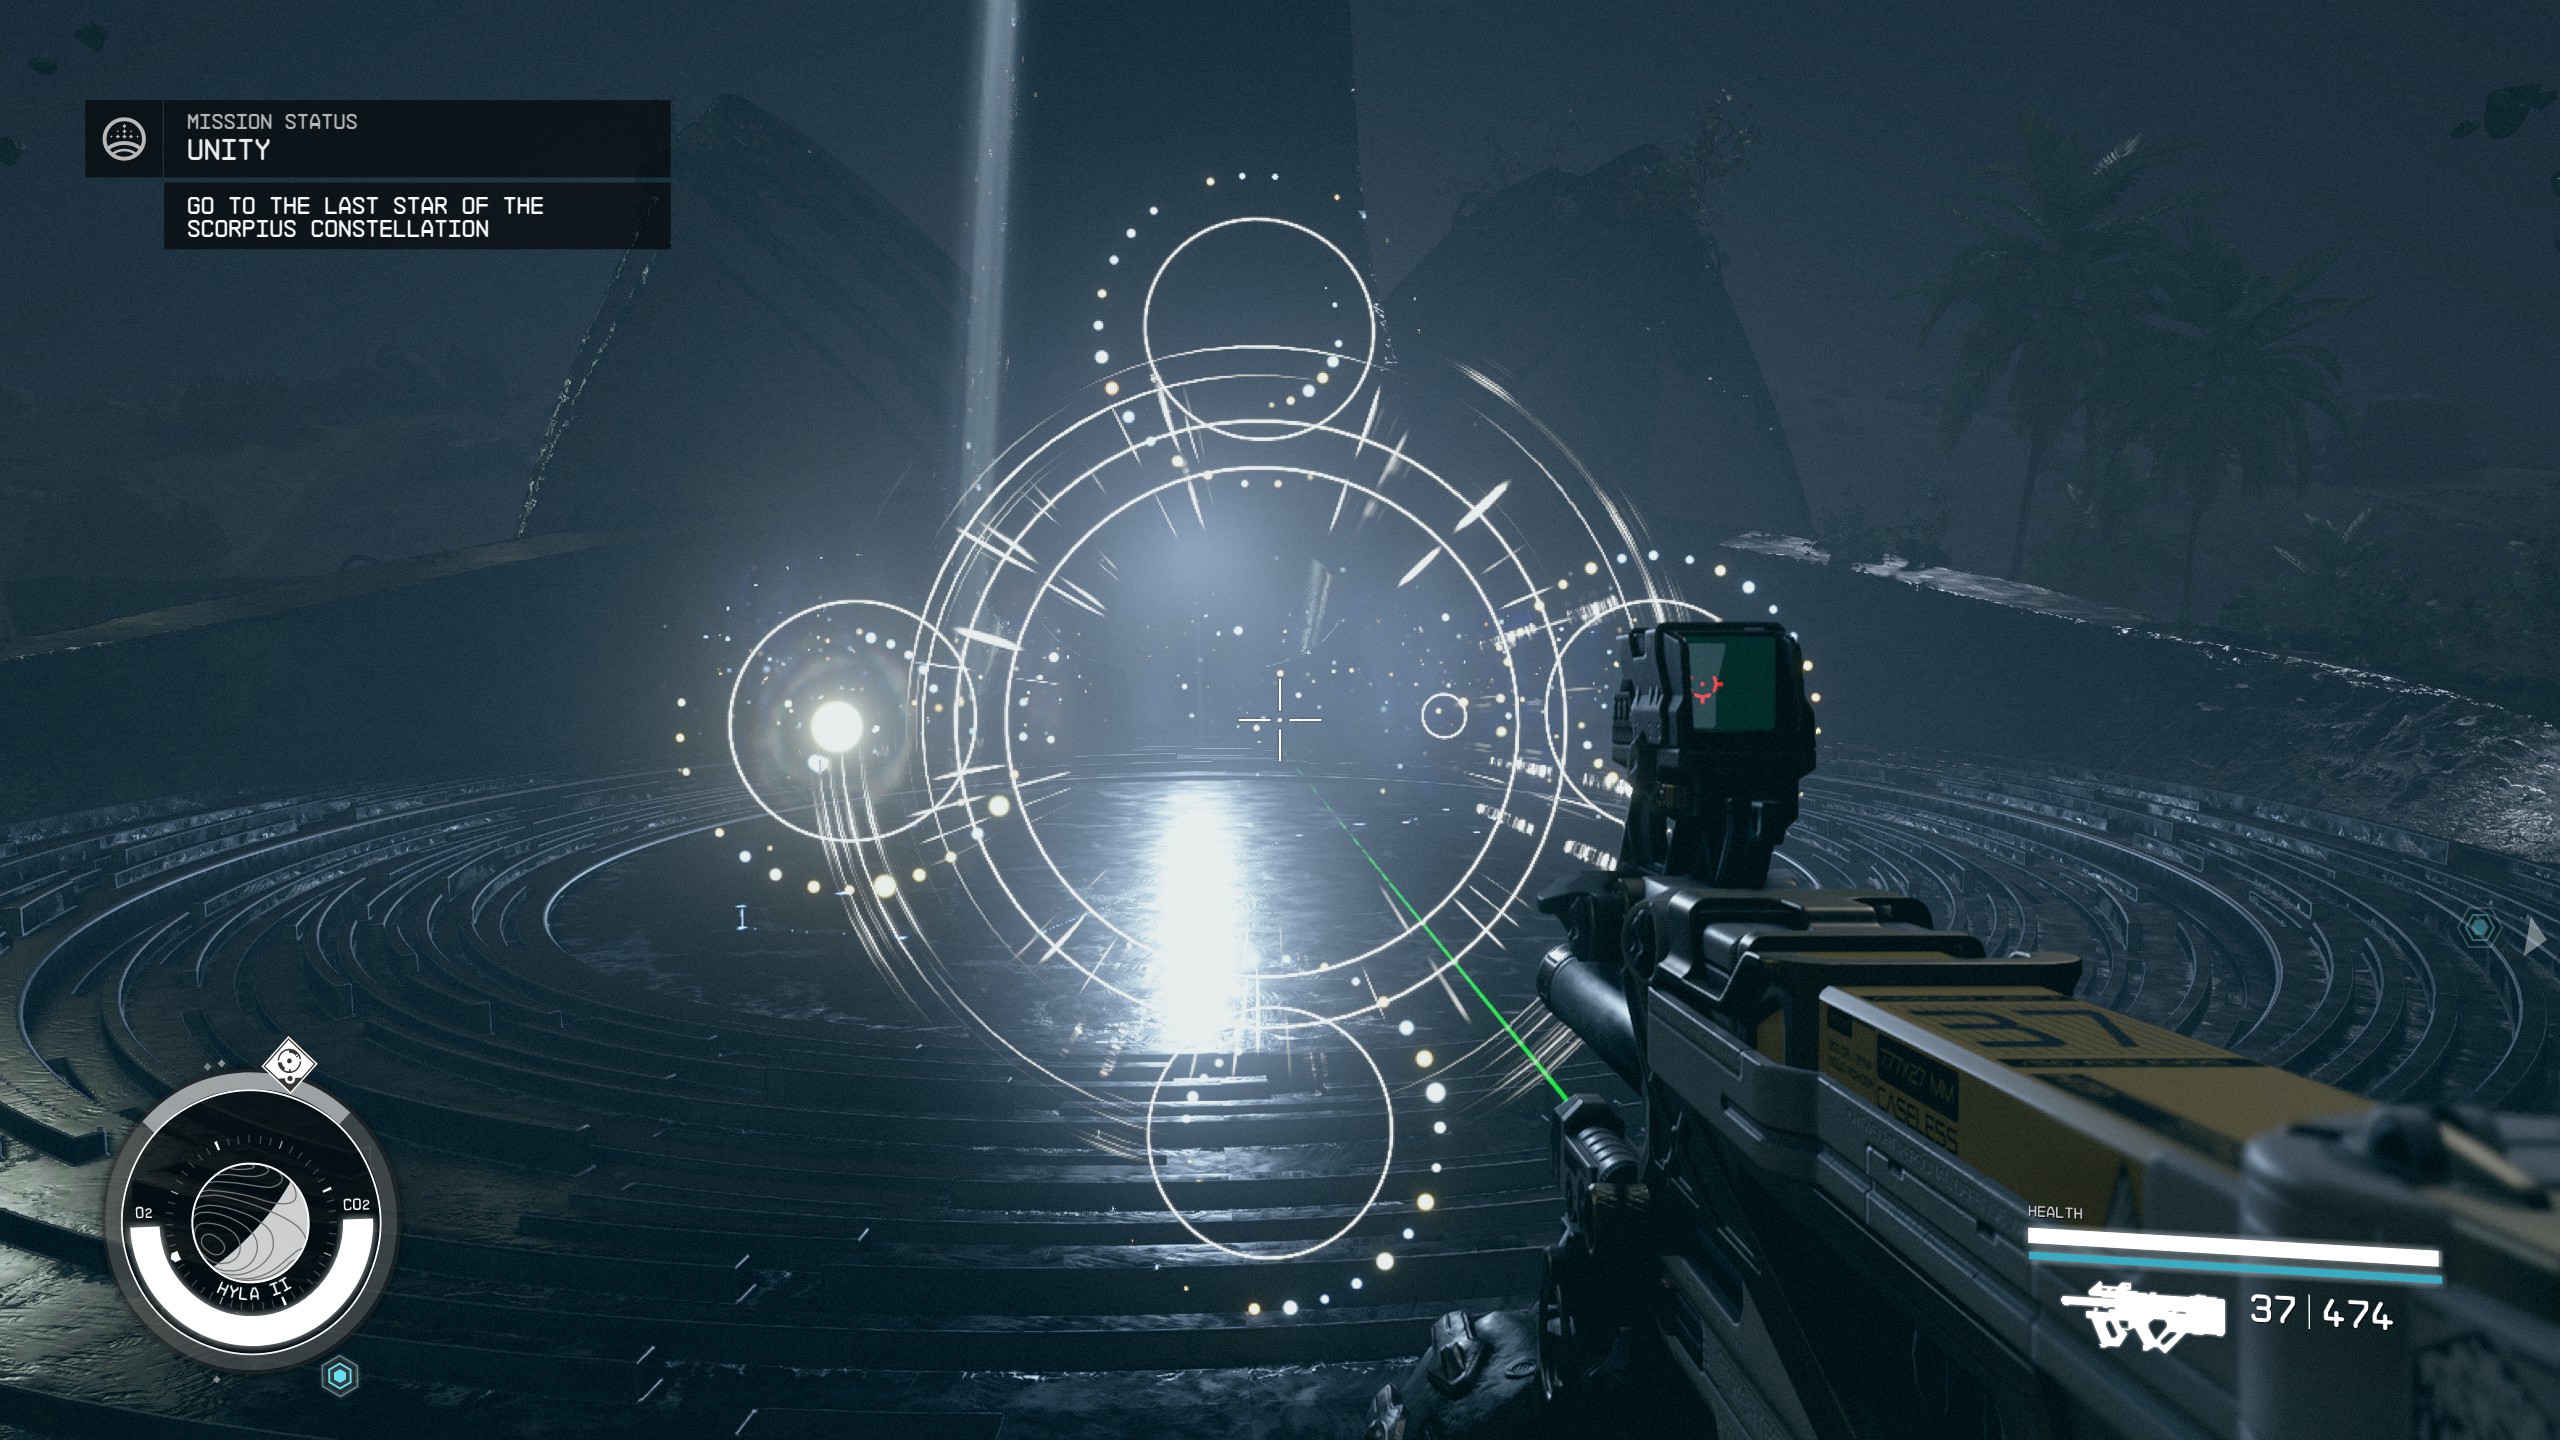
The mission now shifts its focus to Hyla II in the Hyla system, where you'll need to locate the "Scorpion’s Sting" at the Ancient Ruins location. After landing, navigate through hostile fauna and reach the marked objective near a series of large statues. Here you'll find a glowing glyph puzzle. The objective is to align the beams of light in a specific pattern by interacting with the four circles surrounding the glyph. Align them so the beam moves to the bottom left of the constellation, particularly at the end of the hook.
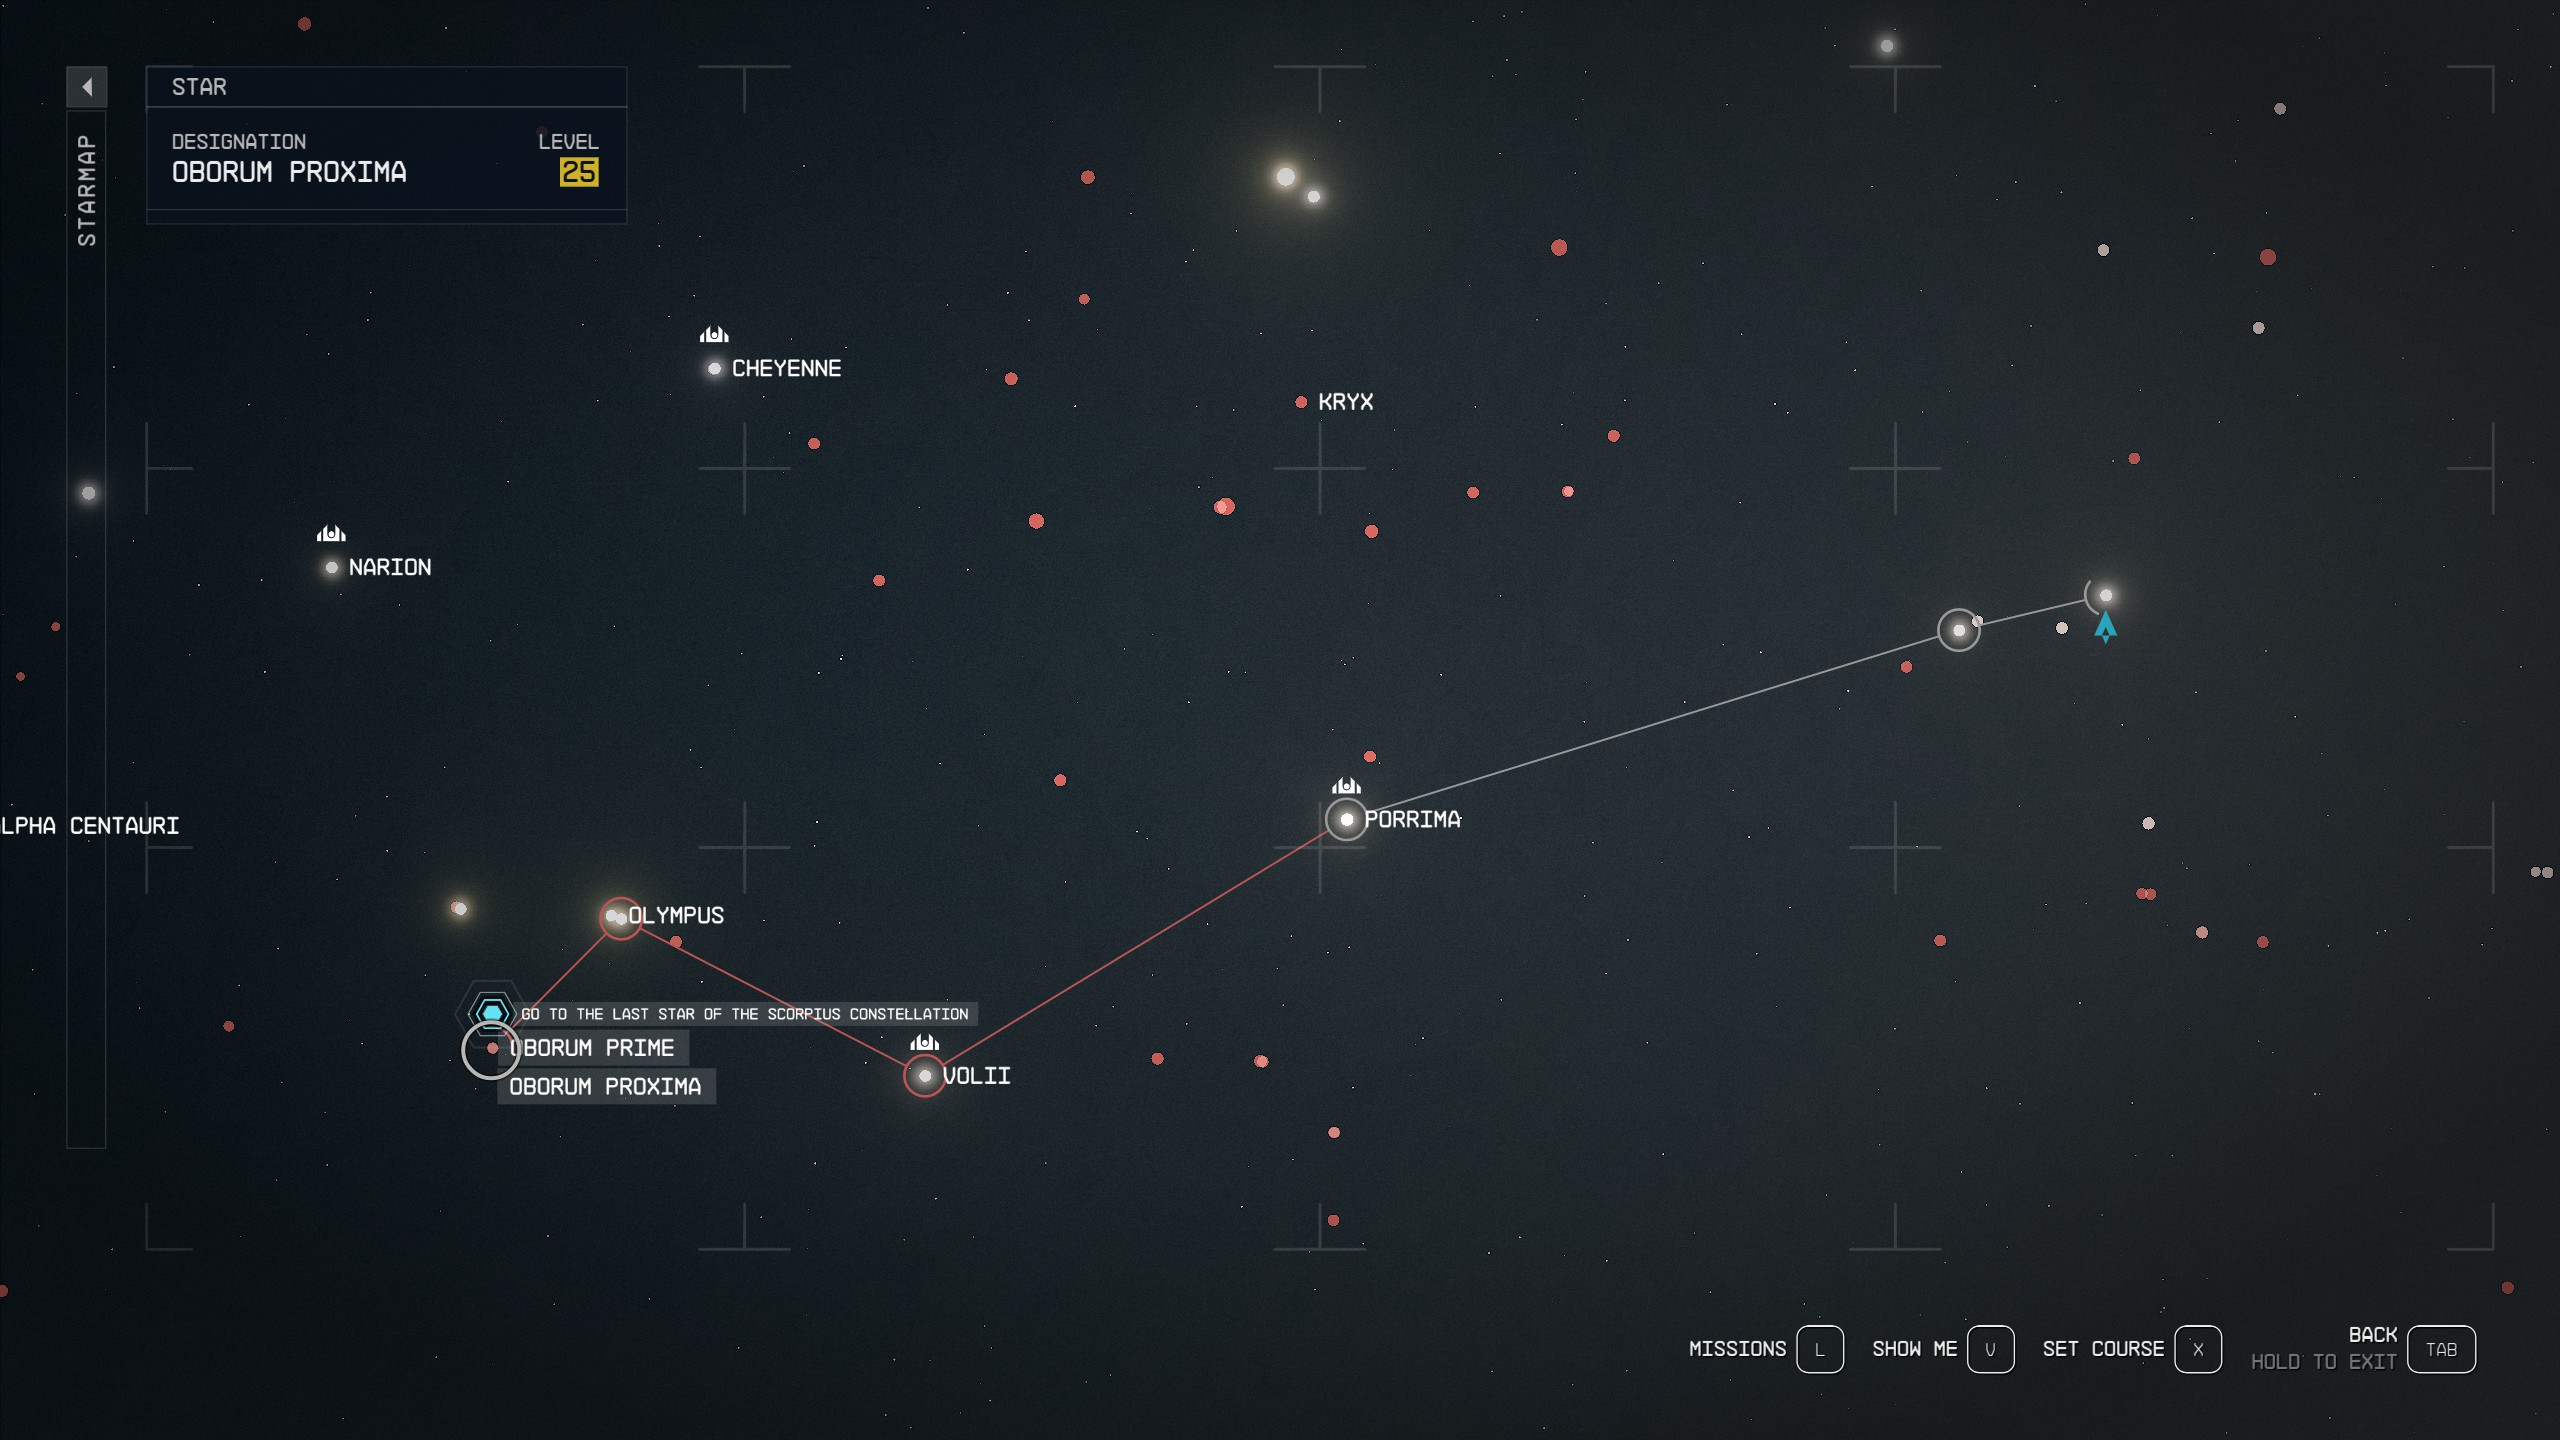
Once this puzzle is solved, your next destination is Oborum III in the Oborum system. This marks the final leg of the mission, which concludes as soon as you warp into the planet's orbit.
Tips and Tricks
Objectives
Talk to Keeper Aquilus
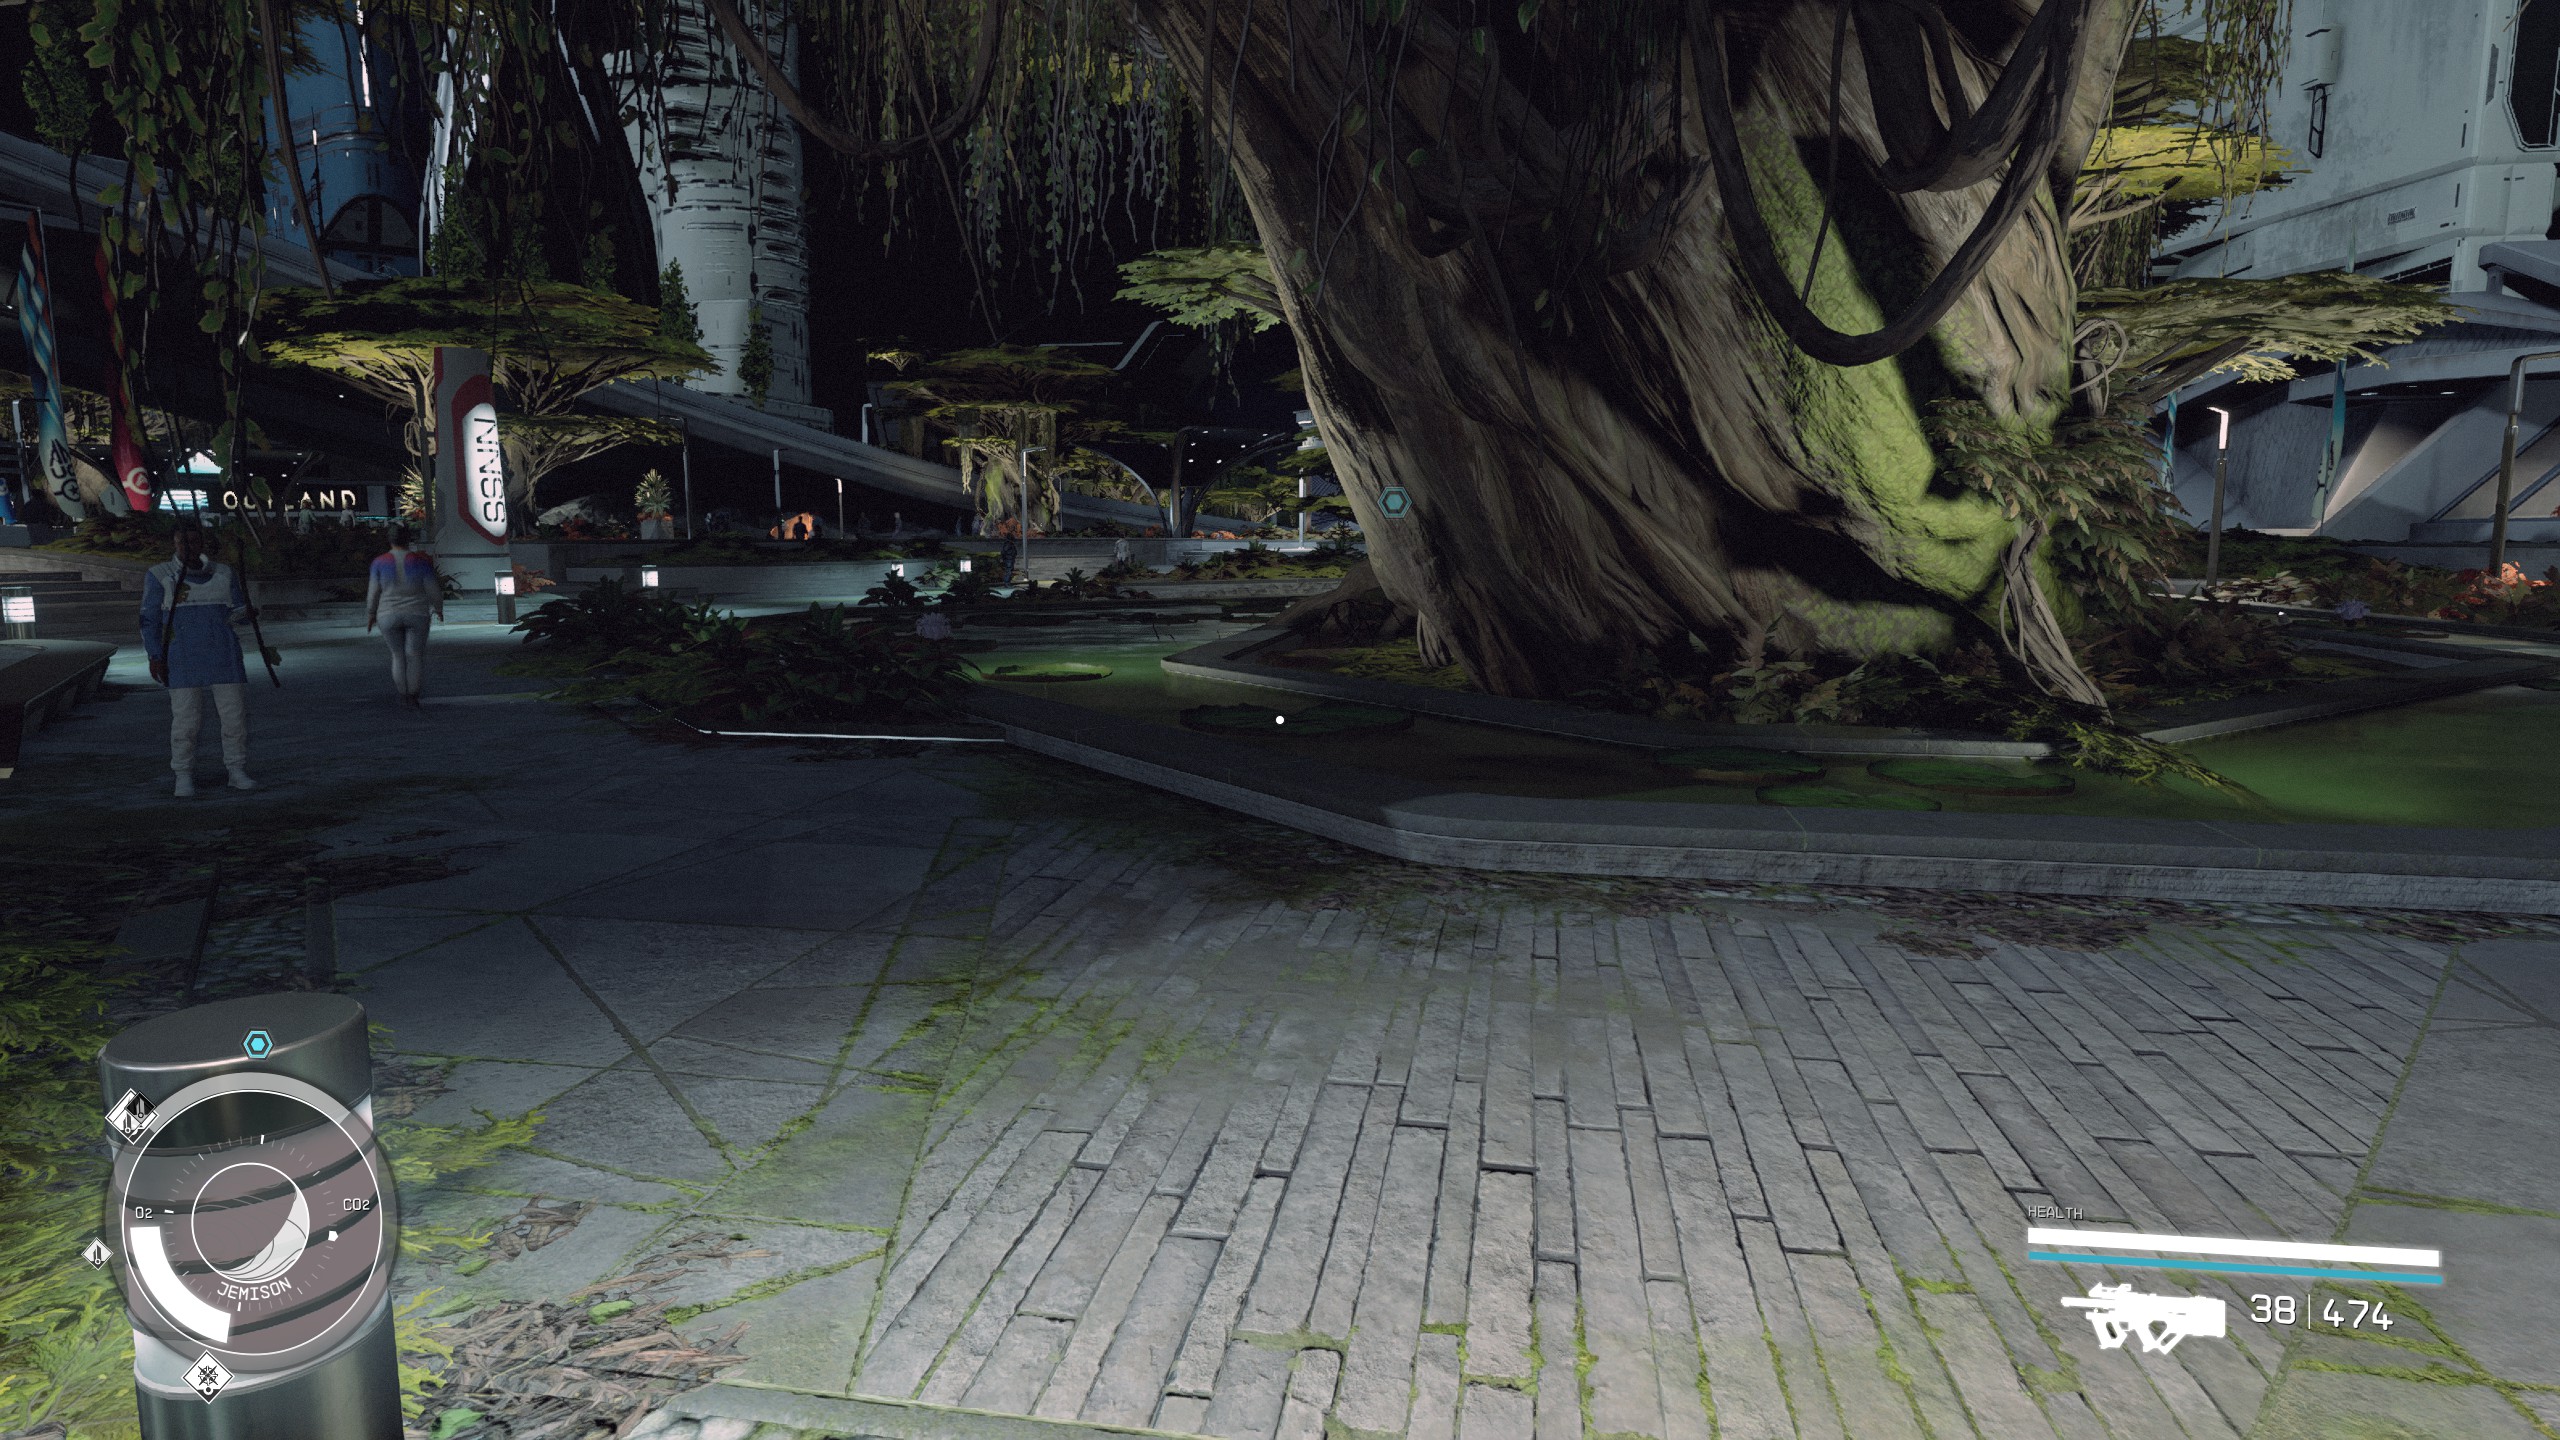
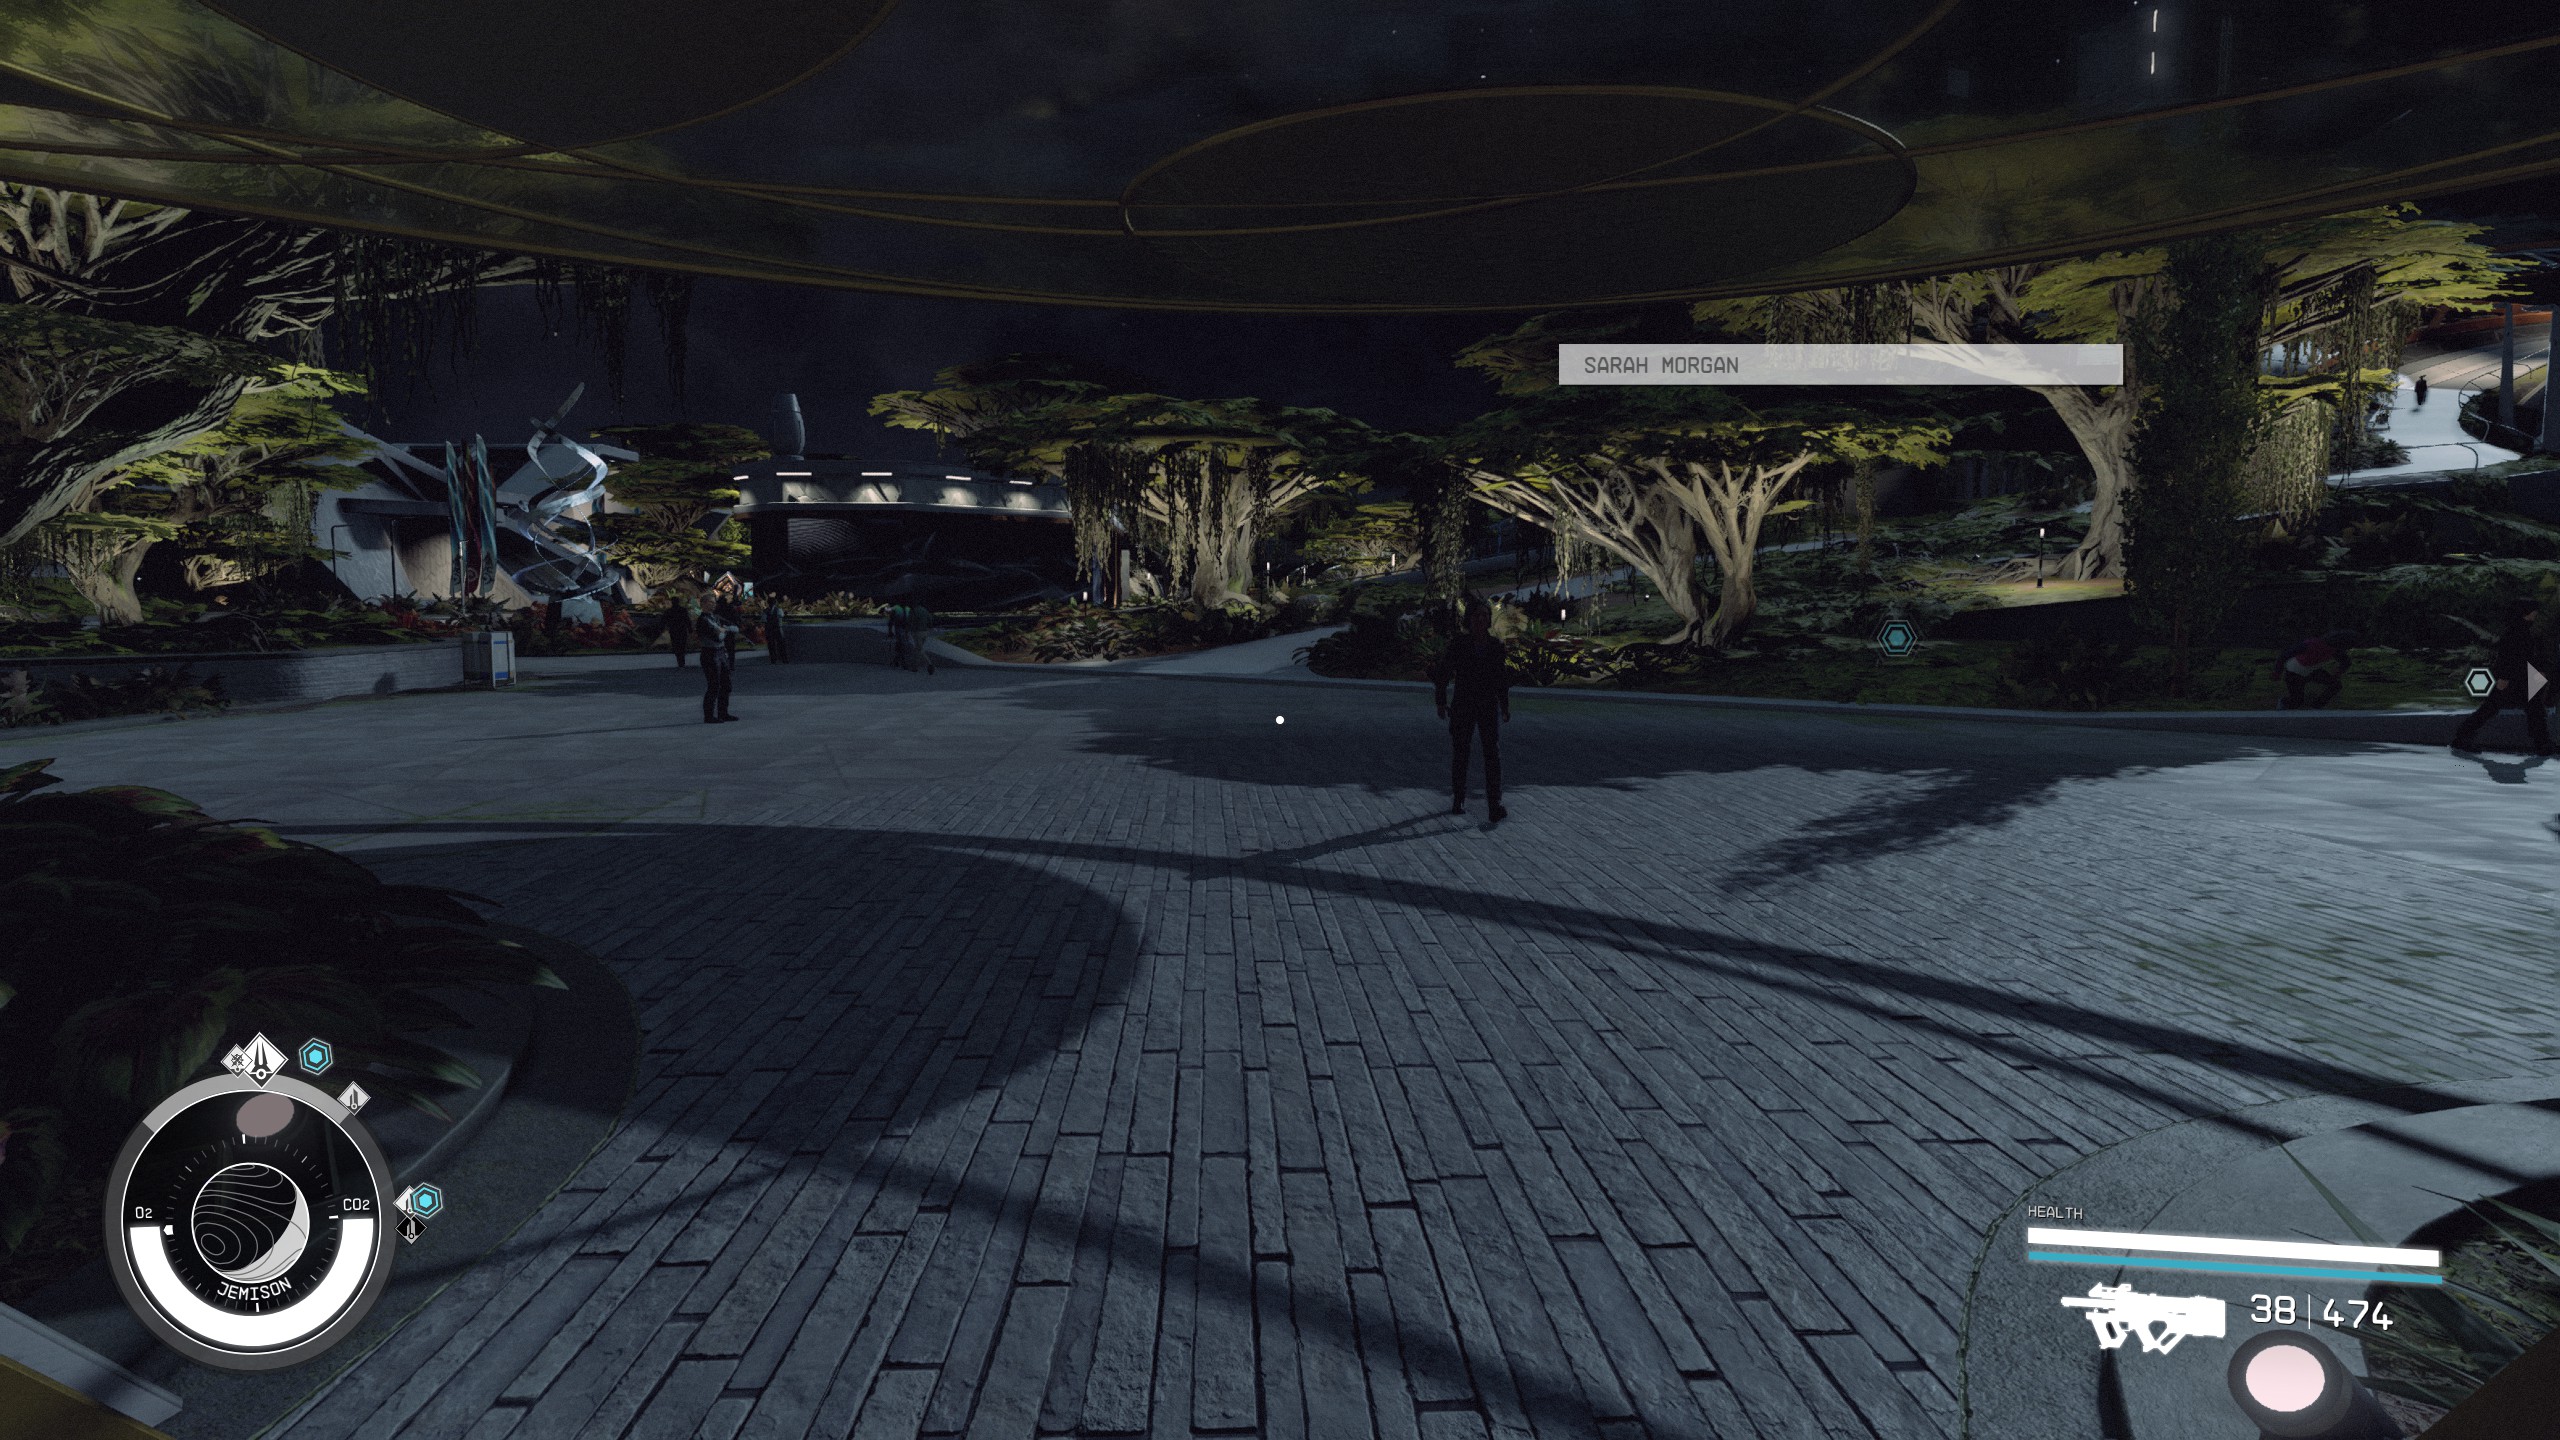
- Go straight out from the Lodge and past the large tree on the right.
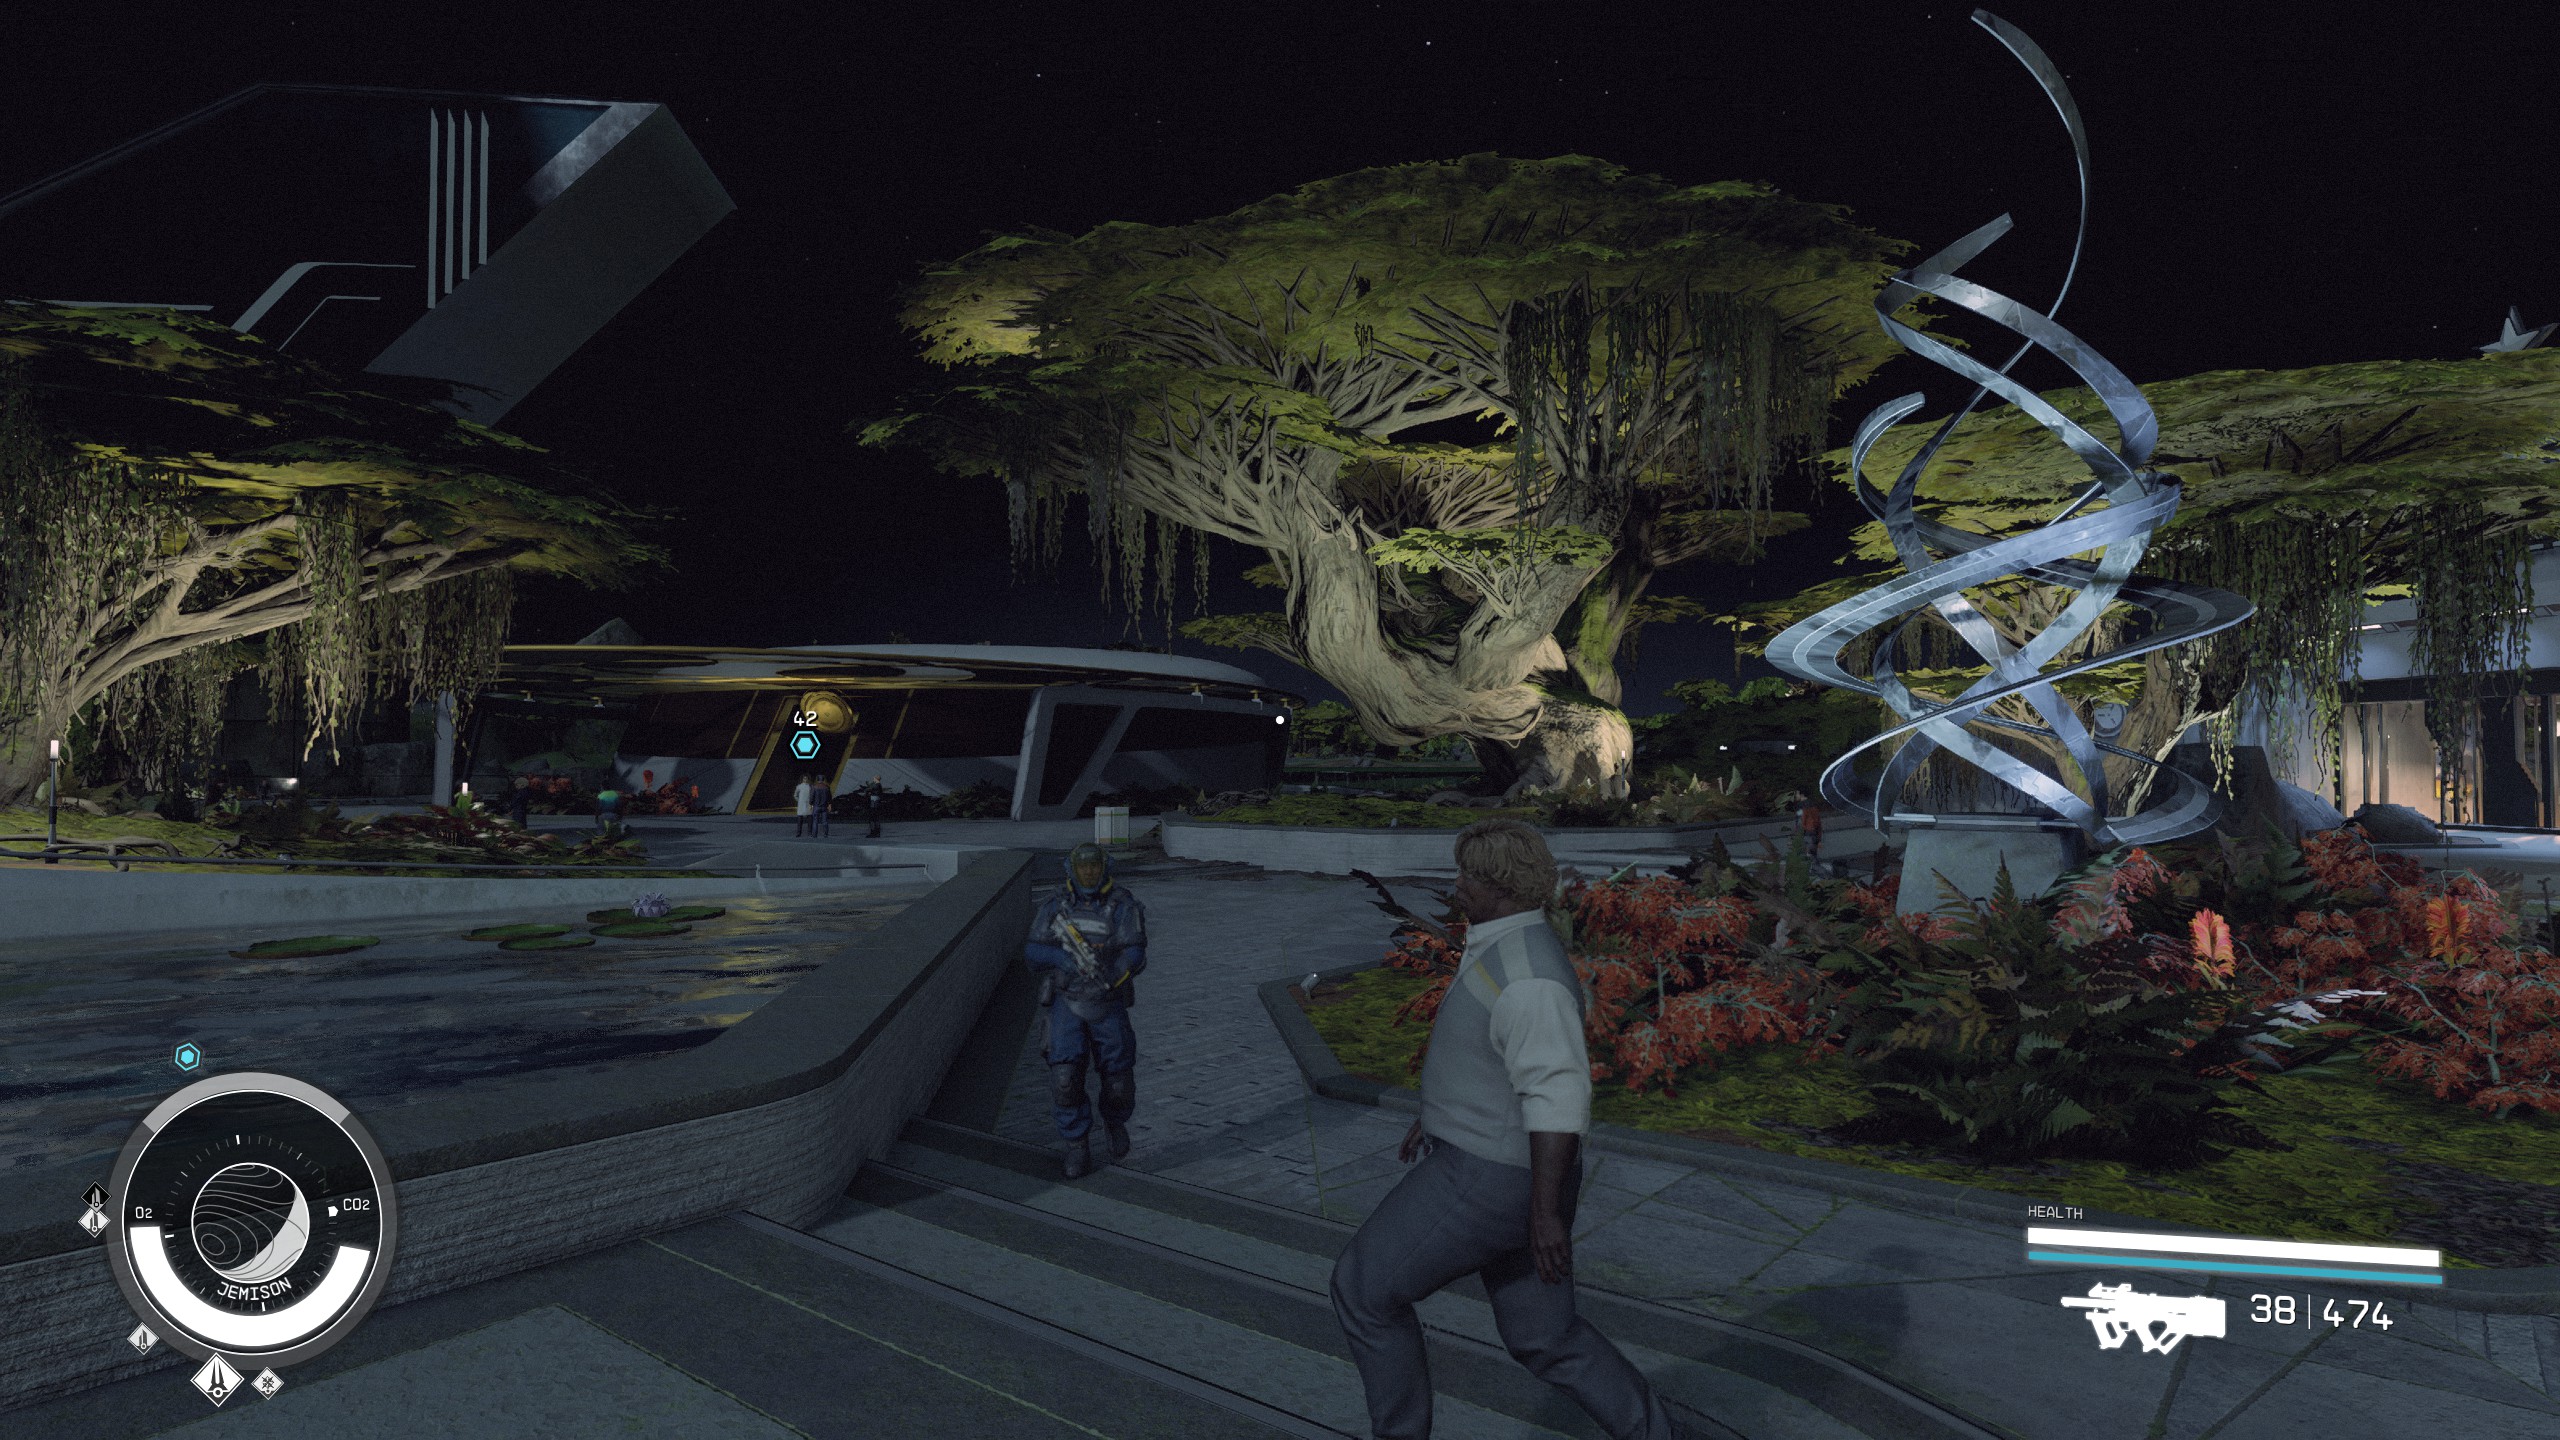
- Keep walking straight through the area with the sculpture and you will start to see the Sanctum in the distance.
- Walk up to Keeper Aquilus and Matteo.
- Speak with Keeper Aquilus and ask him if you can talk to him about "Unity". He will ask you to come inside the Sanctum to talk.
Enter the Sanctum Universum
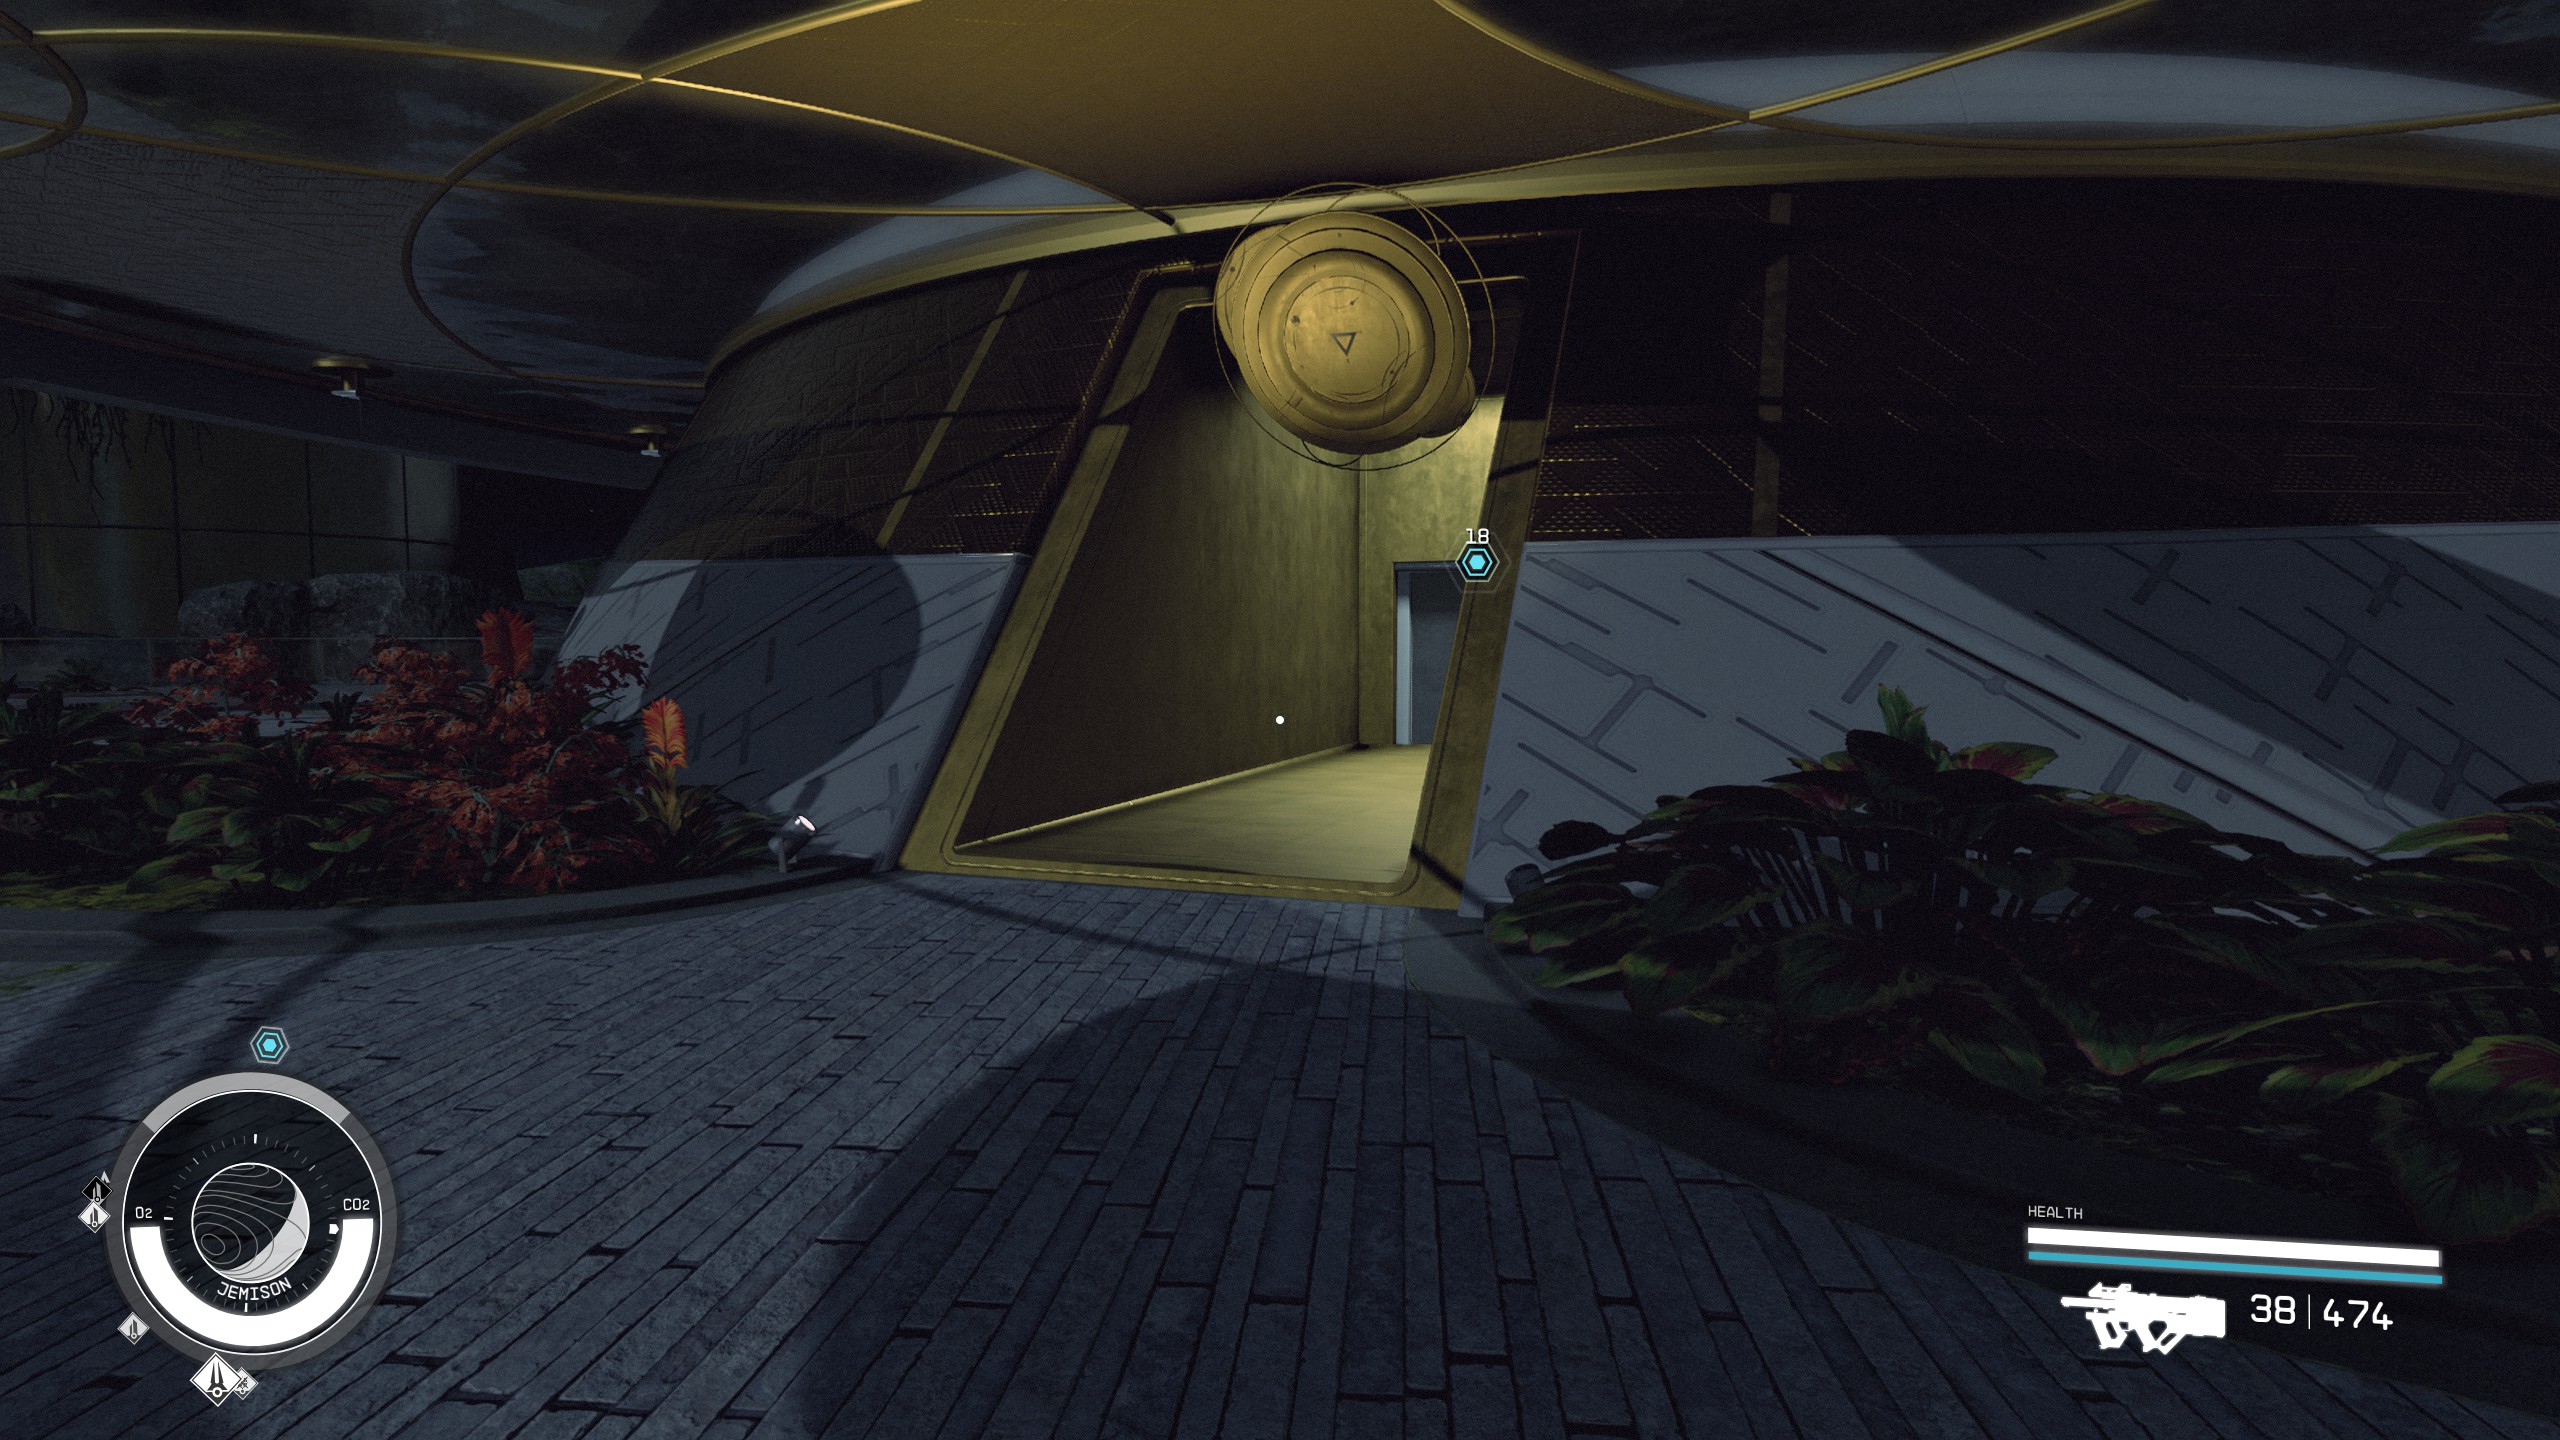
- Follow Keeper Aquilus and Matteo into the Sanctum.
- Go to the left of the room and enter the office.
- You will see Keeper Aquilus and Matteo sitting around a desk. They will ask you to join them.
Talk to Keeper Aquilus
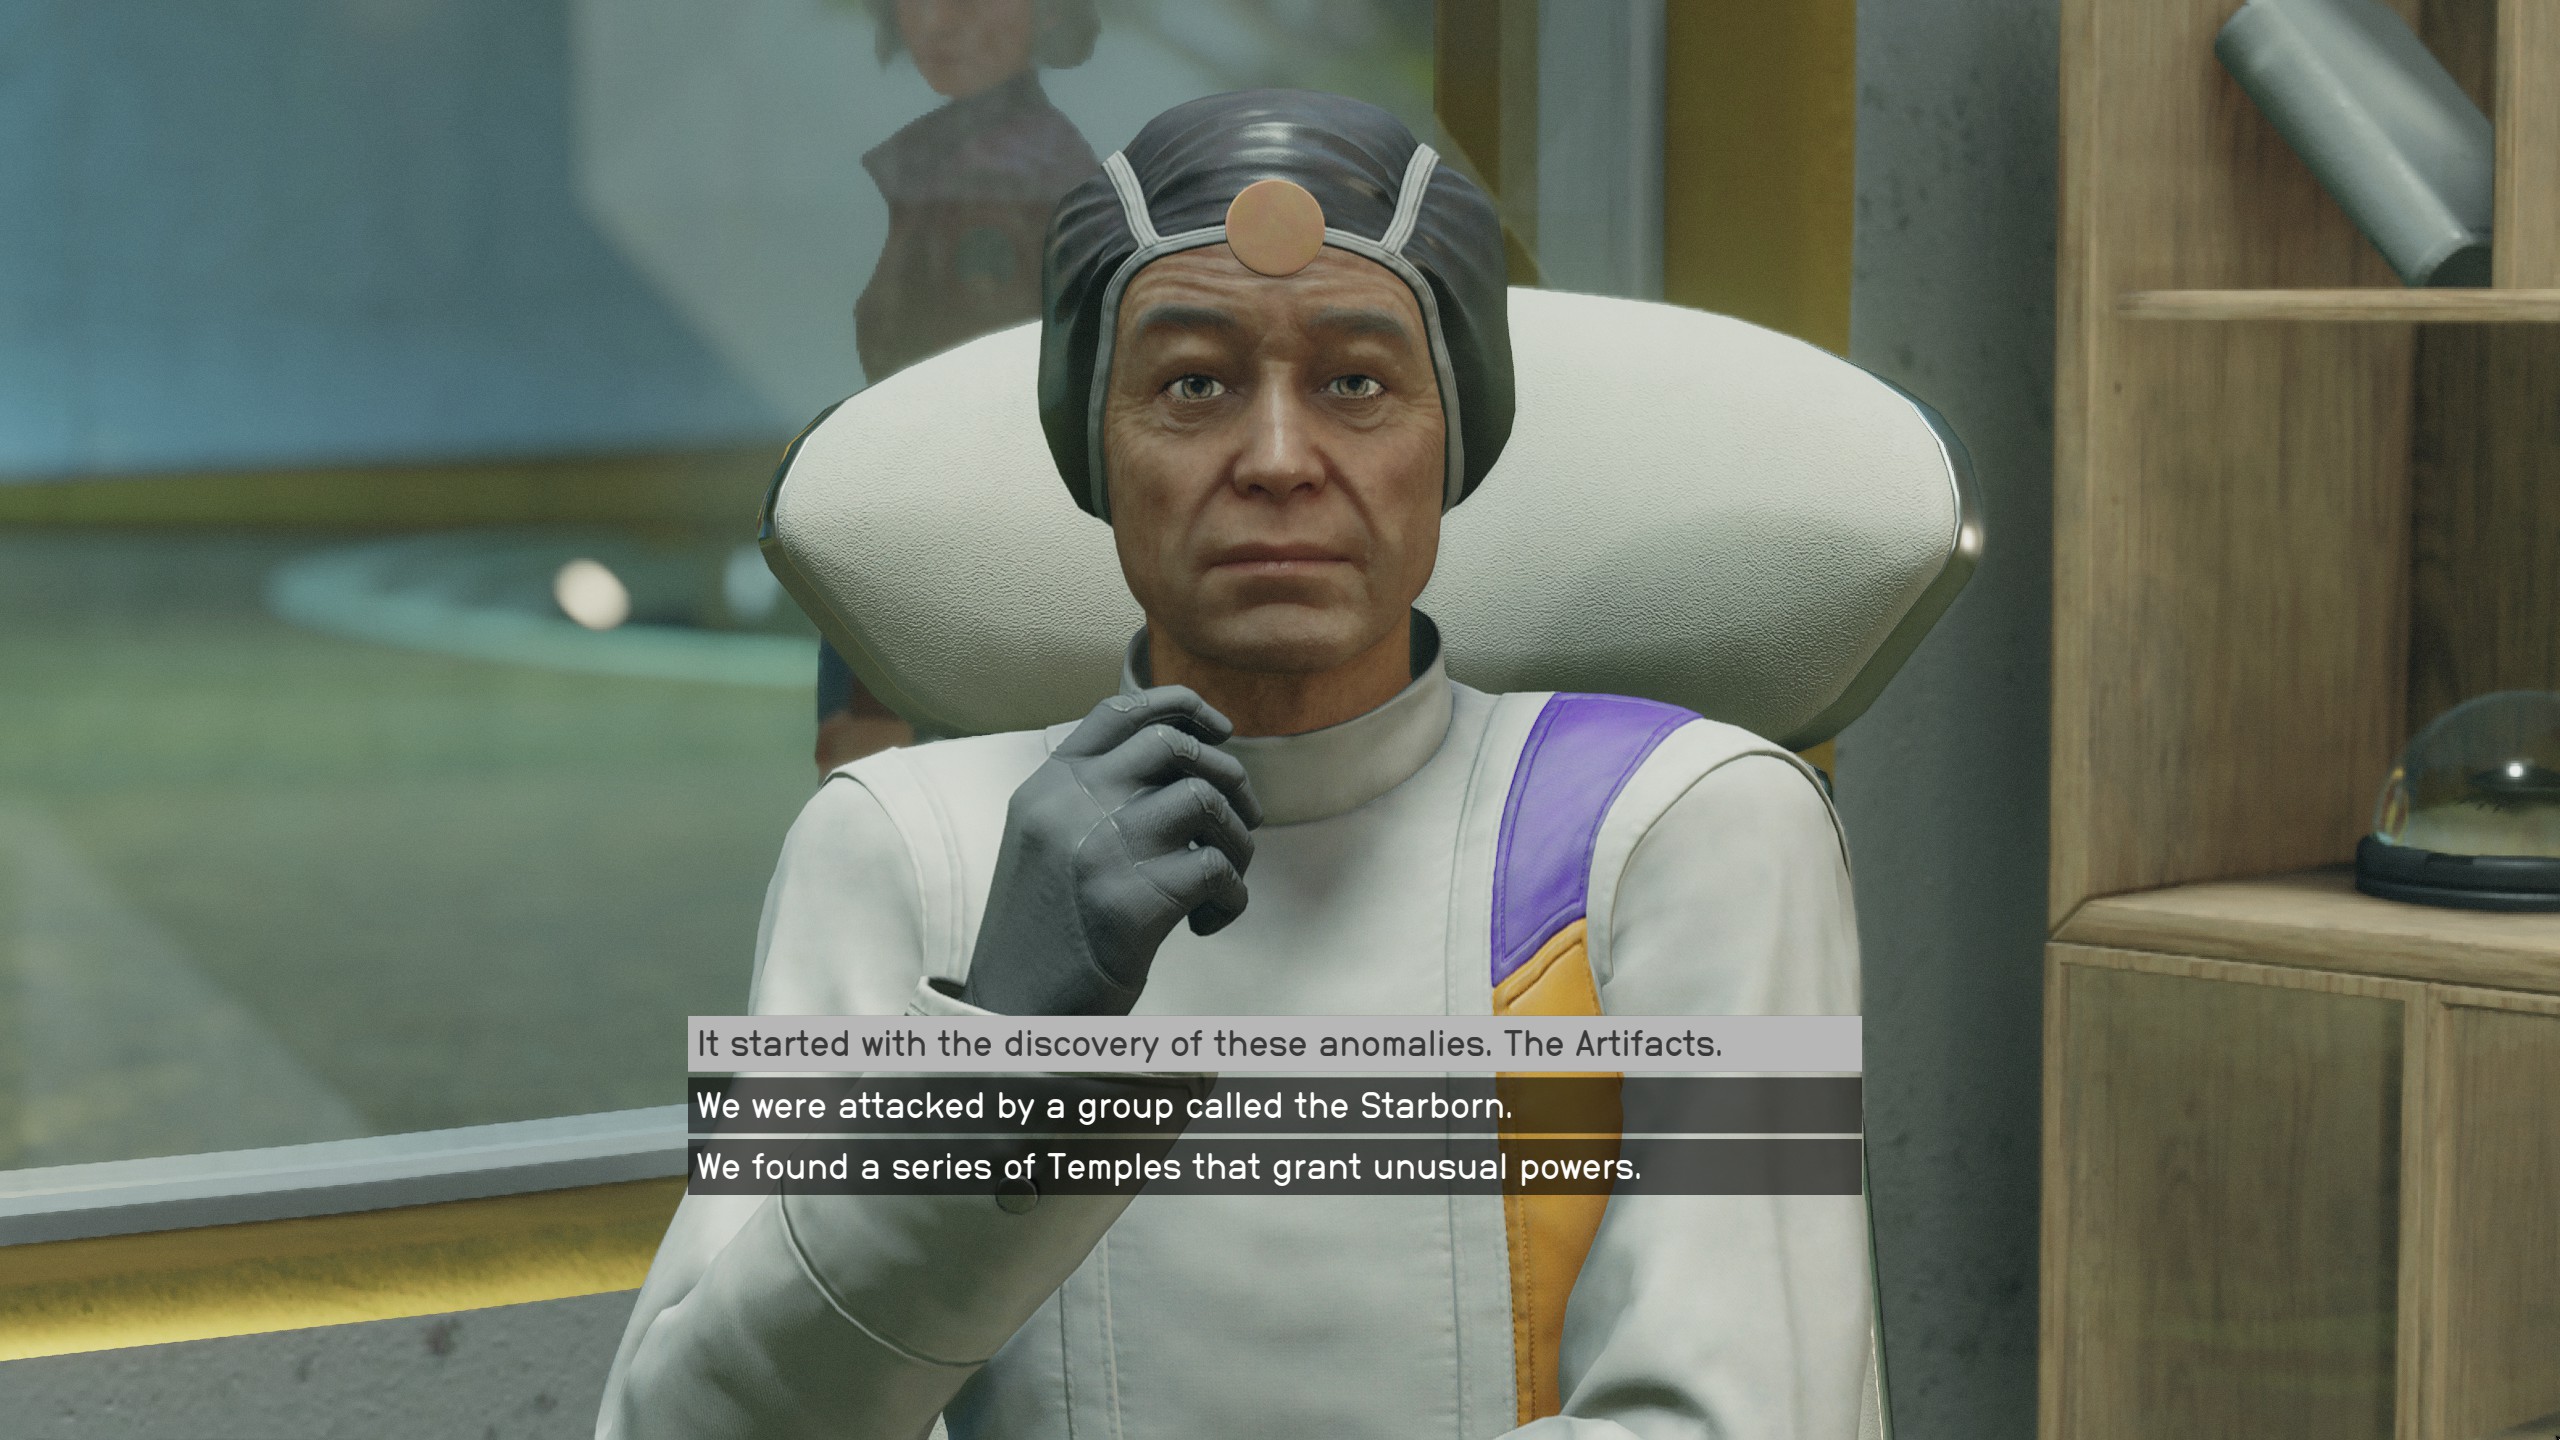
- After sitting down you will tell Keeper Aquilus about the Artifacts.
- He will tell you about an old story that he once heard about a pilgrim with knowledge of "Unity".
- Keeper Aquilis will suggest that you go and speak with the House of Enlightenment and the Va'Ruun prisoner to ask them about their versions of the pilgrim's story.
- Leave the office and go back outside into New Atlantis.
Talk to the House of Enlightenment
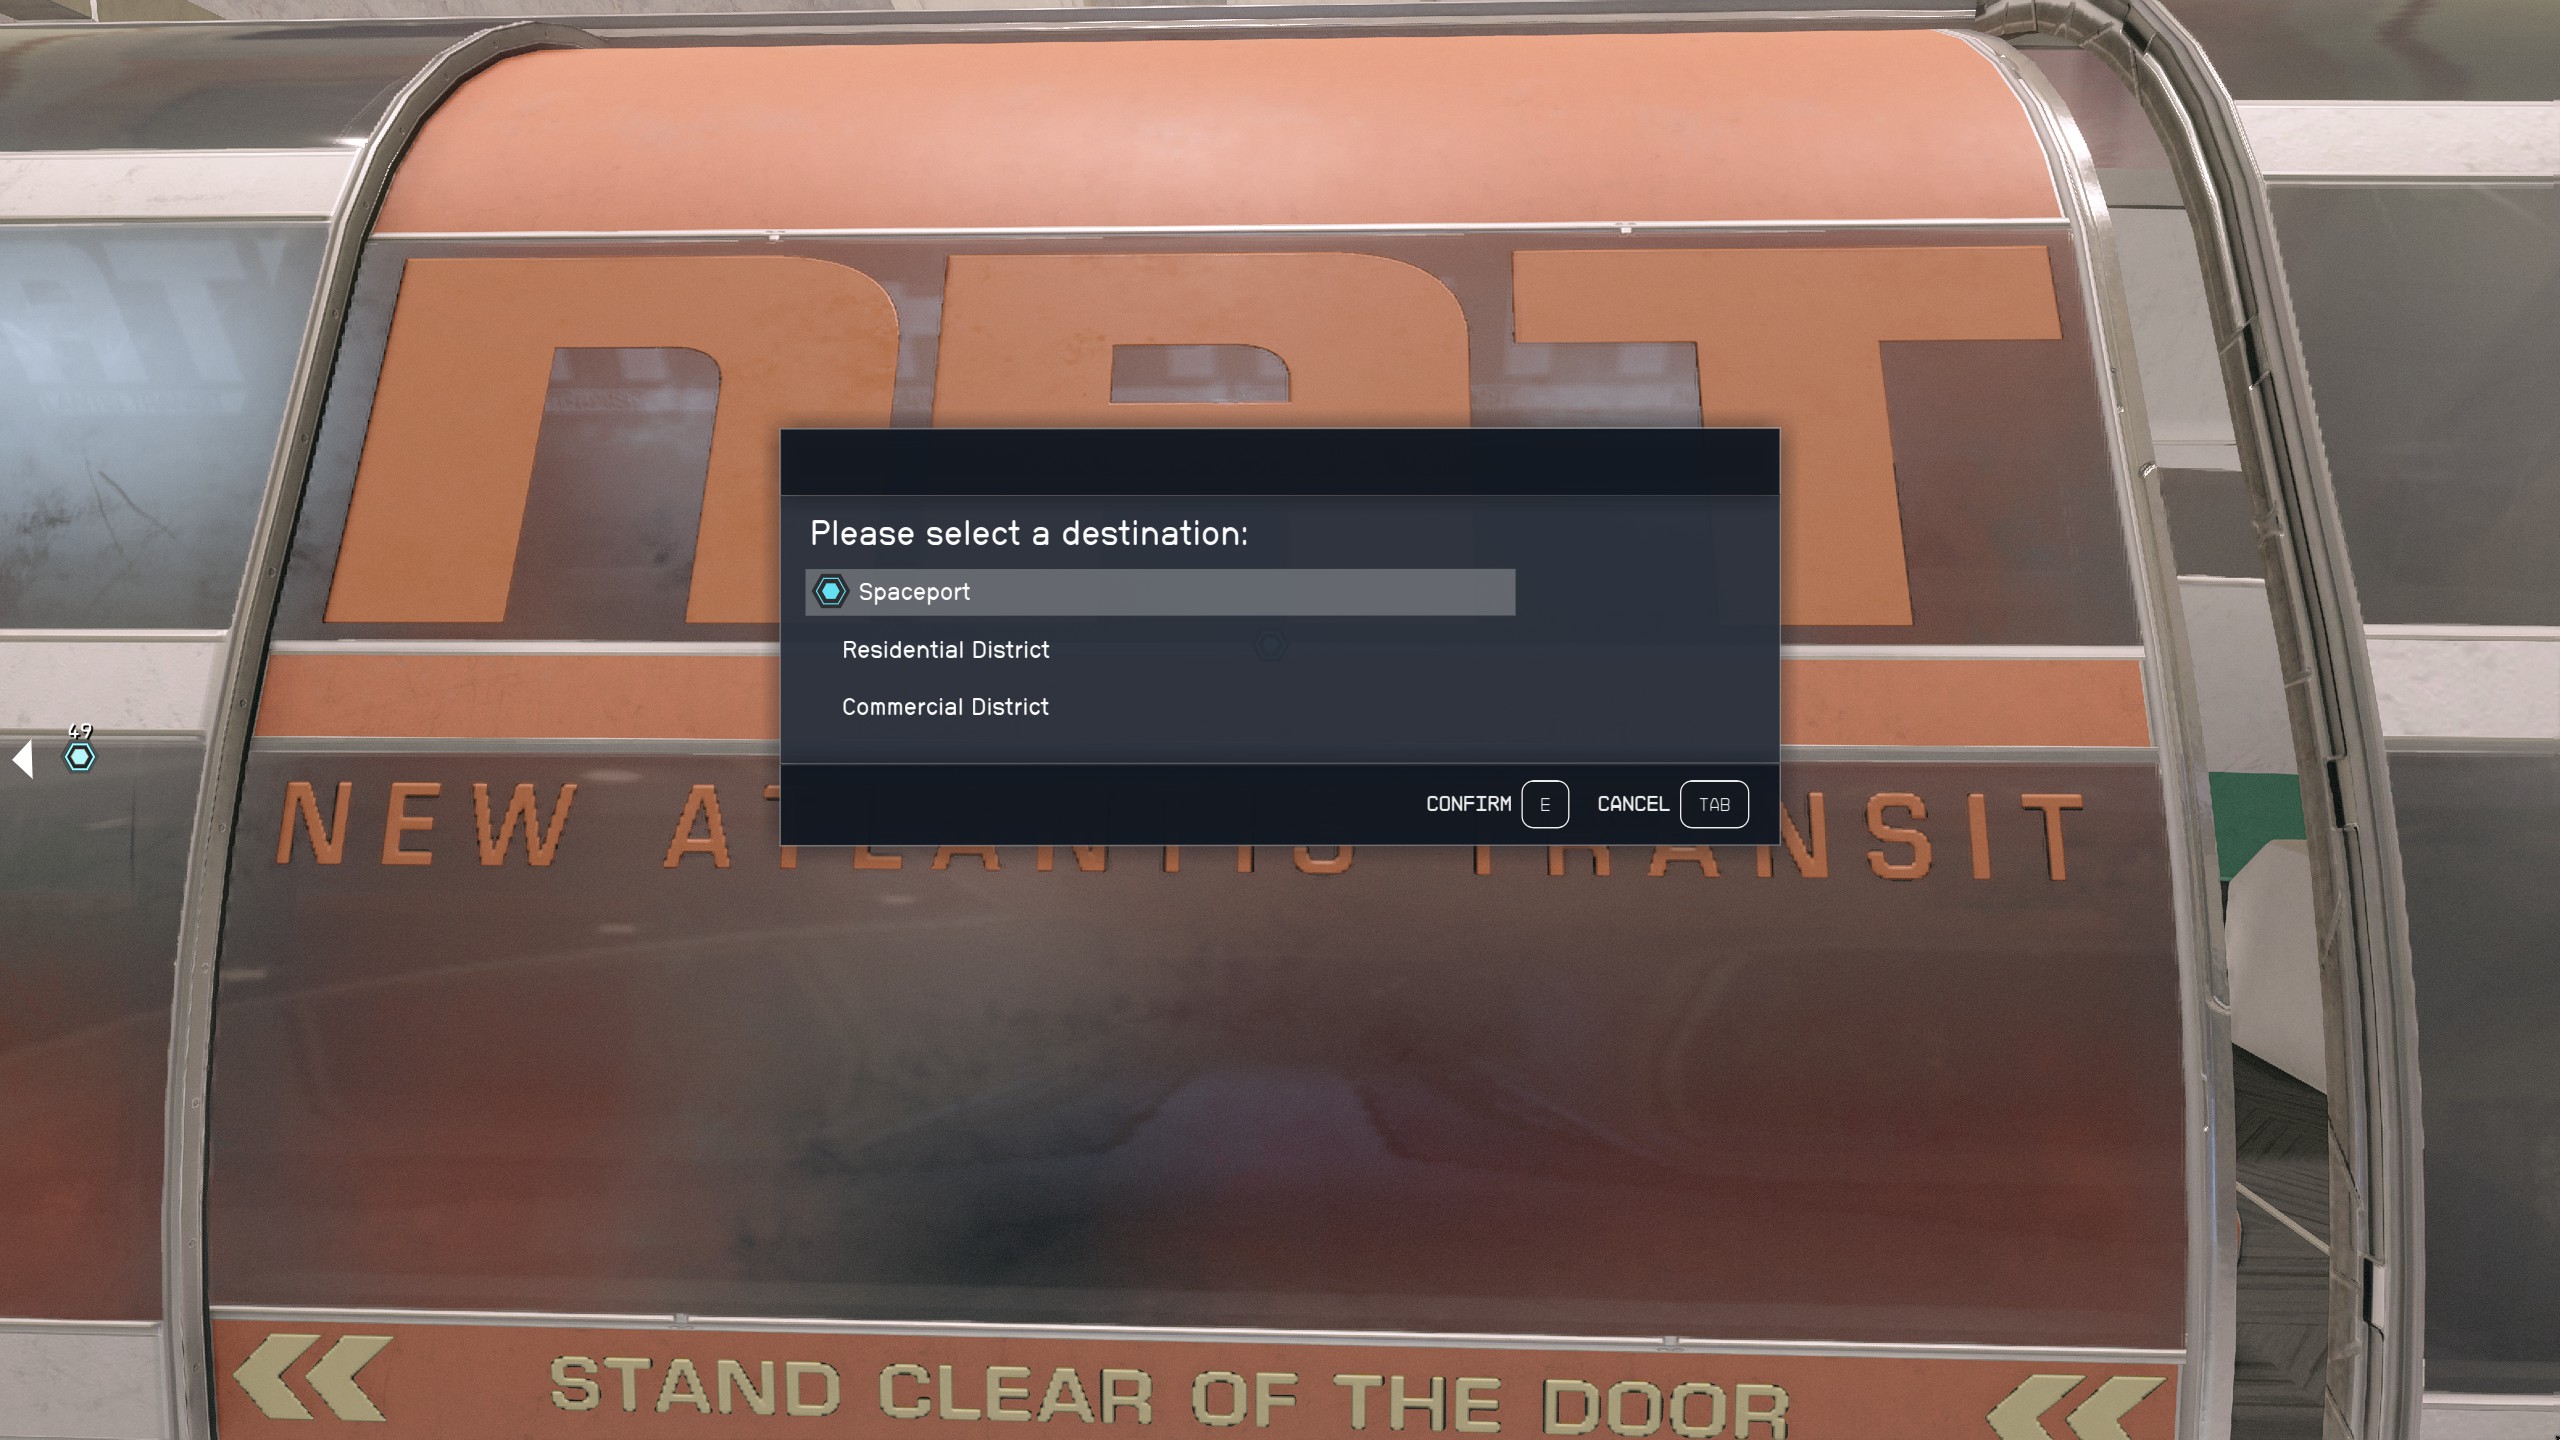
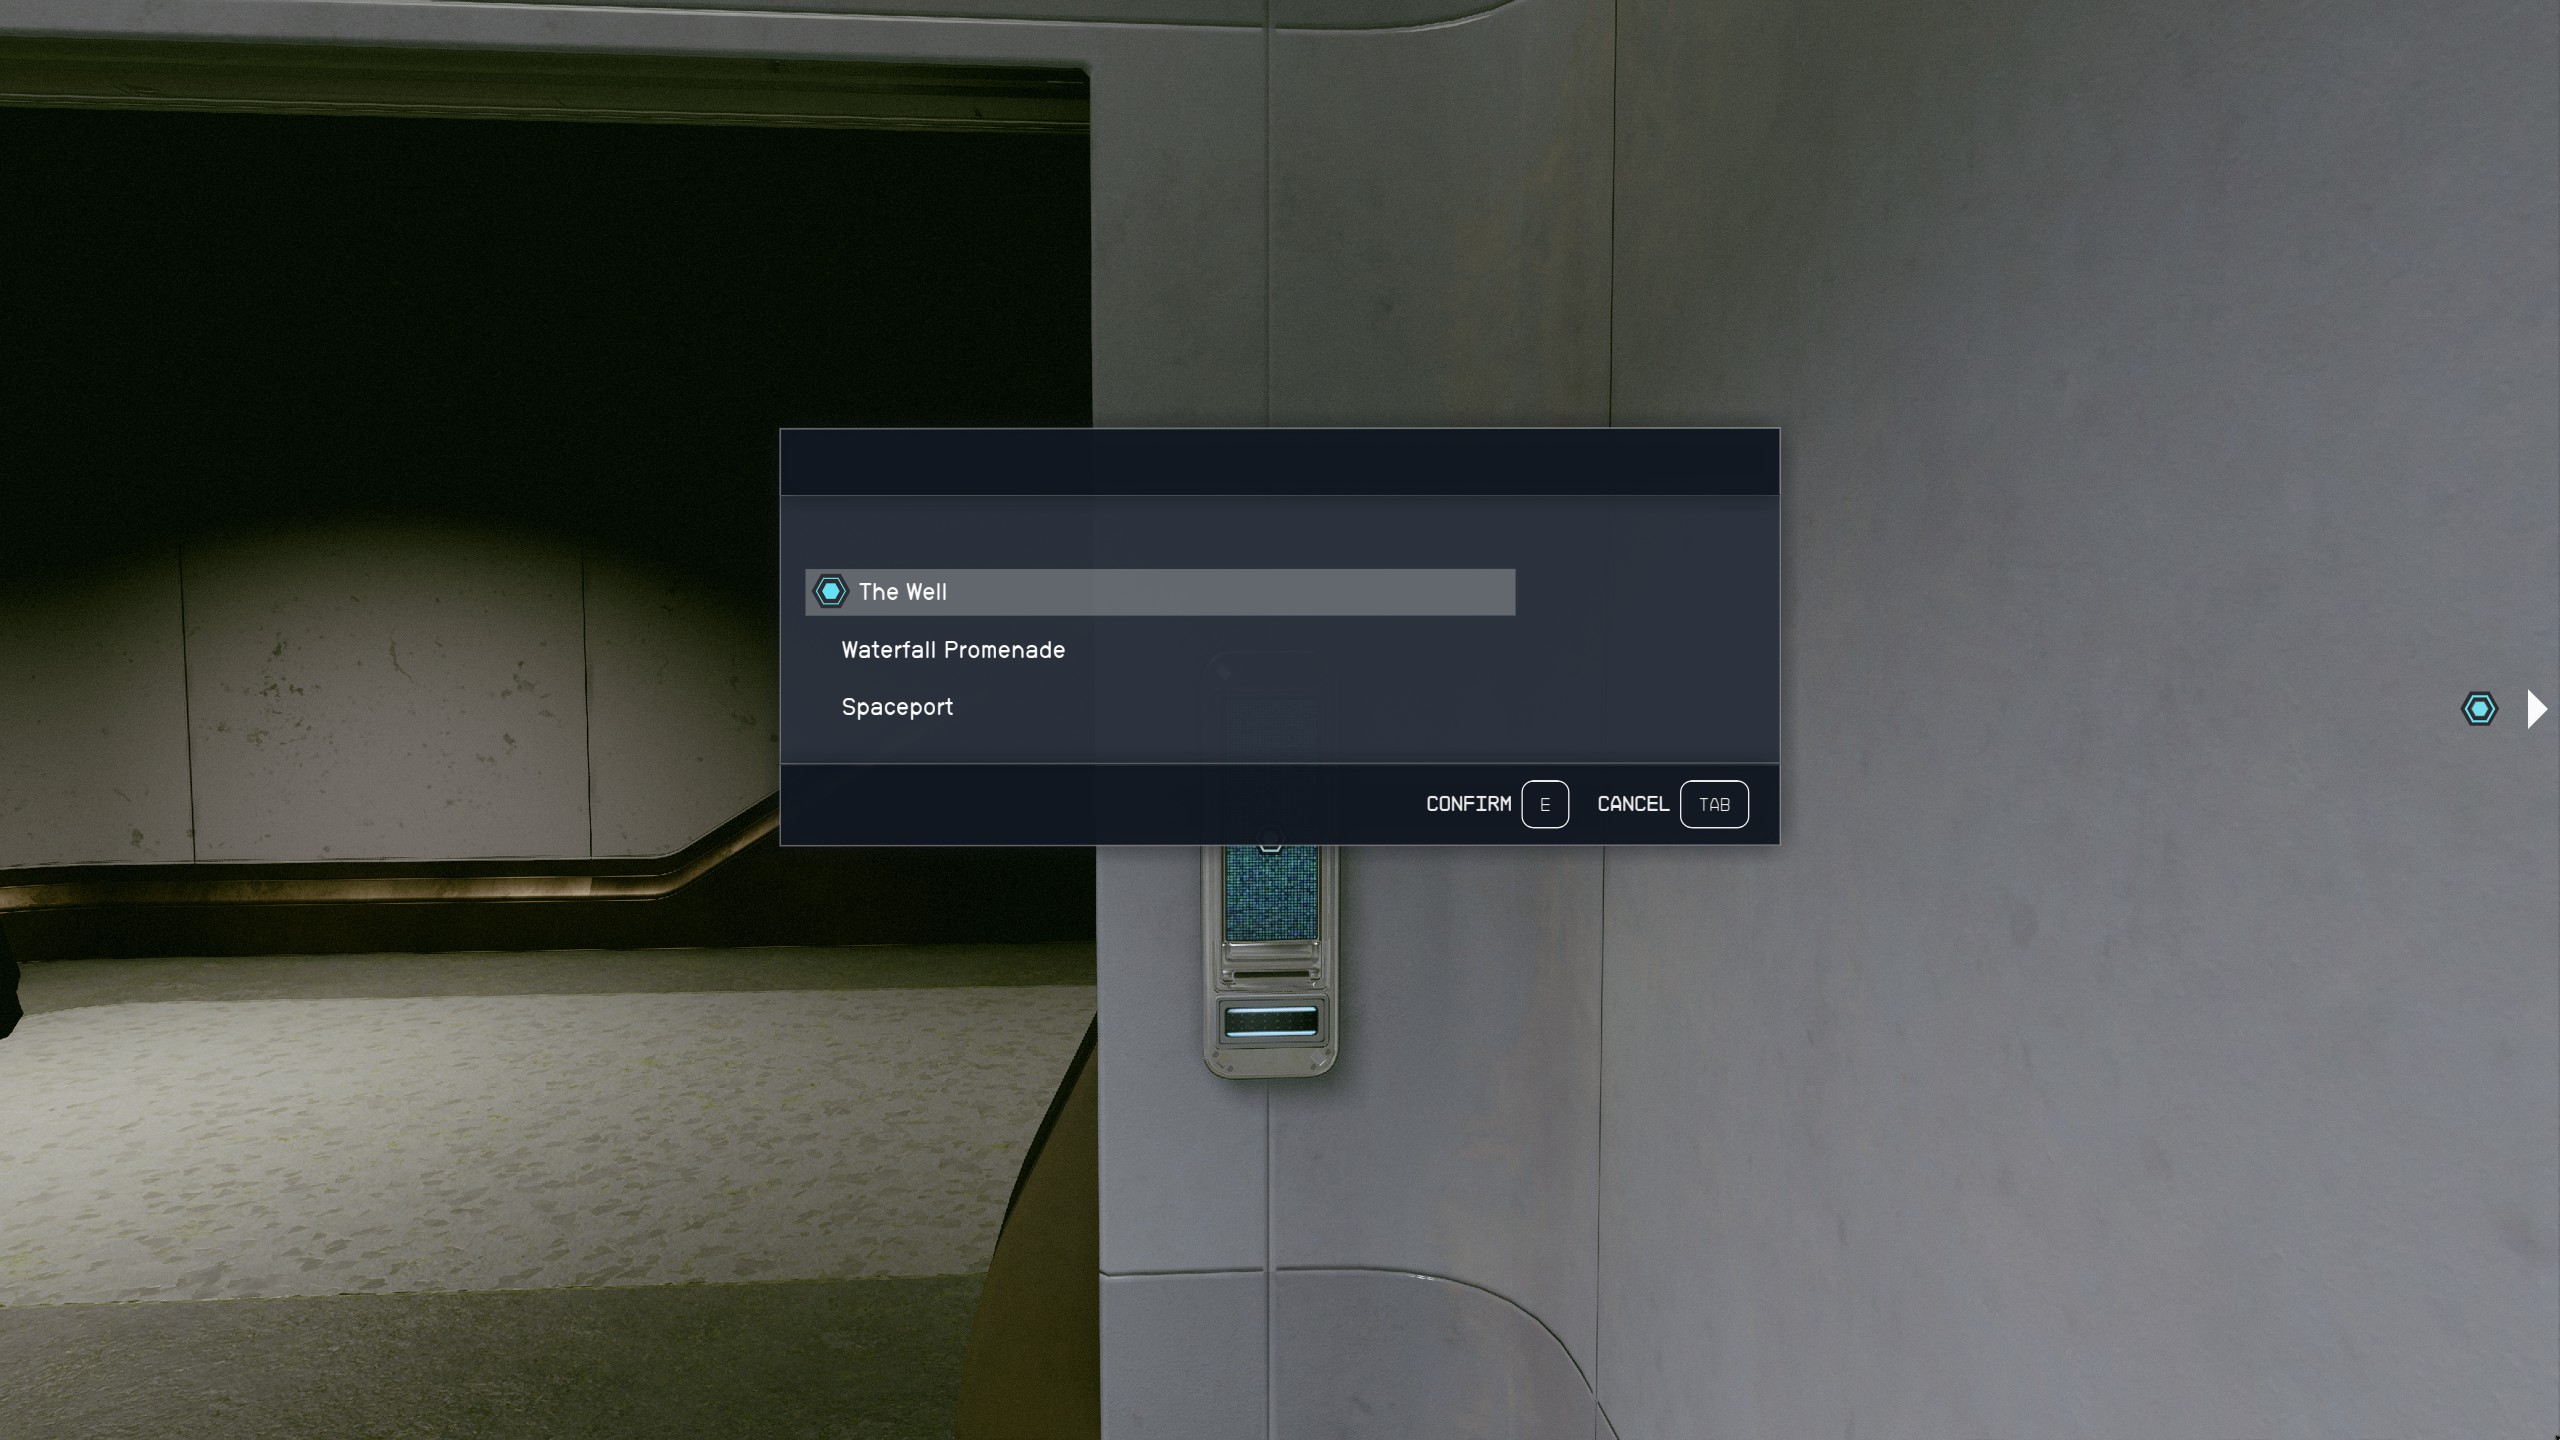
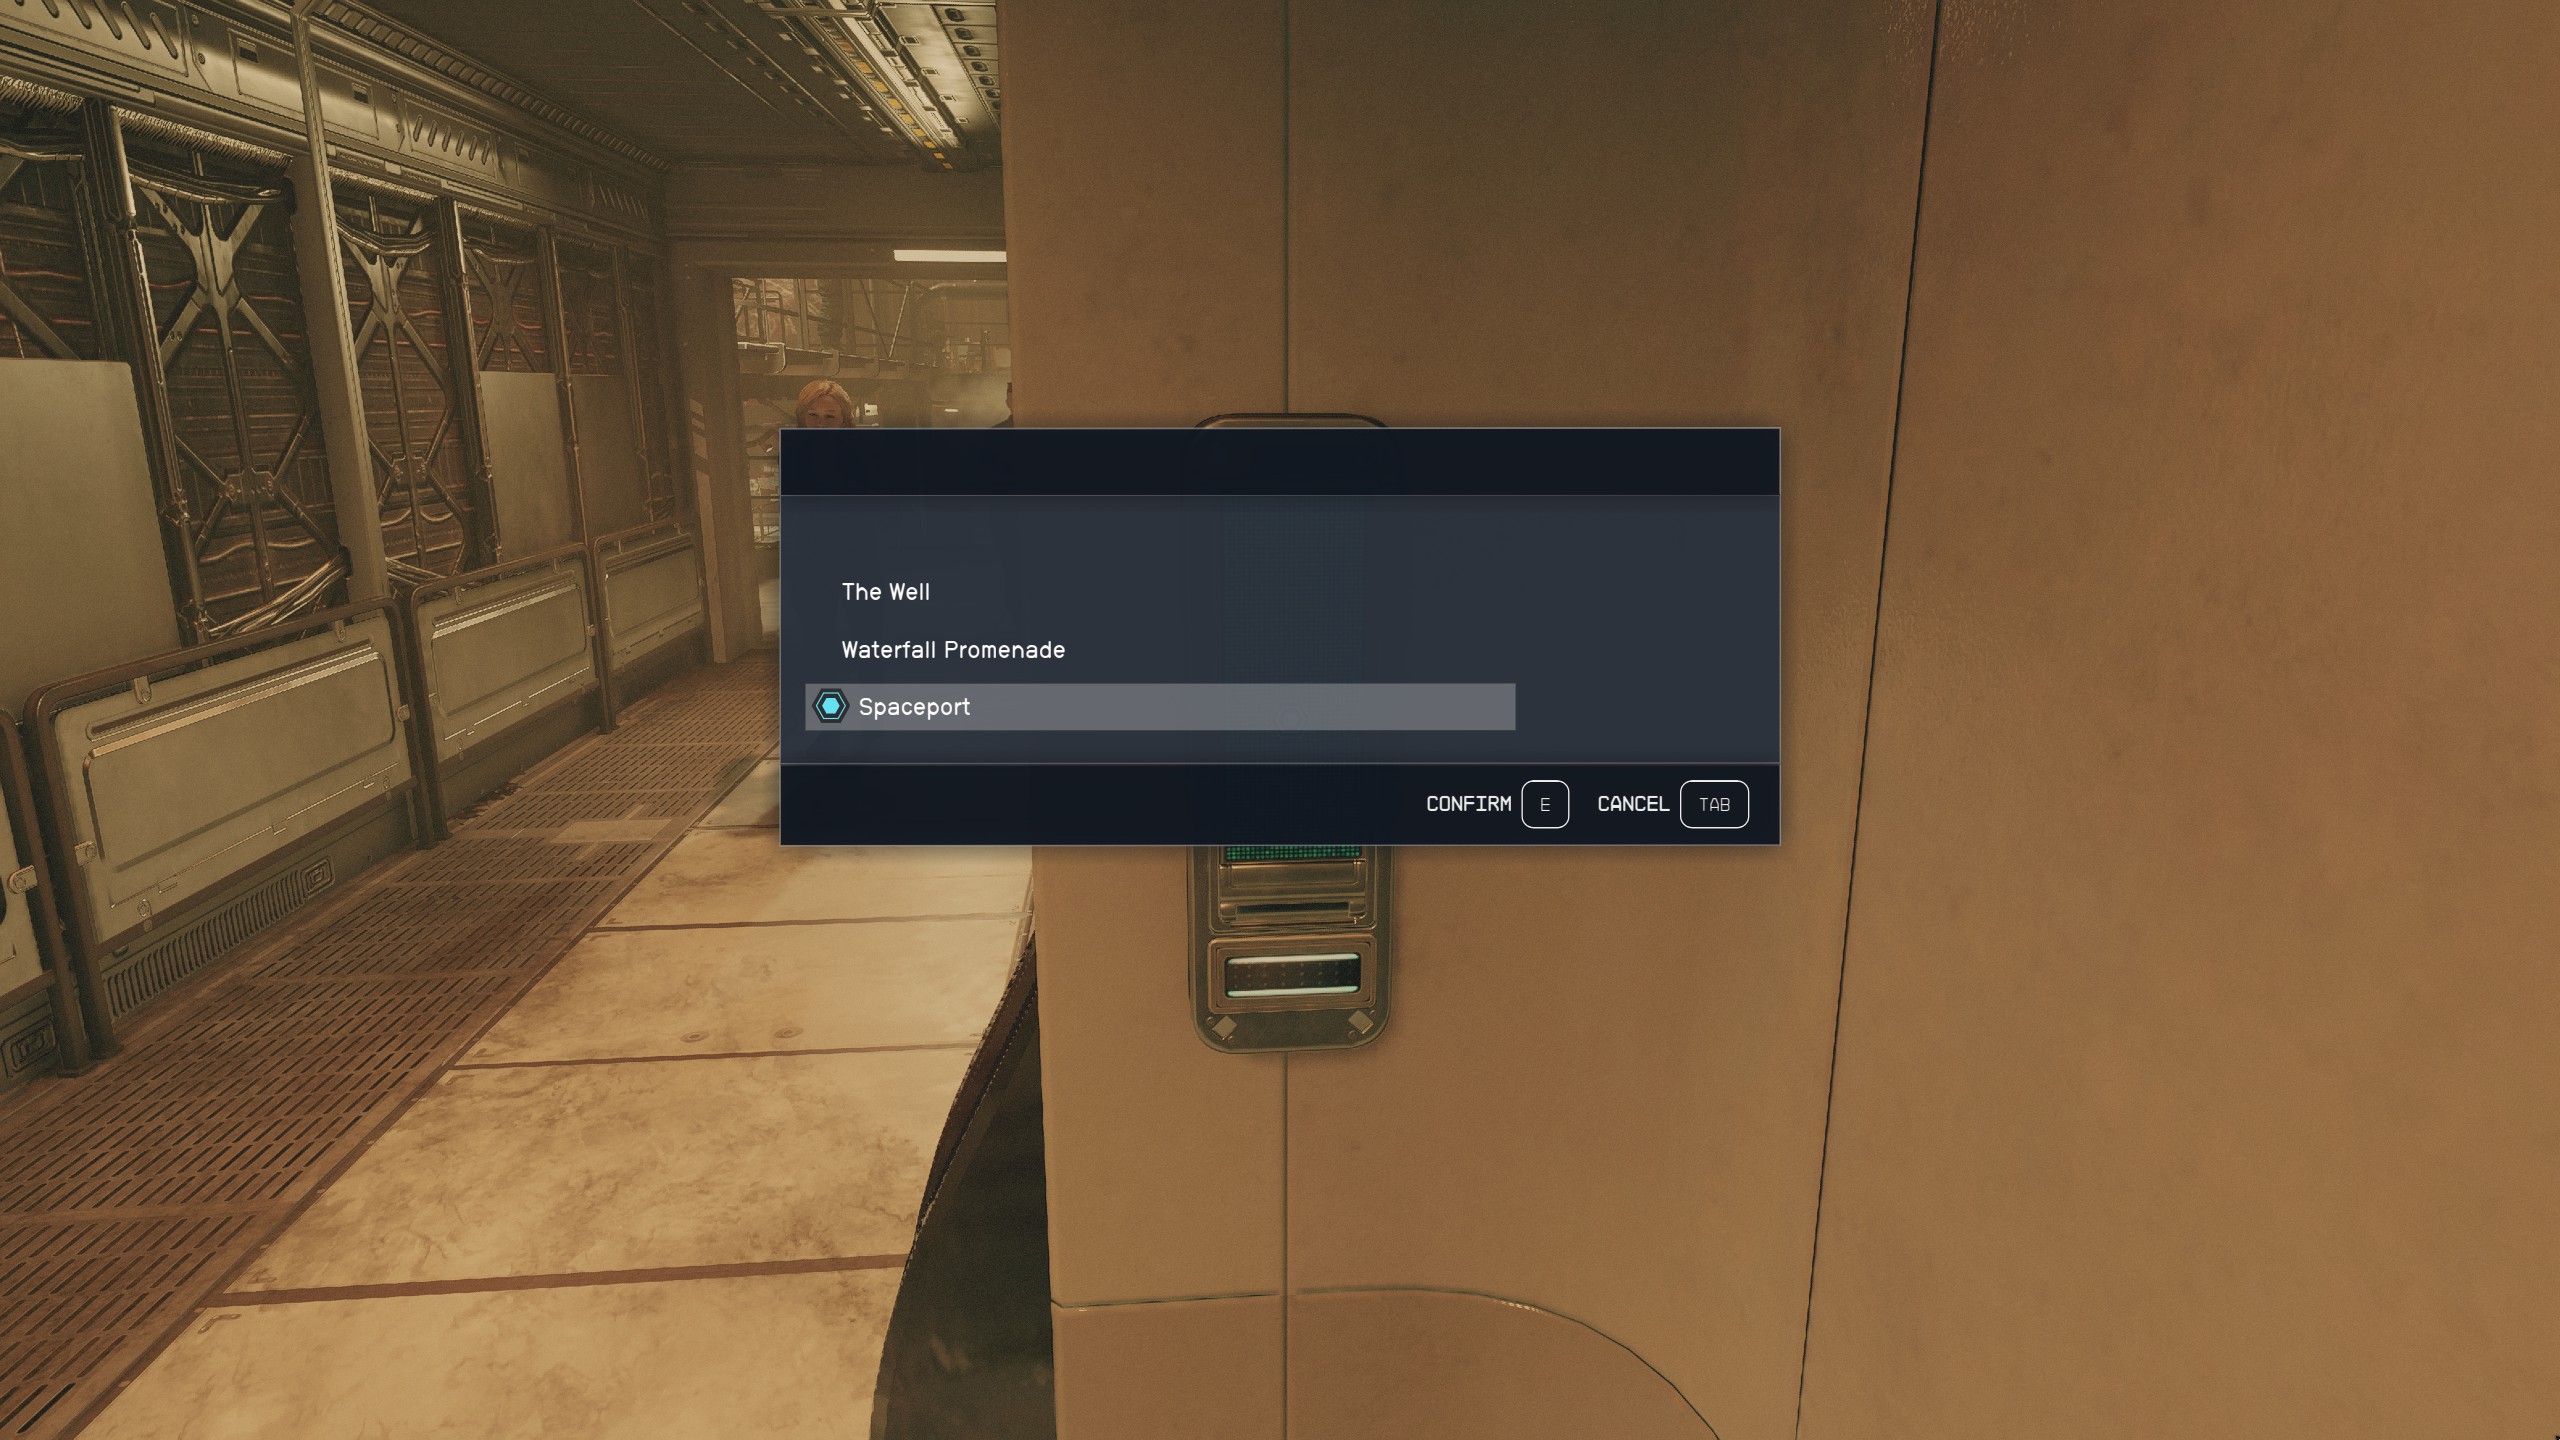
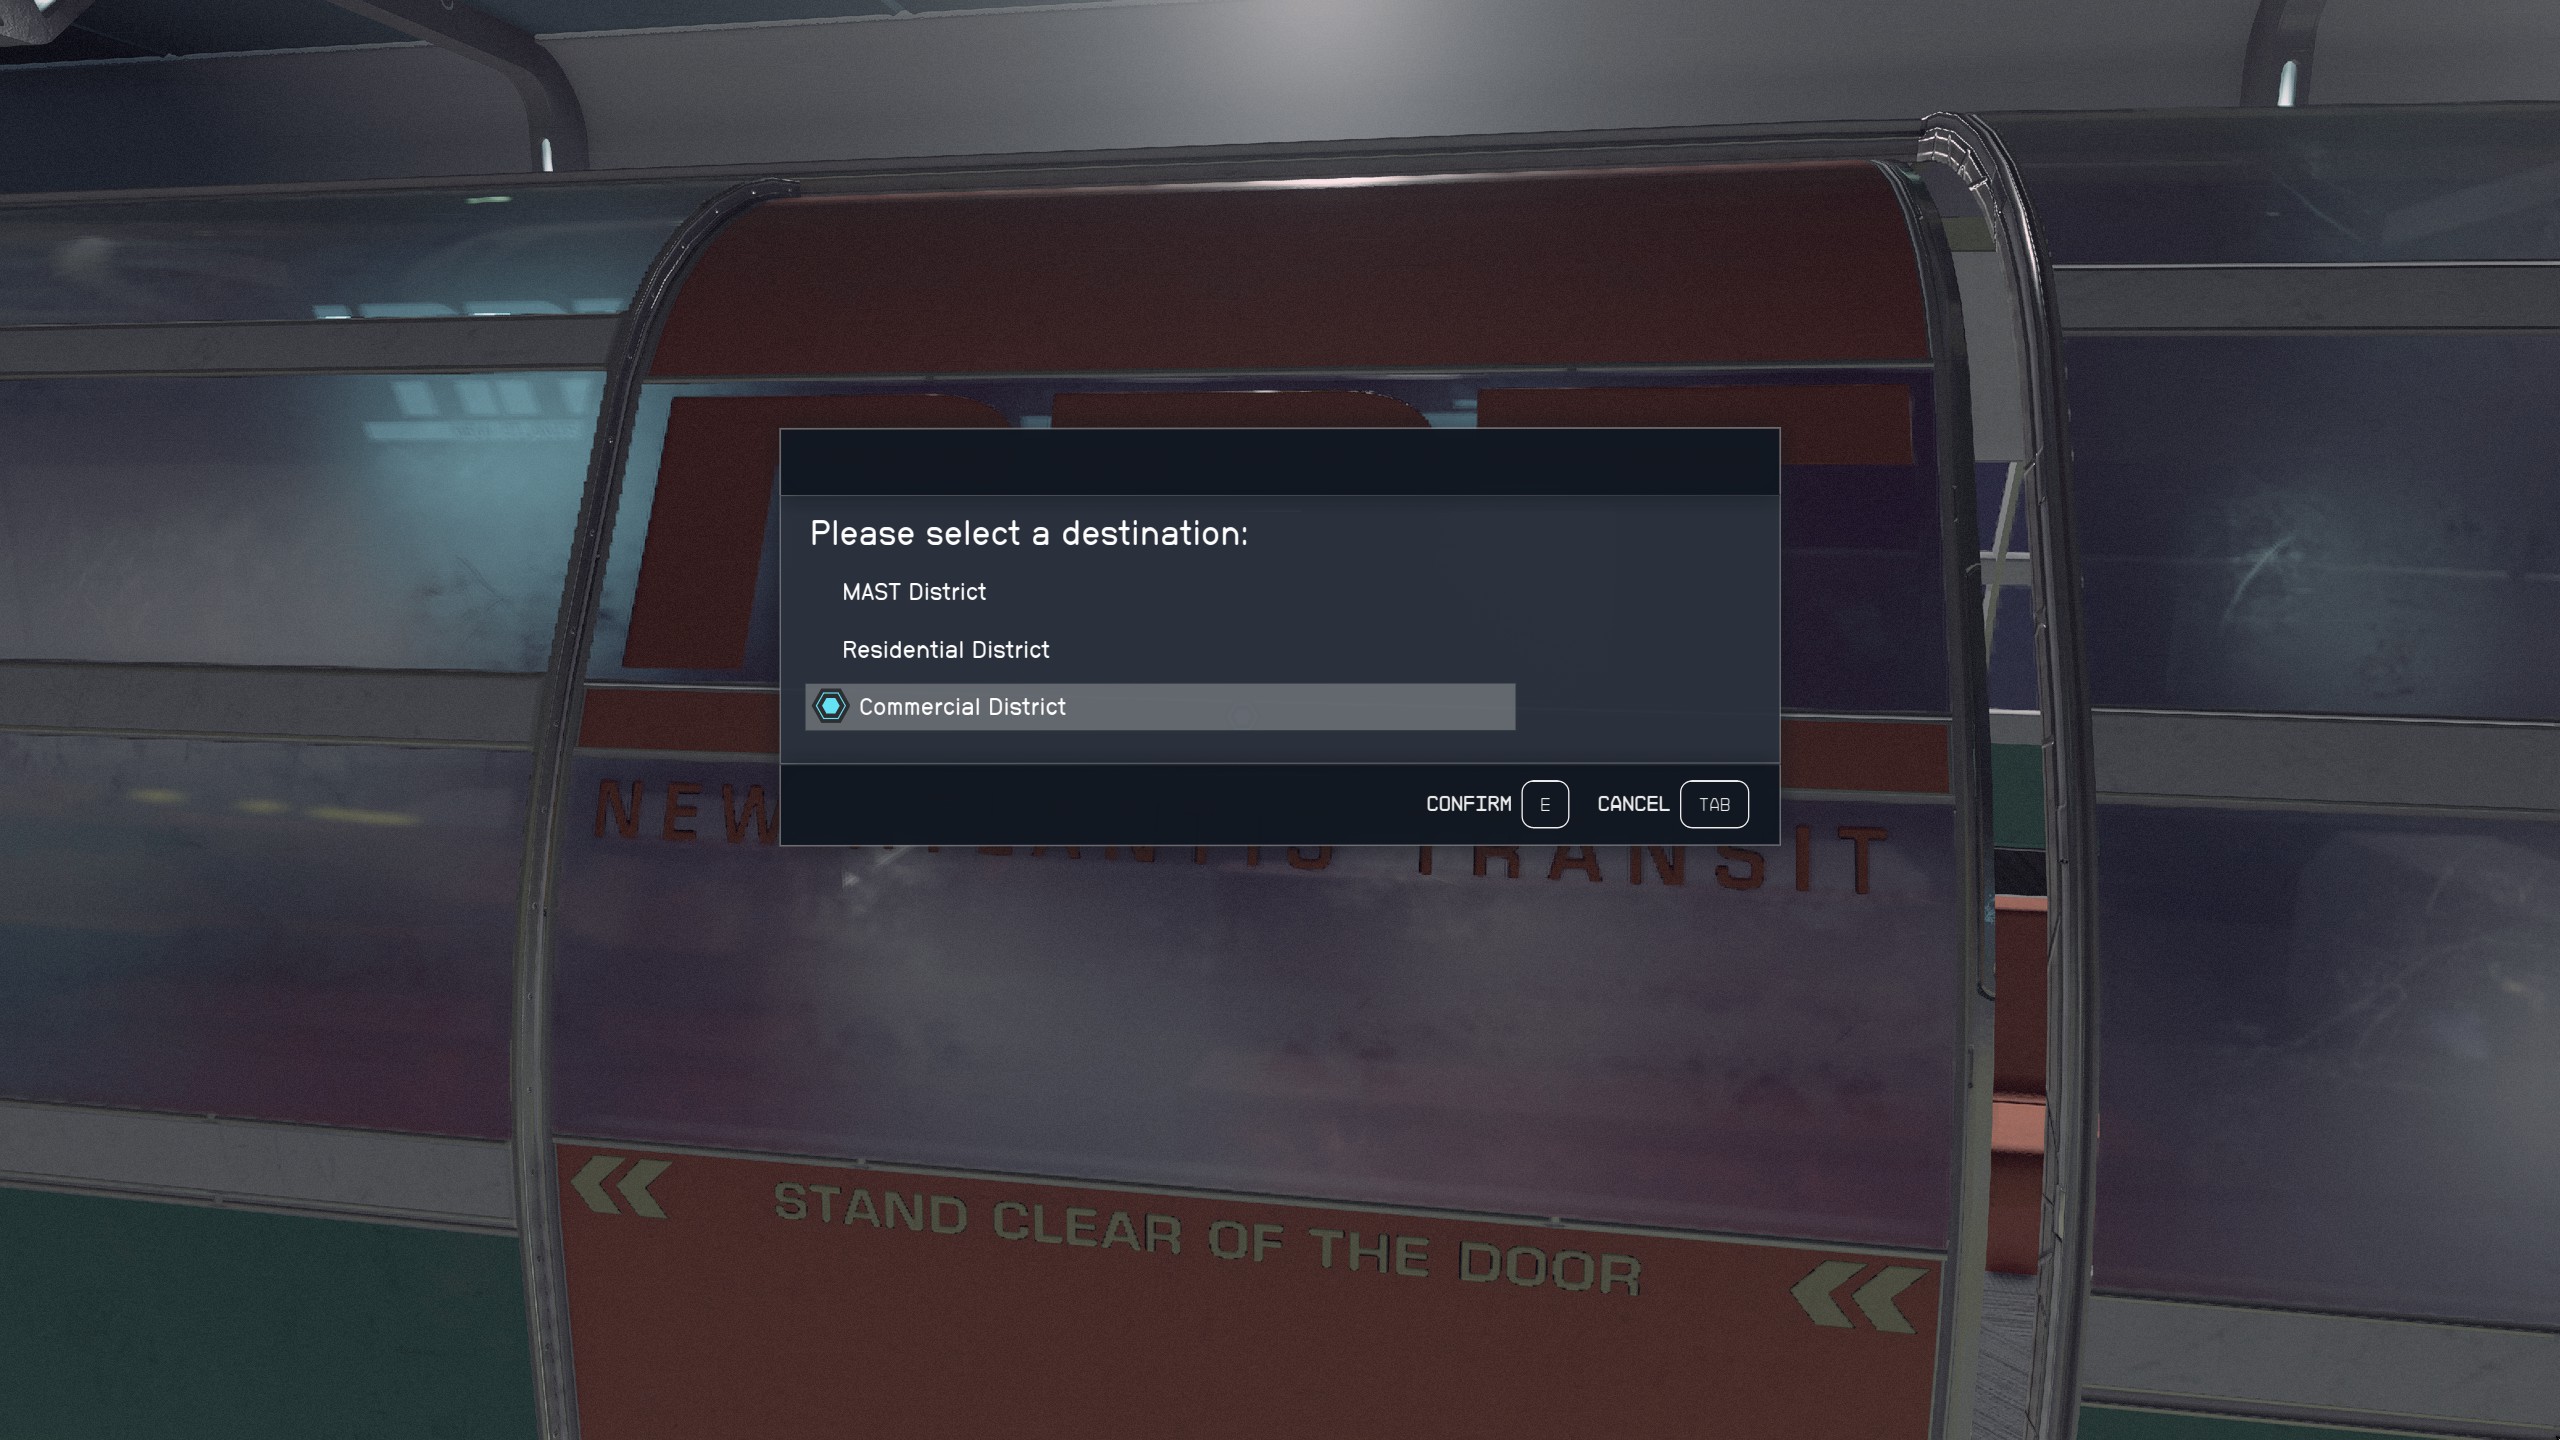
- Go straight from the Sanctum to the New Atlantis Transit and choose to travel to Spaceport.
- Once you get there you will notice that you have two different mission markers. You can choose to go either way first.
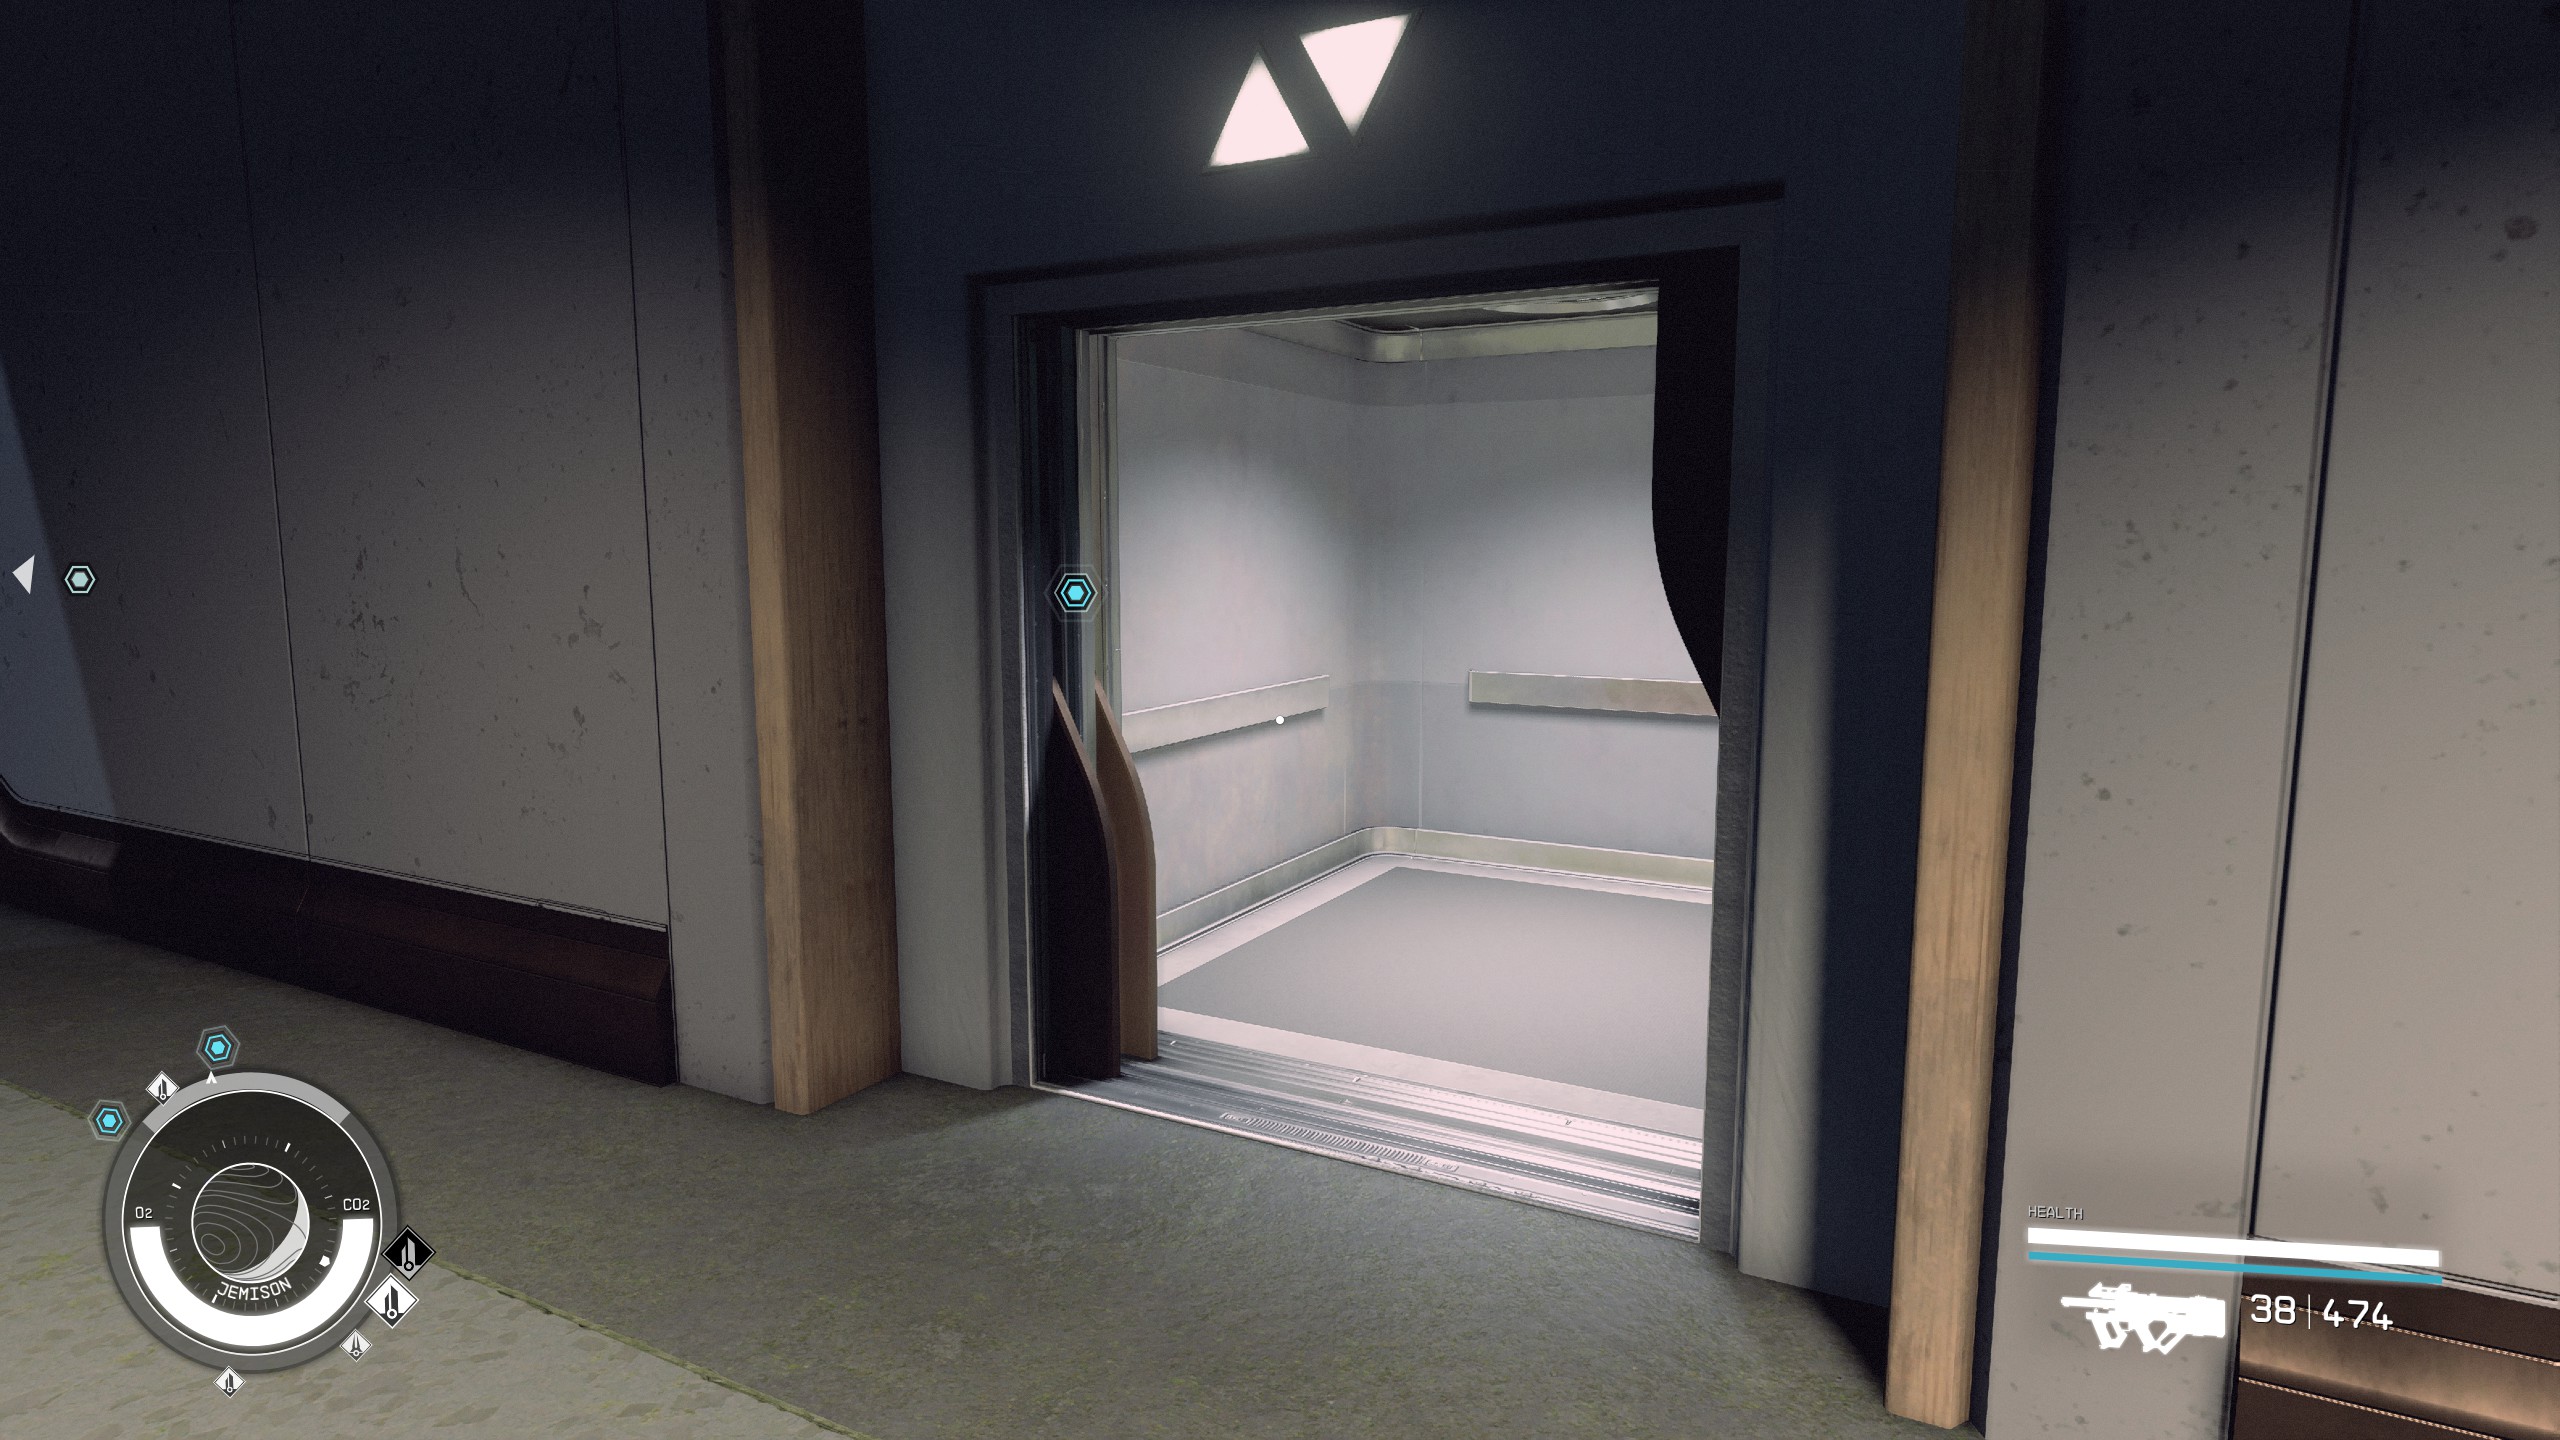
- Go towards the right marker and to the elevator.
- Choose to descend to the Well.
- After leaving the elevator, go left down the stairs and you will see the House of the Enlightened.
- Go down the next flight of stairs and around the corner to the entrance.
- Walk inside and speak to Singh. Ask him for his version of the Pilgrim's story.
Talk to the Va'Ruun Prisoner
- Go back to the elevator and choose the Spaceport floor.
- Leave the elevator and go straight a ways until you get to the UC building.
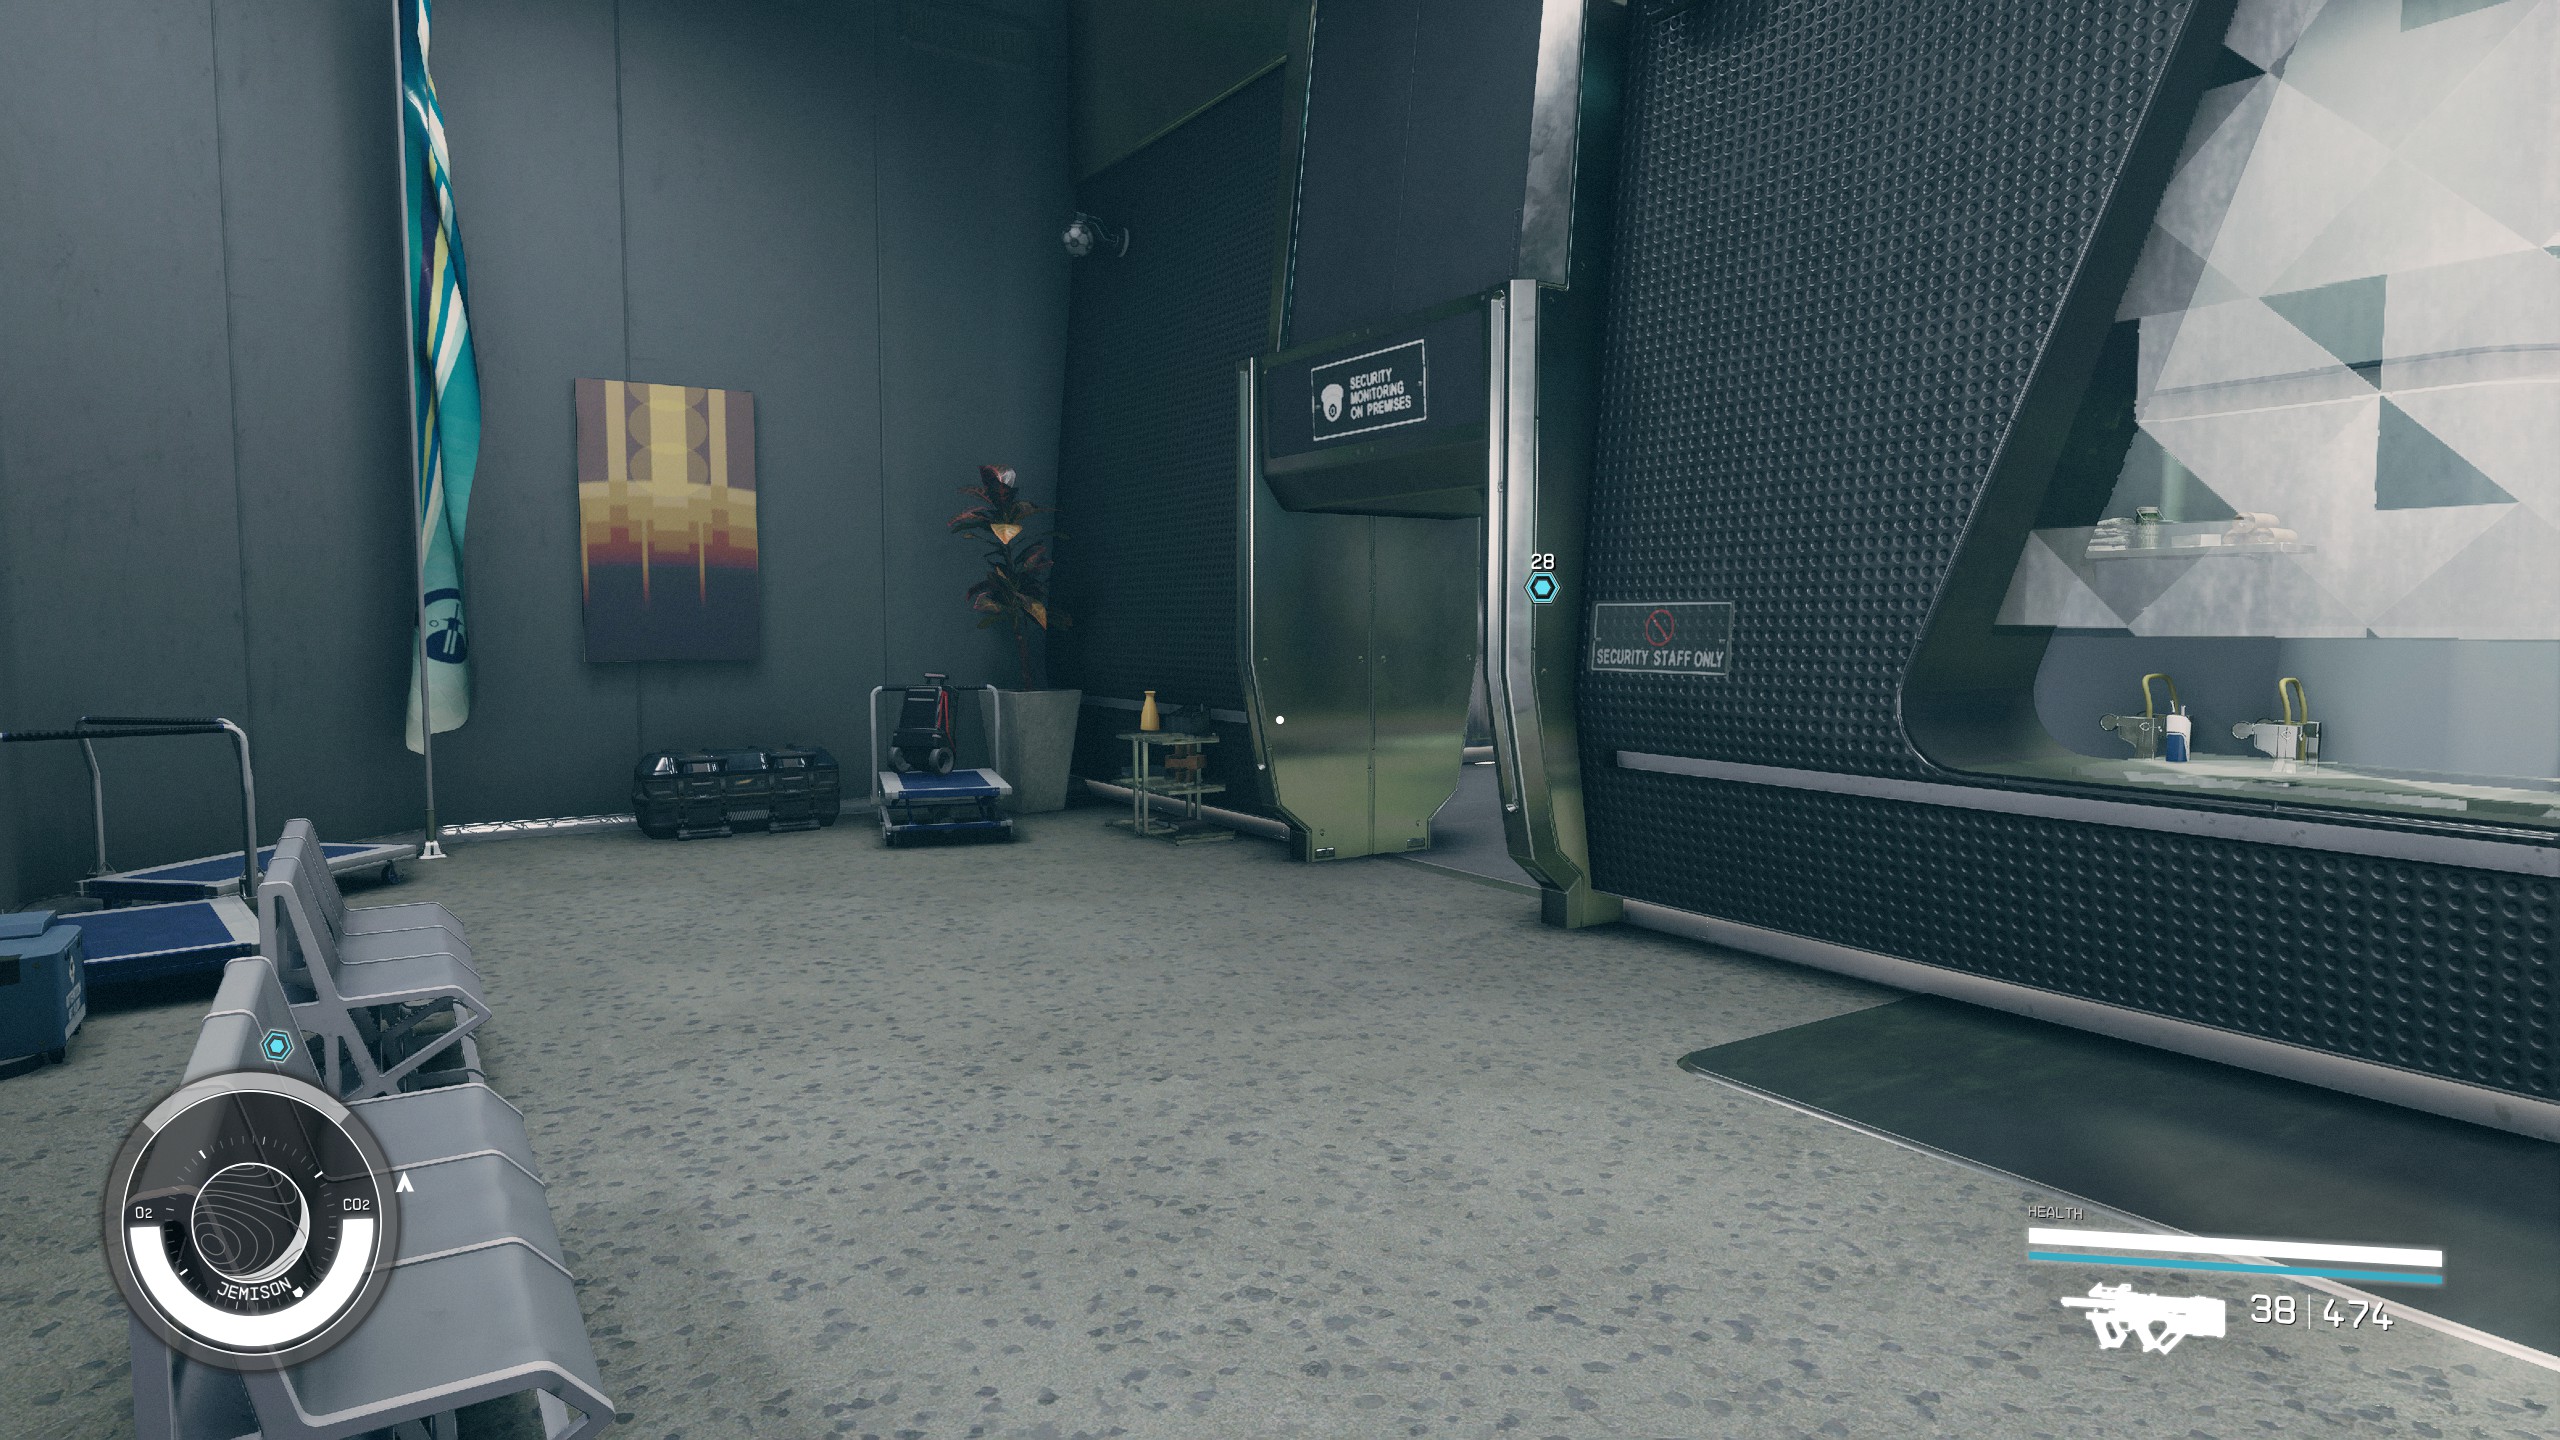
- Enter the building and walk around to the back of the counter.
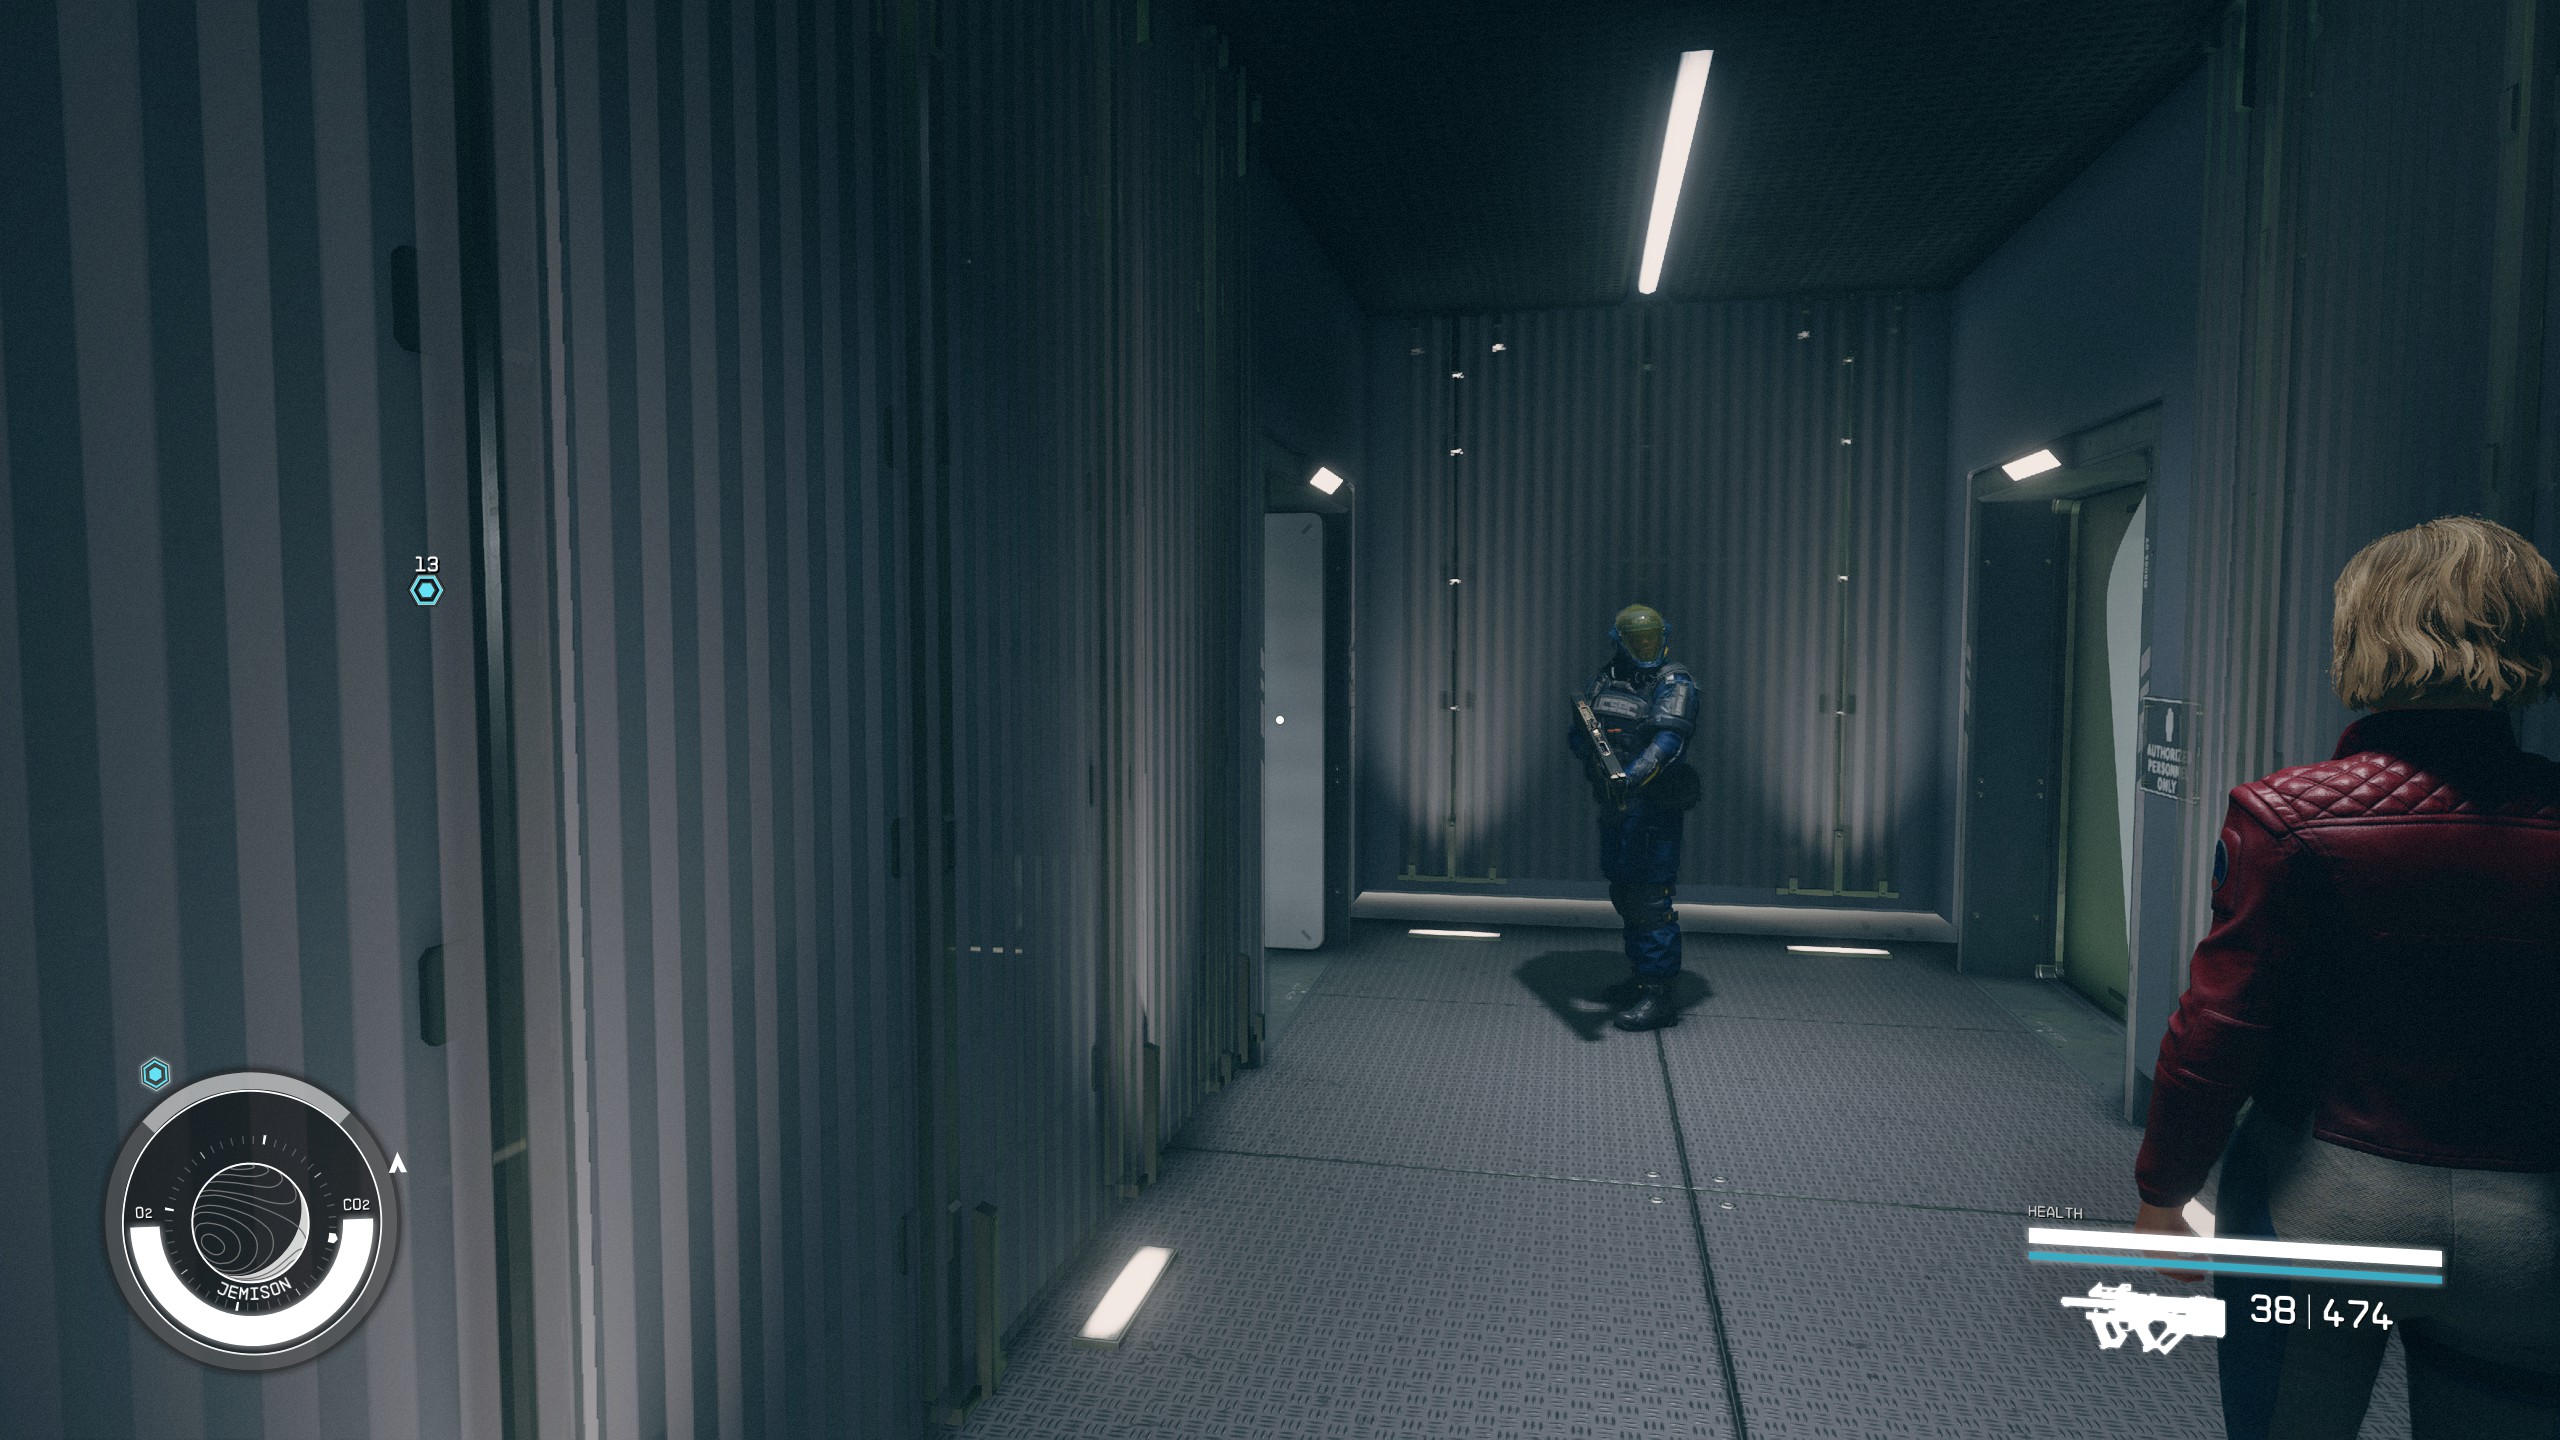
- Enter the first door and go down the corridor to the guard.
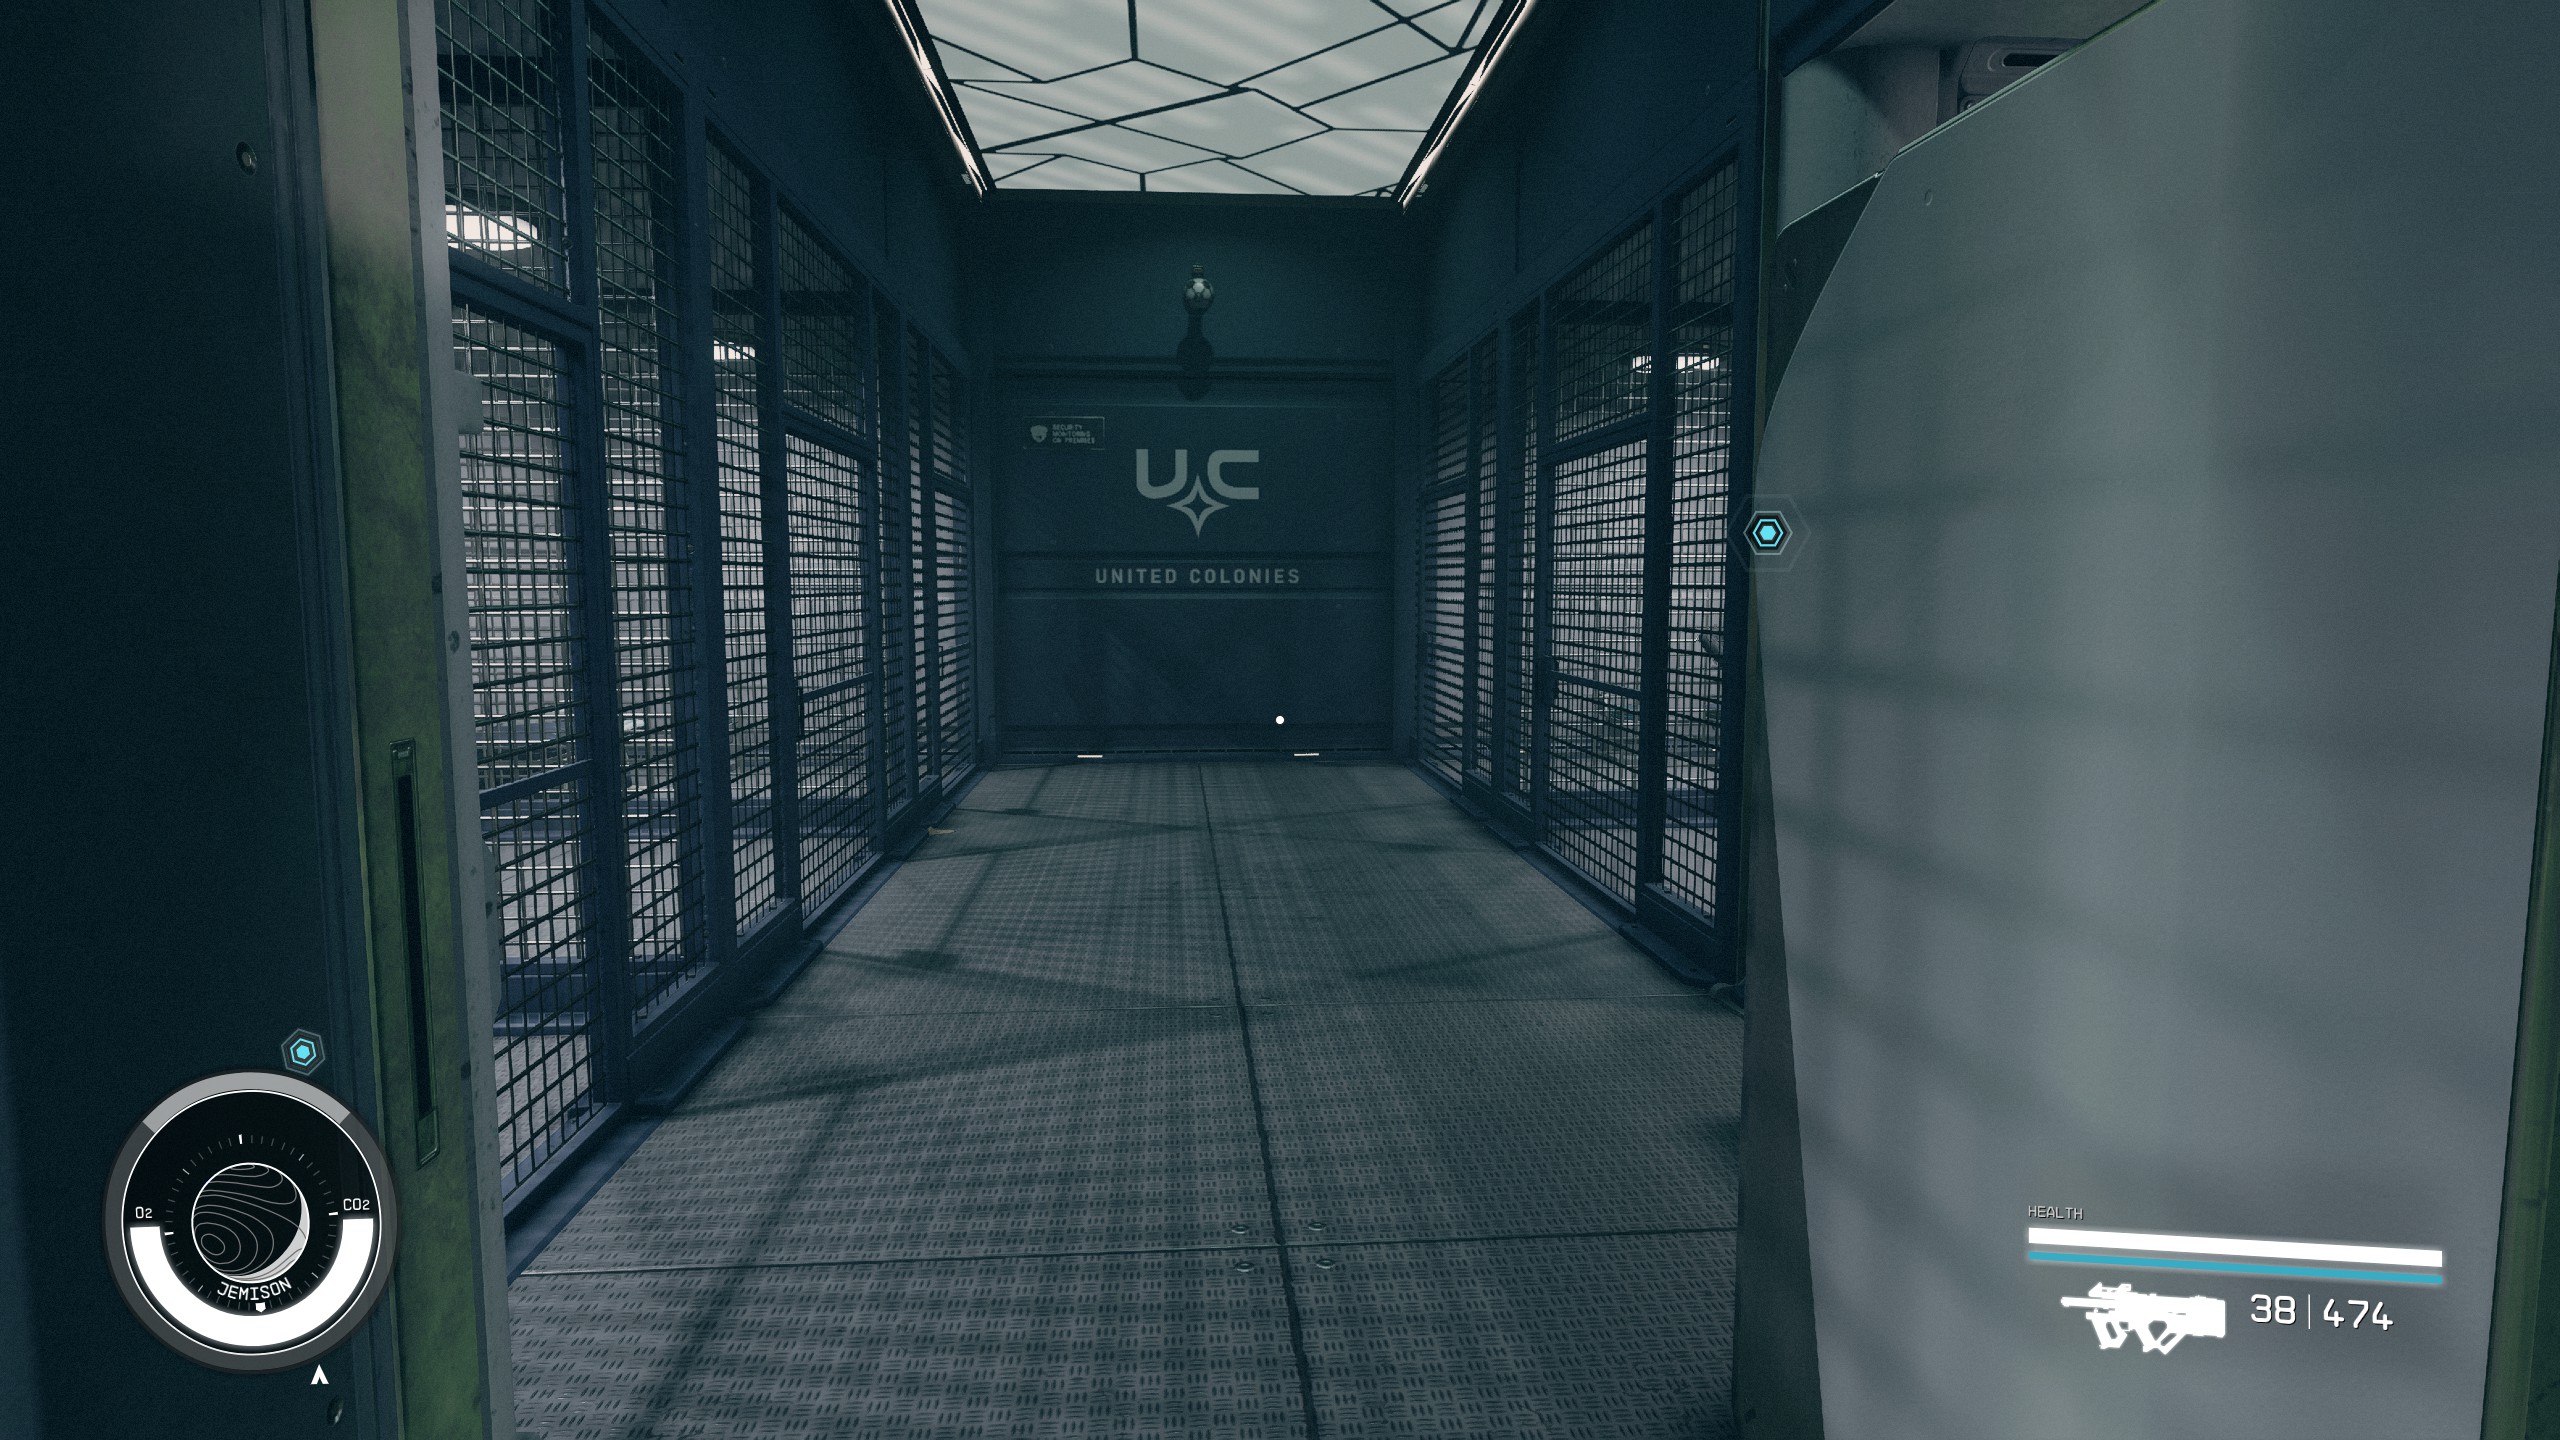
- Turn left and walk into the jail area.
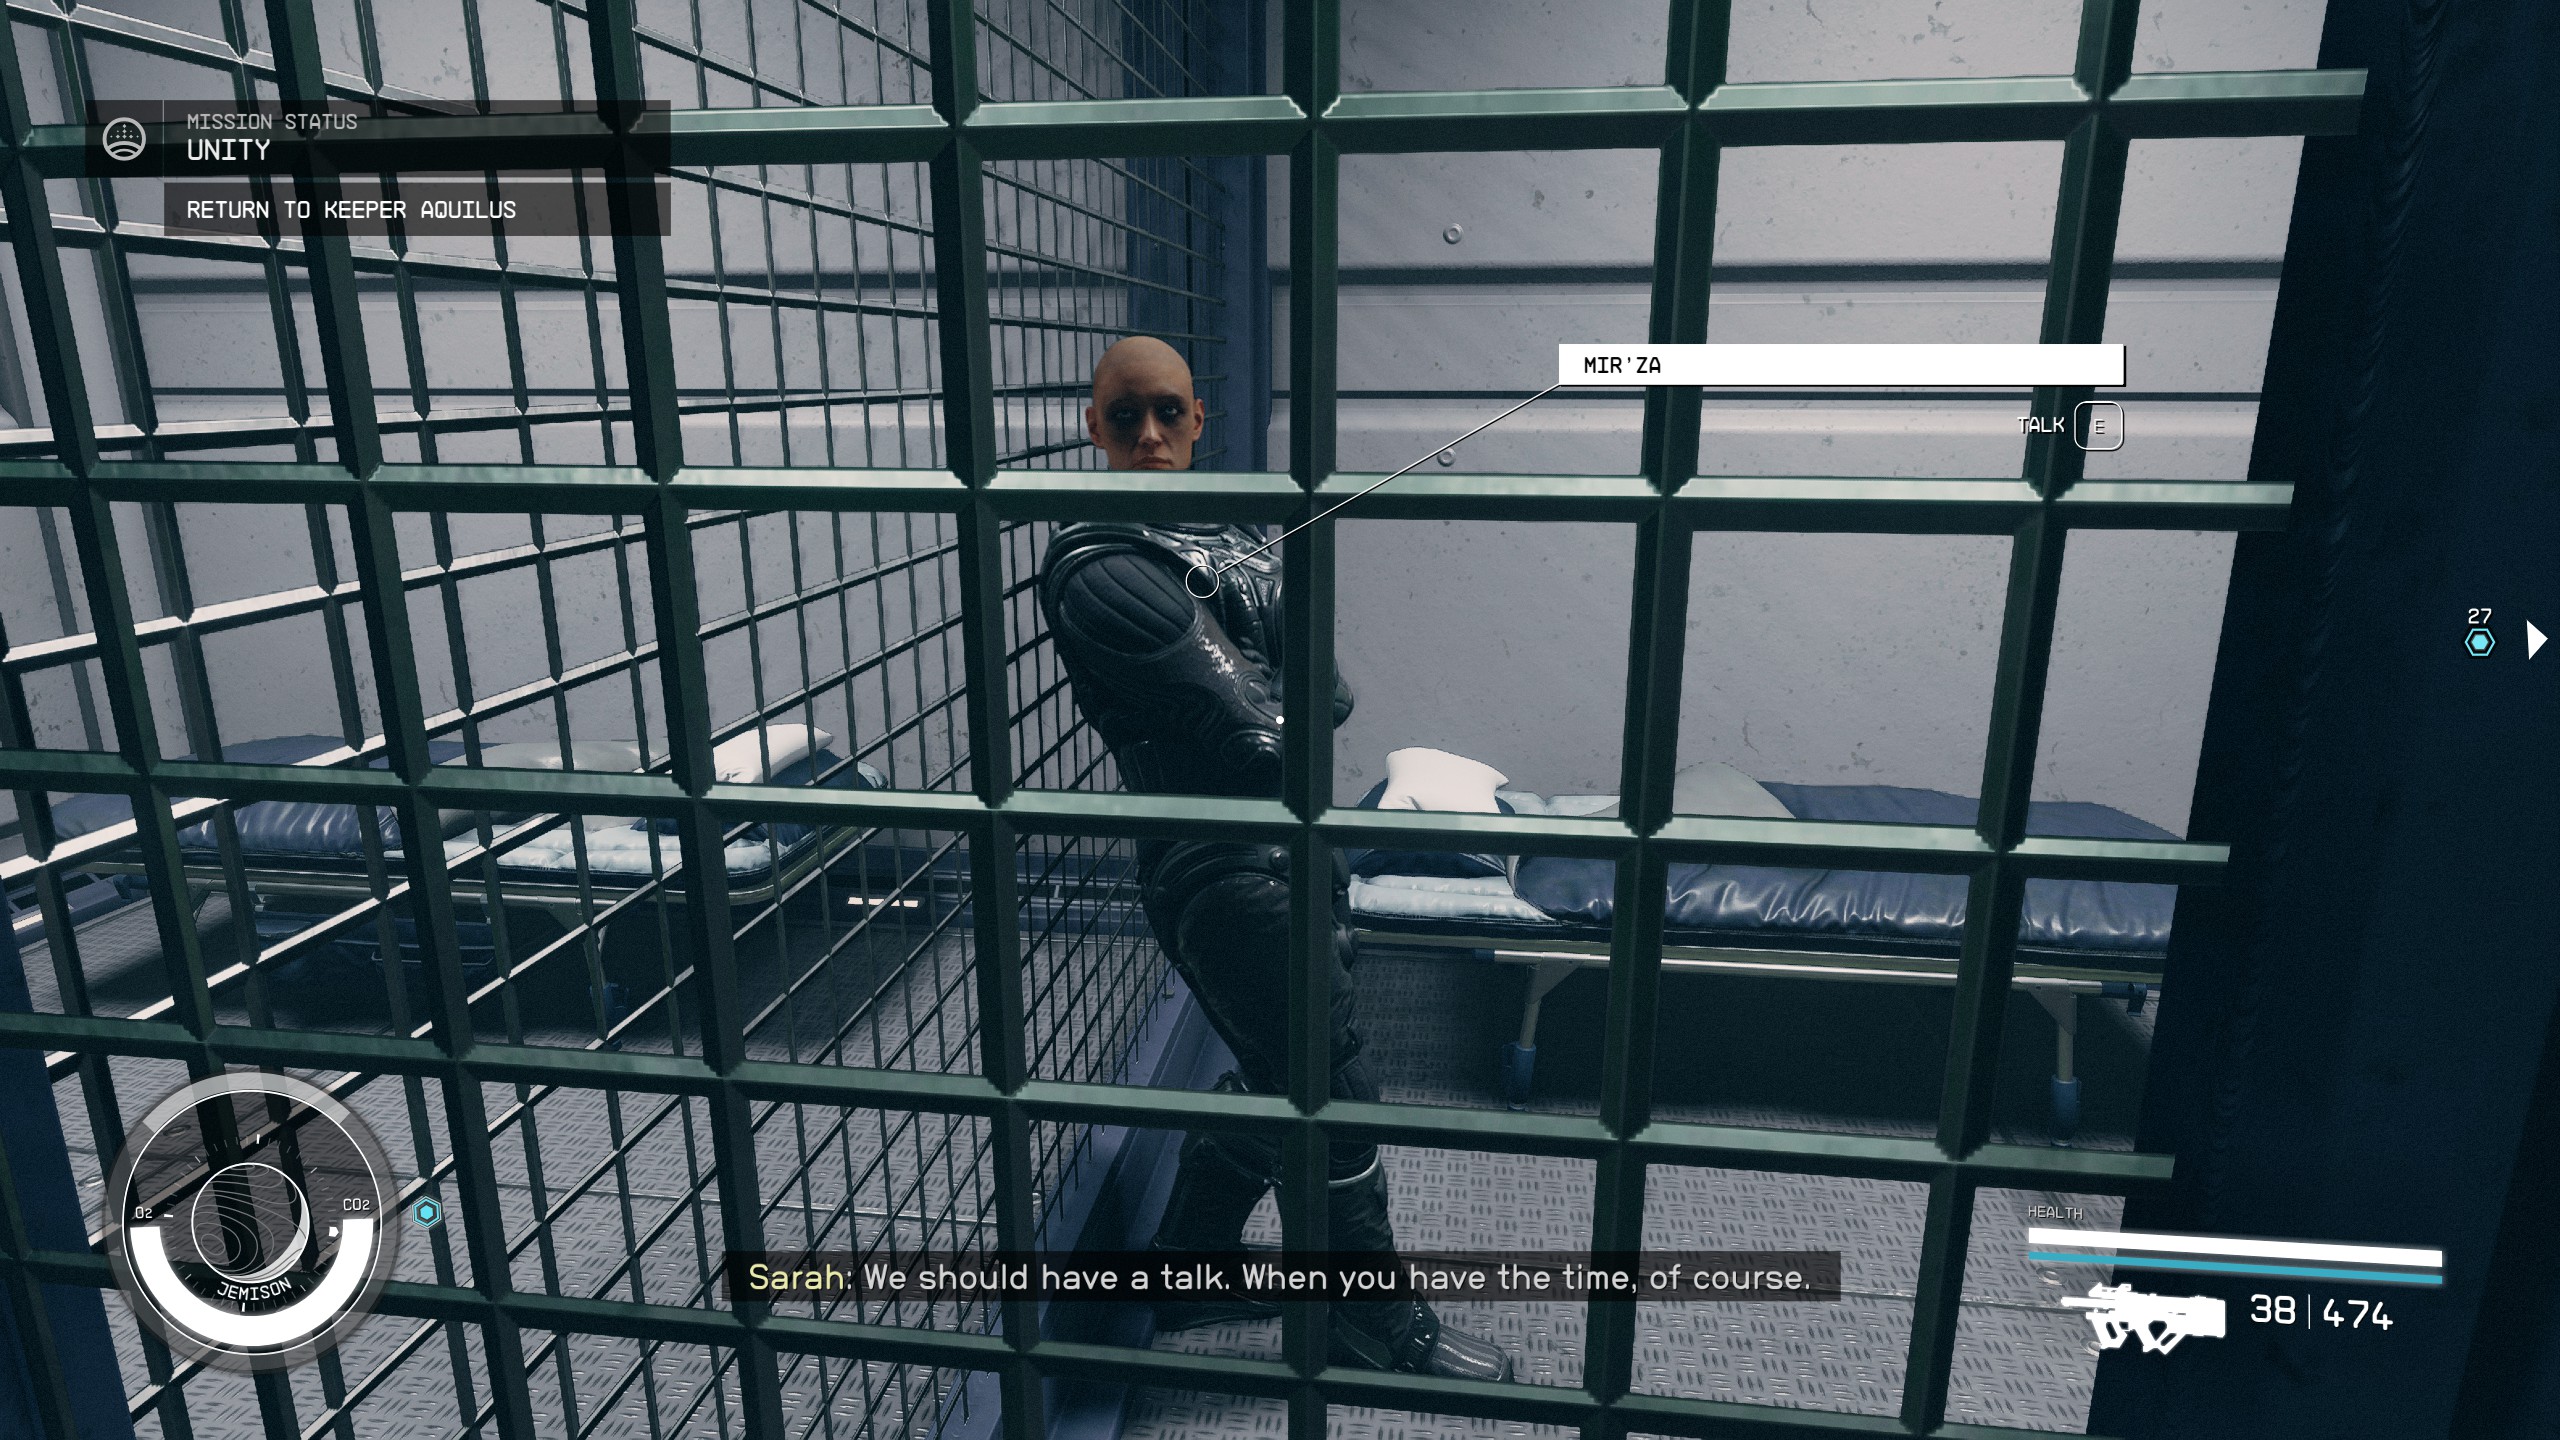
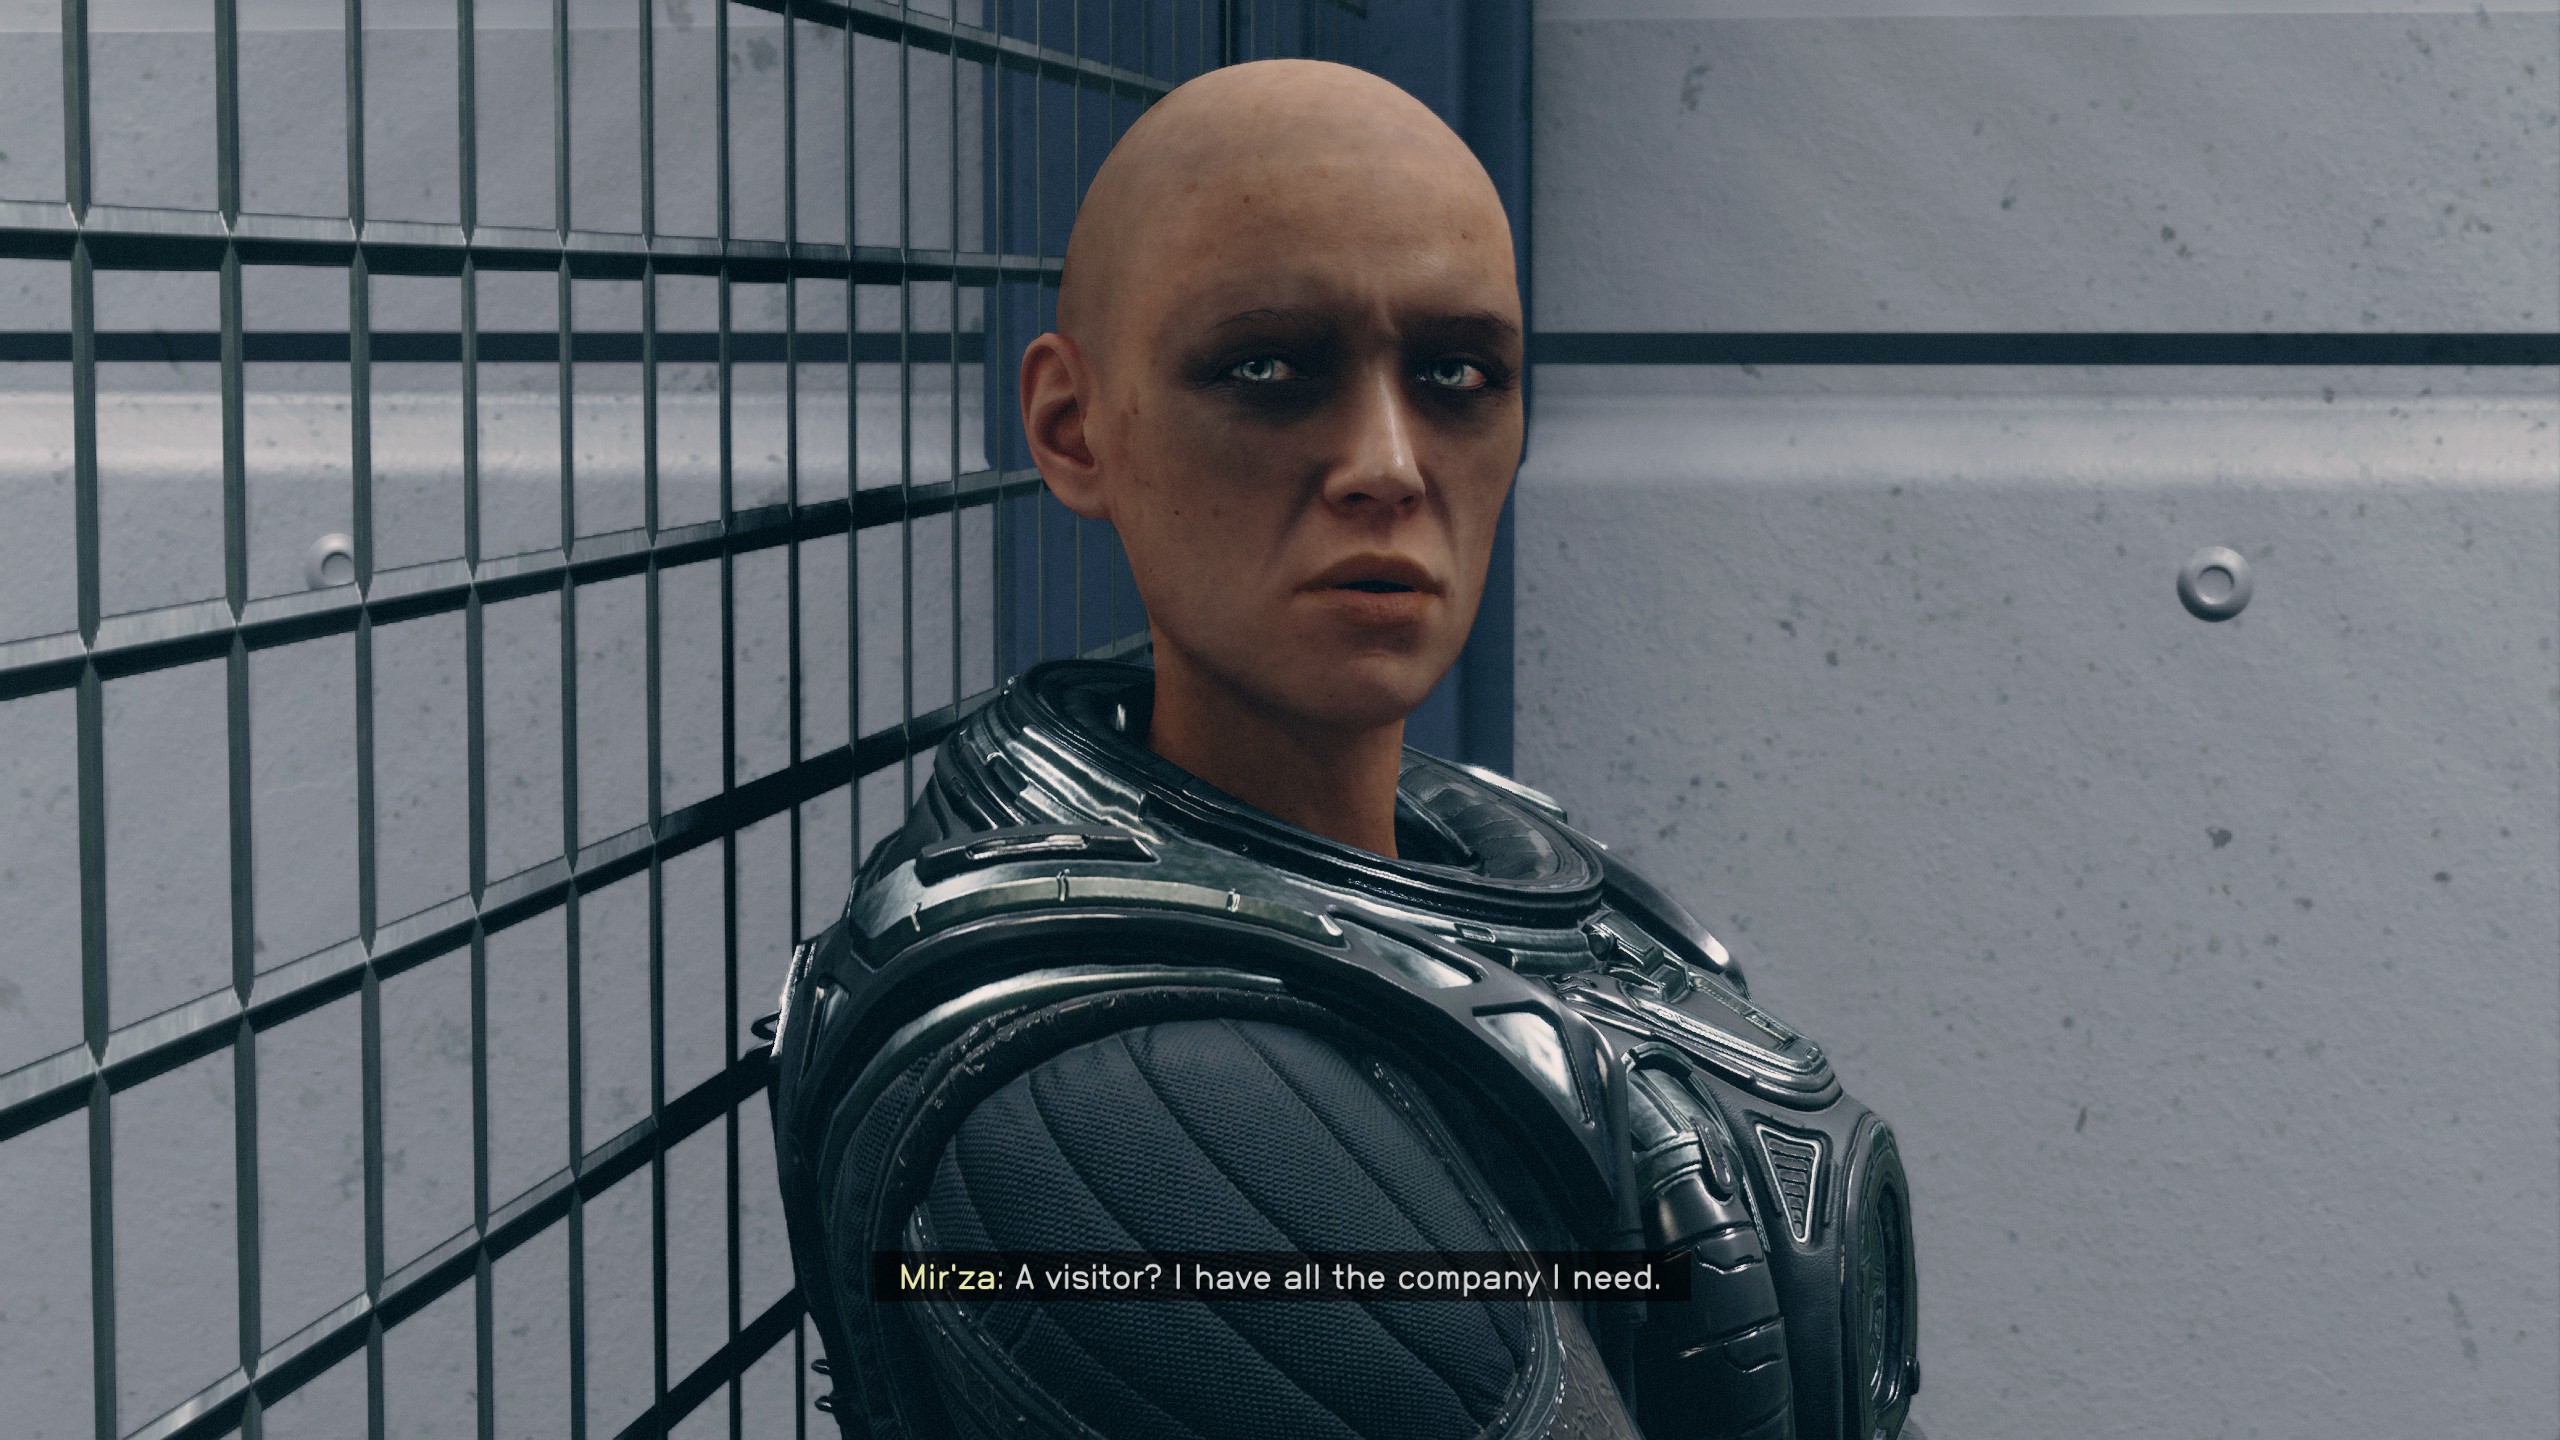
- Walk up to the first cell on the right and speak with the Va'Ruun prisoner, Mirza.
- Mirza will reluctantly tell you about her version on the pilgrim's story.
Return to Keeper Aquilus
- Leave the UC building and go back to the New Atlantis Transit.
- Choose to travel to the Commercial District
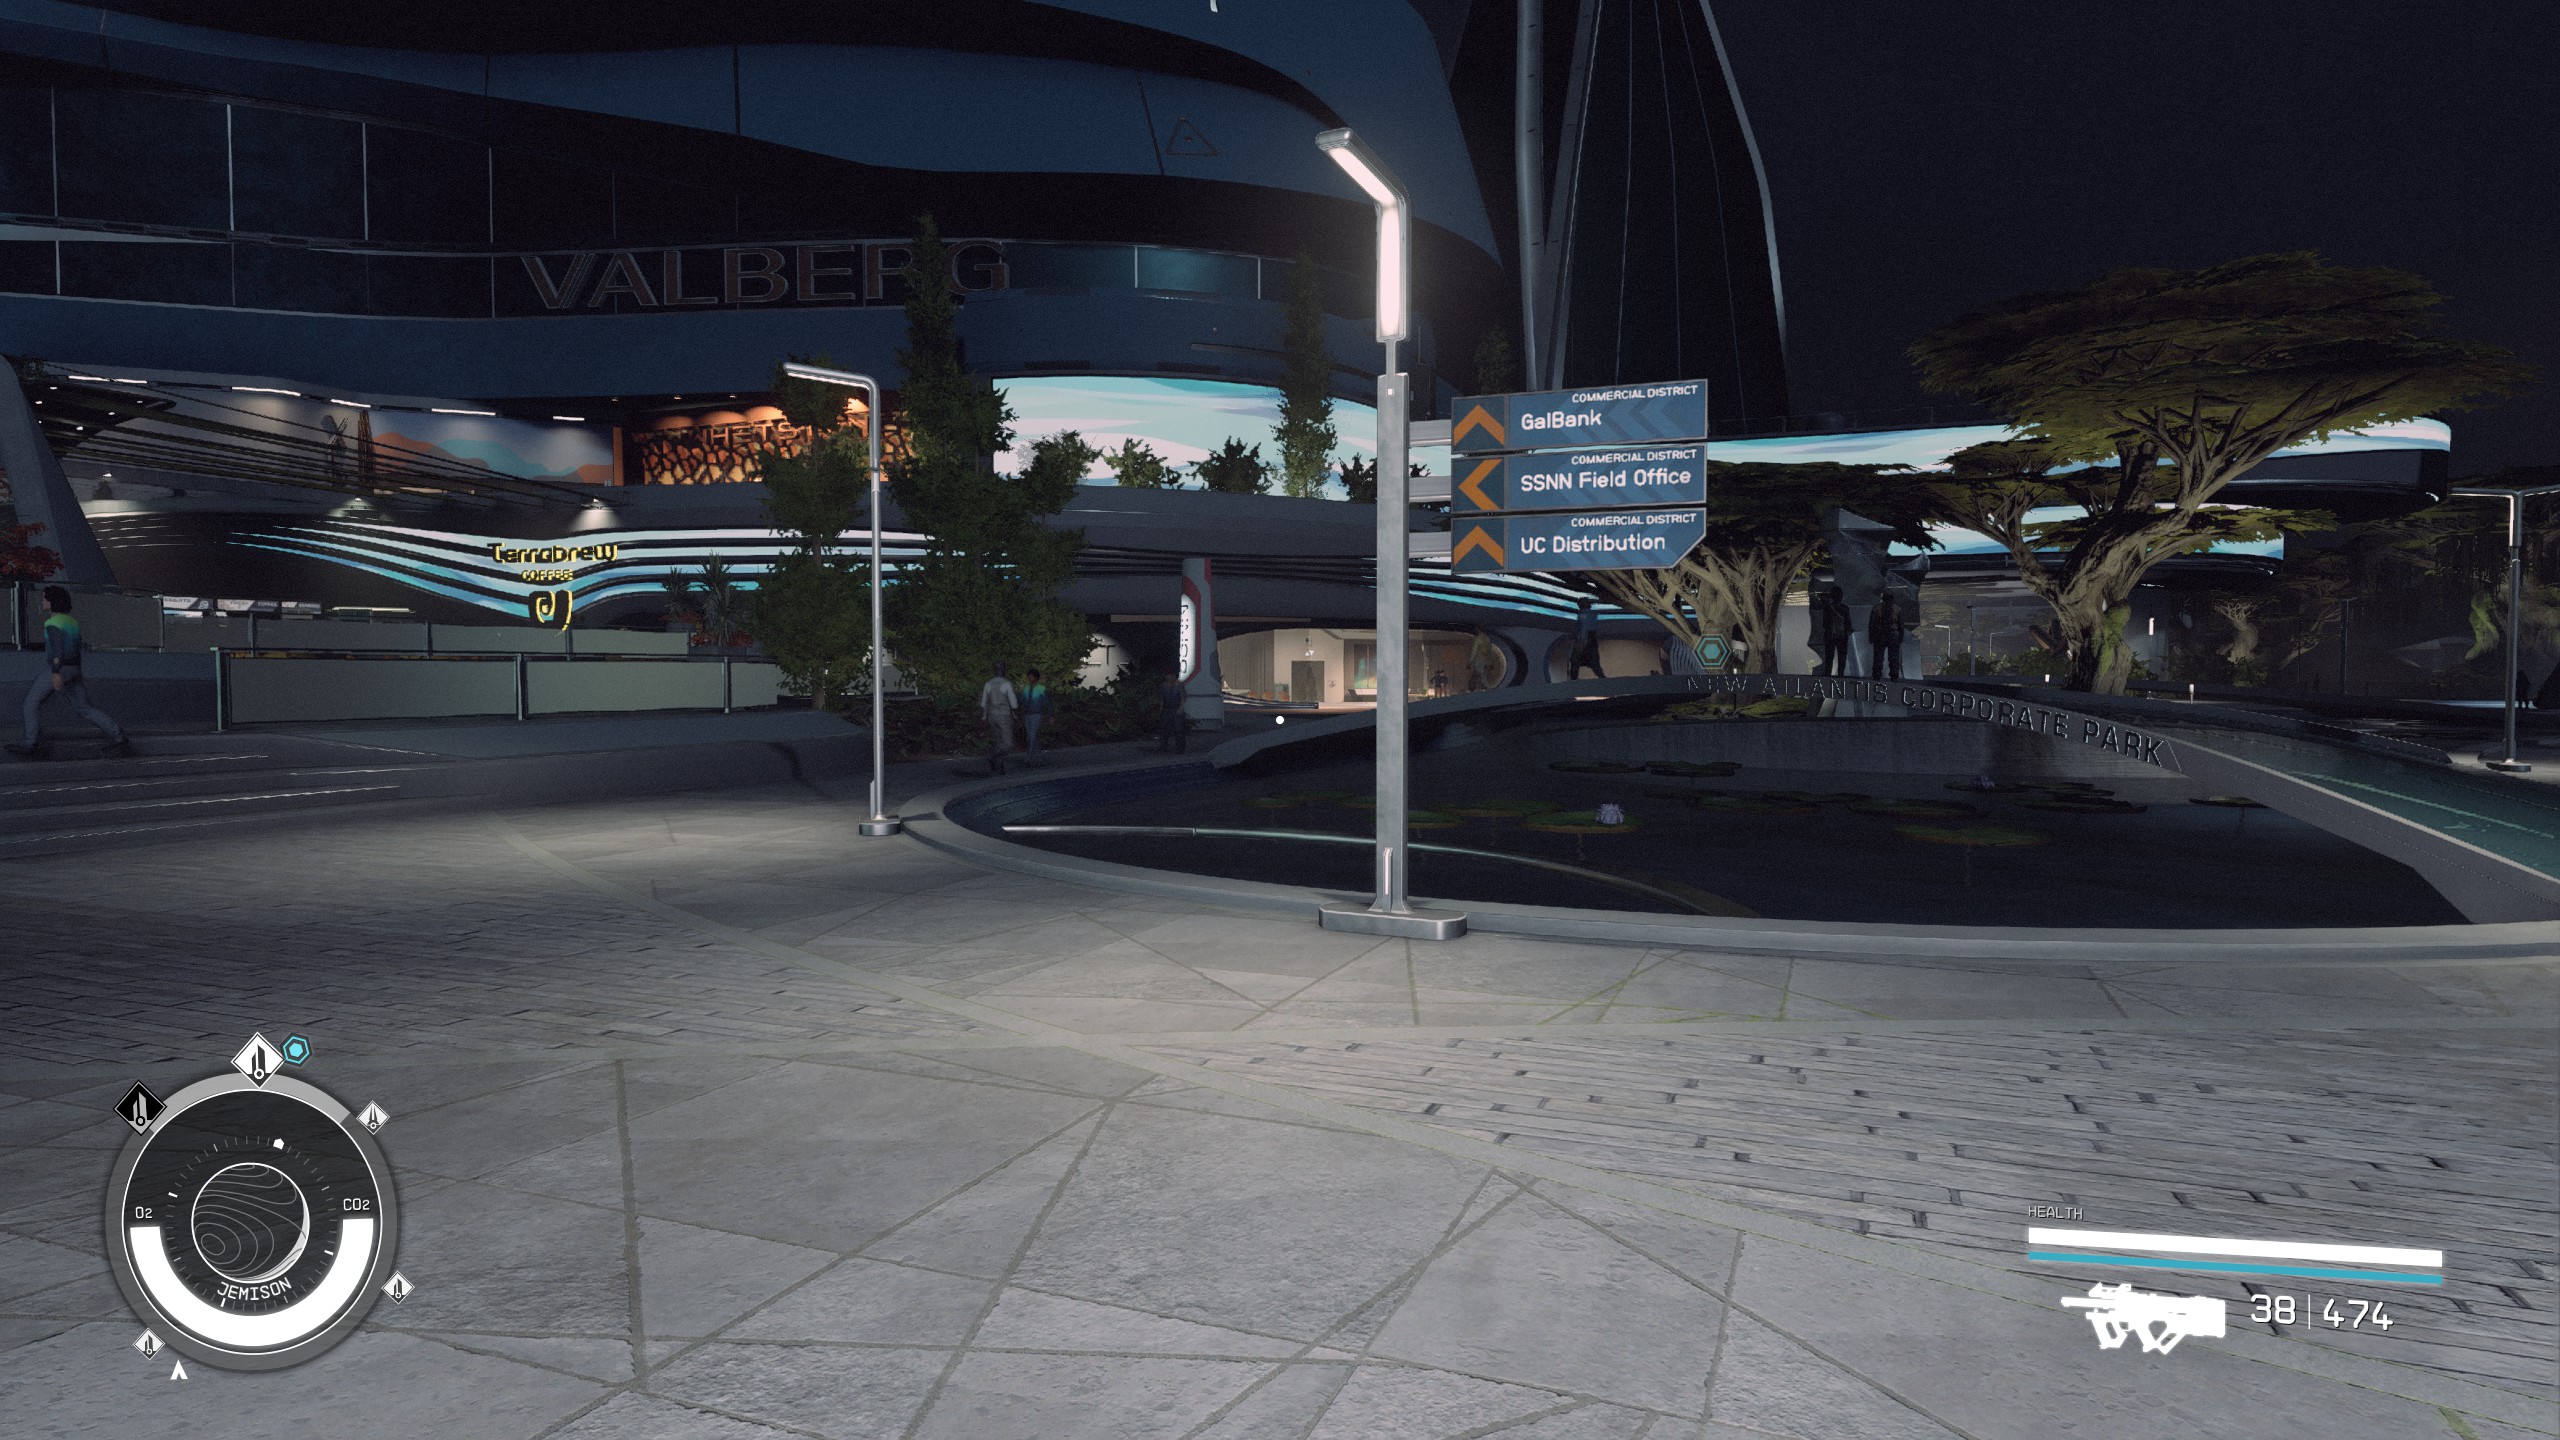
- From the transit, go straight and around the pond.
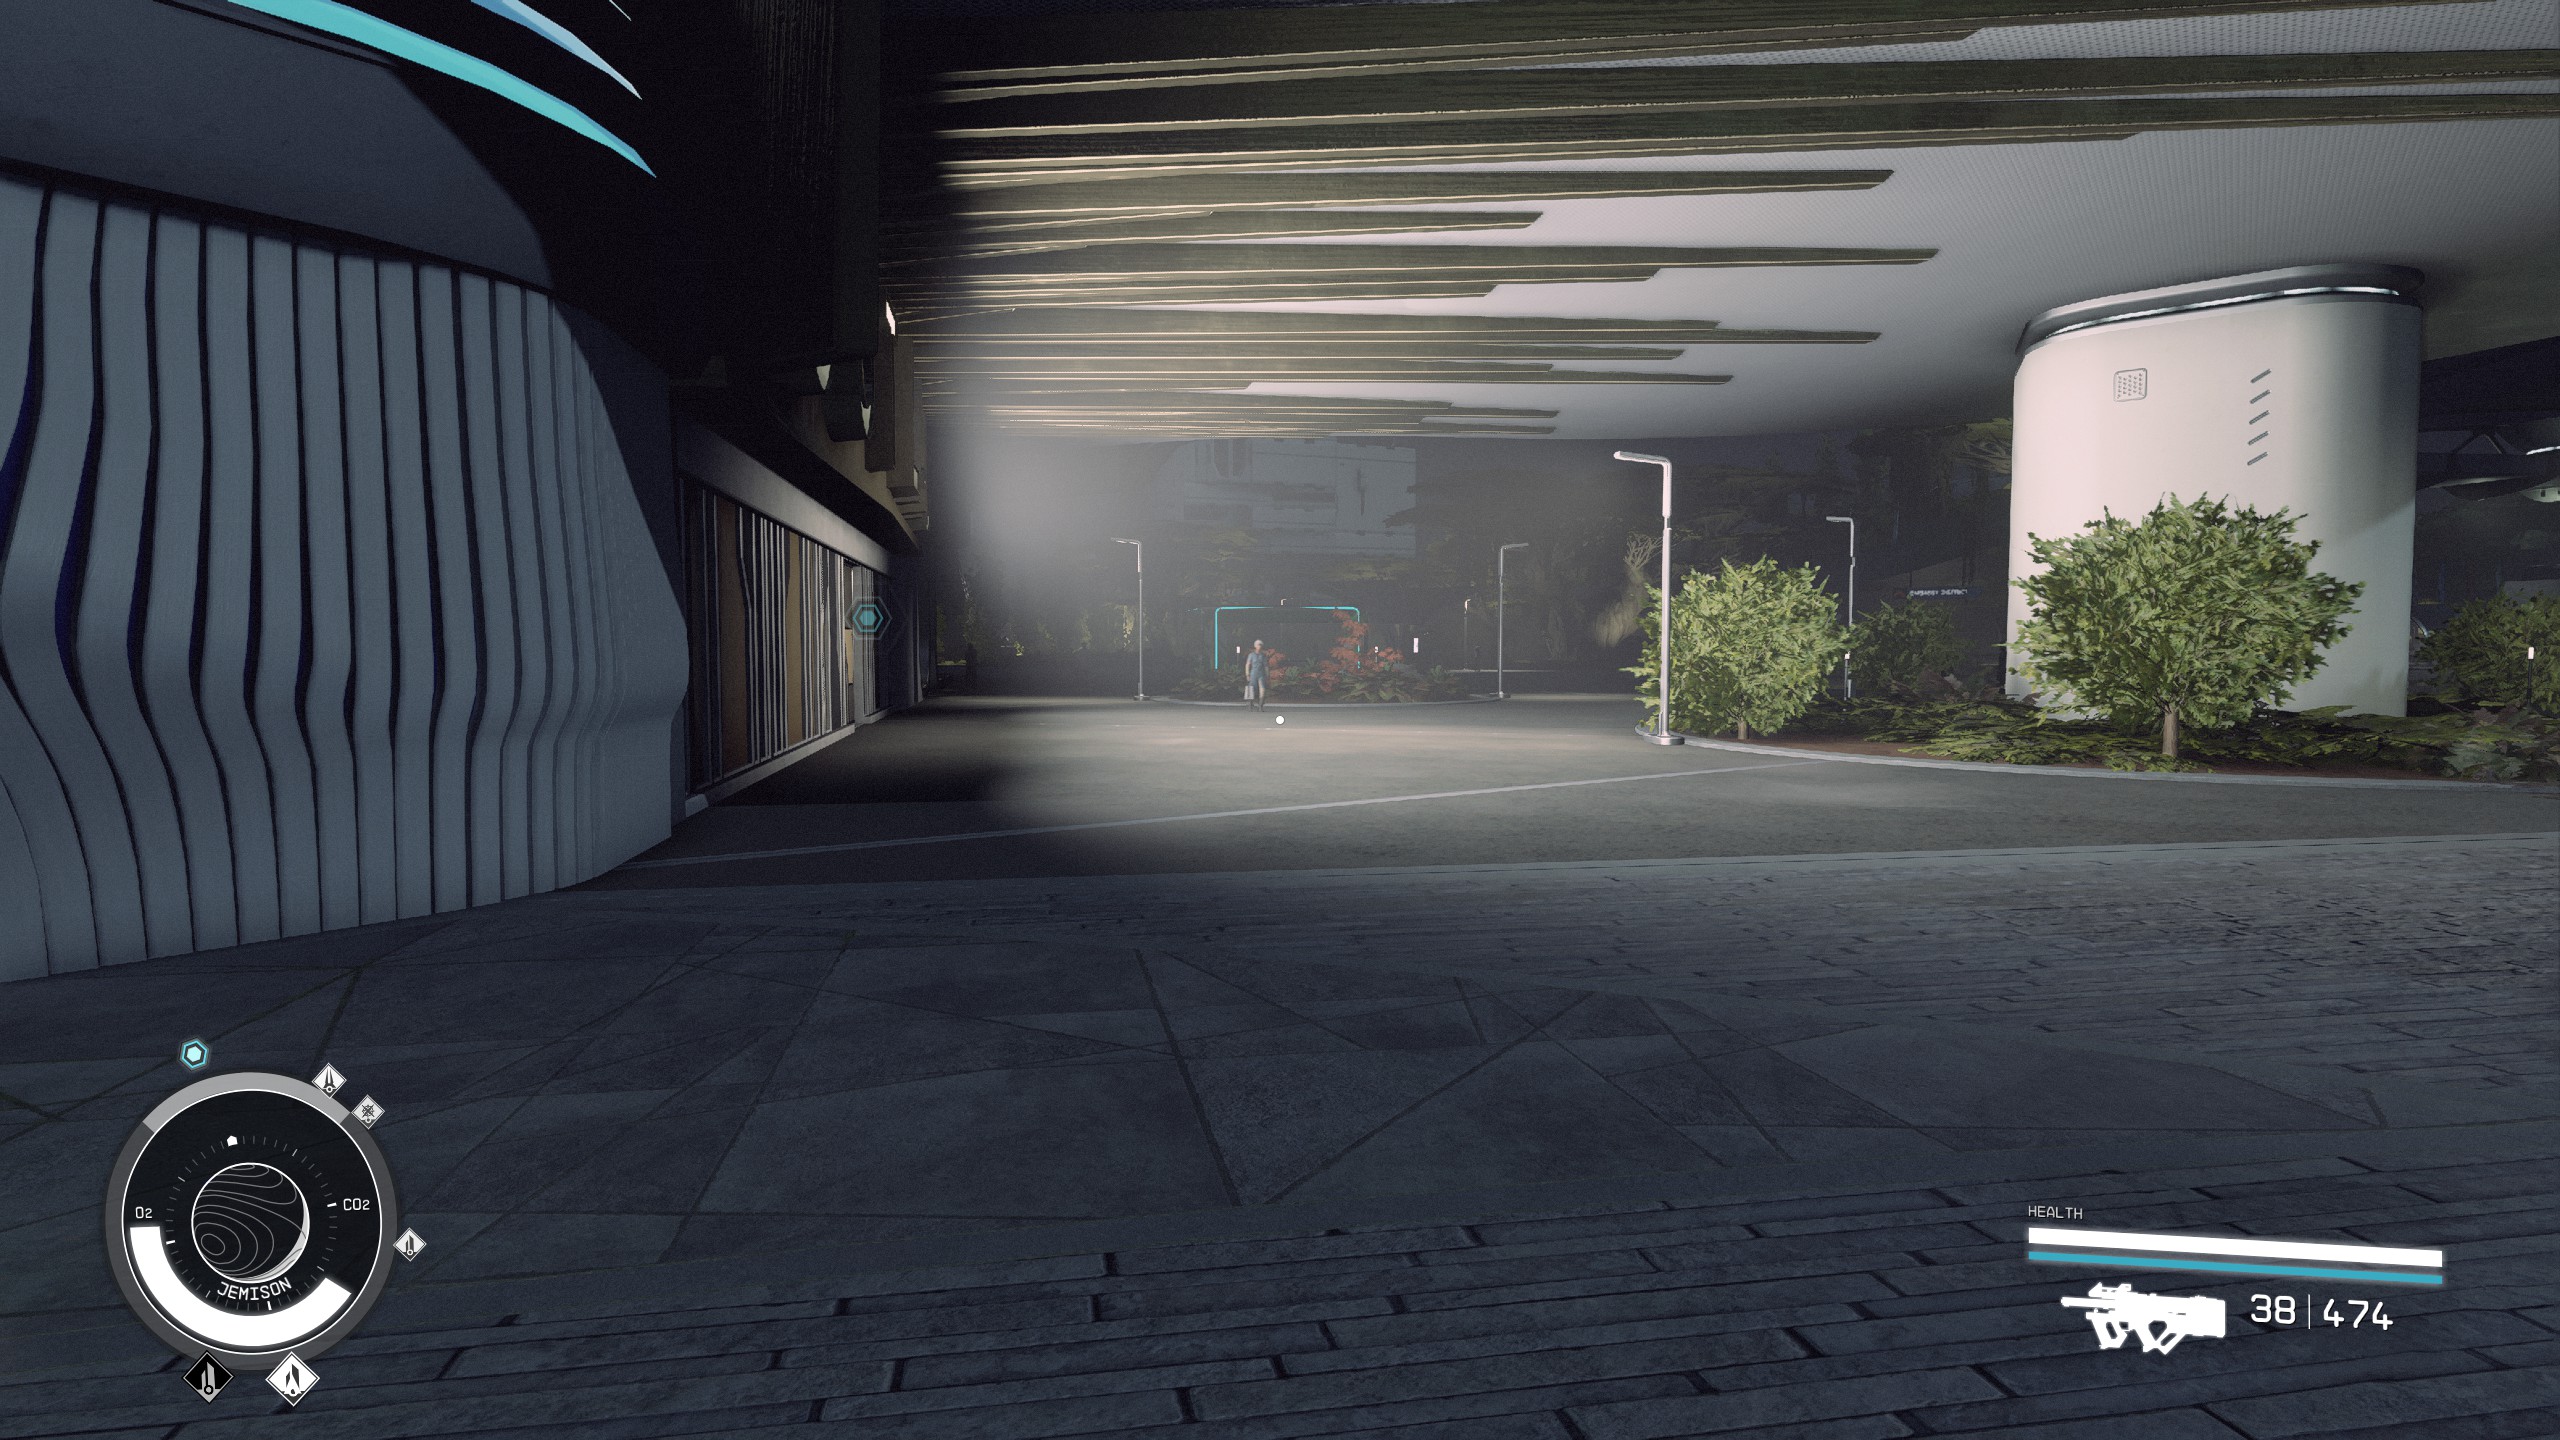
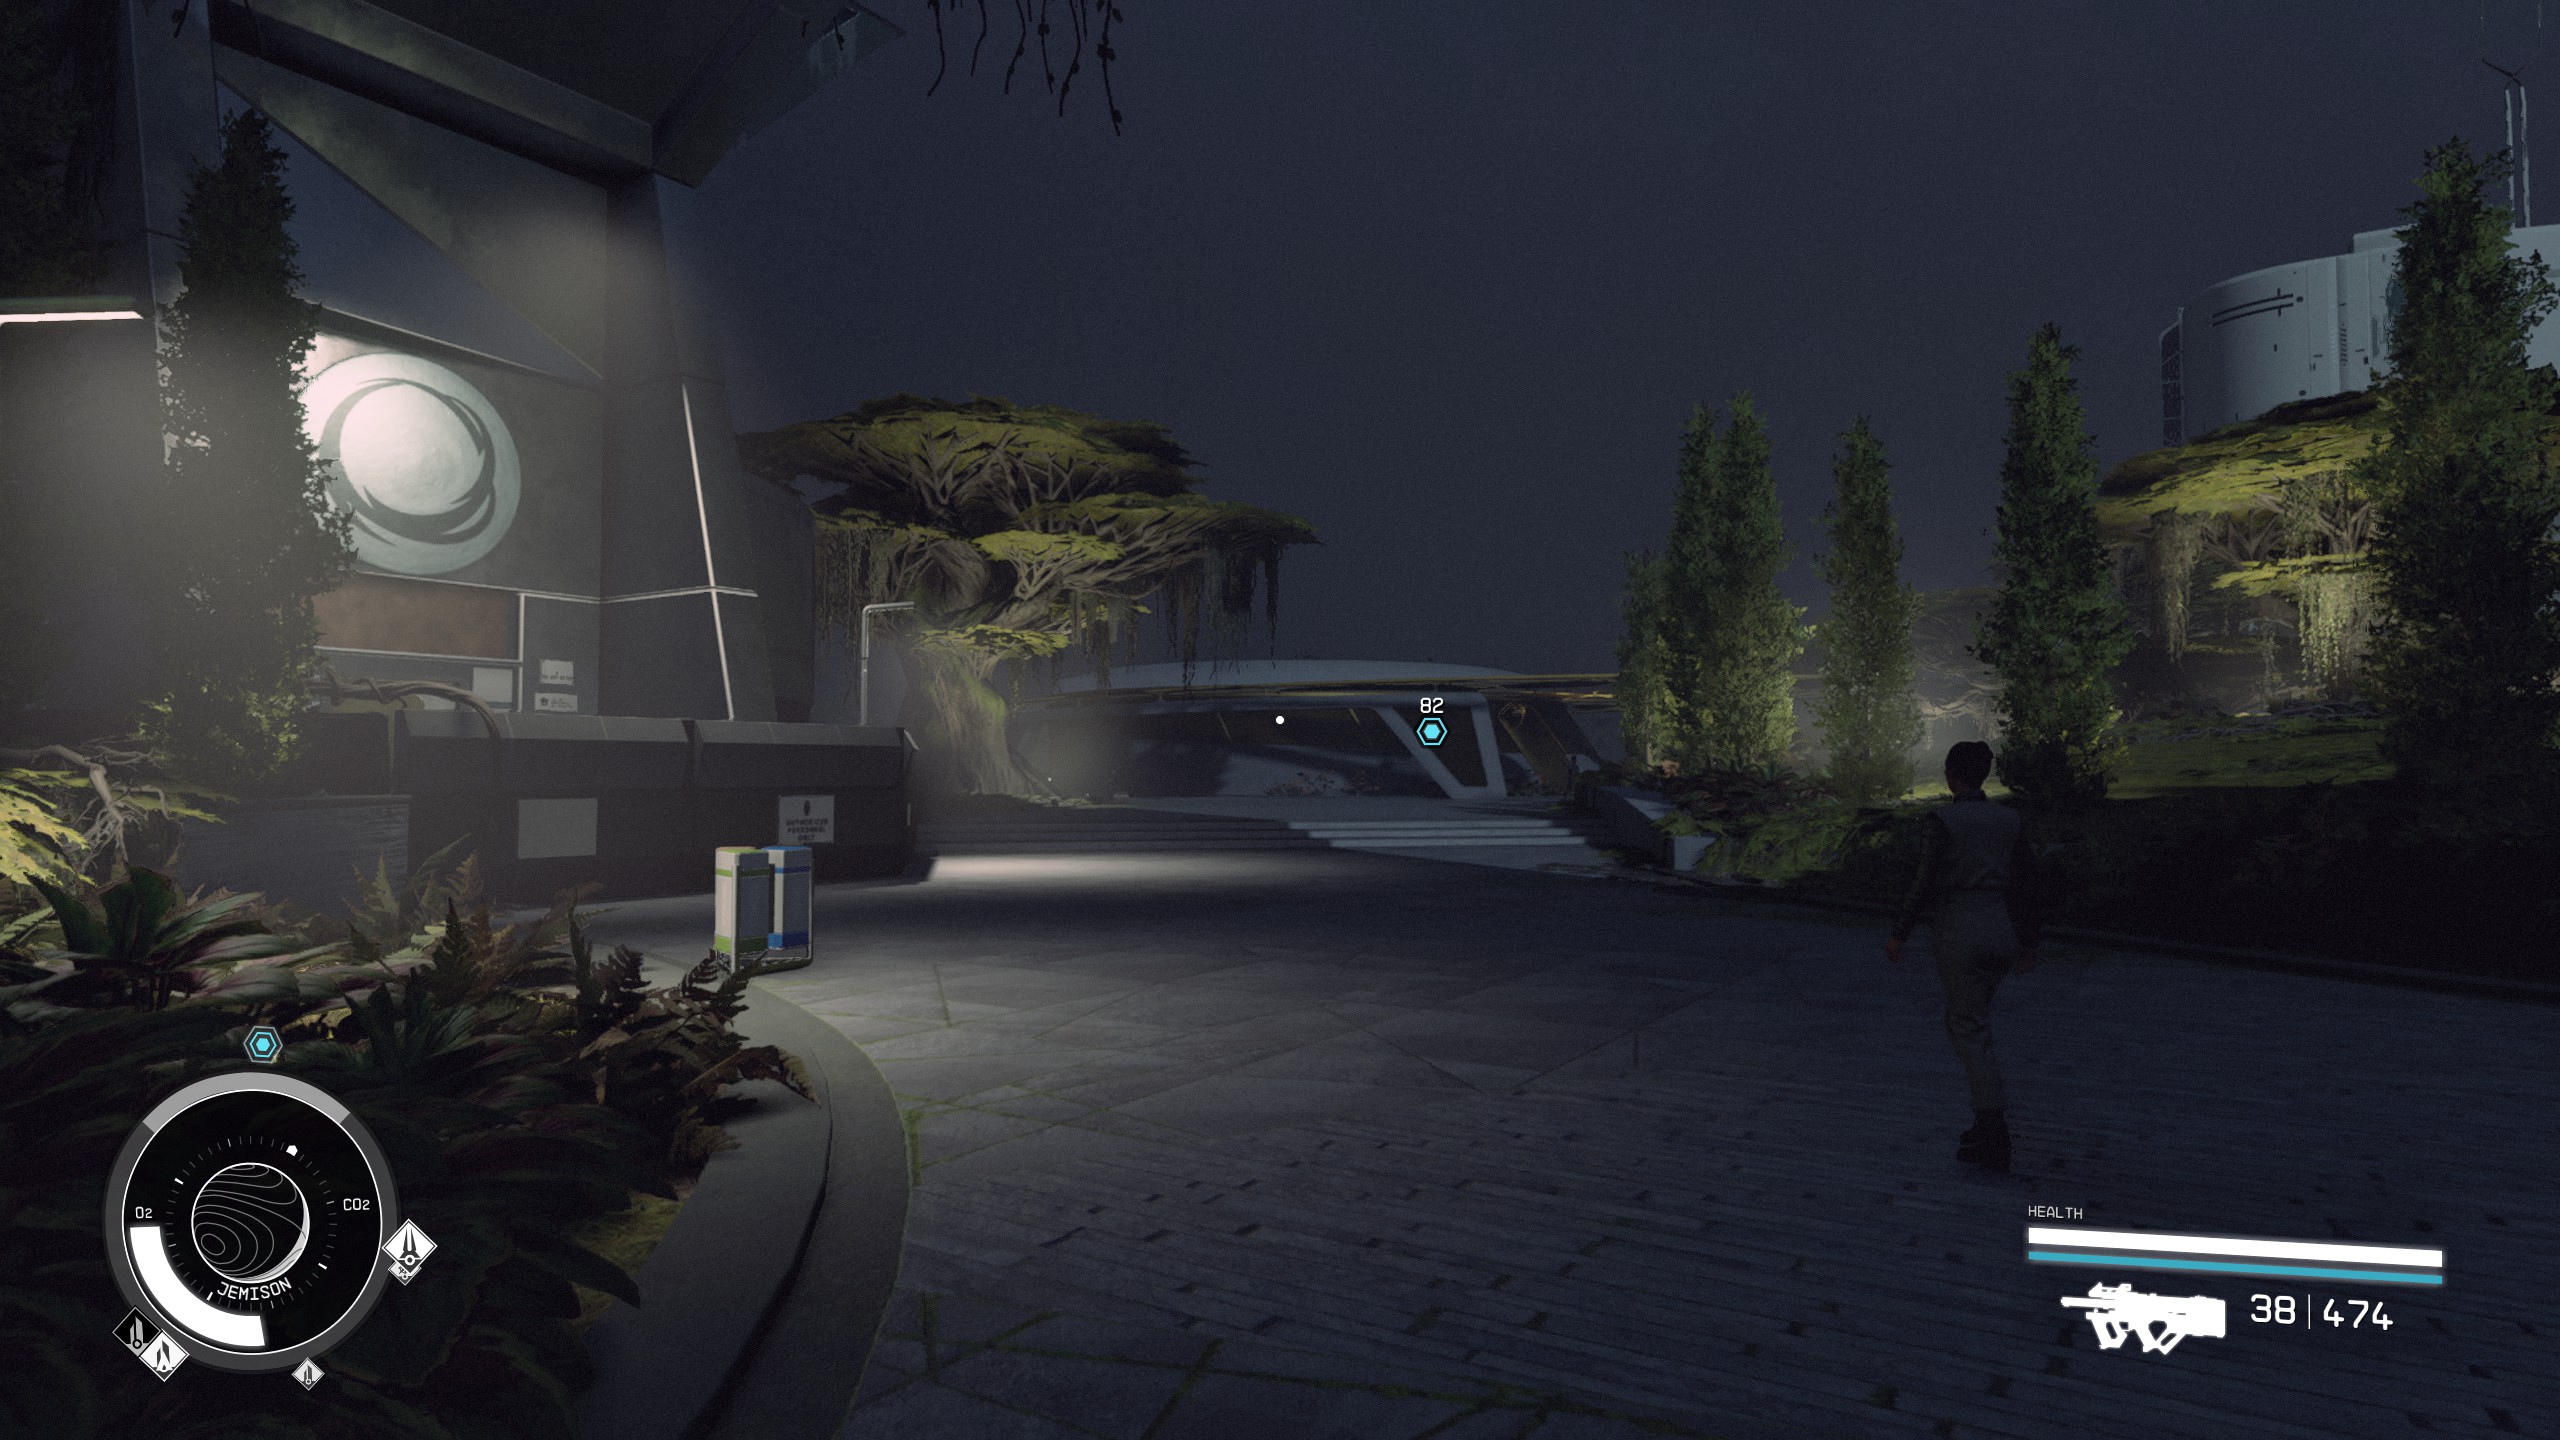
- Keep going passed Outland all the way back to the Sanctum.
- Enter the Sanctum and go to the office where Keeper Aquilus is waiting. Talk to Keeper Aquilus and tell him what you learned.
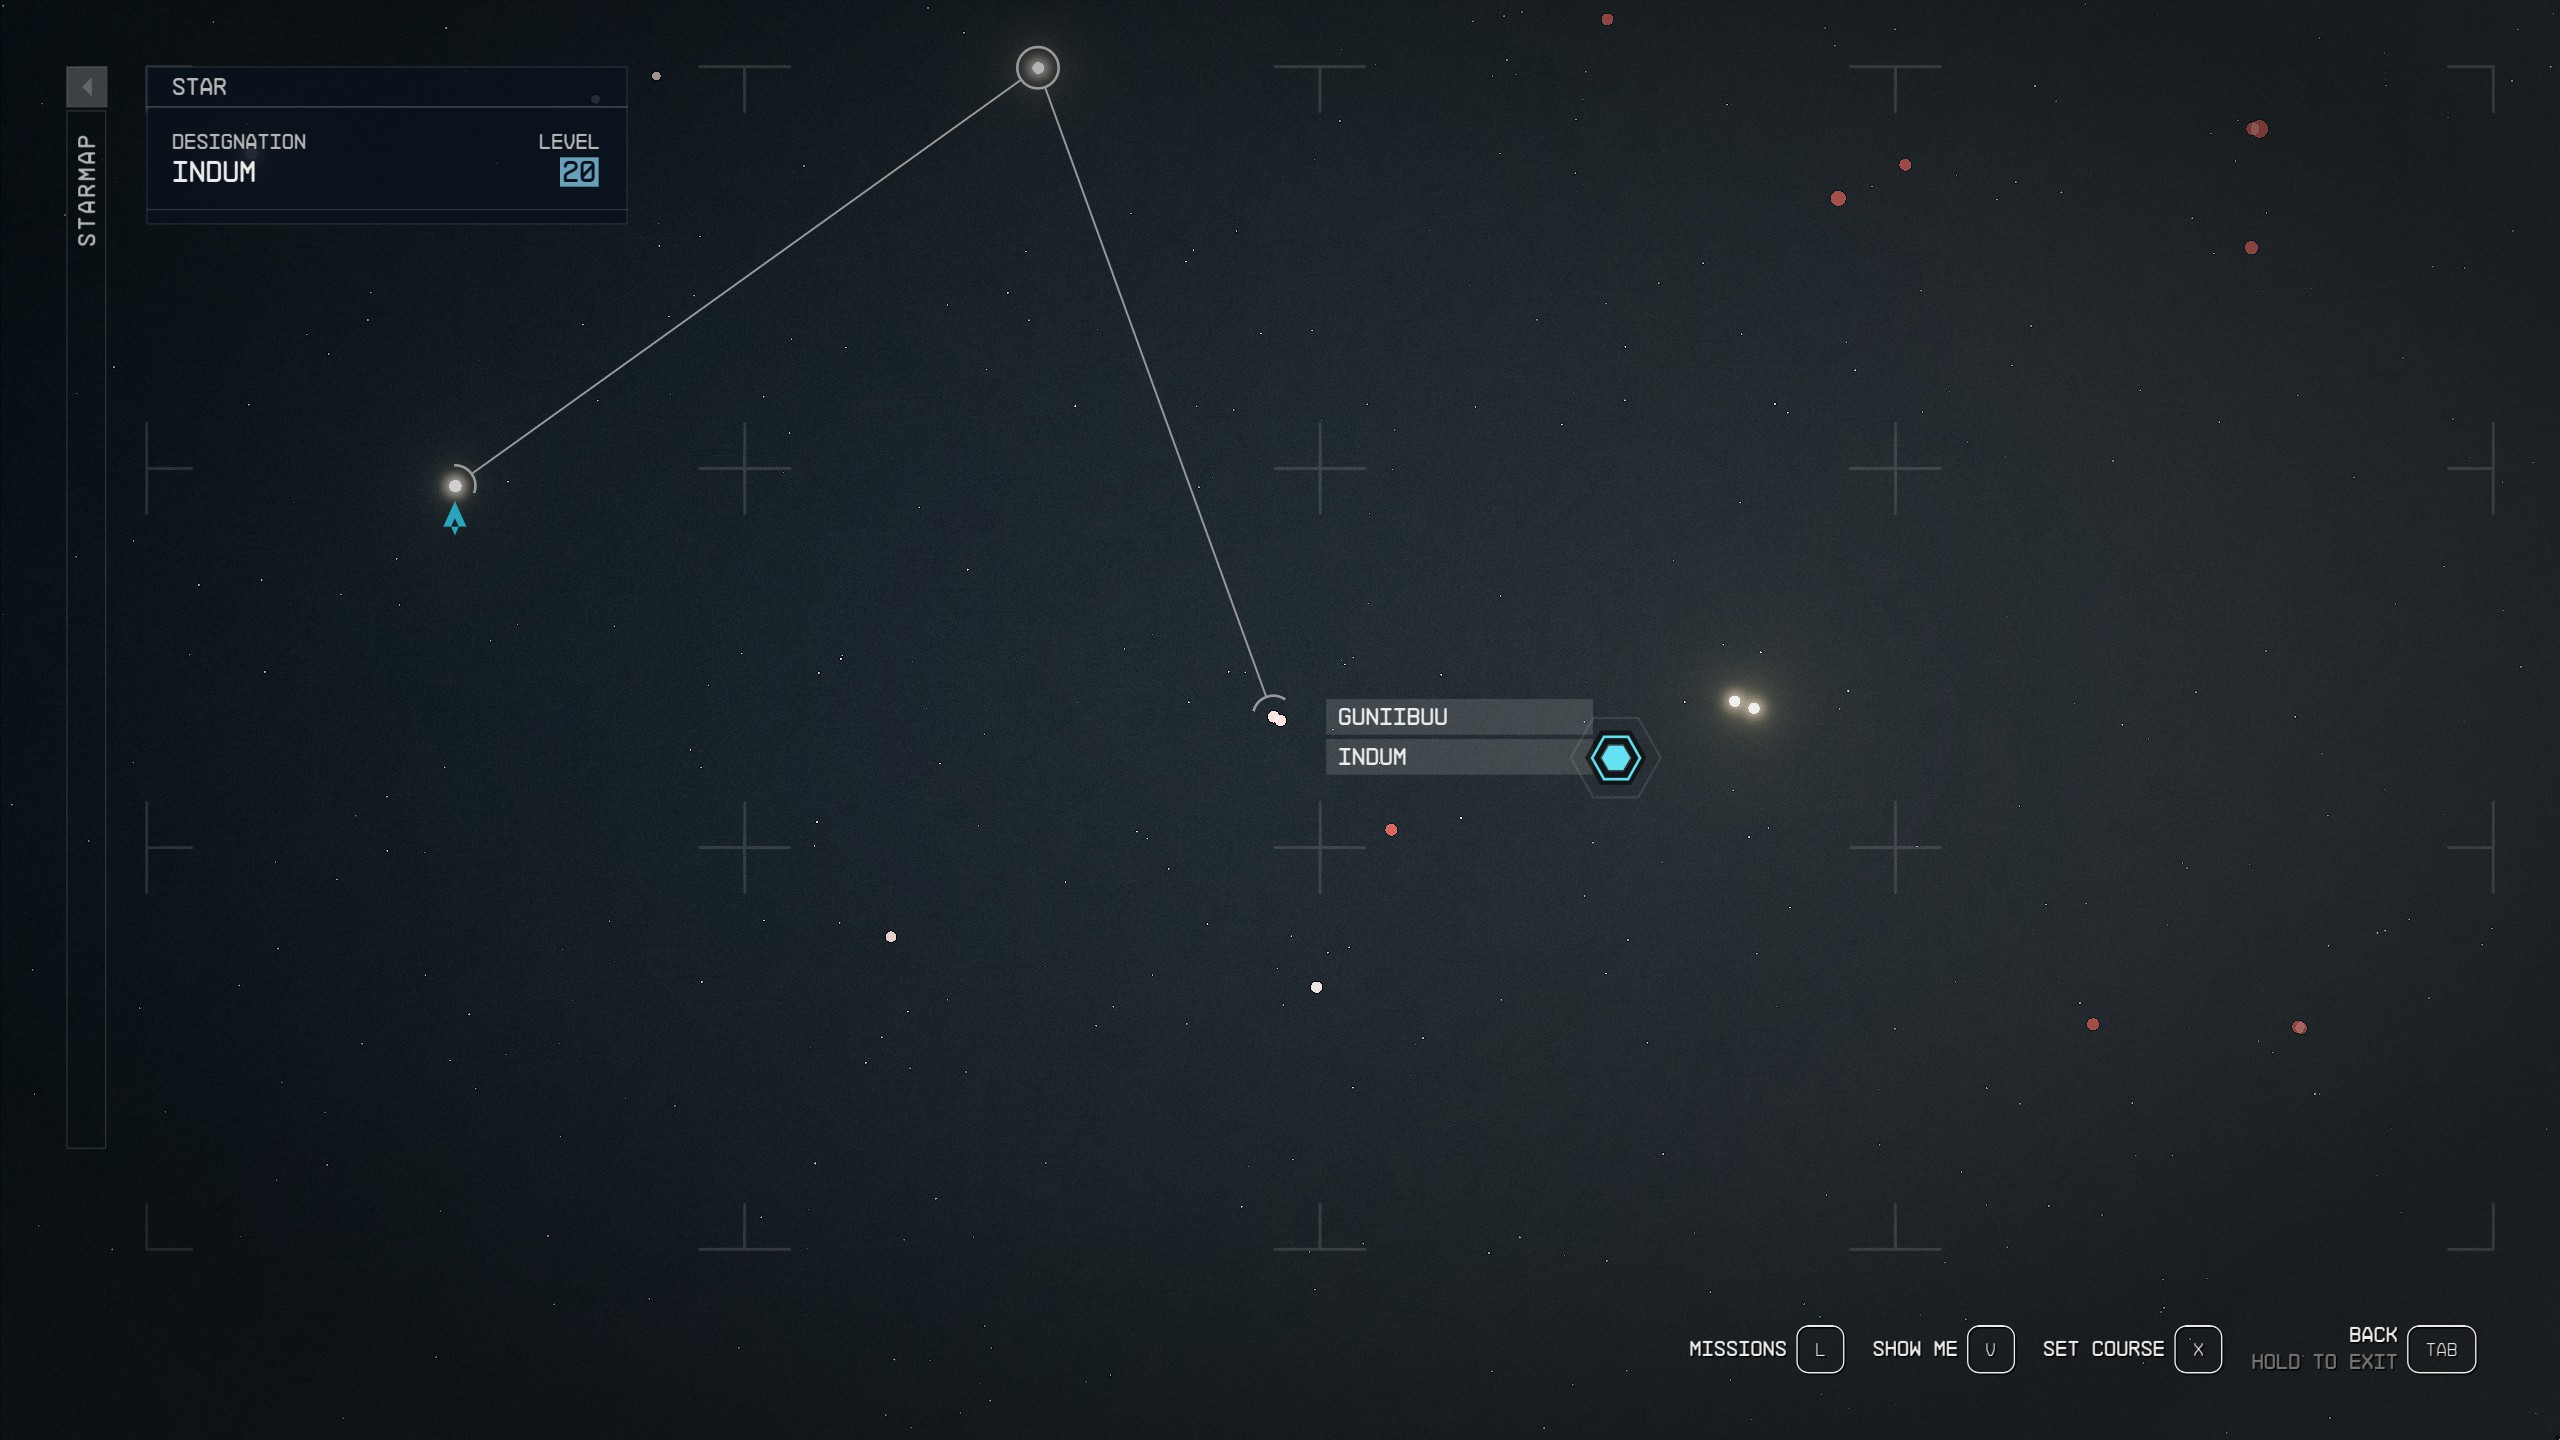
- You will gain insight to your next destination, the planet Indum II in the Indum System.
Go to Indum II
- Open the map and find the Indum System.
Go to "Pilgrim's Rest"
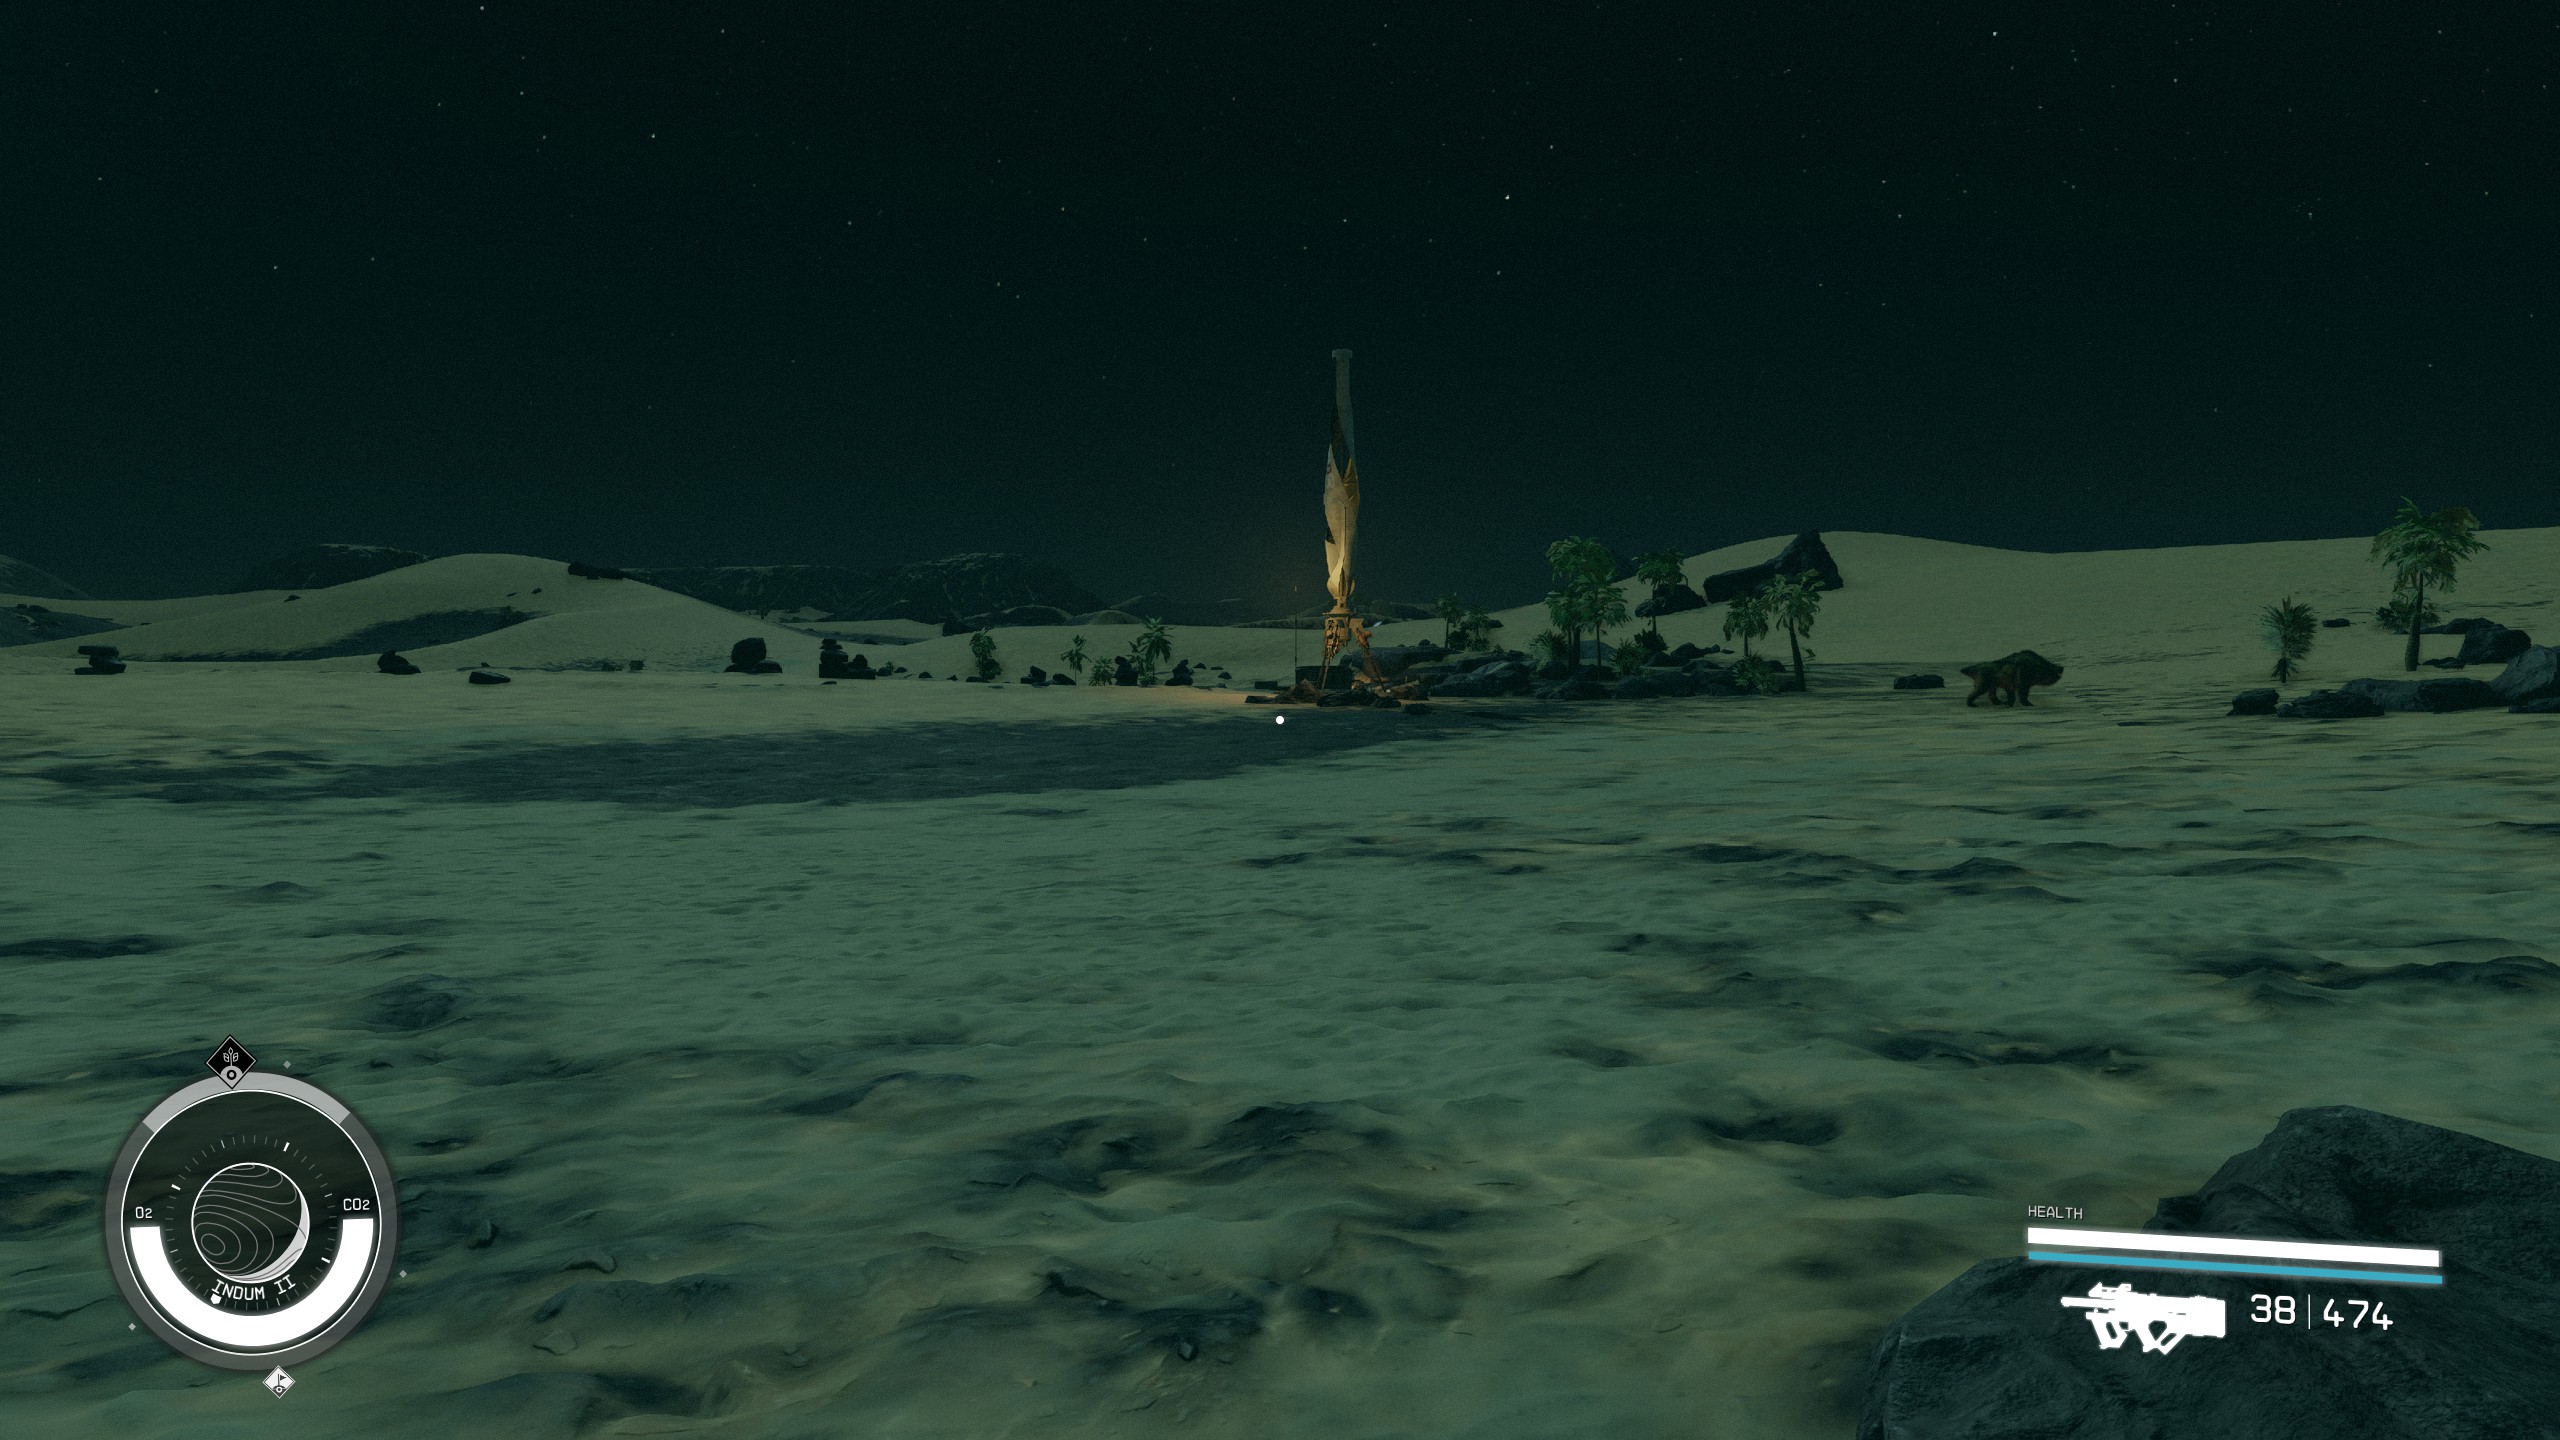
- Leave your starship and turn around and walk straight towards the marker.
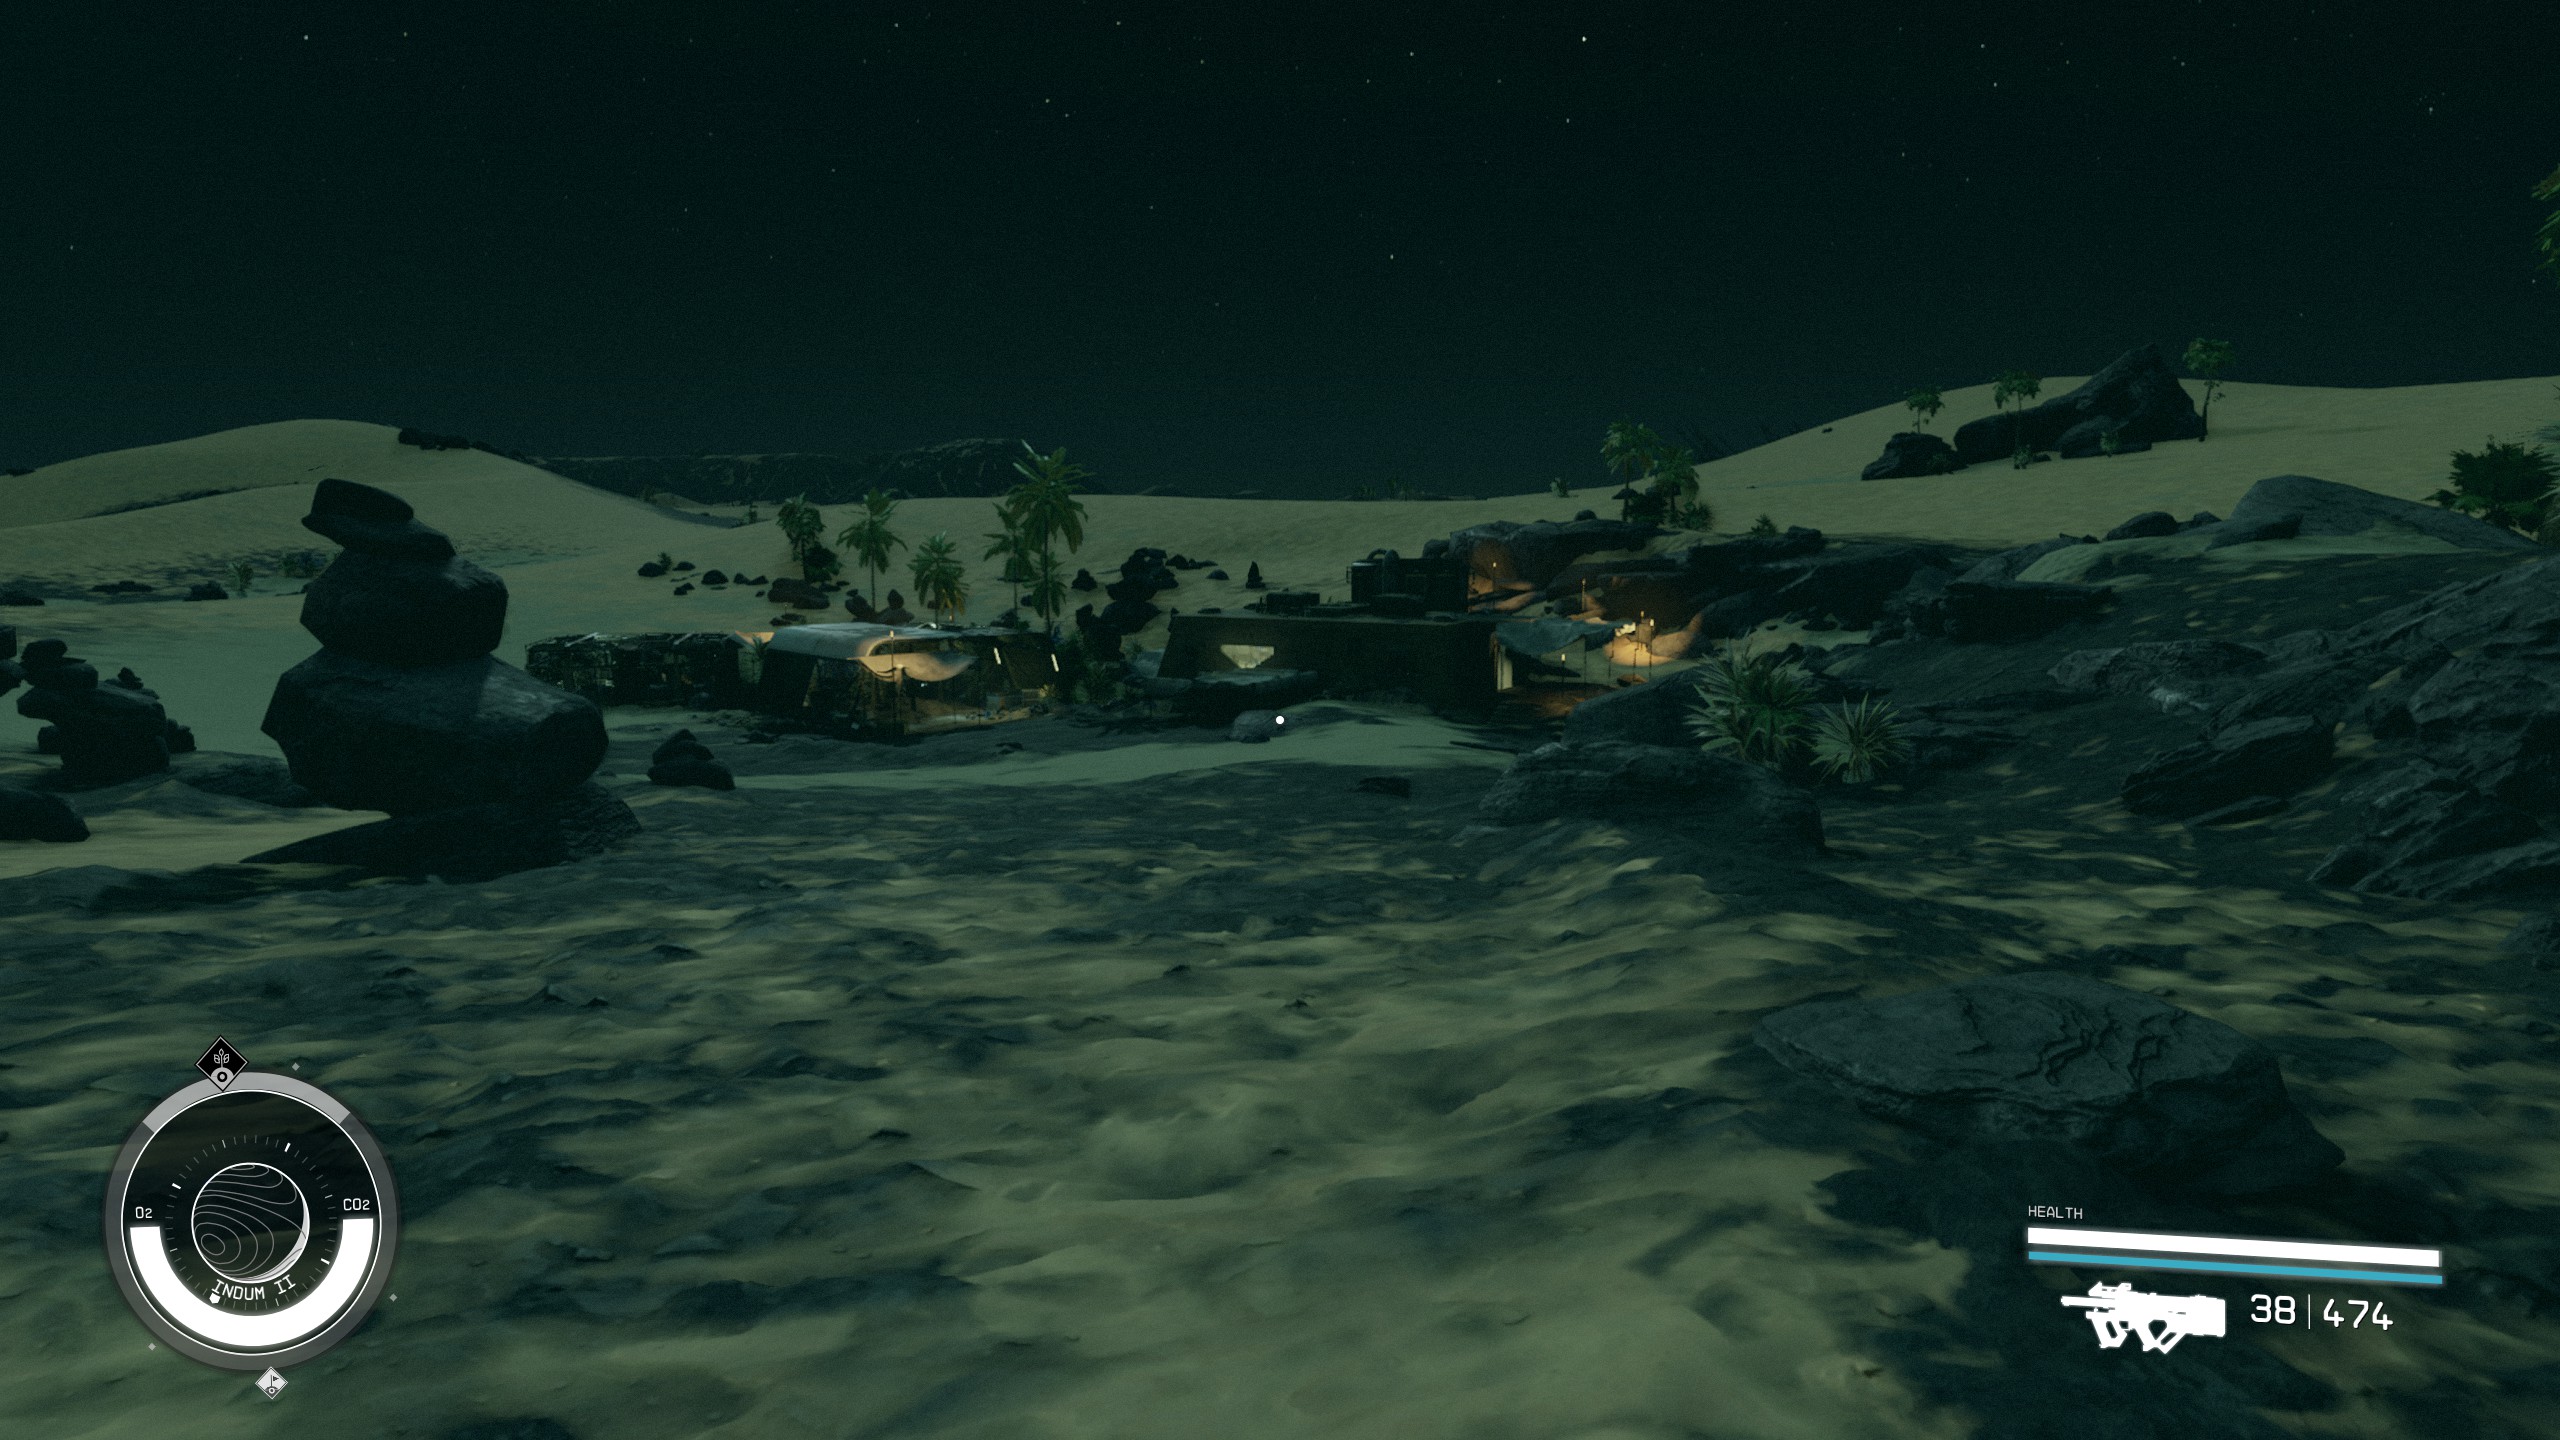
- Keep walking straight, past the structure and to Pilgrim's Rest.
Search for Clues on the "Unity"
- Go into the first building you come to with the door on the right side.
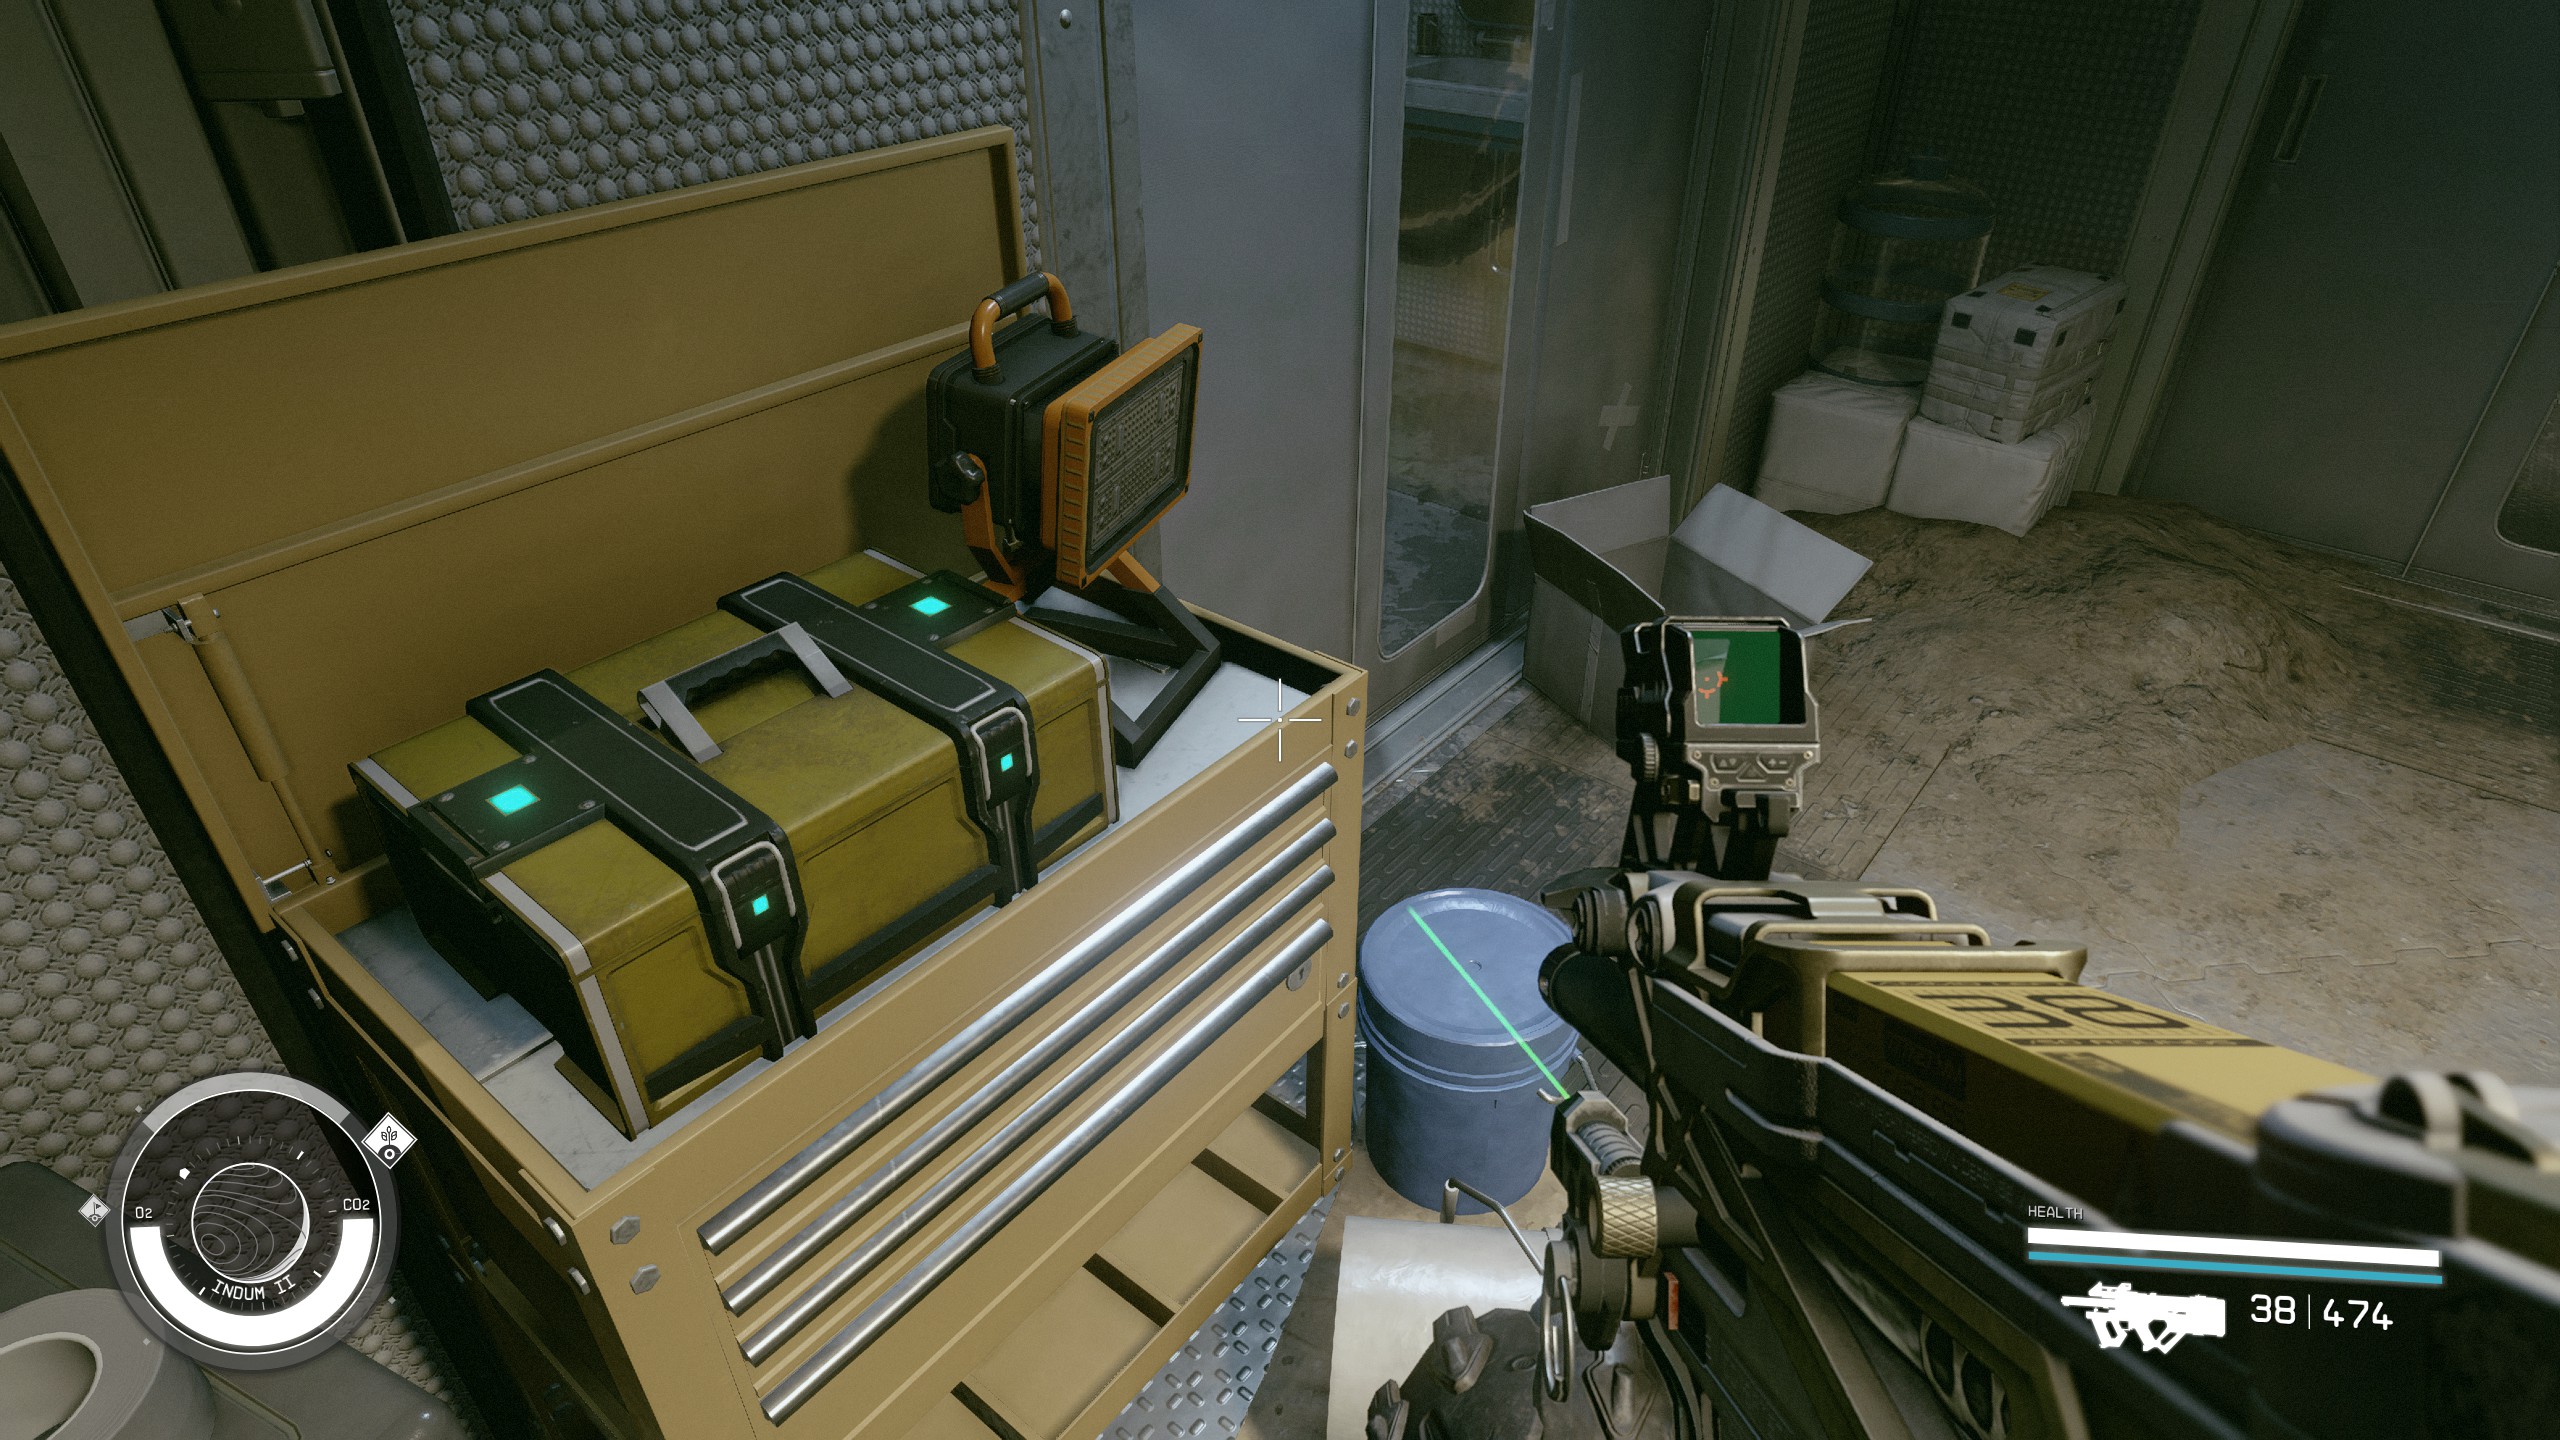
- Open the various containers in the first room.
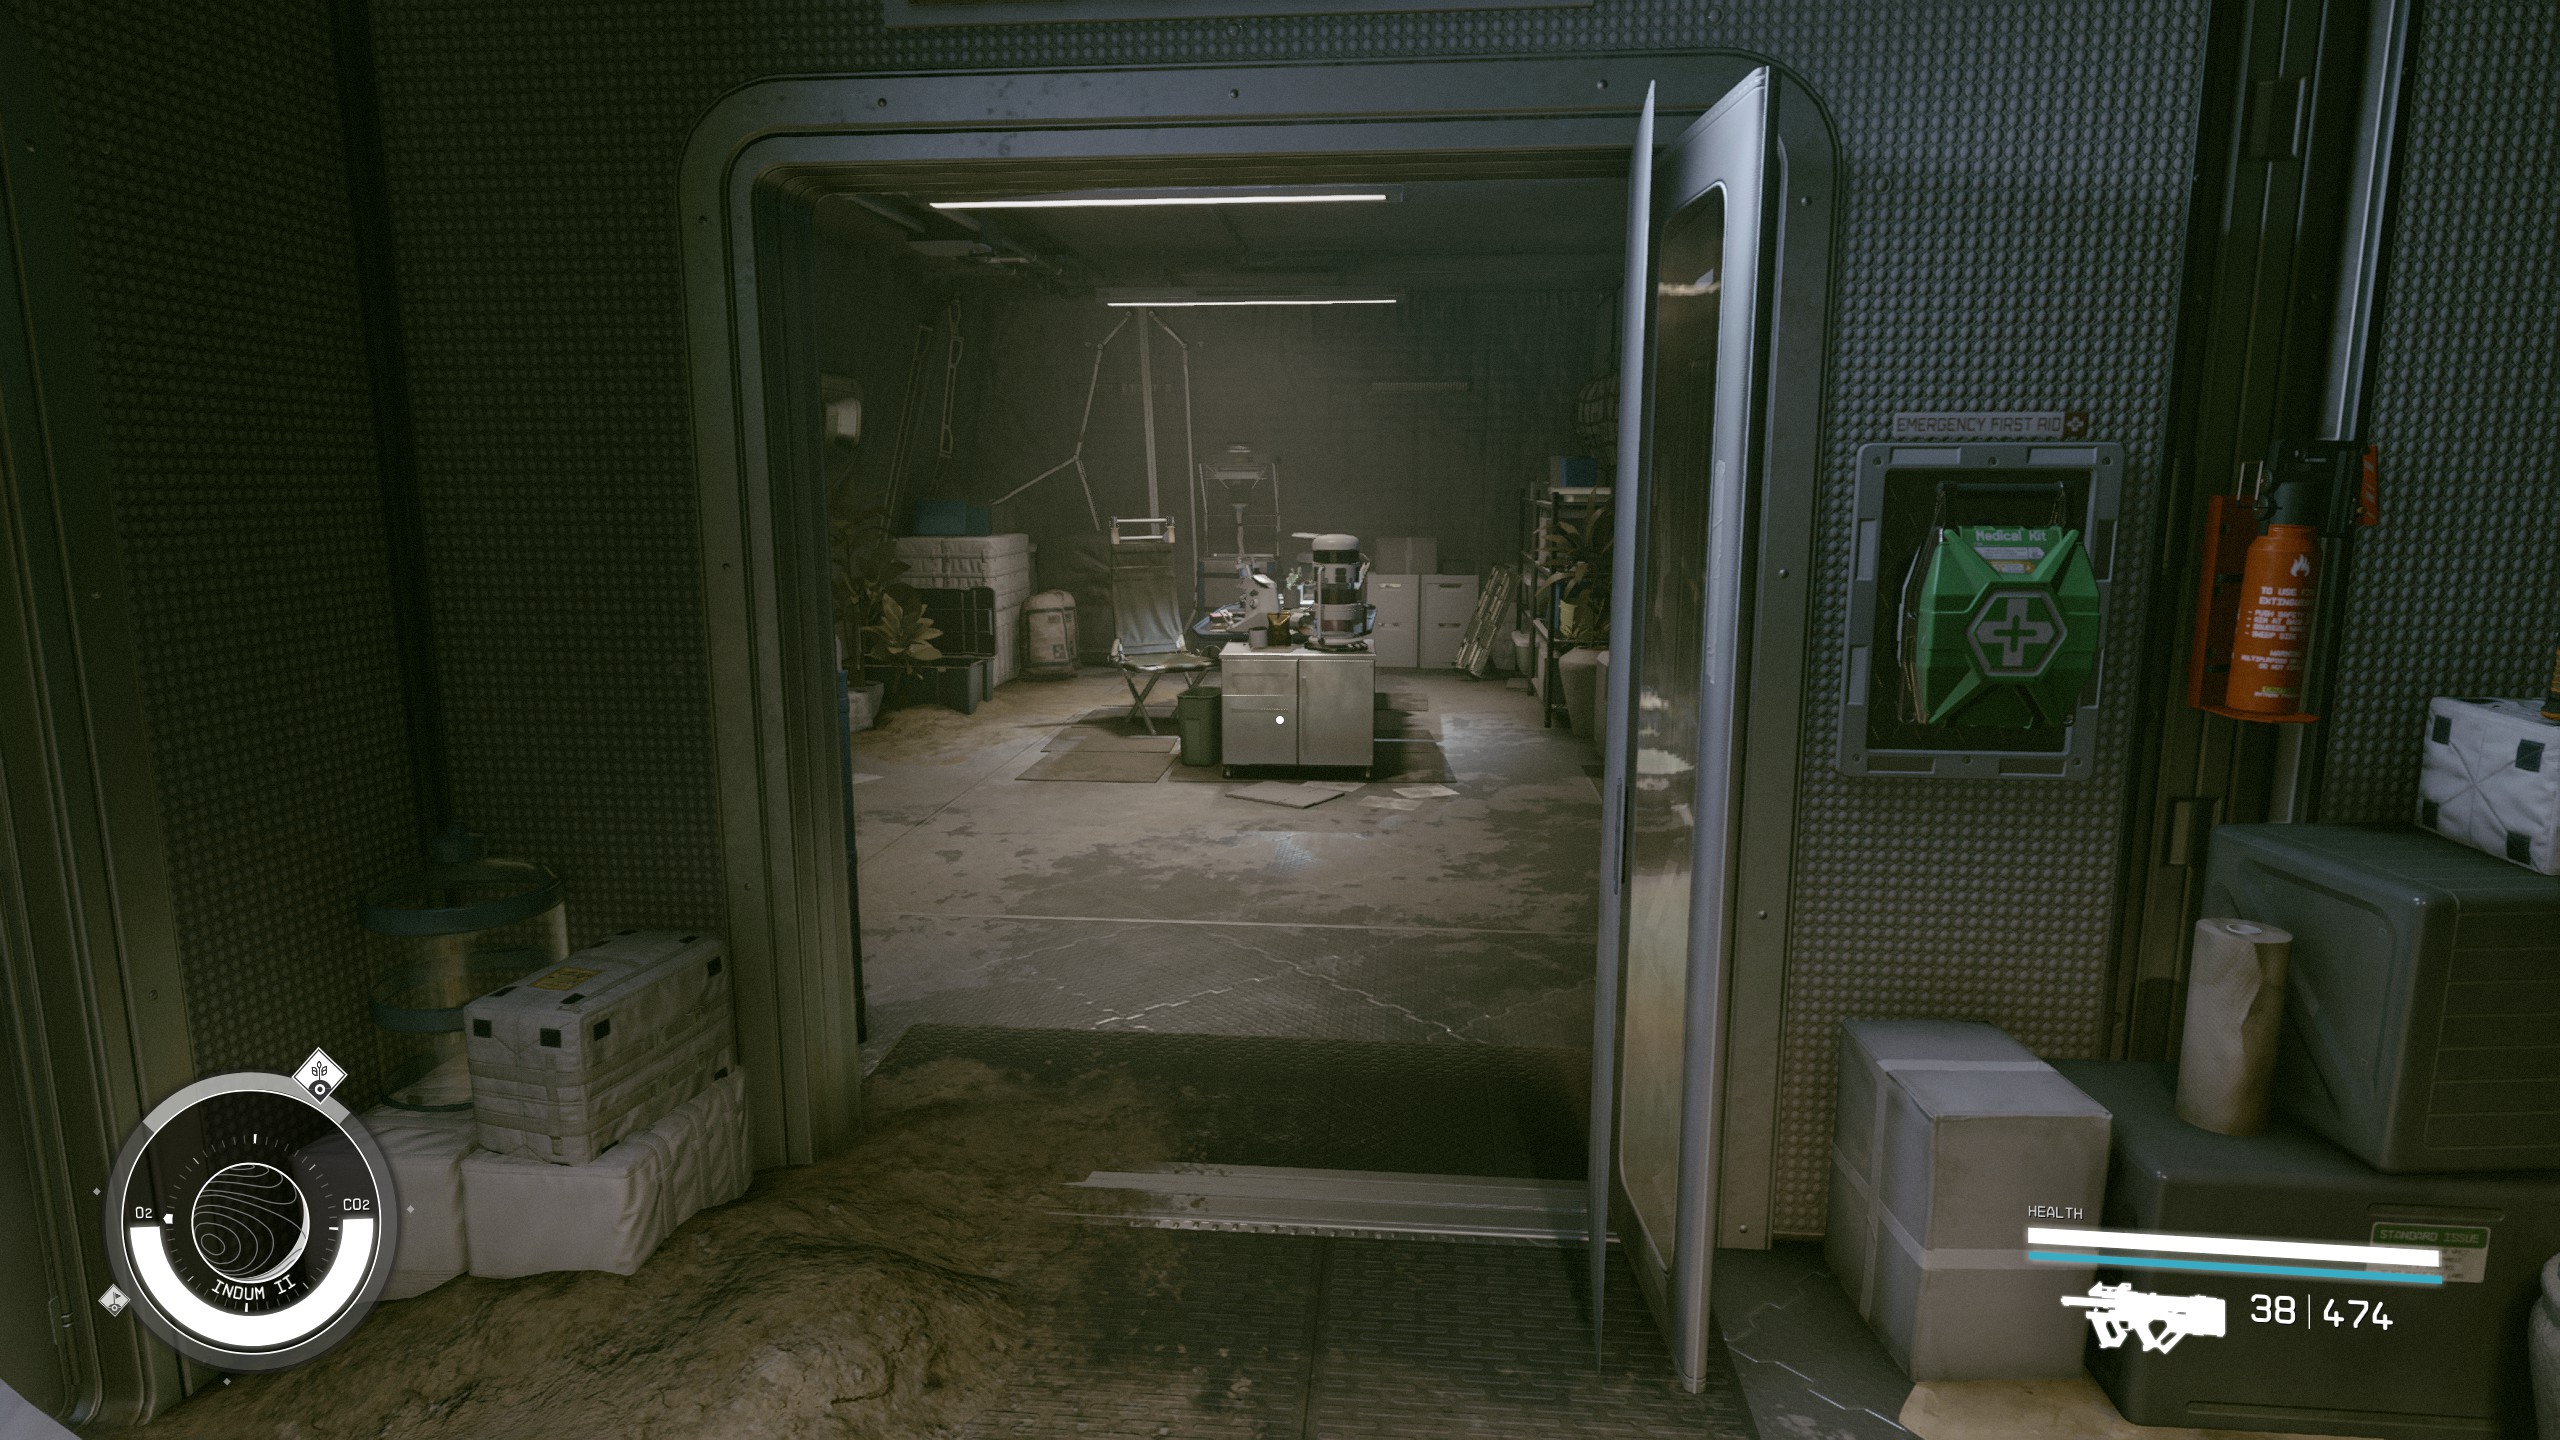
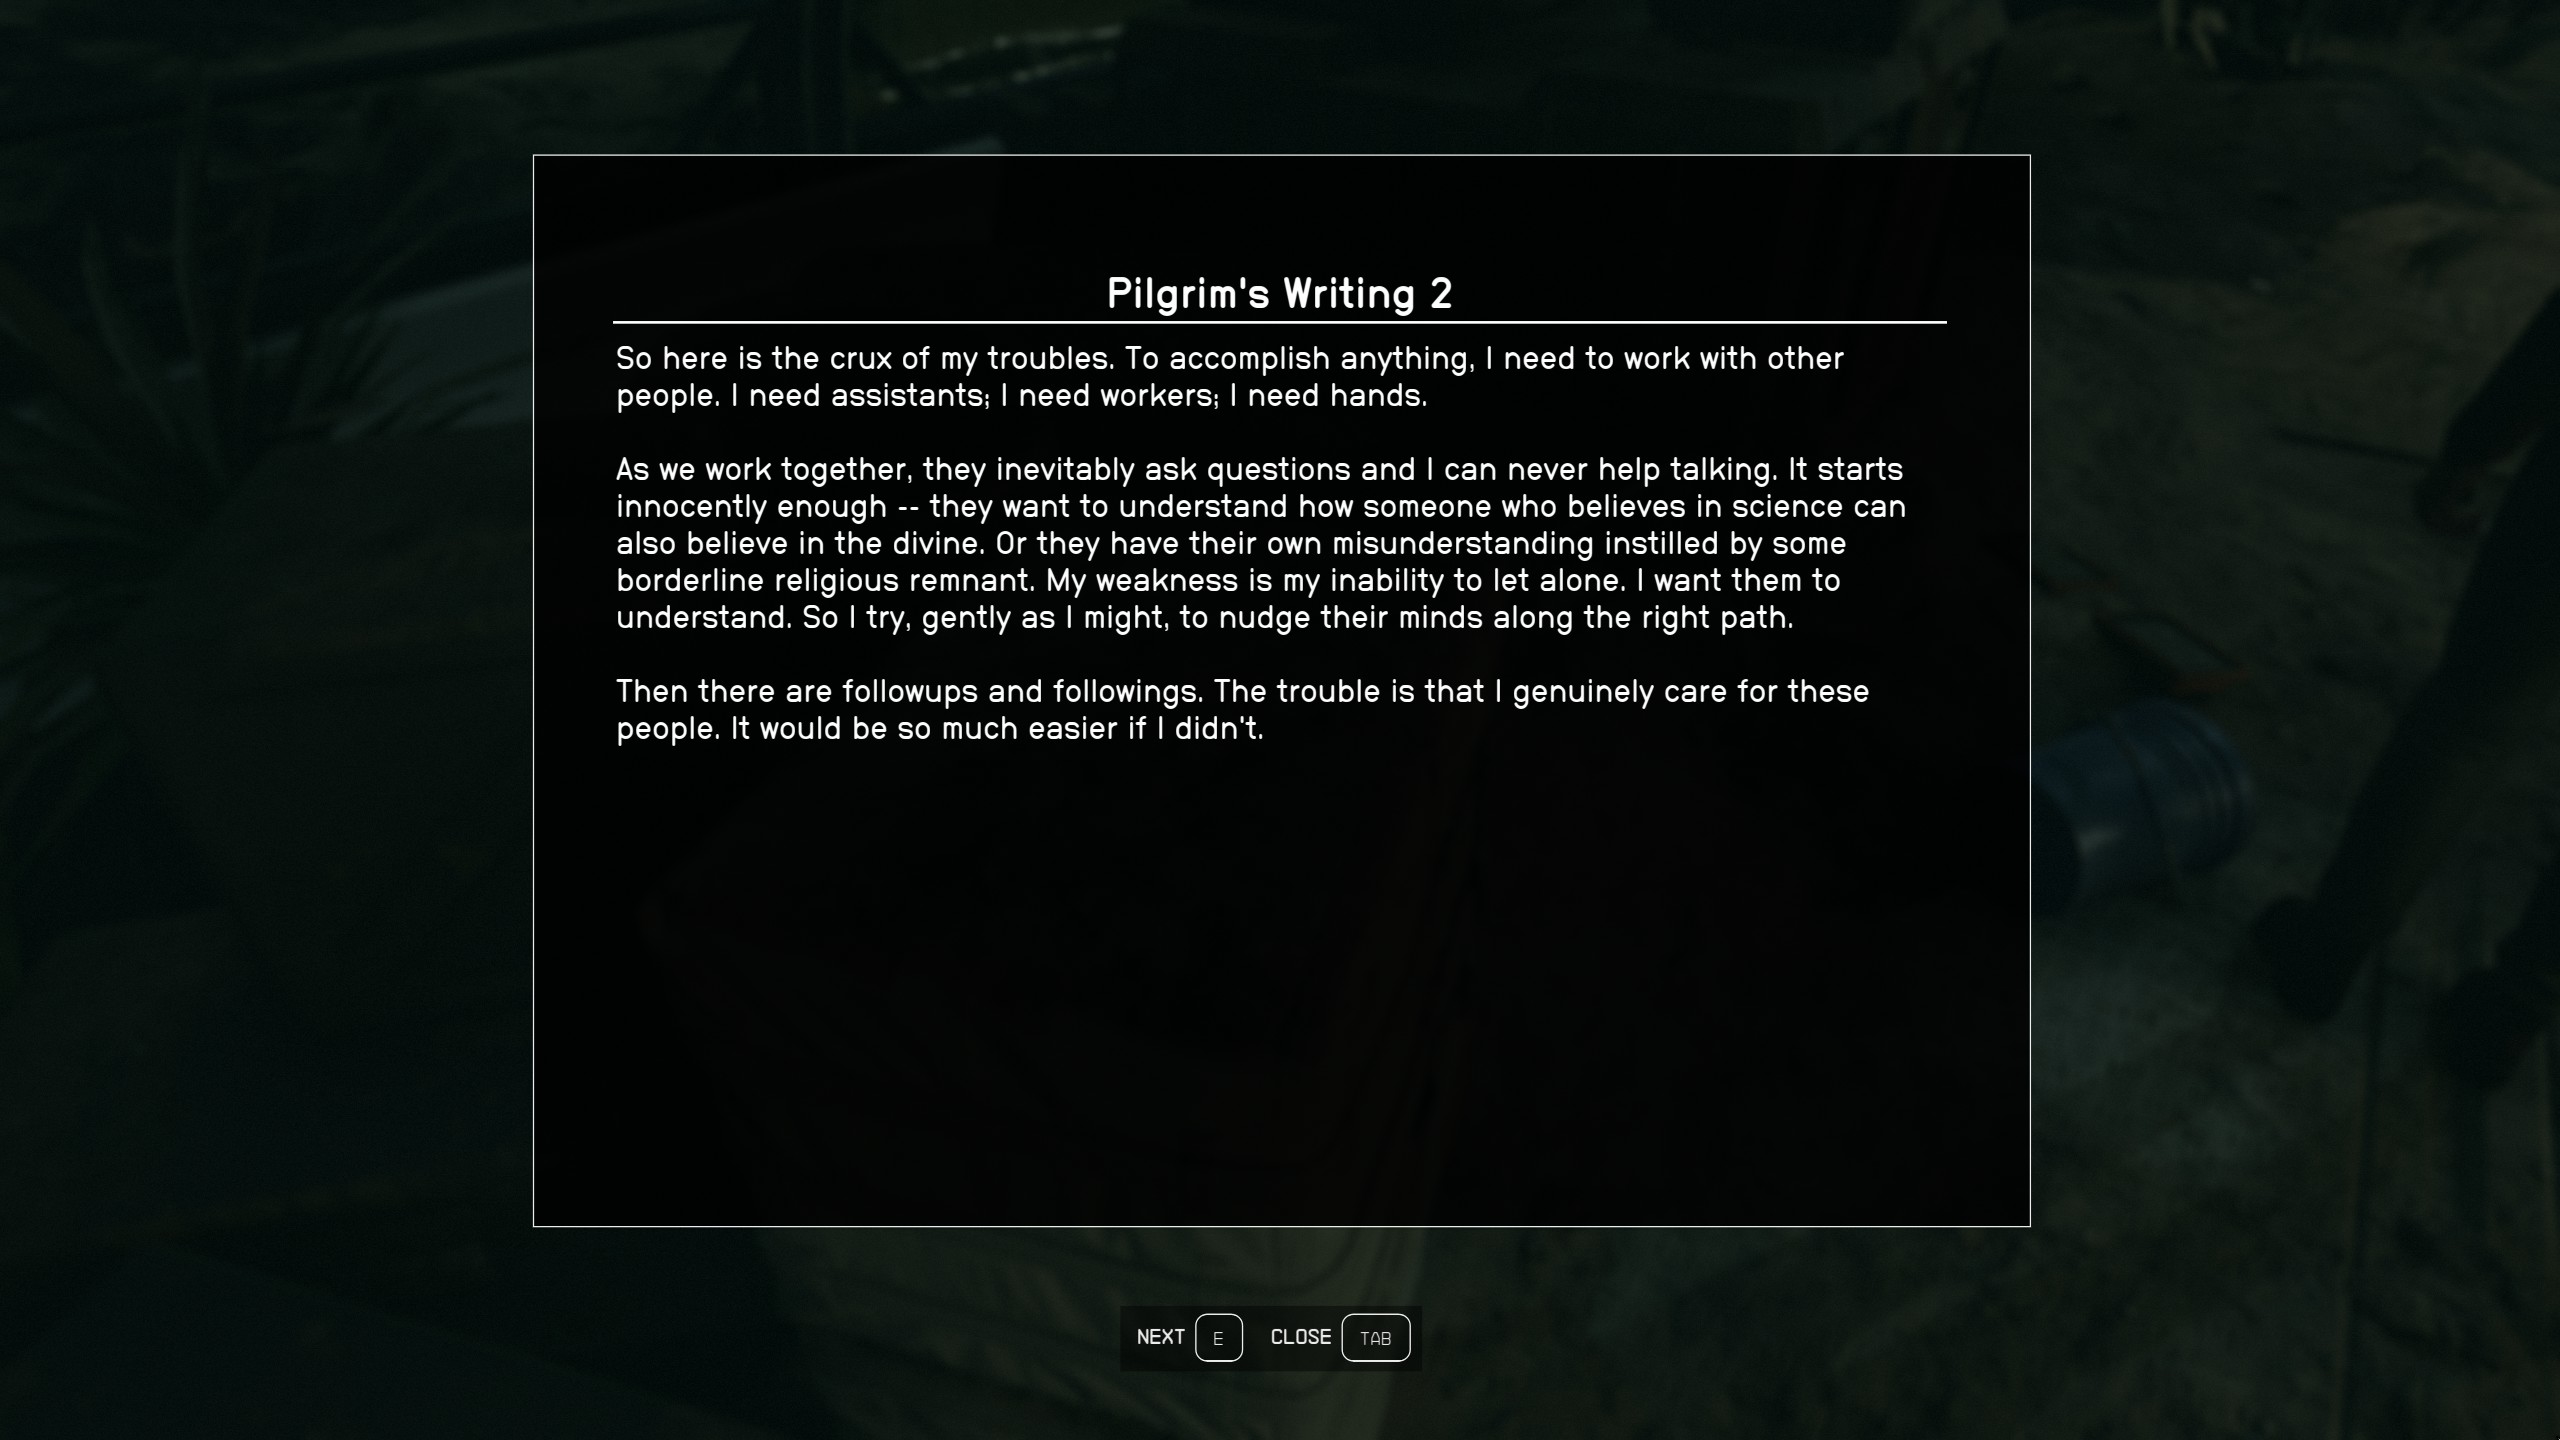
- Walk through the inside door and notice the computer next to the door. You will need to collect 5 parts of the Pilgrim's Writings to find the answers to the security questions
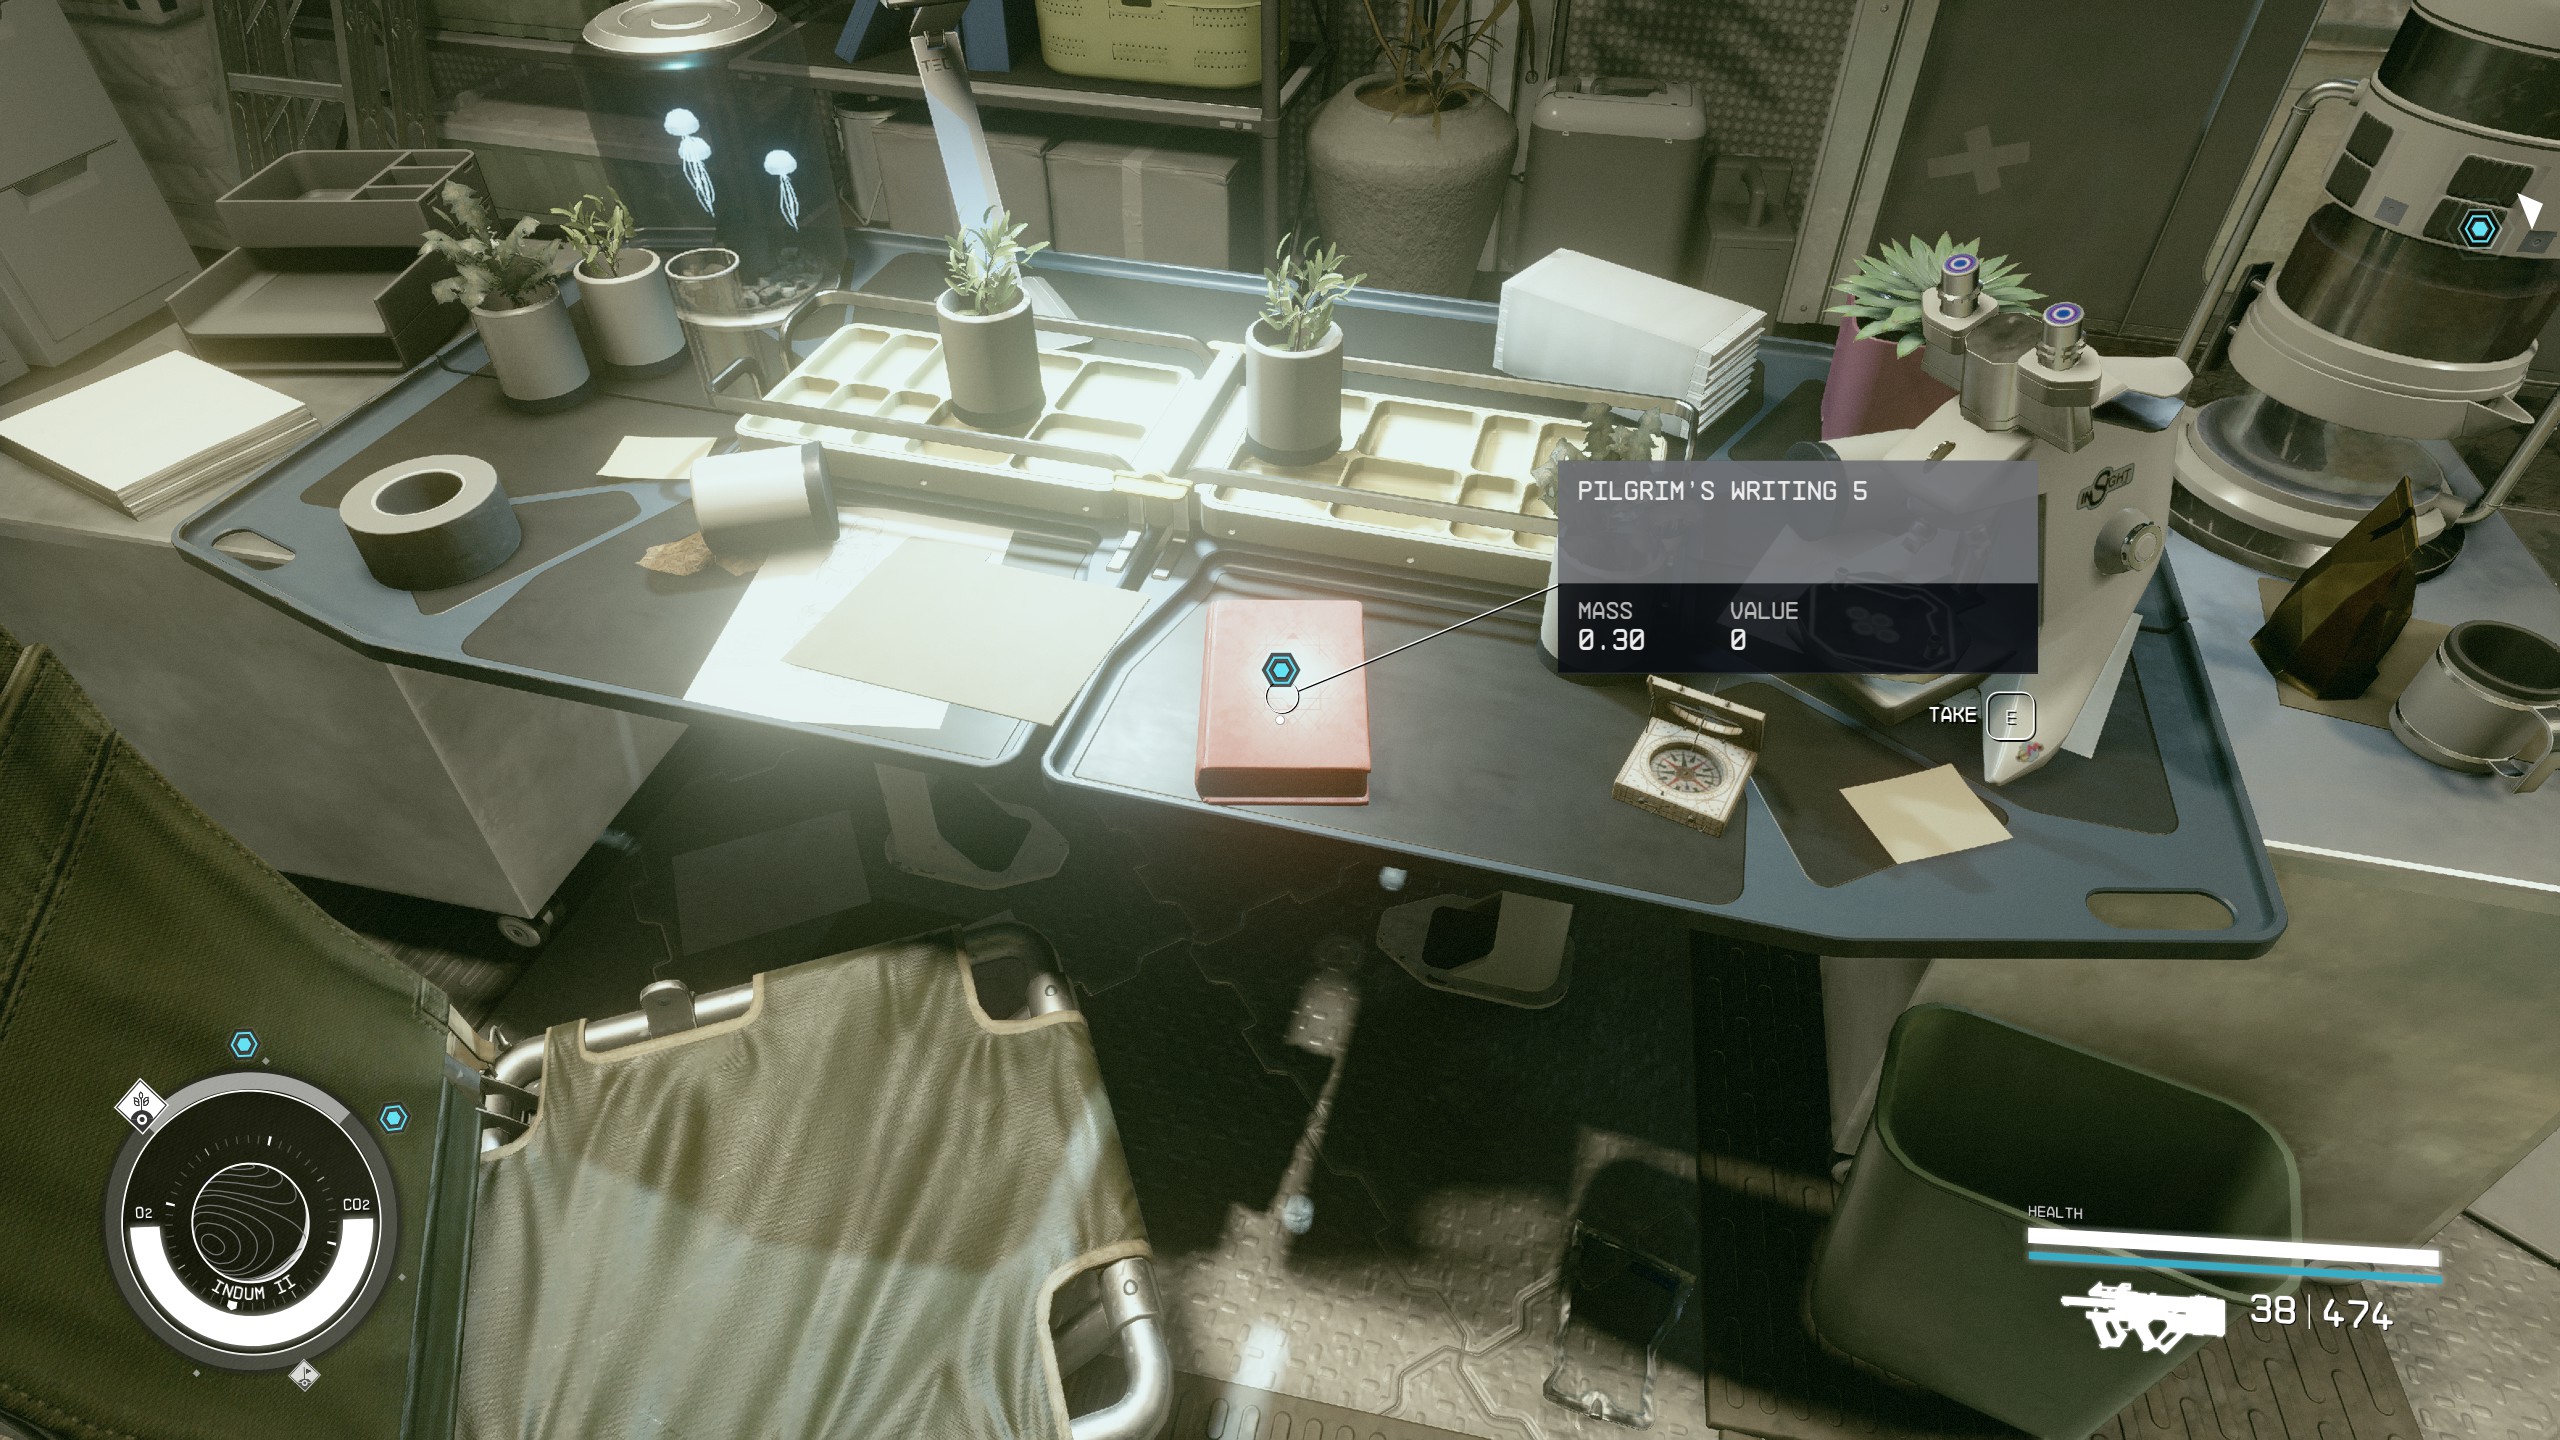
- Pilgrim's Writing 5 is sitting on the desk in this room. Collect it and go back out the inside door.
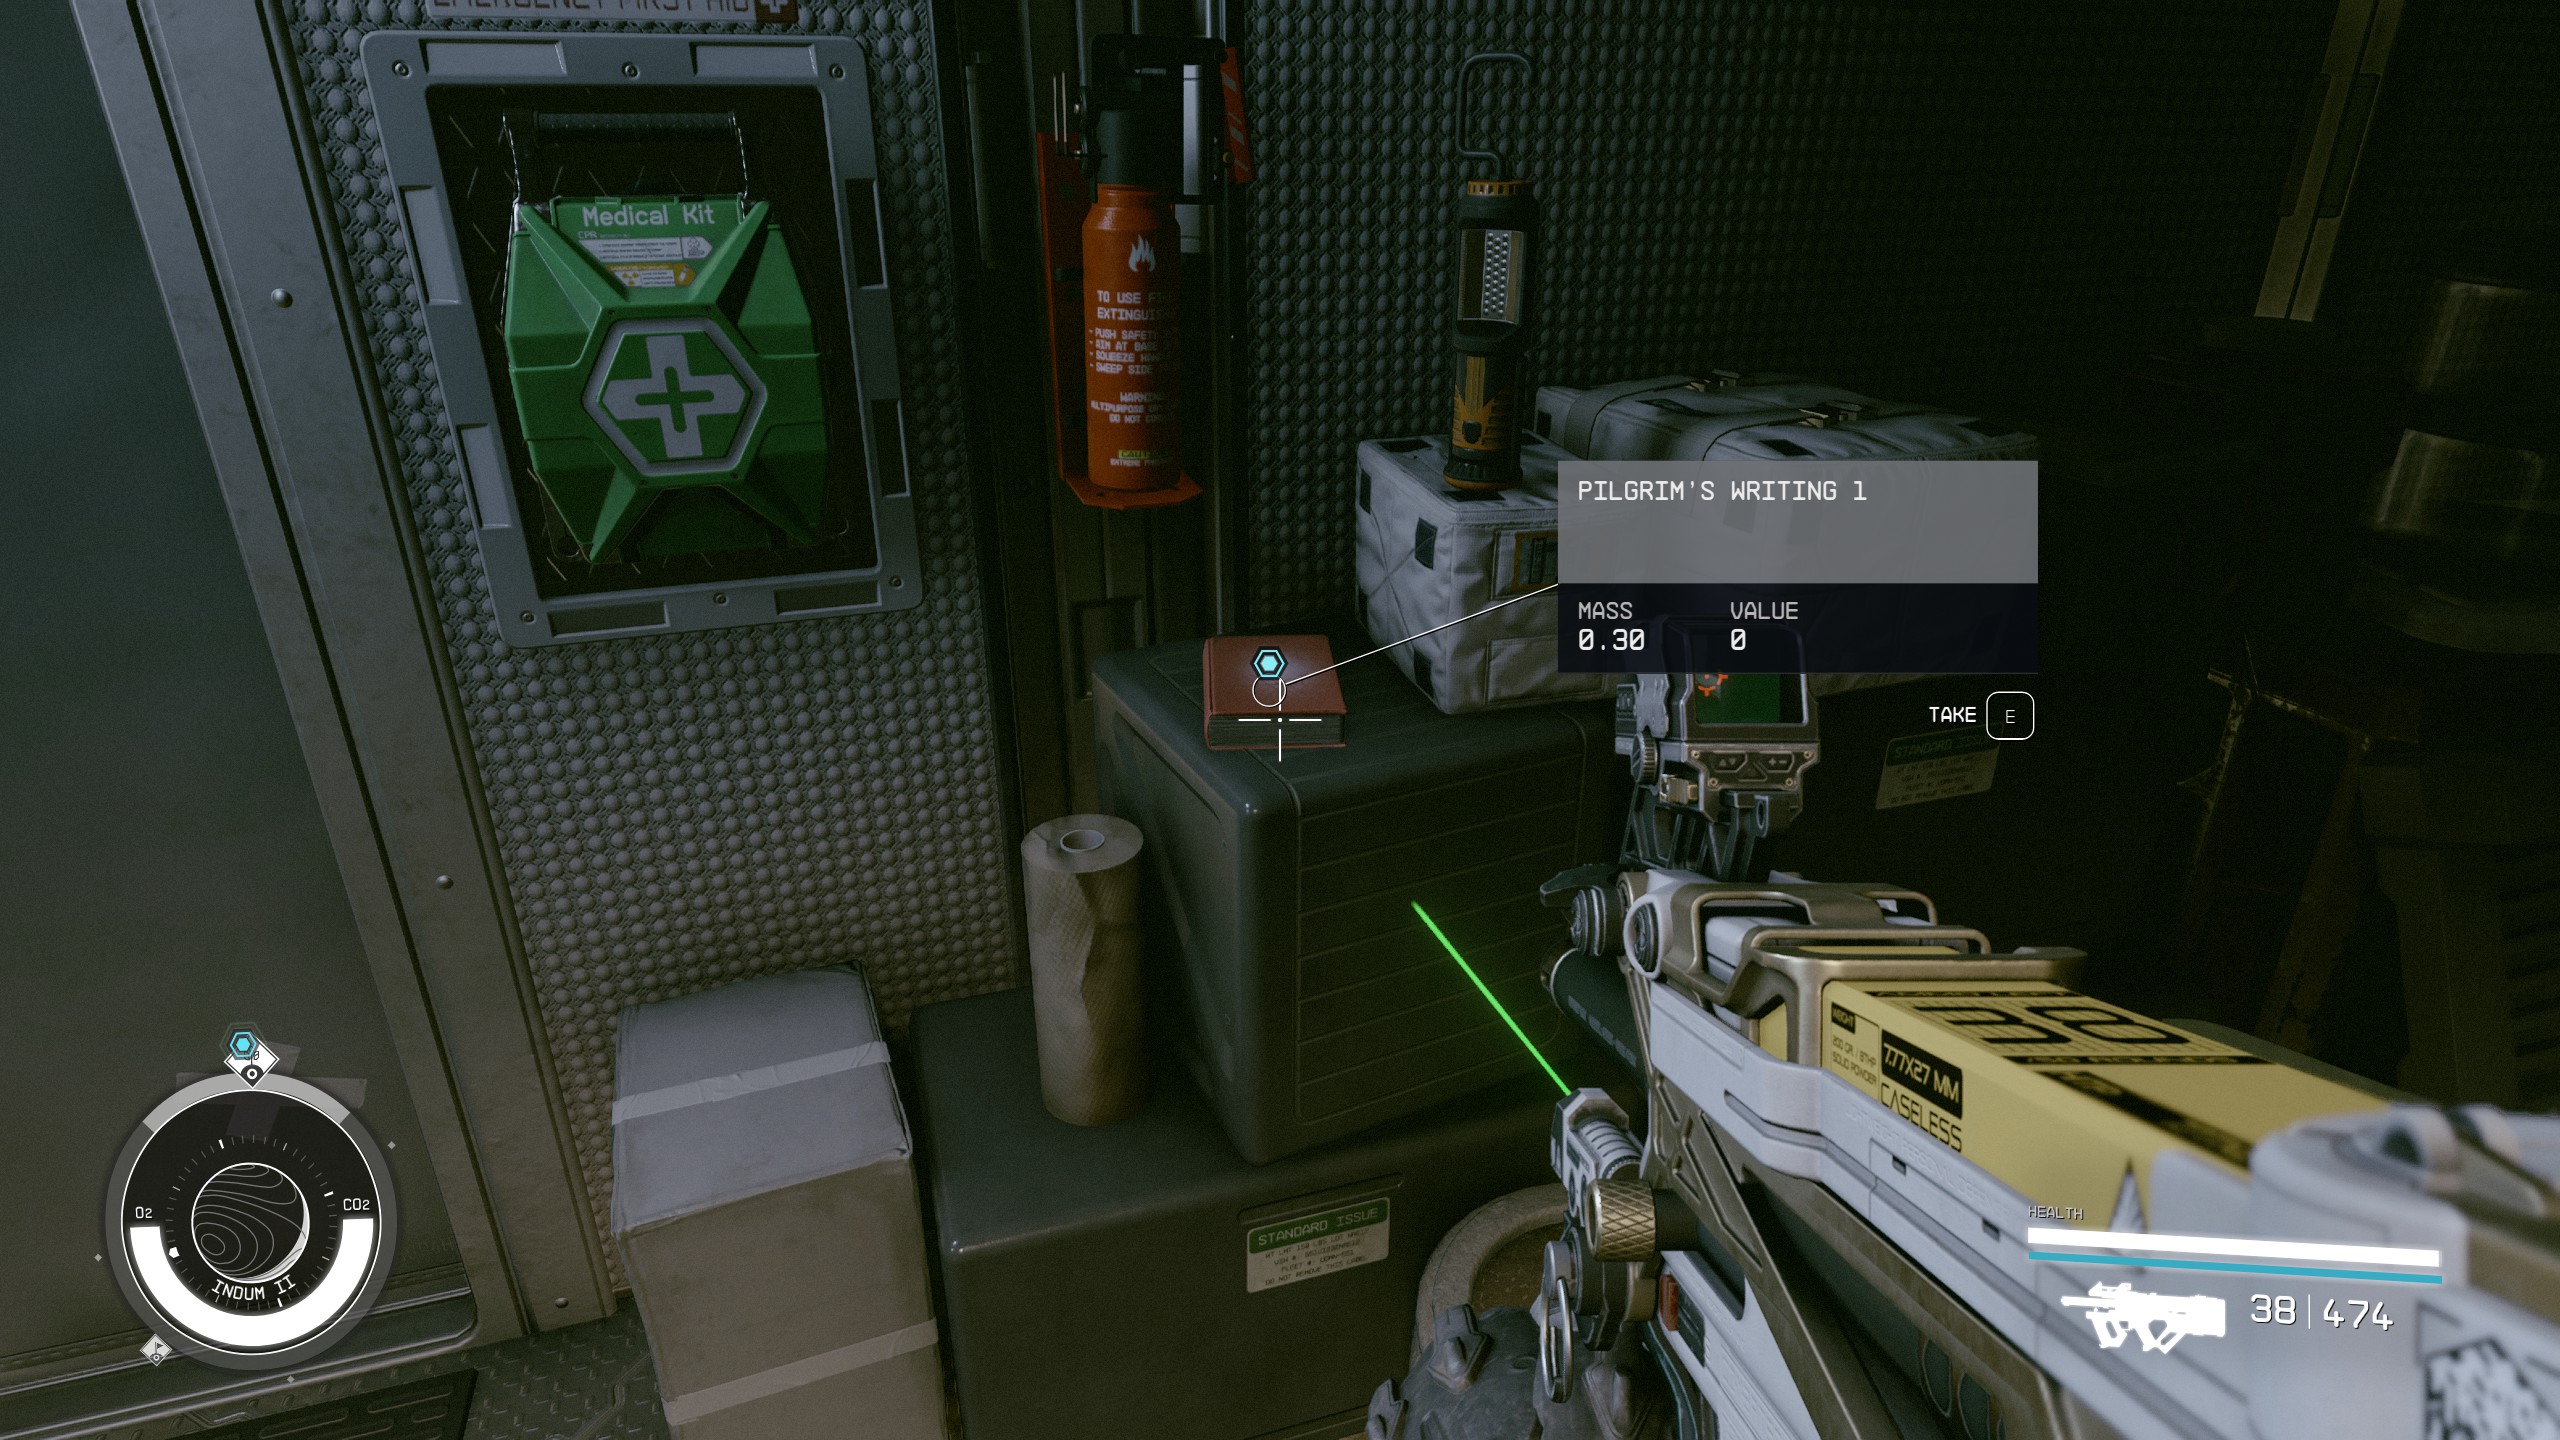
- Pilgrim's Writing 1 is in the first room next to the Medical Kit on the wall.
- Go back outside and to the underpass that has various equipment underneath of it.
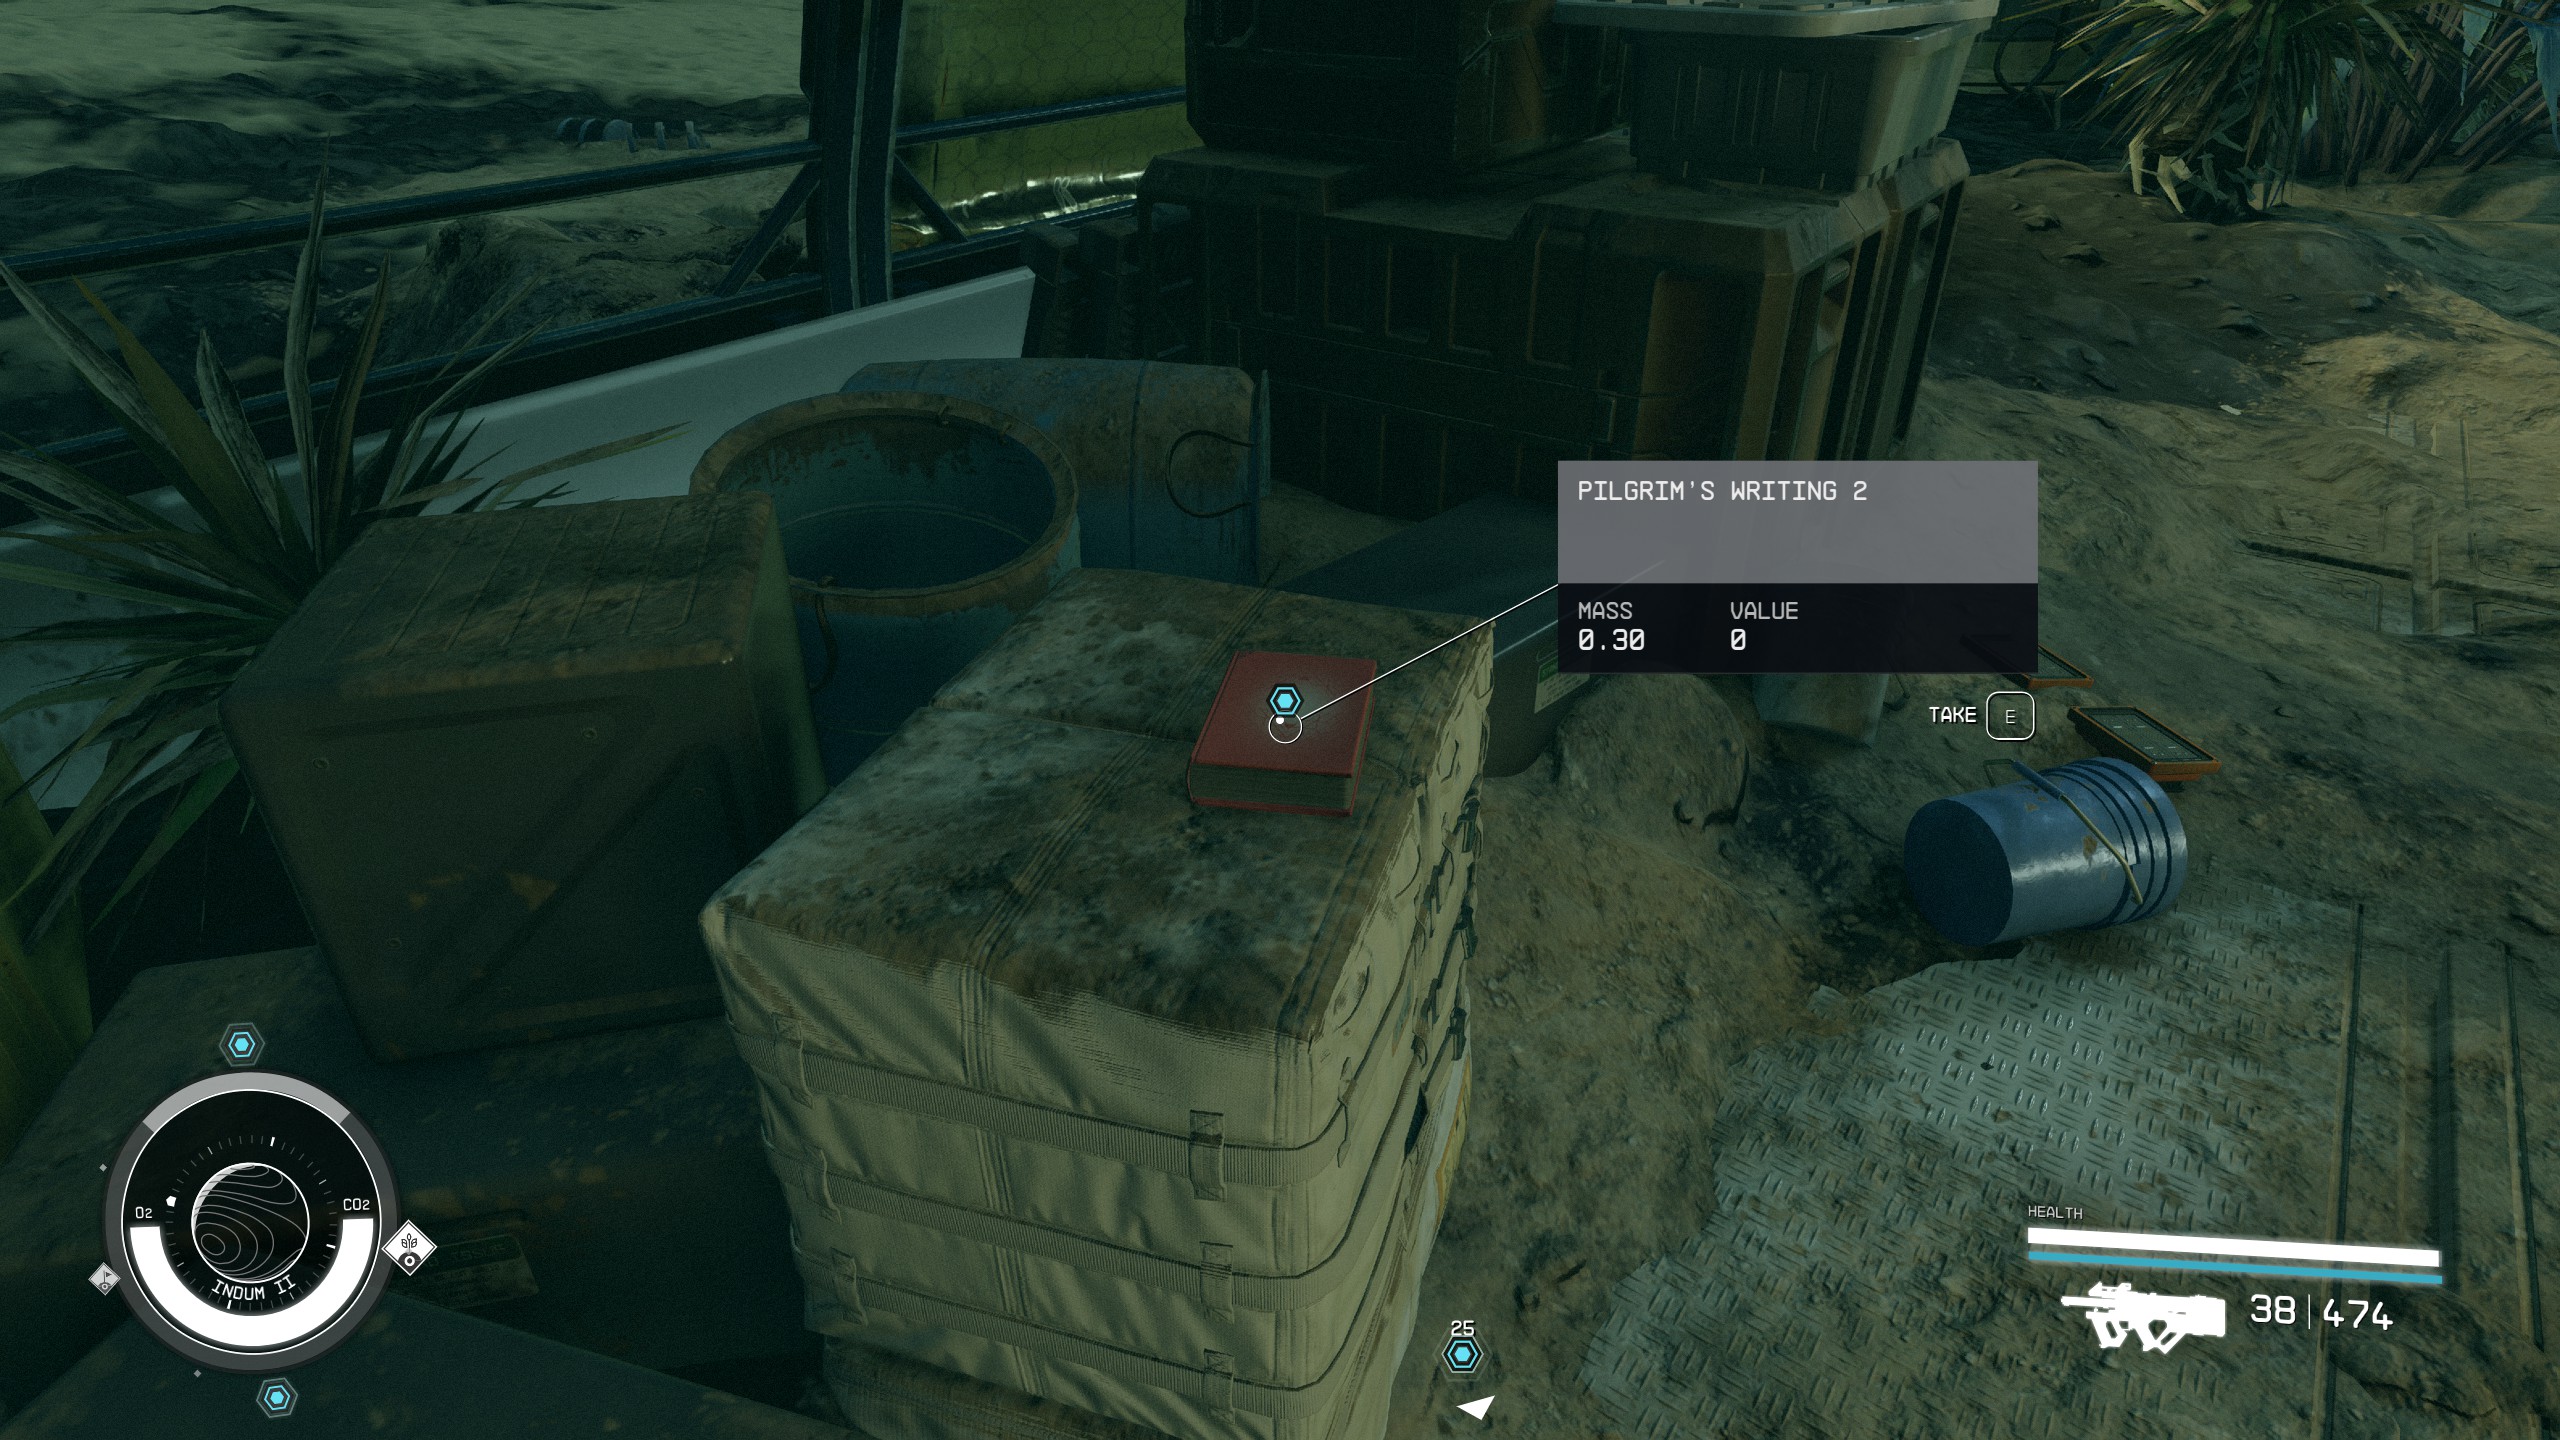
- On the right side of the underpass is a box with Pilgrim's Writing 2 on top.
- Continue through the underpass to the second building of the outpost.
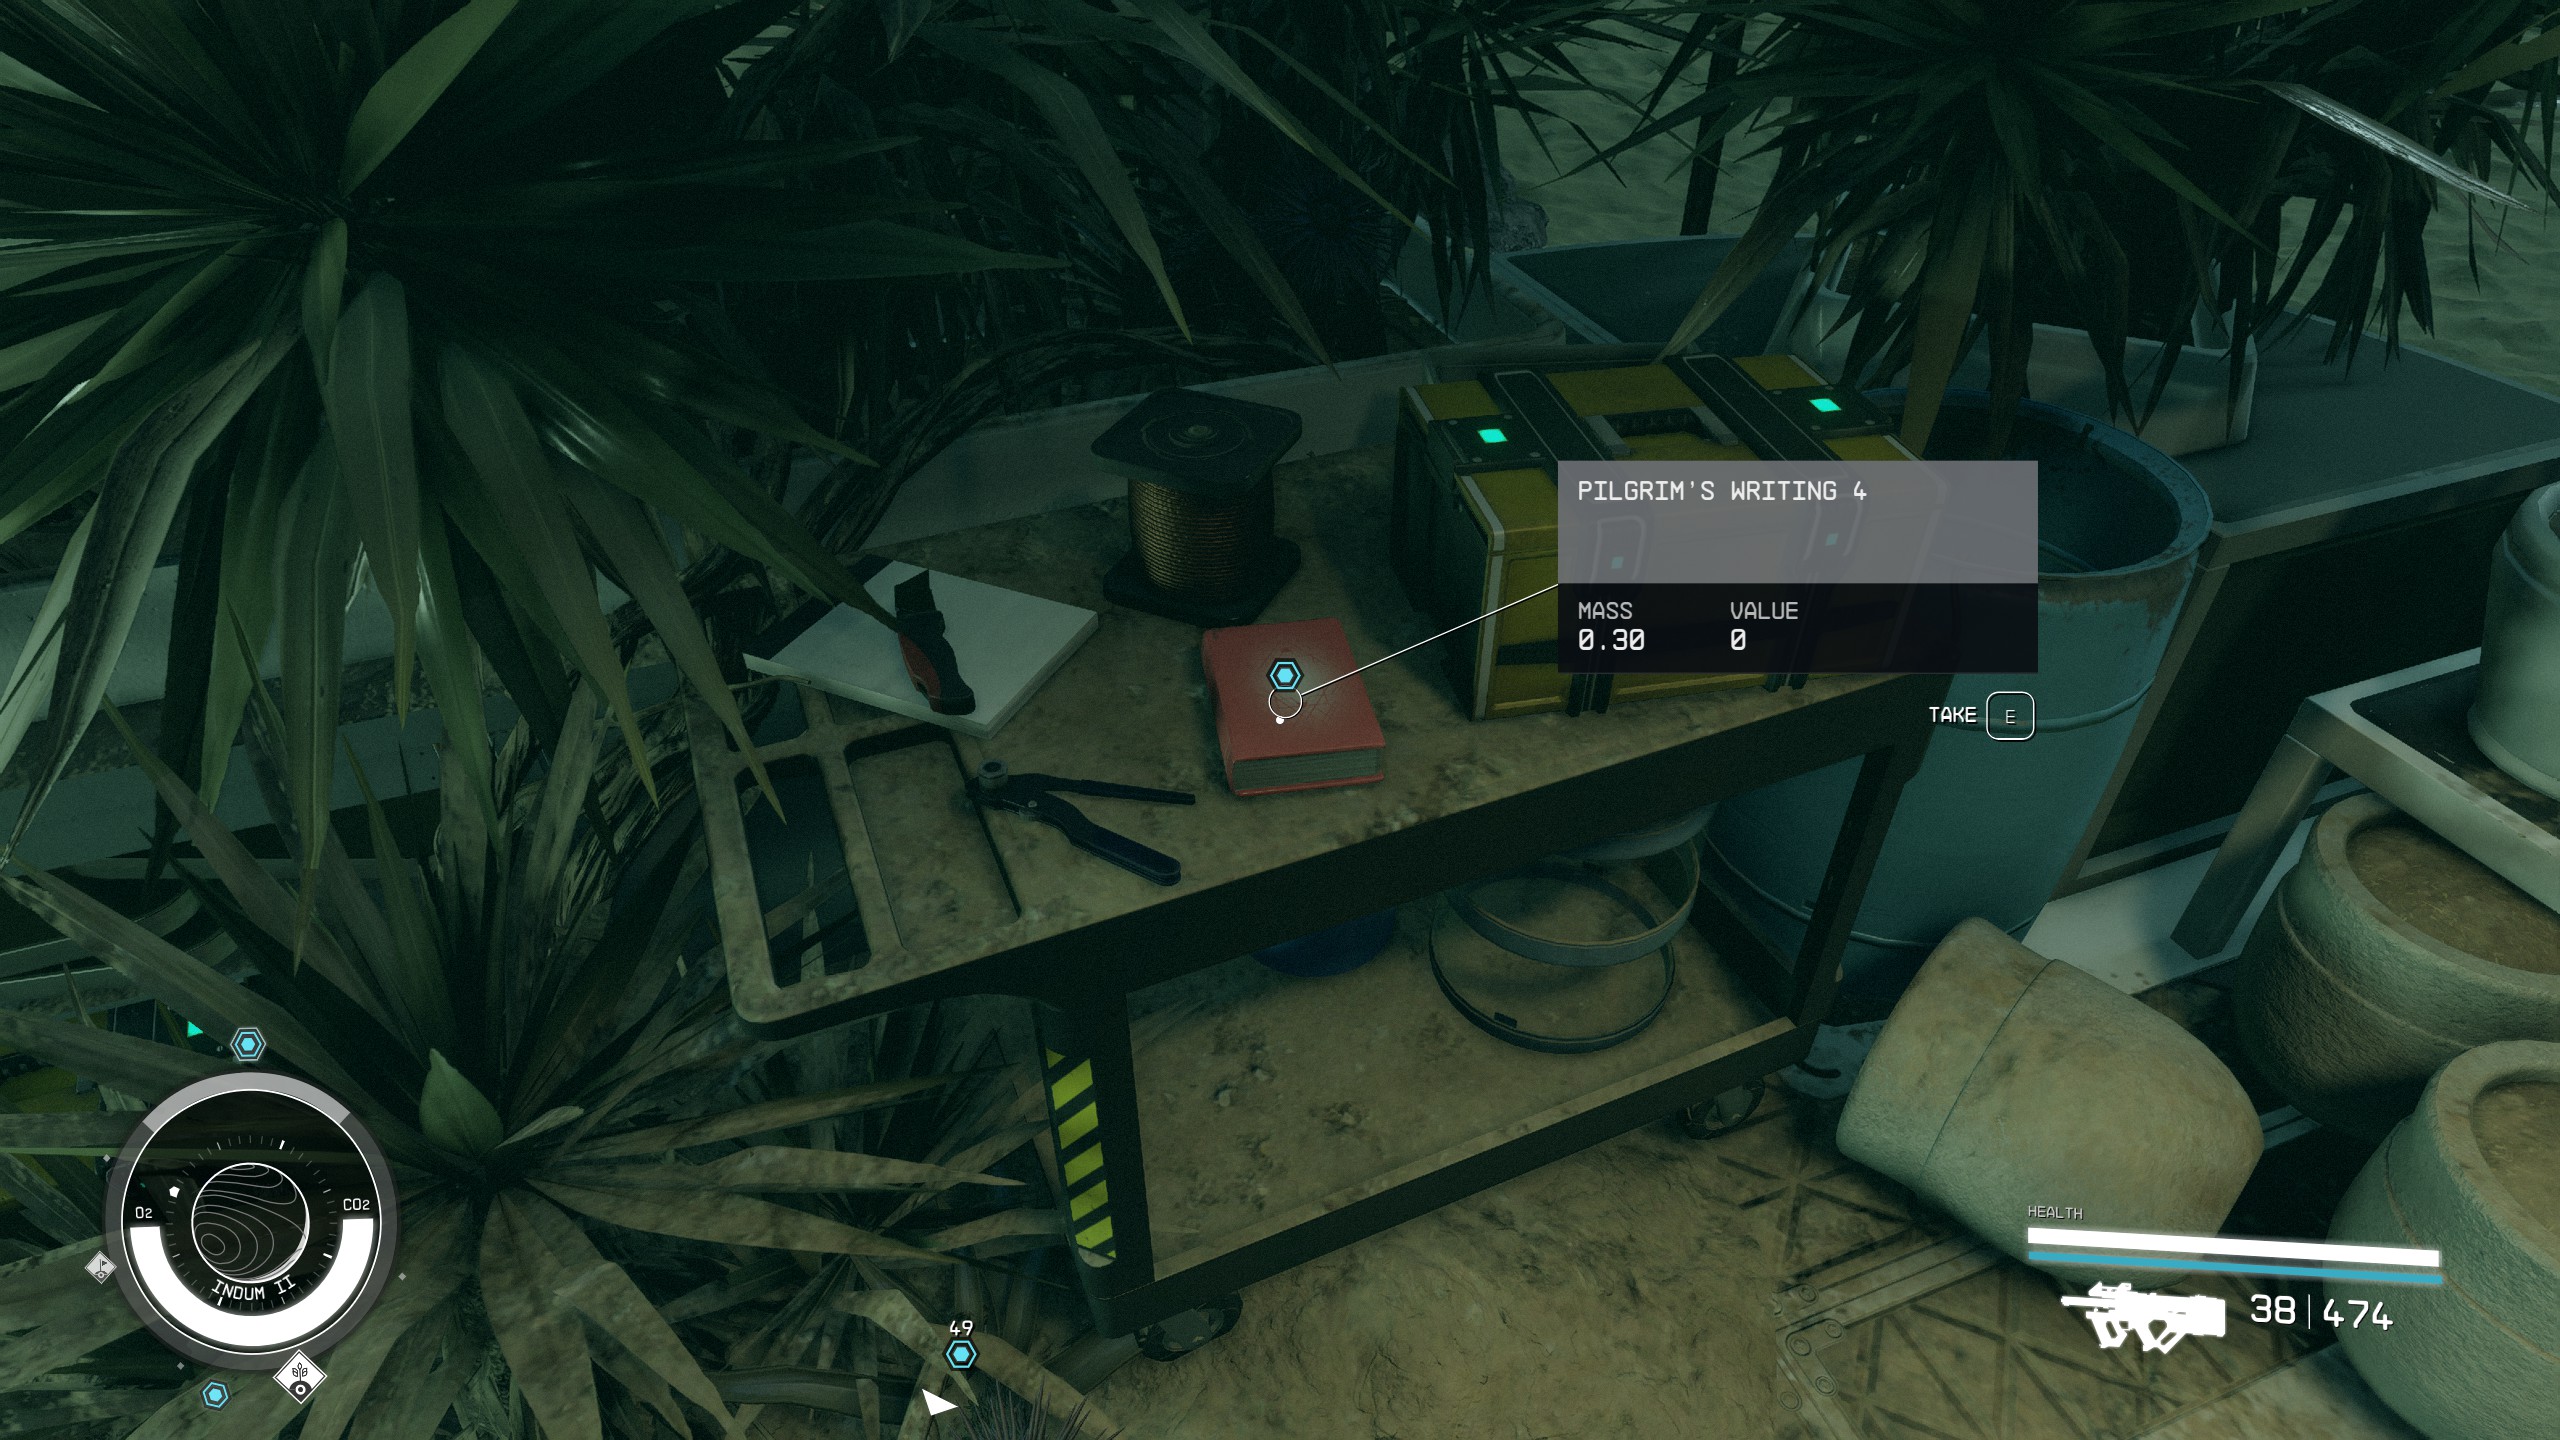
- Enter the building, turn right and walk up to another table with a container and Pilgrim's Writing 4
.
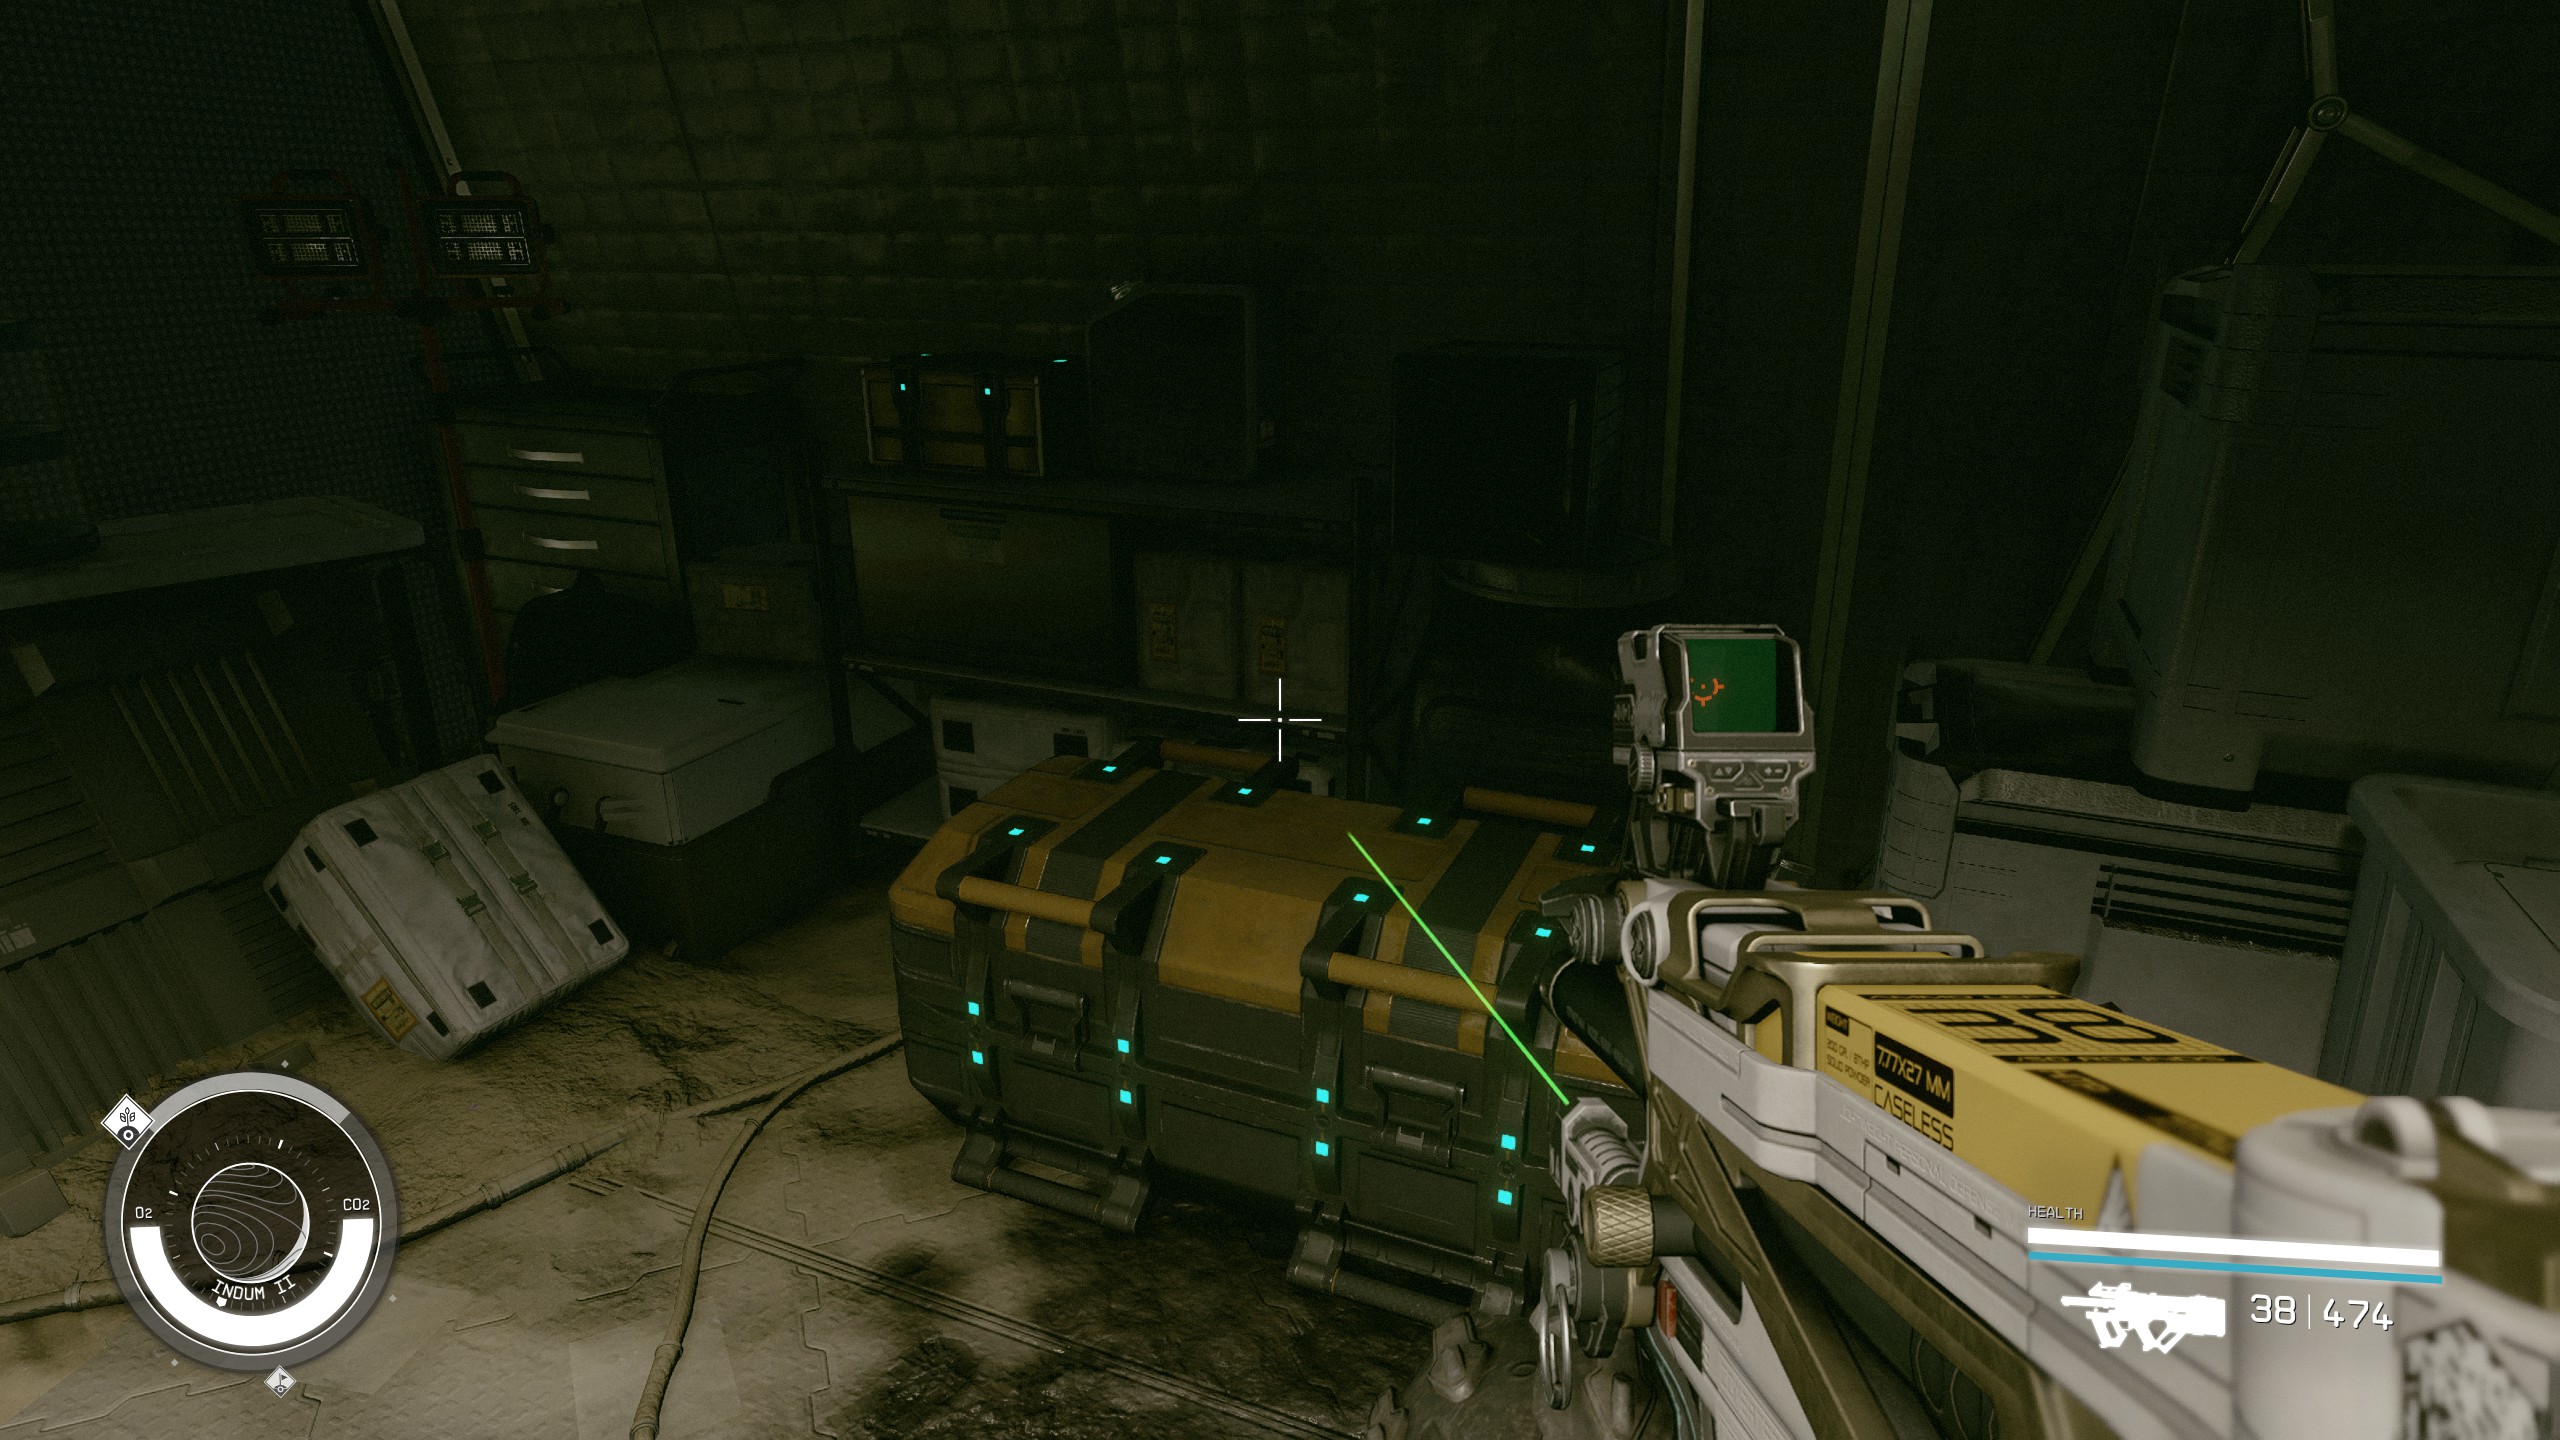
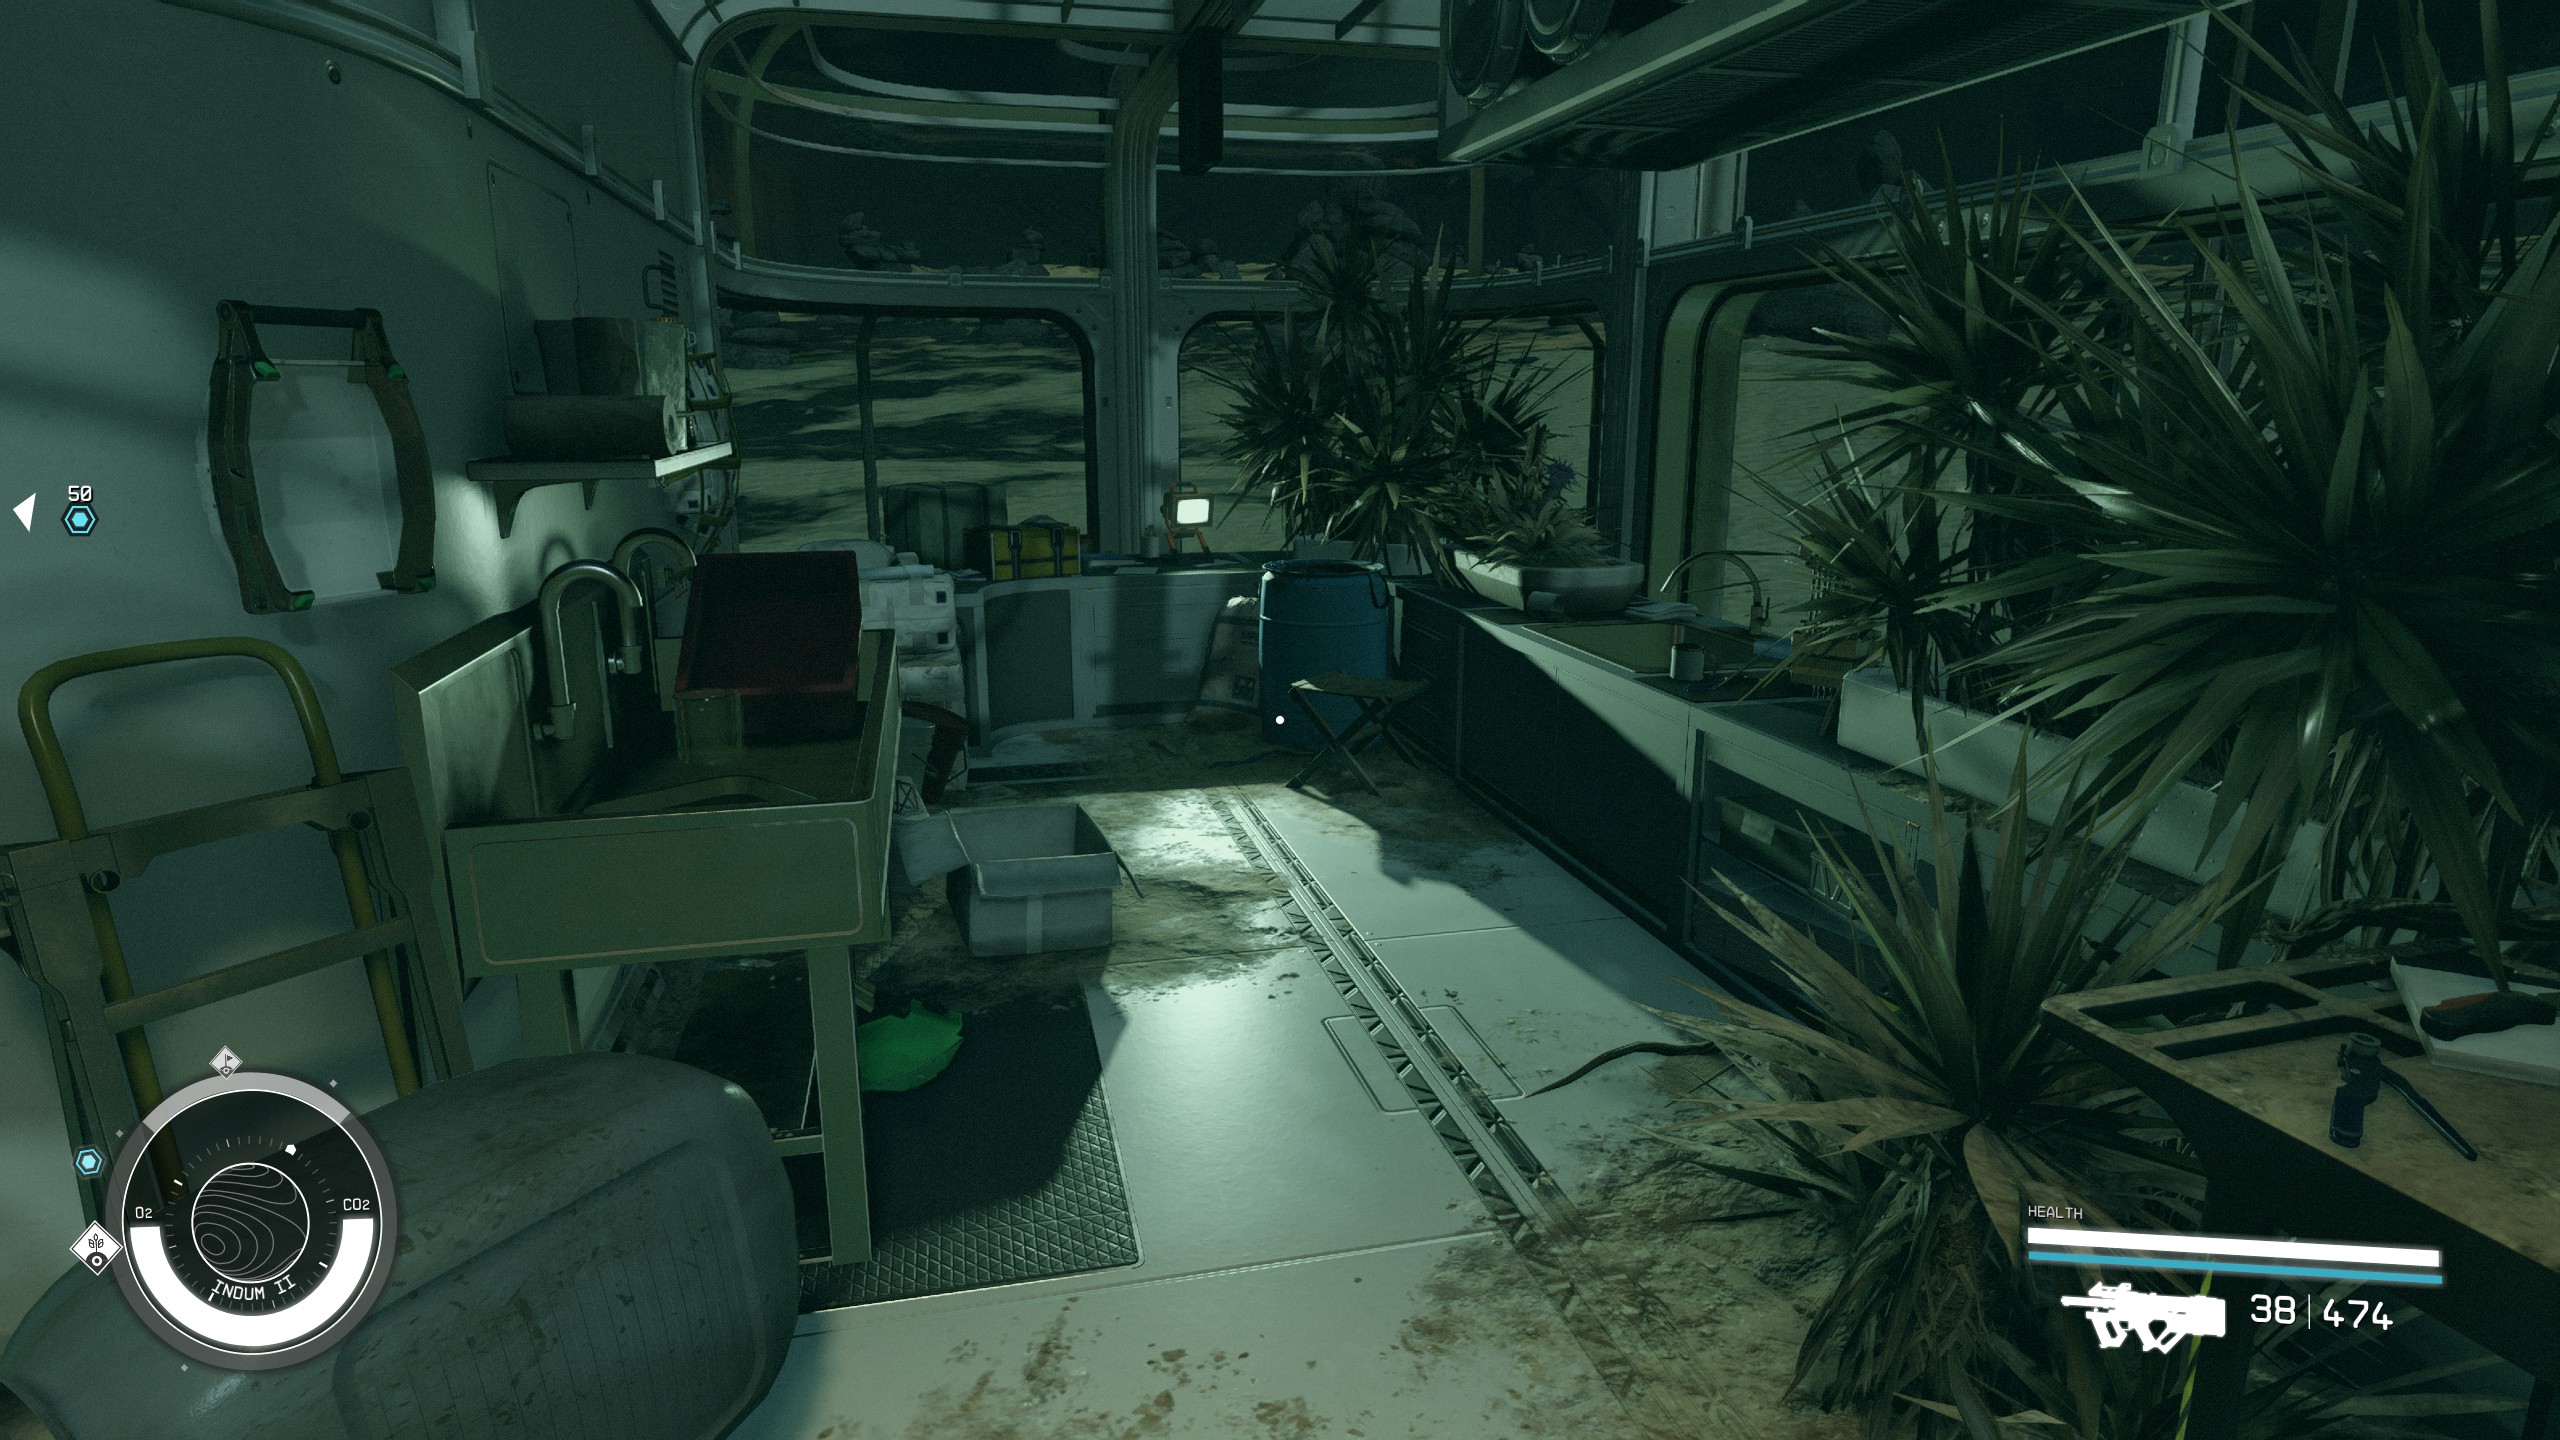
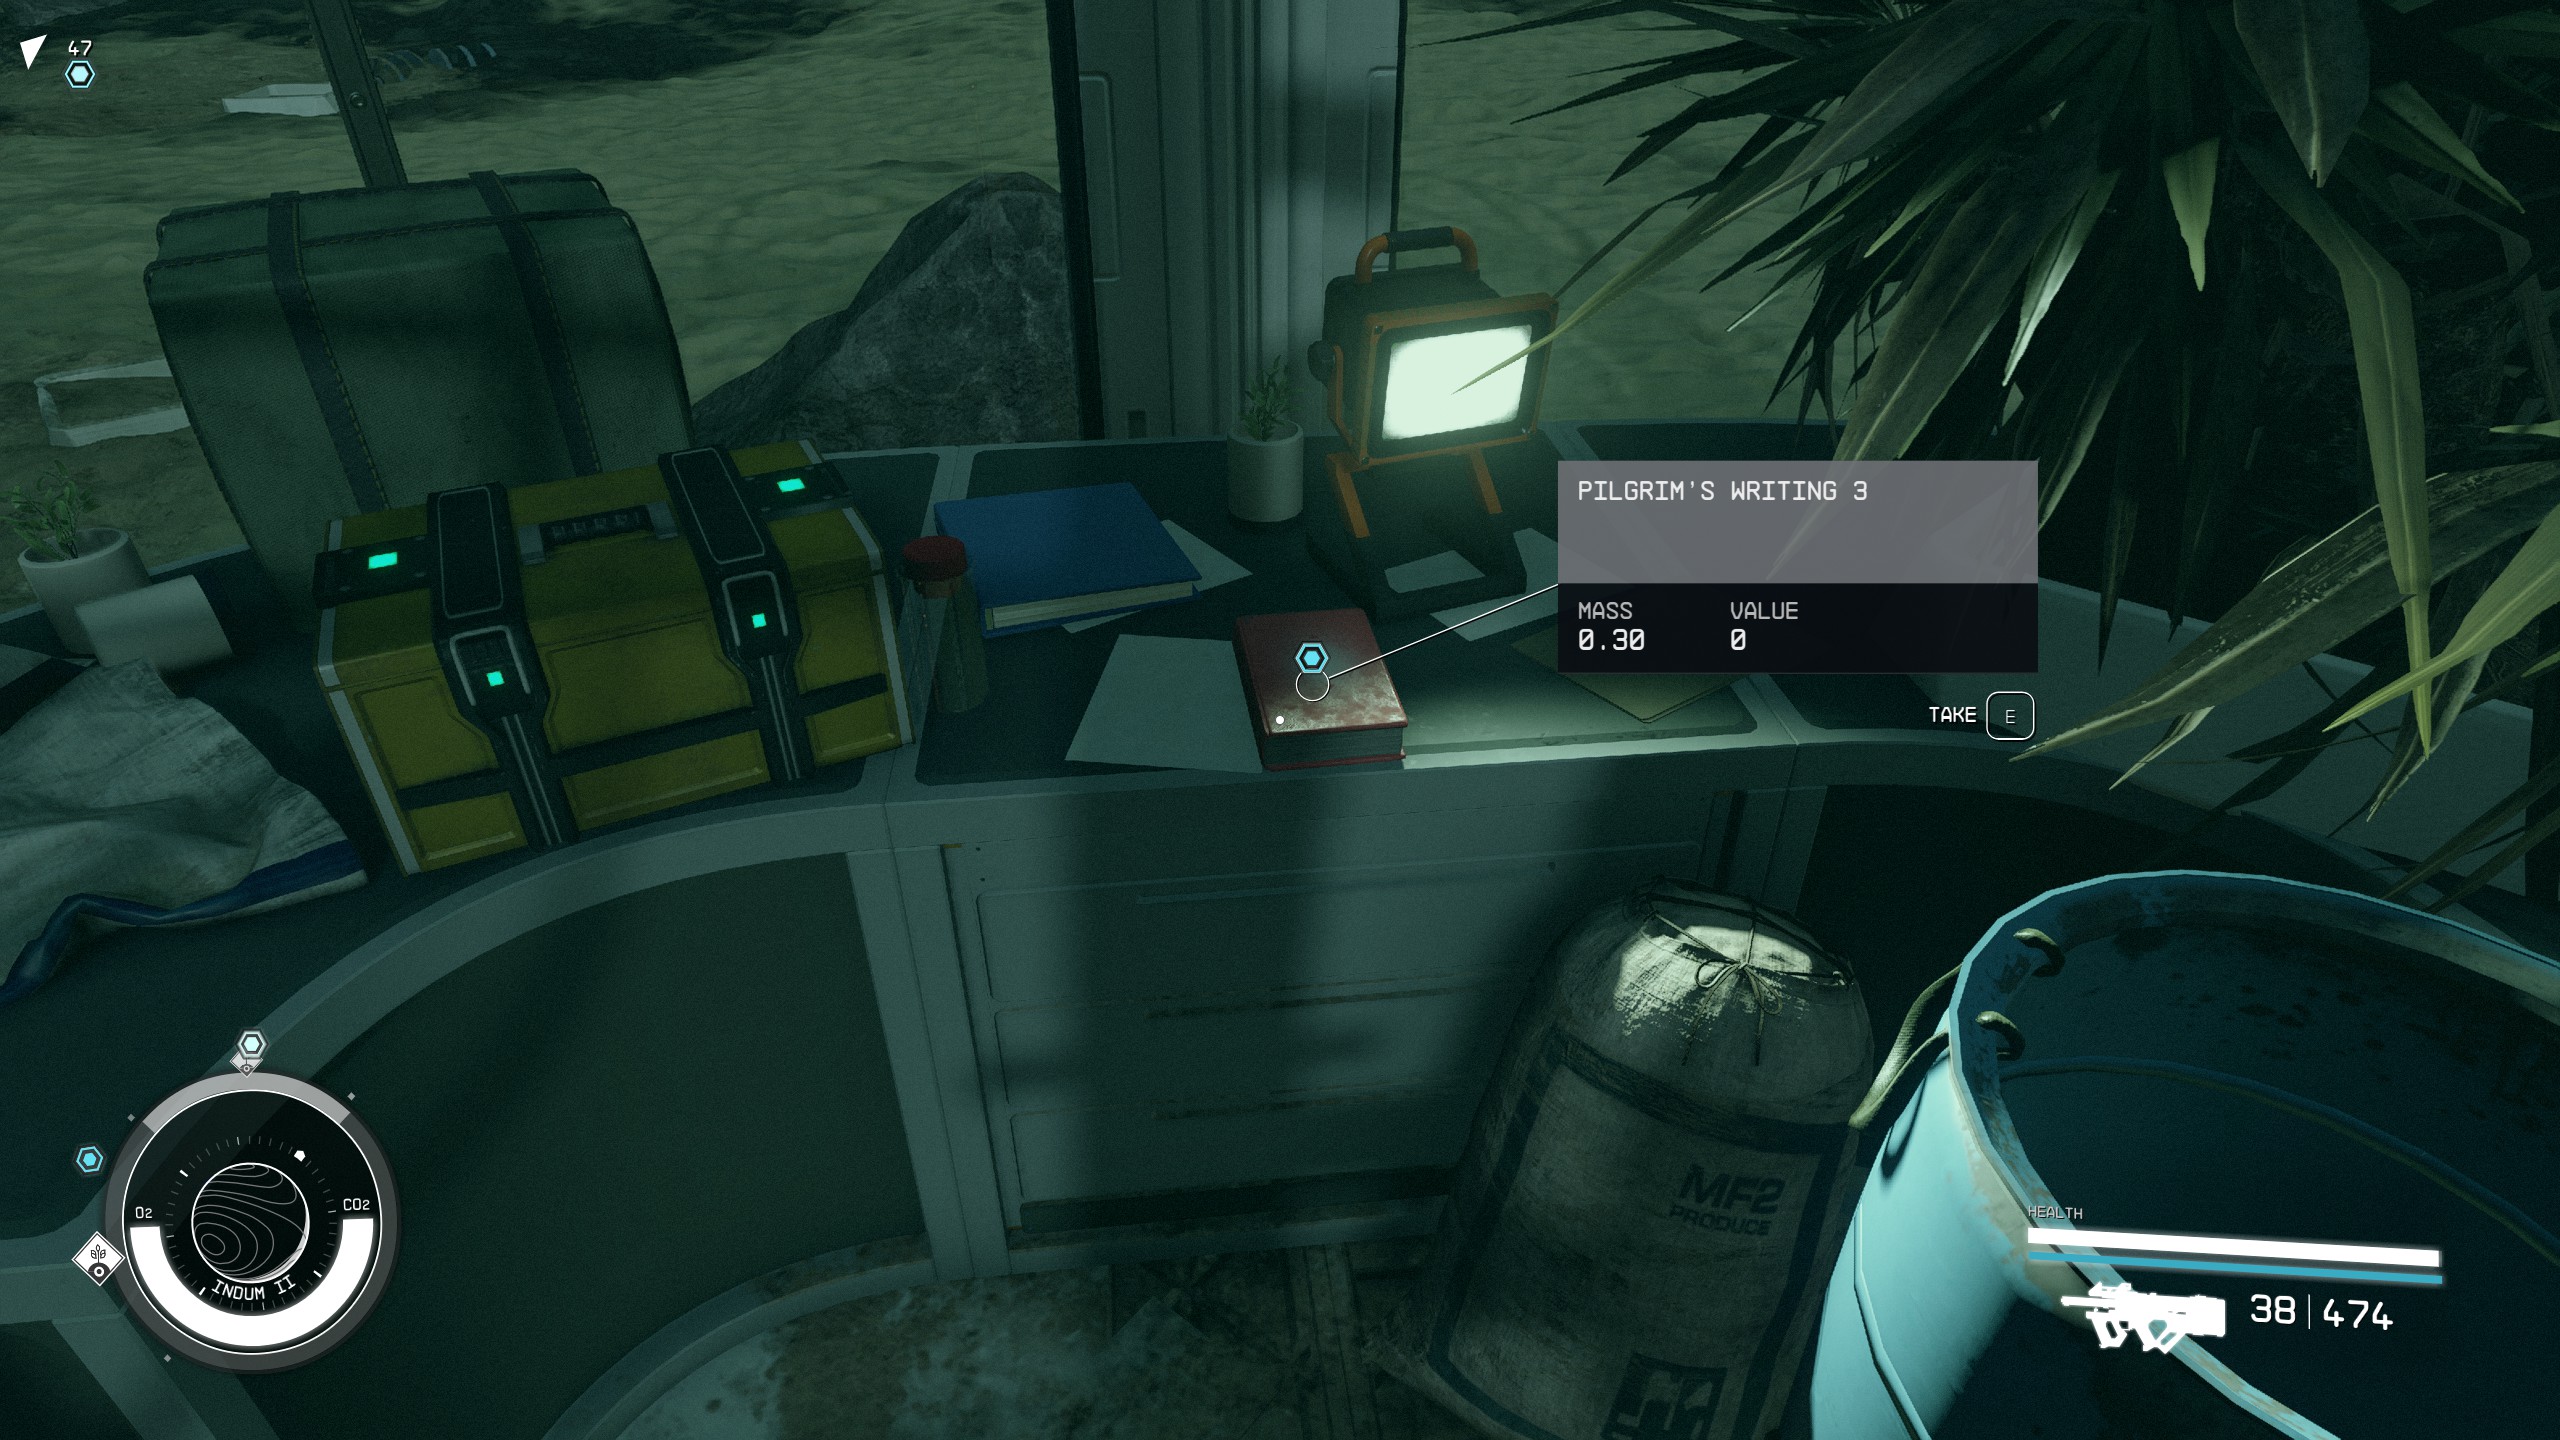
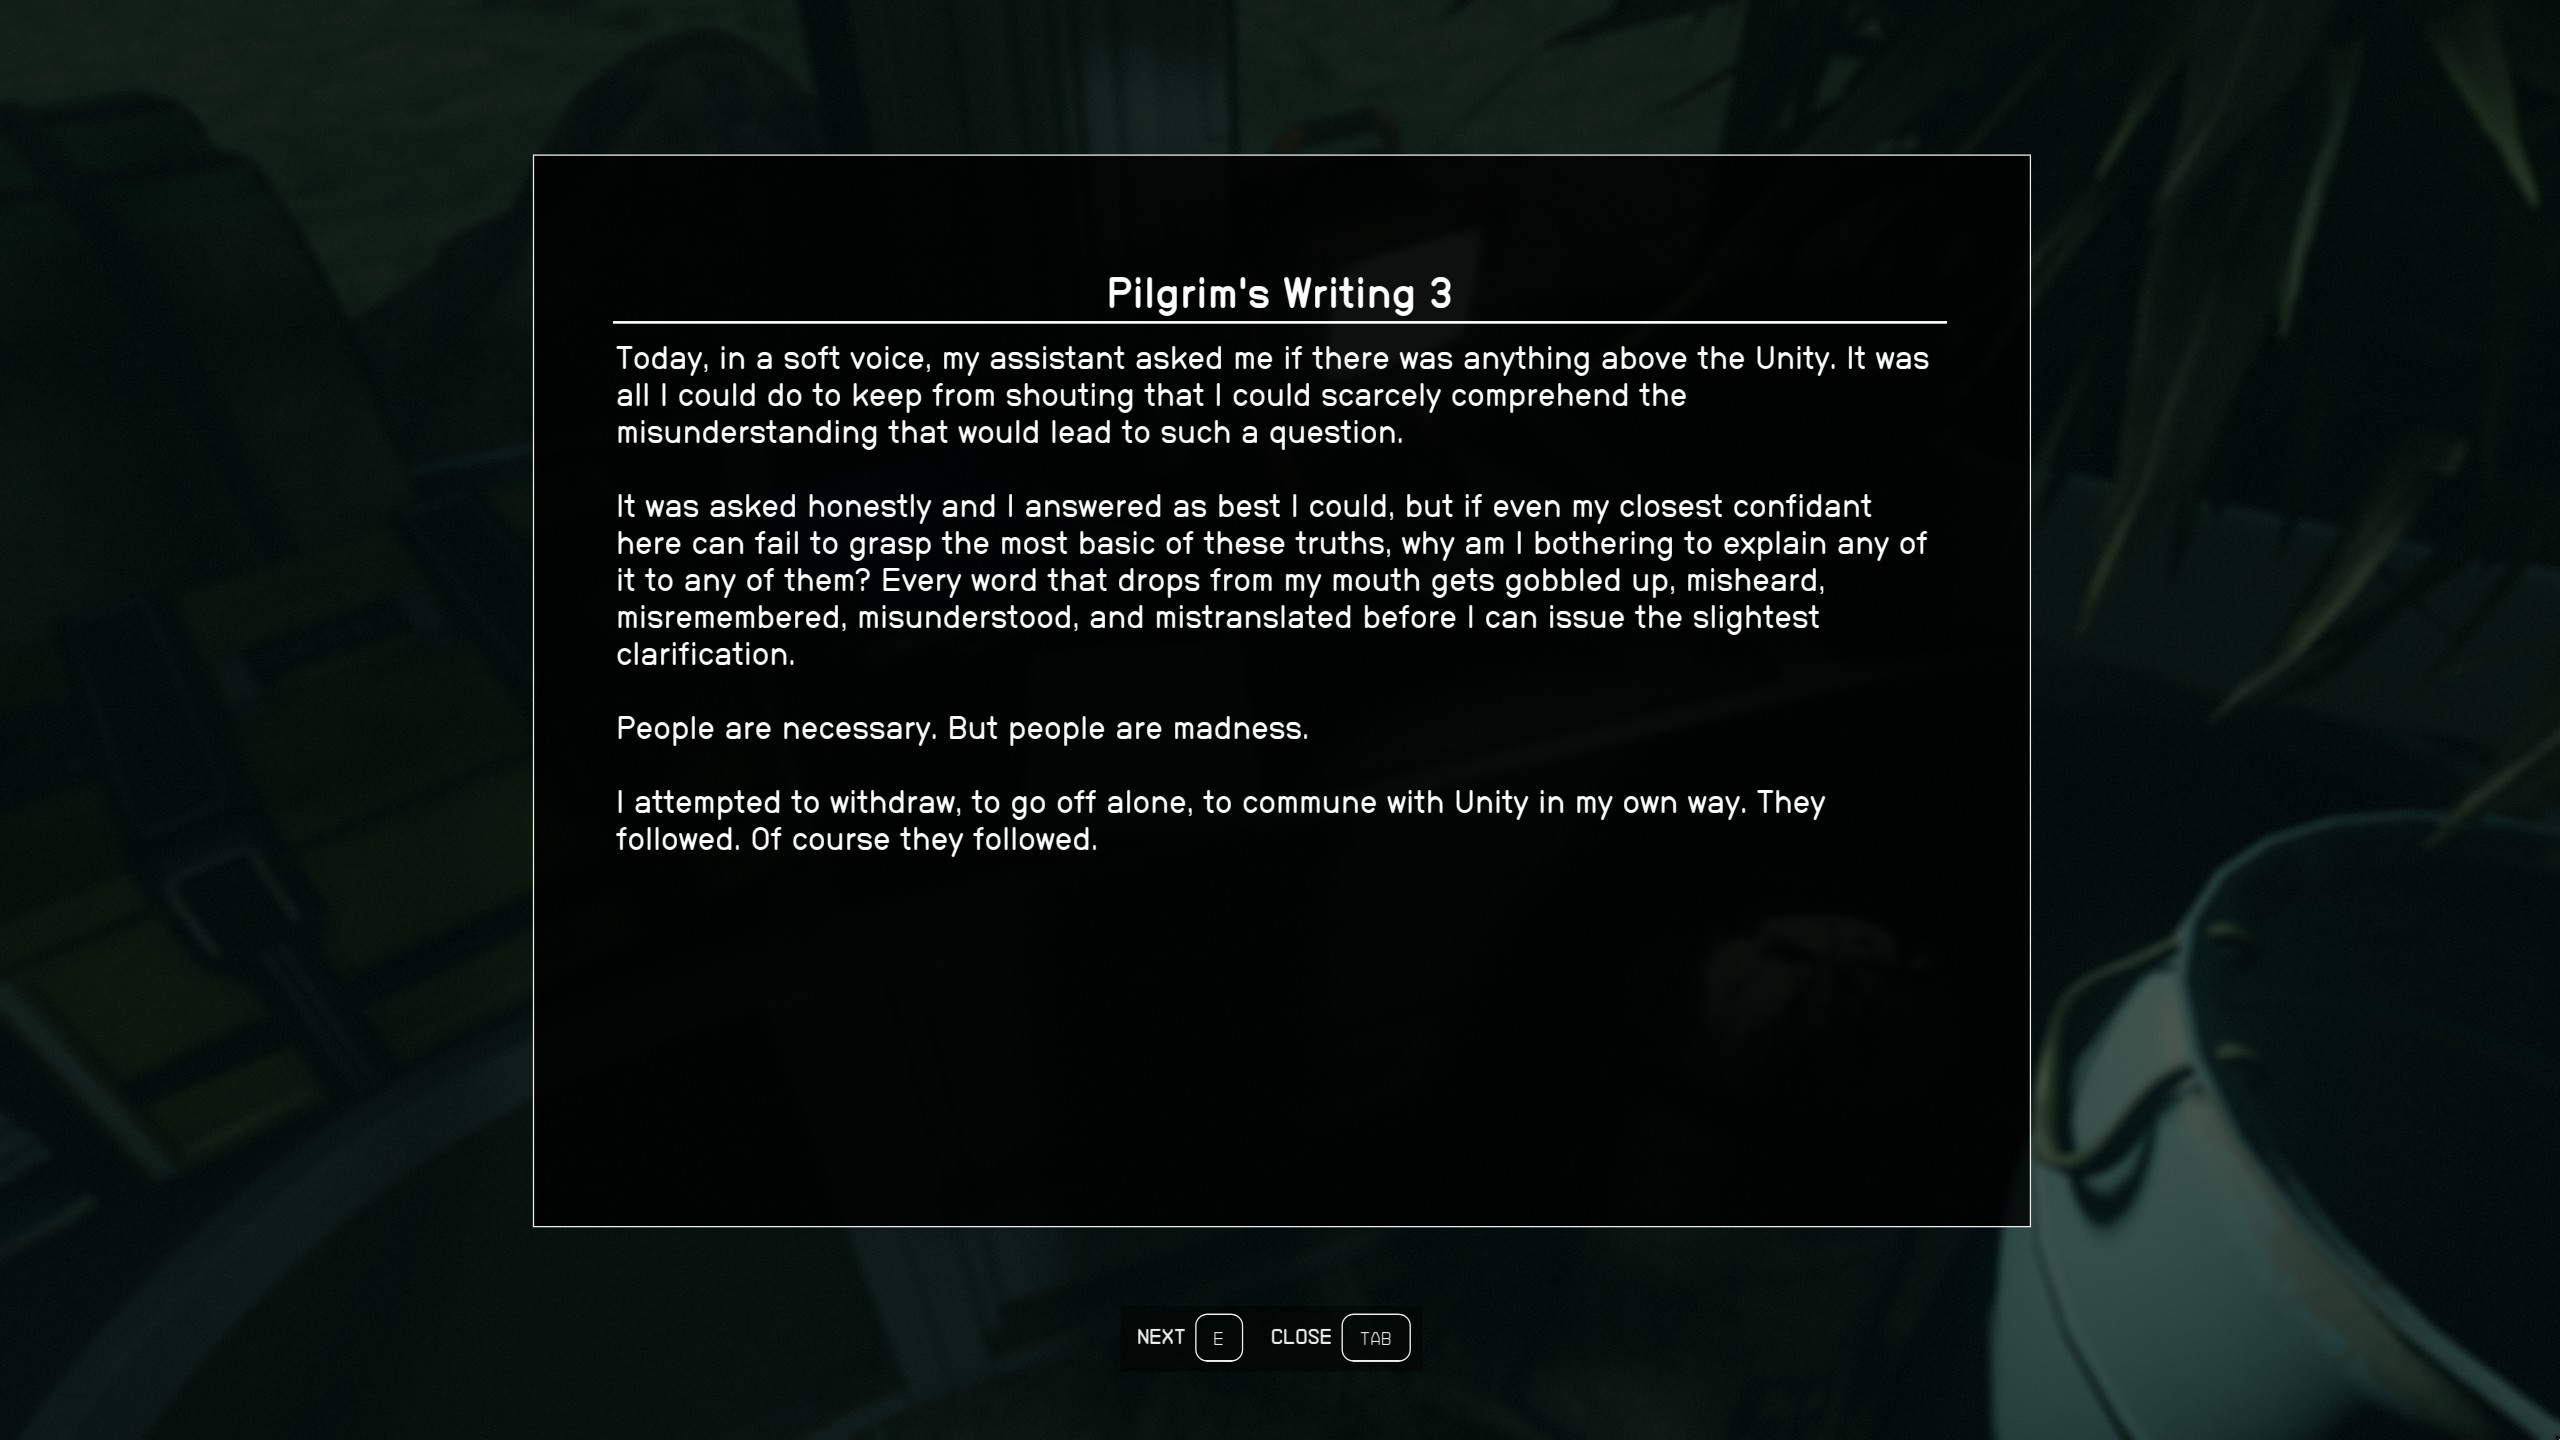
- Walk to the end of the room on the right and collect the Pilgrim’s Writing 3 and loot the container.
- Once you have all 5 writings you can return to the first building.
Access the Locked Room
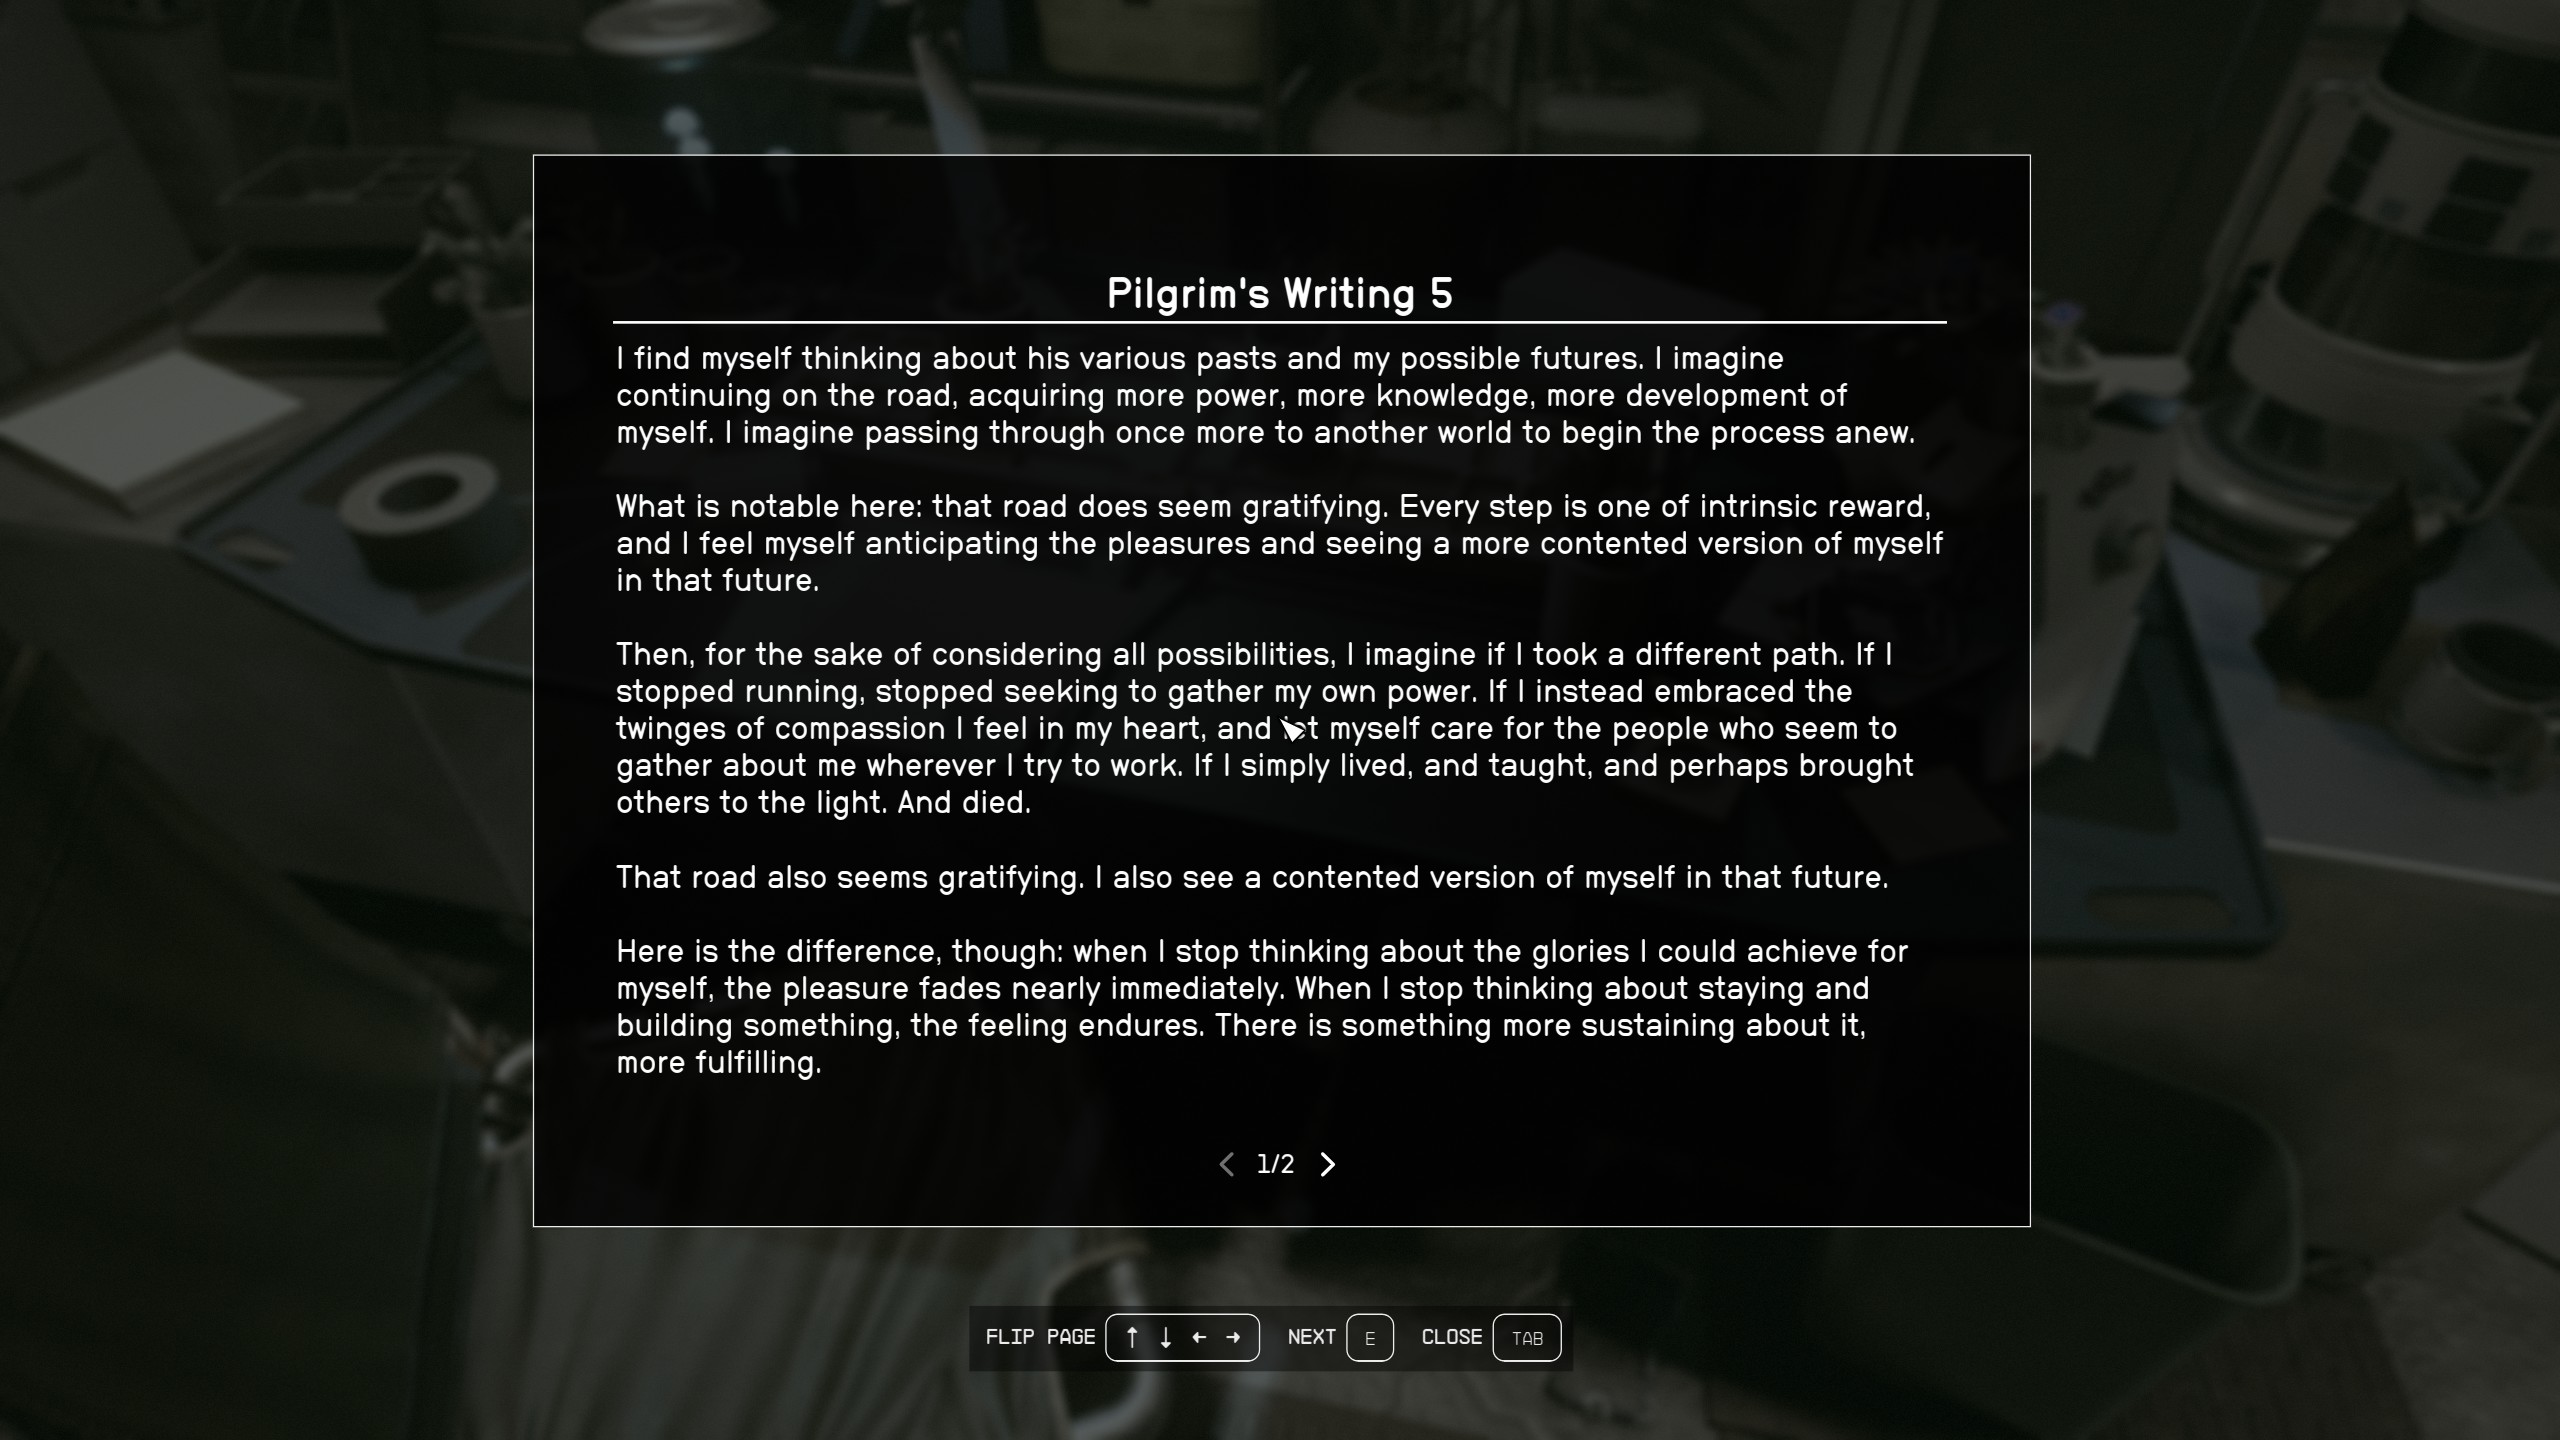
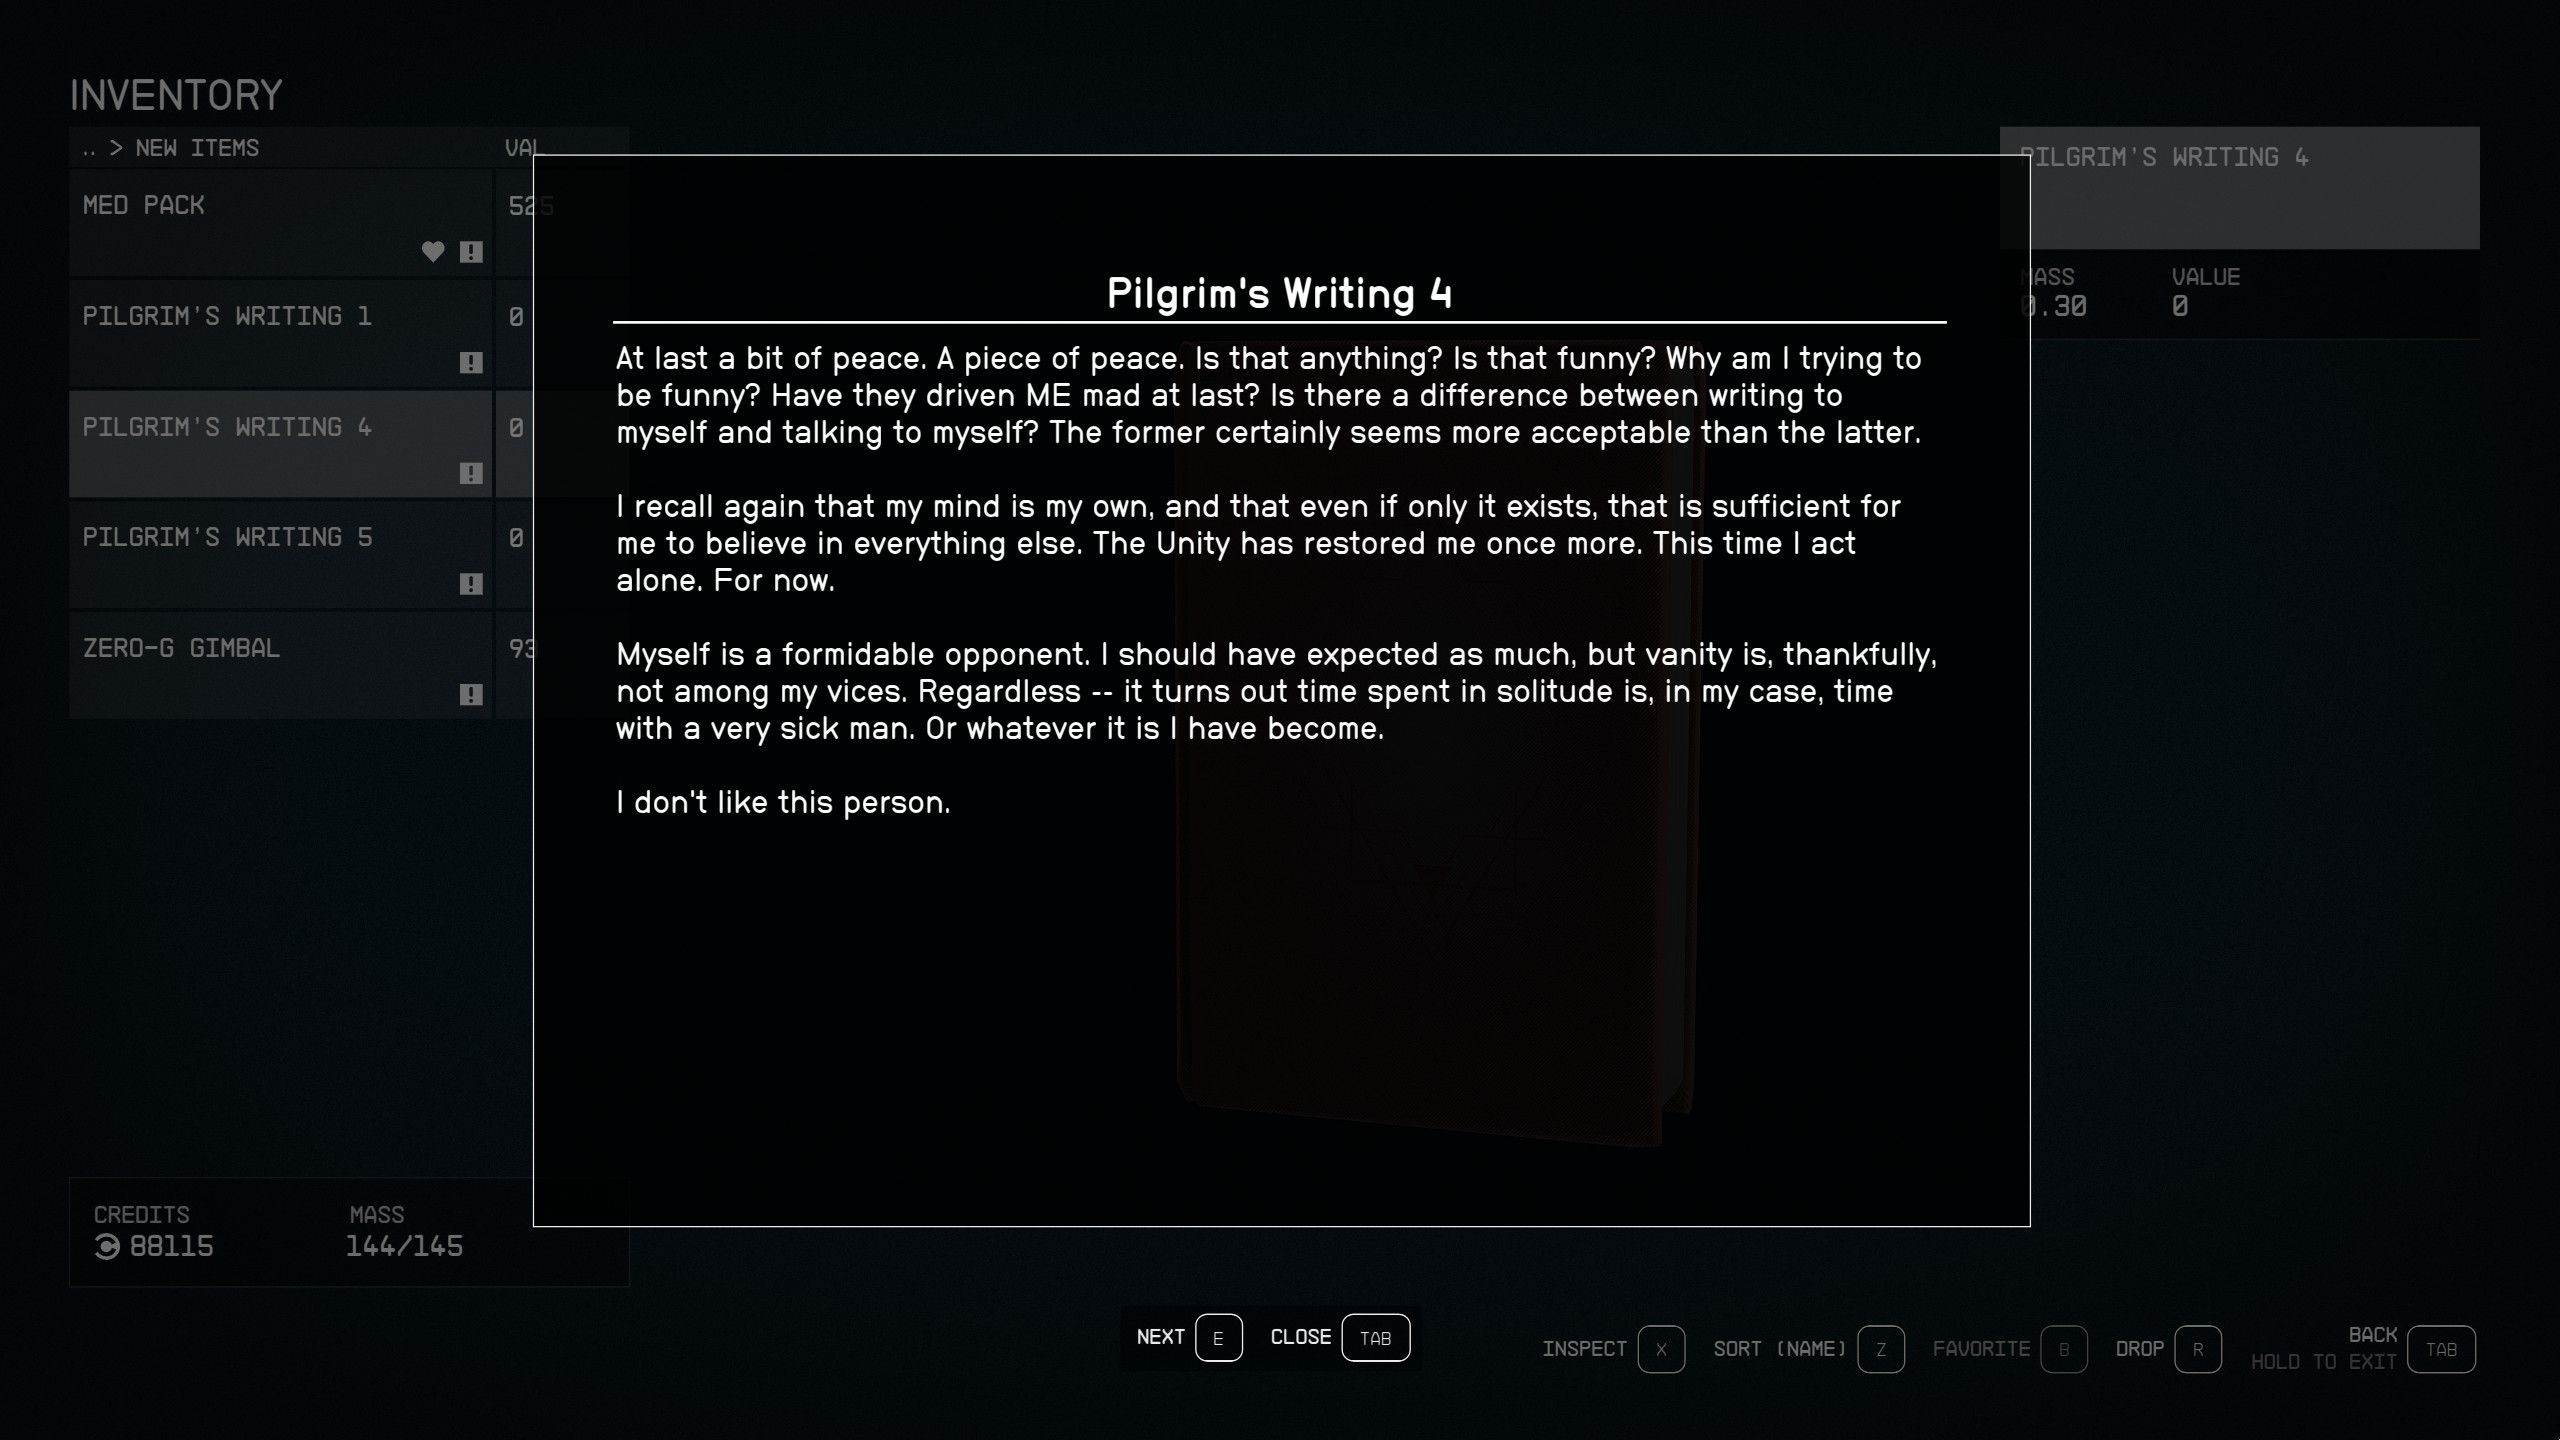
- If you read the writings, you will notice that the answers to the security questions are in each of them. Here are the answers:
- Question 1: What is the Unity?
- Question 2: People are necessary, but people are madness.
- Question 3: Myself.
- Question 4: In Stopping. In embracing compassion
.
- Once you answer all of the questions correctly, you will be able to open the door.
.
Search the Room
- Enter the room and loot the containers on the left side.
- Collect the Pilgrim’s Final Writing on the cabinet
.
Read "Pilgrim's Final Writing"
- Read the Pilgrim's Final Writing to learn that your next destination is Hyla II, where the Scorpius awaits.
Find the "Scorpion's Sting" on Hyla II
- Open your map and find the Hyla System, then the planet Hyla II.
- Land at the ruins.
- Walk straight ahead and through the jagged rock formations.
- Keep going until you get to the Ancient Ruins.
- Investigate the glyph to start the last objective of the mission.
Go to the Last Star of the Scorpius Constellation
- Open your map and Grav Jump to Oborum I in the Oborum Prime System.
