Further Into the Unknown: Difference between revisions
No edit summary |
Sneaky pete (talk | contribs) |
||
| (5 intermediate revisions by the same user not shown) | |||
| Line 1: | Line 1: | ||
{{Mission Infobox | {{Mission Infobox | ||
|Image = | |Image = Starfield_FurtherIntotheUnknown20_EN.jpg | ||
|Name = Further Into the Unknown | |Name = Further Into the Unknown | ||
|Type = Main Mission | |Type = Main Mission | ||
|Number = 8 | |Number = 8 | ||
|Level = | |Level = | ||
|Requirement = | |Requirement = | ||
|Location = | |Location = [[The Lodge]], [[New Atlantis]] | ||
|Starting NPC = Vladimir Sall | |Starting NPC = Vladimir Sall | ||
|Description = Vladimir | |Description = "I need to meet with Vladimir Sall about finding more Artifacts in the fringes of space." | ||
|Reward = 750 [[XP]], 10200 [[Credits]] | |Reward = 750 [[XP]], 10200 [[Credits]] | ||
|Achievement = Further Into the Unknown (Achievement) | |Achievement = Further Into the Unknown (Achievement) | ||
| Line 17: | Line 17: | ||
==Walkthrough== | ==Walkthrough== | ||
The [[mission]] "[[Further Into the Unknown]]" begins at [[The Lodge]] in [[New Atlantis]], where you need to meet with [[Vladimir Sall]]. He has information about new artifact locations that could be crucial in understanding the unfolding mysteries of the game. The conversation with Vladimir will provide you with two random locations for artifact retrieval. Remember, these locations are randomly generated for each playthrough, so the terrain and challenges you encounter may vary. | |||
Once you have the locations, you need to set your course for them. The order in which you approach these locations is entirely up to you. Upon arrival, your main objective is to find and secure the [[Artifact]]s. However, this mission introduces a new challenge - [[Starborn]] [[enemies]] who can turn invisible for short periods while launching their attacks. This adds a stealthy layer of complexity to your mission, but don't worry. You can locate these elusive enemies using your [[scanner]], a tool you should keep ready as you navigate the locations. | |||
After securing both [[Artifacts]], your next task is to add them to your collection at [[the Lodge]]. To do this, you need to navigate back to the Lodge and interact with the pedestal designed for artifact display. As you place the Artifacts, [[Matteo]] will automatically engage you in conversation. Your responses to Matteo won't affect the mission's outcome, but they might influence your relation[[ship]] dynamics with him and other [[companion]]s. | |||
The final step of the mission is to return to Vladimir for a debriefing. This conversation serves as a conclusion to your artifact-hunting escapades for now and marks the completion of the mission, "Further Into the Unknown". Congratulations, you've successfully navigated another intricate layer of Starfield's expansive universe. Whether these Artifacts shed light on your overarching quest or simply add more questions, only time—and more gameplay—will tell. | |||
==Tips and Tricks== | |||
*You do not need to go to the [[planet]]s in a specific order. | |||
*Your [[planet]]s may not be the same as this [[mission]] as they are andom. | |||
*If you have the [[mission]] "[[Destroy the Crimson Fleet at Procyon]]" you will be attacked by [[starships]] once you arrive in the [[Procyon V-B]] orbit. If you are having trouble with this, leave the orbit or reload the save and abandon this mission. When to return to the [[planet]] the [[space pirates]] will be gone. | |||
==Objectives== | ==Objectives== | ||
=== | ===Talk to Vladimir=== | ||
*Travel to [[The Lodge]] in [[New Atlantis]] and speak with [[Vladimir Sall]]. He will provided you with two new [[Artifact]] locations.* | |||
[[File:Starfield_FurtherIntotheUnknown15_EN.jpg|400px]] | |||
=== | ===Go to Procyon V-B=== | ||
*Open your map and find the [[planet]] [[Procyon V-B]] in the [[Procyon A System]]. Set your course and [[Grav Jump]] to the planet. You may need to fly to a closer [[system]] before you can get to Procyon A. | |||
[[File:Starfield_FurtherIntotheUnknown30_EN.jpg|400px]] | |||
*Once in orbit you will see the marker for the [[Abandoned Pharmaceuticals Lab]]. Land on the surface in this area and get ready to investigate! | |||
=== | ===Find the Artifact on Procyon V-B=== | ||
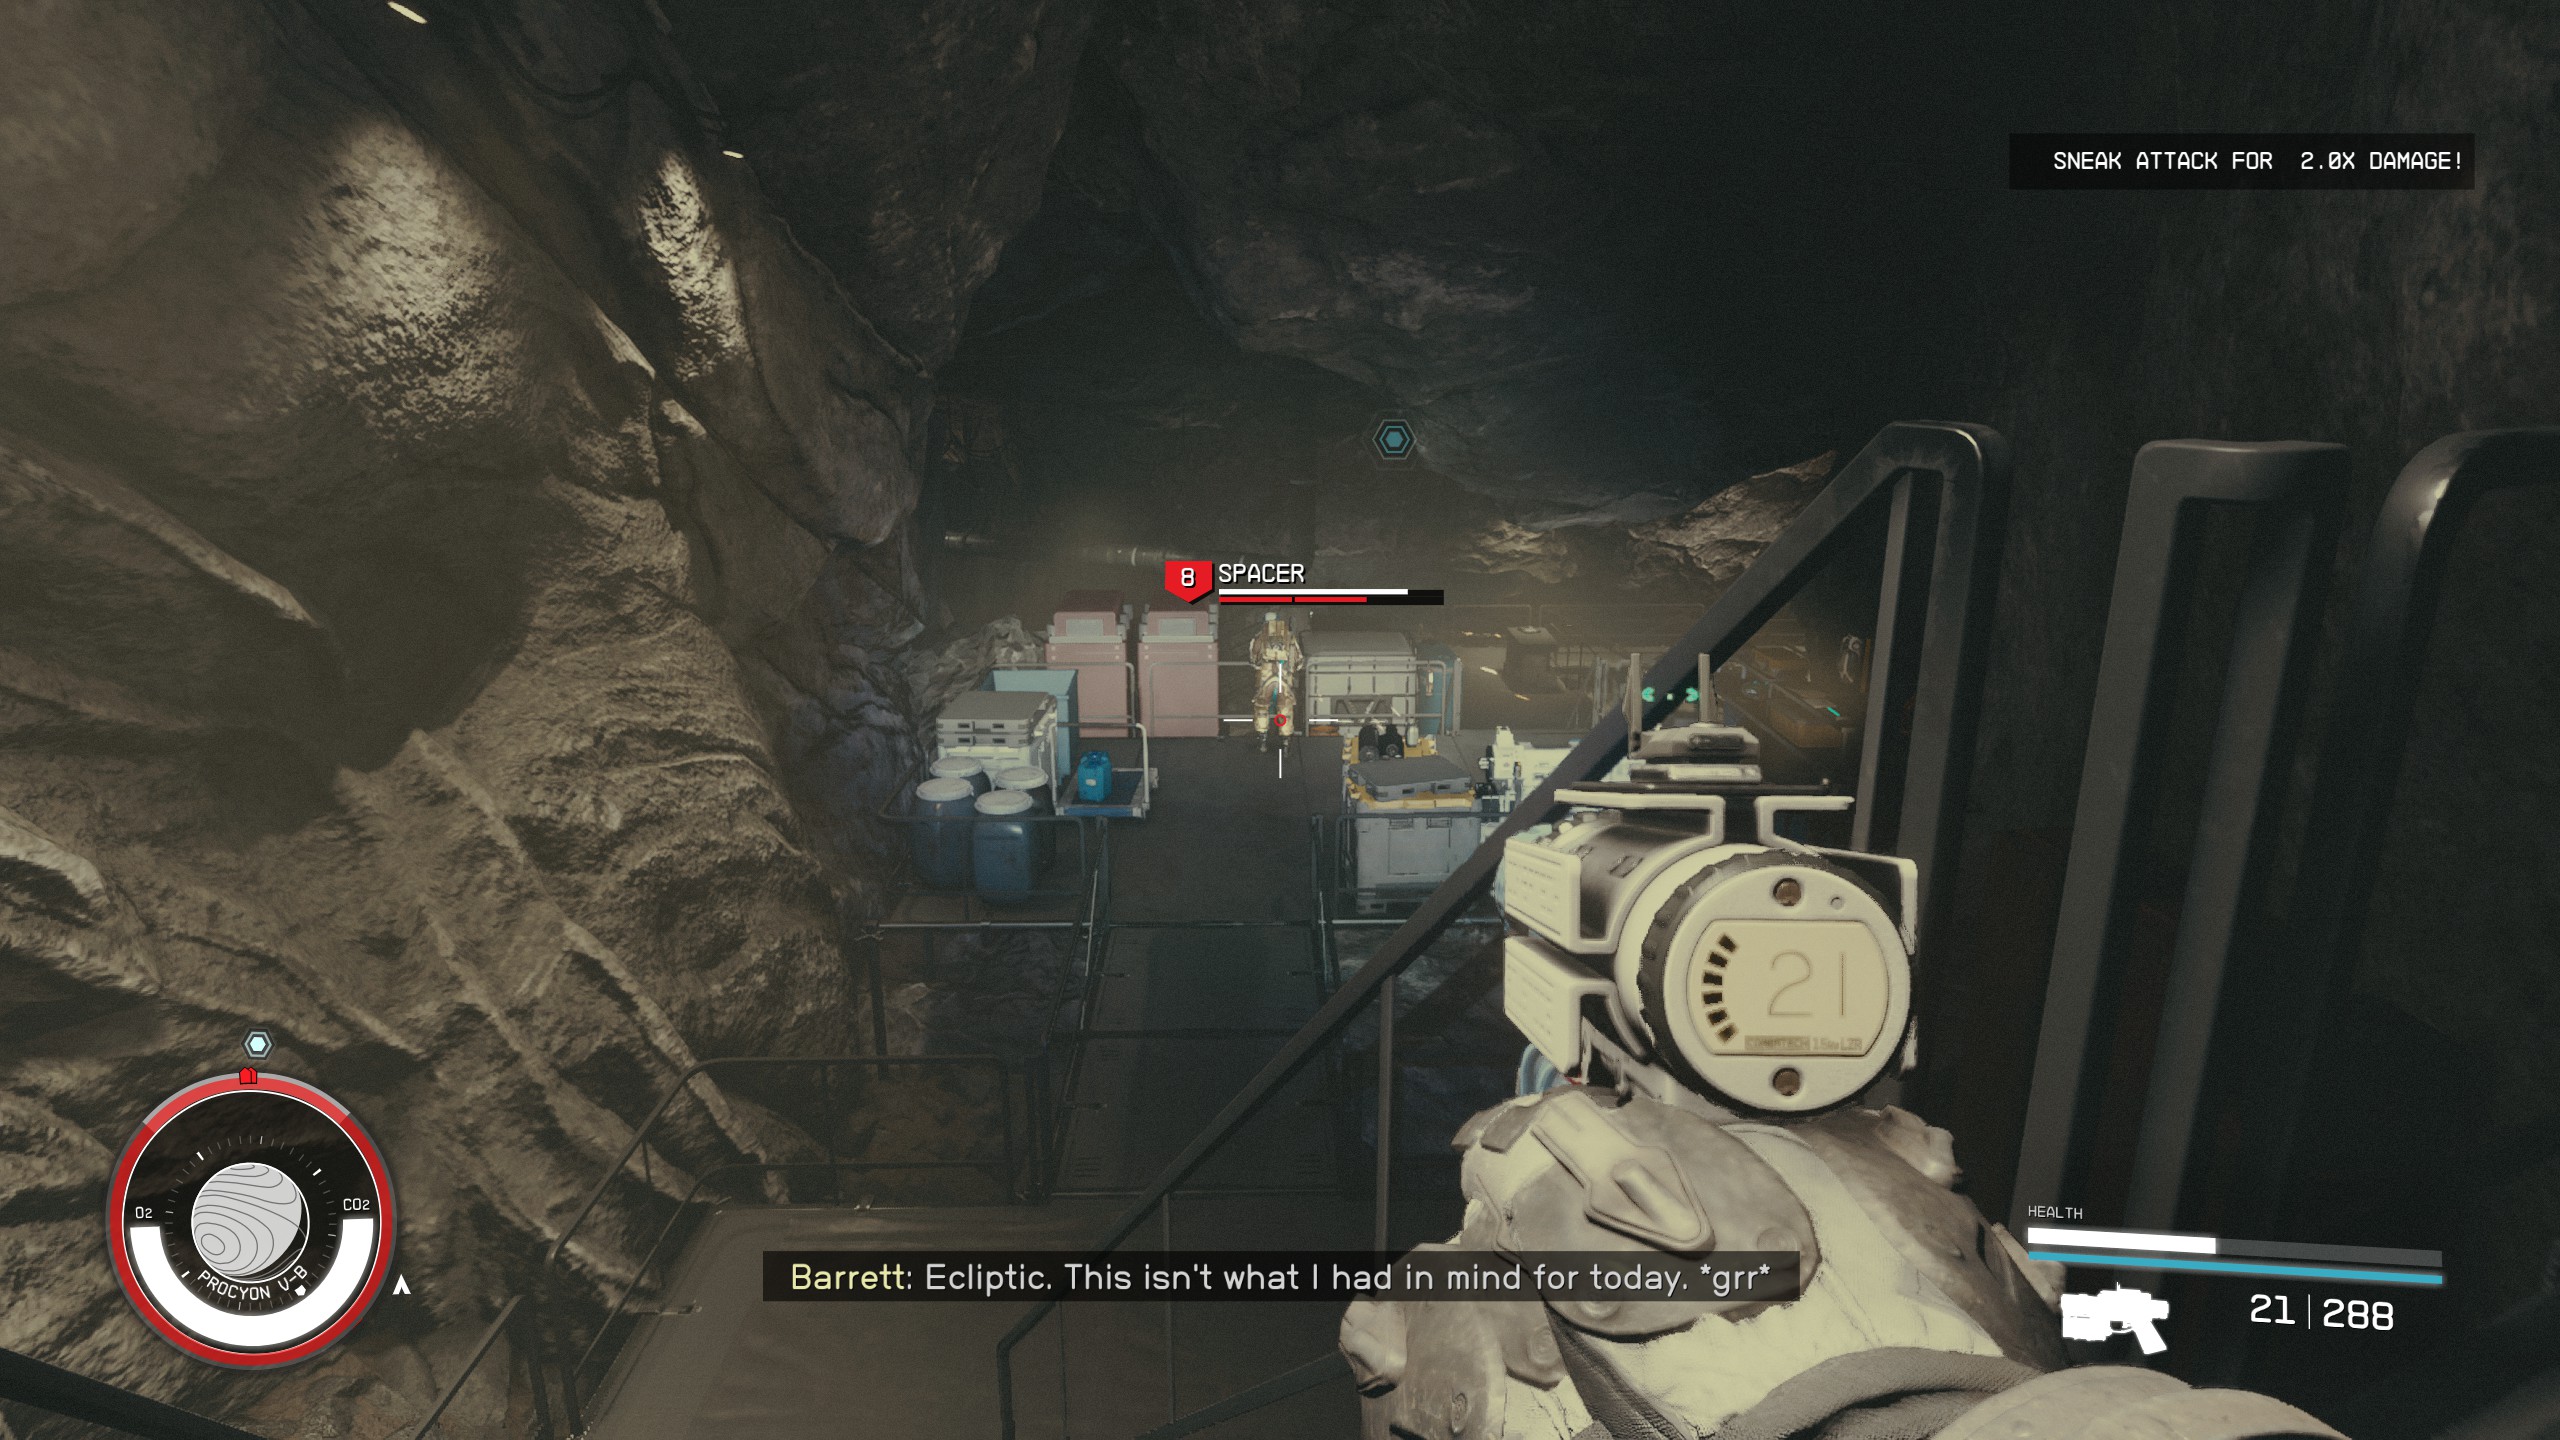
*Head towards the outpost that is fairly close to where your ship lands and take out the [[Spacers]] standing guard outside. | |||
=== | [[File:Starfield_FurtherIntotheUnknown20_EN.jpg|400px]] | ||
*Go straight and up the stairs once you cleared the area. There are three buildings for you to explore, but the one you want is to the right and behind the first two buildings. Be ready to fight more [[Spacer Punks]]! | |||
[[File:Starfield_FurtherIntotheUnknown32_EN.jpg|400px]] | |||
*Enter the building and loot everything, then go to the computer next to the red door. | |||
[[File:Starfield_FurtherIntotheUnknown33_EN.jpg|400px]] | |||
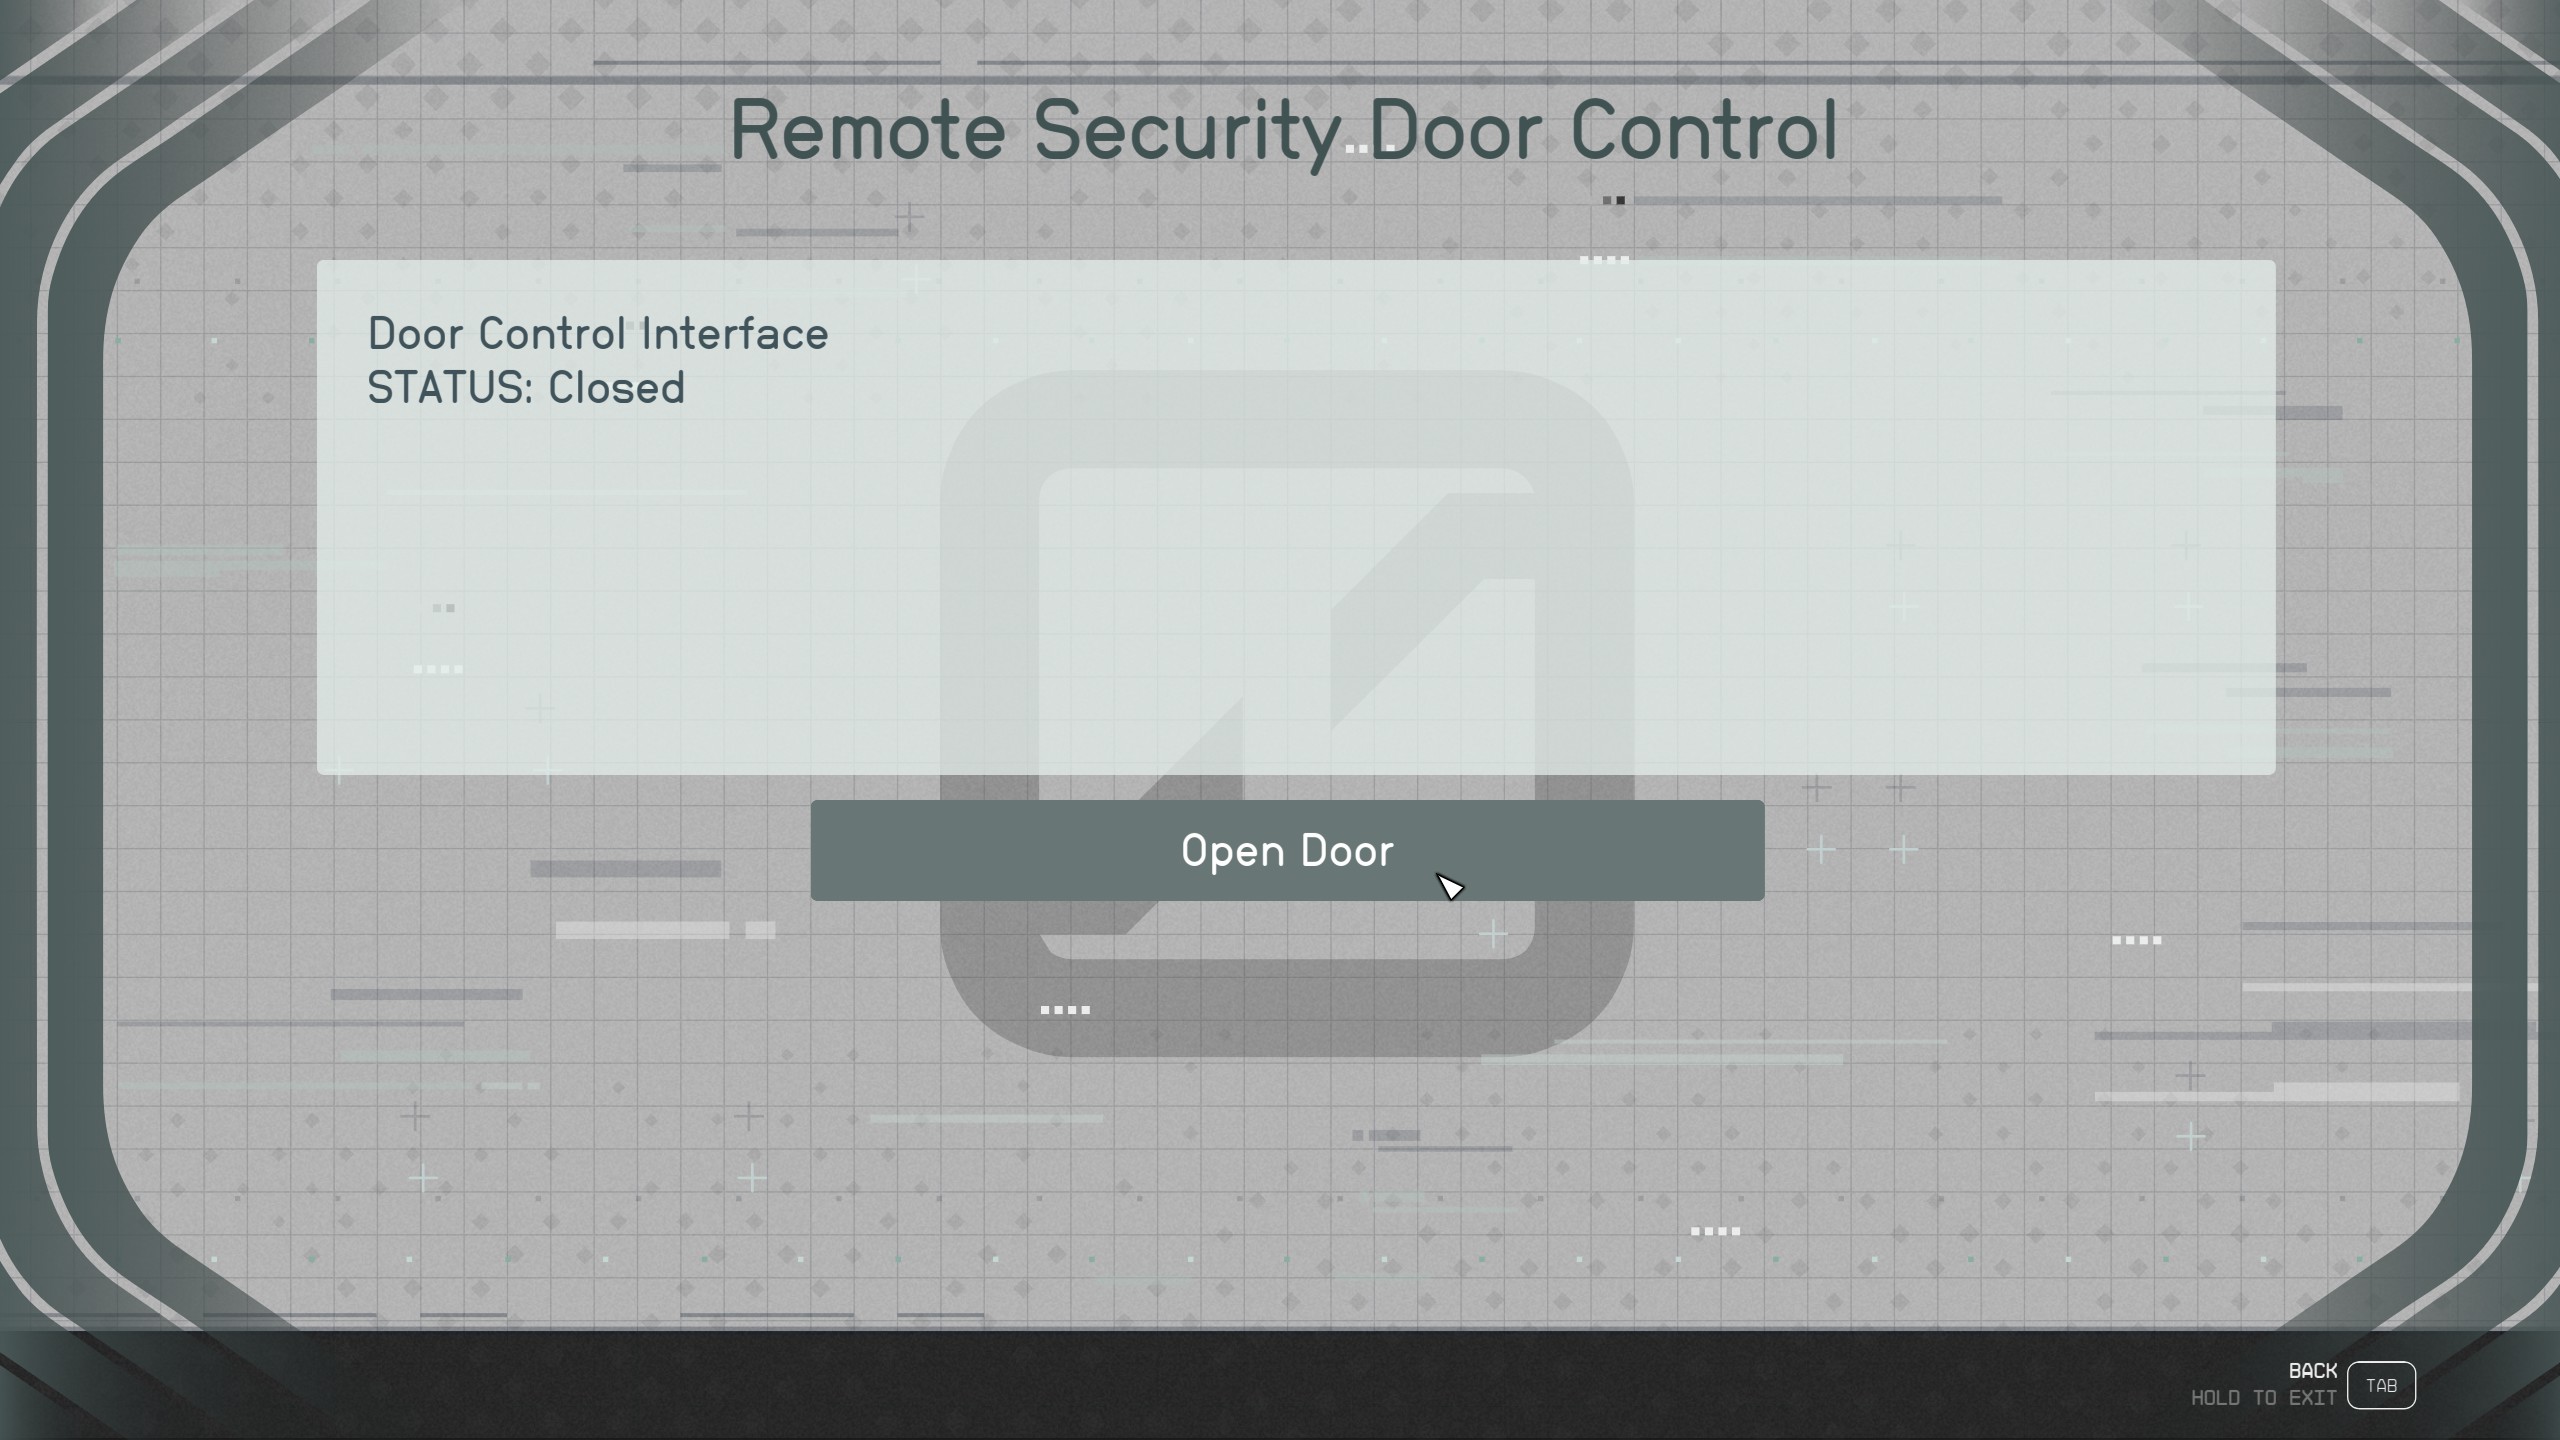
*Once logged into the computer you can use it to open the door to travel further in. | |||
[[File:Starfield_FurtherIntotheUnknown35_EN.jpg|400px]] | |||
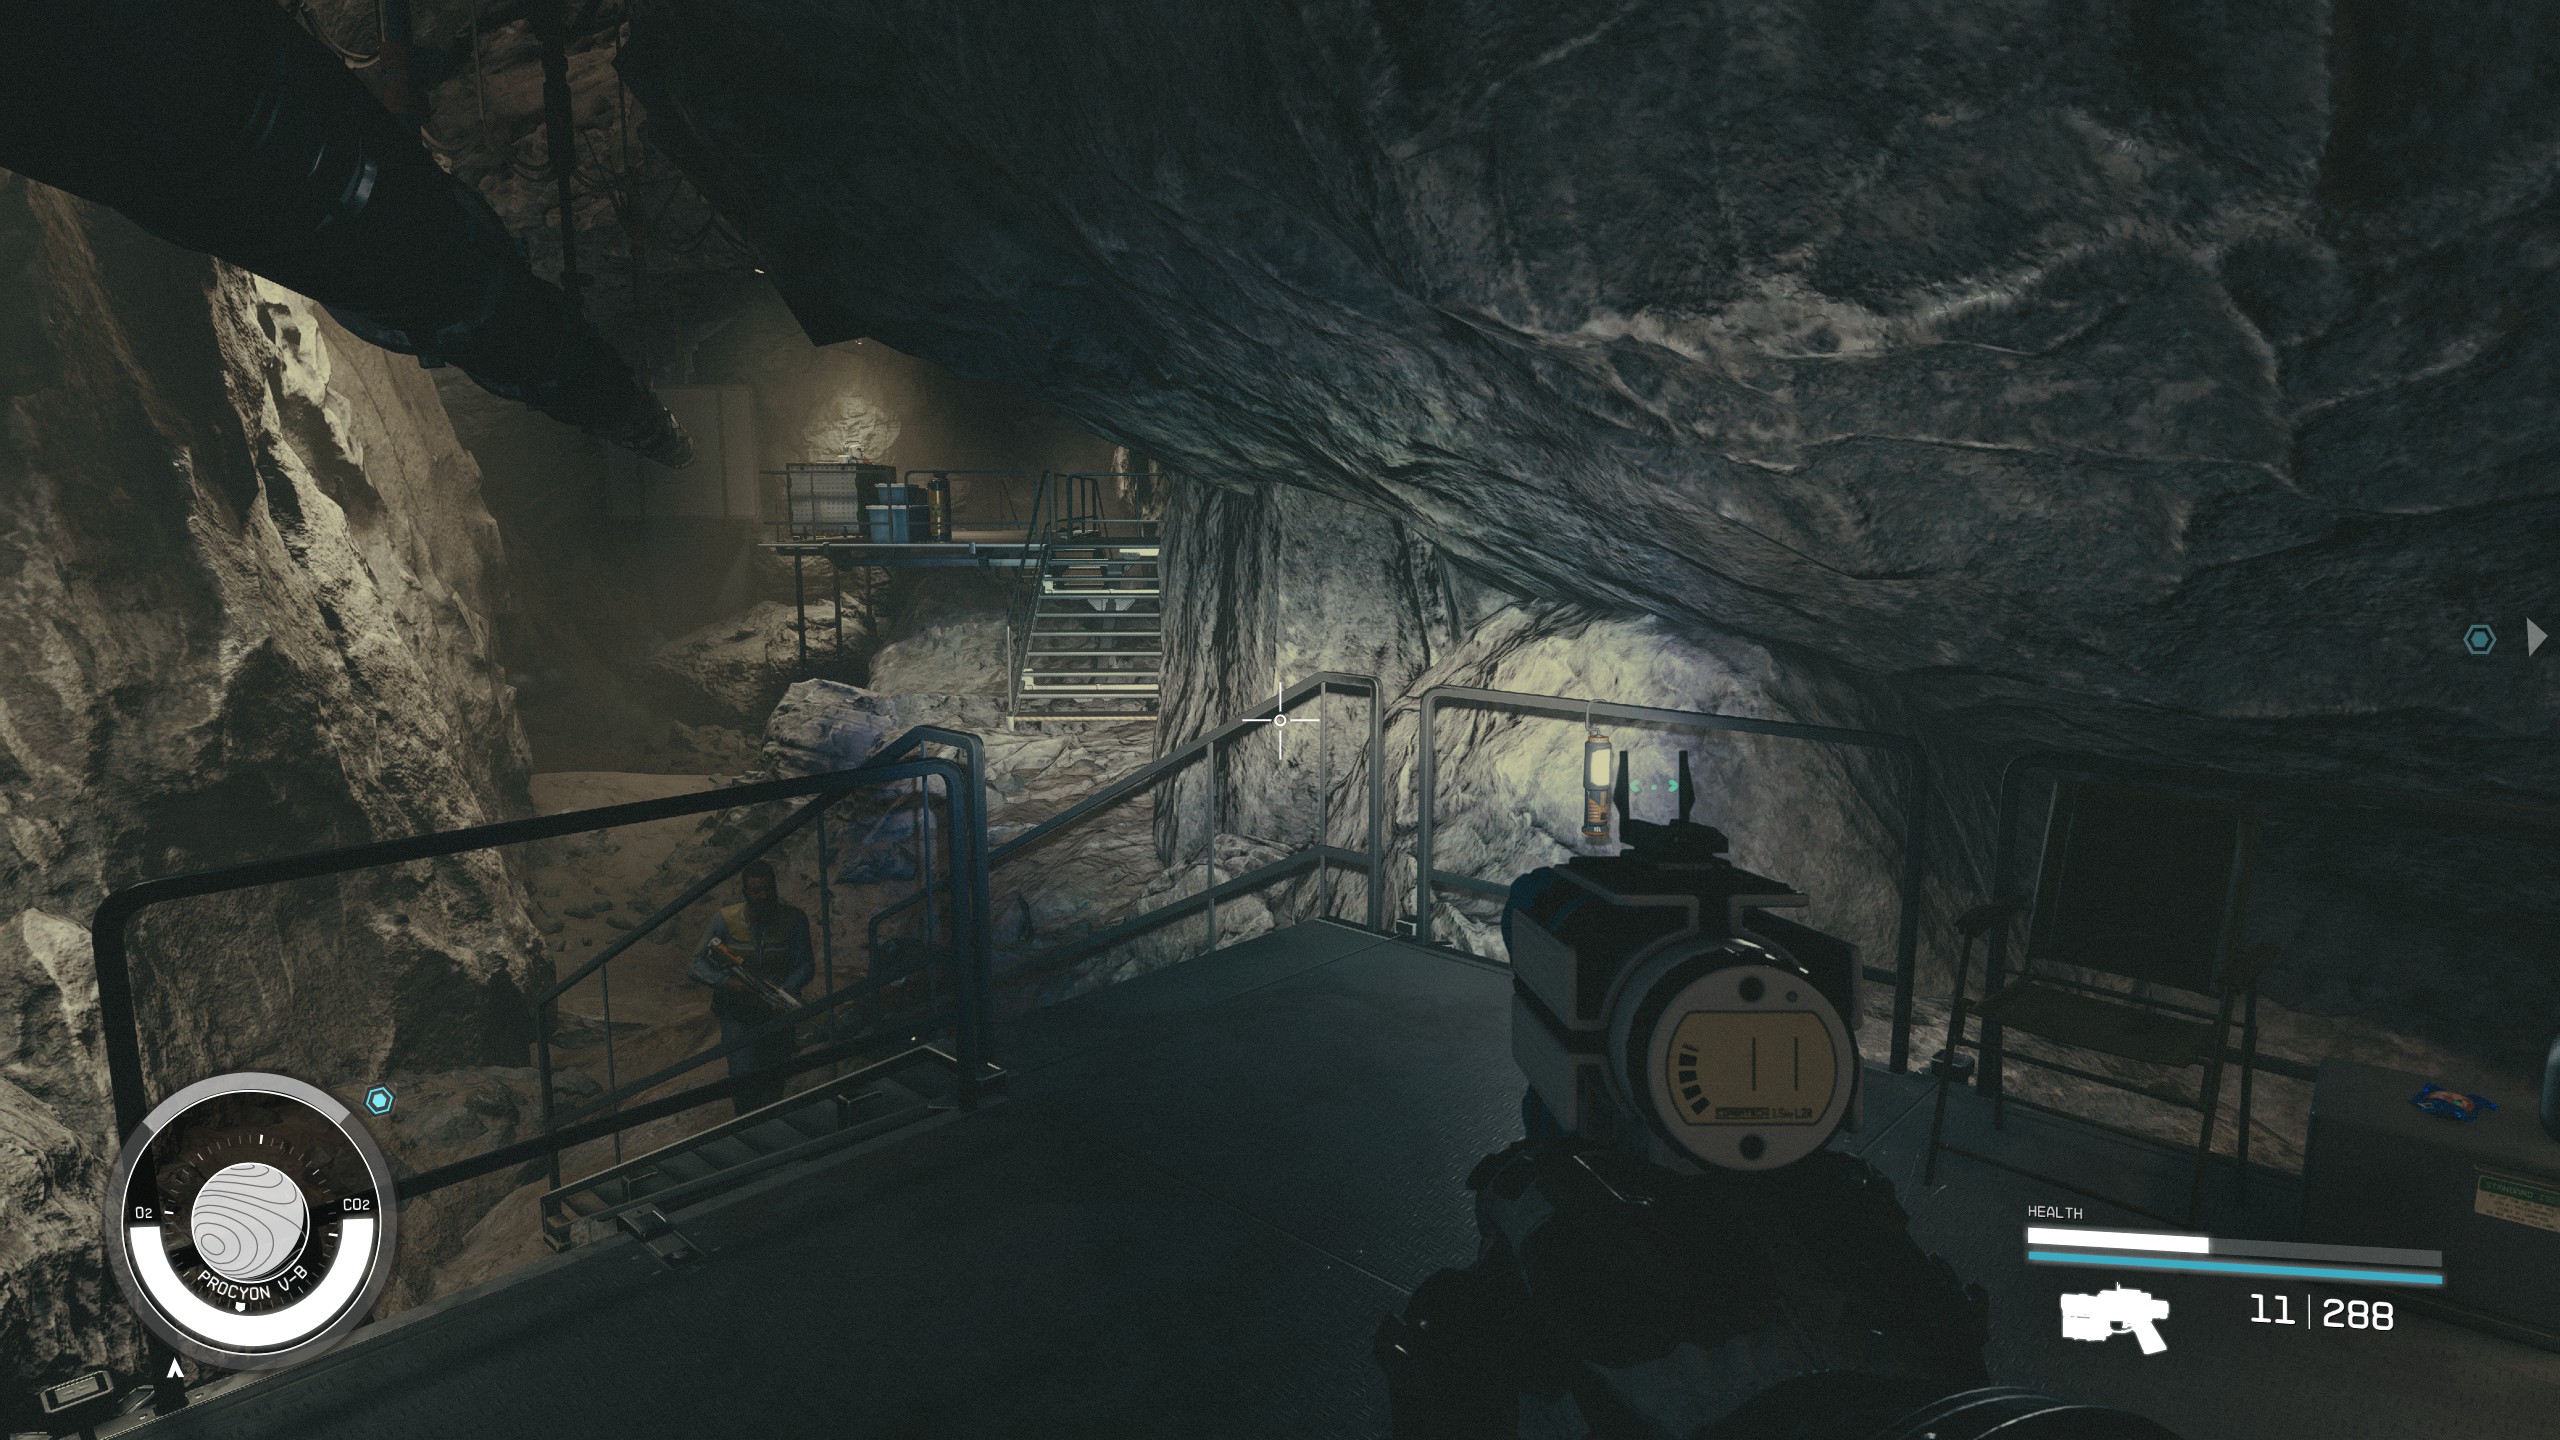
*Descend the staircase to the [[Muybridge Caverns]]. You will be greeted by some more [[Spacers]], take them out and continue forward. | |||
[[File:Starfield_FurtherIntotheUnknown12_EN.jpg|400px]] | |||
*Next you will come to a fork in the path, you can take either direction to reach your goal. Continue forwards to the area where the [[Artifact]] is located | |||
. | |||
[[File:Starfield_FurtherIntotheUnknown36_EN.jpg|400px]] | |||
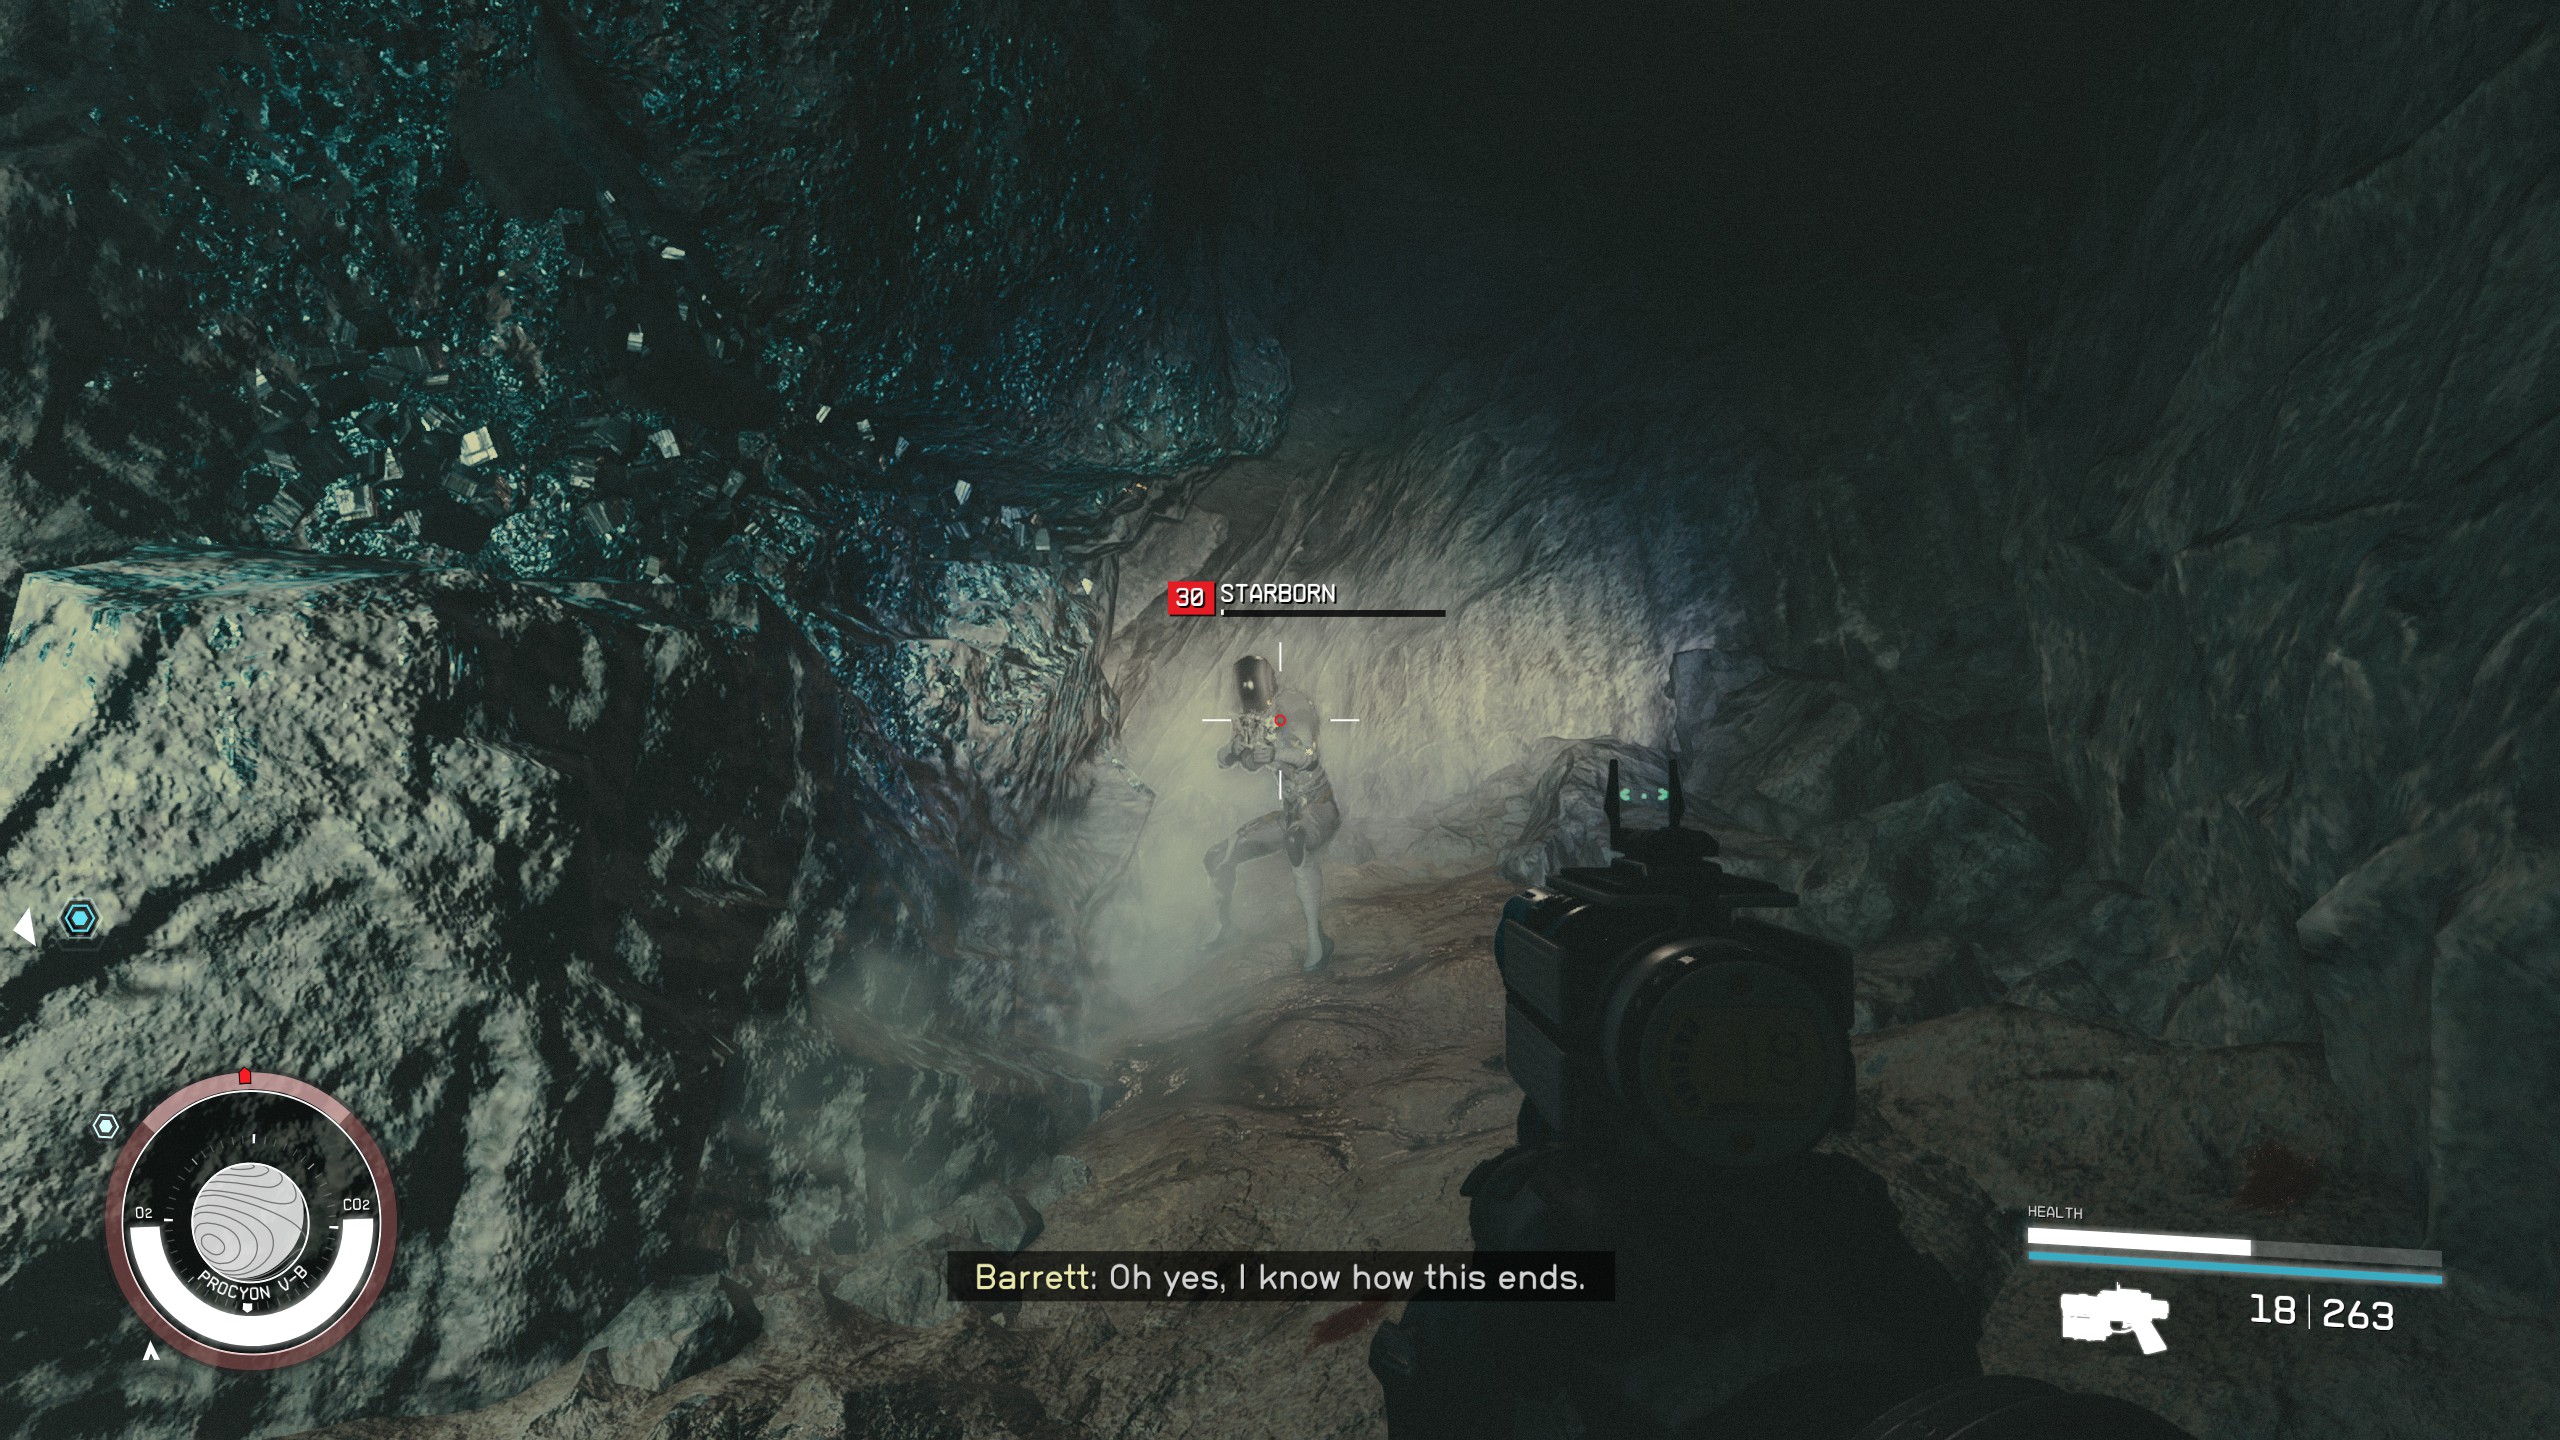
*Now that you have encountered the [[Starborn]] ship, you will be attacked by a Starborn when approaching [[Artifact]]s. This is a bit of a difficult encounter the first time, but take out the Starborn so that you can achieve your objective. | |||
[[File:Starfield_FurtherIntotheUnknown38_EN.jpg|400px]] | |||
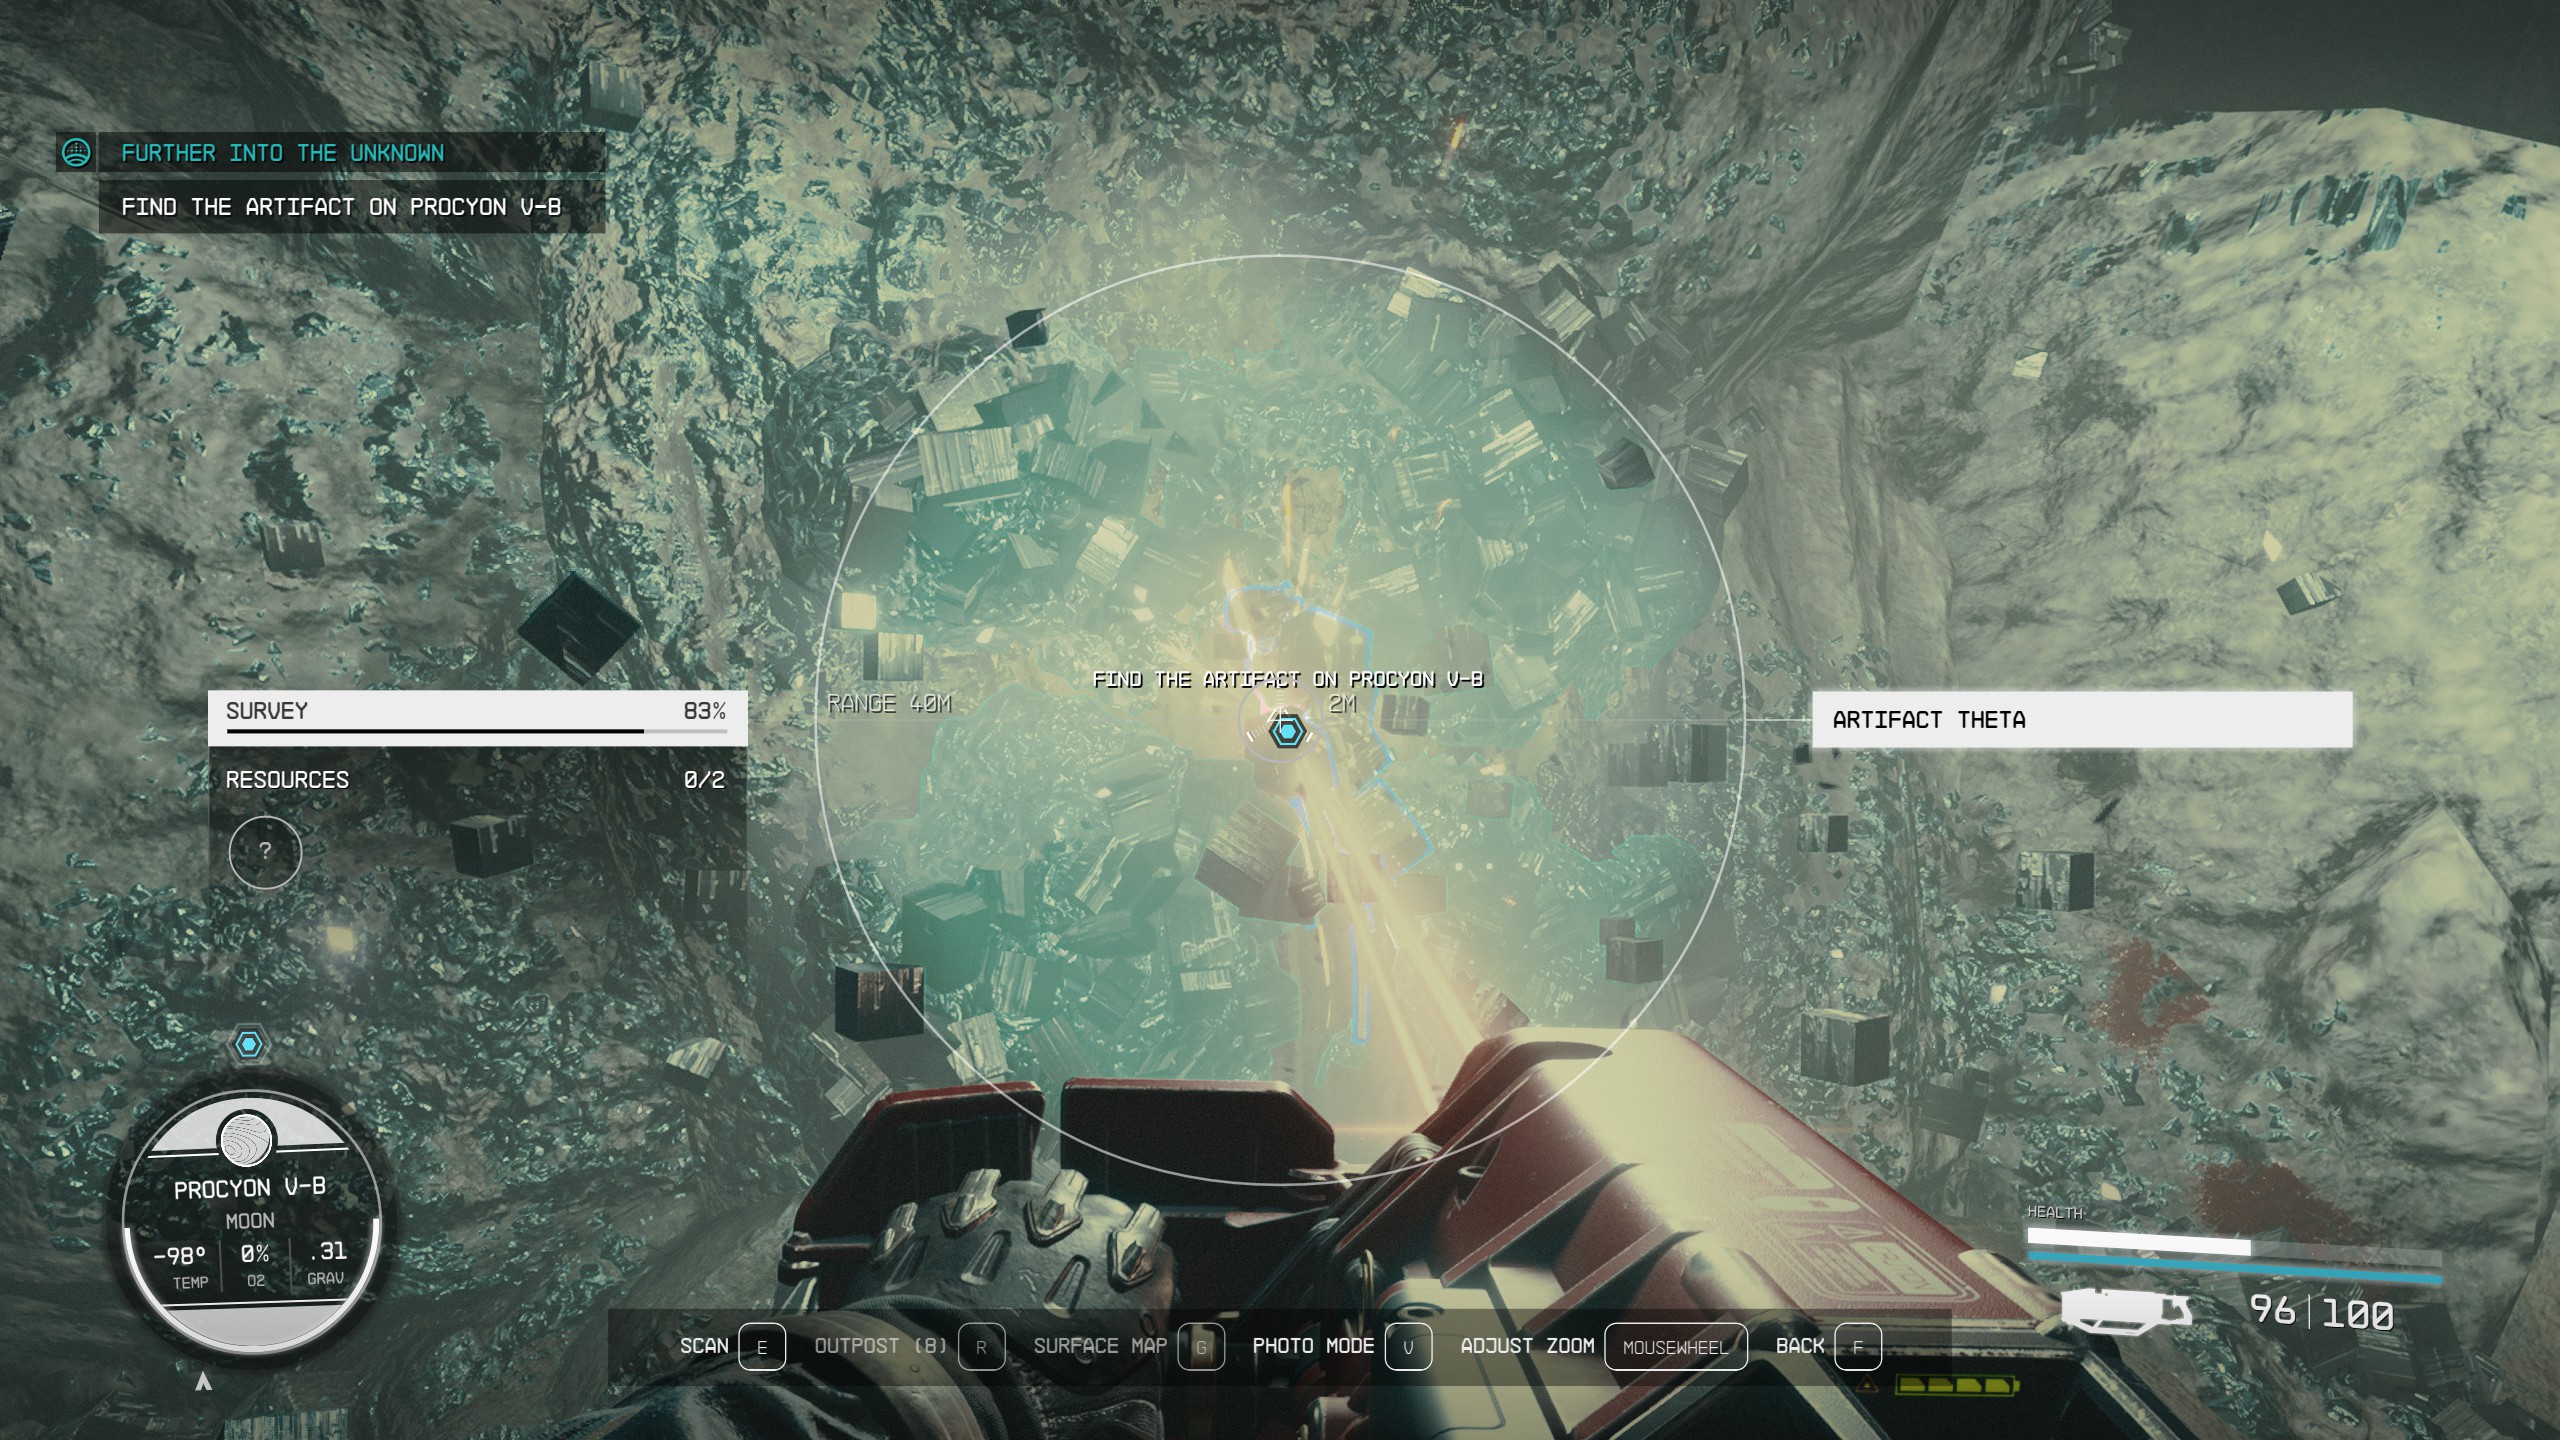
*Cut away the [[Caelumite]] and grab the [[Artifact]] | |||
[[File:Starfield_FurtherIntotheUnknown14_EN.jpg|400px]] | |||
*Now on to the next [[planet]], [[Eridani I]]! | |||
===Go to Eridani I=== | |||
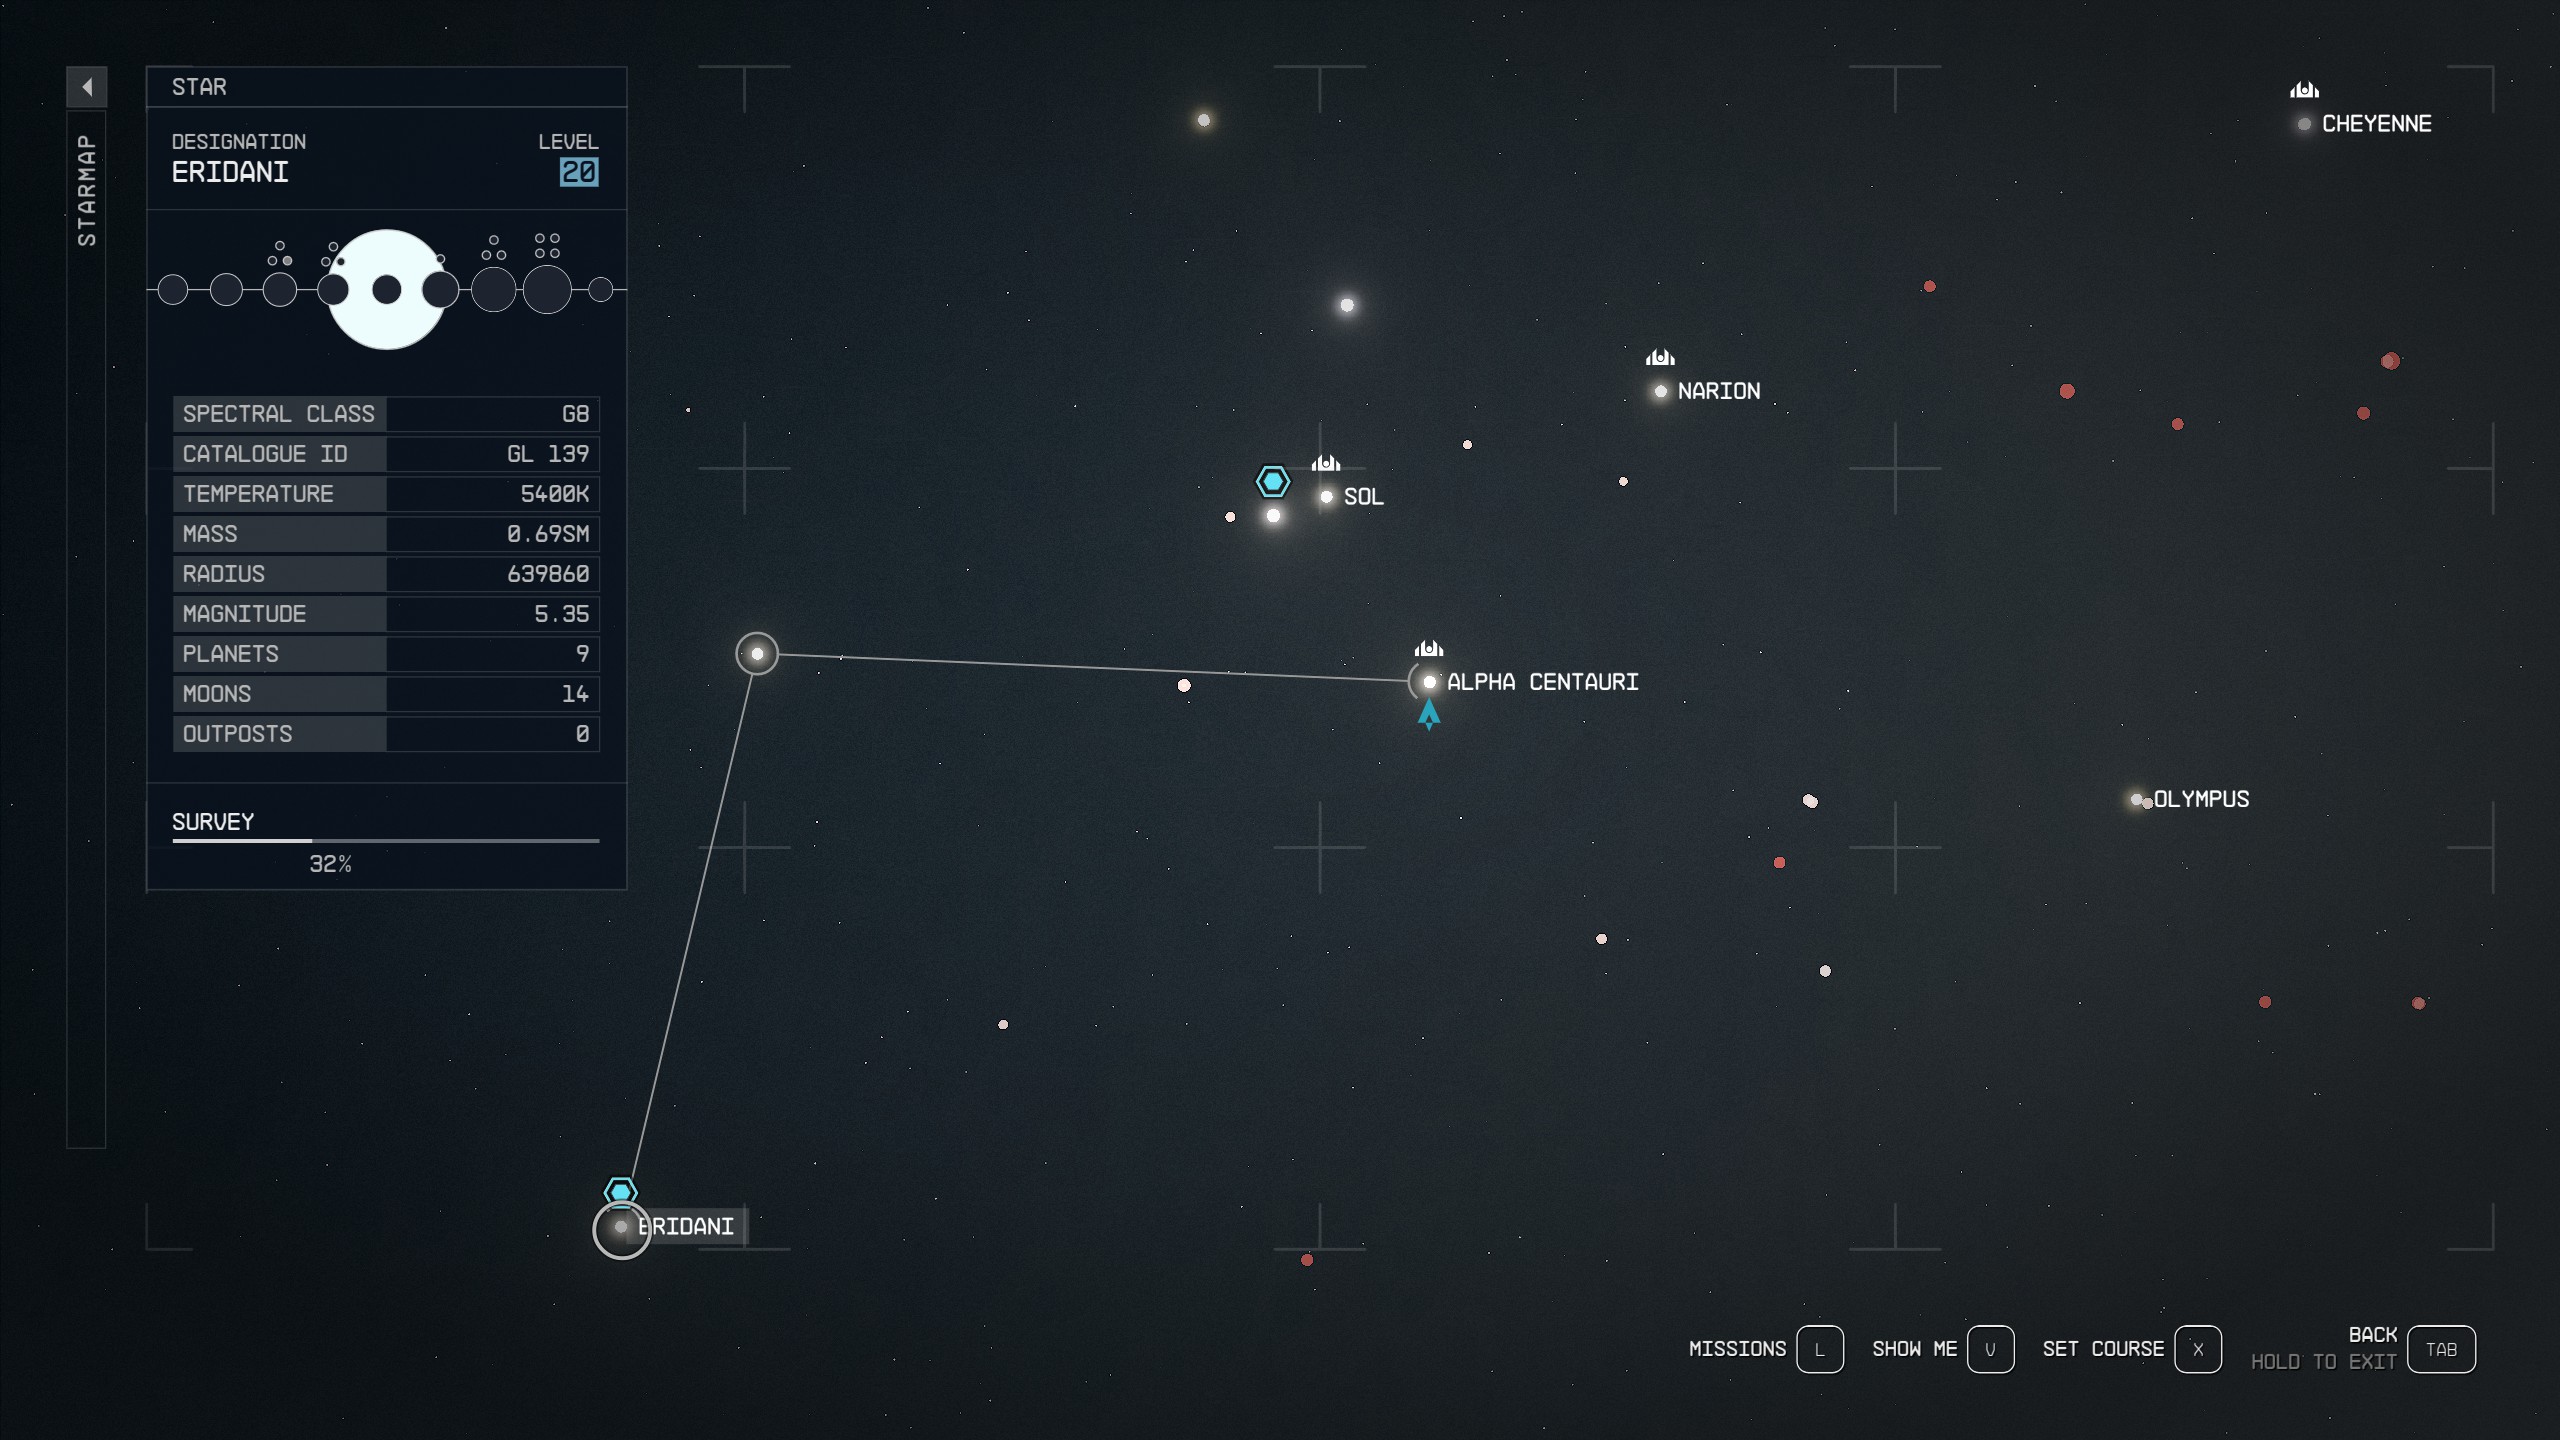
*Open your map and find the [[planet]] [[Eridani I]]. Set your course and [[Grav Jump]] to the planet. The [[Eridani System]] is close to the [[Procyon A System]], so it should be one jump. | |||
[[File:Starfield_FurtherIntotheUnknown21_EN.jpg|400px]] | |||
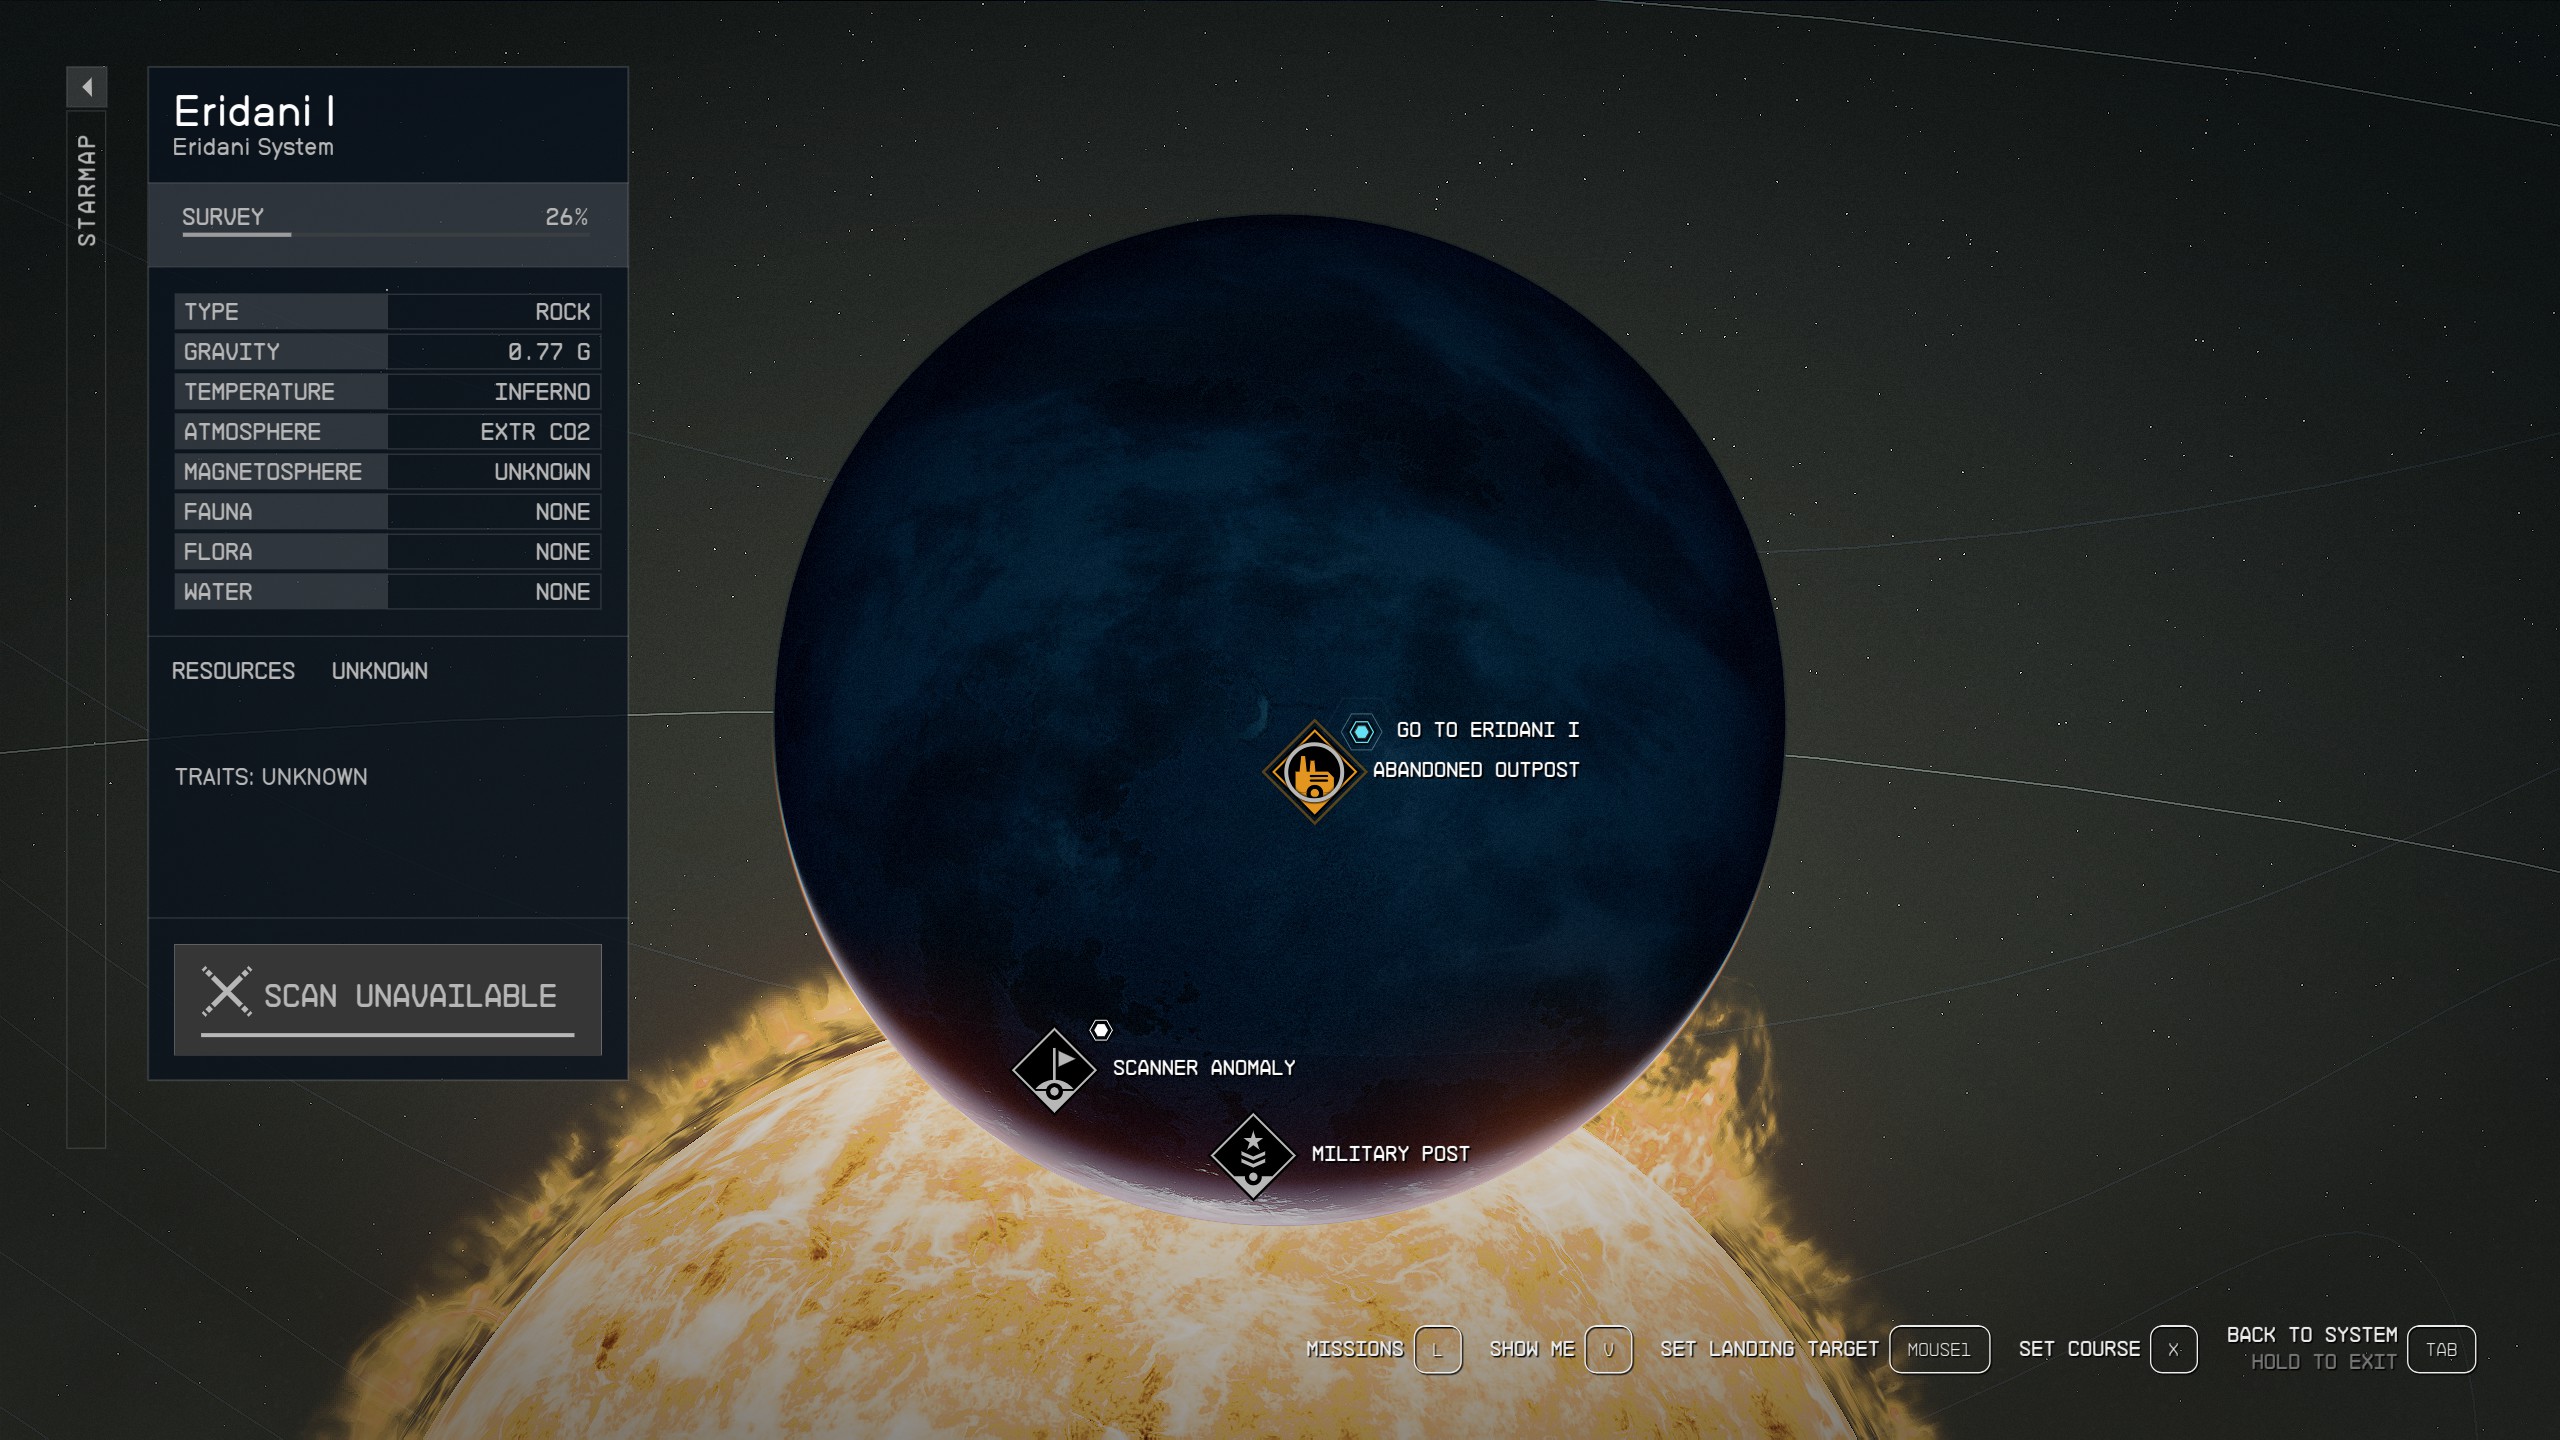
*Once in the [[planet]]'s orbit you can land at the [[Abandoned Mine]]ral Refinery. | |||
[[File:Starfield_FurtherIntotheUnknown23_EN.jpg|400px]] | |||
===Find the Artifact on Eridani I=== | |||
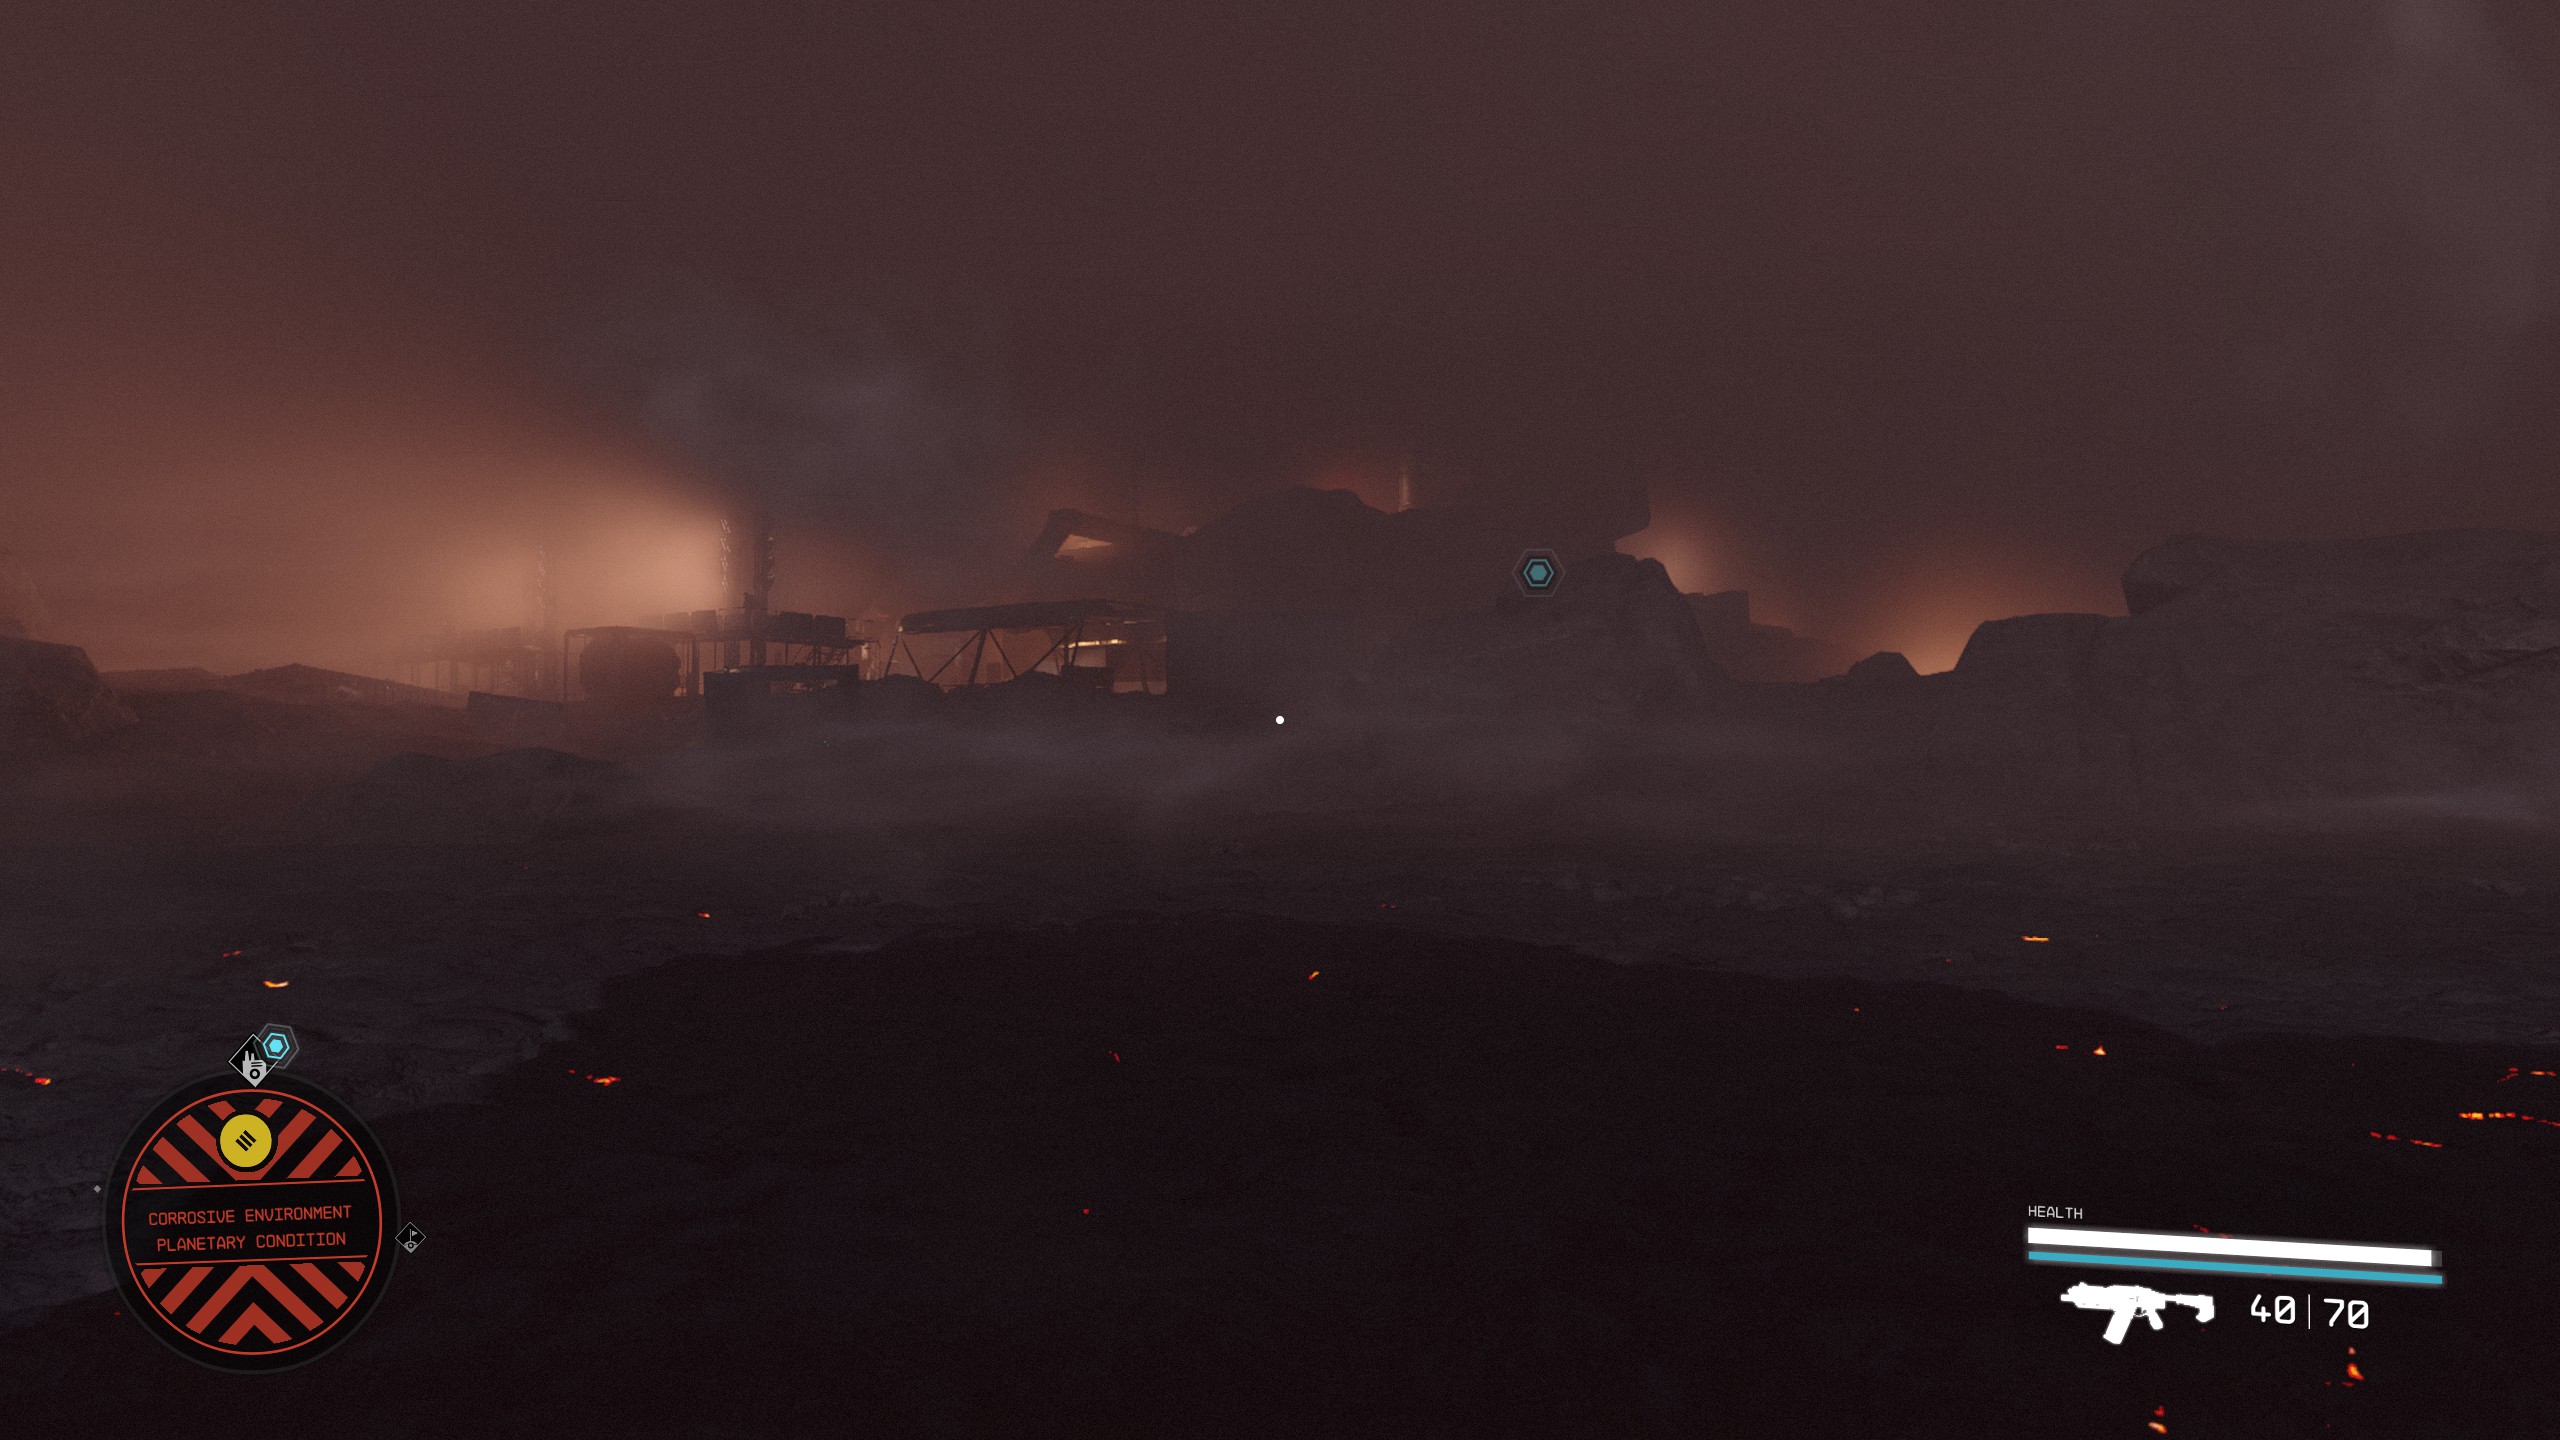
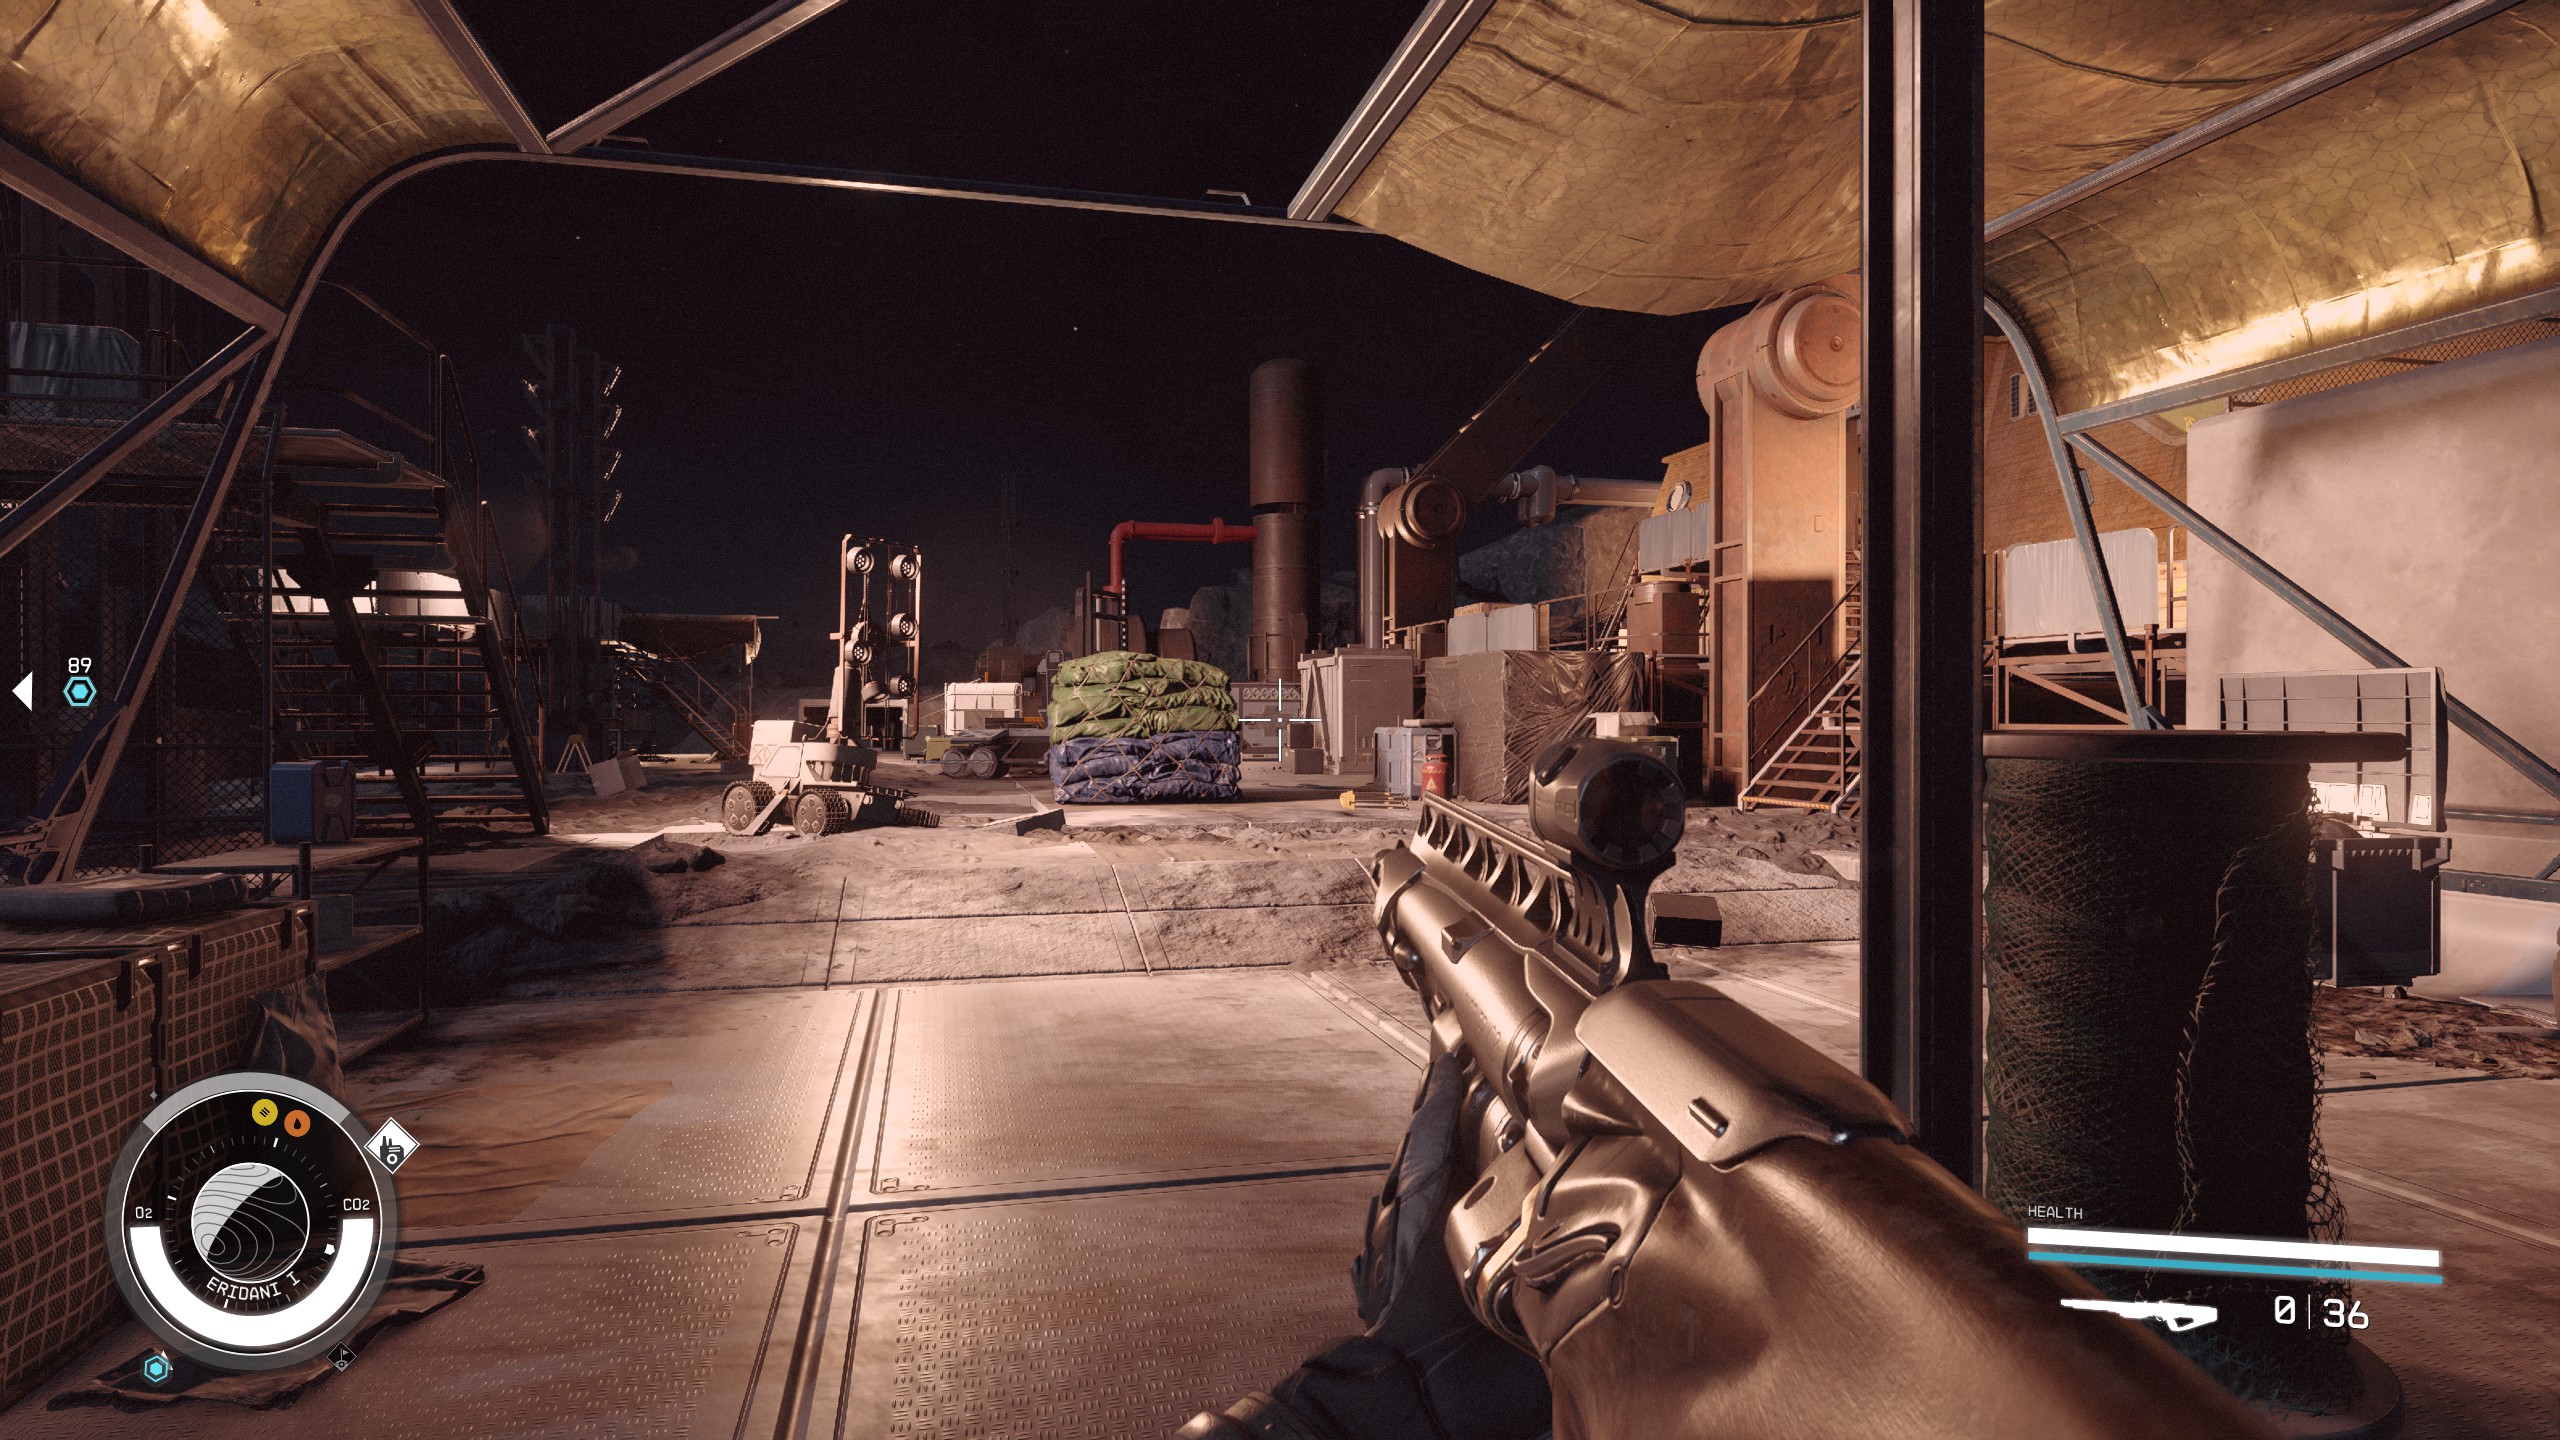
*Leave your ship and head towards the outpost and prepare to fight some more [[Spacers]]. | |||
[[File:Starfield_FurtherIntotheUnknown10_EN.jpg|400px]] | |||
*Once the area is clear of [[Spacers]], you can head up the stairs to the right to the door the leads to the [[Helium-3 Extraction Site]]. | |||
[[File:Starfield_FurtherIntotheUnknown25_EN.jpg|400px]] | |||
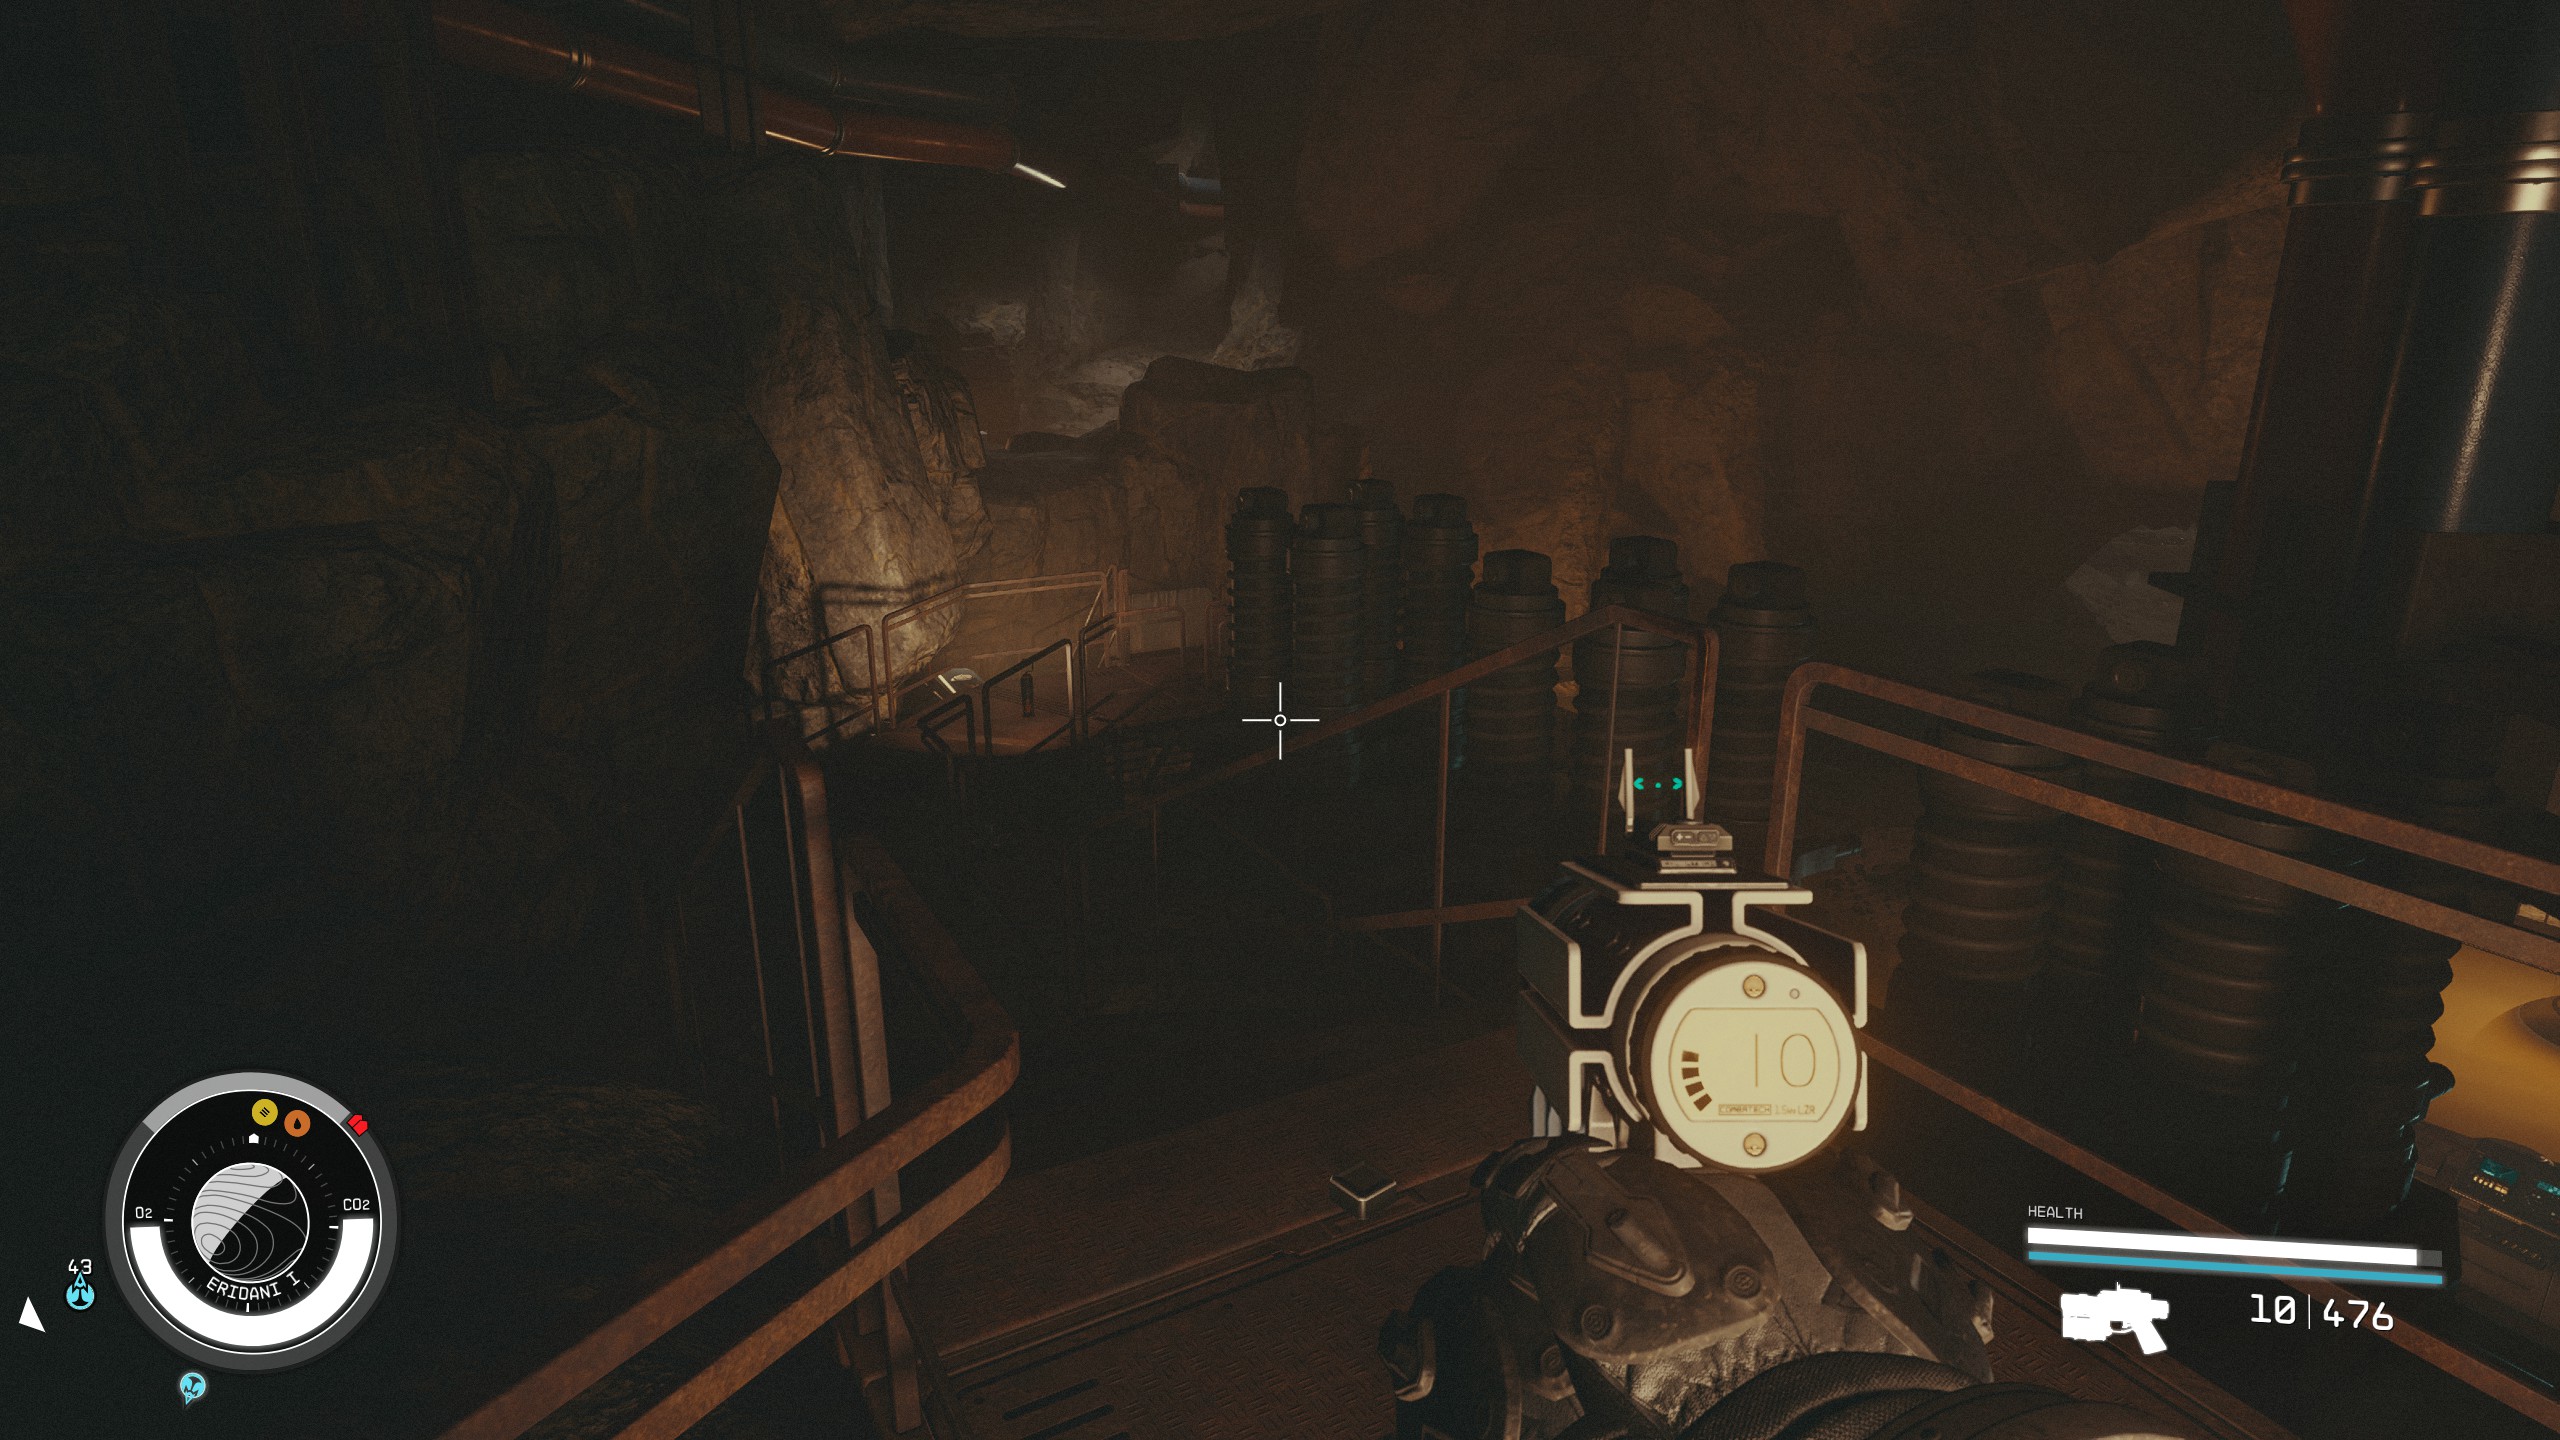
*It gets pretty dark, so you may want to turn on your [[flashlight]]. | |||
[[File:Starfield_FurtherIntotheUnknown27_EN.jpg|400px]] | |||
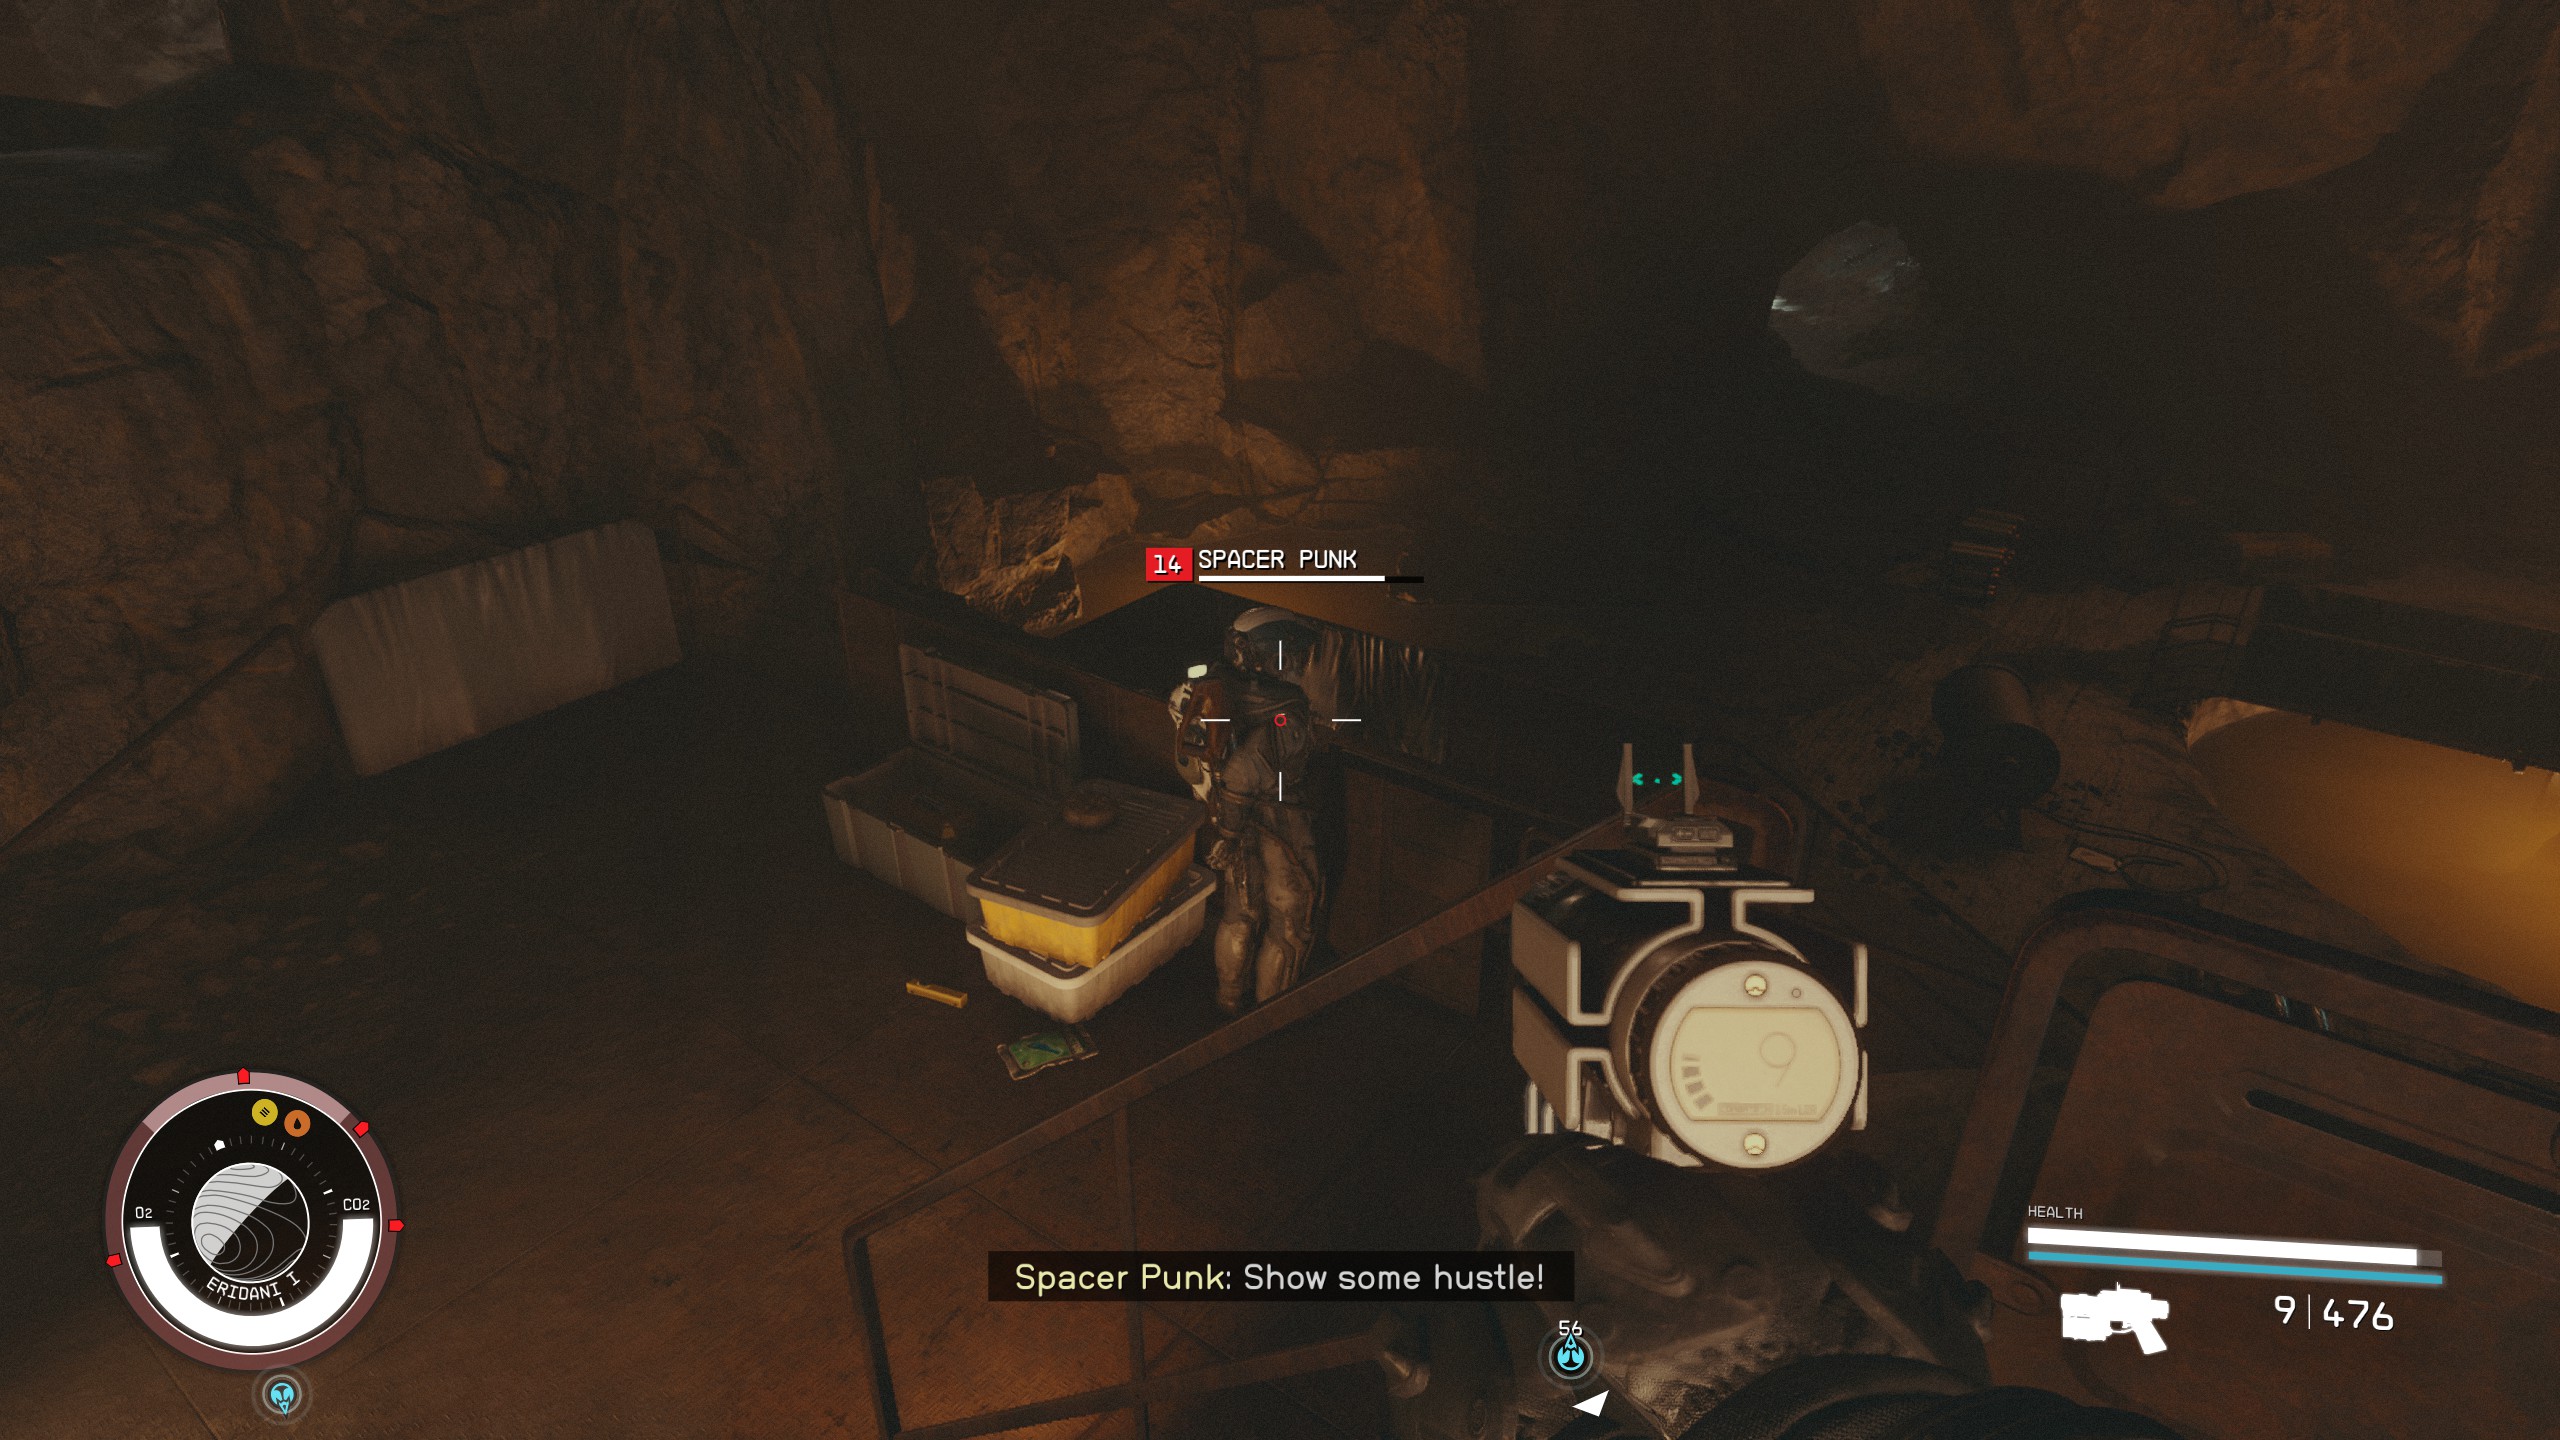
*Continue along the path and clear out some more Space Punks | |||
. | |||
[[File:Starfield_FurtherIntotheUnknown28_EN.jpg|400px]] | |||
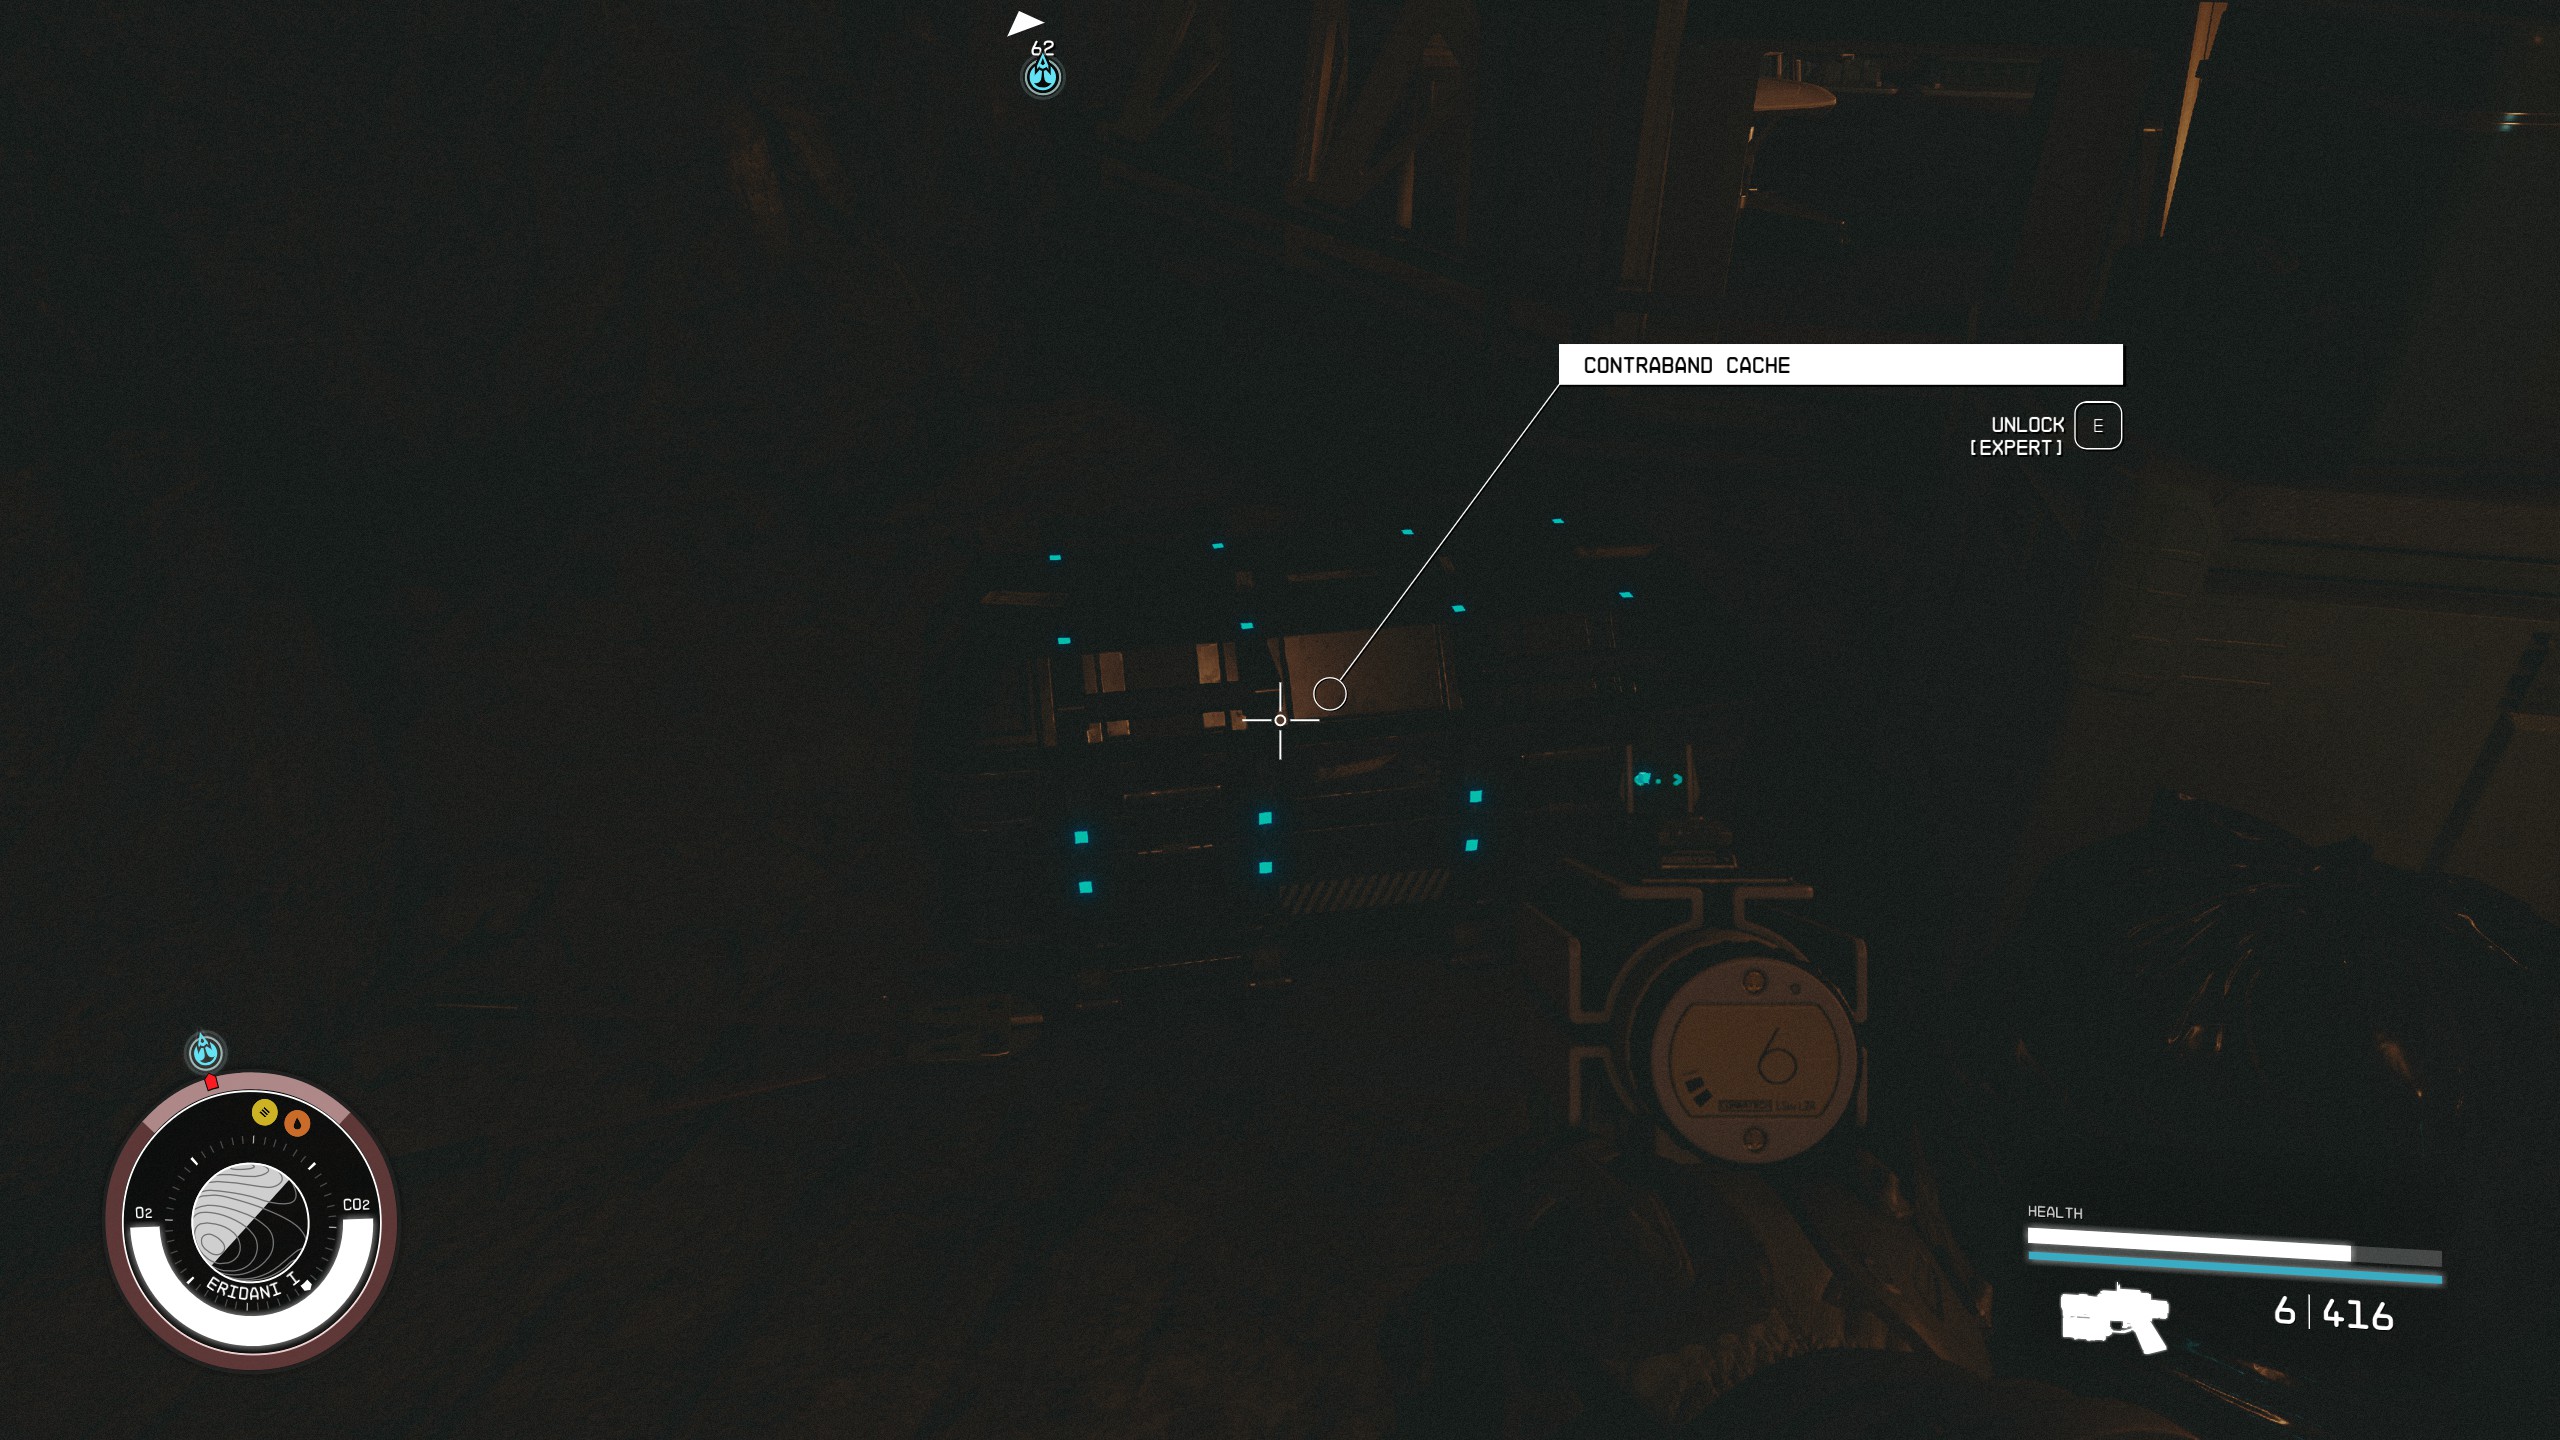
*There is a [[Contraband Crate]] in the middle of the open area with a group of [[Spacers]]. You will need to have expert in the [[Security]] skill to open this crate. | |||
[[File:Starfield_FurtherIntotheUnknown29_EN.jpg|400px]] | |||
*Travel all the way back to the end of the cave containing the [[Artifact]] and fight another [[Starborn]]. | |||
*Clear away the ore and grab the second [[Artifact]]. Now time to head back to [[Constellation]]! | |||
===Add Artifacts to the Collection=== | |||
[[File:Starfield_FurtherIntotheUnknown6_EN.jpg|400px]] | |||
*Travel back to [[The Lodge]] in [[New Atlantis]]. | |||
*Add the [[Artifact]]s to [[the Collection]] in the center of [[The Lodge]]. | |||
===Talk to Matteo=== | |||
*Once you add the [[Artifact]]s you will automatically enter onto a conversation with [[Matteo]]. The group will talk about the risks involved in continuing to collect the [[Artifacts]]. | |||
[[File:Starfield_FurtherIntotheUnknown5_EN.jpg|400px]] | |||
===Talk to Vladimir=== | |||
*Once you finish speaking with [[Matteo]] you will then speak with Valdimir. He will provide you with insight into your next [[mission]]. | |||
[[File:Starfield_FurtherIntotheUnknown_EN.jpg|400px]] | |||
==Additional Information== | ==Additional Information== | ||
Latest revision as of 00:08, 13 September 2023
| Further Into the Unknown | |
|---|---|
| |
| Information | |
| Type | Main Mission |
| Number | 8 |
| Location | The Lodge, New Atlantis |
| Starting NPC | Vladimir Sall |
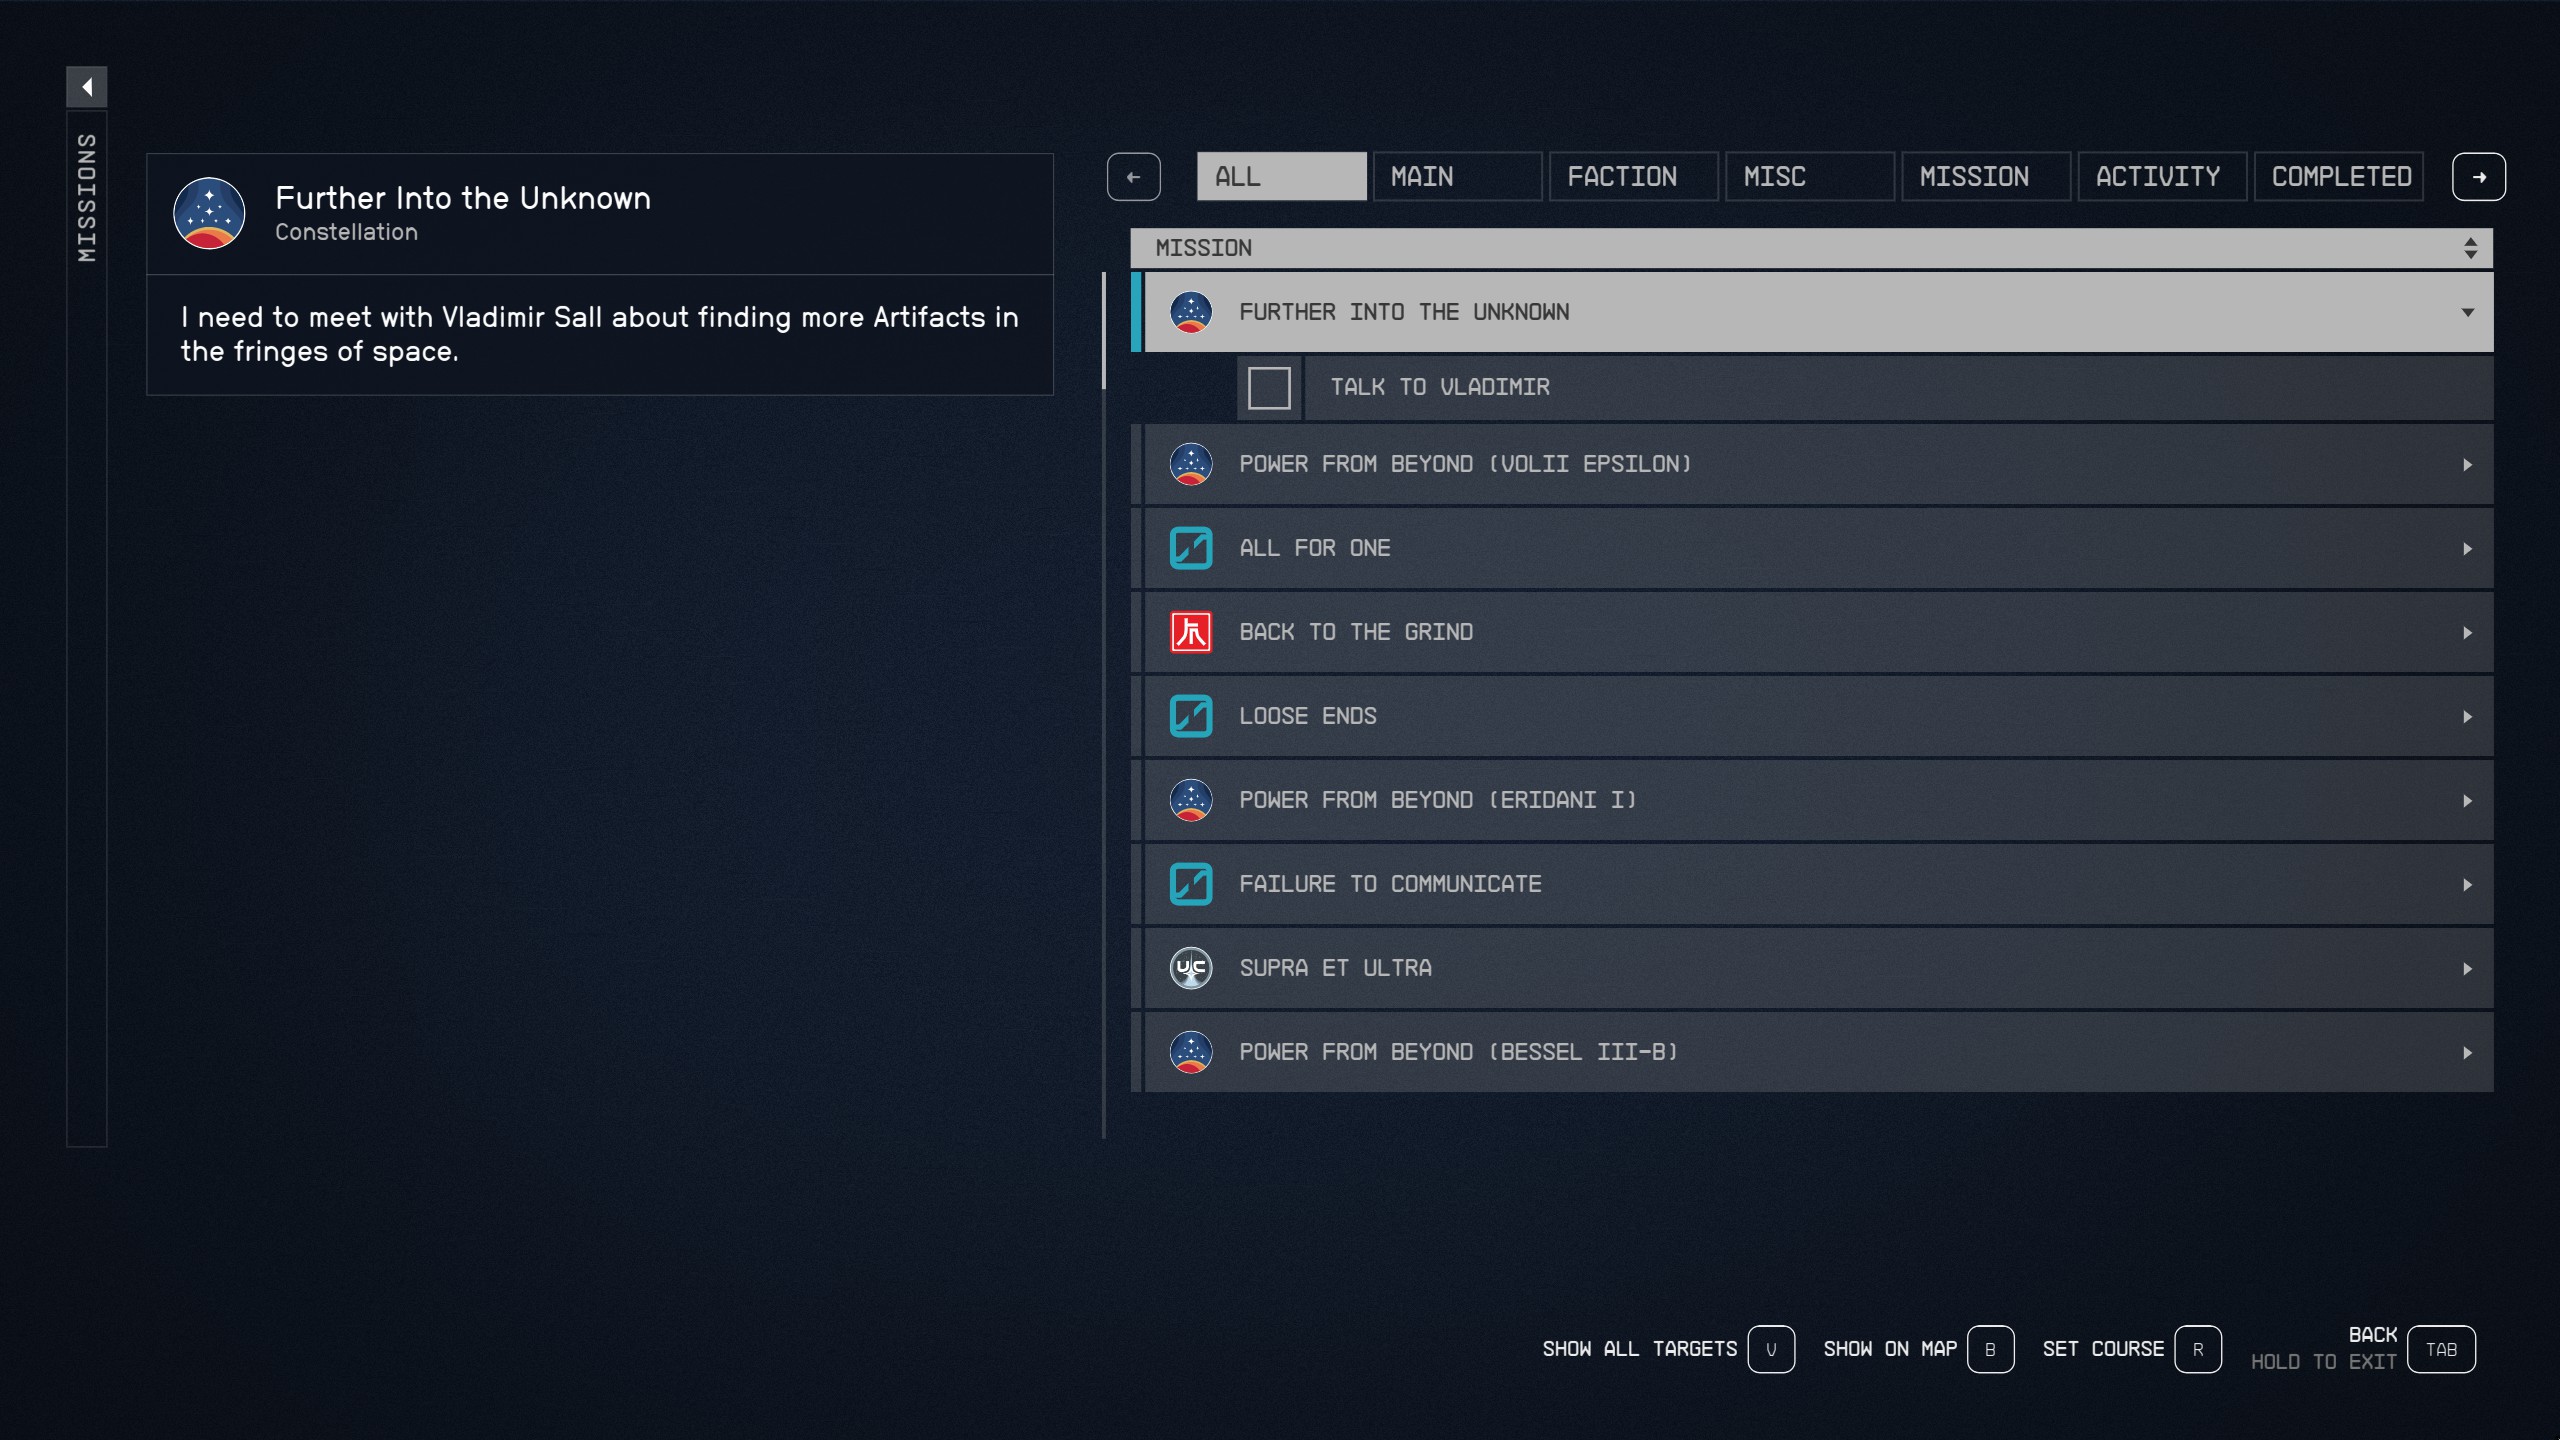
| Description | "I need to meet with Vladimir Sall about finding more Artifacts in the fringes of space." |
| Reward | 750 XP, 10200 Credits |
| Achievement | Further Into the Unknown (Achievement) |
| Previous Mission | Starborn |
| Next Mission | Short Sighted |
| Patch | 1.0 |
Further Into the Unknown is the mission 8 of Main Mission.
Walkthrough
The mission "Further Into the Unknown" begins at The Lodge in New Atlantis, where you need to meet with Vladimir Sall. He has information about new artifact locations that could be crucial in understanding the unfolding mysteries of the game. The conversation with Vladimir will provide you with two random locations for artifact retrieval. Remember, these locations are randomly generated for each playthrough, so the terrain and challenges you encounter may vary.
Once you have the locations, you need to set your course for them. The order in which you approach these locations is entirely up to you. Upon arrival, your main objective is to find and secure the Artifacts. However, this mission introduces a new challenge - Starborn enemies who can turn invisible for short periods while launching their attacks. This adds a stealthy layer of complexity to your mission, but don't worry. You can locate these elusive enemies using your scanner, a tool you should keep ready as you navigate the locations.
After securing both Artifacts, your next task is to add them to your collection at the Lodge. To do this, you need to navigate back to the Lodge and interact with the pedestal designed for artifact display. As you place the Artifacts, Matteo will automatically engage you in conversation. Your responses to Matteo won't affect the mission's outcome, but they might influence your relationship dynamics with him and other companions.
The final step of the mission is to return to Vladimir for a debriefing. This conversation serves as a conclusion to your artifact-hunting escapades for now and marks the completion of the mission, "Further Into the Unknown". Congratulations, you've successfully navigated another intricate layer of Starfield's expansive universe. Whether these Artifacts shed light on your overarching quest or simply add more questions, only time—and more gameplay—will tell.
Tips and Tricks
- You do not need to go to the planets in a specific order.
- Your planets may not be the same as this mission as they are andom.
- If you have the mission "Destroy the Crimson Fleet at Procyon" you will be attacked by starships once you arrive in the Procyon V-B orbit. If you are having trouble with this, leave the orbit or reload the save and abandon this mission. When to return to the planet the space pirates will be gone.
Objectives
Talk to Vladimir
- Travel to The Lodge in New Atlantis and speak with Vladimir Sall. He will provided you with two new Artifact locations.*
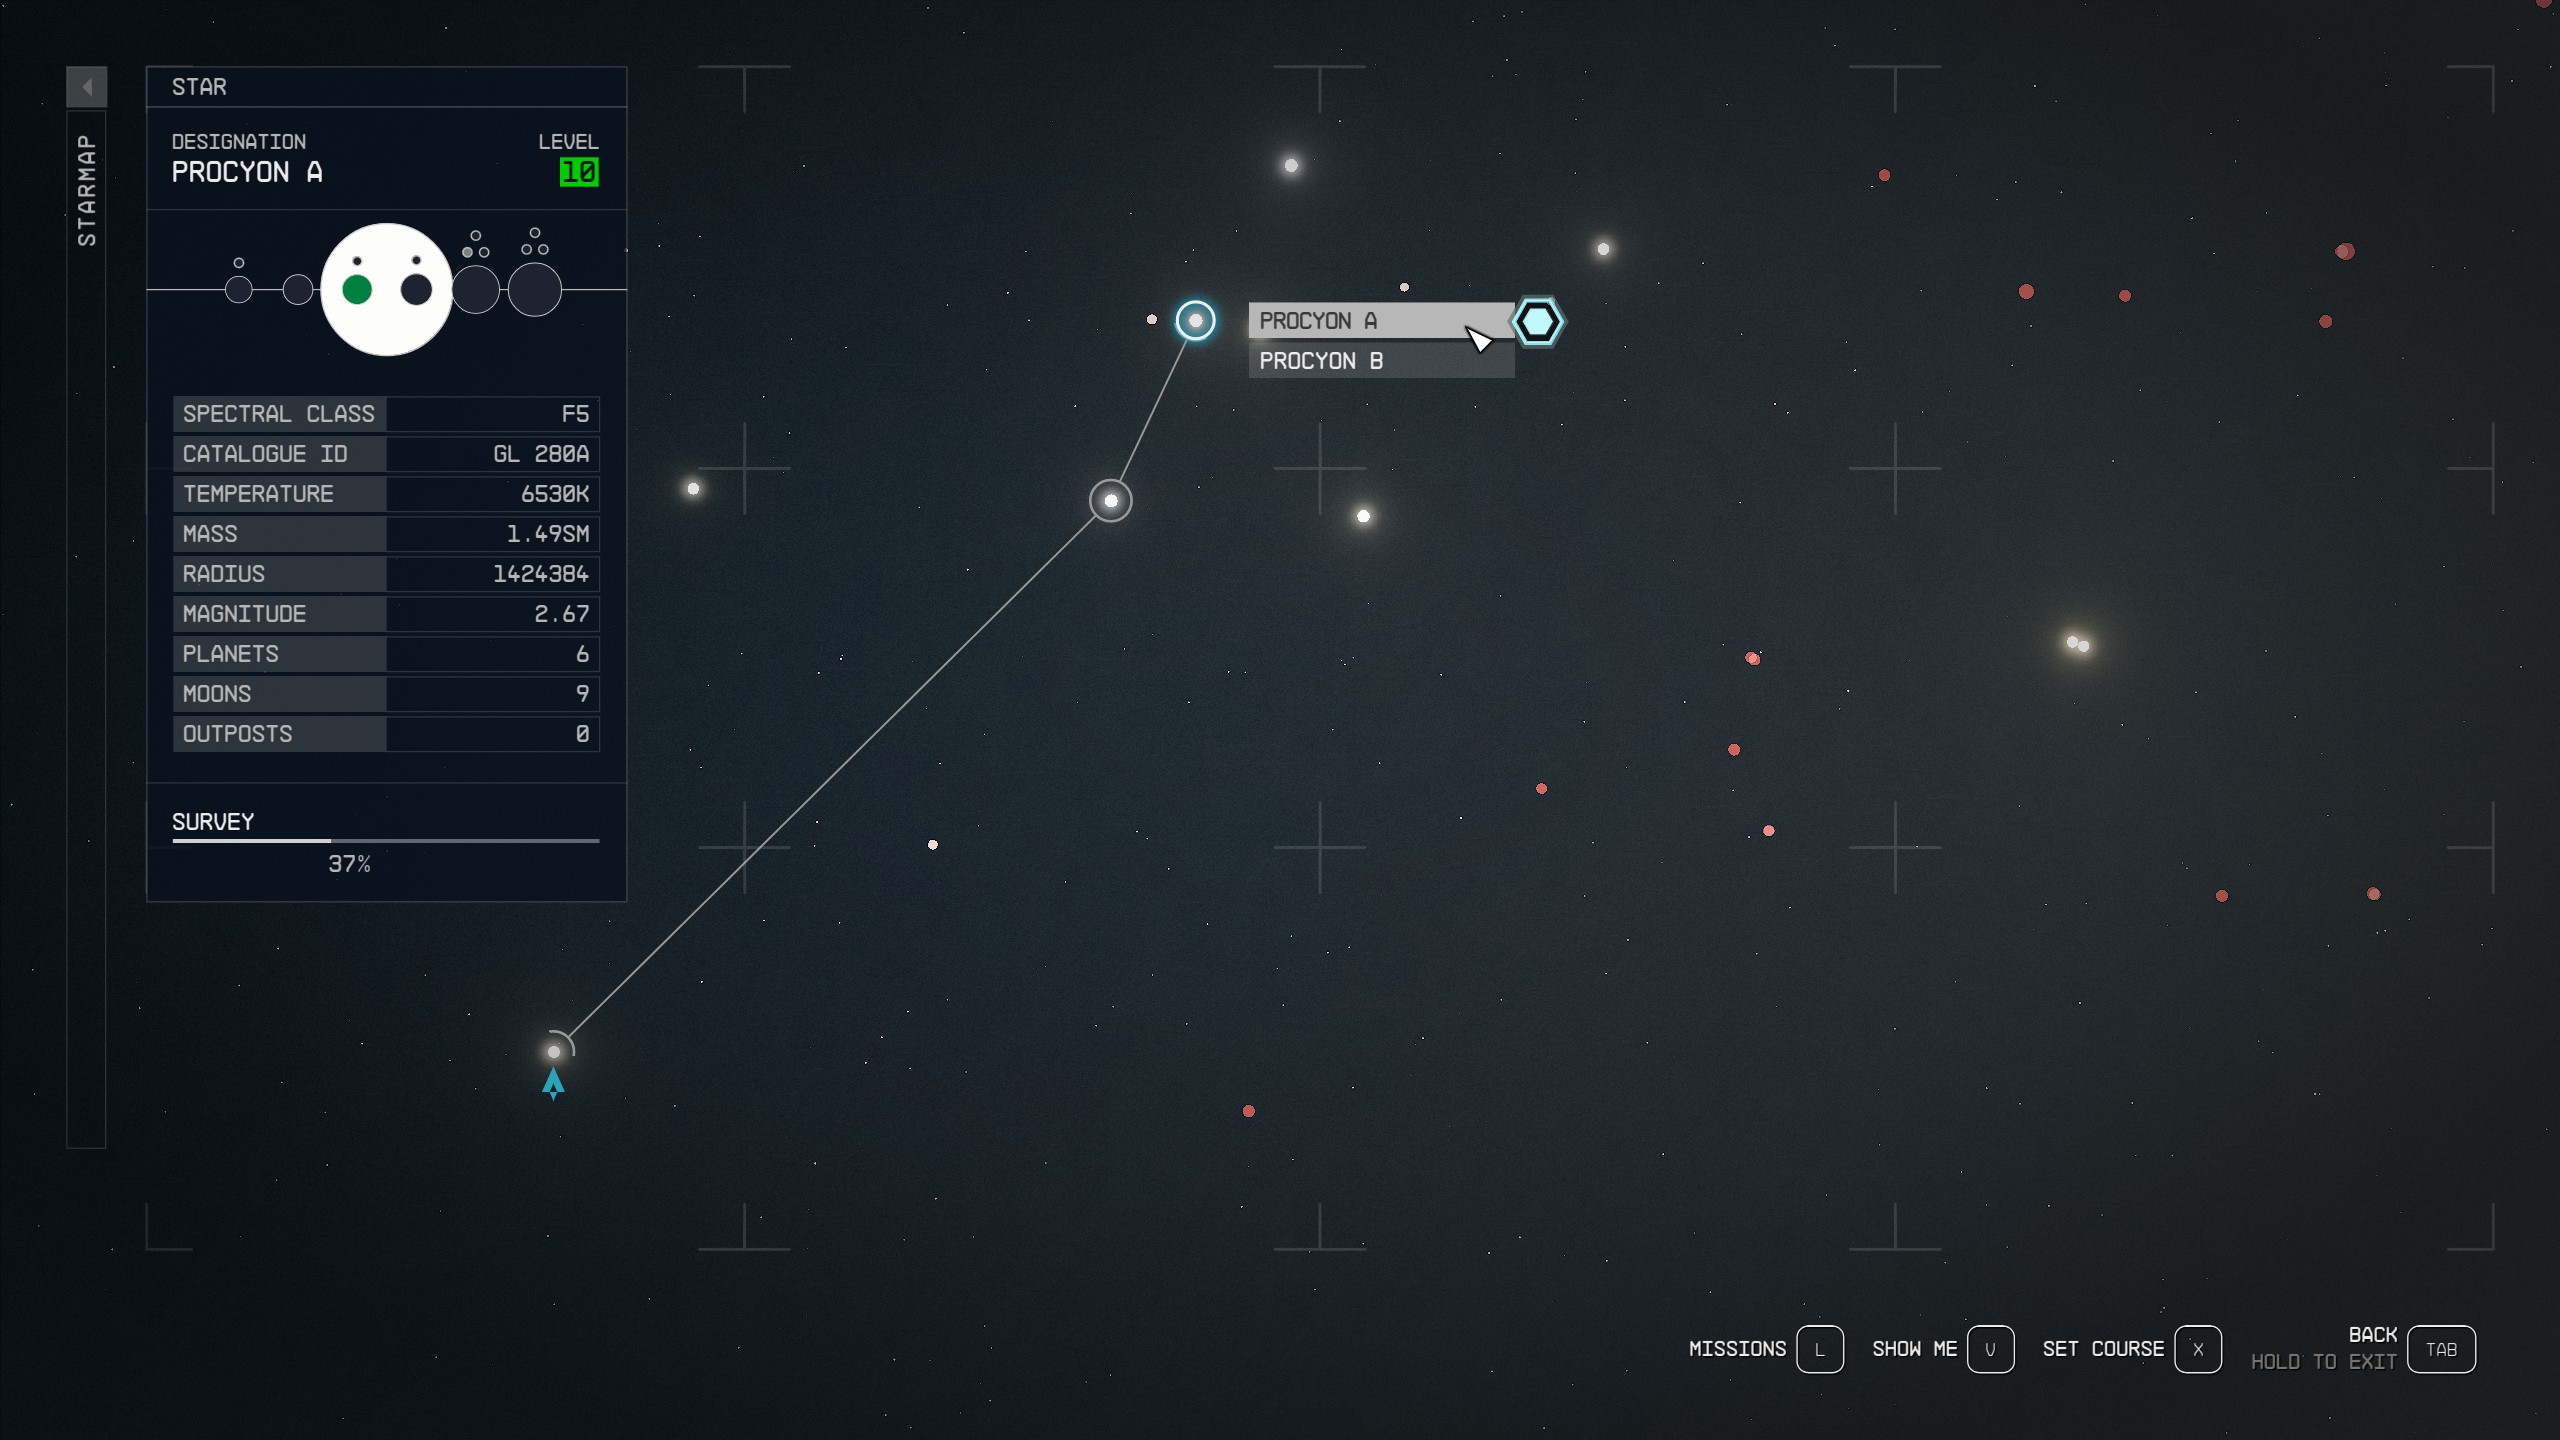
Go to Procyon V-B
- Open your map and find the planet Procyon V-B in the Procyon A System. Set your course and Grav Jump to the planet. You may need to fly to a closer system before you can get to Procyon A.
- Once in orbit you will see the marker for the Abandoned Pharmaceuticals Lab. Land on the surface in this area and get ready to investigate!
Find the Artifact on Procyon V-B
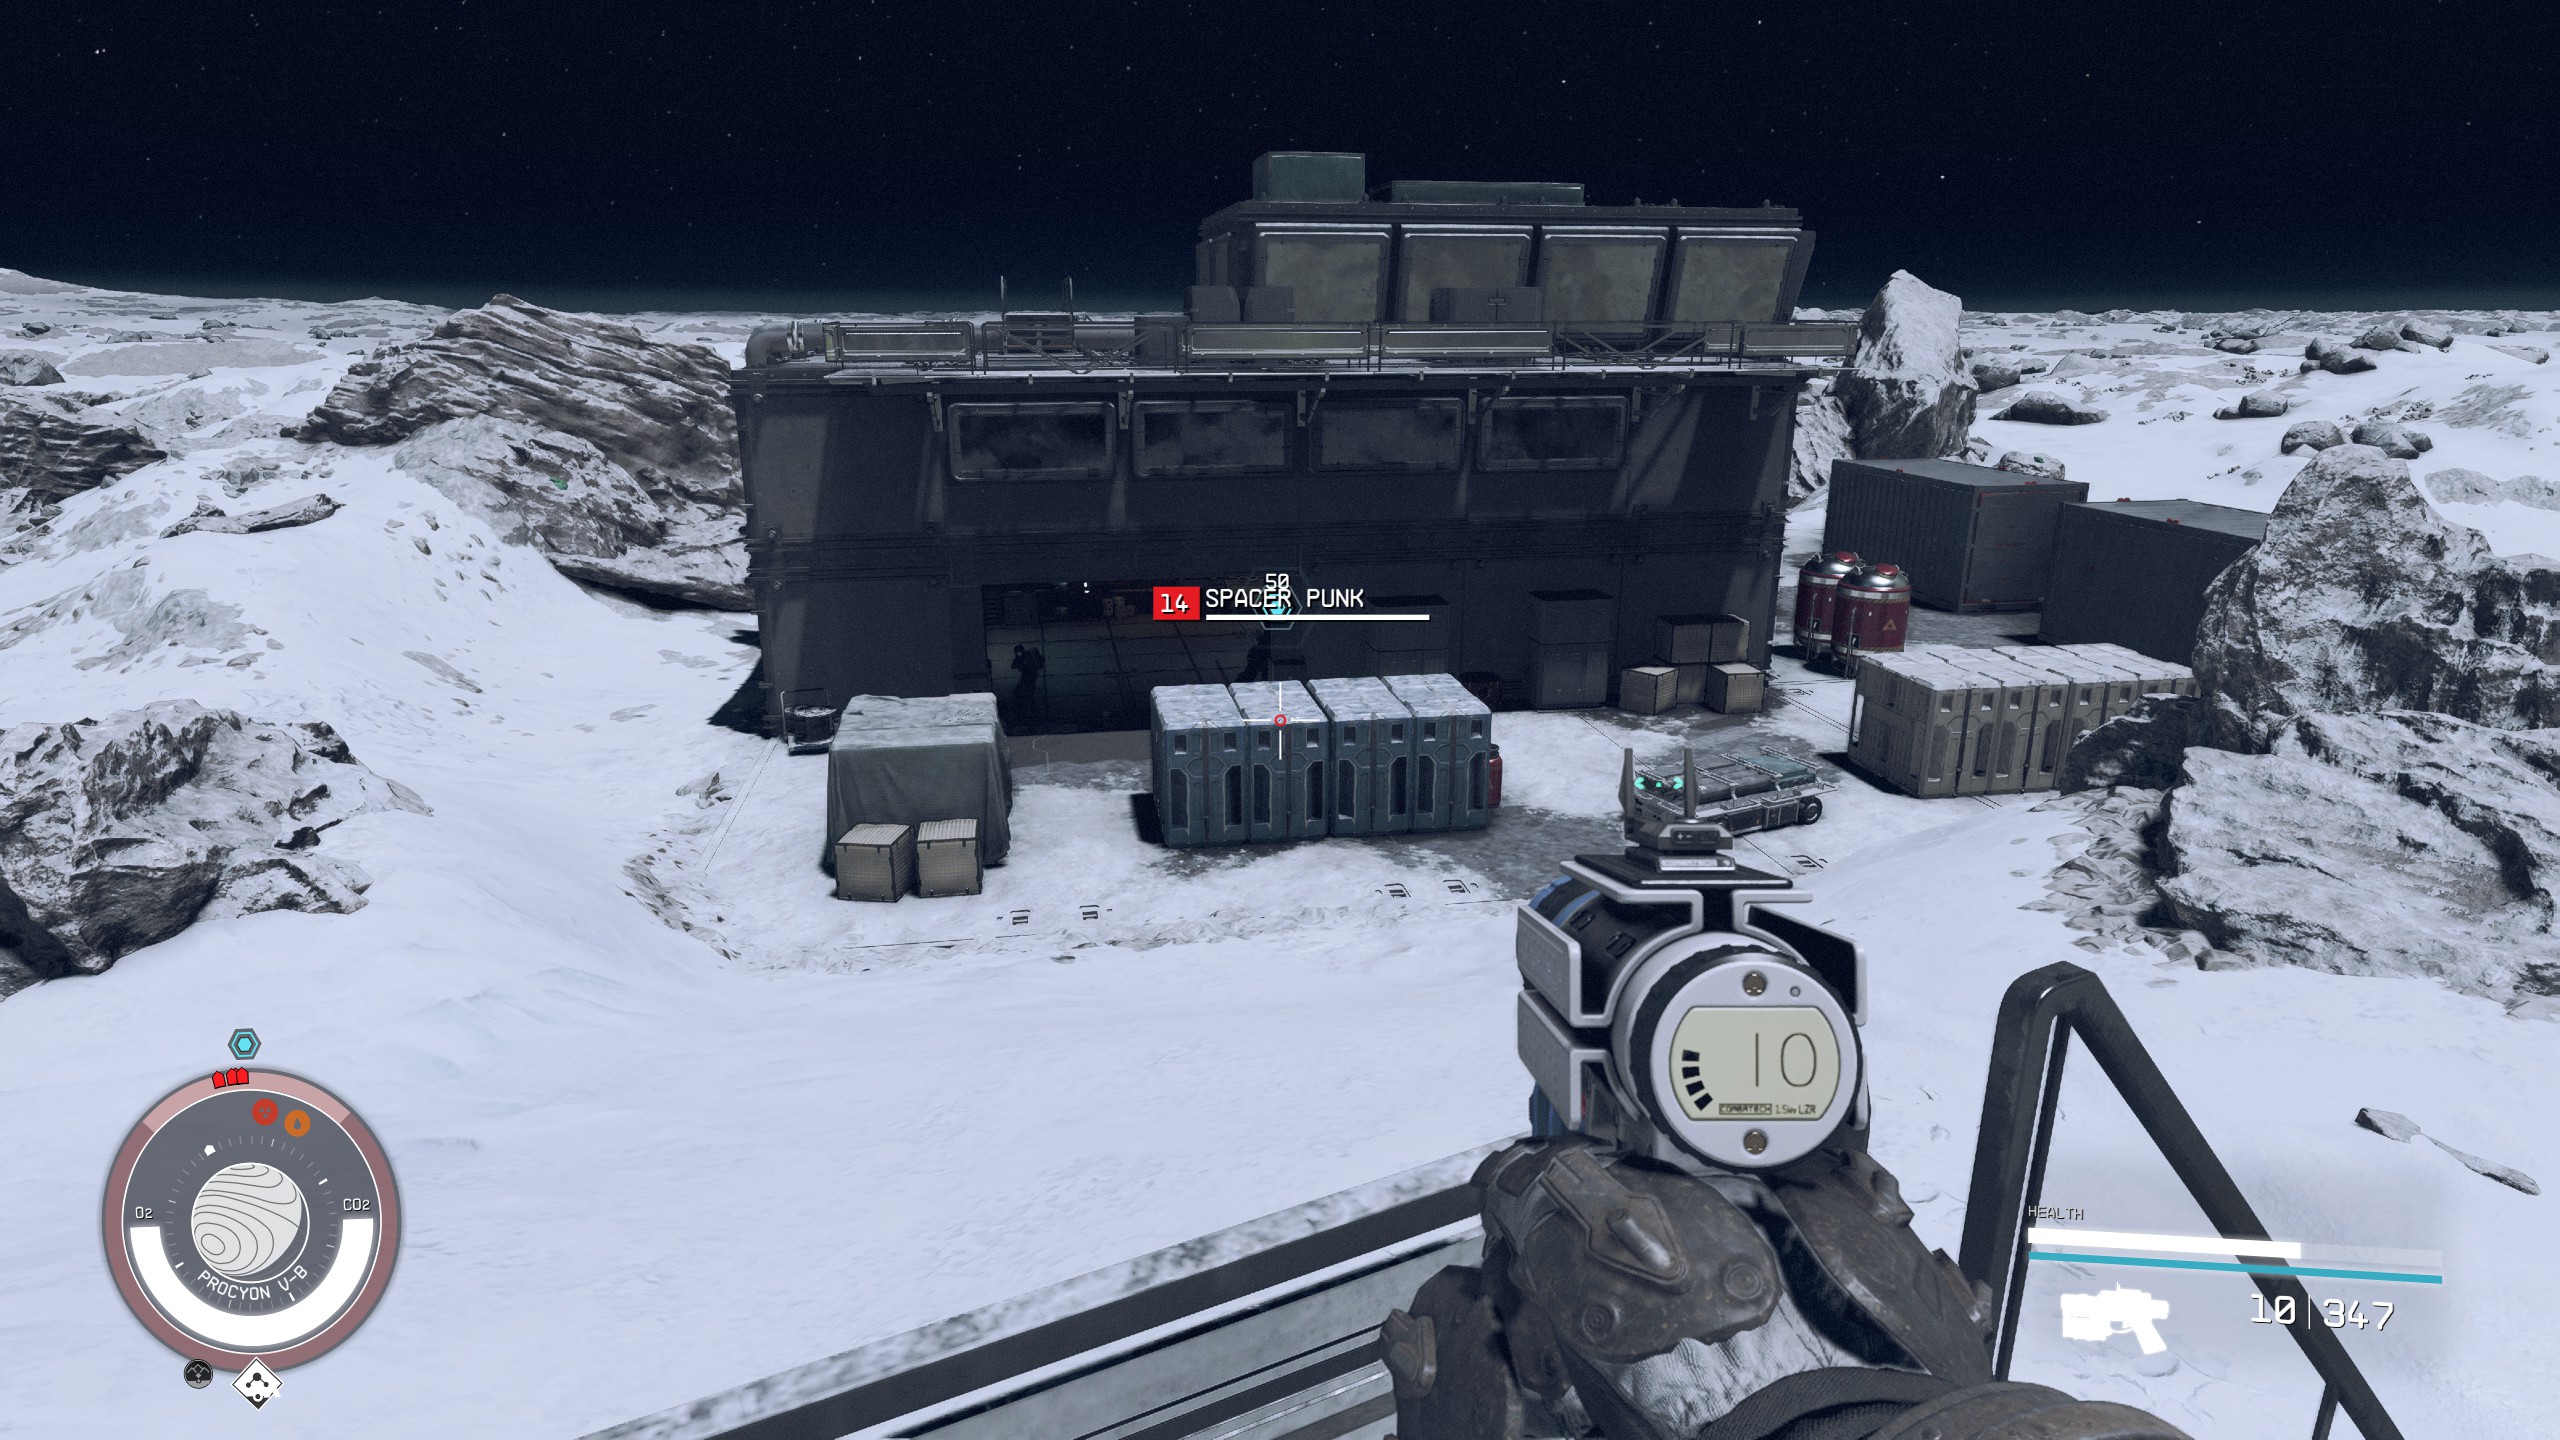
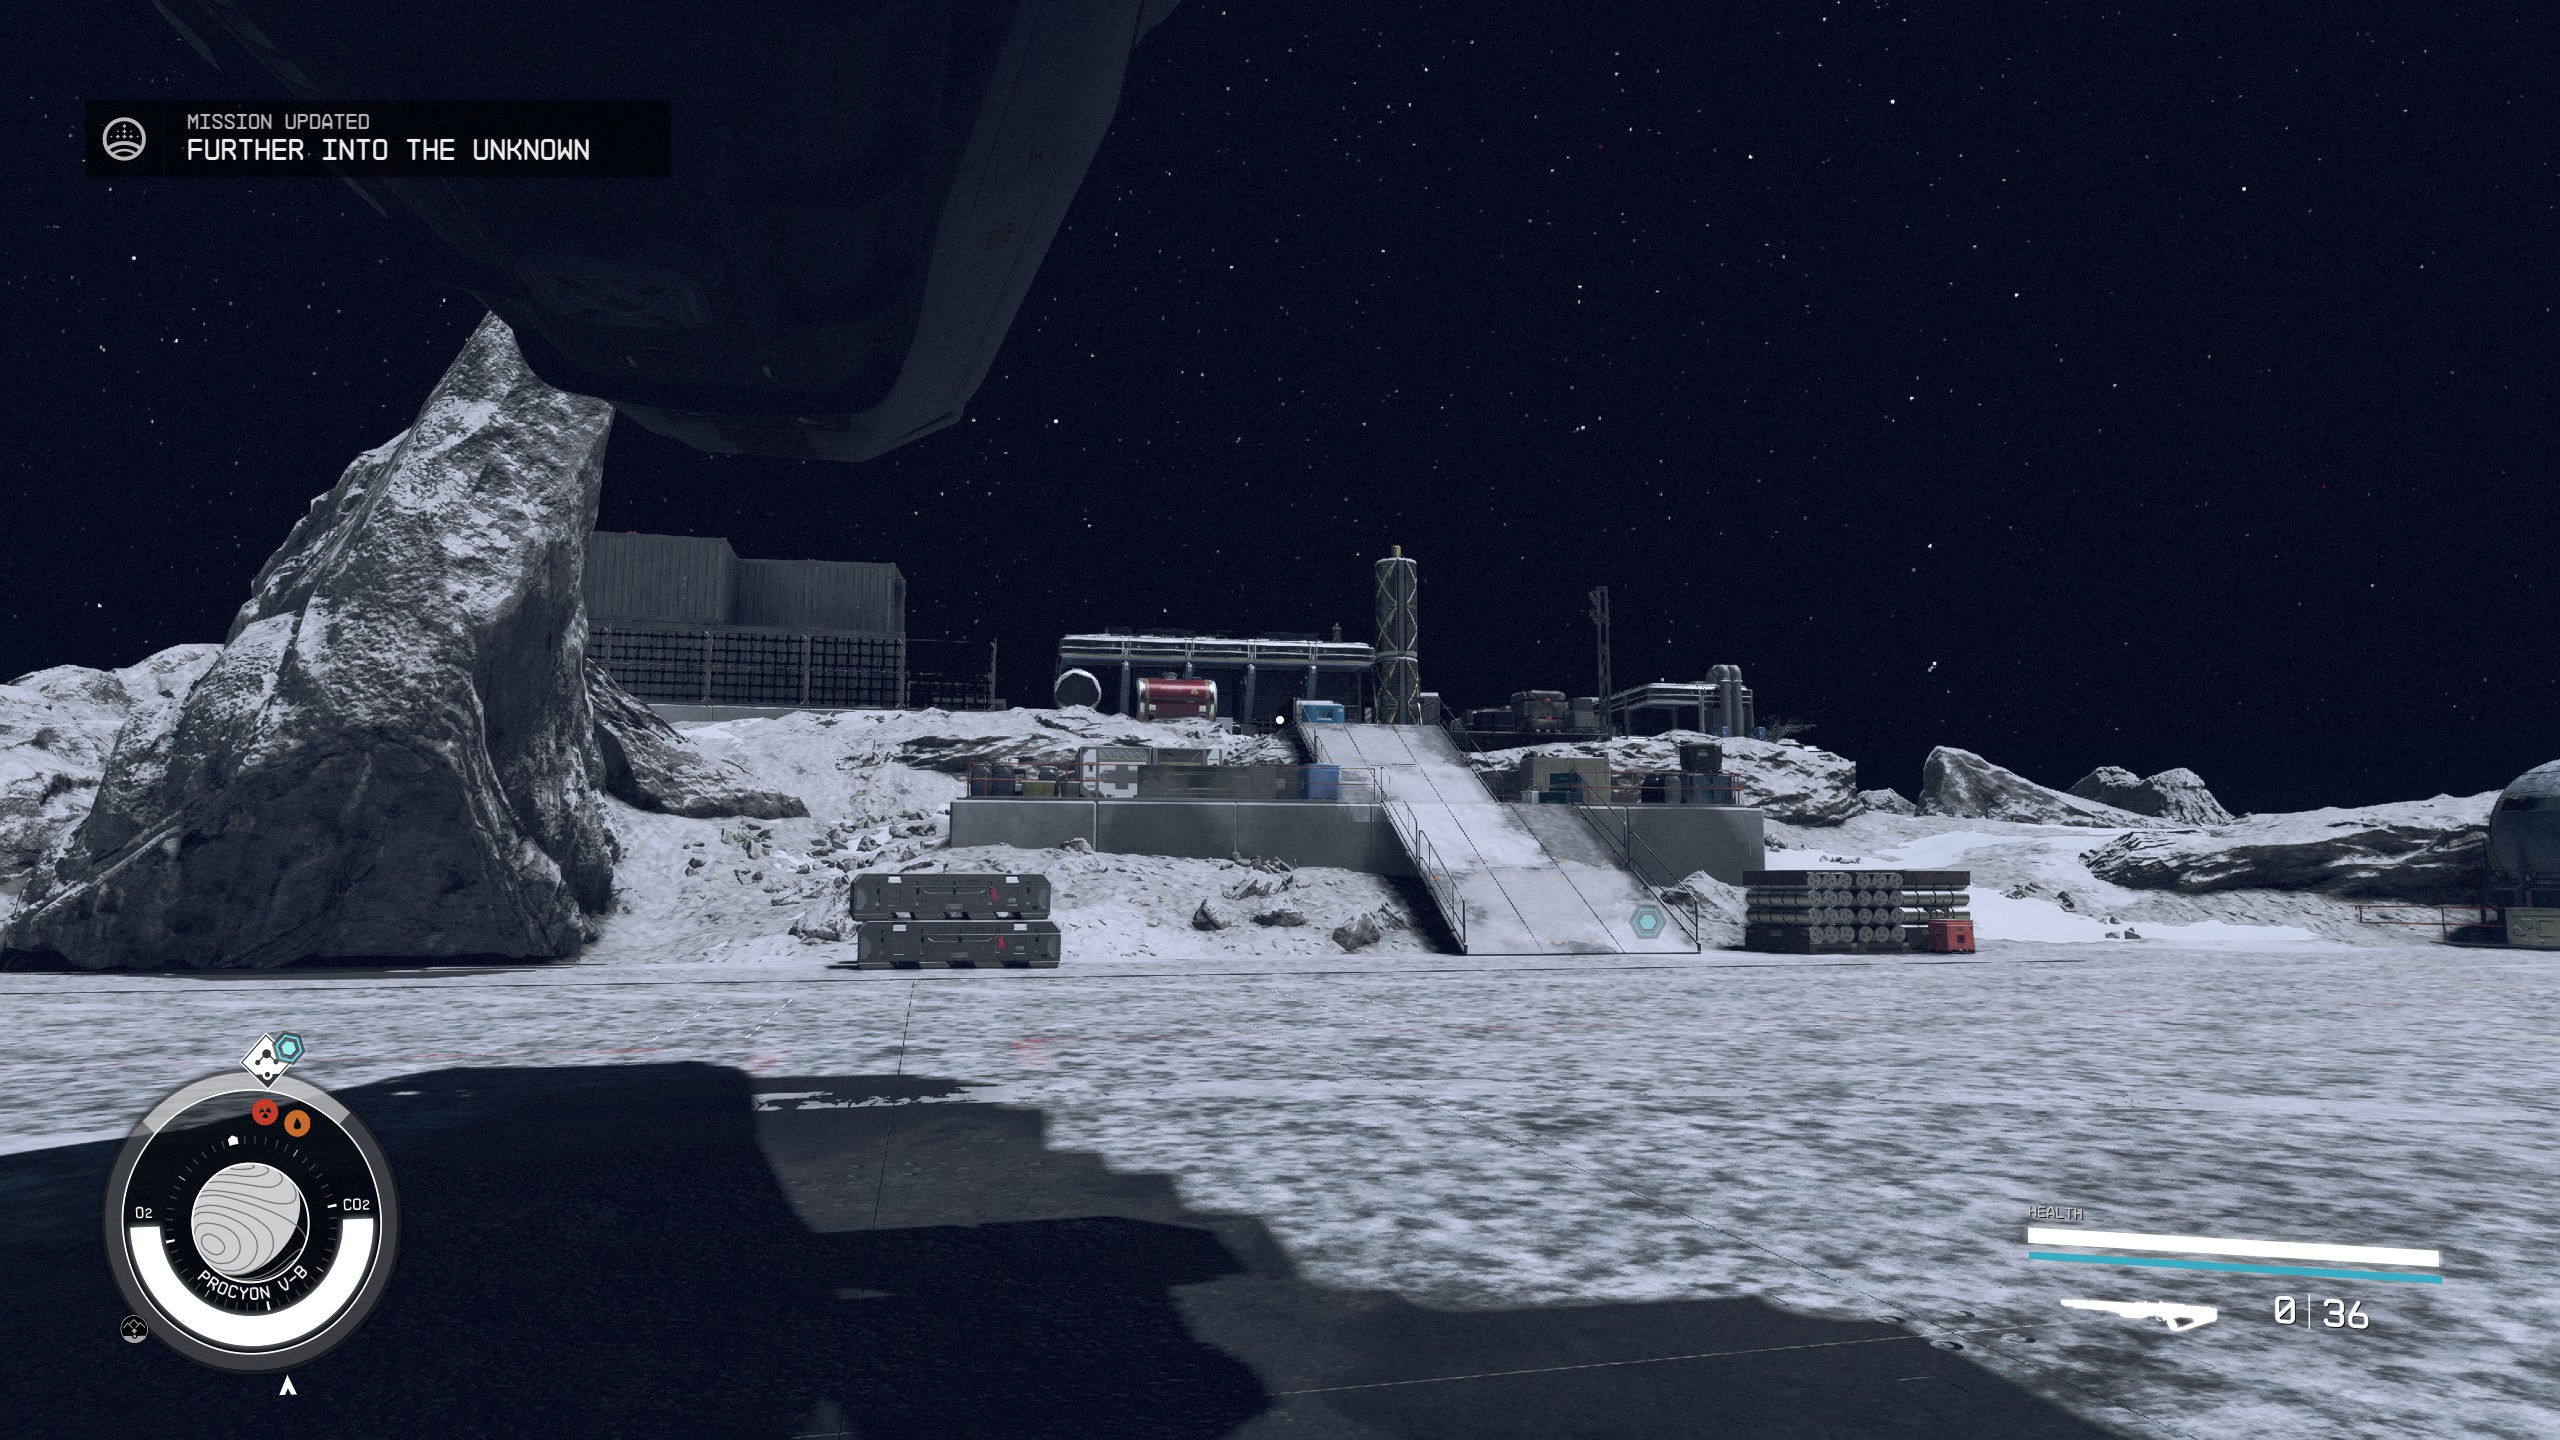
- Head towards the outpost that is fairly close to where your ship lands and take out the Spacers standing guard outside.
- Go straight and up the stairs once you cleared the area. There are three buildings for you to explore, but the one you want is to the right and behind the first two buildings. Be ready to fight more Spacer Punks!
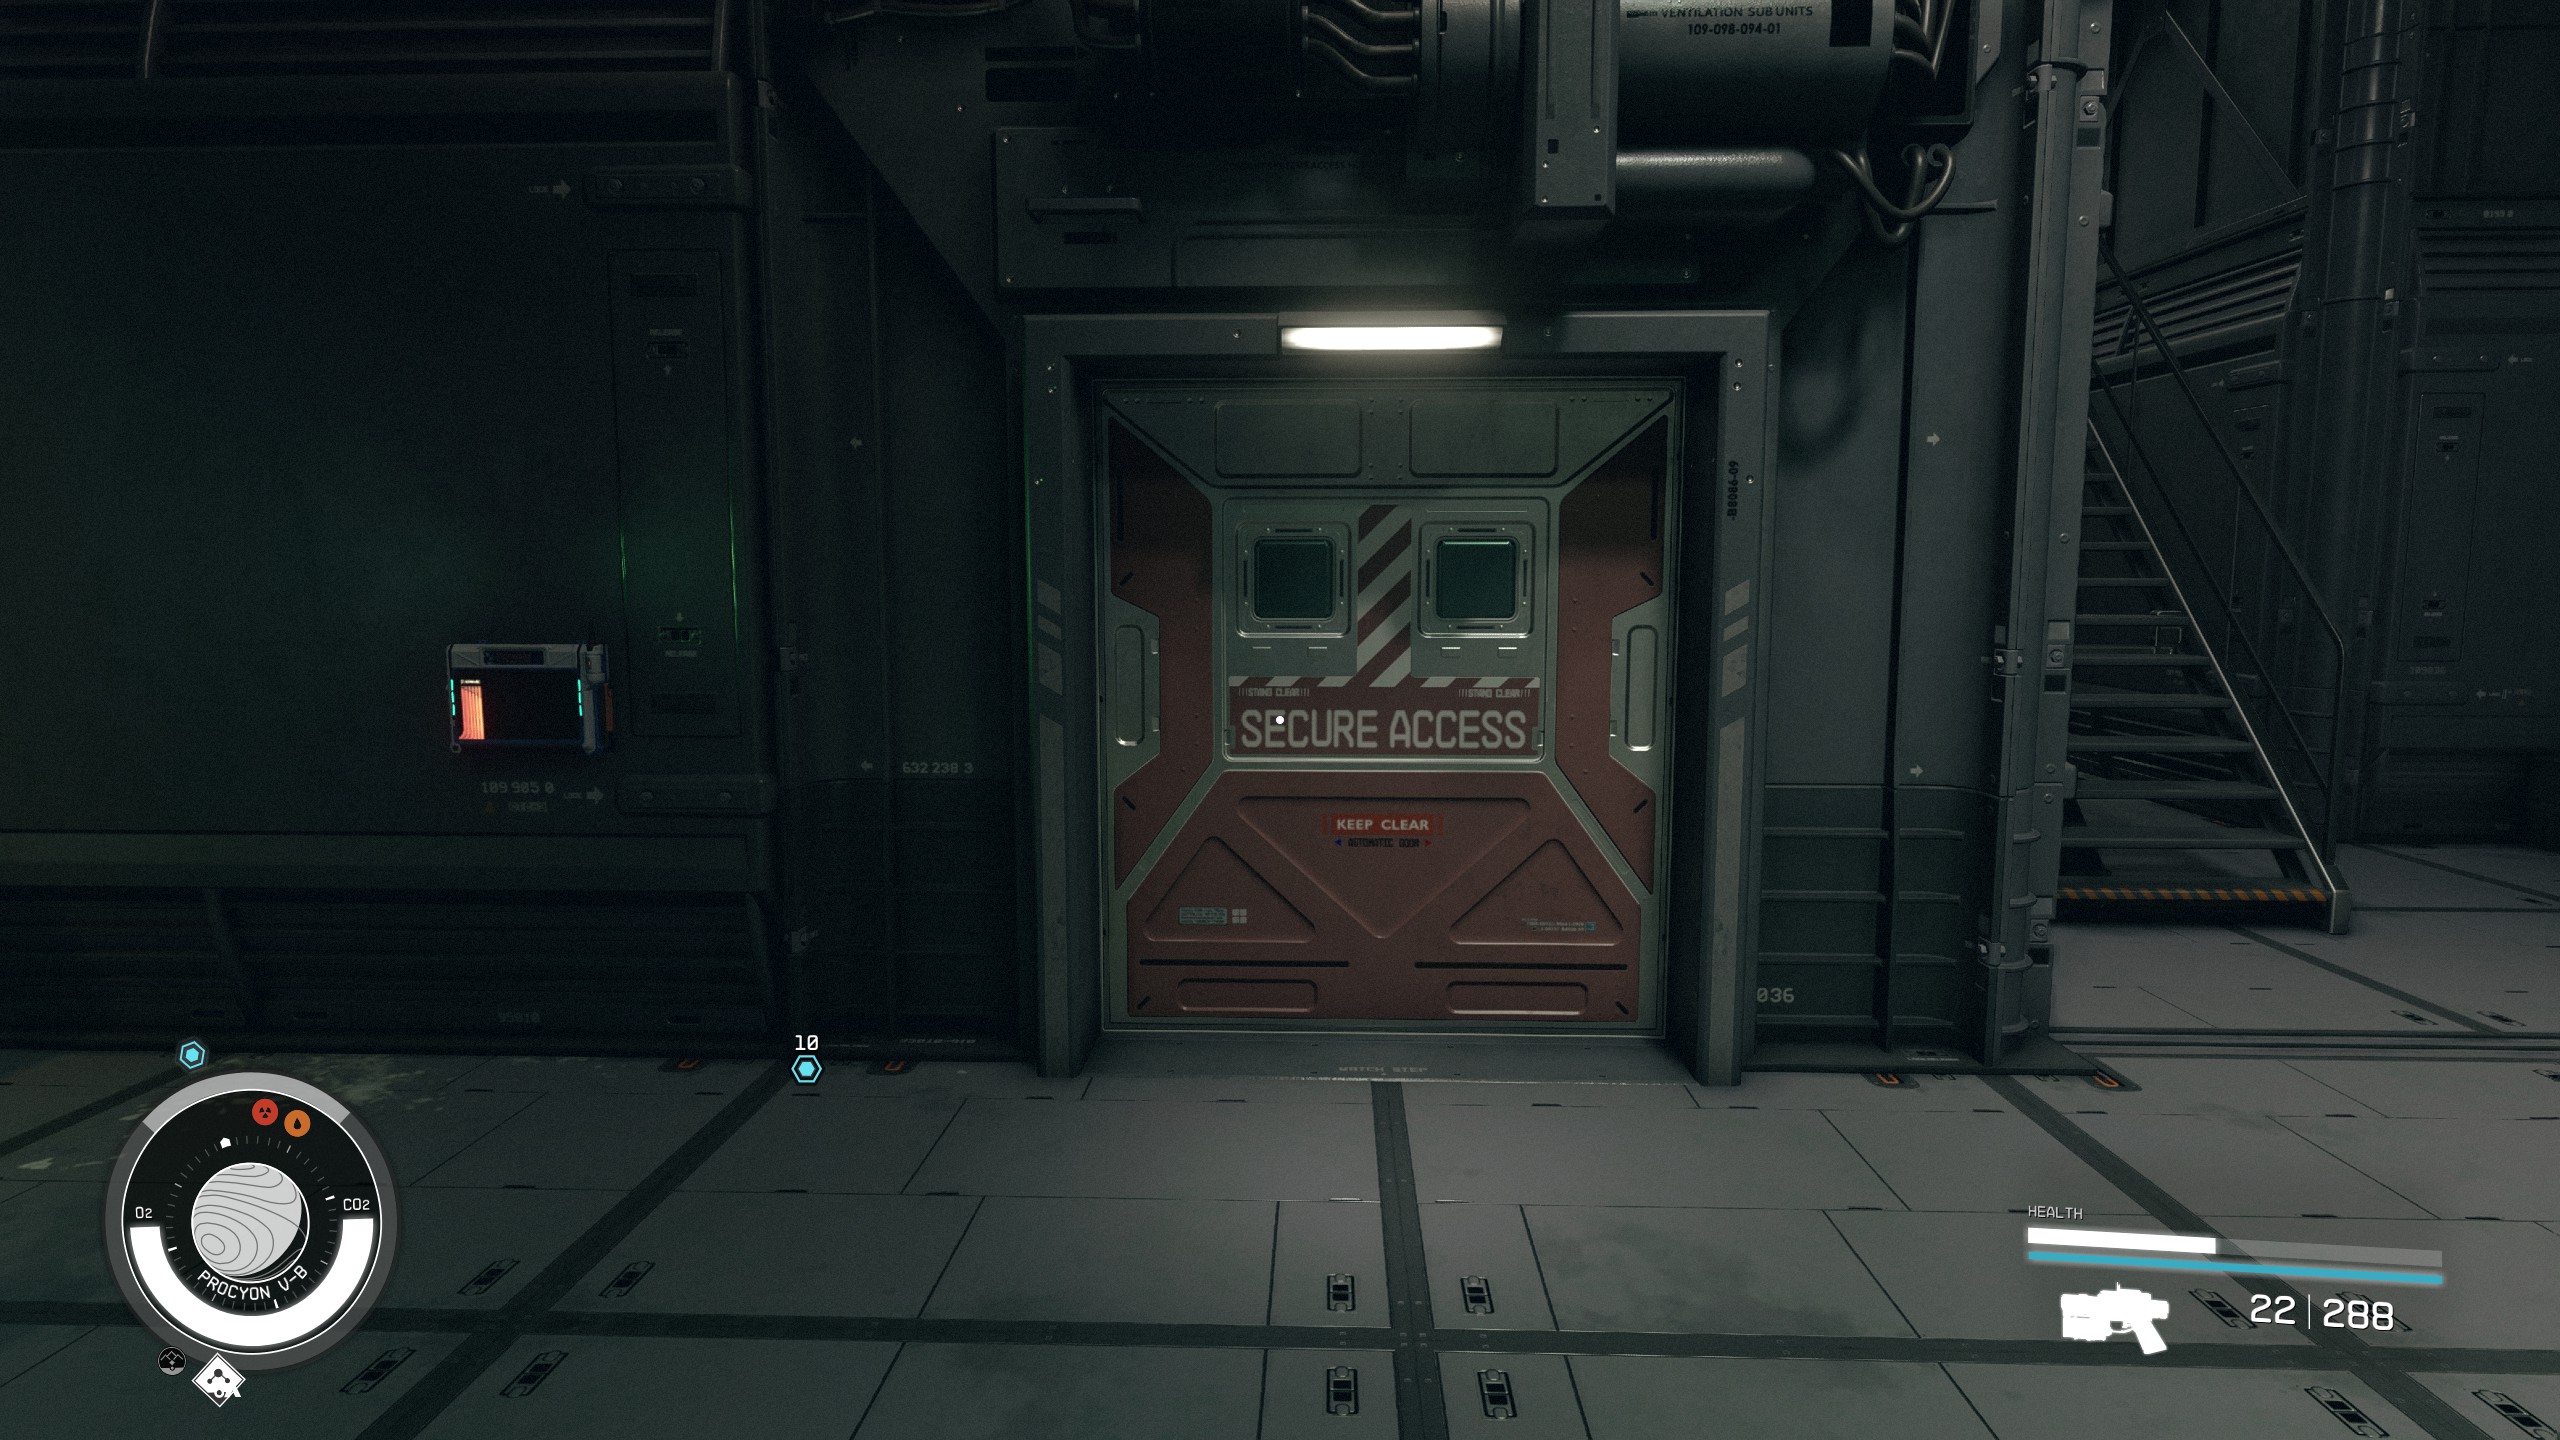
- Enter the building and loot everything, then go to the computer next to the red door.
- Once logged into the computer you can use it to open the door to travel further in.
- Descend the staircase to the Muybridge Caverns. You will be greeted by some more Spacers, take them out and continue forward.
- Next you will come to a fork in the path, you can take either direction to reach your goal. Continue forwards to the area where the Artifact is located
.
- Now that you have encountered the Starborn ship, you will be attacked by a Starborn when approaching Artifacts. This is a bit of a difficult encounter the first time, but take out the Starborn so that you can achieve your objective.
Go to Eridani I
- Open your map and find the planet Eridani I. Set your course and Grav Jump to the planet. The Eridani System is close to the Procyon A System, so it should be one jump.
- Once in the planet's orbit you can land at the Abandoned Mineral Refinery.
Find the Artifact on Eridani I
- Leave your ship and head towards the outpost and prepare to fight some more Spacers.
- Once the area is clear of Spacers, you can head up the stairs to the right to the door the leads to the Helium-3 Extraction Site.
- It gets pretty dark, so you may want to turn on your flashlight.
- Continue along the path and clear out some more Space Punks
.
- There is a Contraband Crate in the middle of the open area with a group of Spacers. You will need to have expert in the Security skill to open this crate.
- Travel all the way back to the end of the cave containing the Artifact and fight another Starborn.
- Clear away the ore and grab the second Artifact. Now time to head back to Constellation!
Add Artifacts to the Collection
- Travel back to The Lodge in New Atlantis.
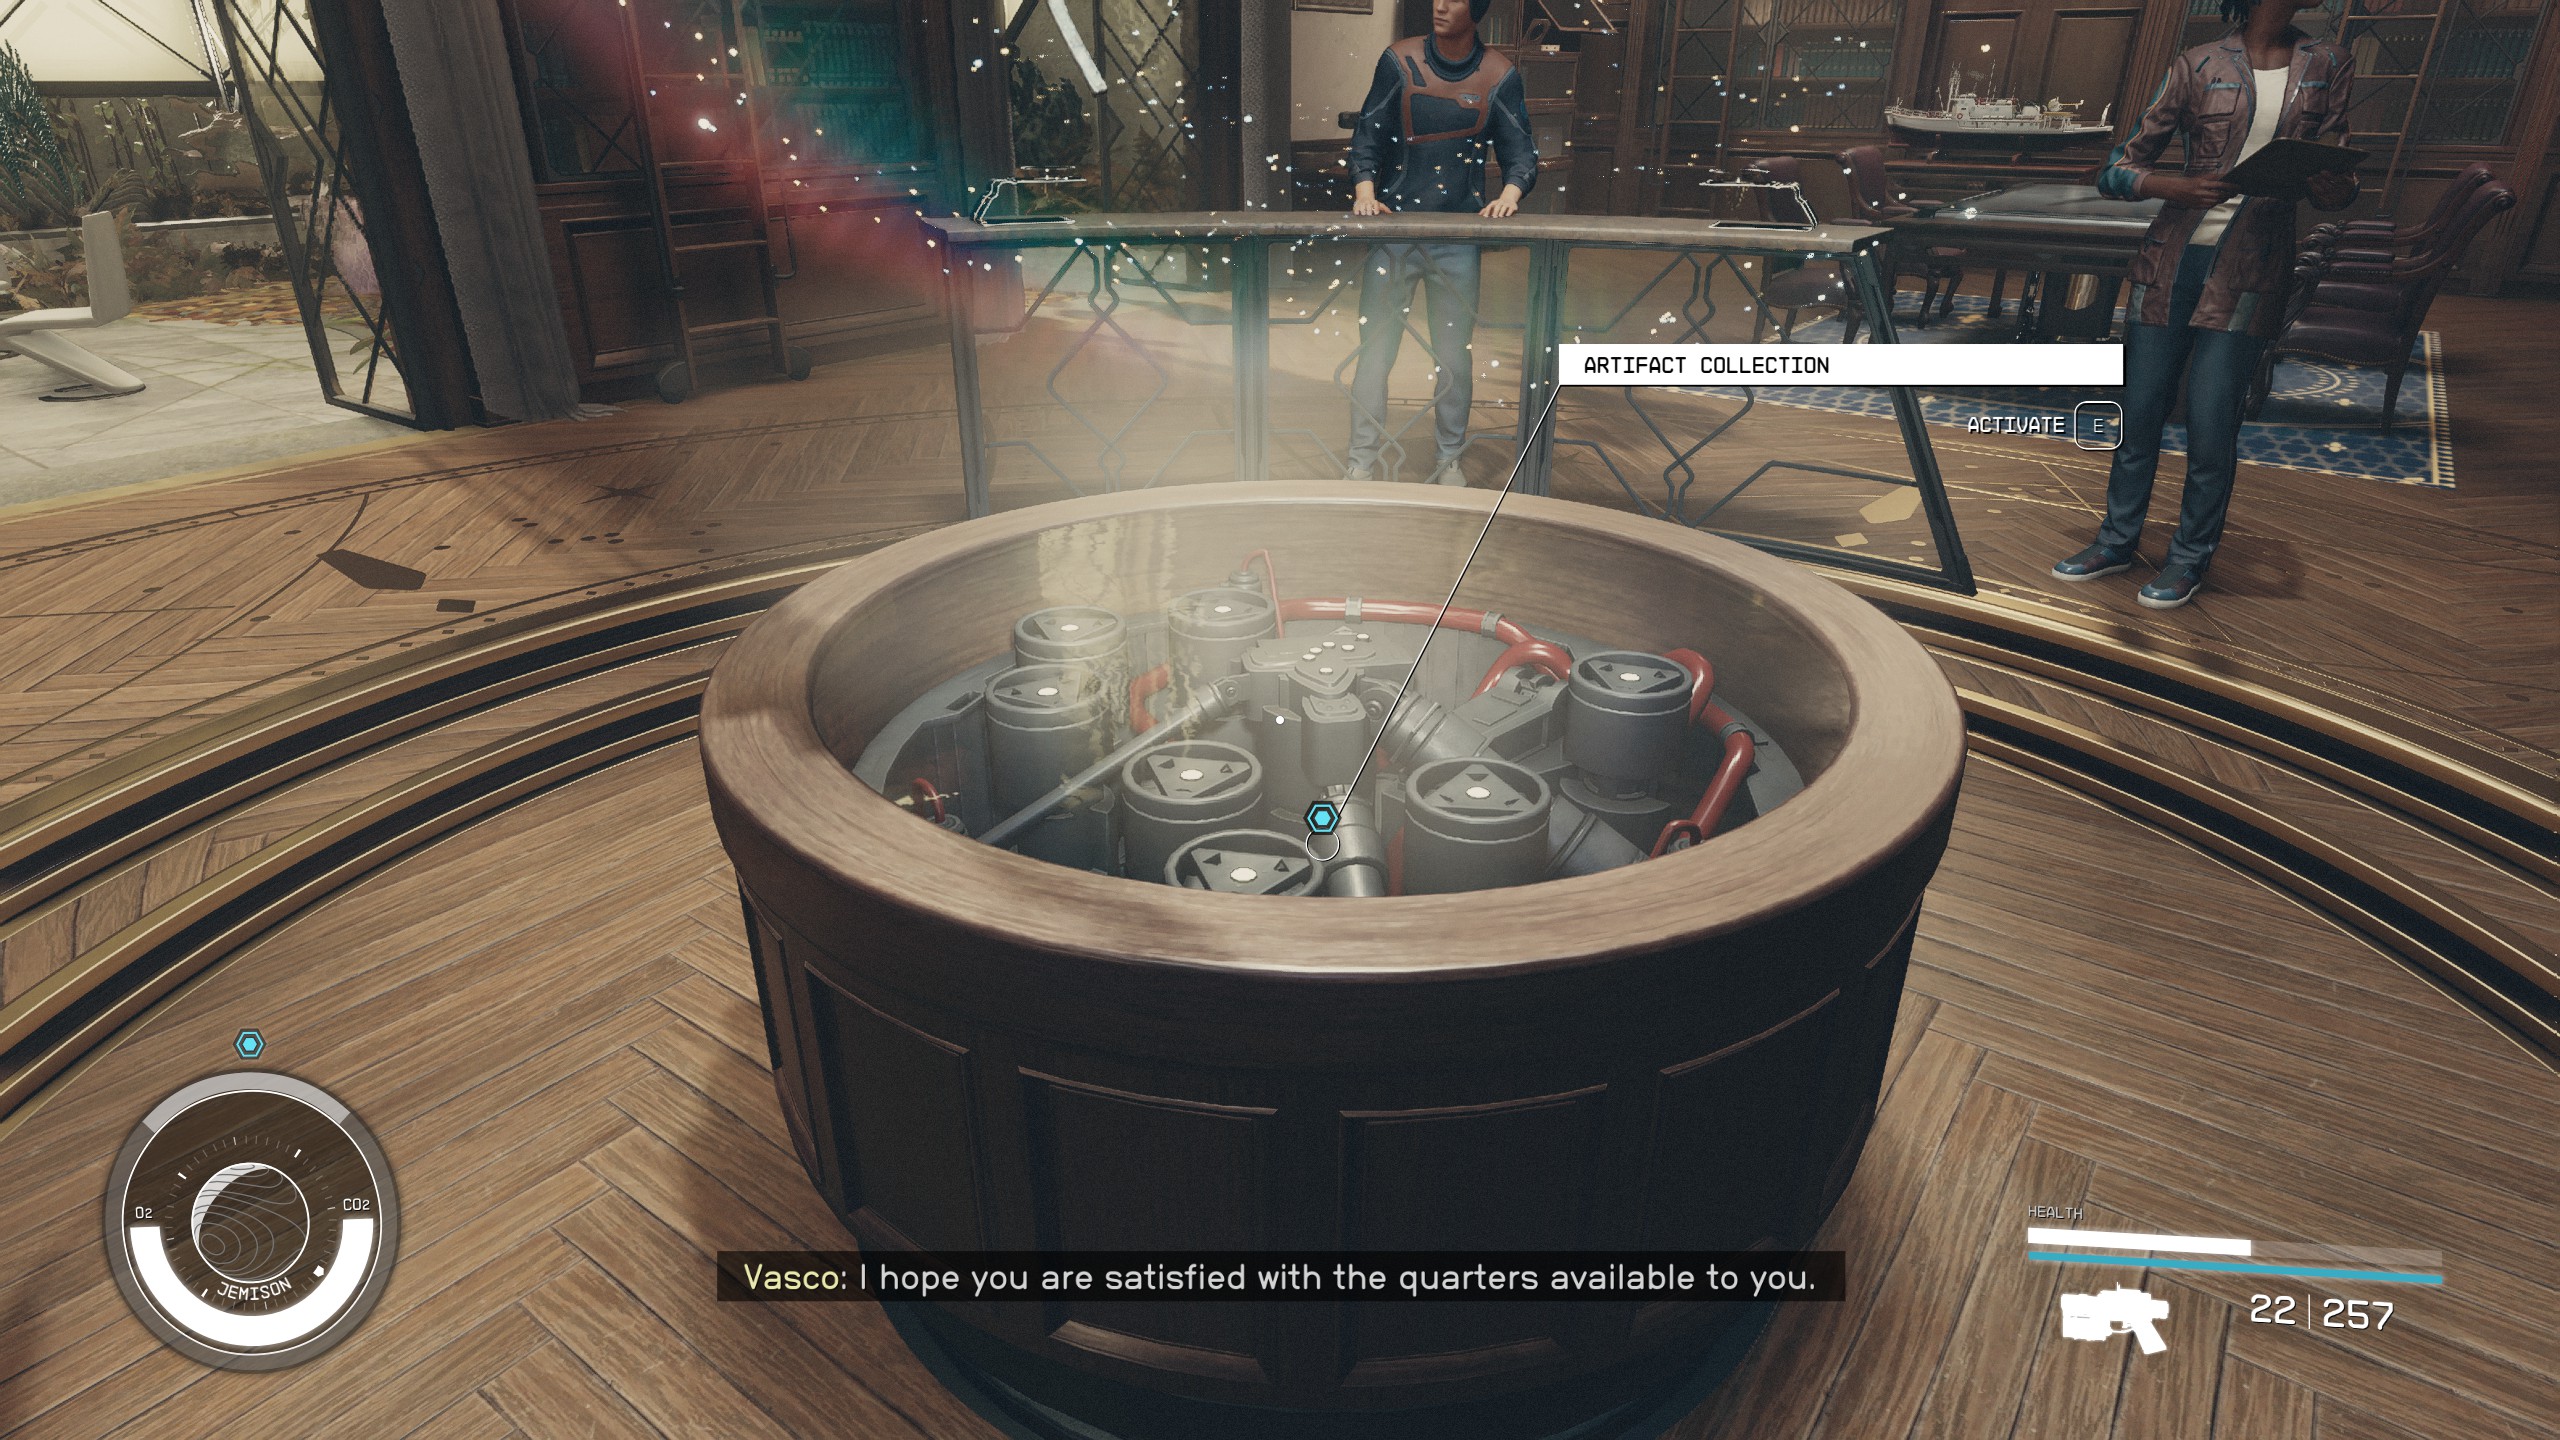
- Add the Artifacts to the Collection in the center of The Lodge.
Talk to Matteo
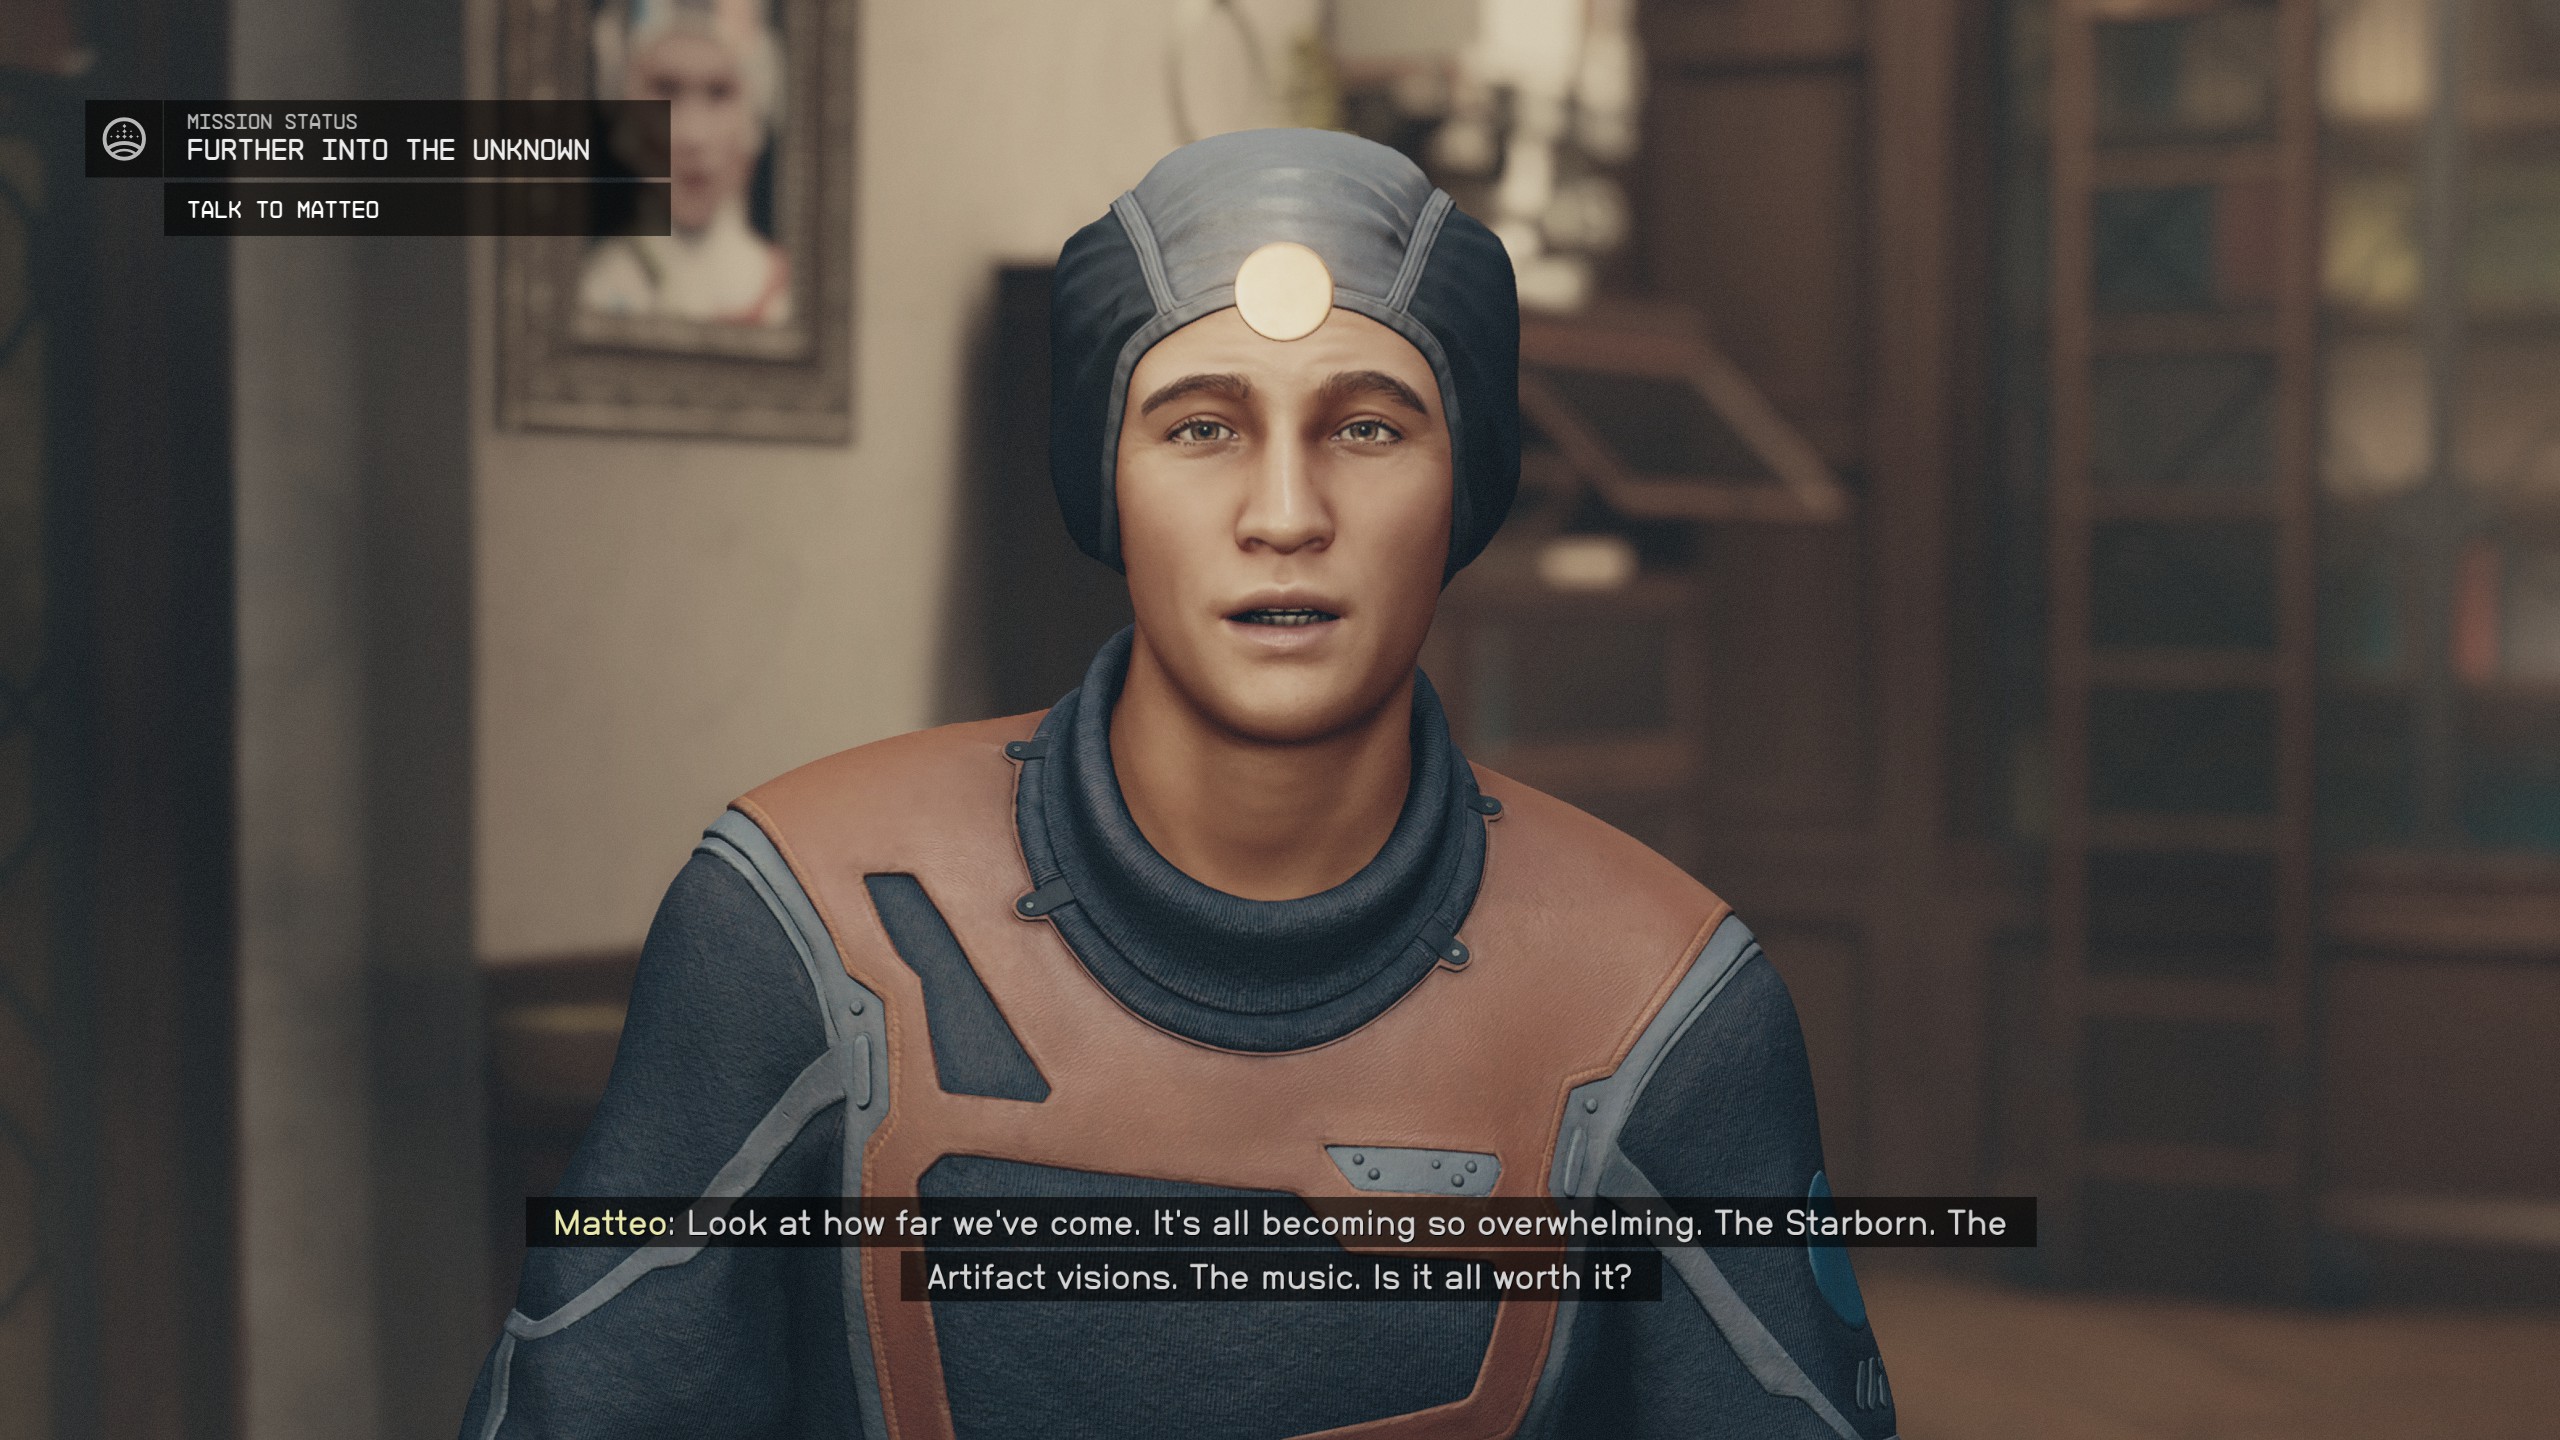
- Once you add the Artifacts you will automatically enter onto a conversation with Matteo. The group will talk about the risks involved in continuing to collect the Artifacts.
Talk to Vladimir
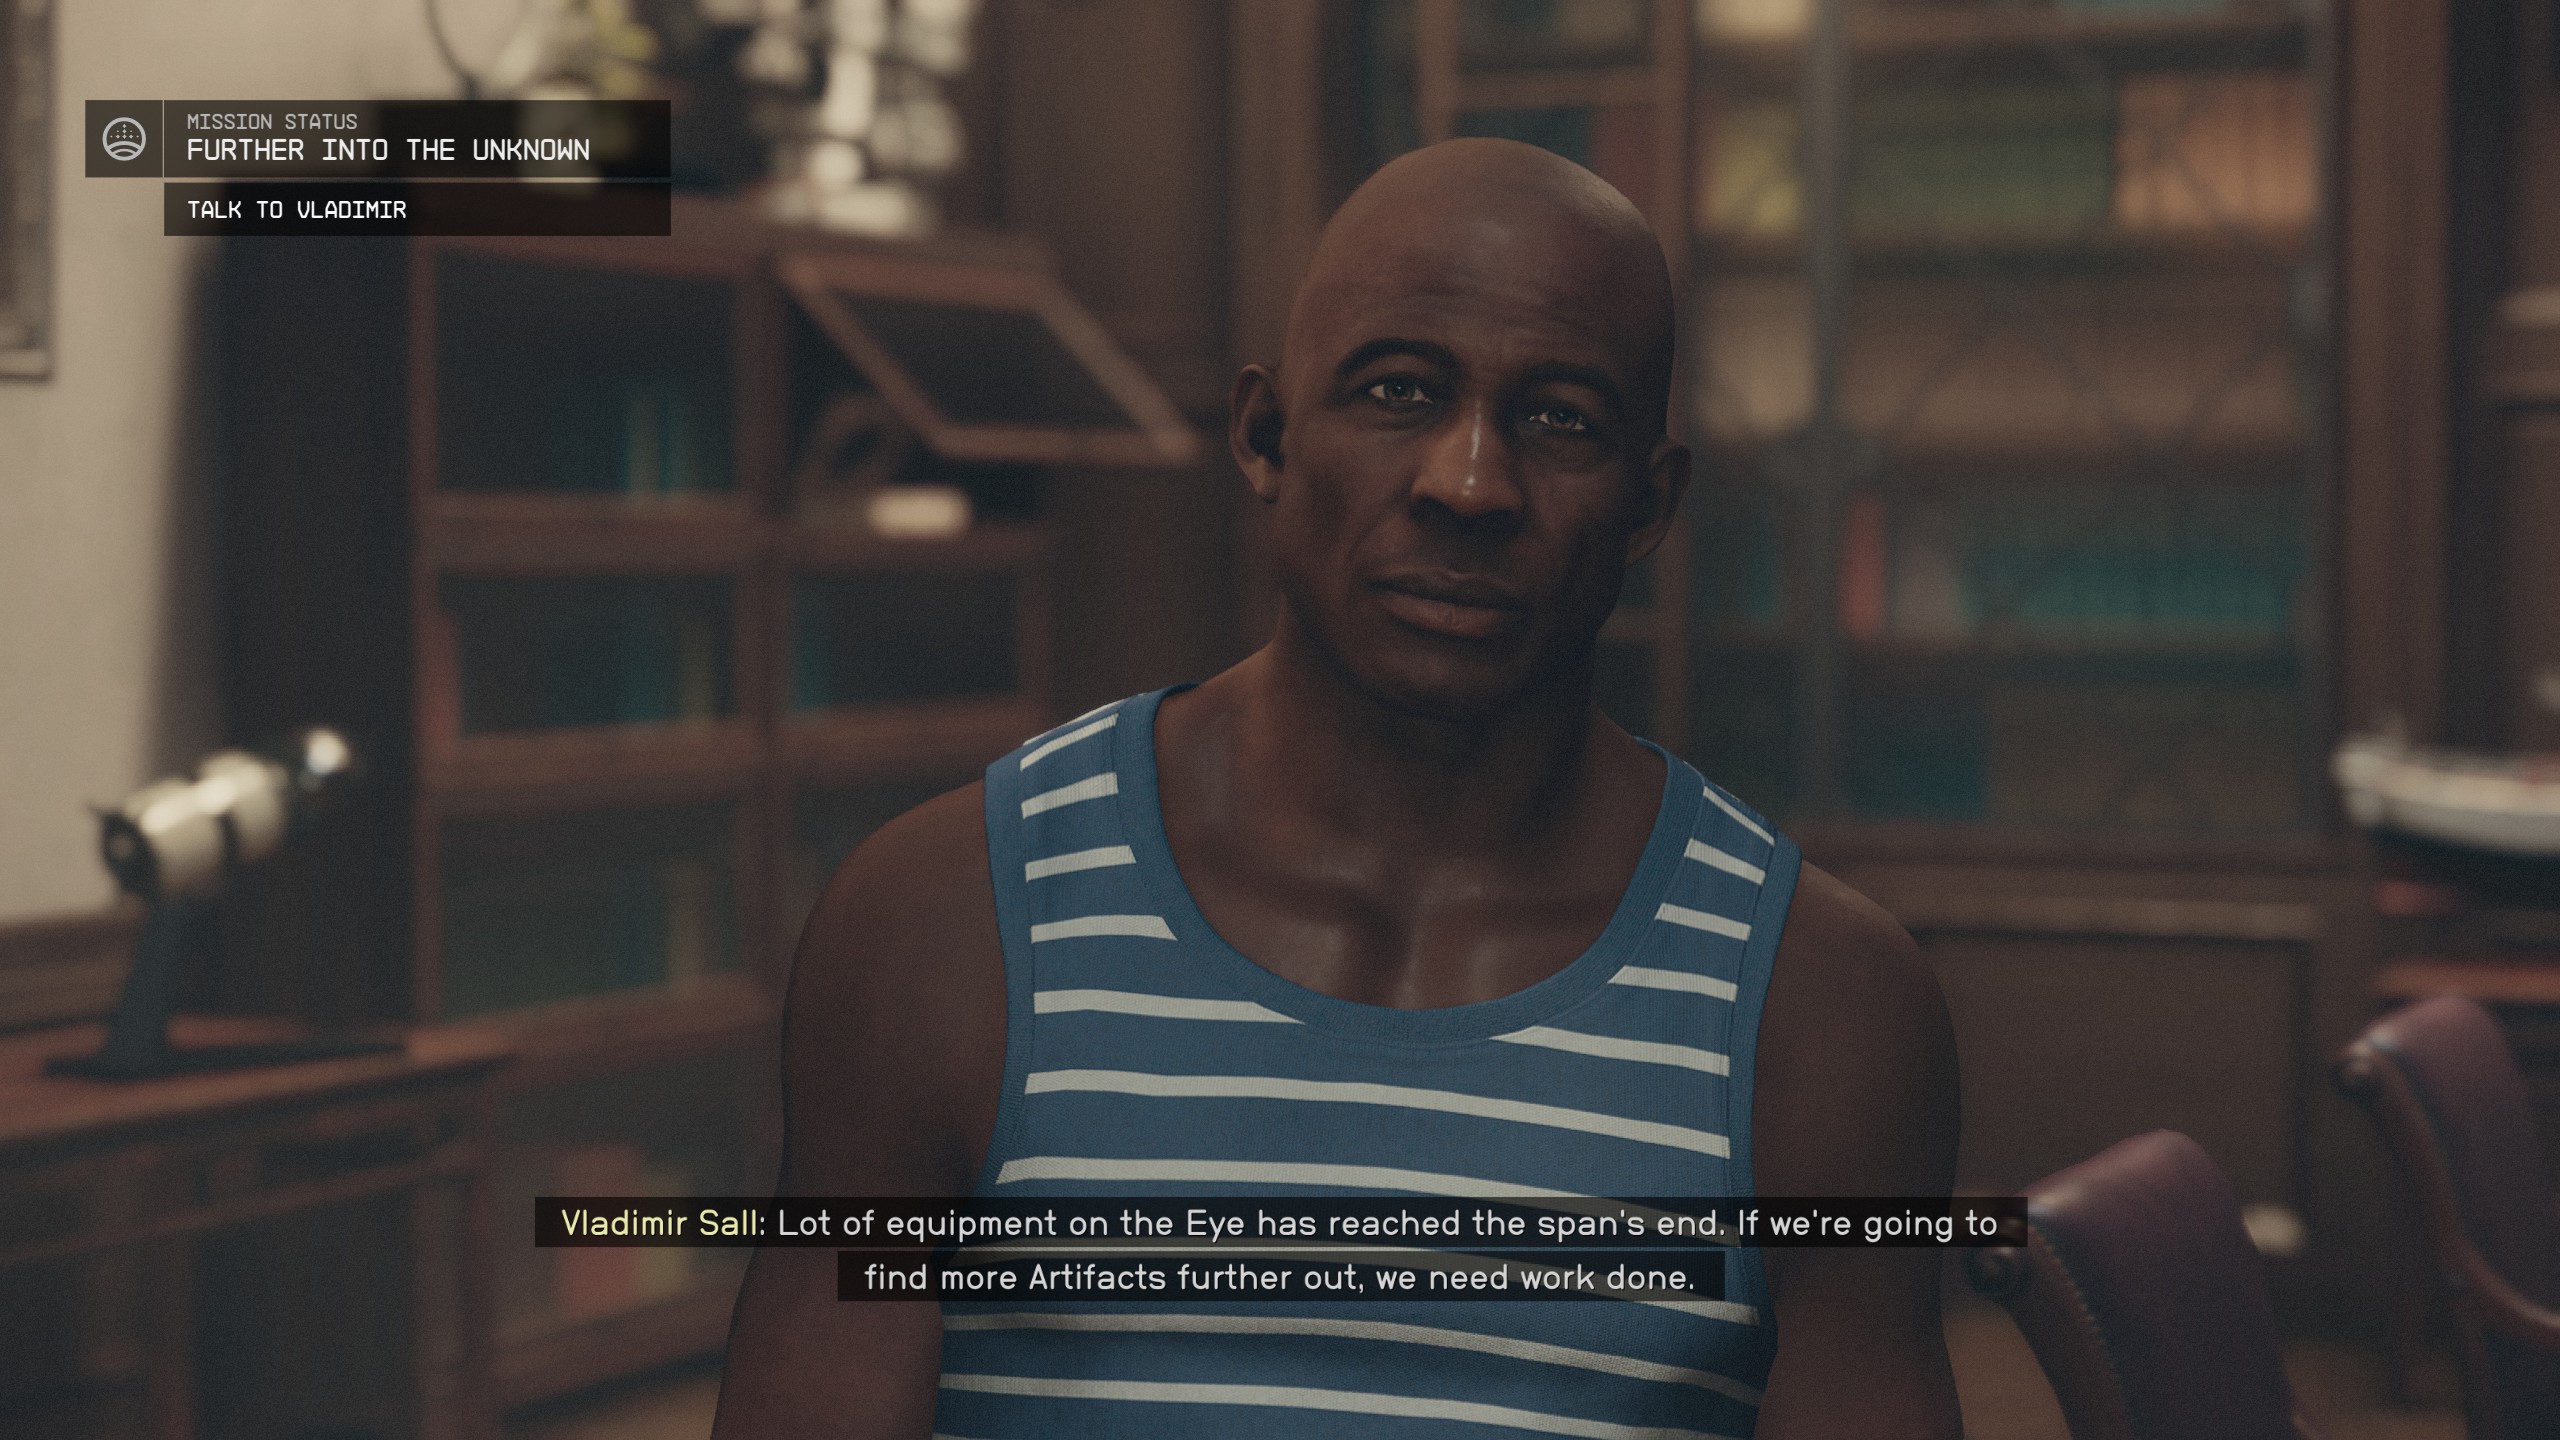
- Once you finish speaking with Matteo you will then speak with Valdimir. He will provide you with insight into your next mission.
